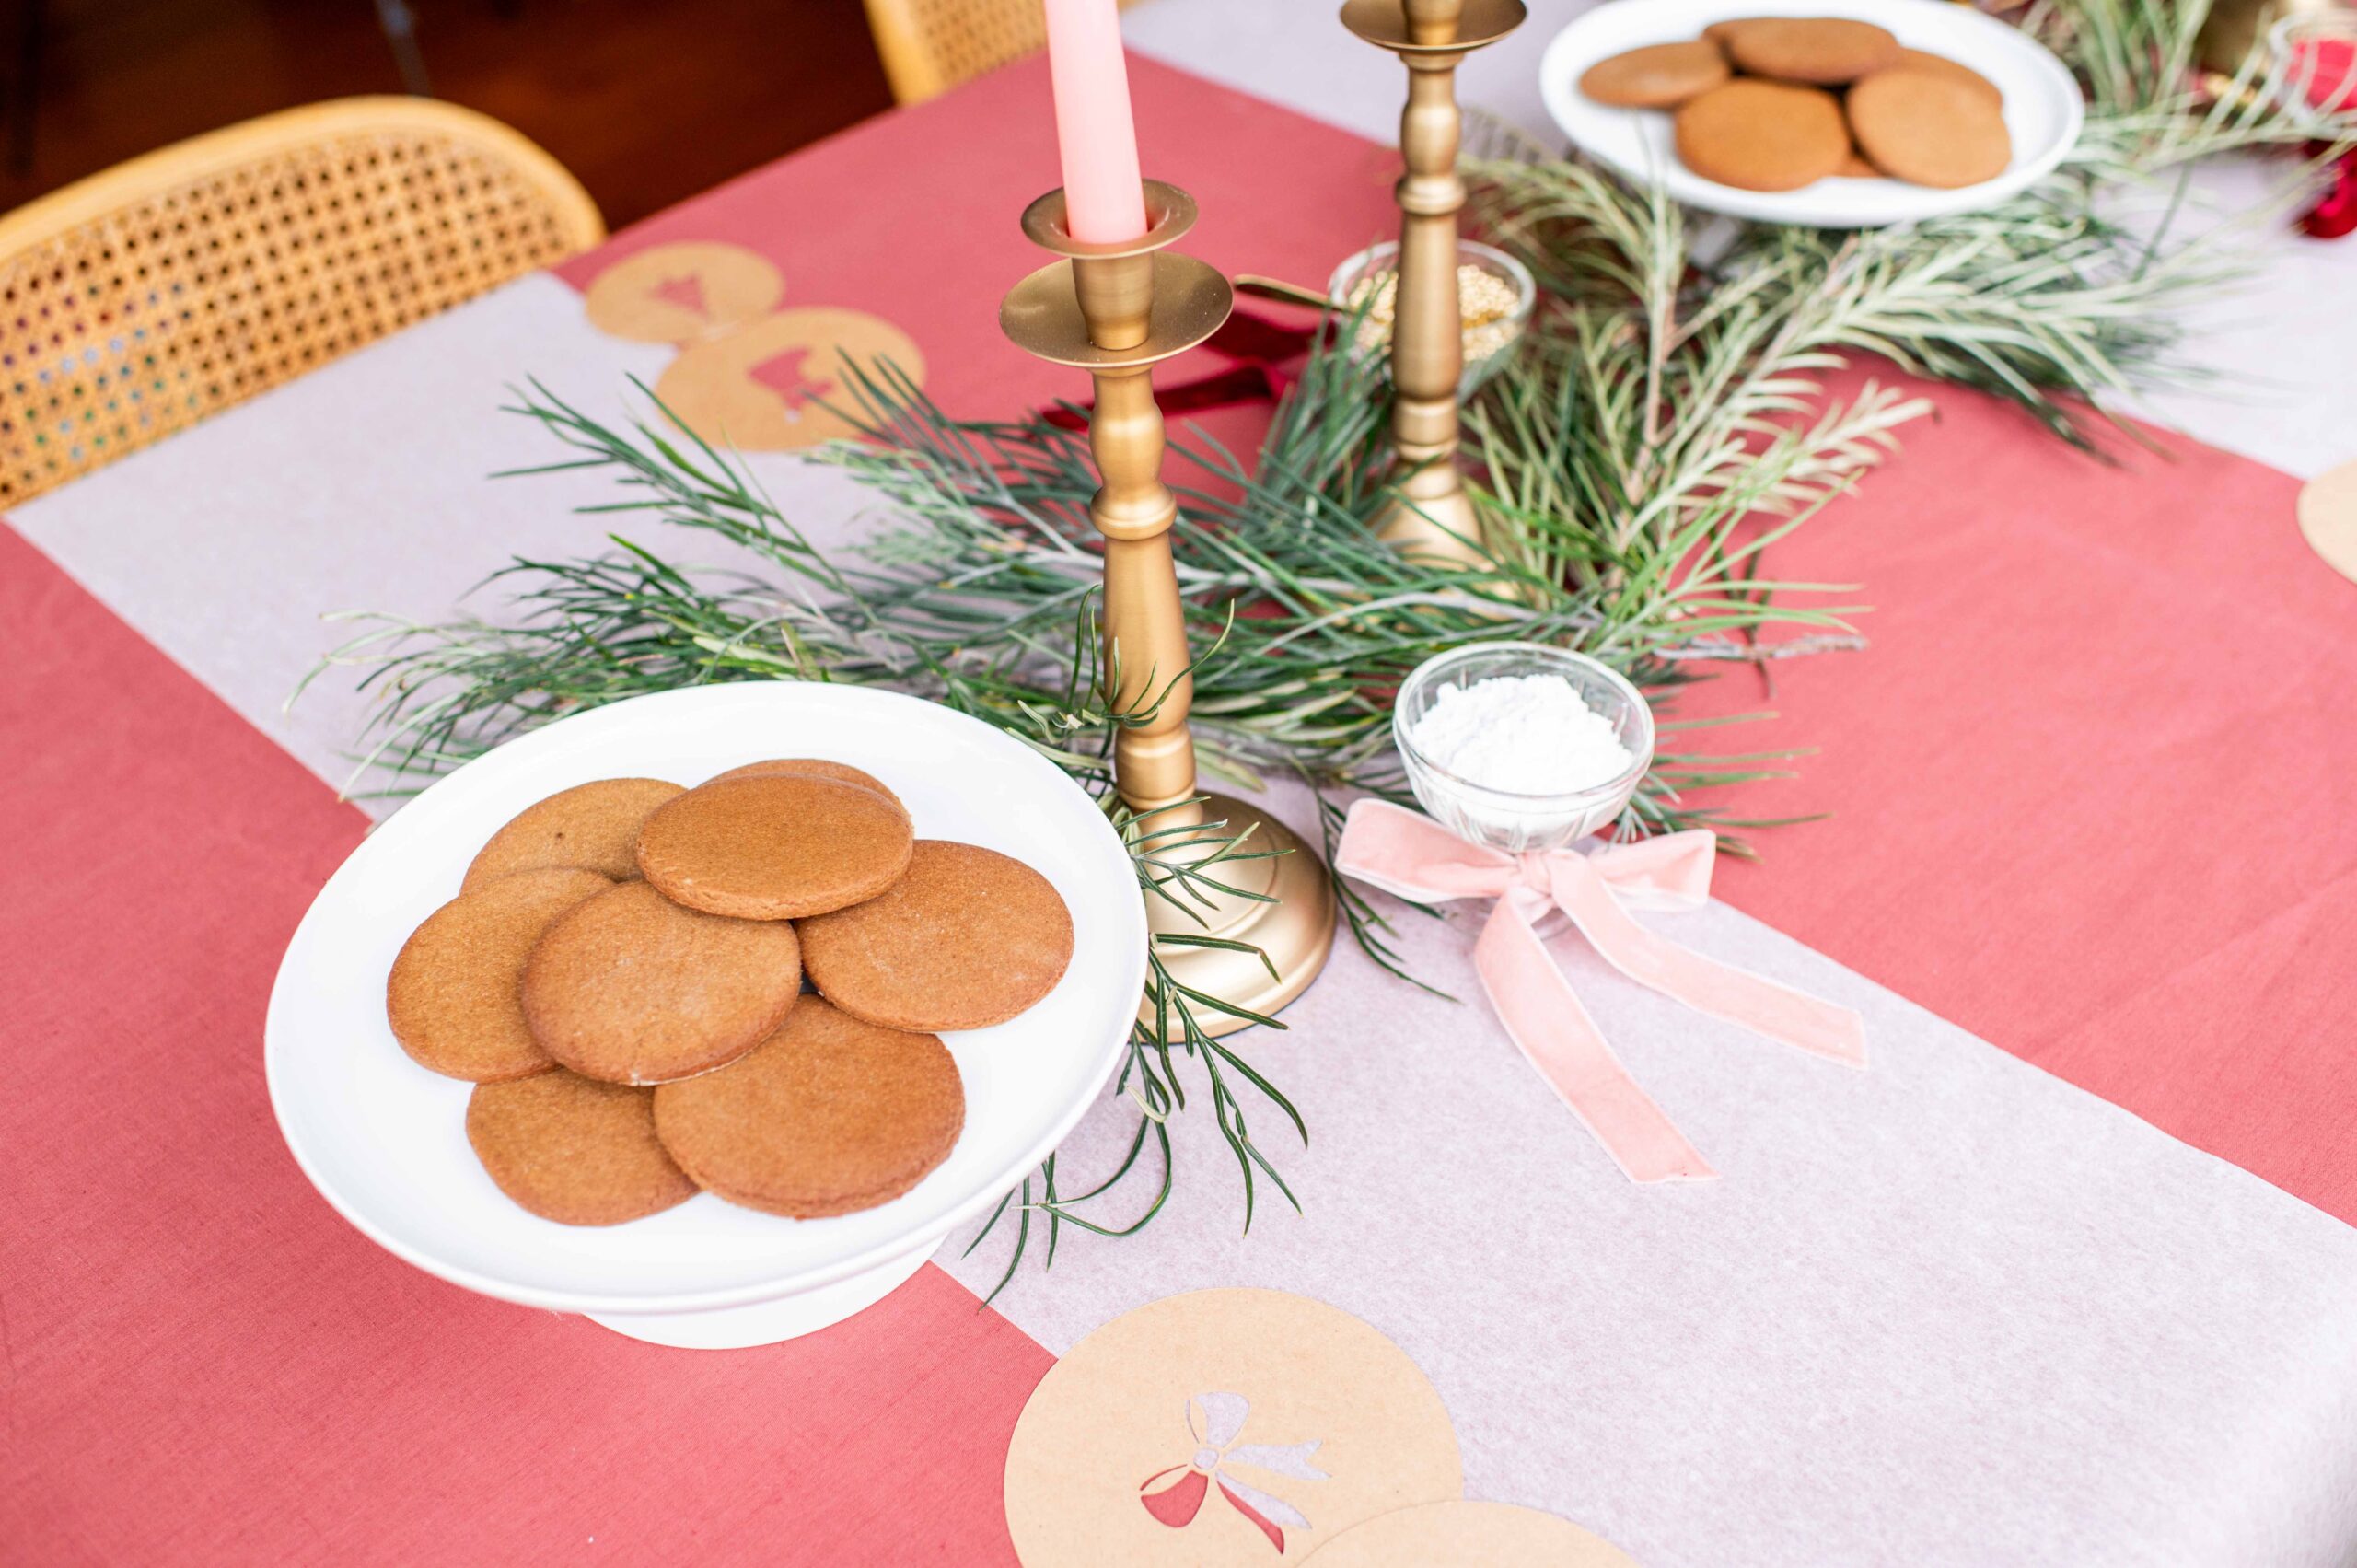
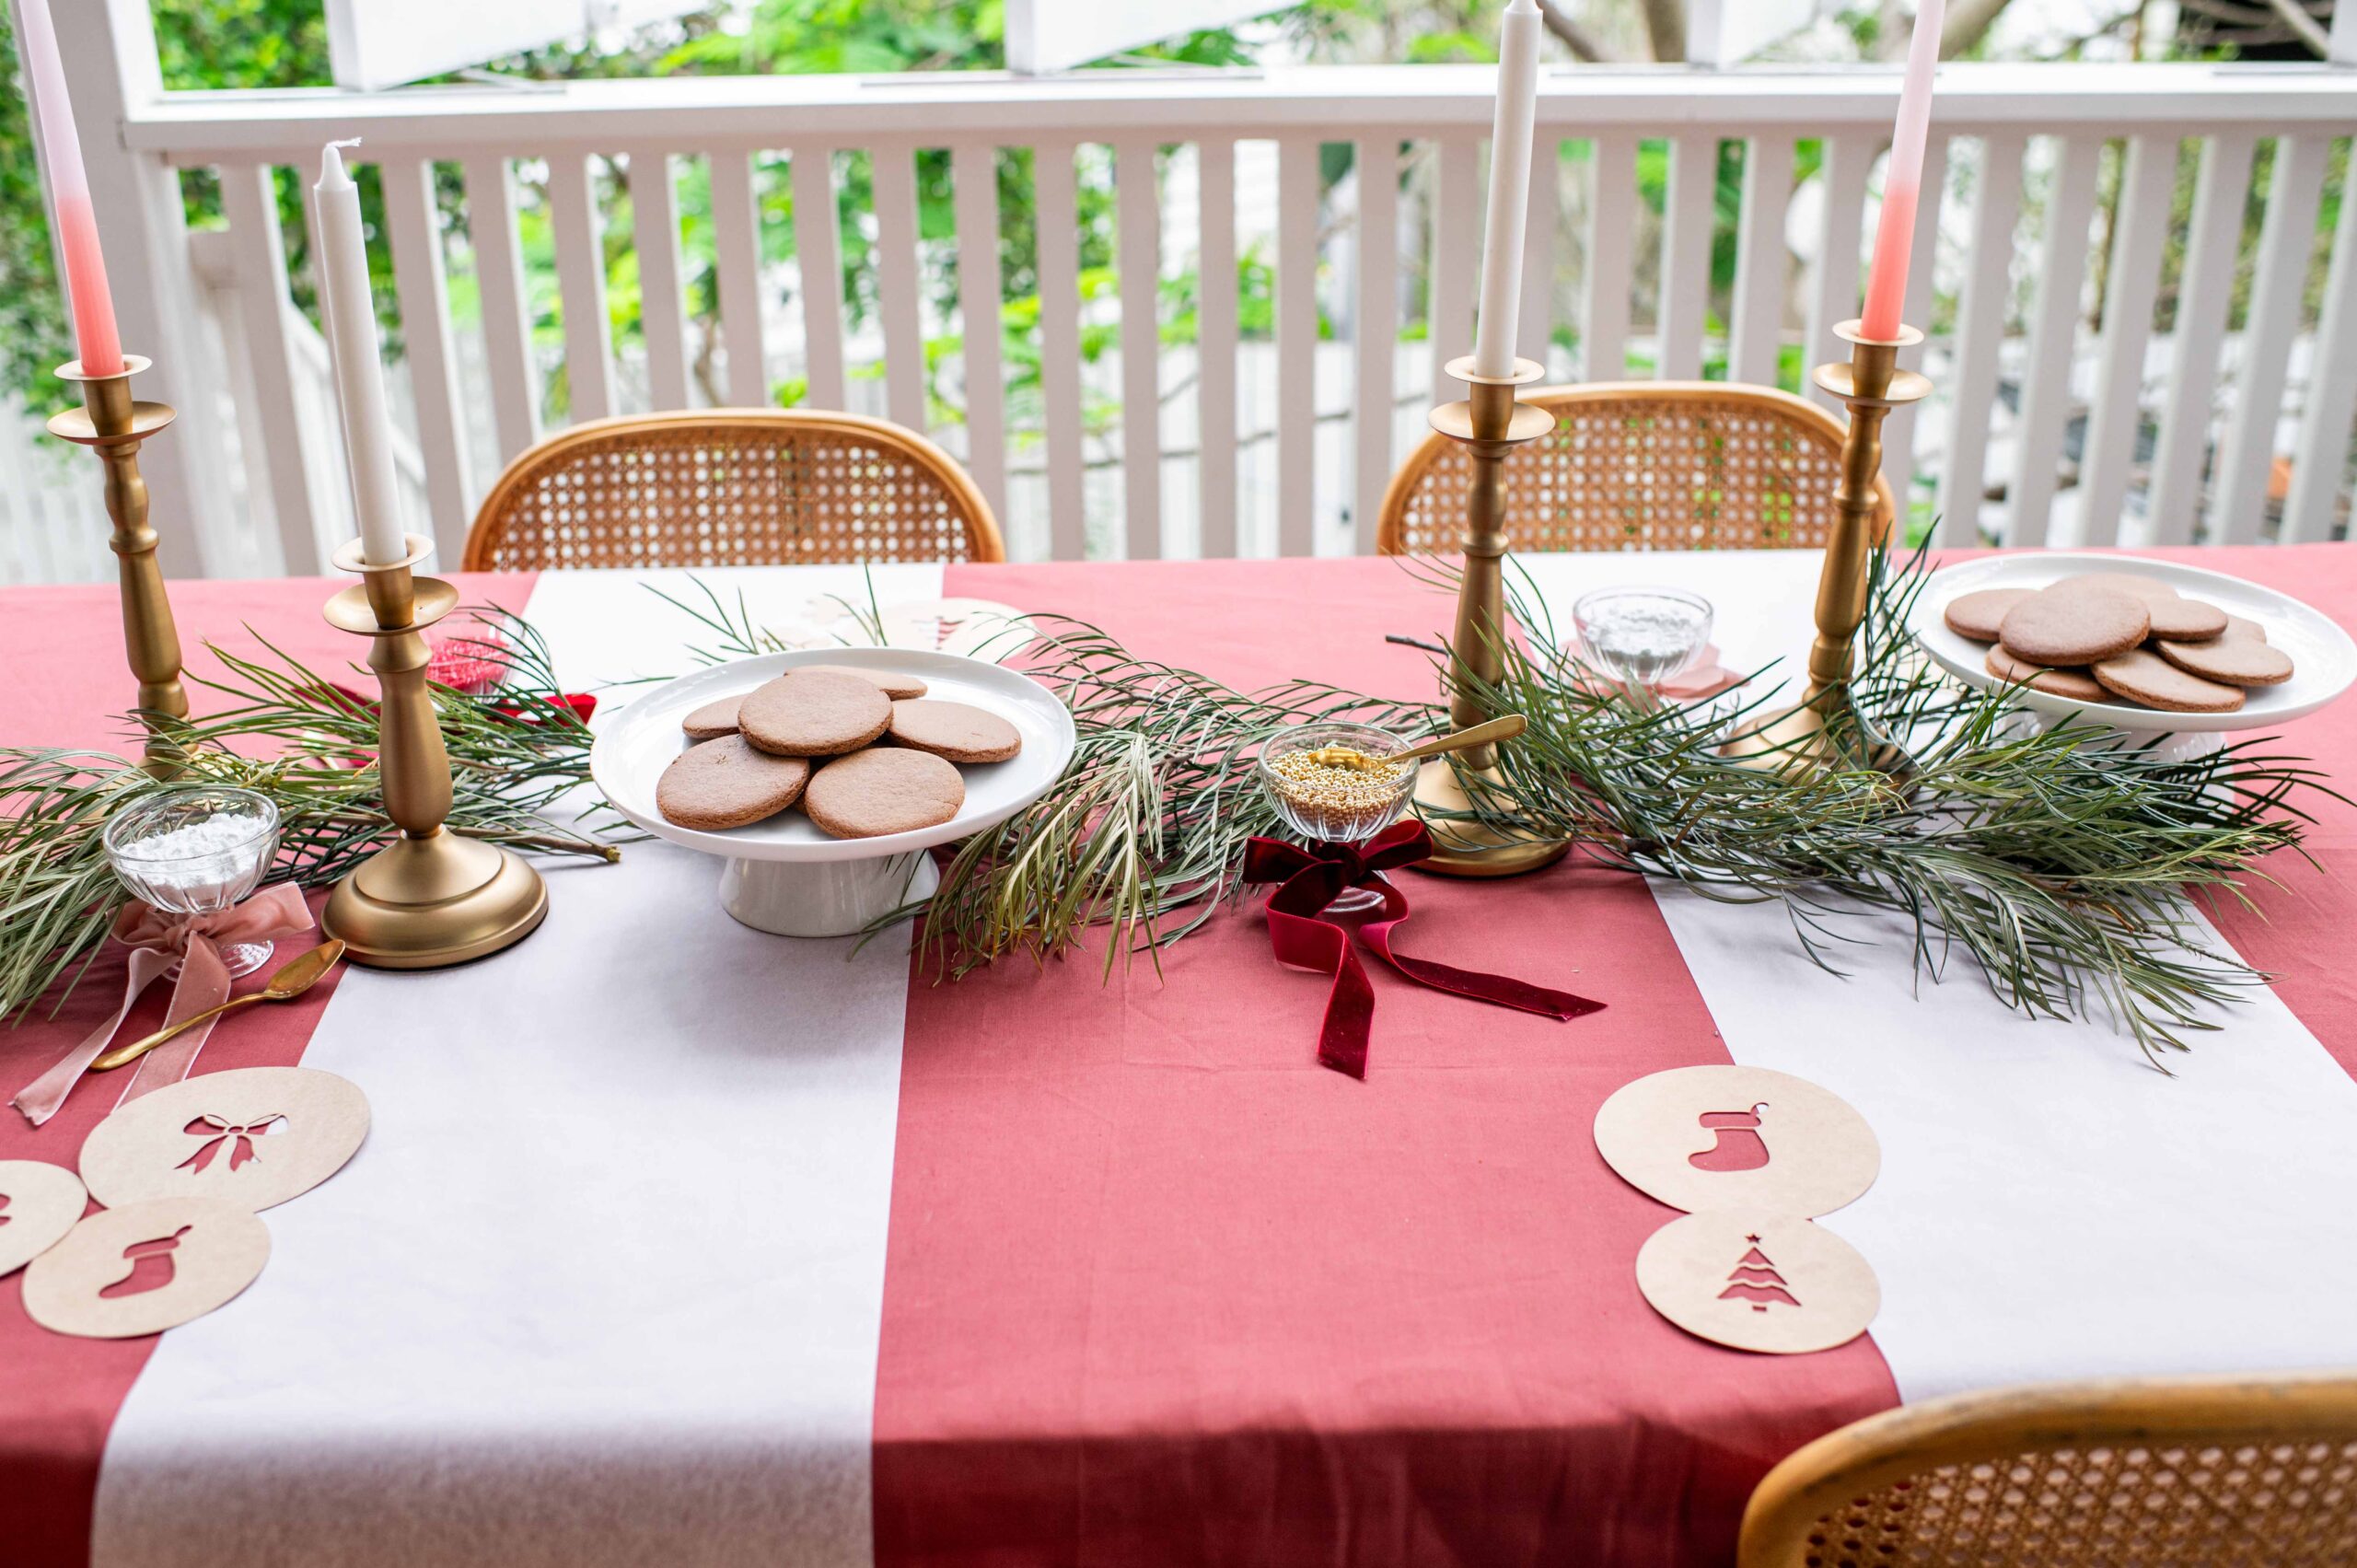
I love festive DIY parties and wanted to have all of my friends over to decorate some delicious gingerbread.
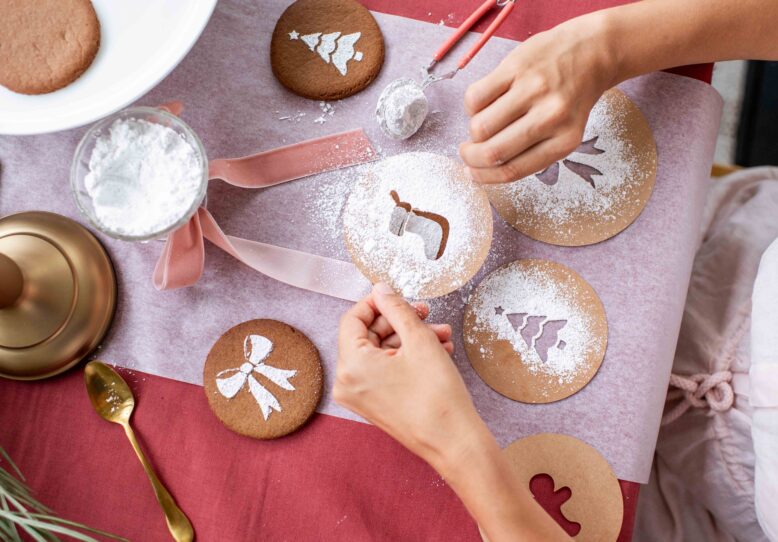
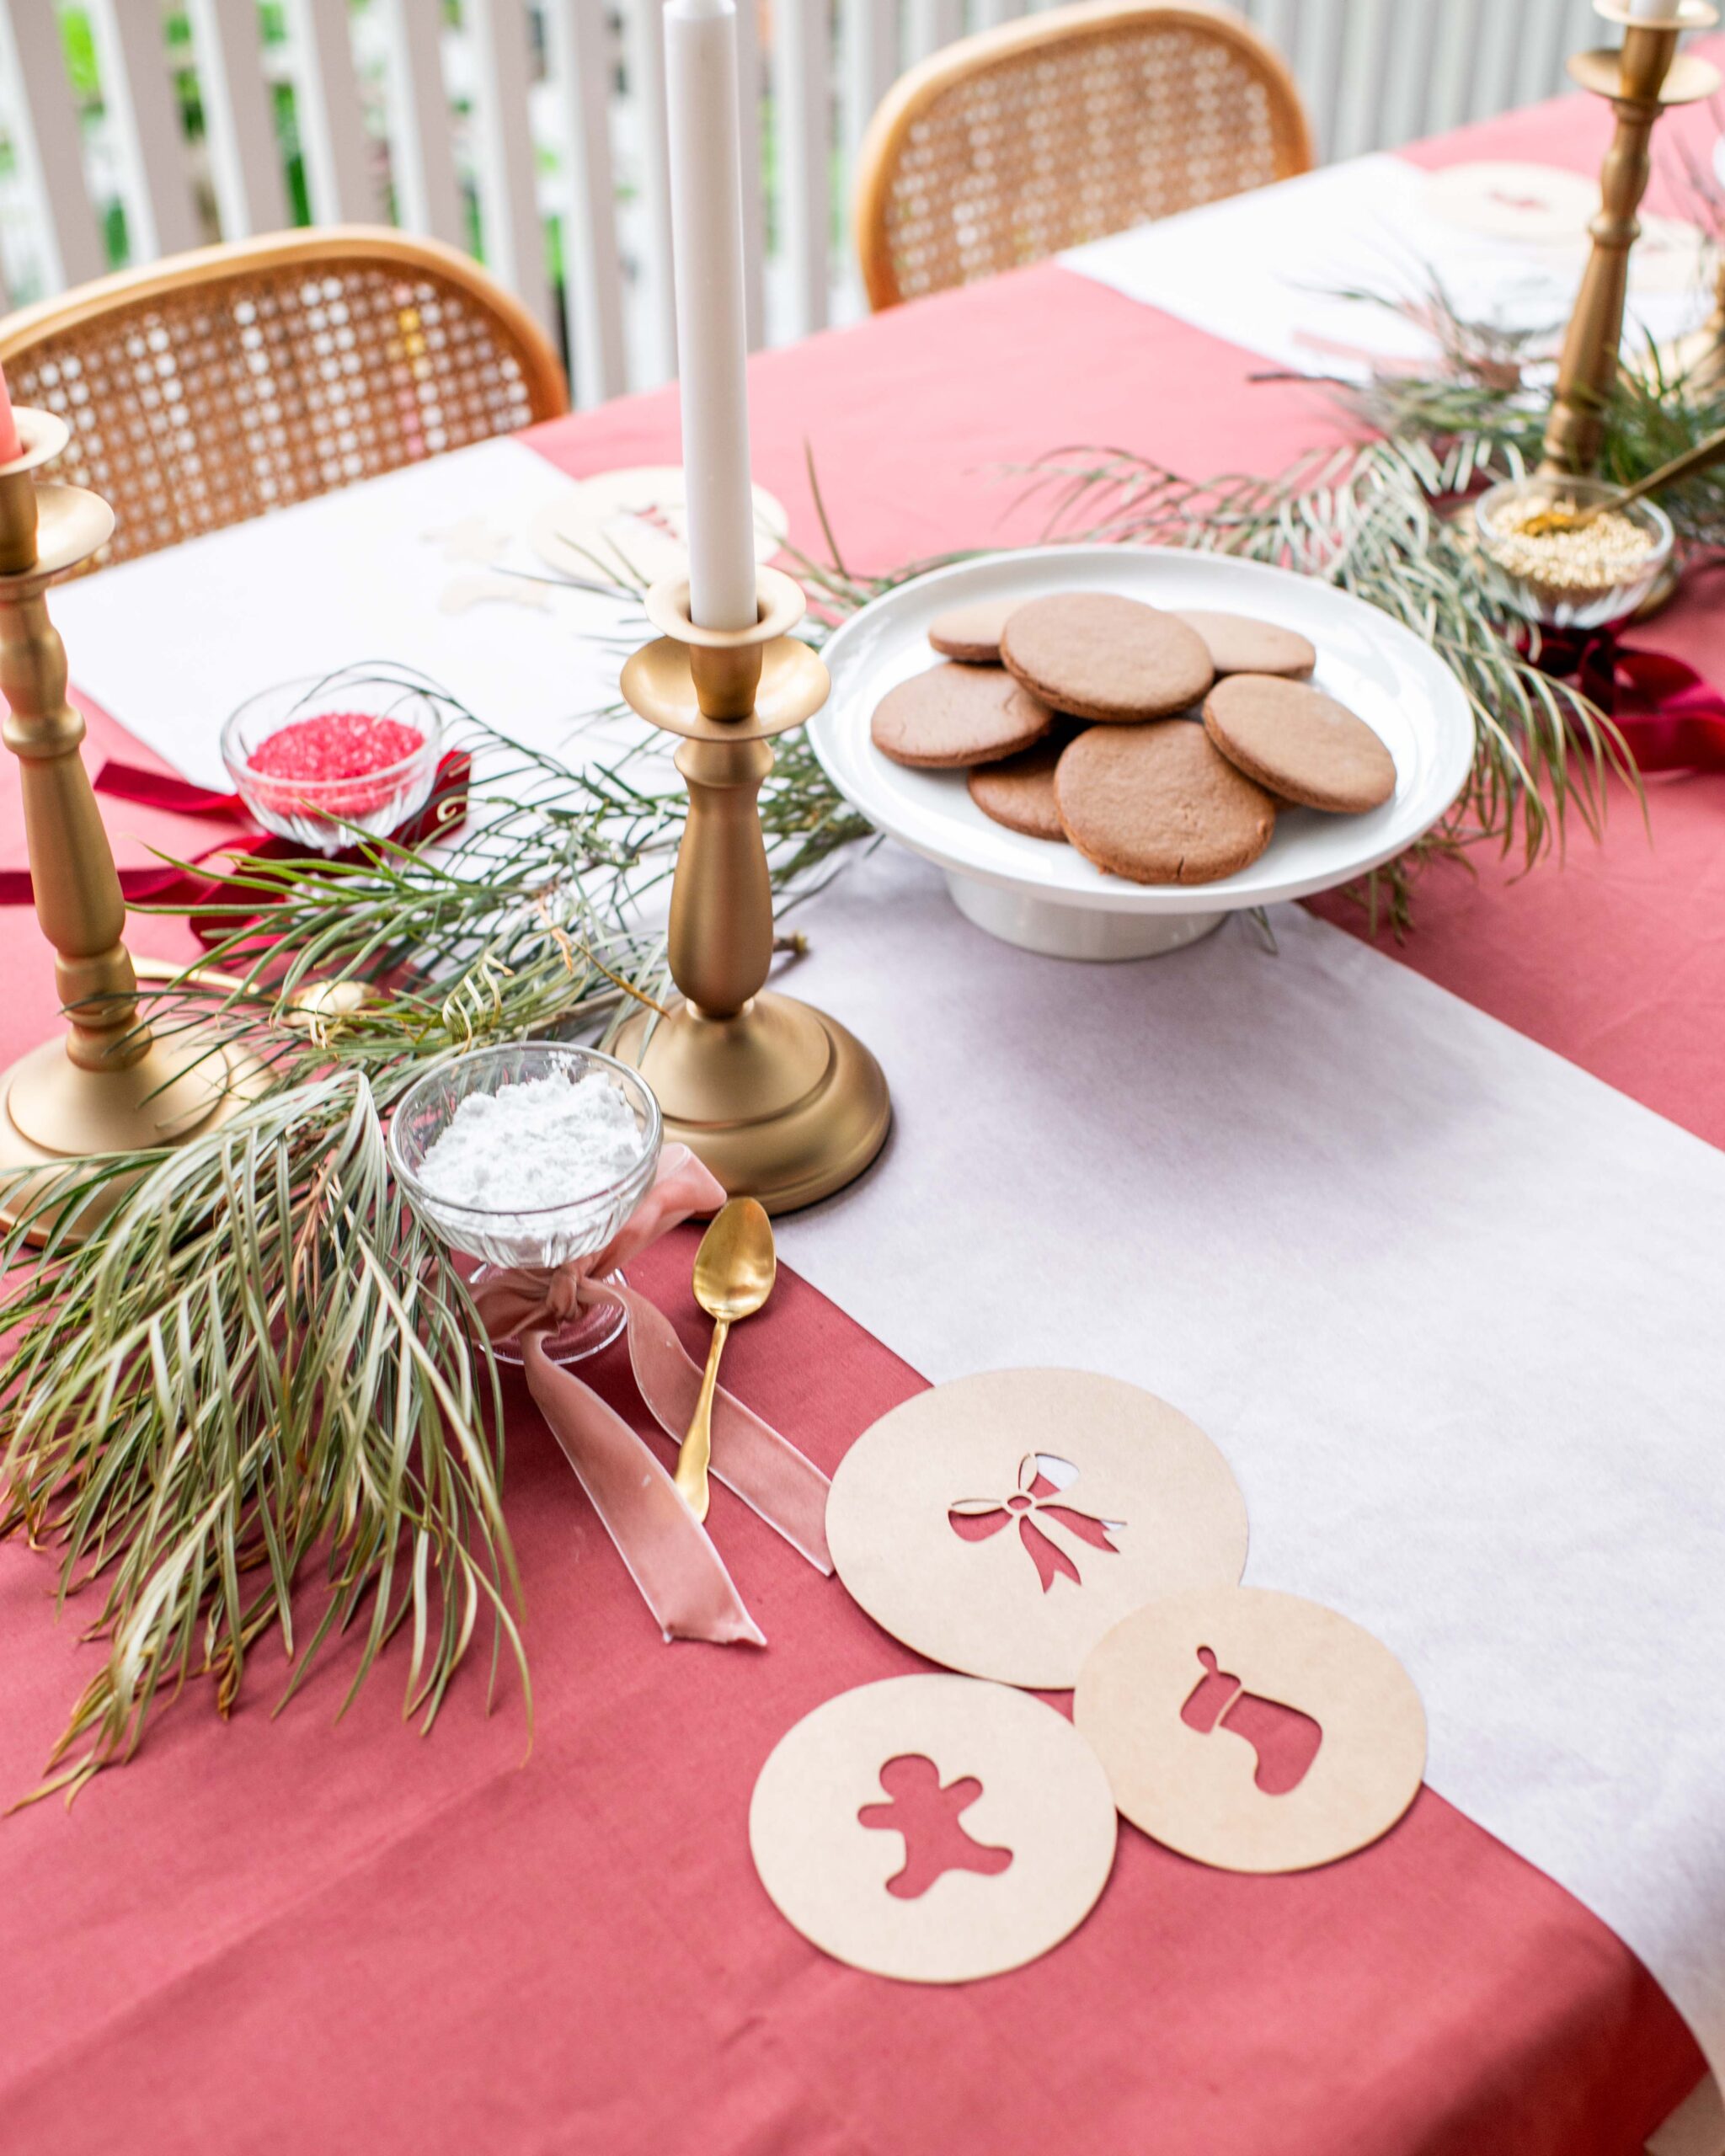
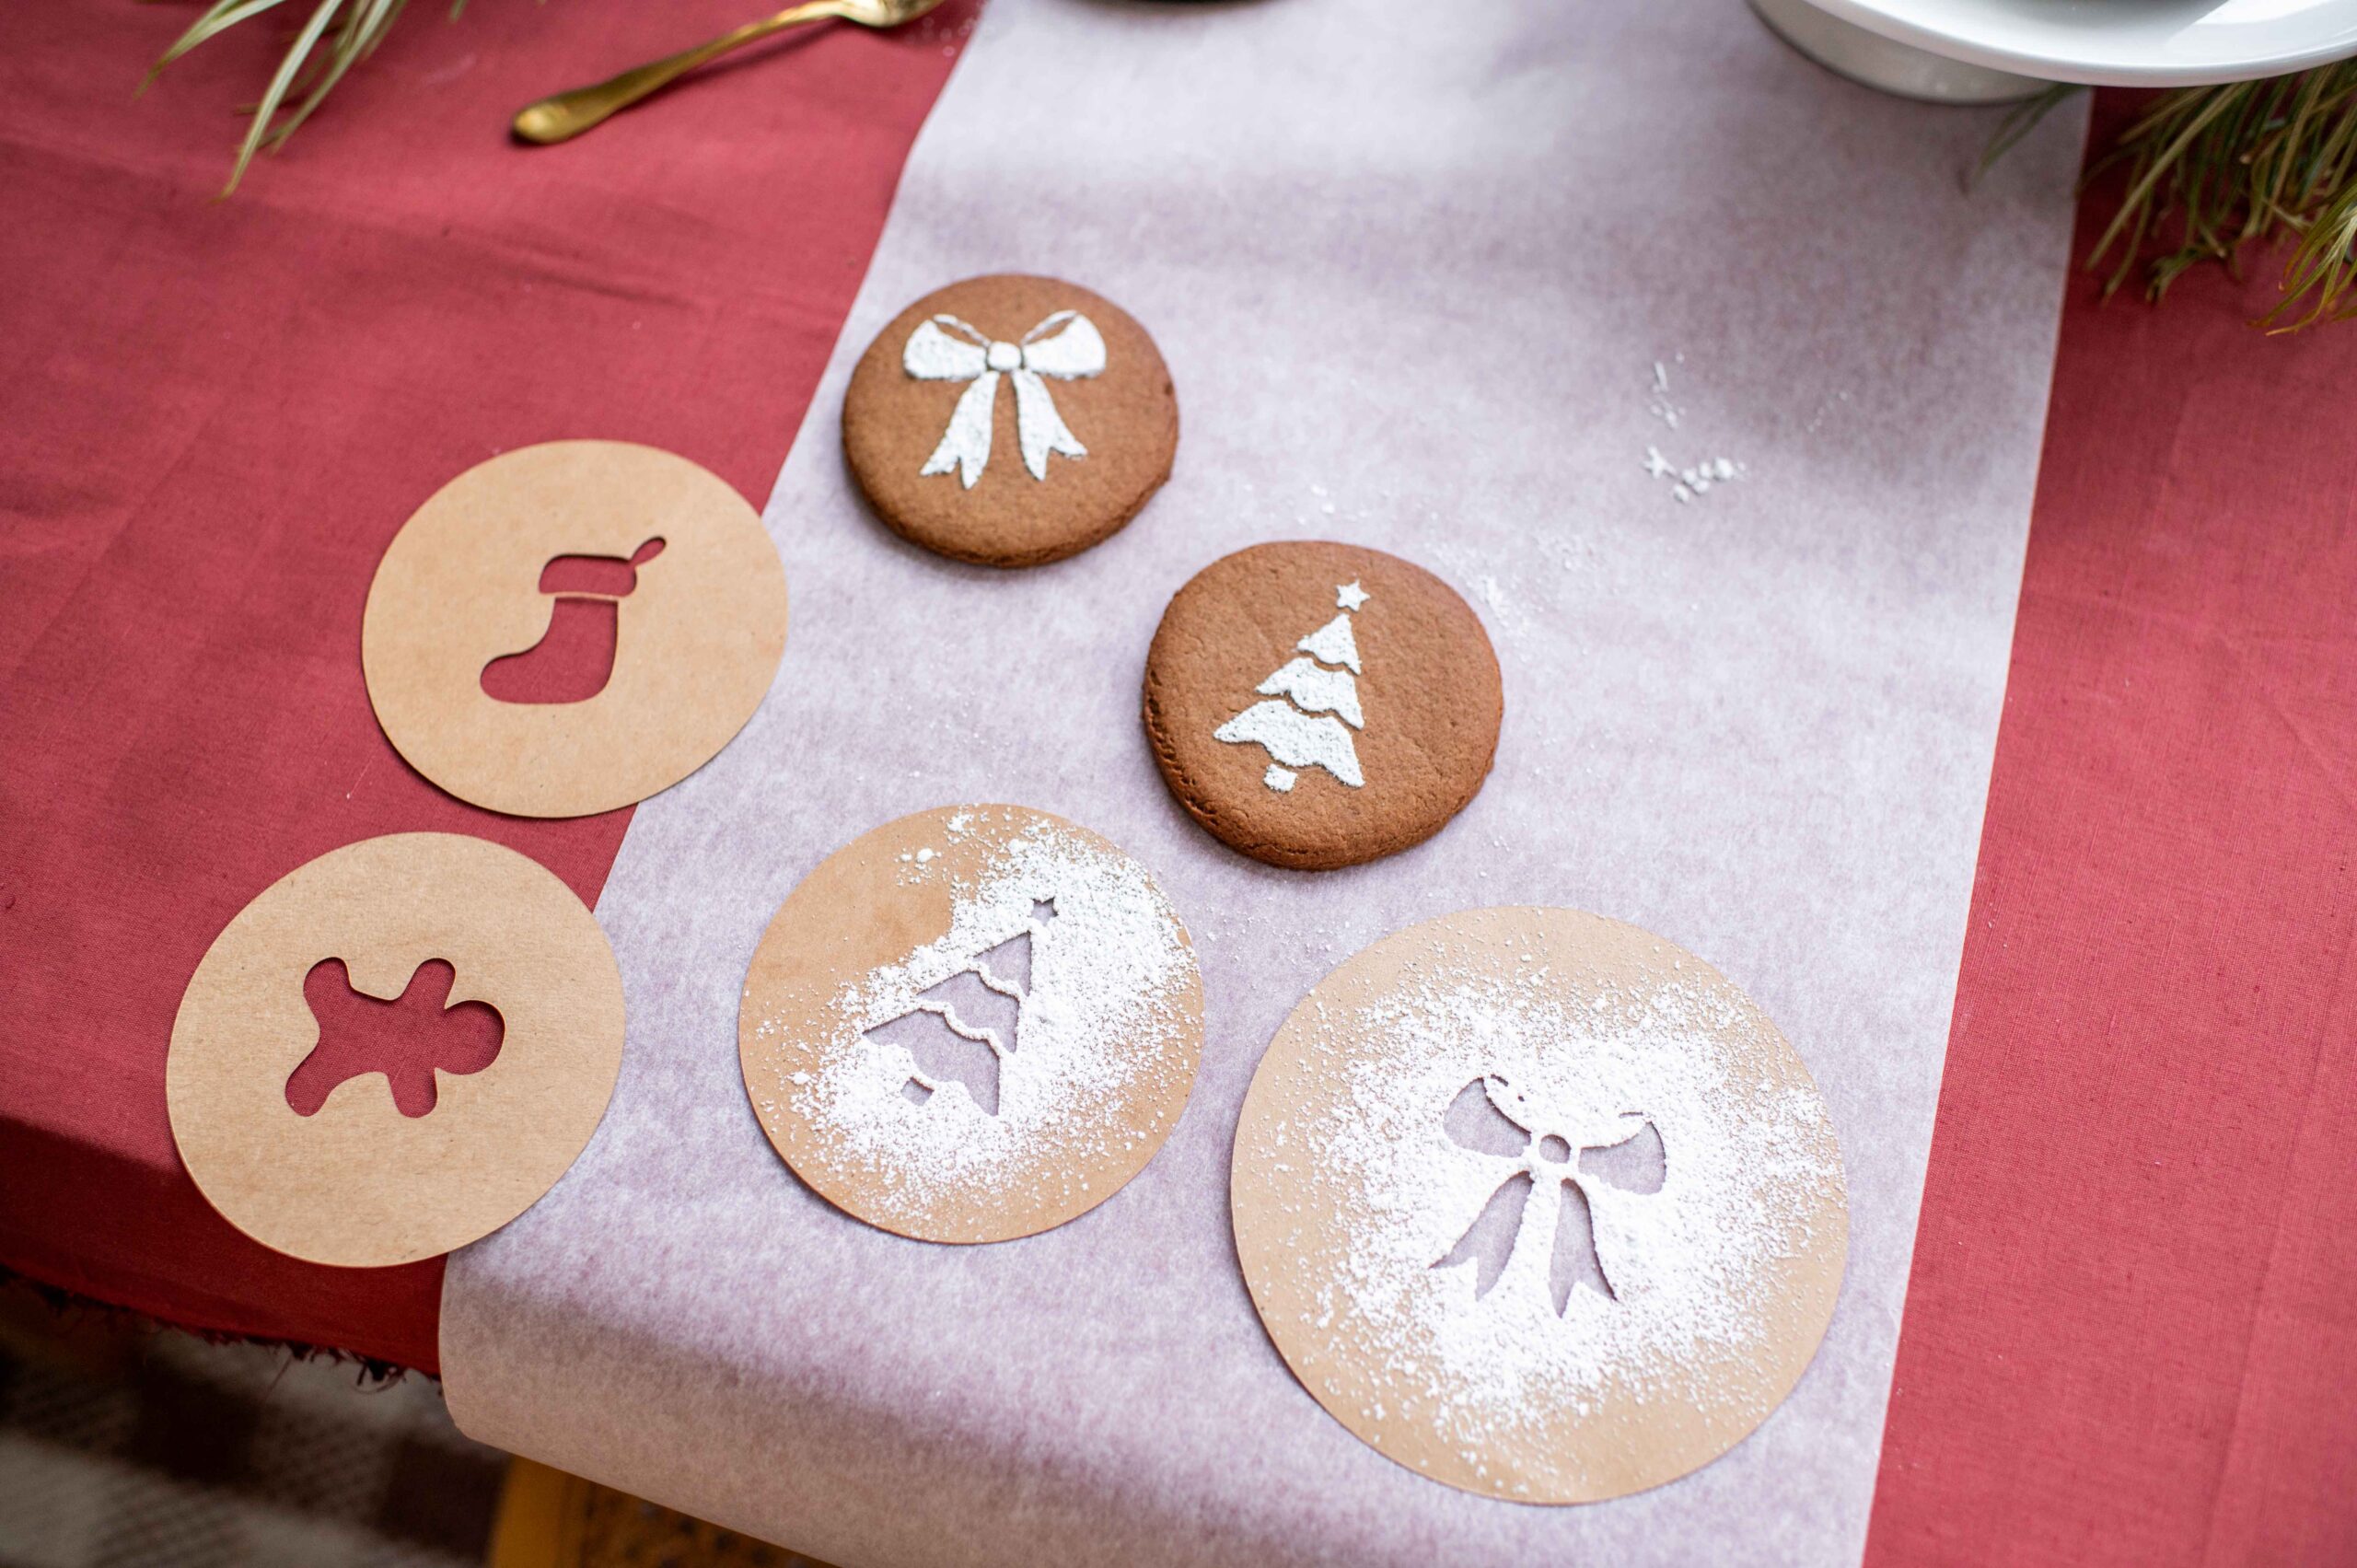
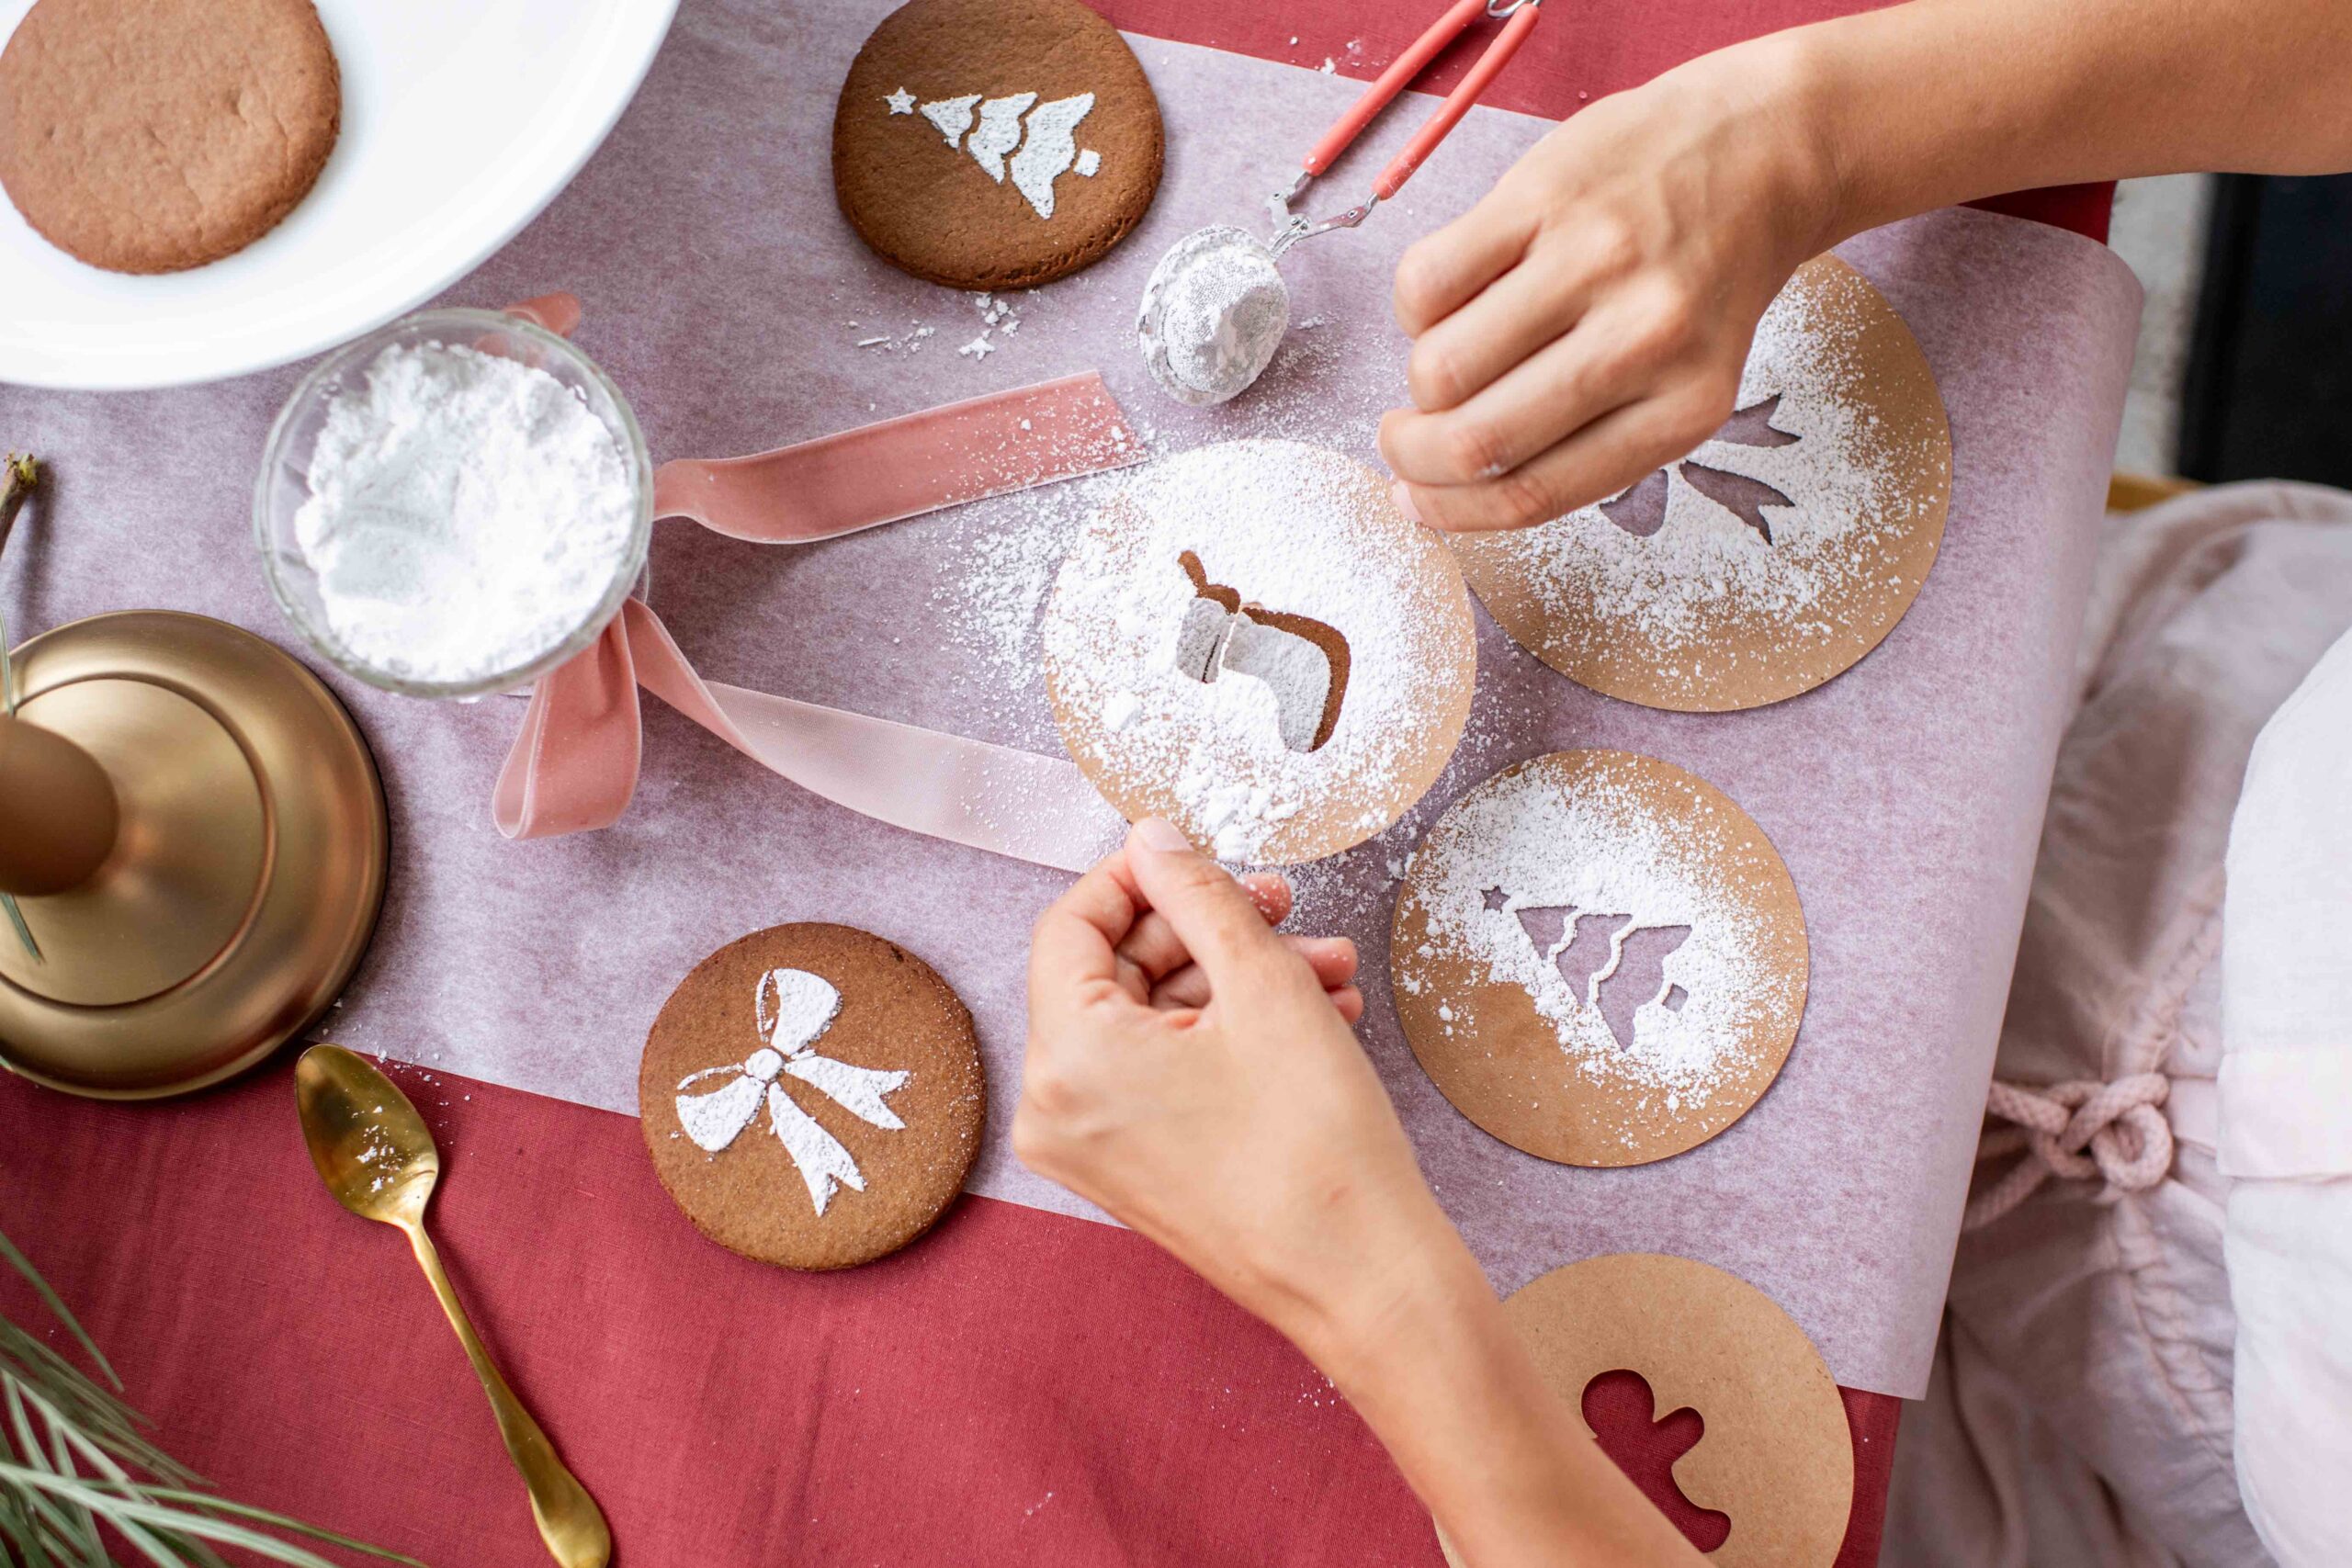
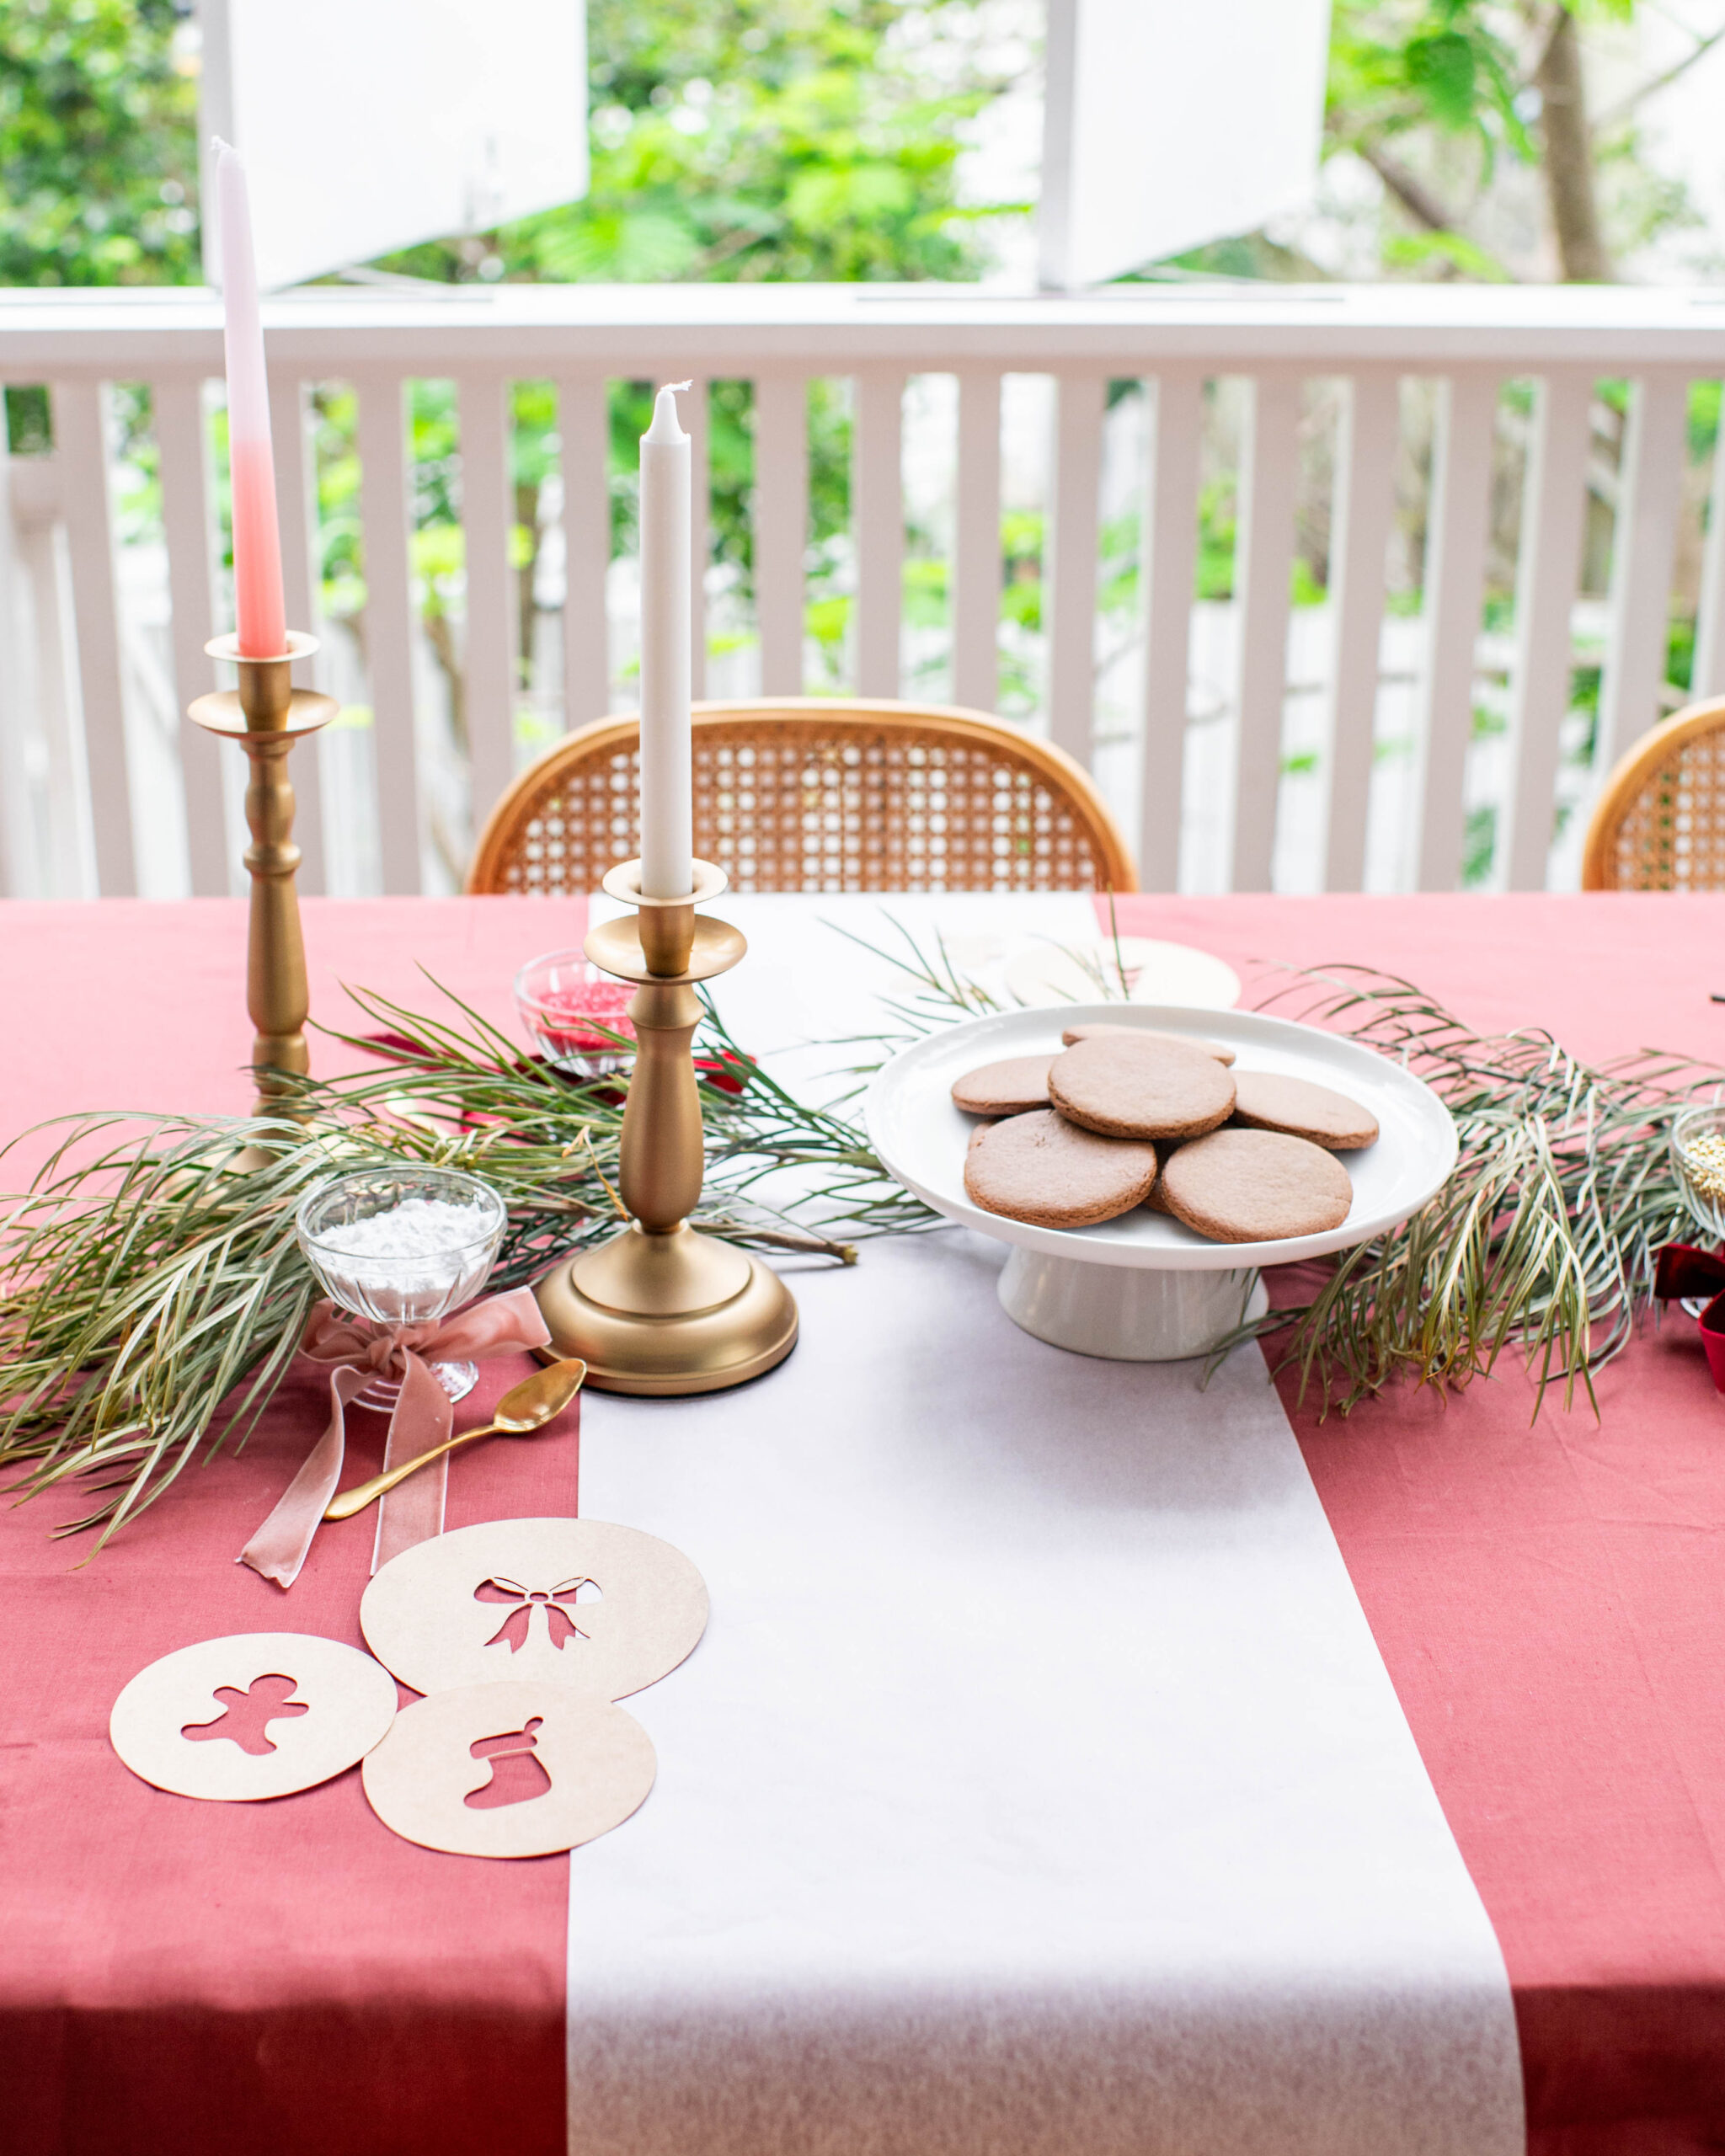
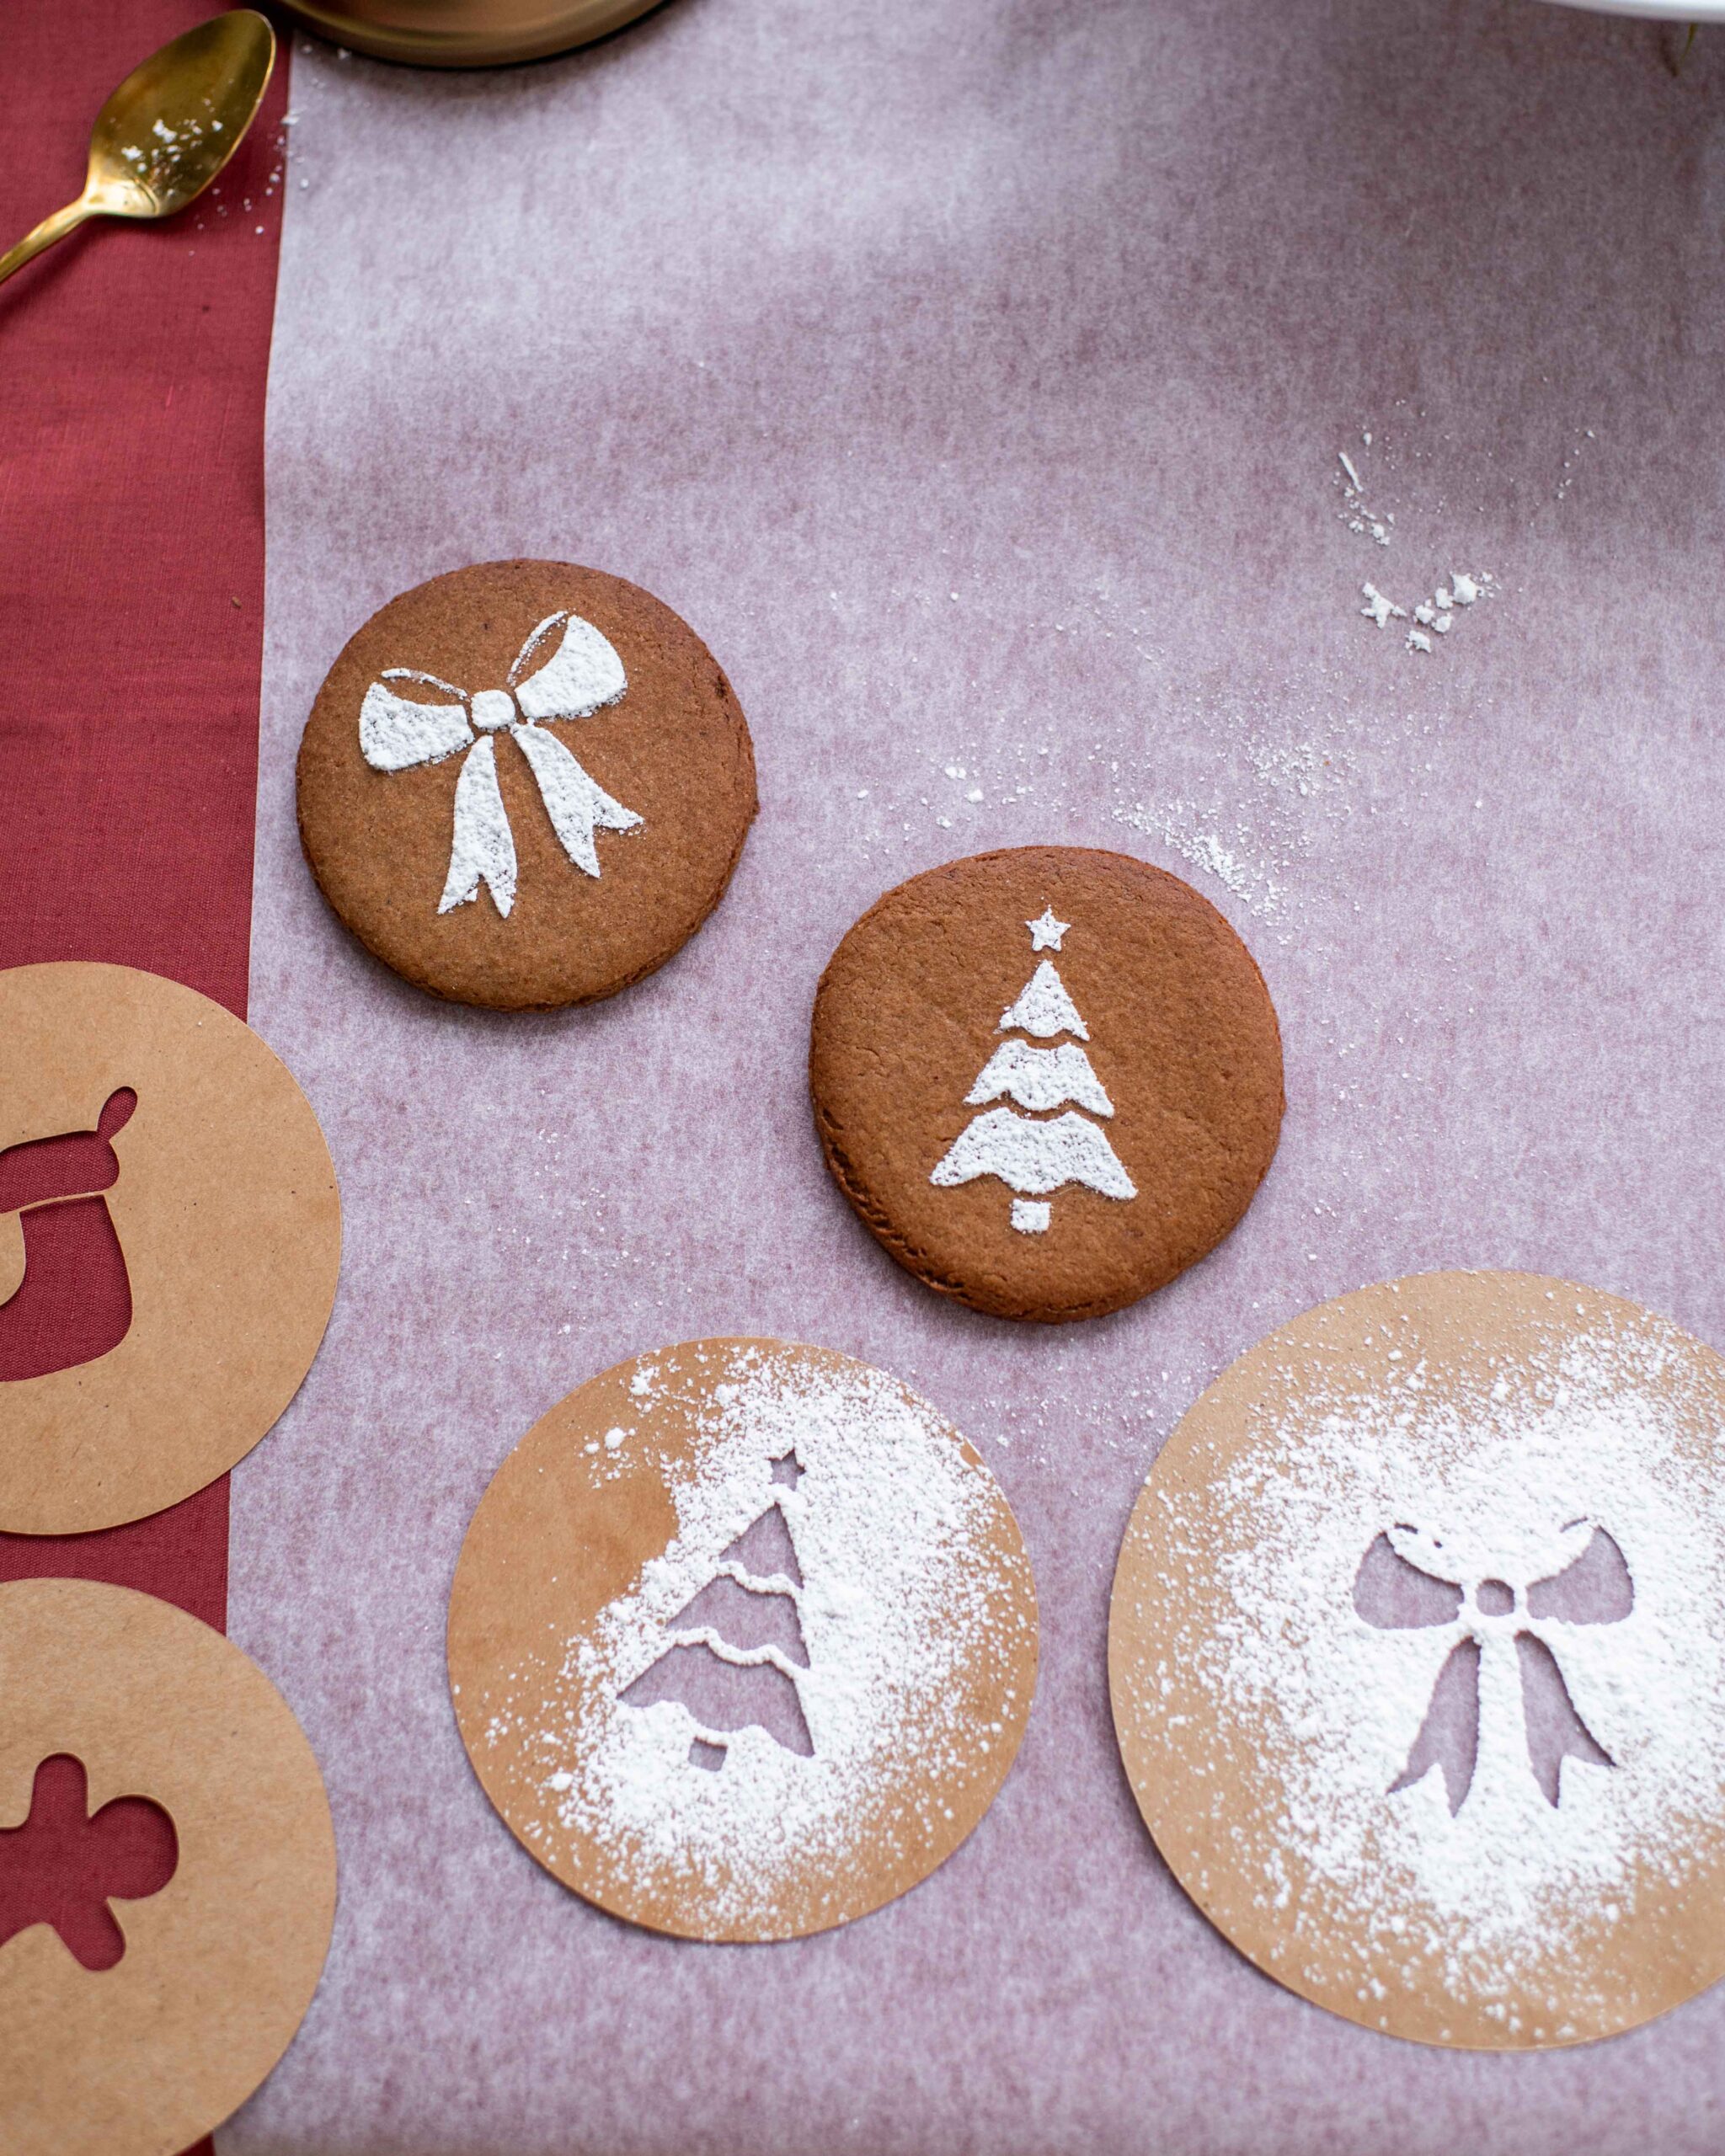
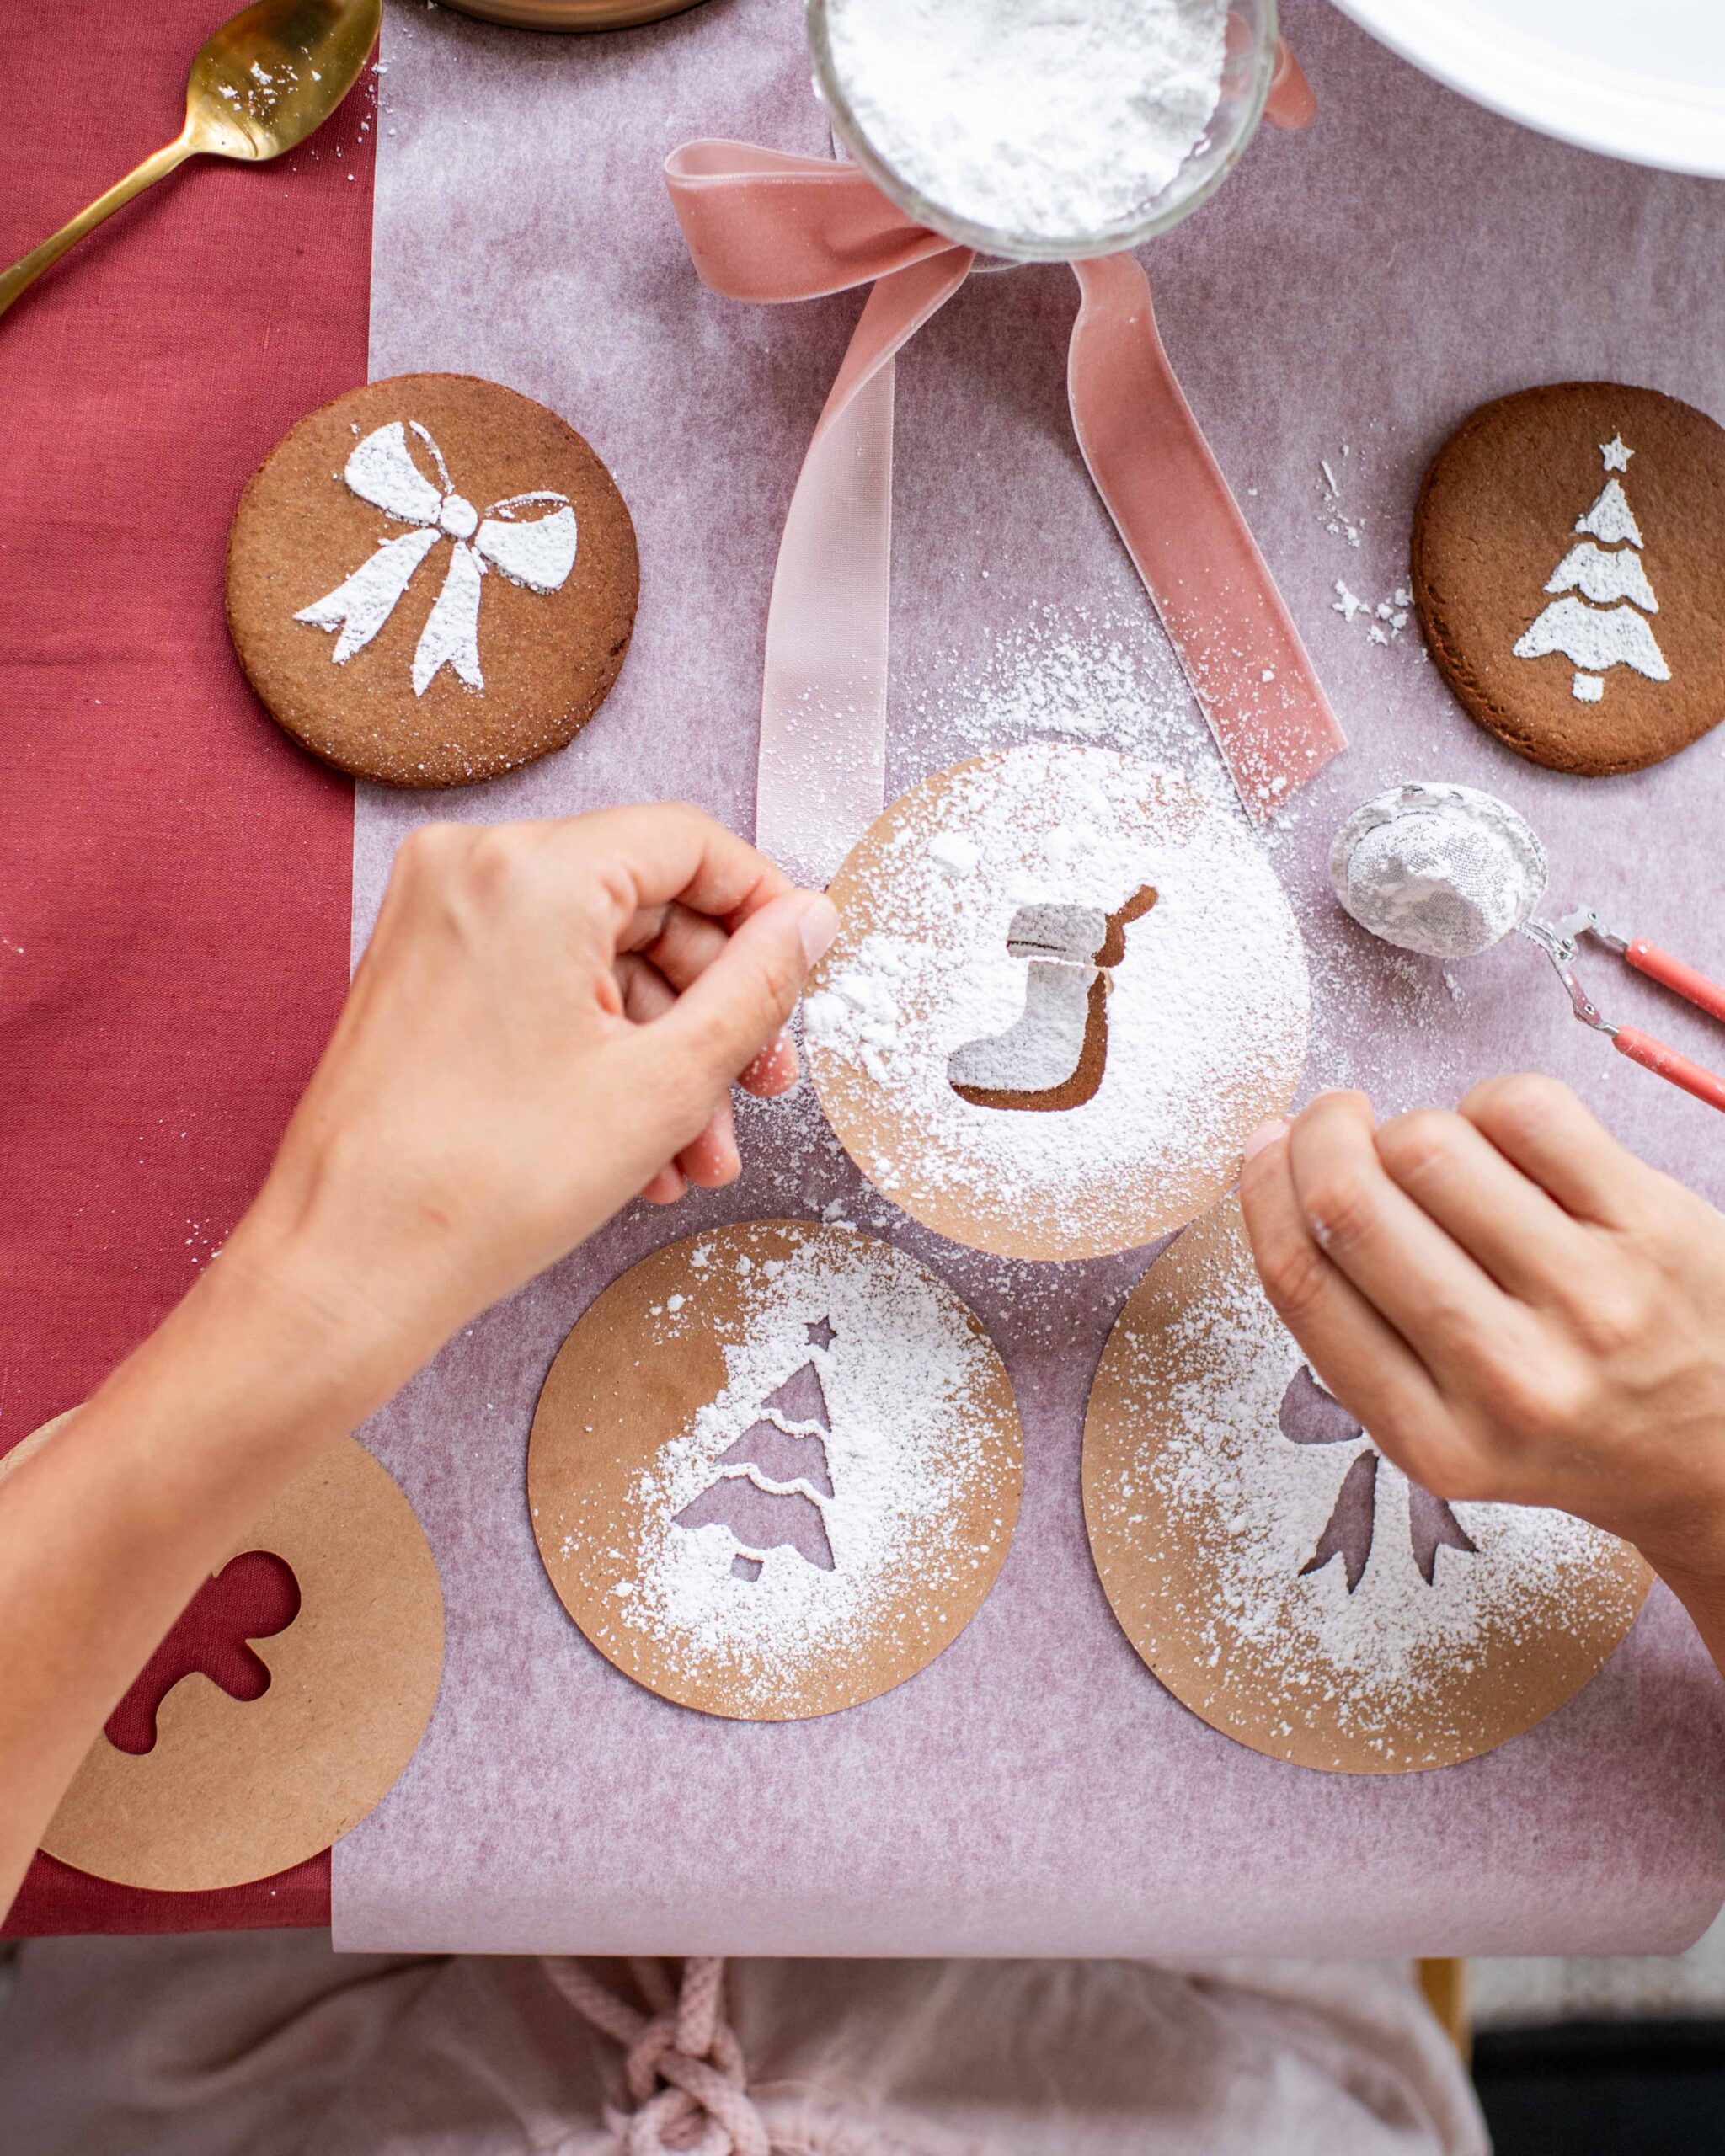
And who doesn’t love gingerbread biscuits?! I love them, but tend to fail at making them cute and I needed a fool proof way for my friends and I to make them. The stencil option on the Cricut was the perfect way to add some festive vibes to gingerbread, without having to be adept at cookie artistry. After creating the stencils in my Cricut, we simply dusted them with icing sugar. It was so easy! These are so sweet and the stencil could be used to create cookies for so many different occasions. I also used the Cricut to create some personalised cards and boxes for the people to take their cookies home in. Everyone had so much fun and got a personalised take home pack of their own cookies!
Gingerbread Recipe
I’m sharing an easy gingerbread biscuit recipe, Ben told me it was a secret family recipe but once I finally got it out of him I realised that in fact it’s pretty similar to ones you find online haha. Either way they are soooo delicious!
Ingredients
- 100g salted butter
- 3 tbsp golden syrup
- 100g dark muscovado sugar
- ½ tsp bicarbonate of soda
- 1 tbsp ground ginger
- 1 tsp ground cinnamon
- 225g plain flour
- 1 tsp of nutmeg
Method
- Heat the butter, syrup and sugar together in a pan until melted. Set aside to cool.
- Mix together the ginger, nutmeg, cinnamon, bicarb soda and flour. Pour in the wet mixture and stir to combine, then using your hands, form a dough.
- Cover the dough with clingfilm and put into the fridge for 1 hr.
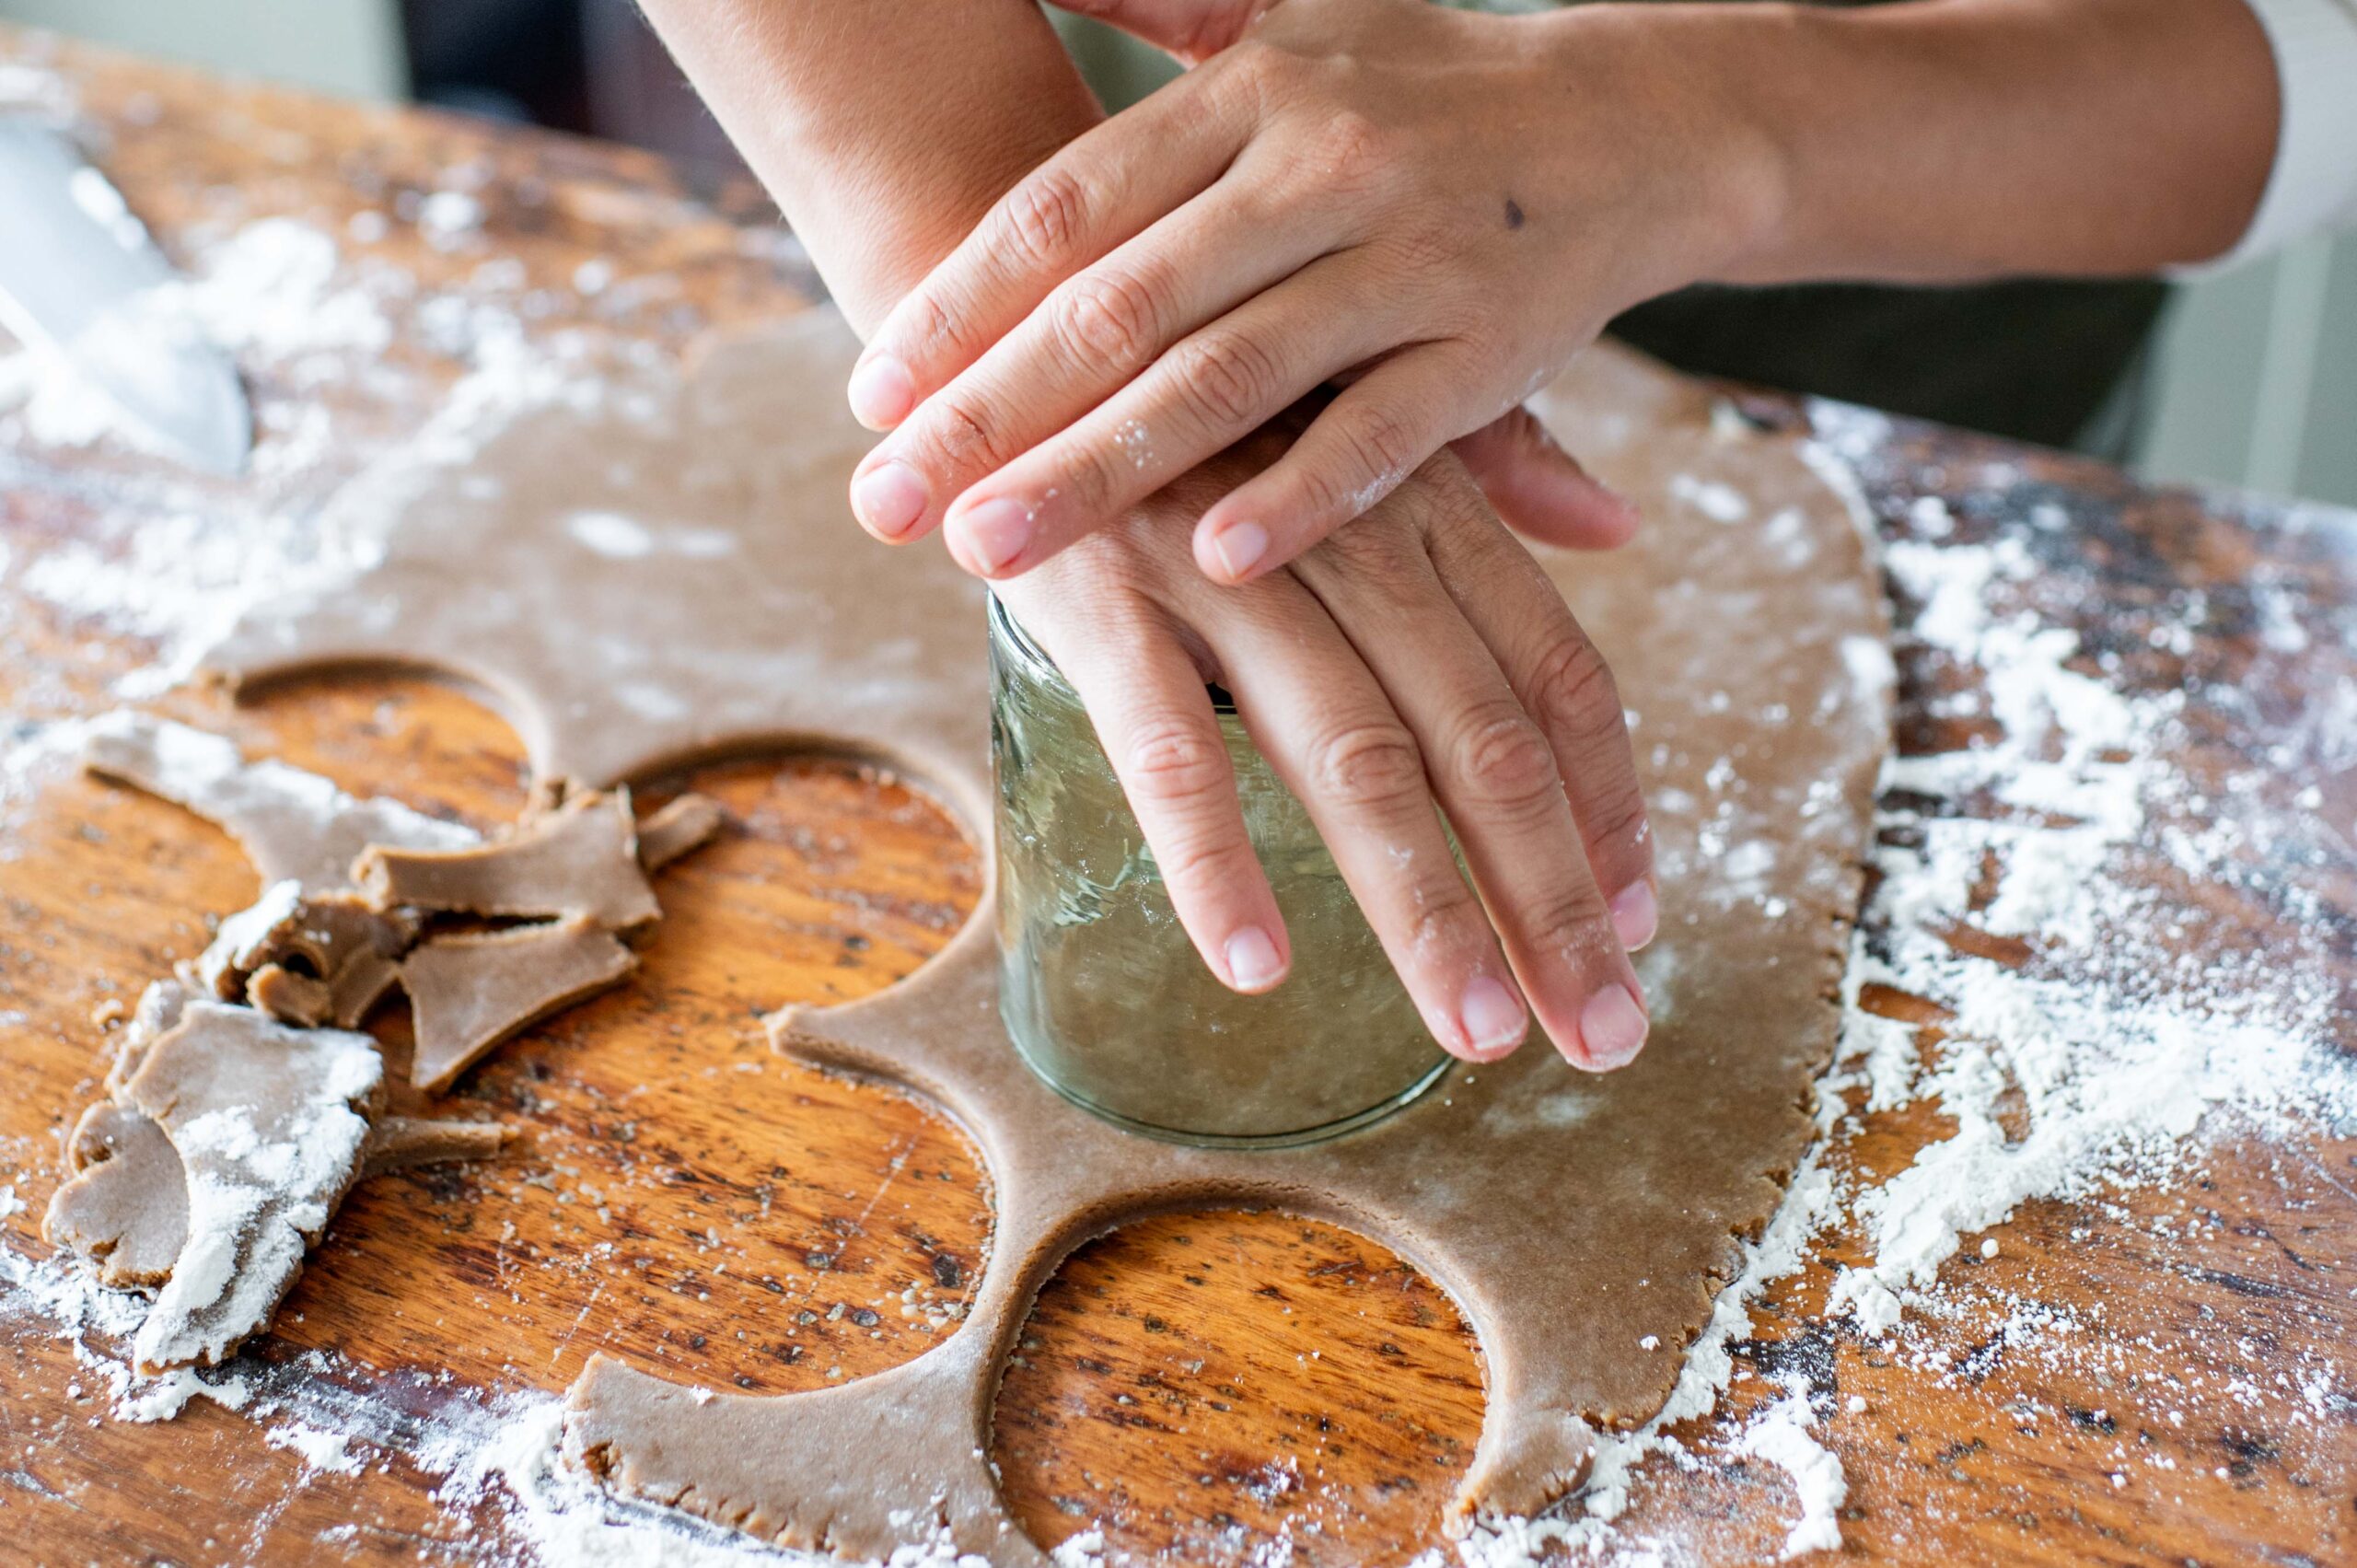
- Heat the oven to 190C and line a large tray with baking paper. Remove the dough from the fridge and cut out shapes using a cookie cutter. I used a glass to do this.
- Place the biscuits on the lined baking sheet, and bake for 10-12 mins. Leave to cool on the baking sheet.
Creating the design
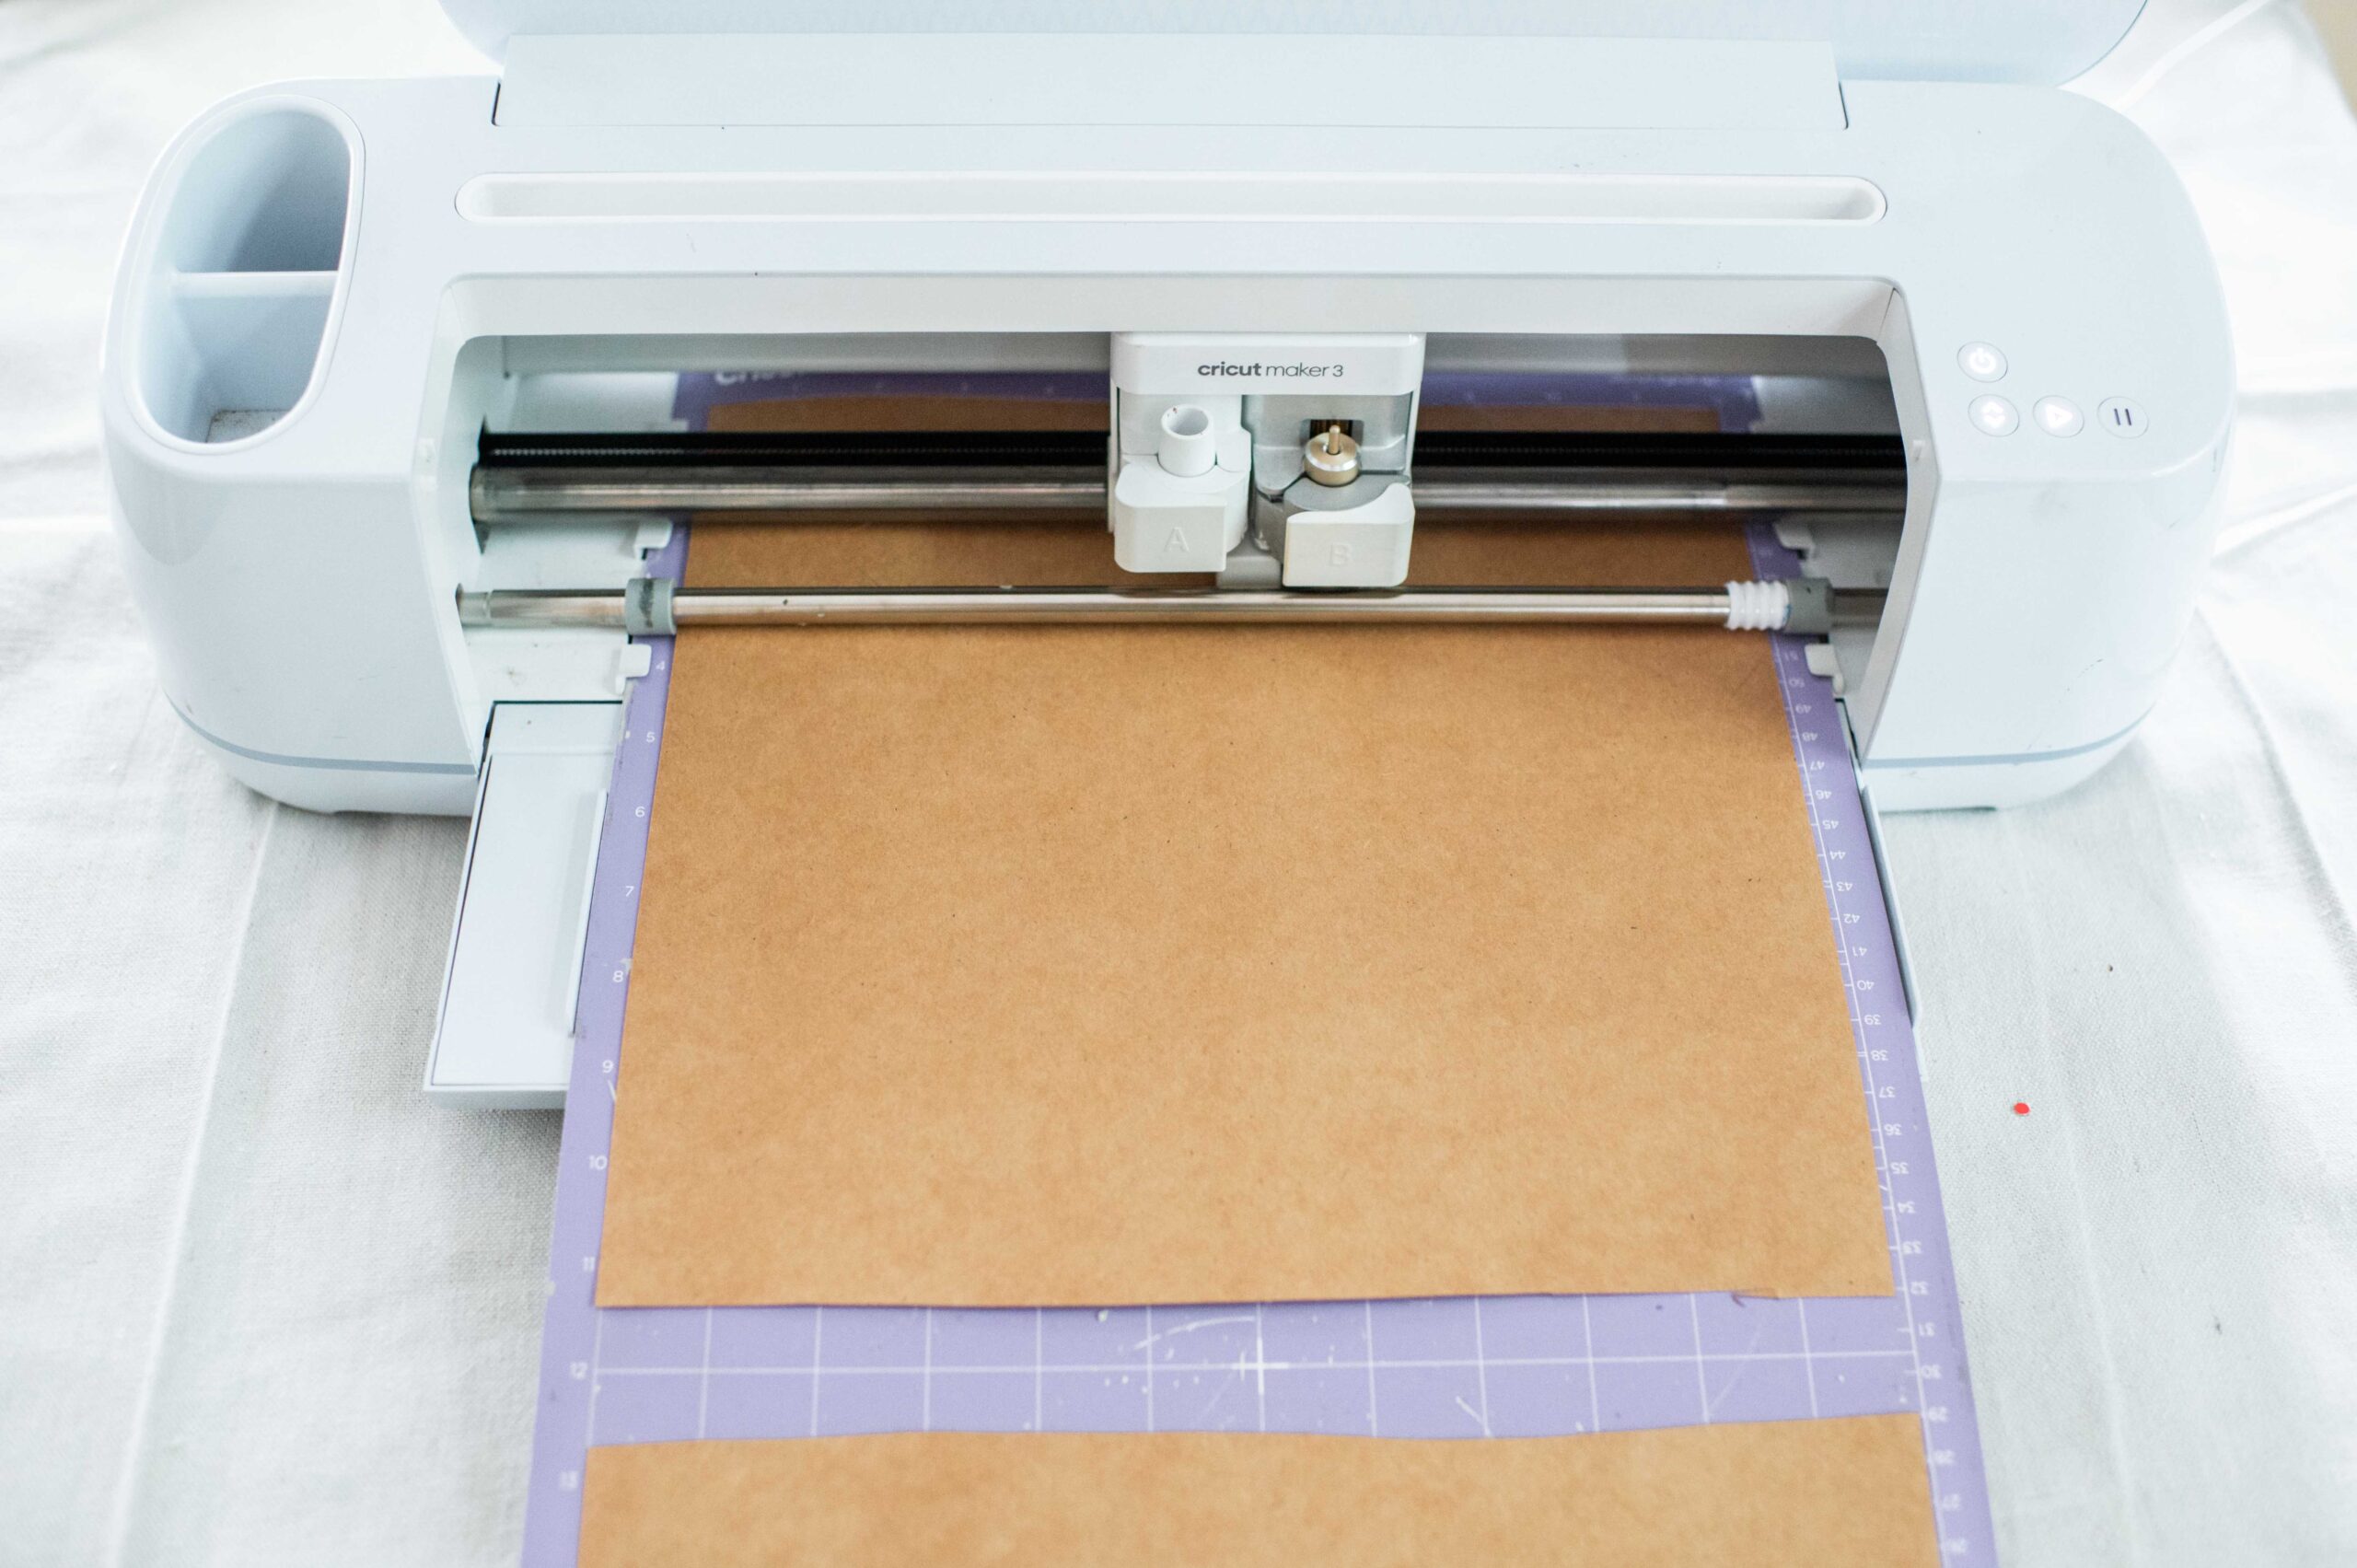
See my design here! First begin by making your design in Cricut’s Design Space. This is where the magic happens and your imagination can create anything you want, which I love! I was able to find all the shapes and fonts I needed using the app, and was able to mock up a template for the stencils, tags and packaging.
Creating the stencils and cookies
You Need:
- Cricut Maker 3
- Cricut standard grip mat
- Cricut weeding tools
- Cardstock
- Gingerbread cookies
- Icing sugar and sieve (or tea strainer)
How To:
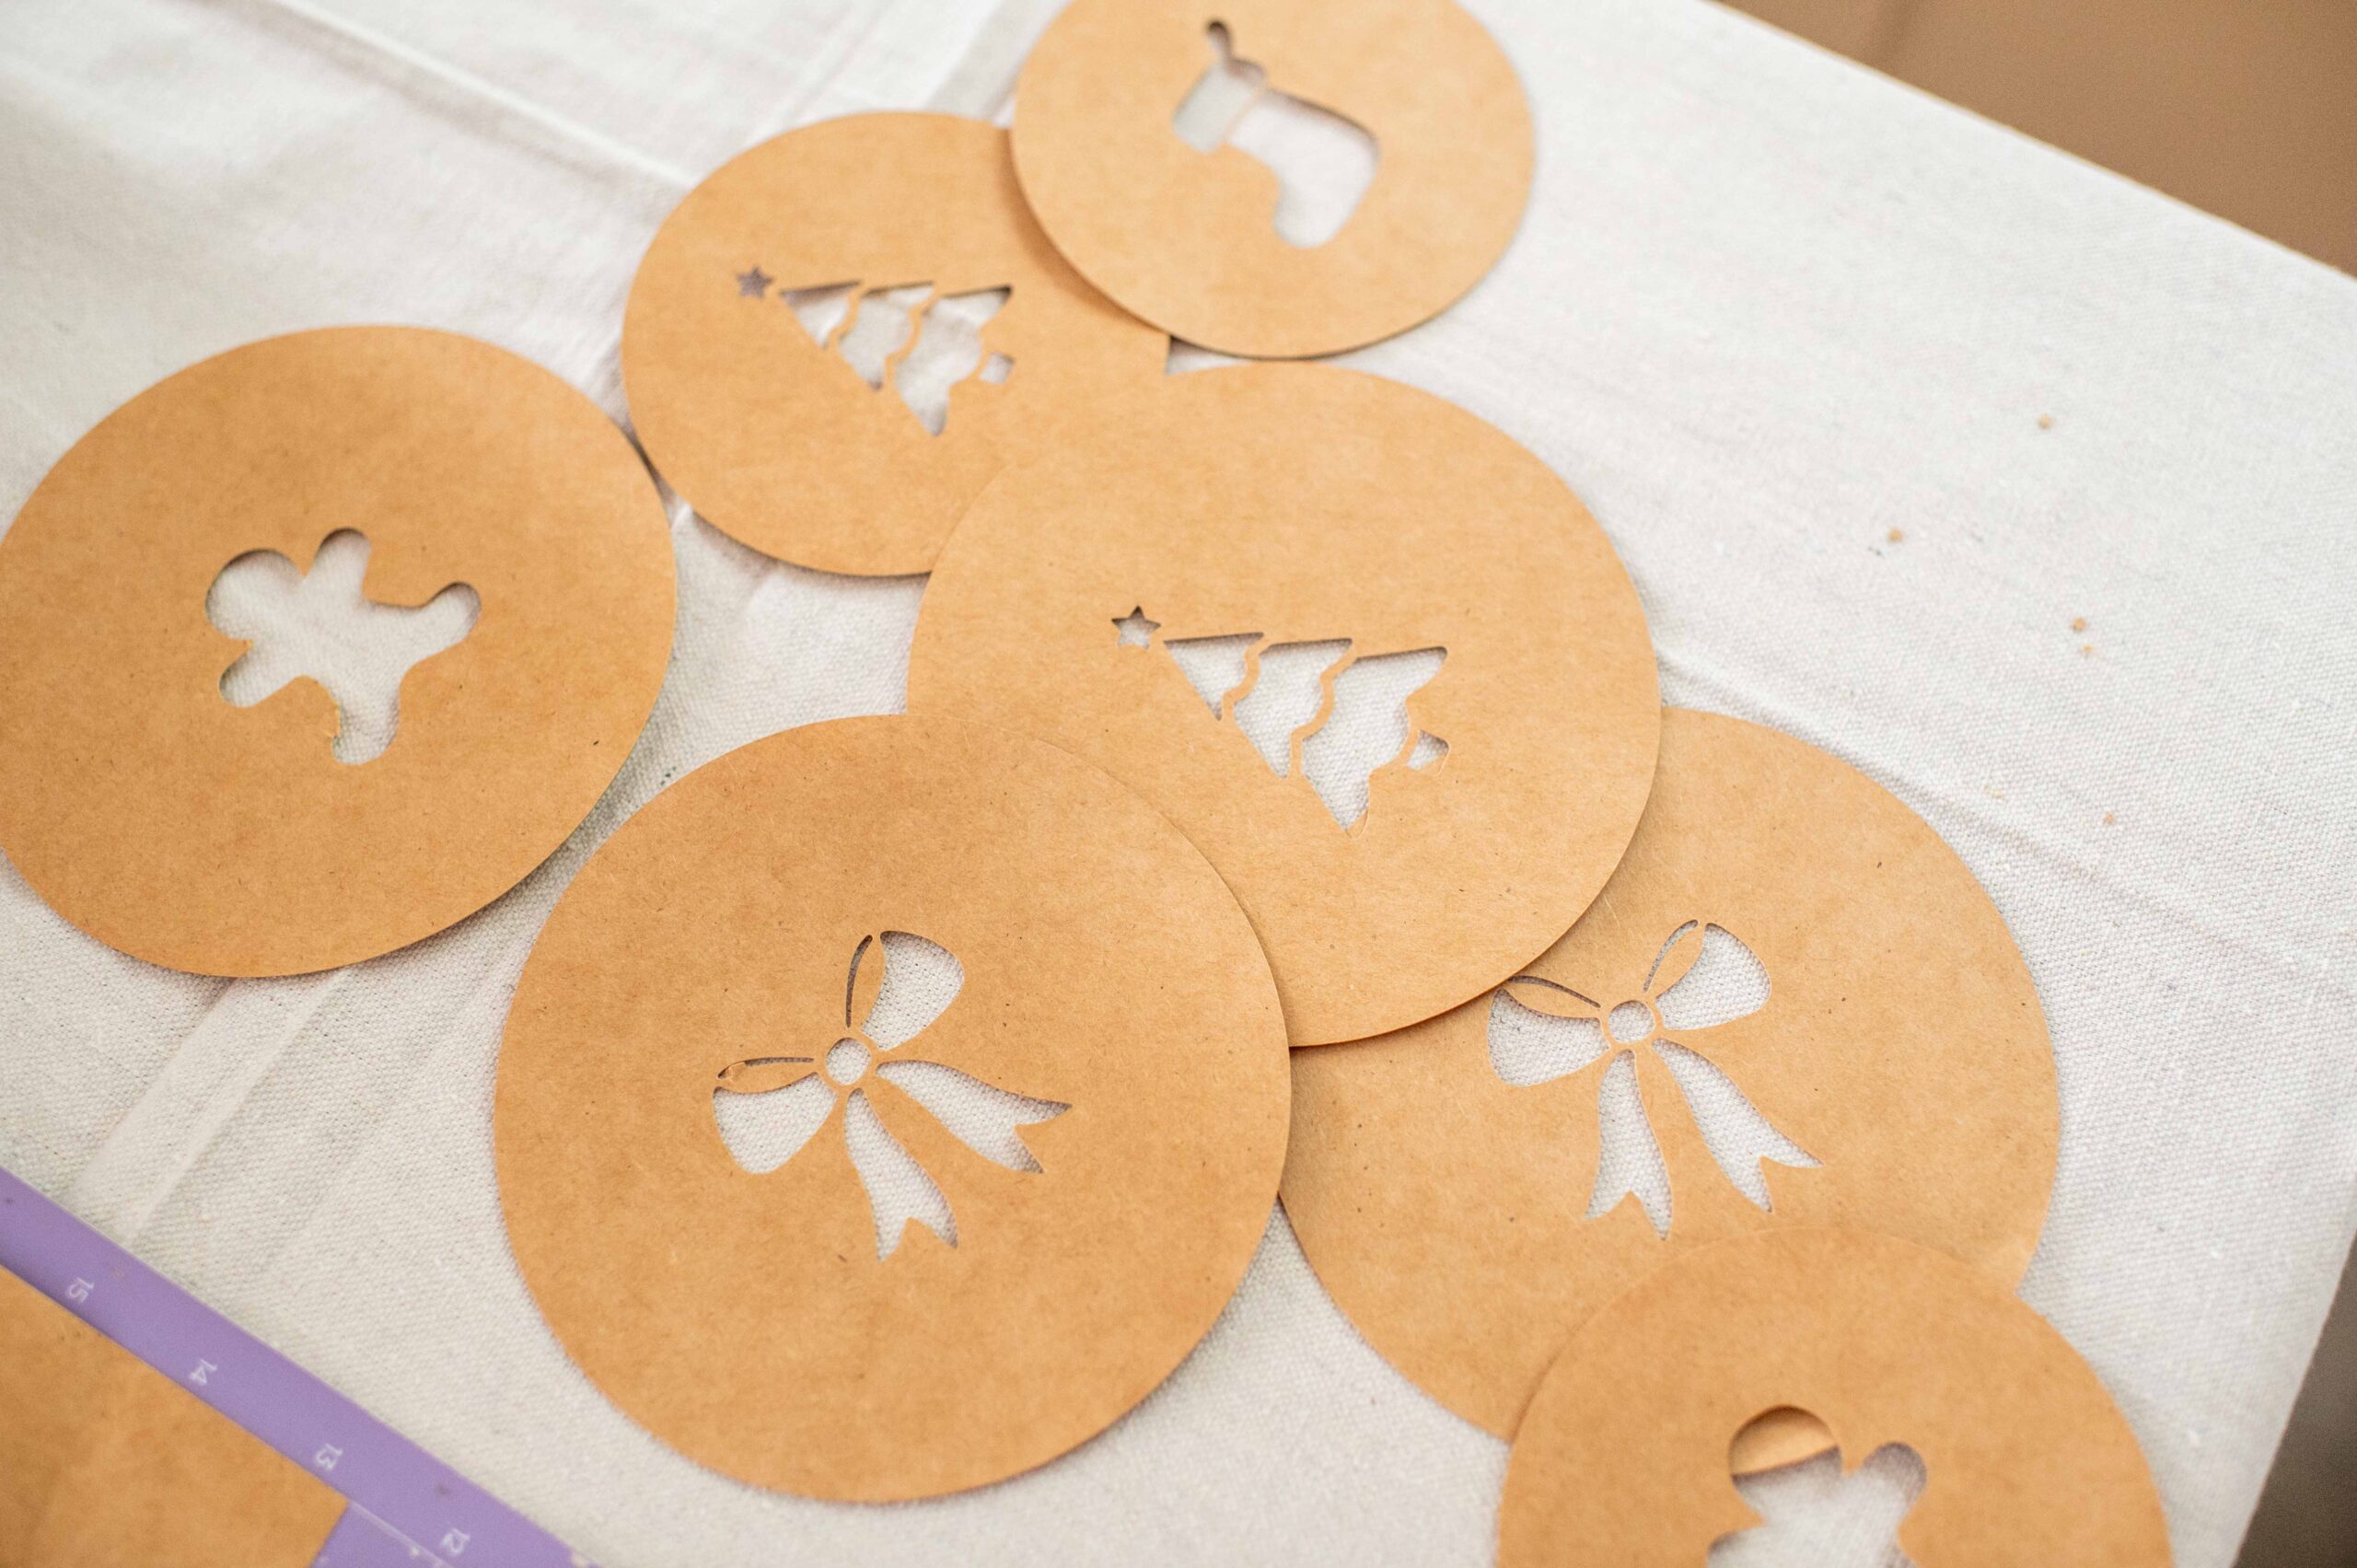
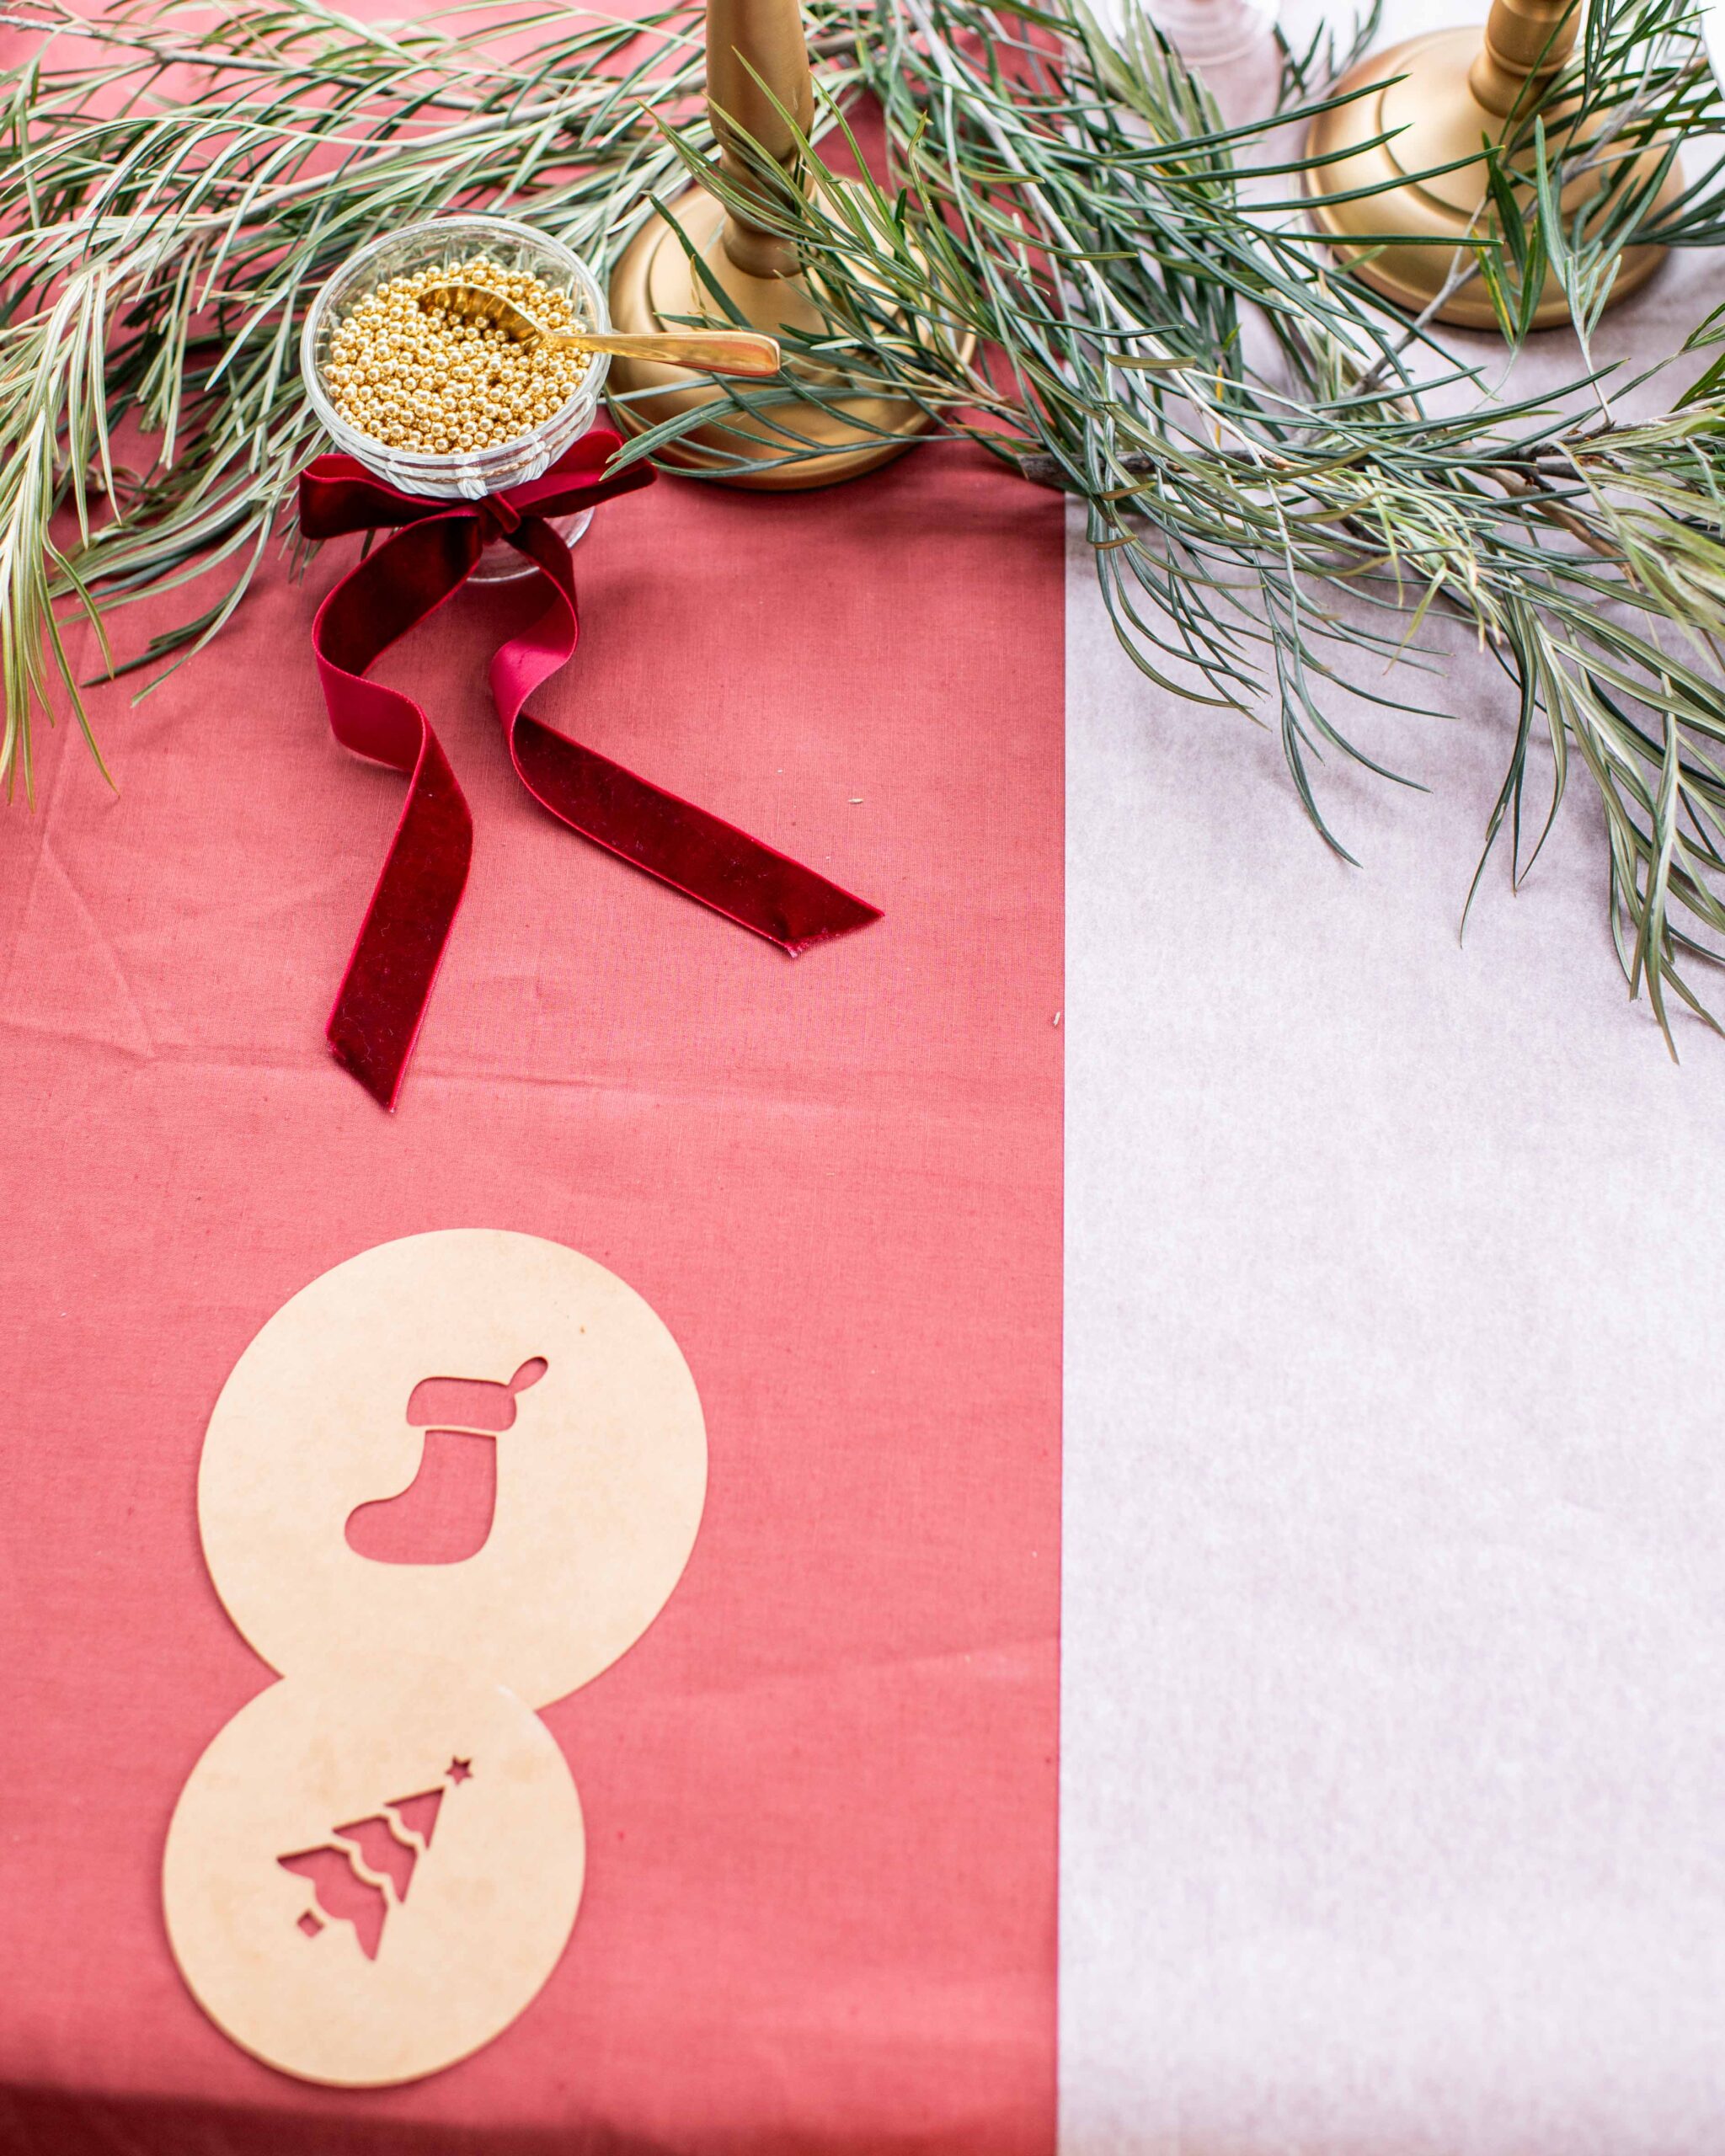
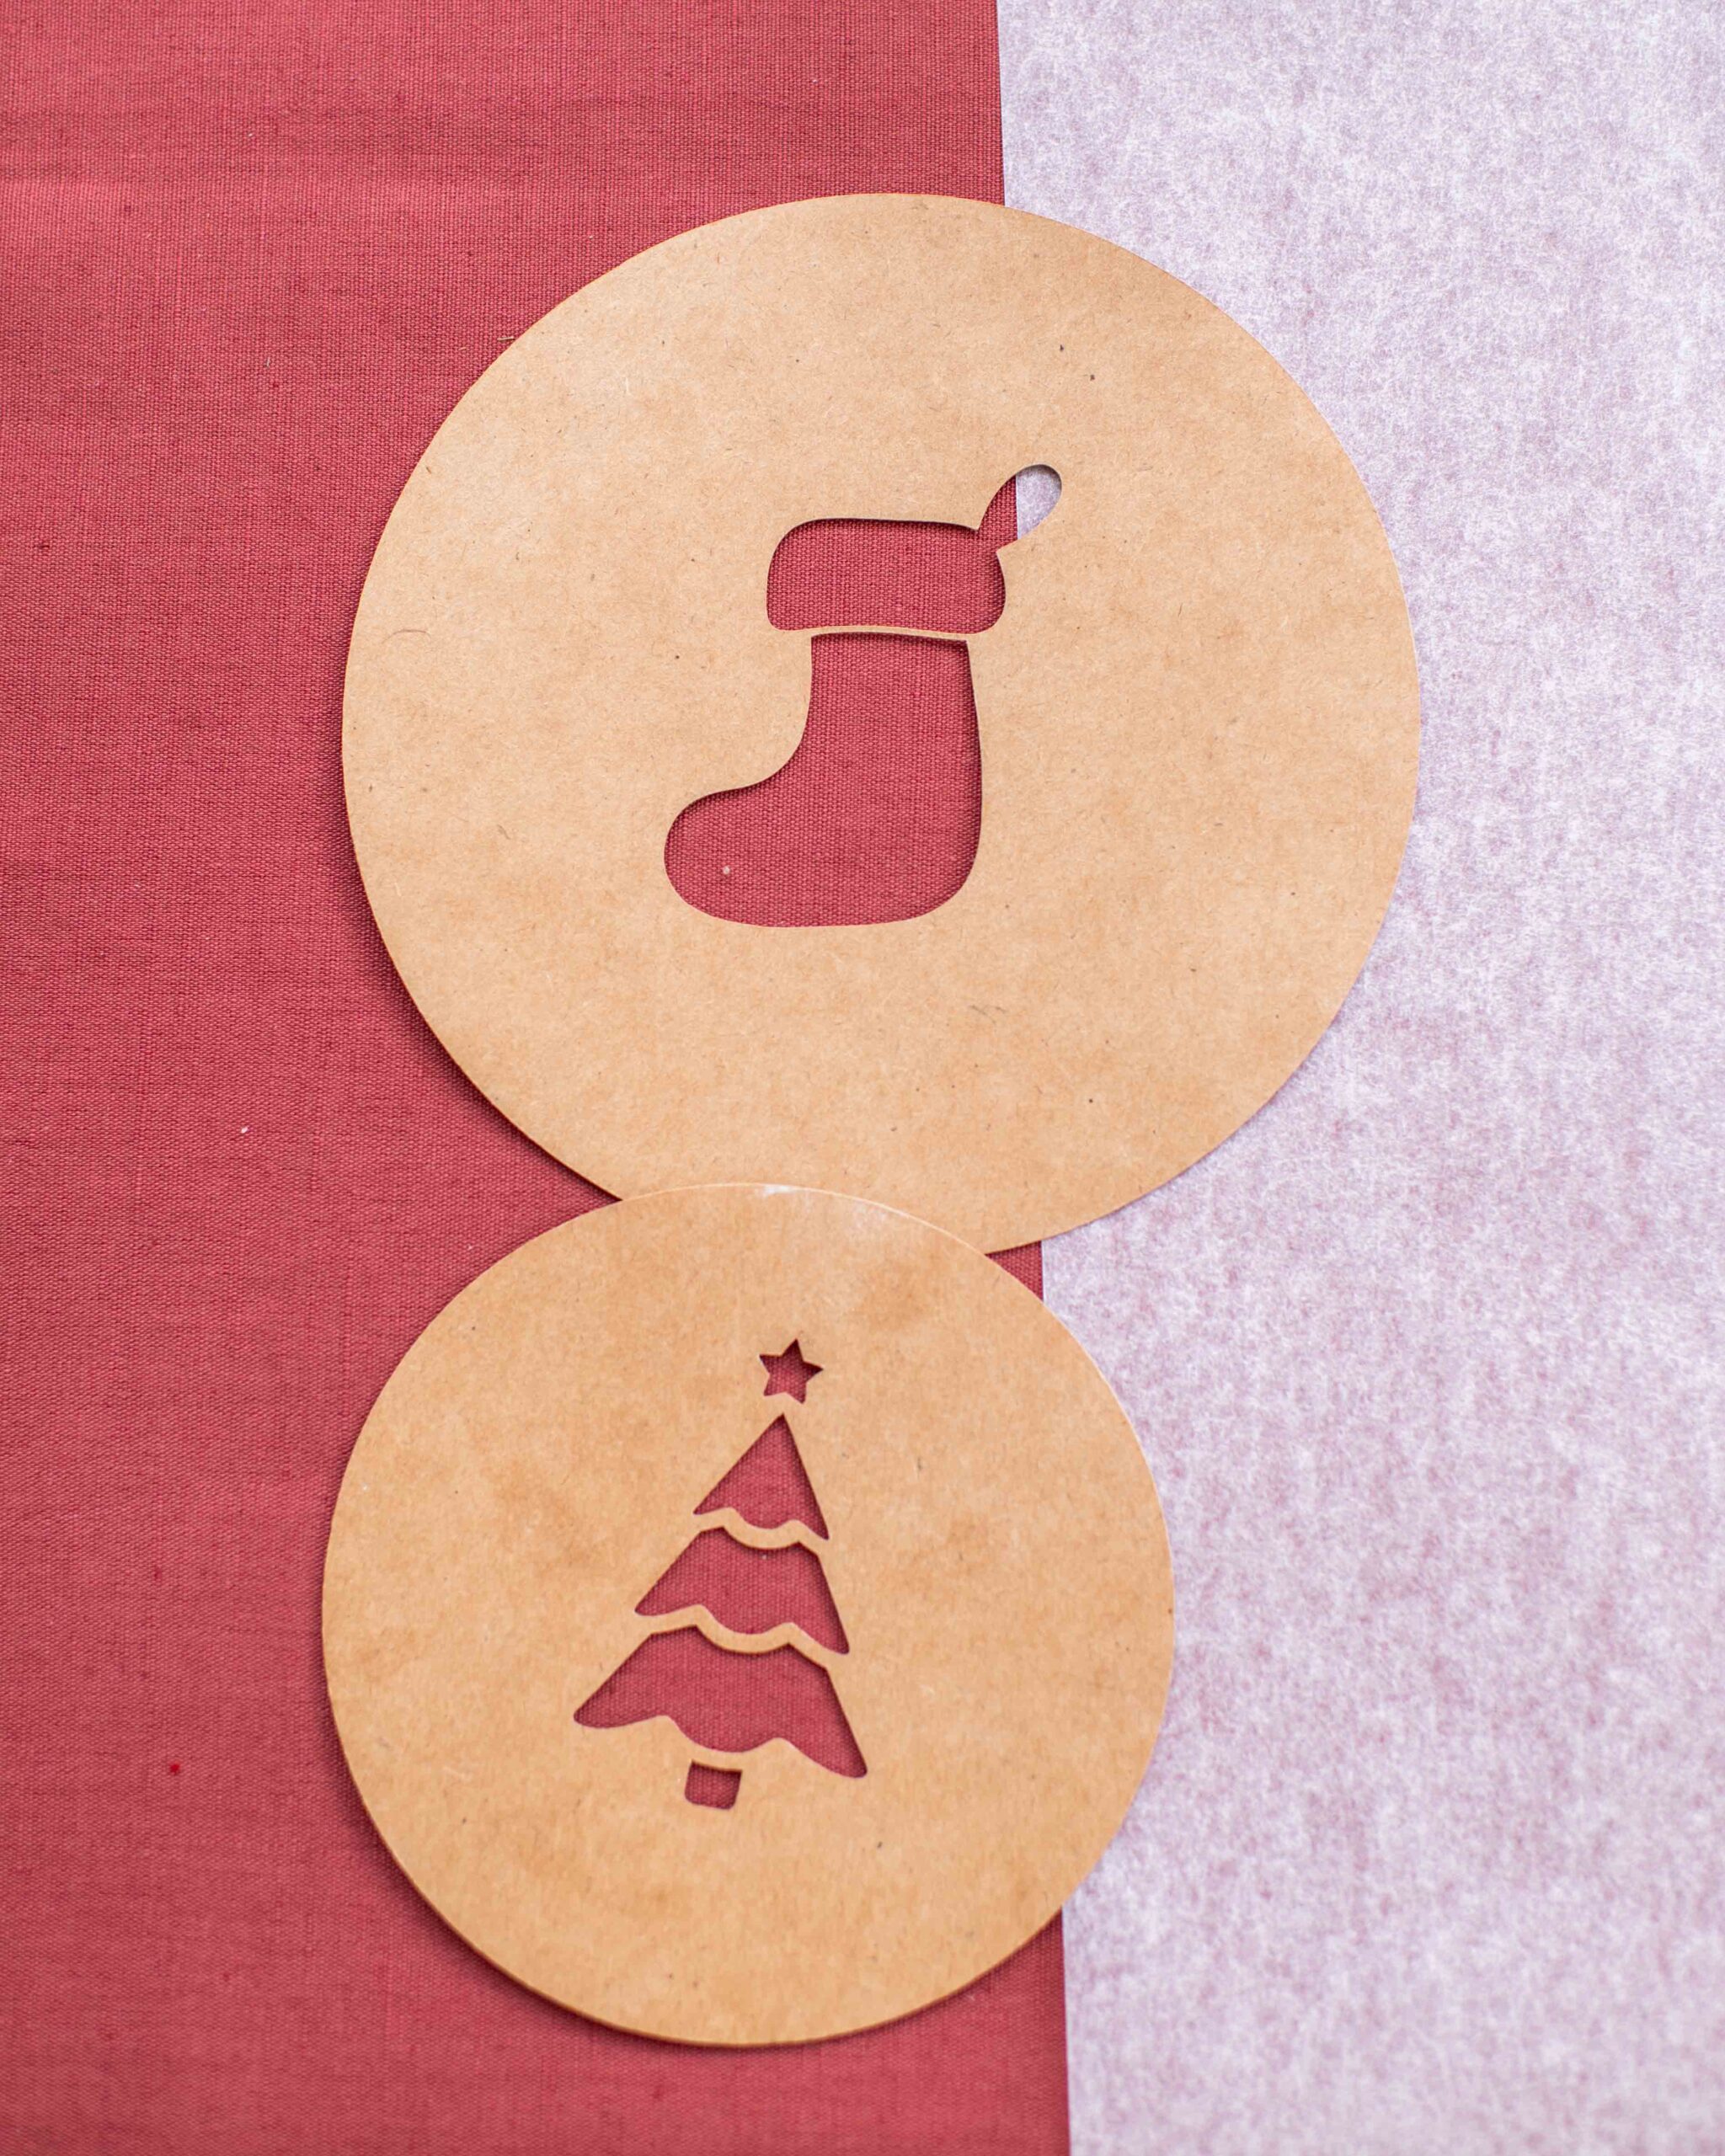
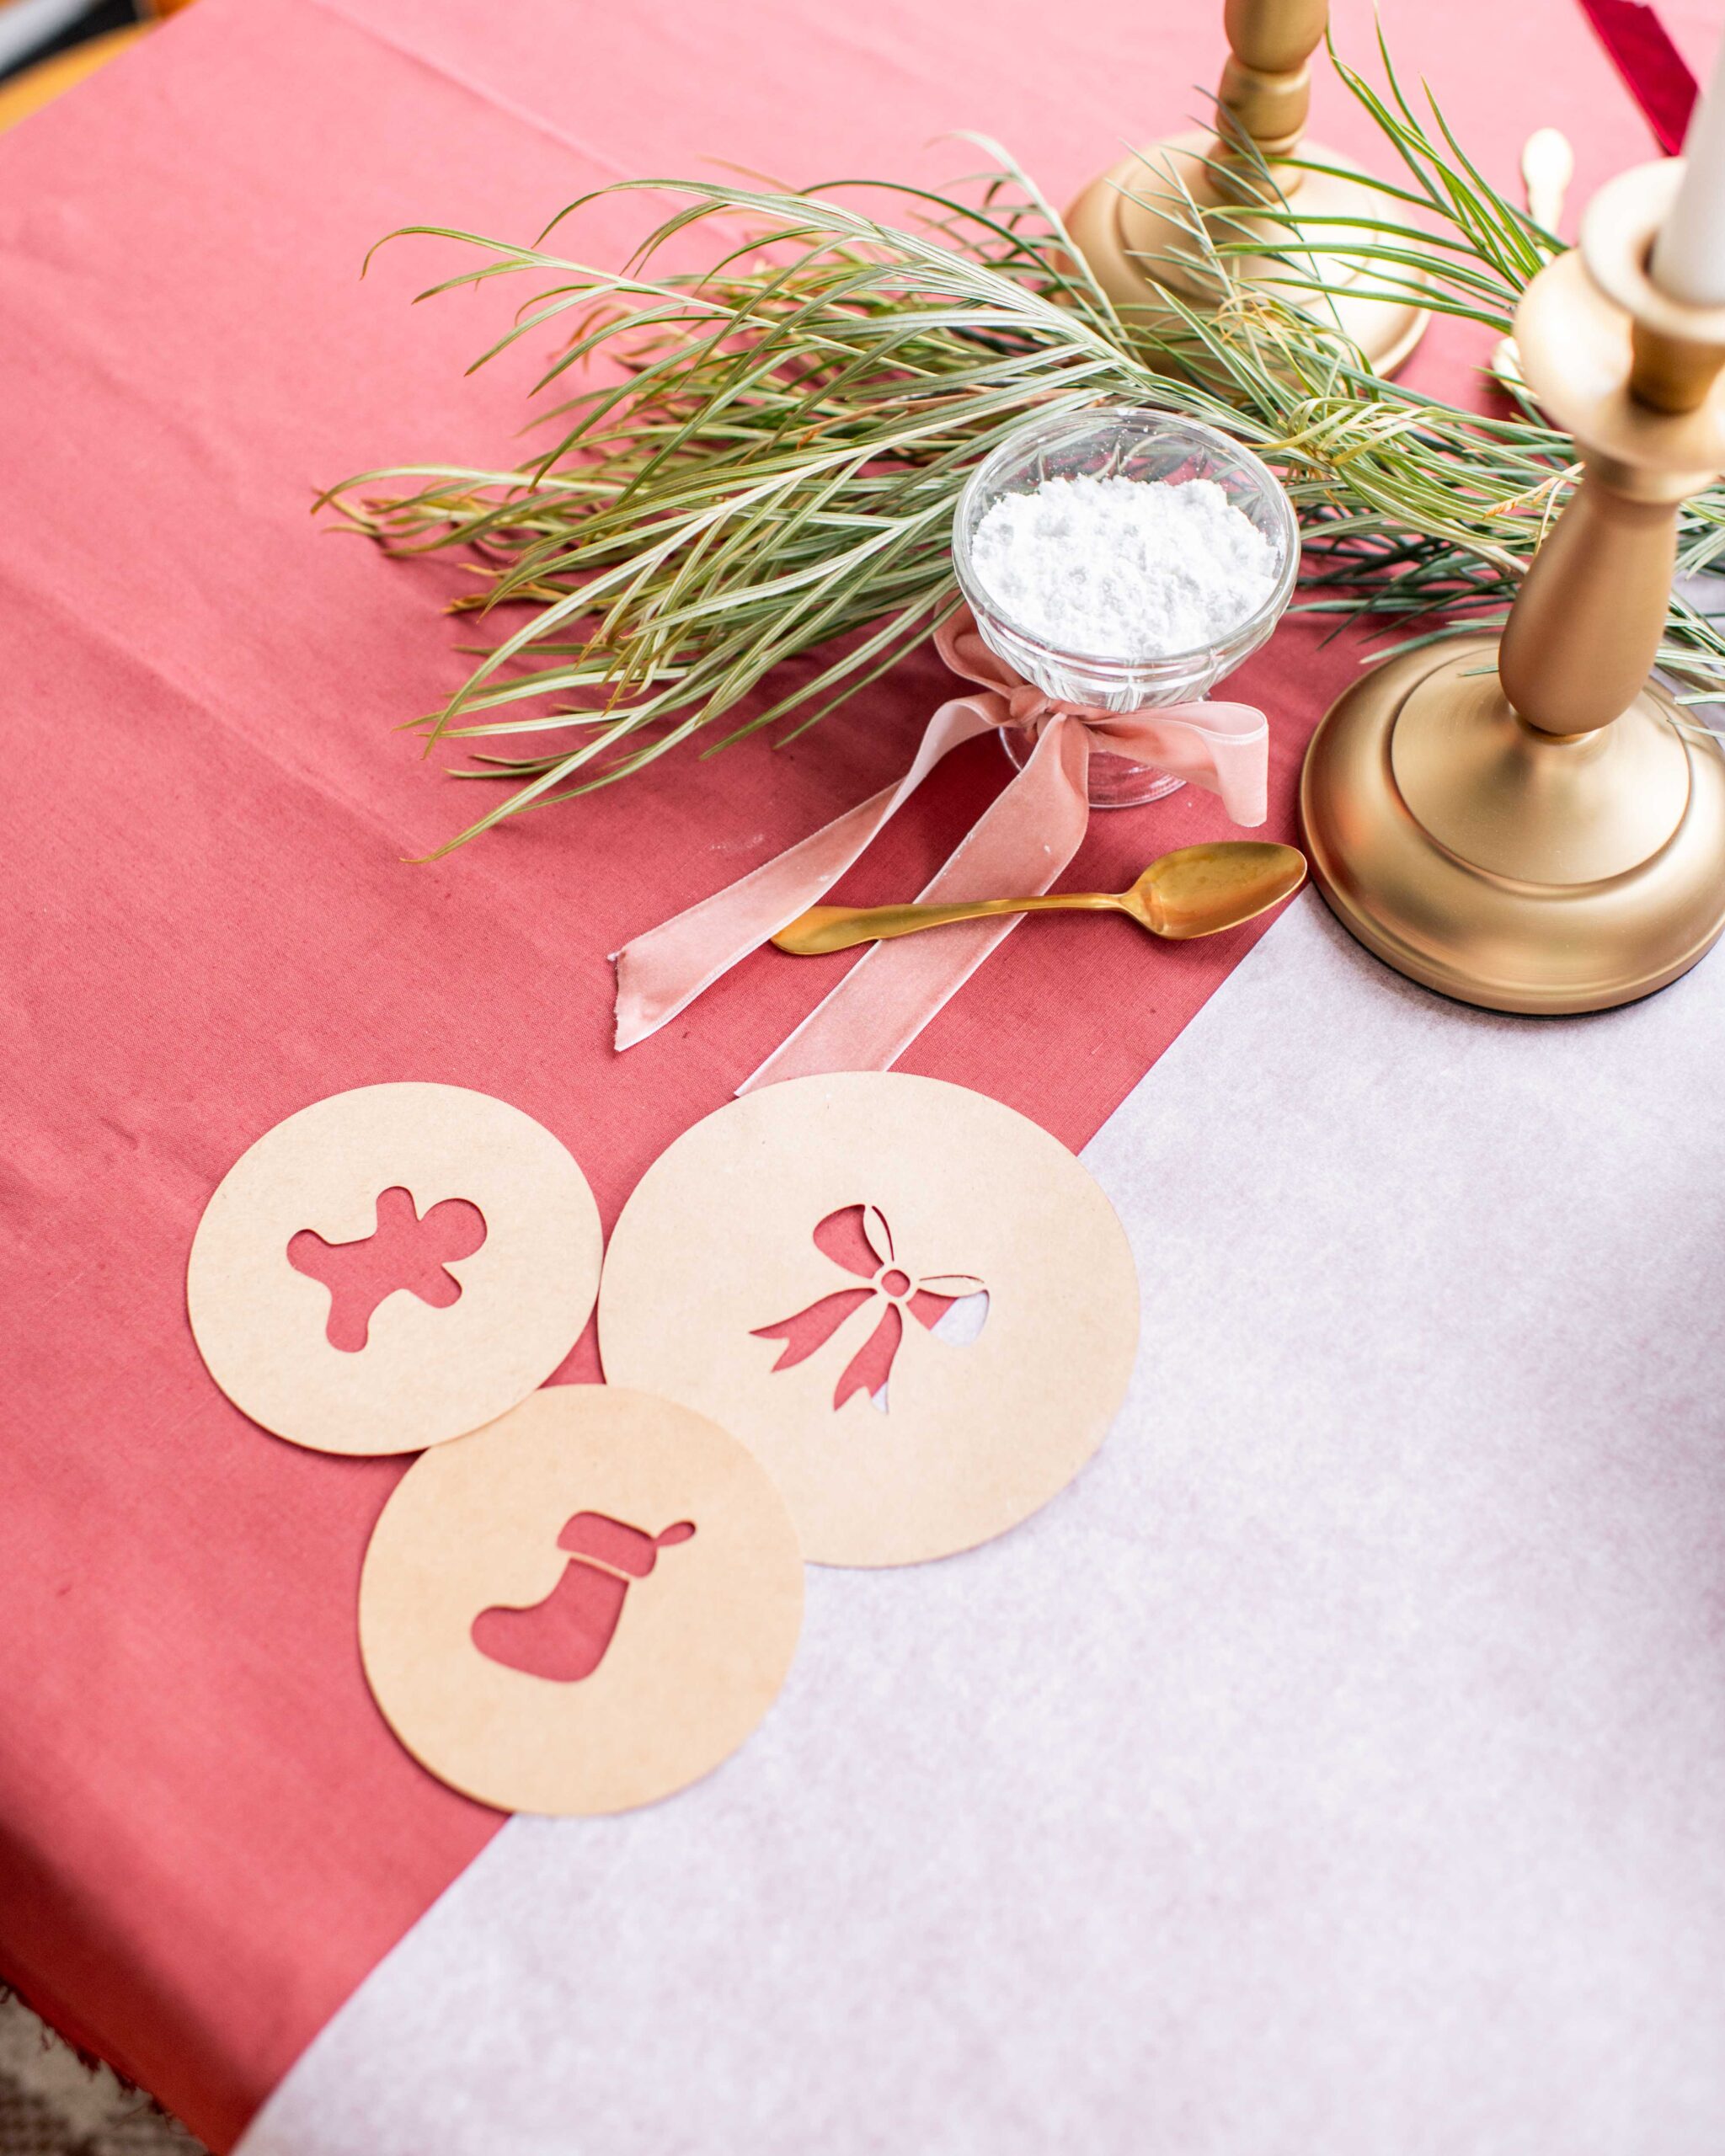
For these stencils, I measured the size the gingerbread cookies were going to be, and designed the stencil to cover them, leaving the shape in the centre as the opening that would create the shape on the cookie.. I did a simple shape inside a circle, so when they were cut out they would be individual circular stencils. After creating the design in the Design Space app, simply press ‘Make It’ and follow the prompts to be guided through the cutting process. Once the stencils have been cut out you can use them on cookies, by dusting icing sugar or edible lustre over the top. For the stencils I used these images in Design space: M2AAB3D20, M50003FEA, M50587C8F.
Making the tags
You Need:
- Cricut Maker
- Cricut Maker standard grip mat
- Cricut Iron on material in gold
- Cricut weeding tools
- Cricut Easy Press Mini
- Card stock
- Ribbon
How To:
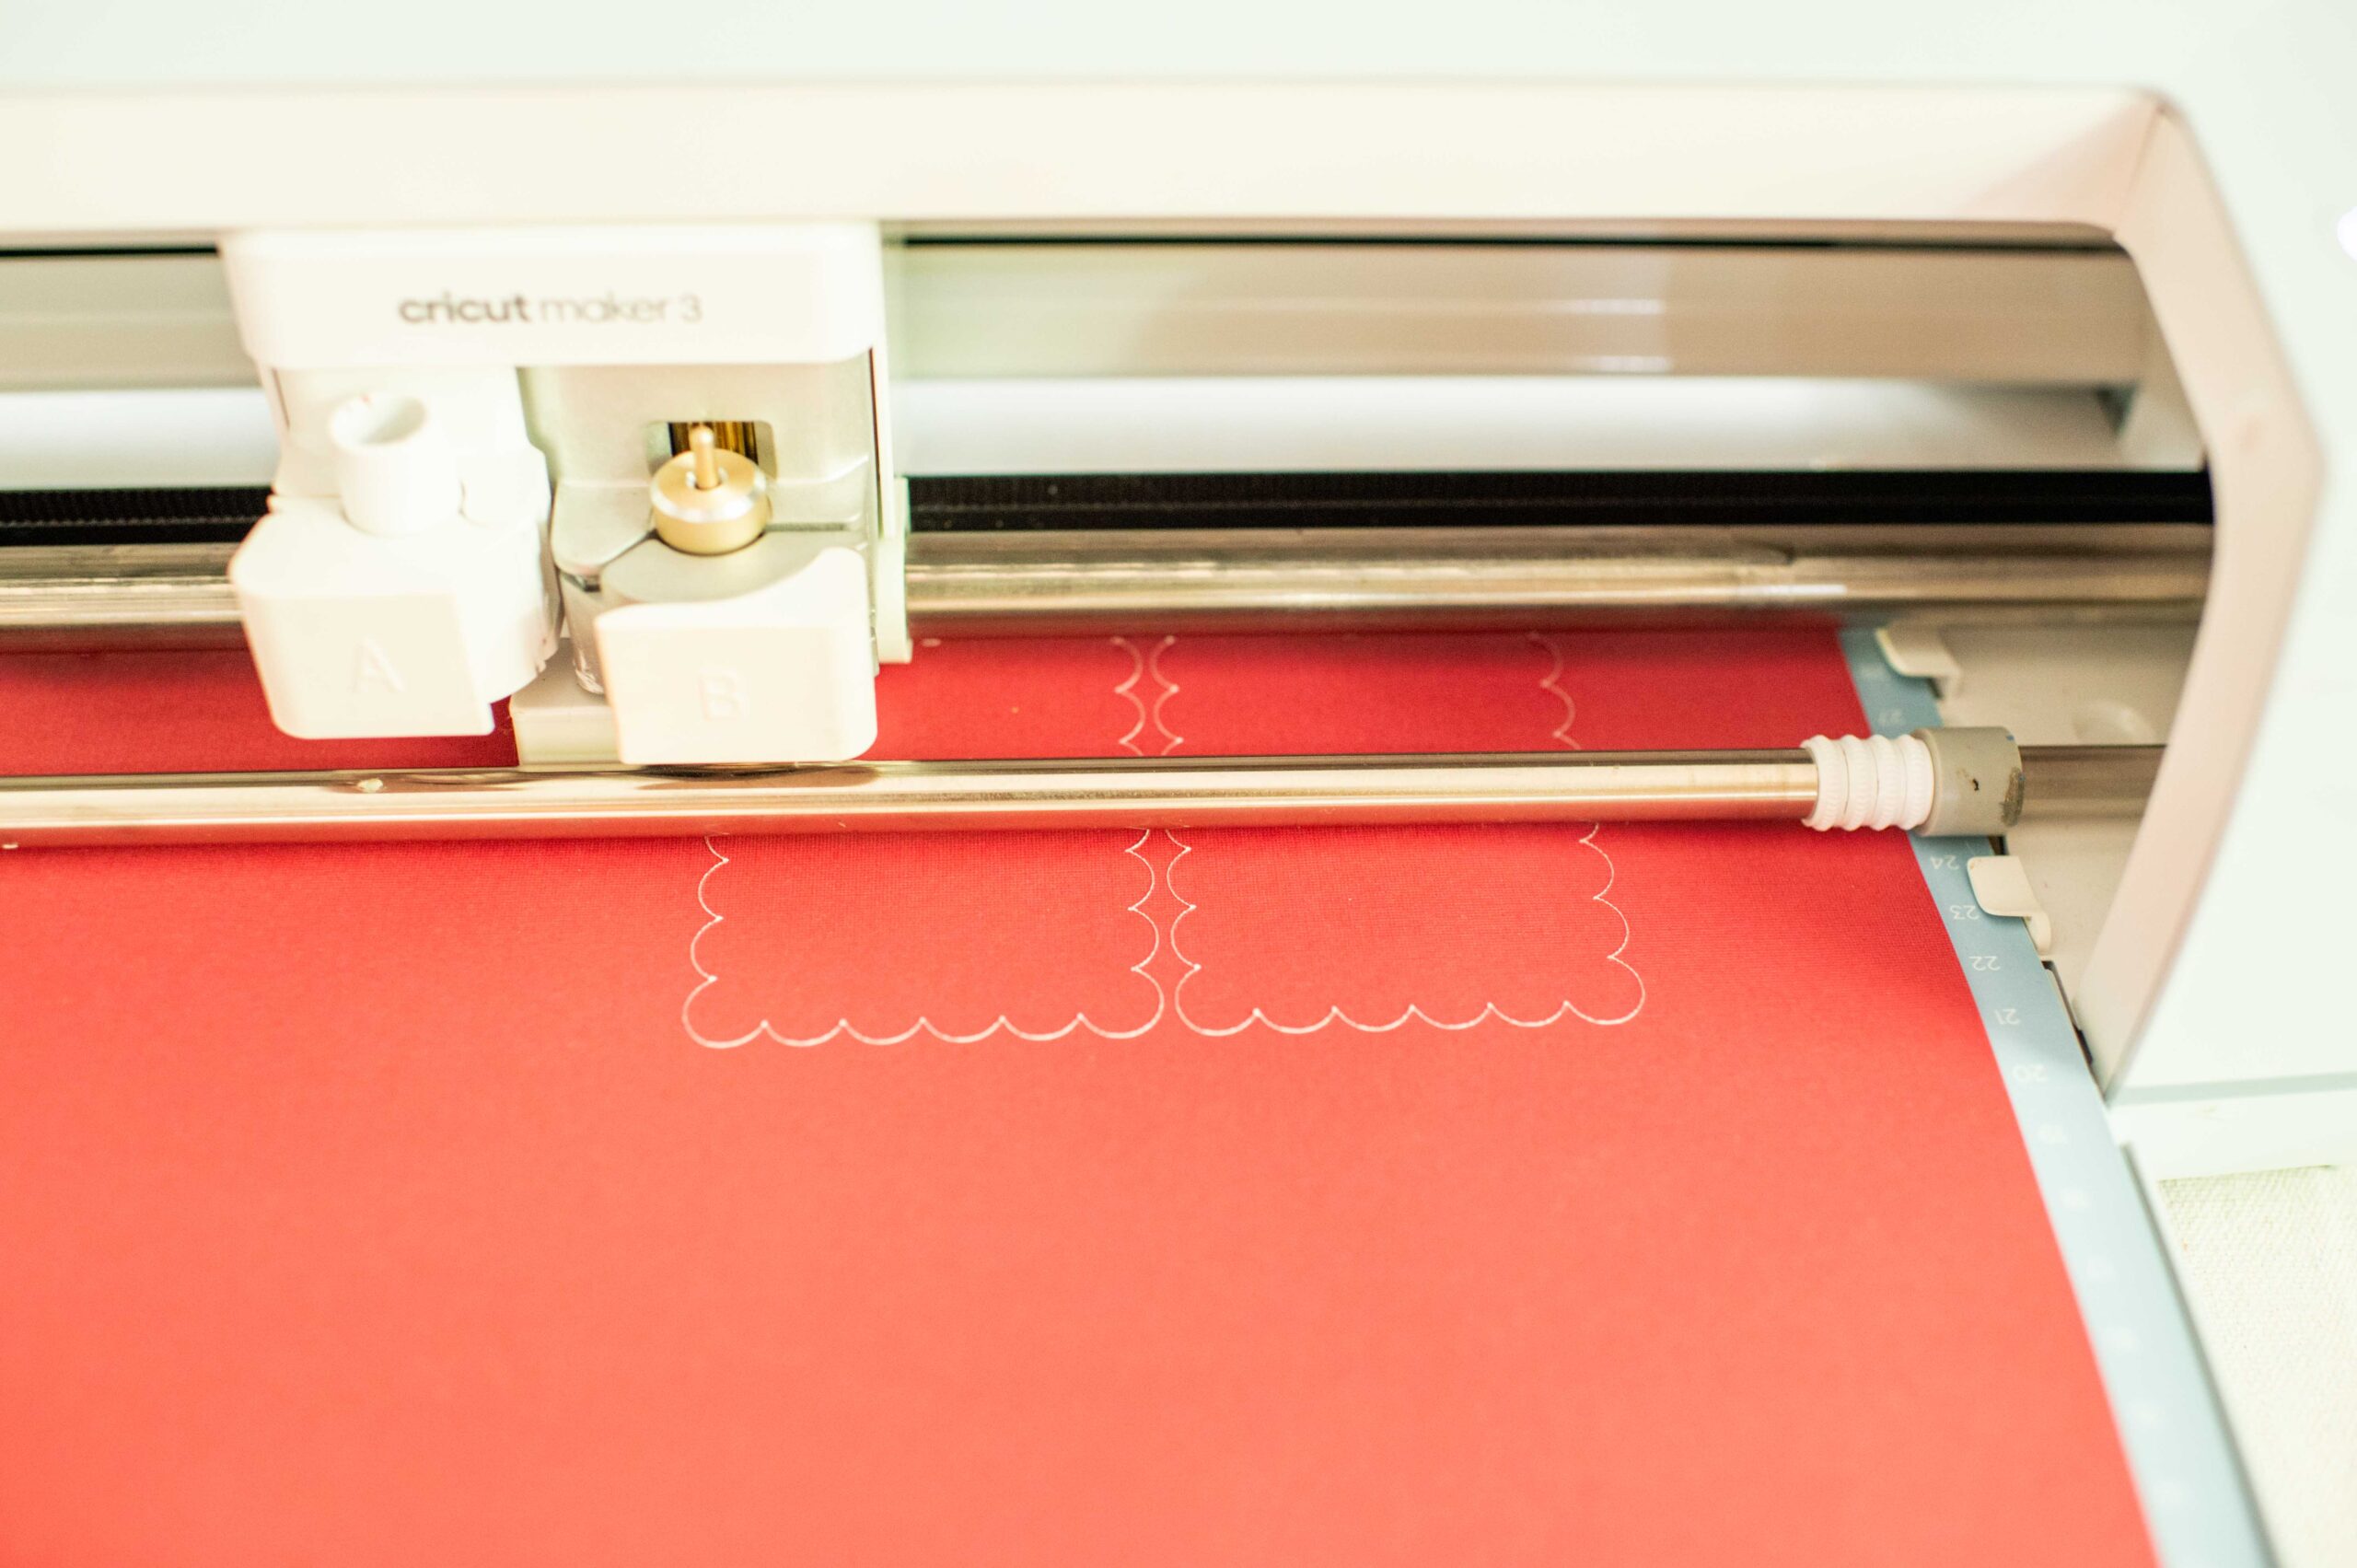
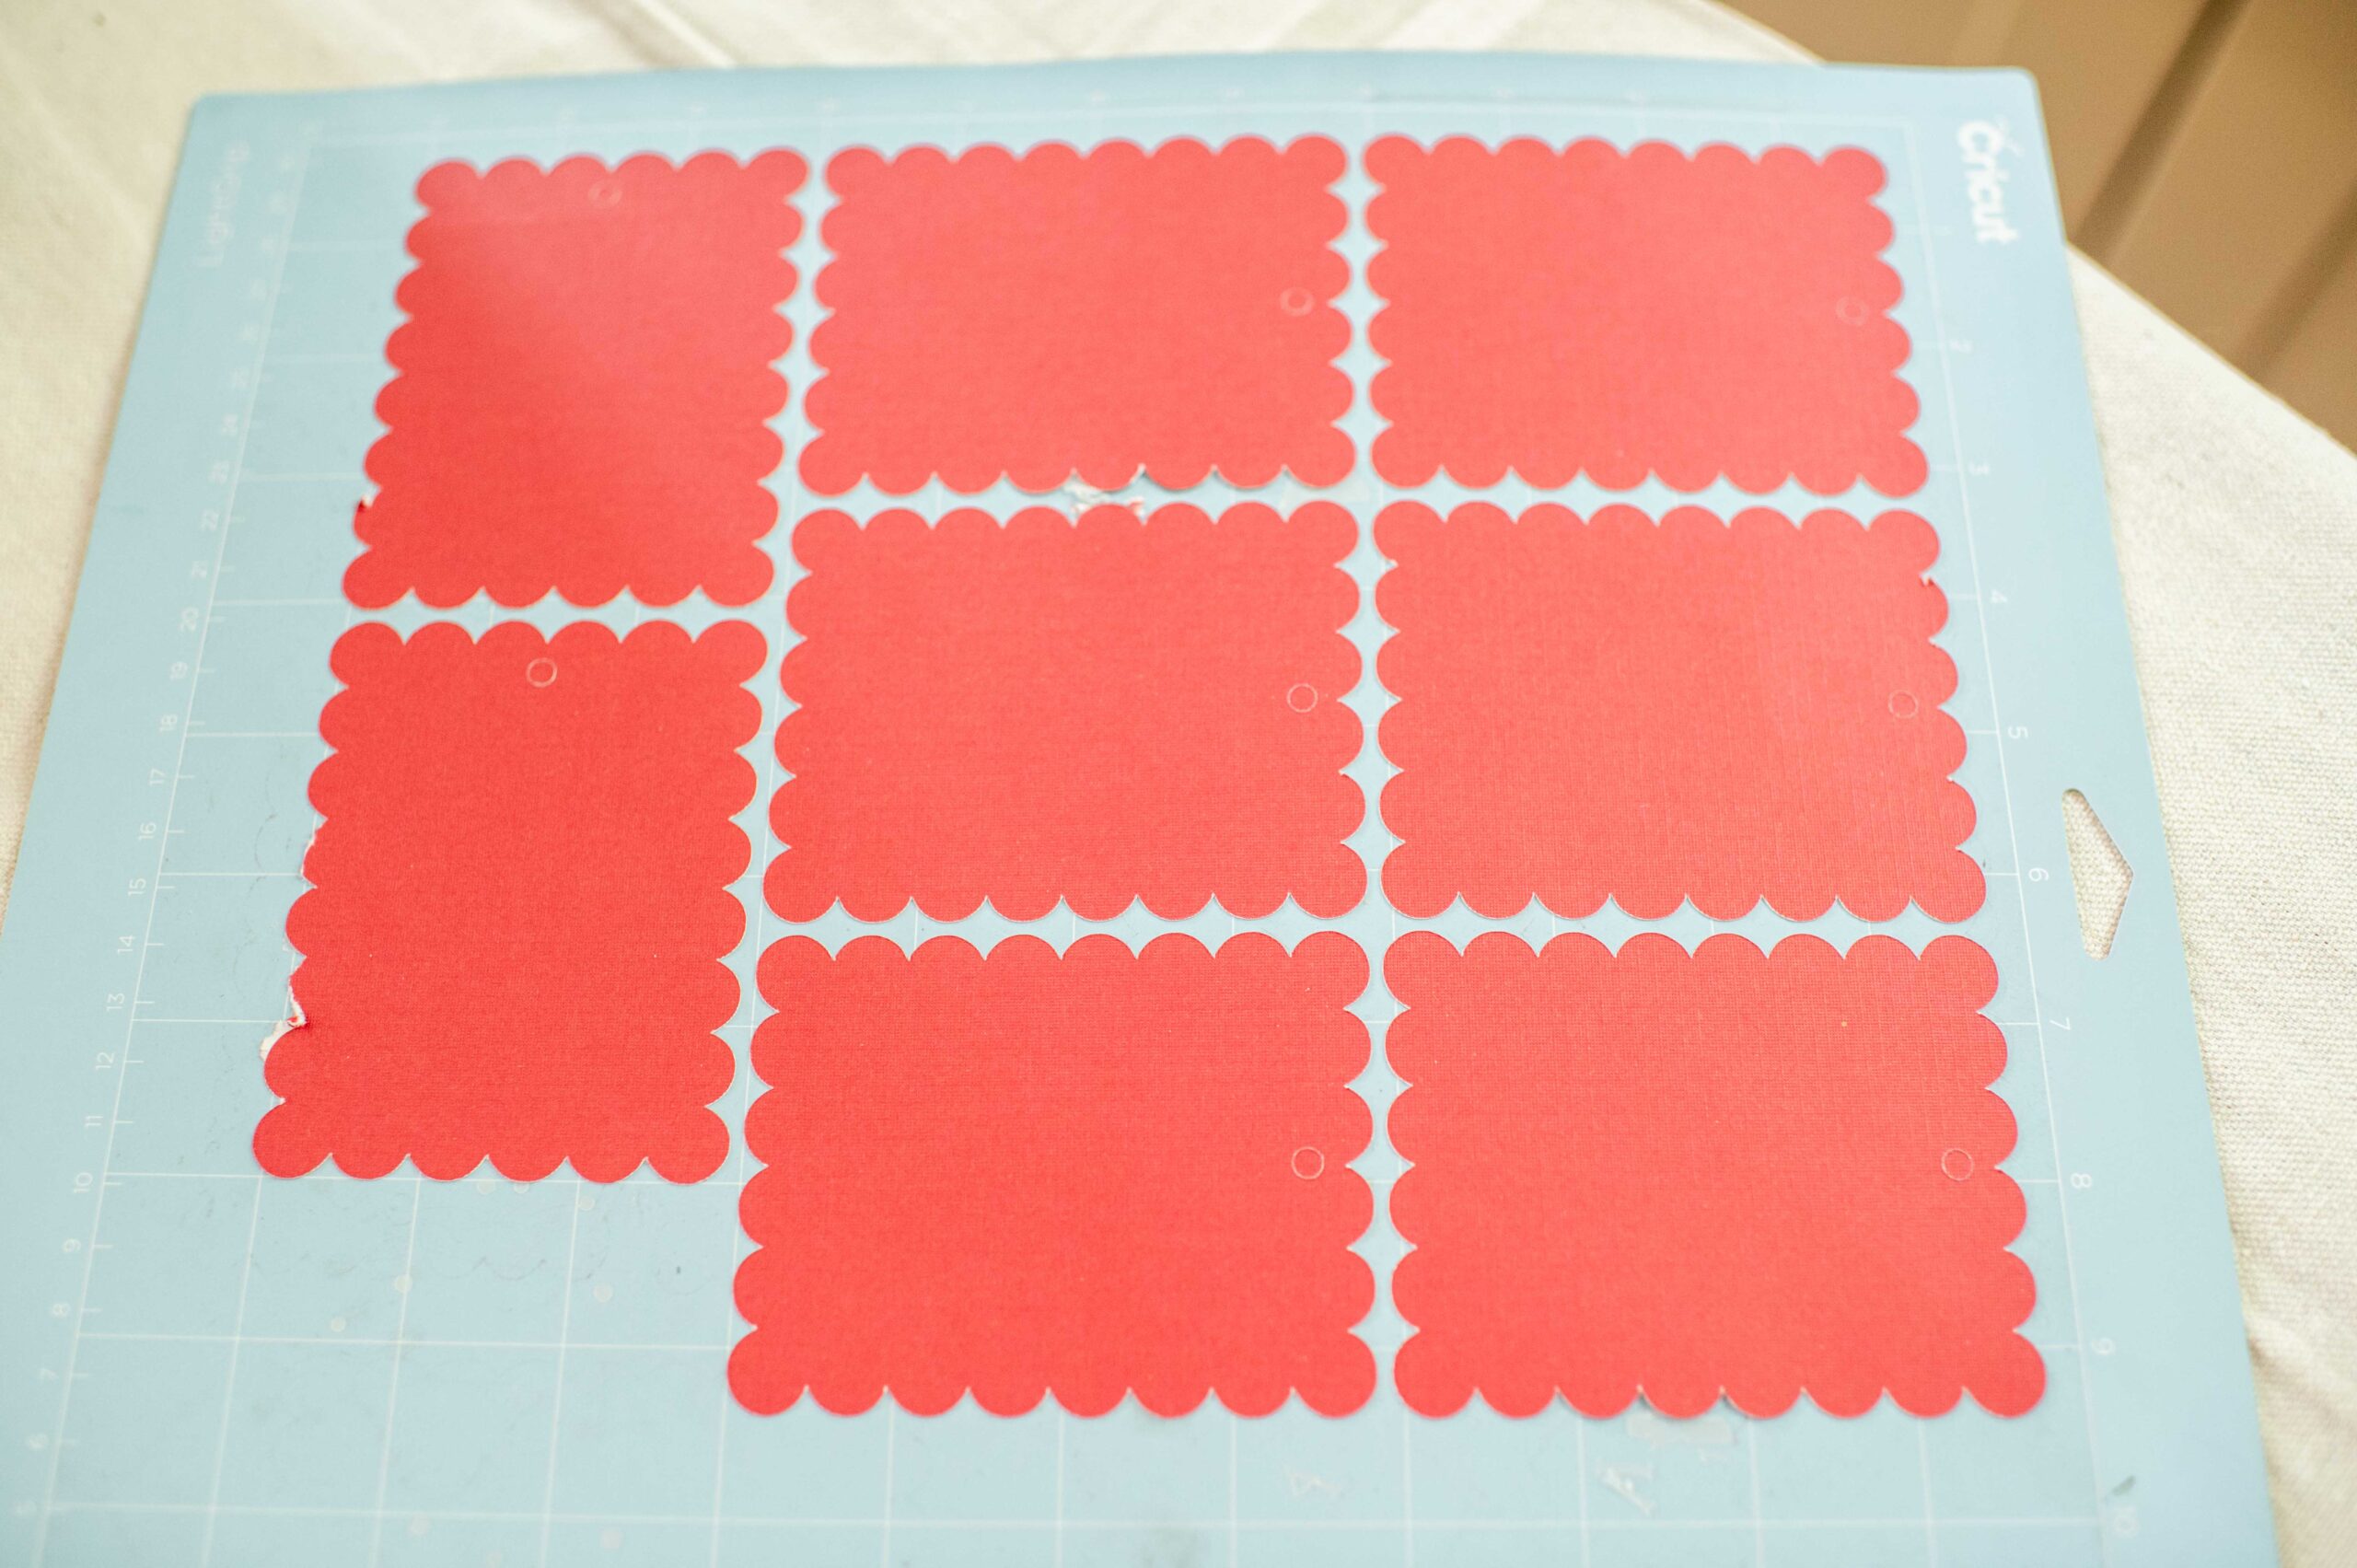
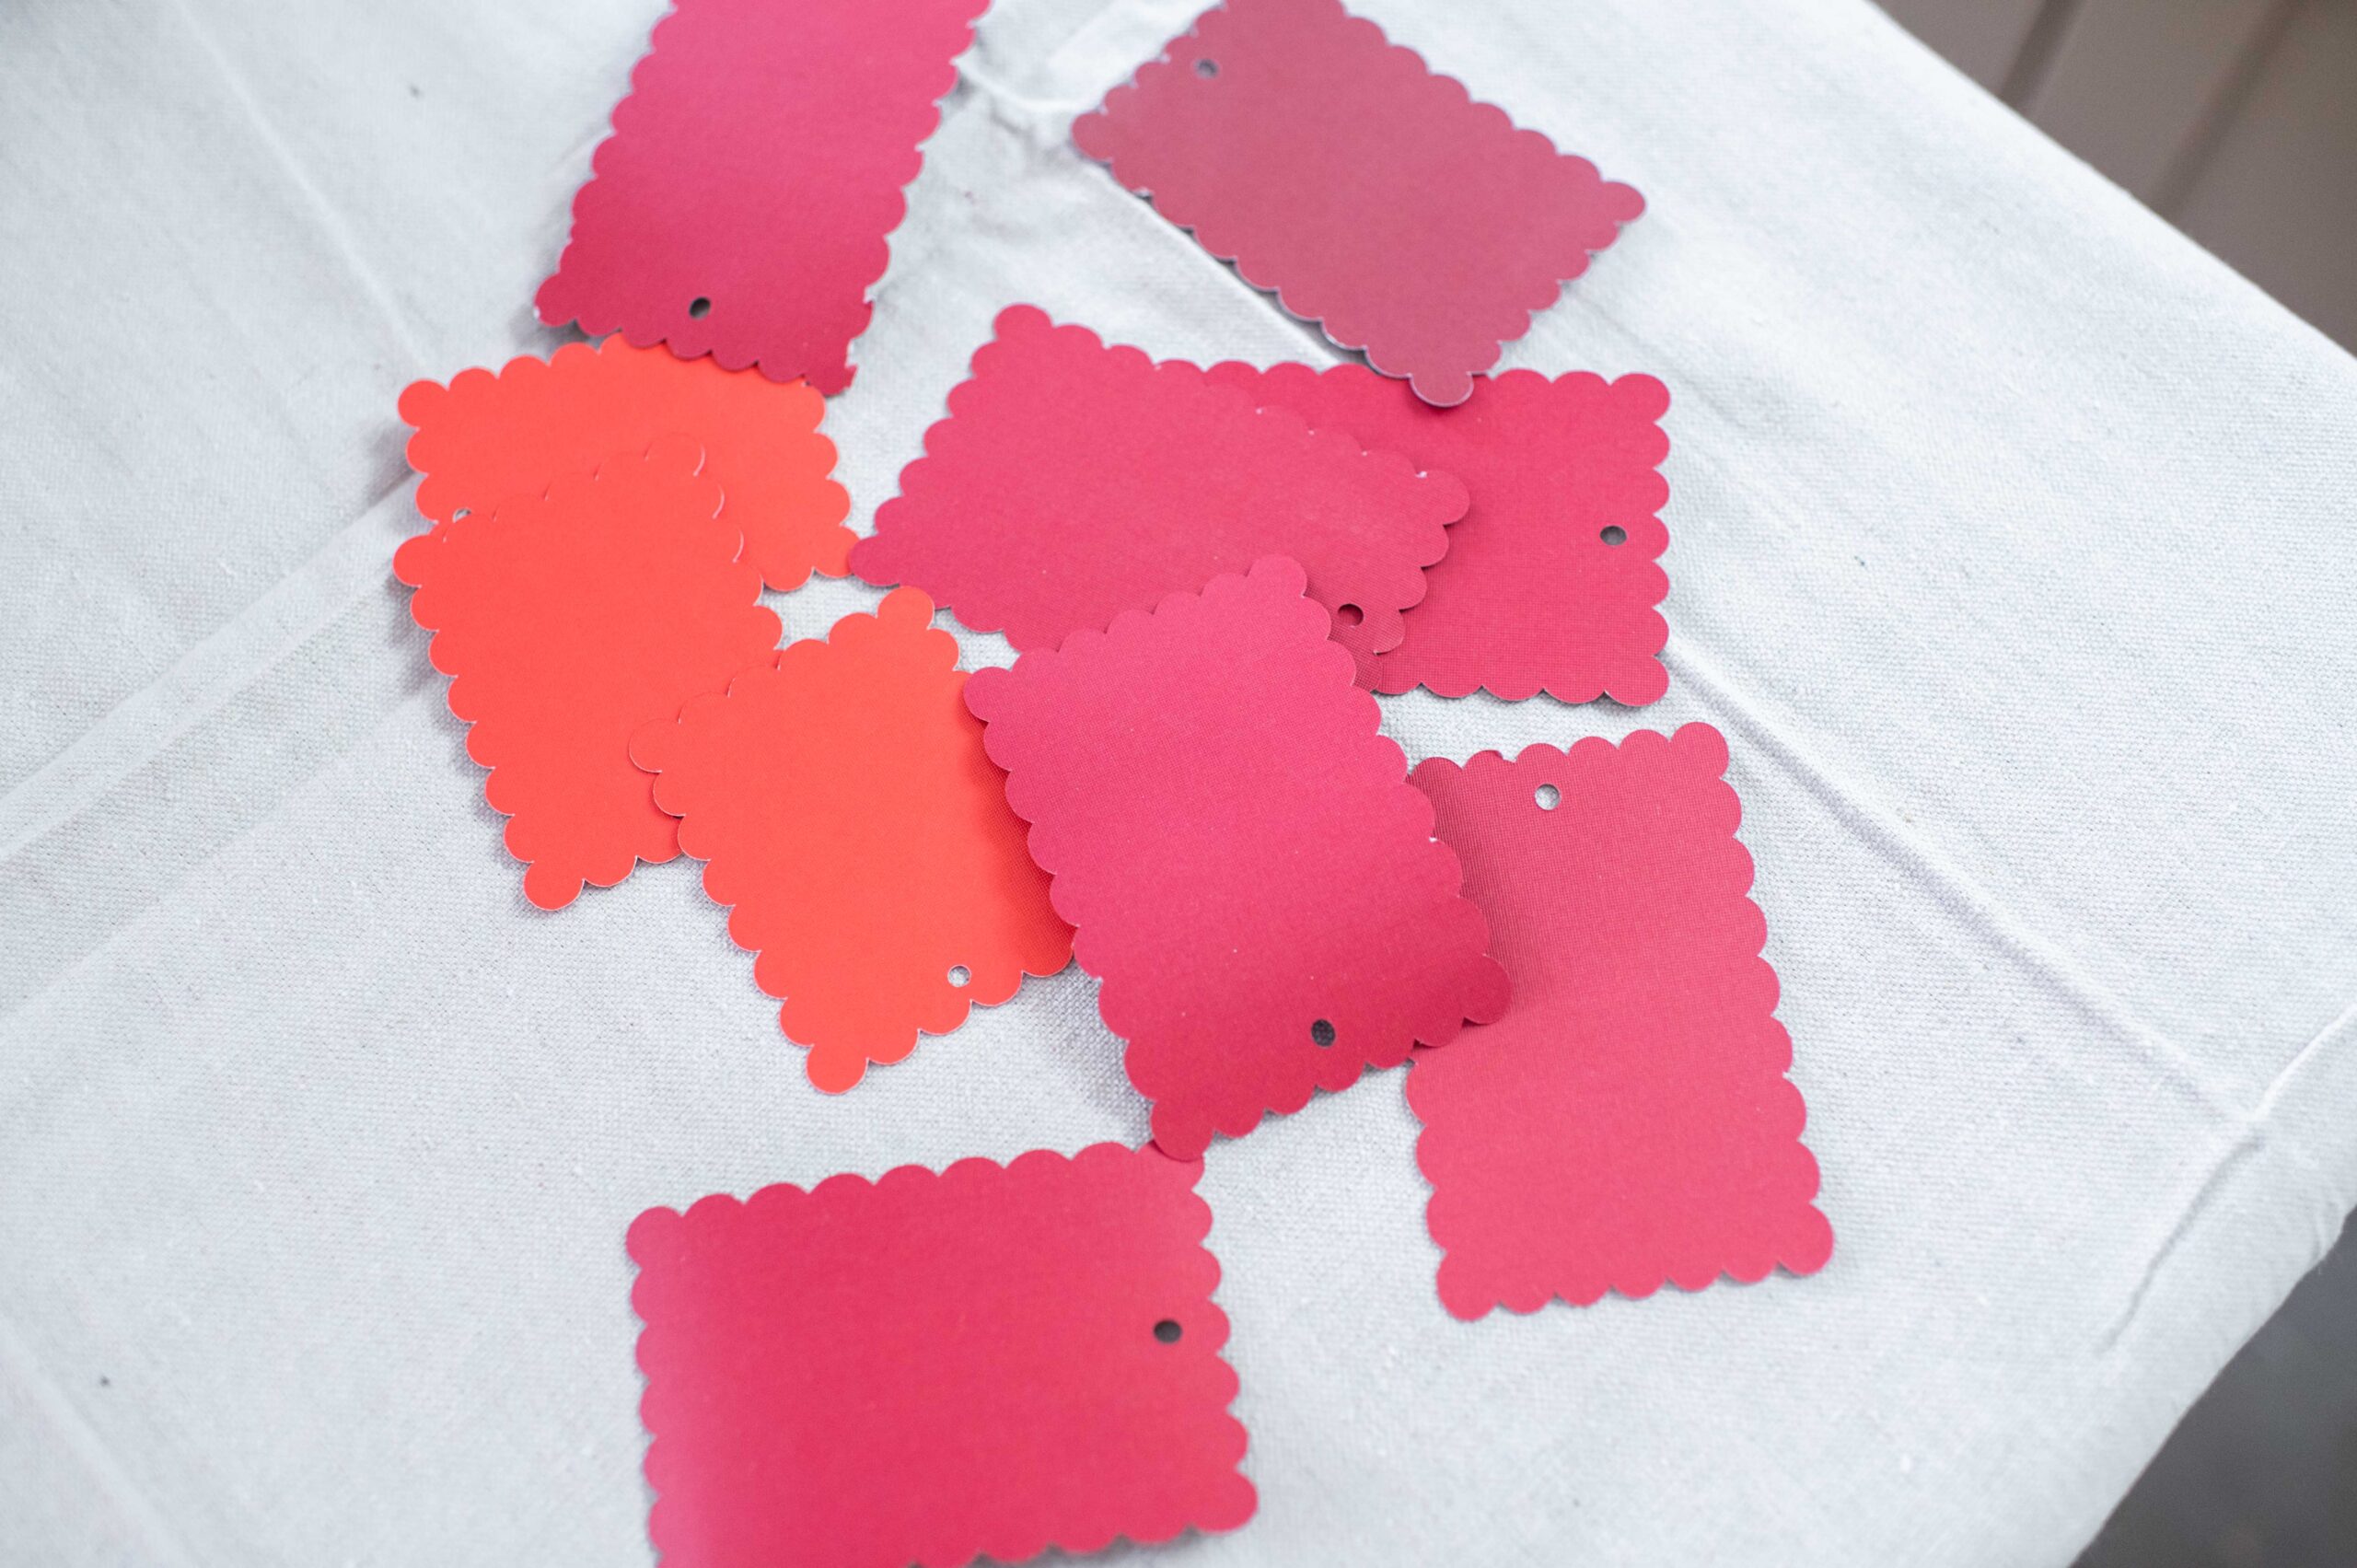
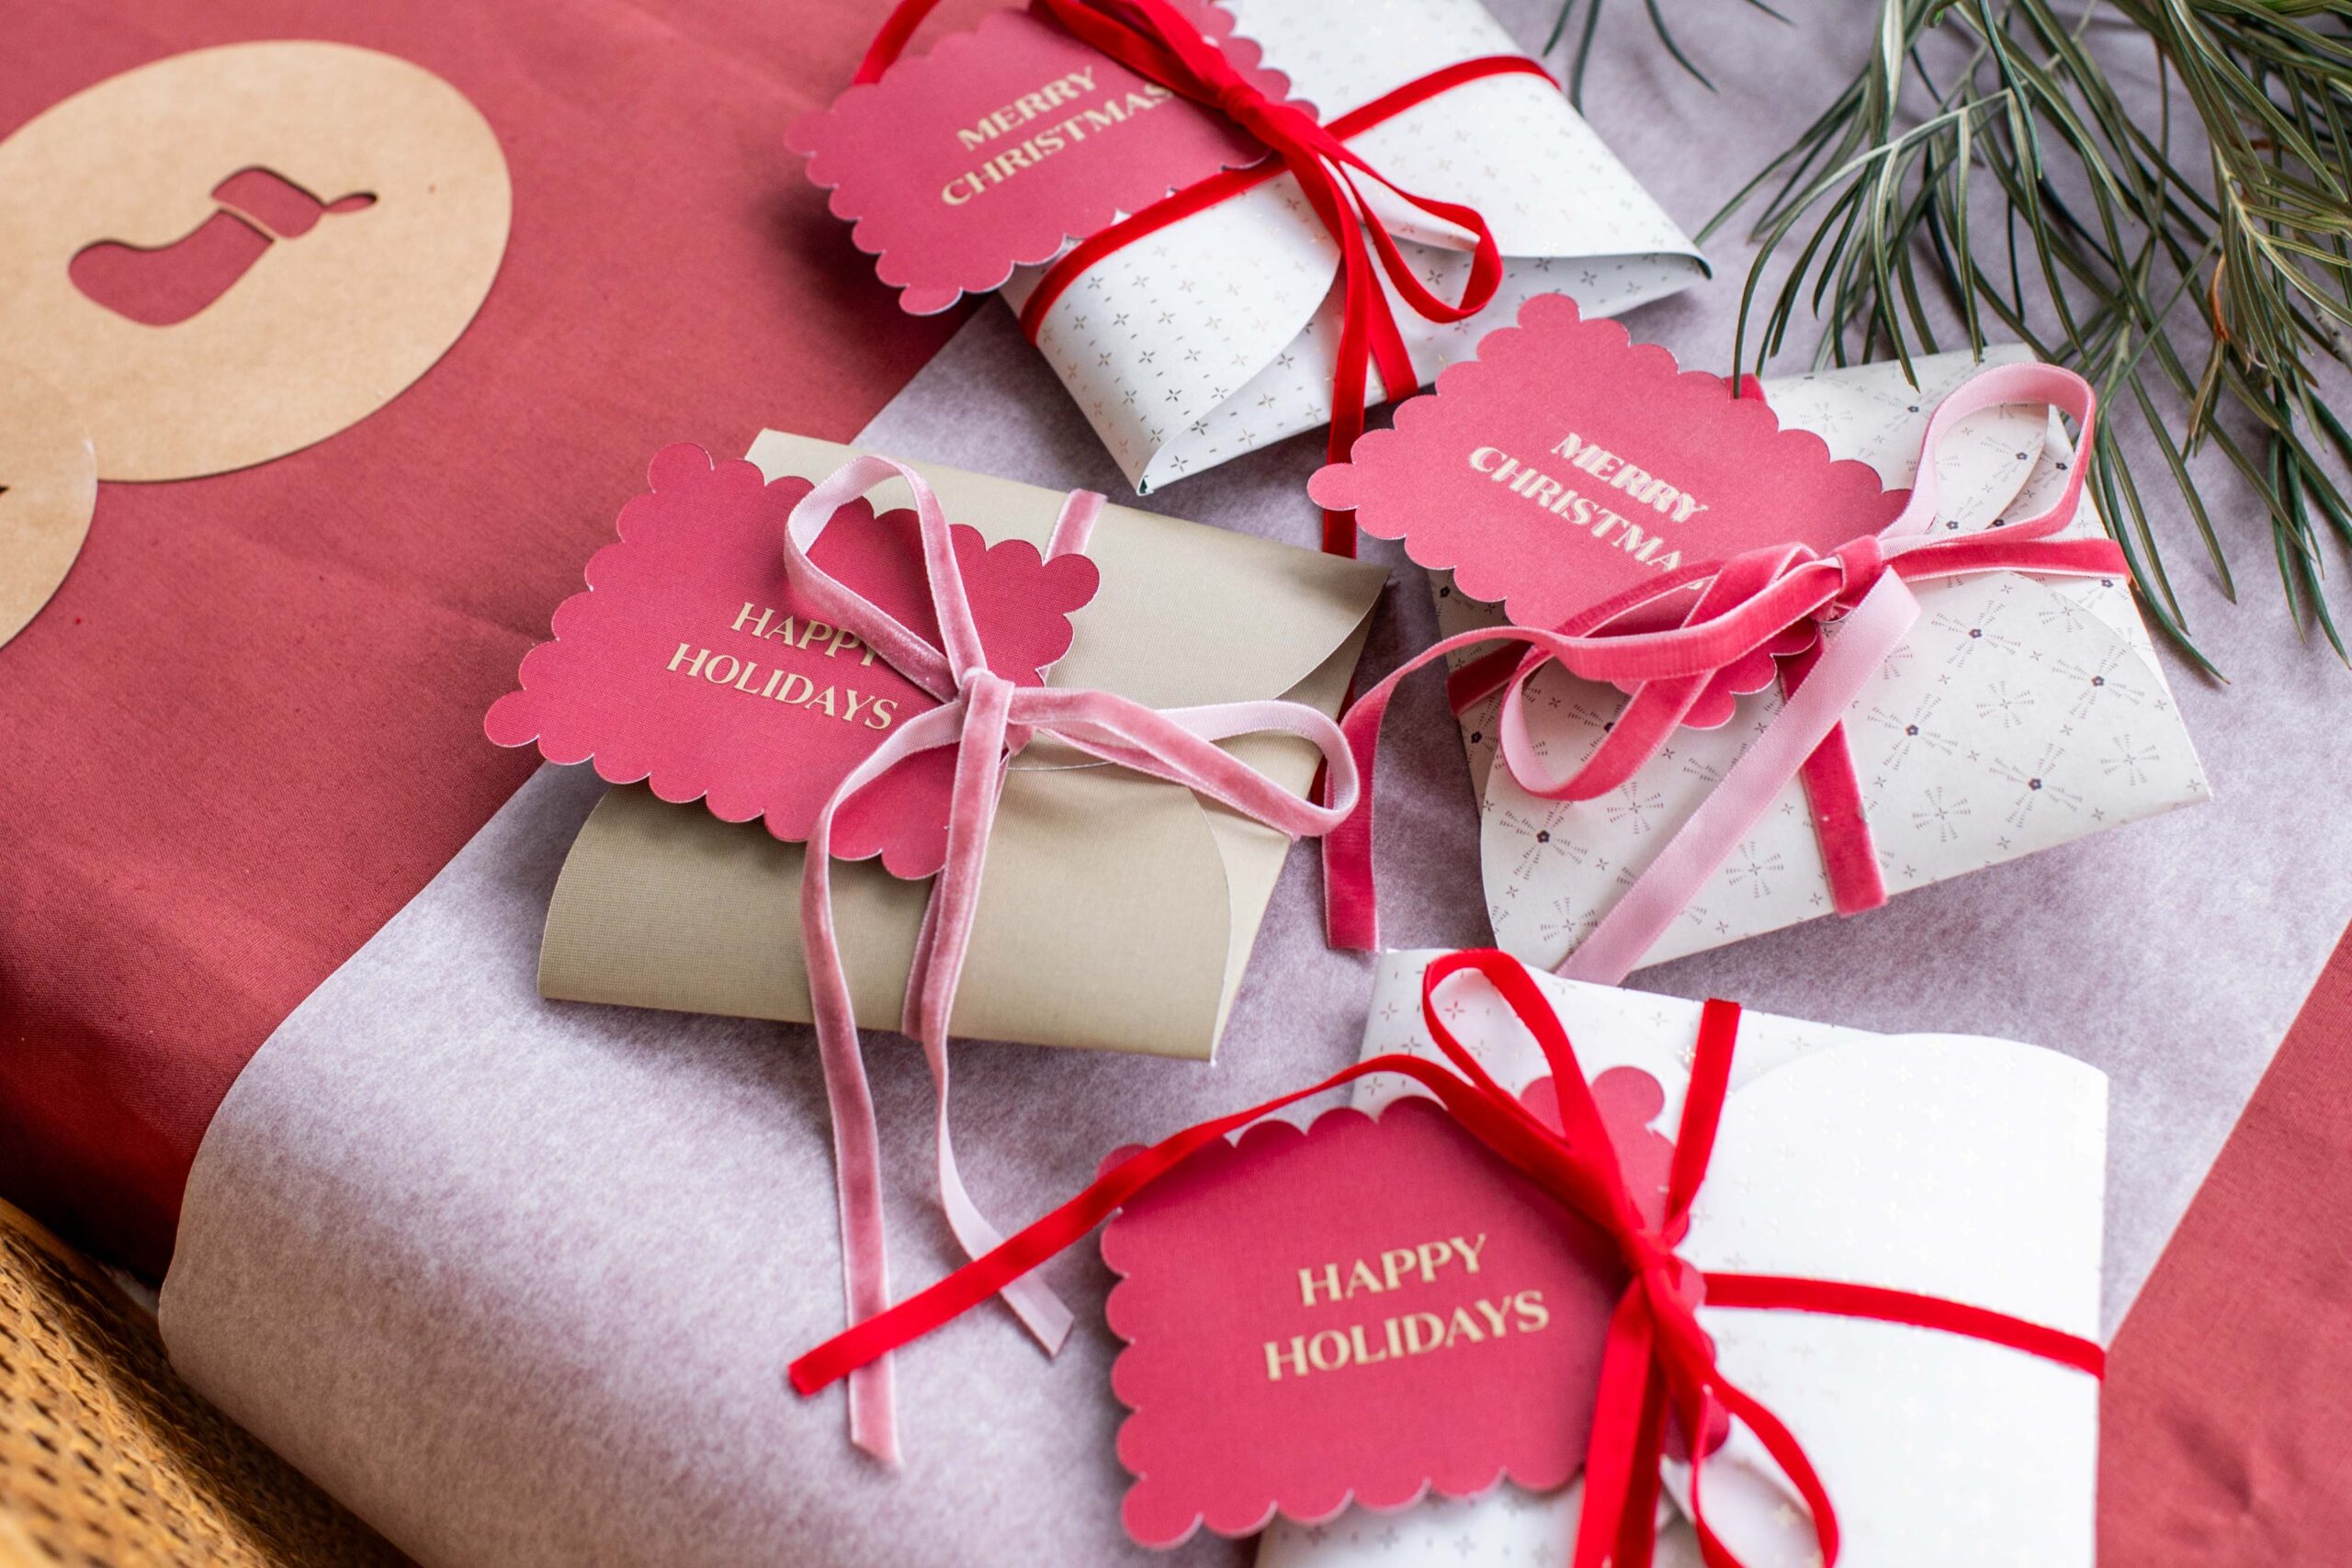
For this project I wanted to test out using iron on material on cards, and it worked so well and gave a really high end feel to the cards. After having the machine cut scalloped tags on cardstock, I simply designed and had the machine cut the wording out on Cricut Iron On material, and then weeded that. Once that was weeded I simply used the Cricut Easy Press Mini to press the iron onto the cardstock, I referred to Cricut’s heat guide to get the correct temperature. This was super easy and looks so great!
Making the foldable boxes
You Need:
- Cricut Maker
- Cricut Maker standard grip mat
- Card stock
- Ribbon
How To:
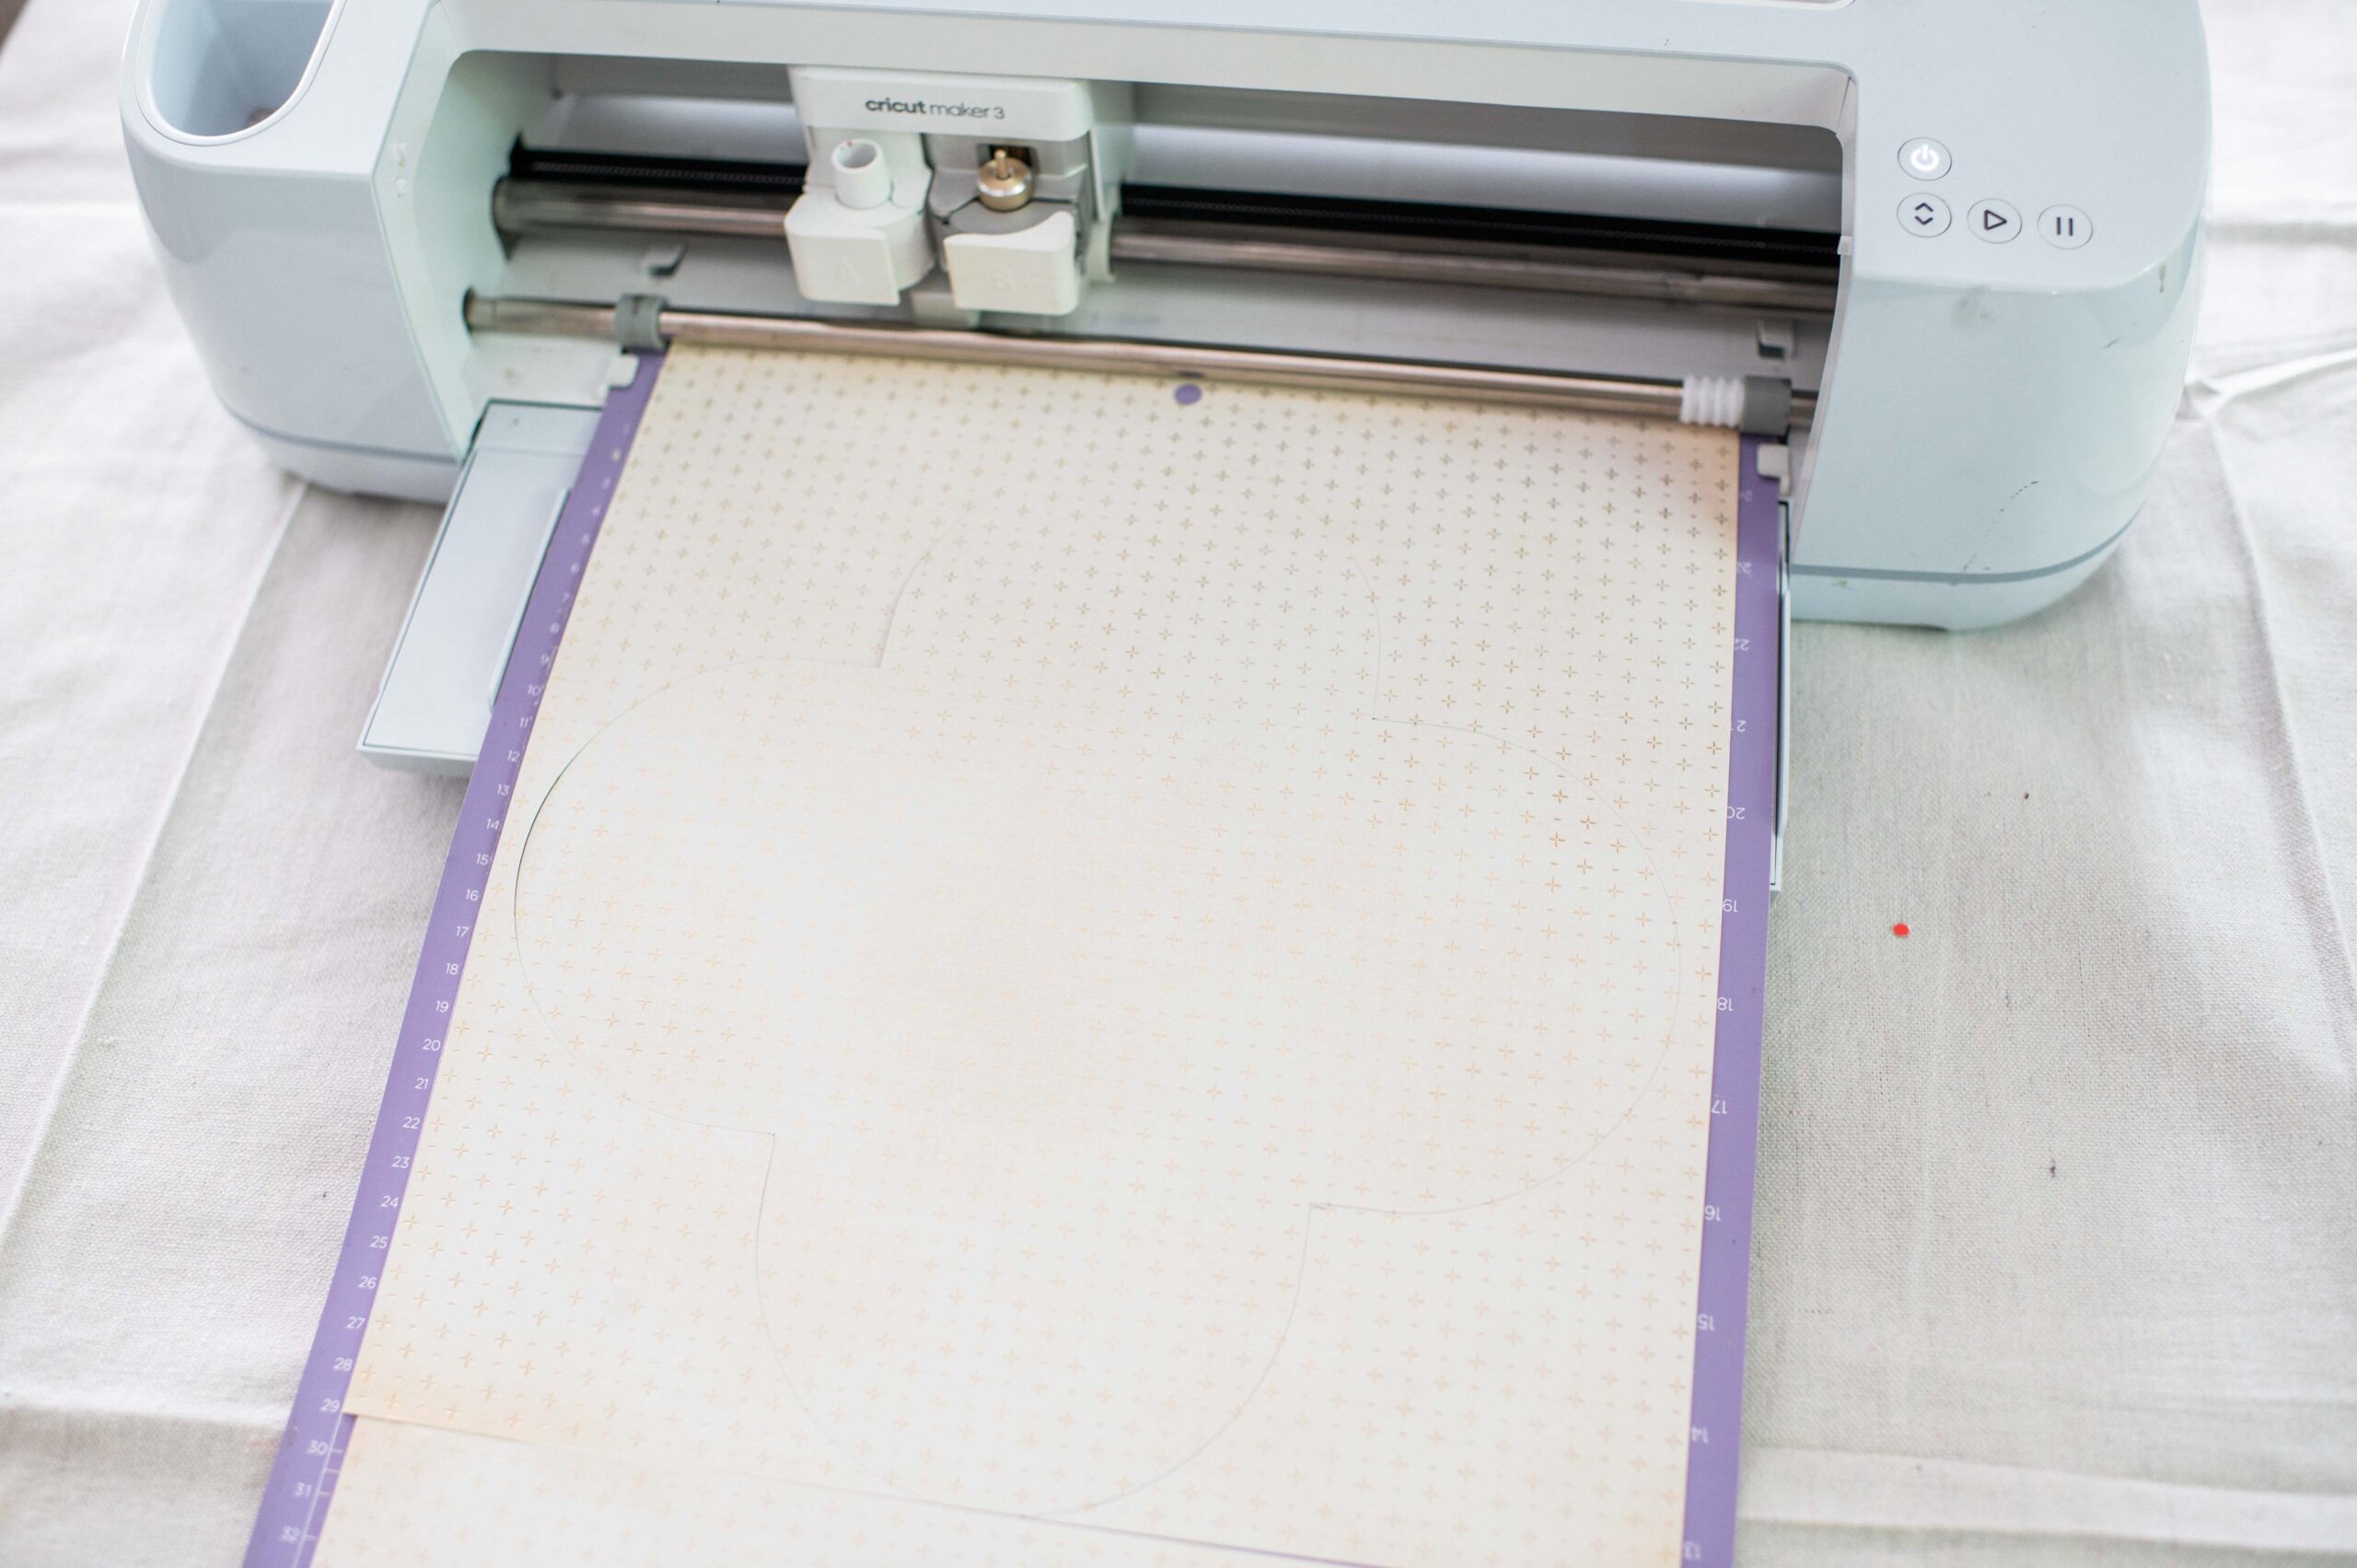
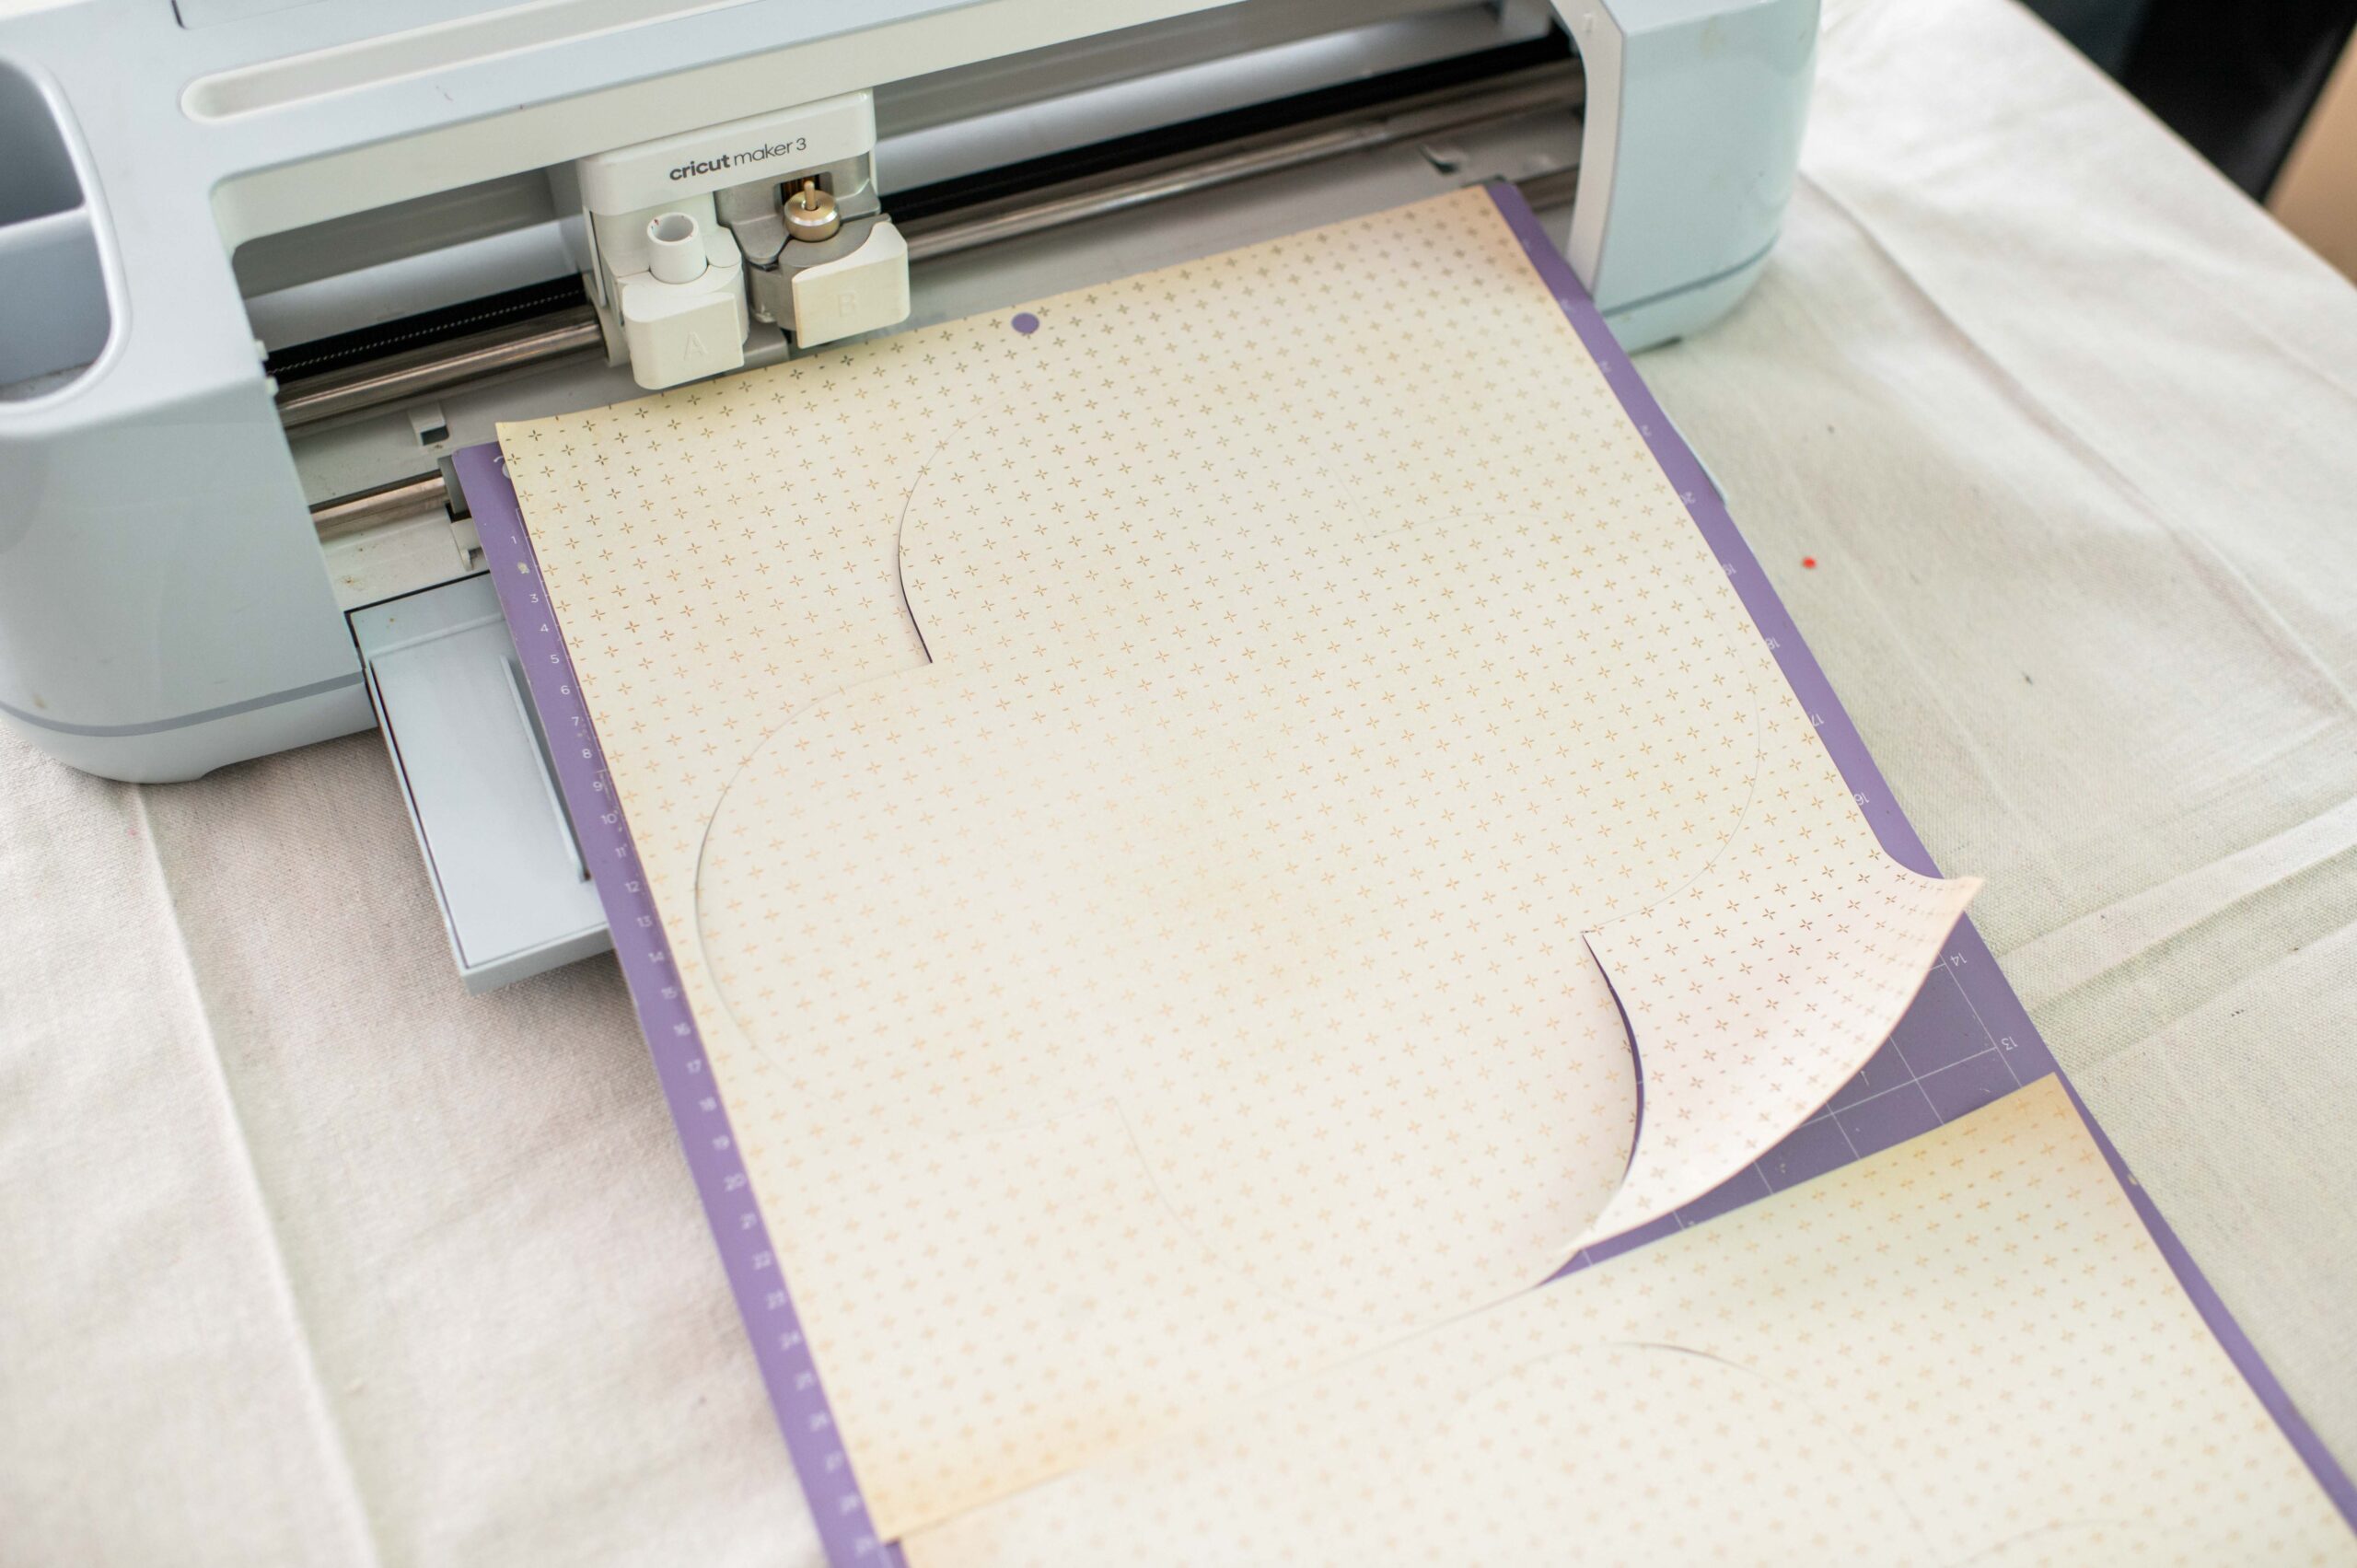
Cricut has some great designs in Design Space for cute boxes and packaging, and so I was excited to use that for this little get together. I simply selected a box and then had the machine cut it onto card stock, which I then folded when we needed to use them.
I seriously love all the little DIY details I was able to do using my Cricut, it just gave the whole afternoon such a fun feel! I’ll definitely be using my Cricut to make cards and packaging for my Christmas presents!


