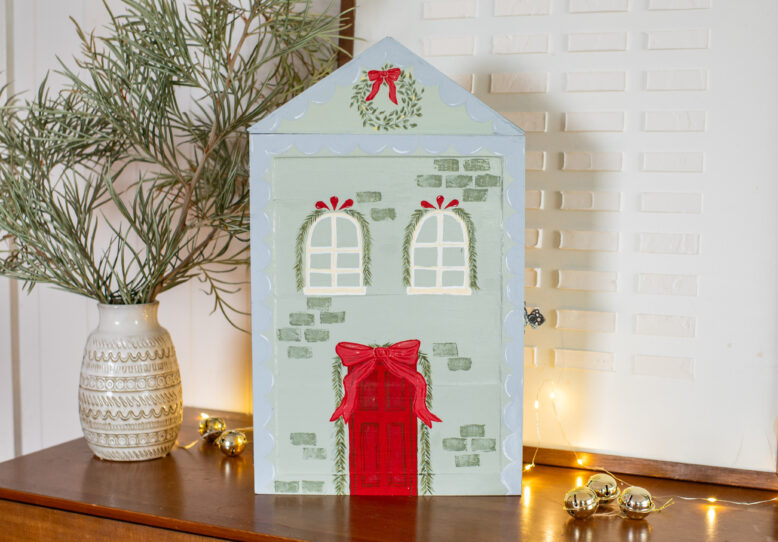
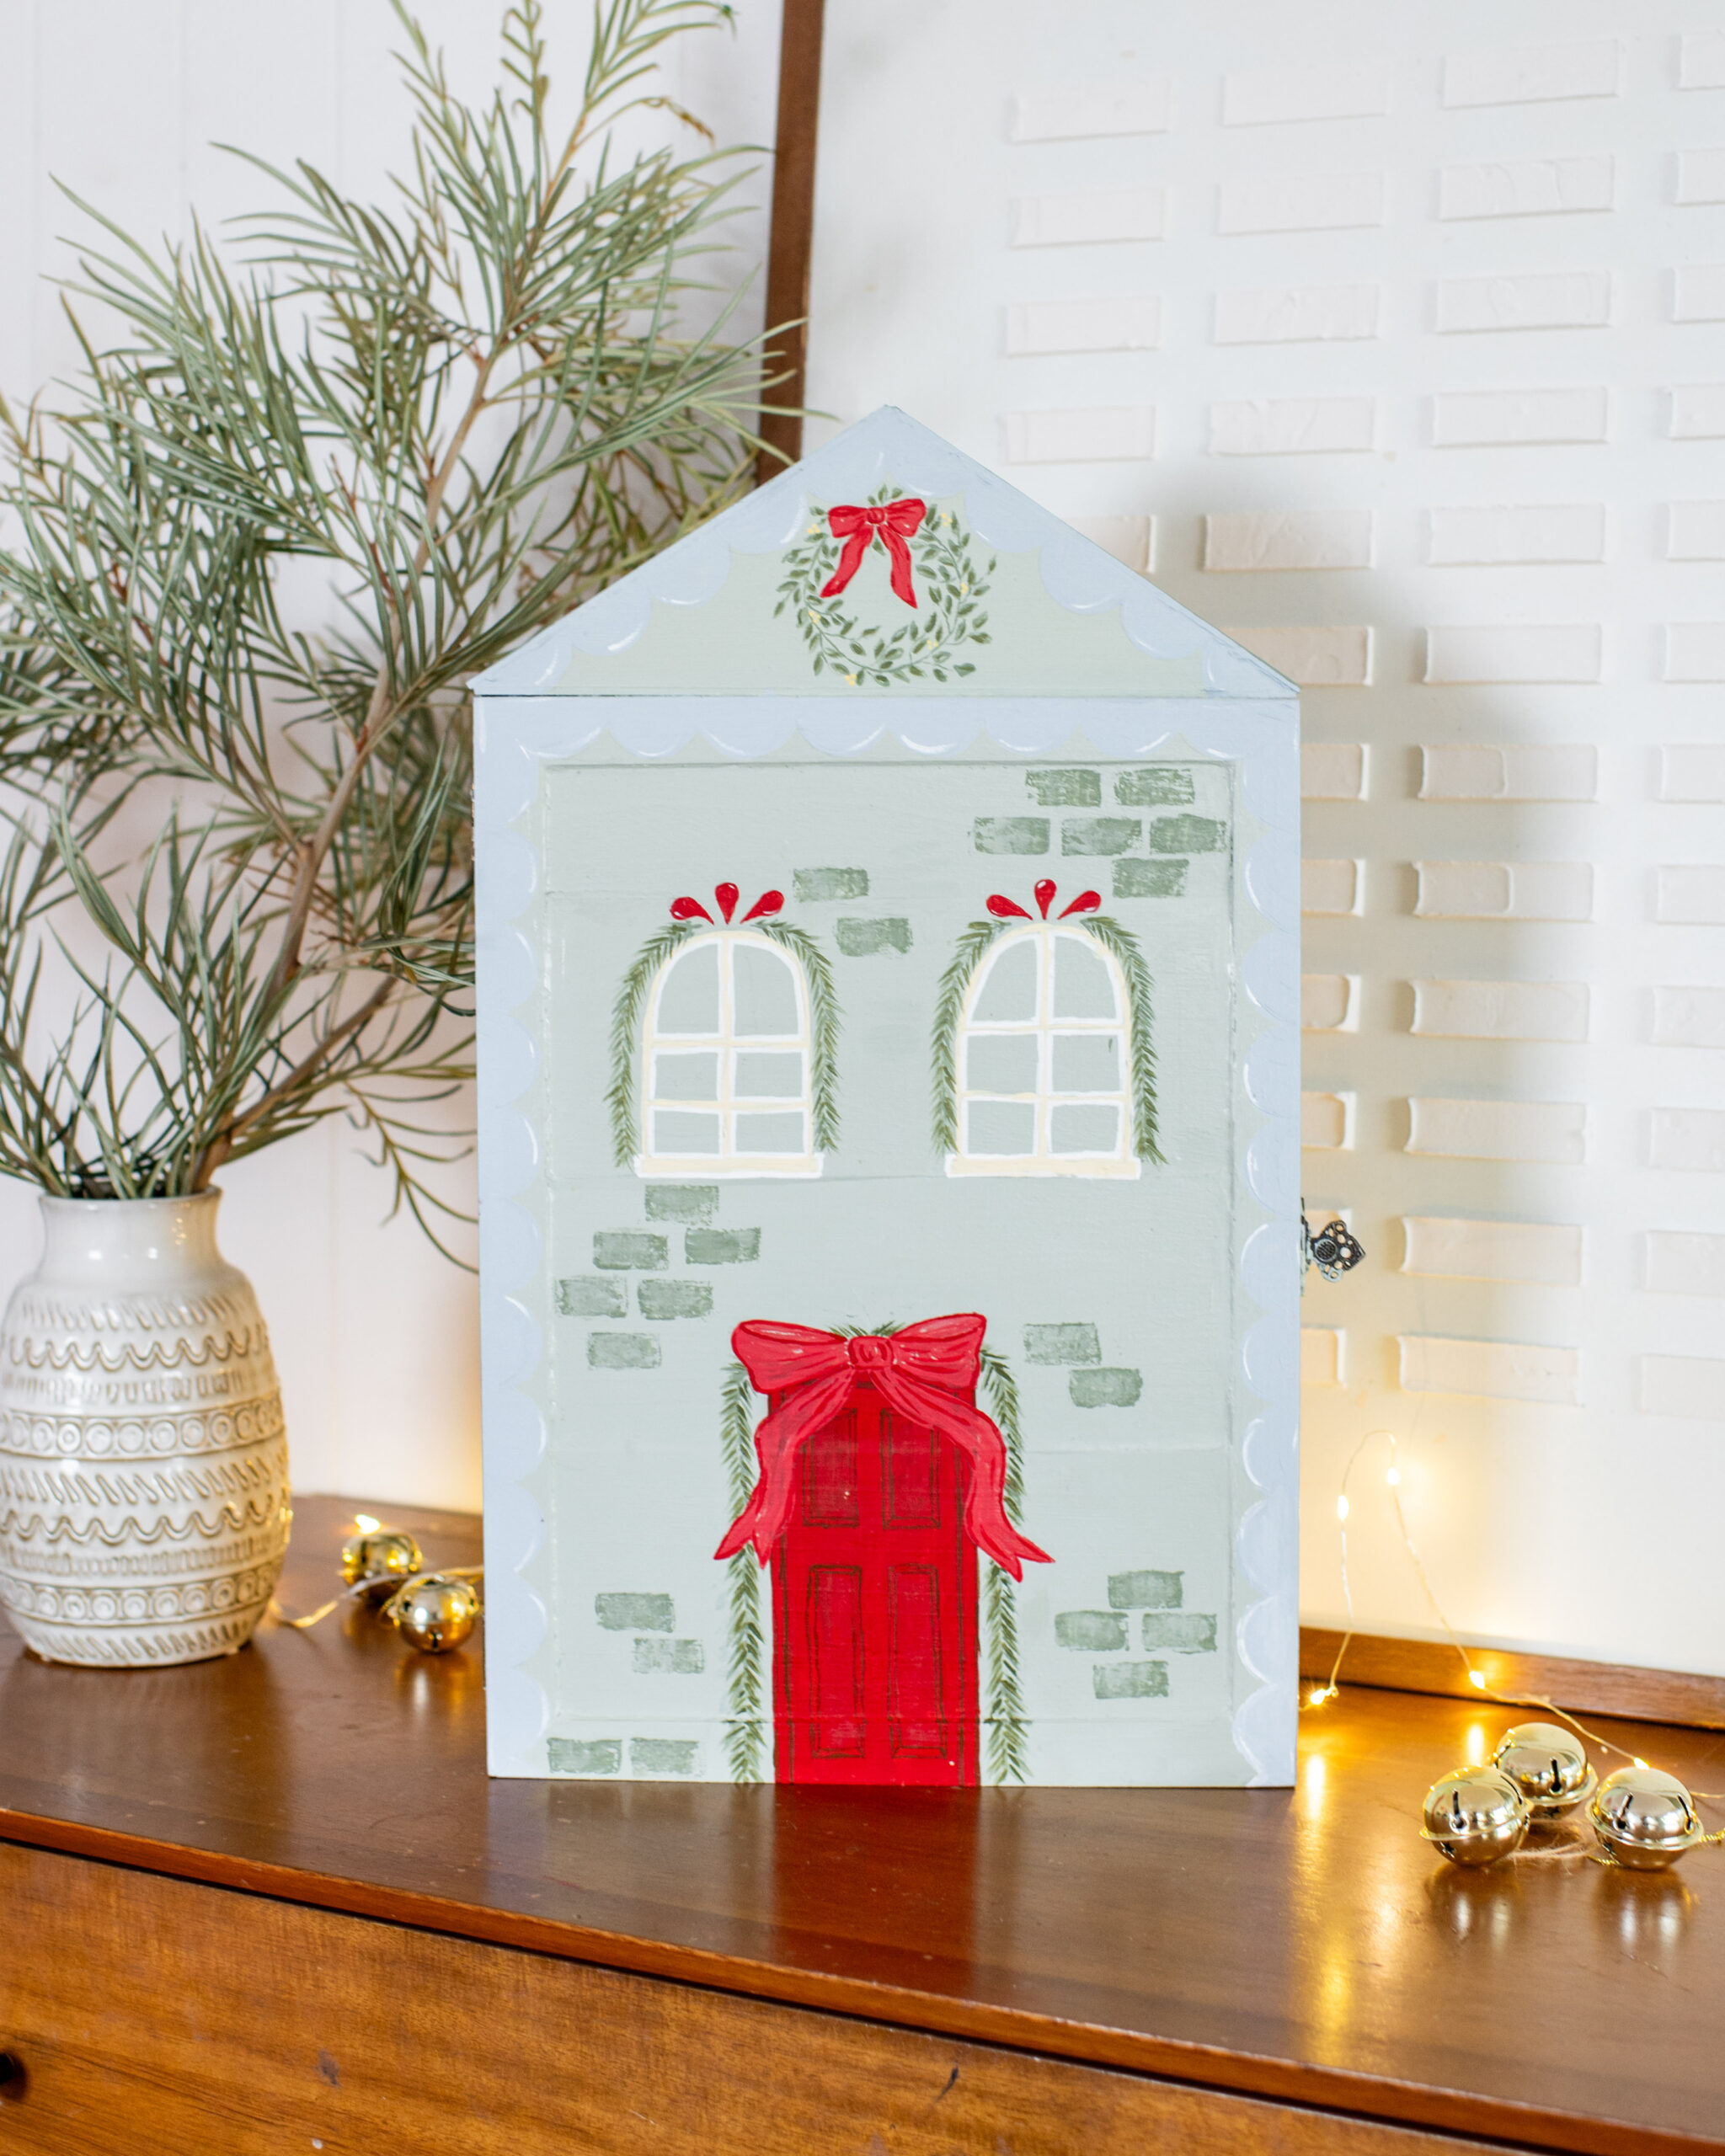
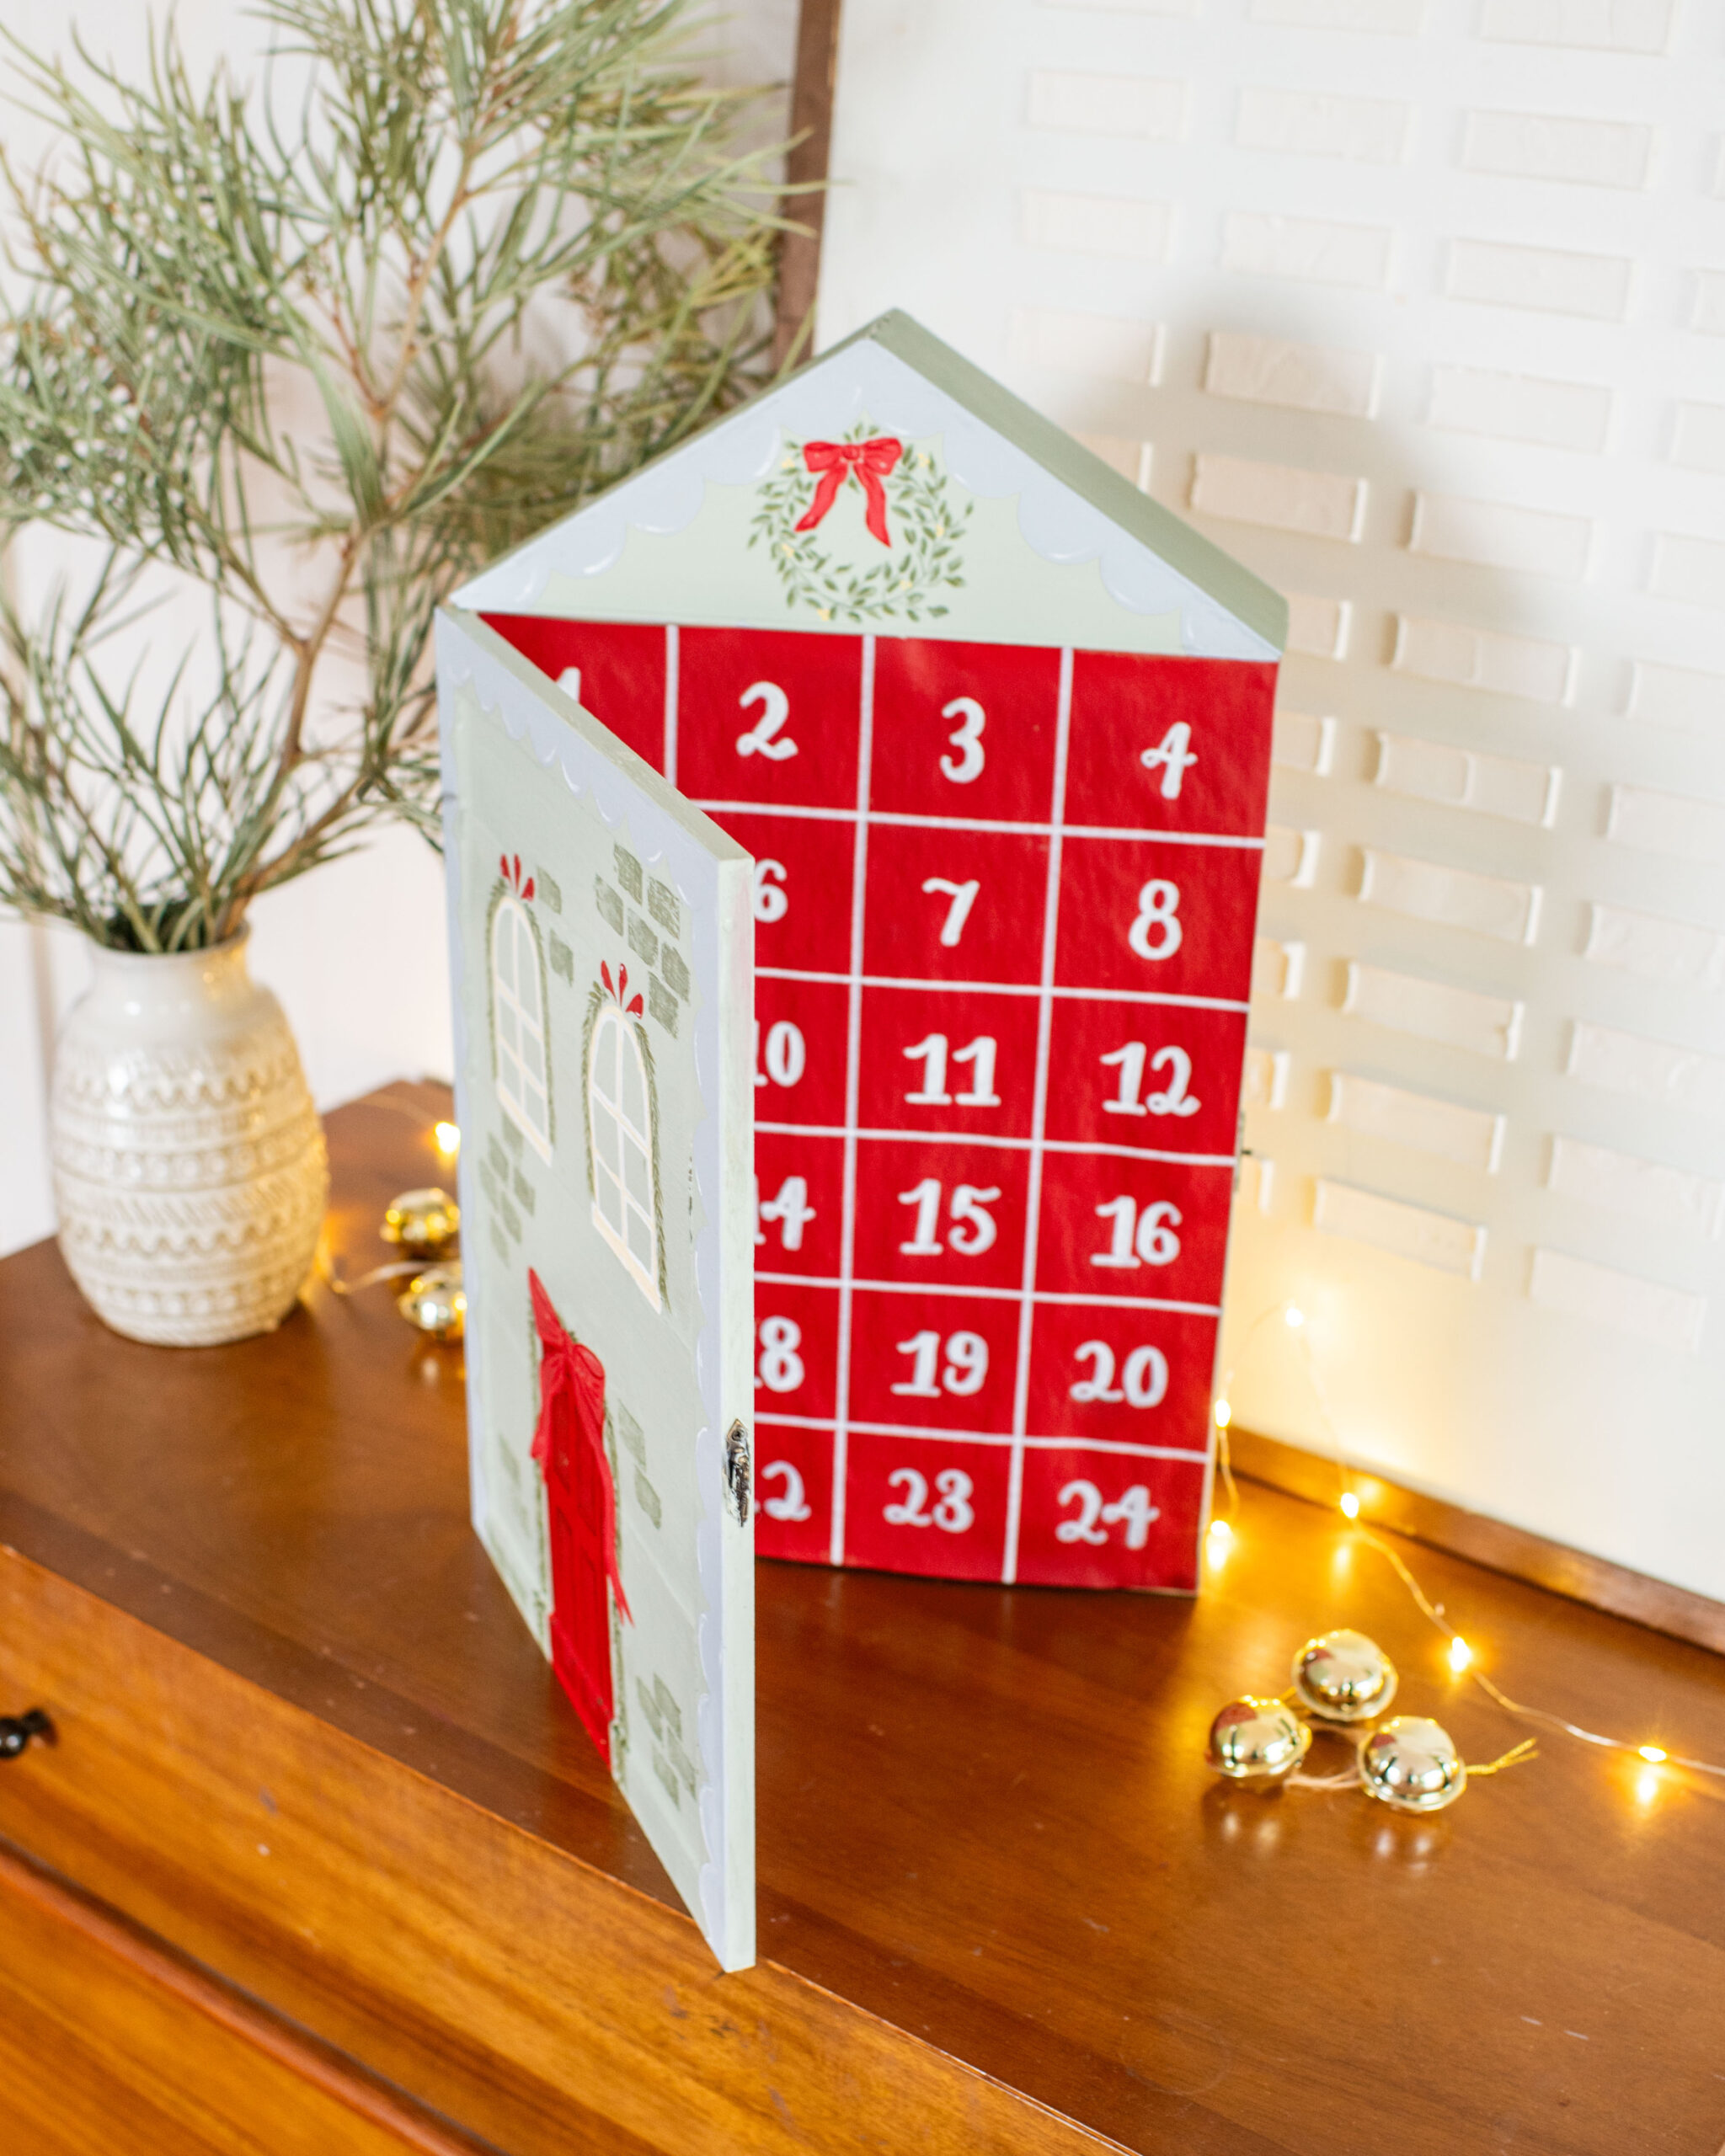
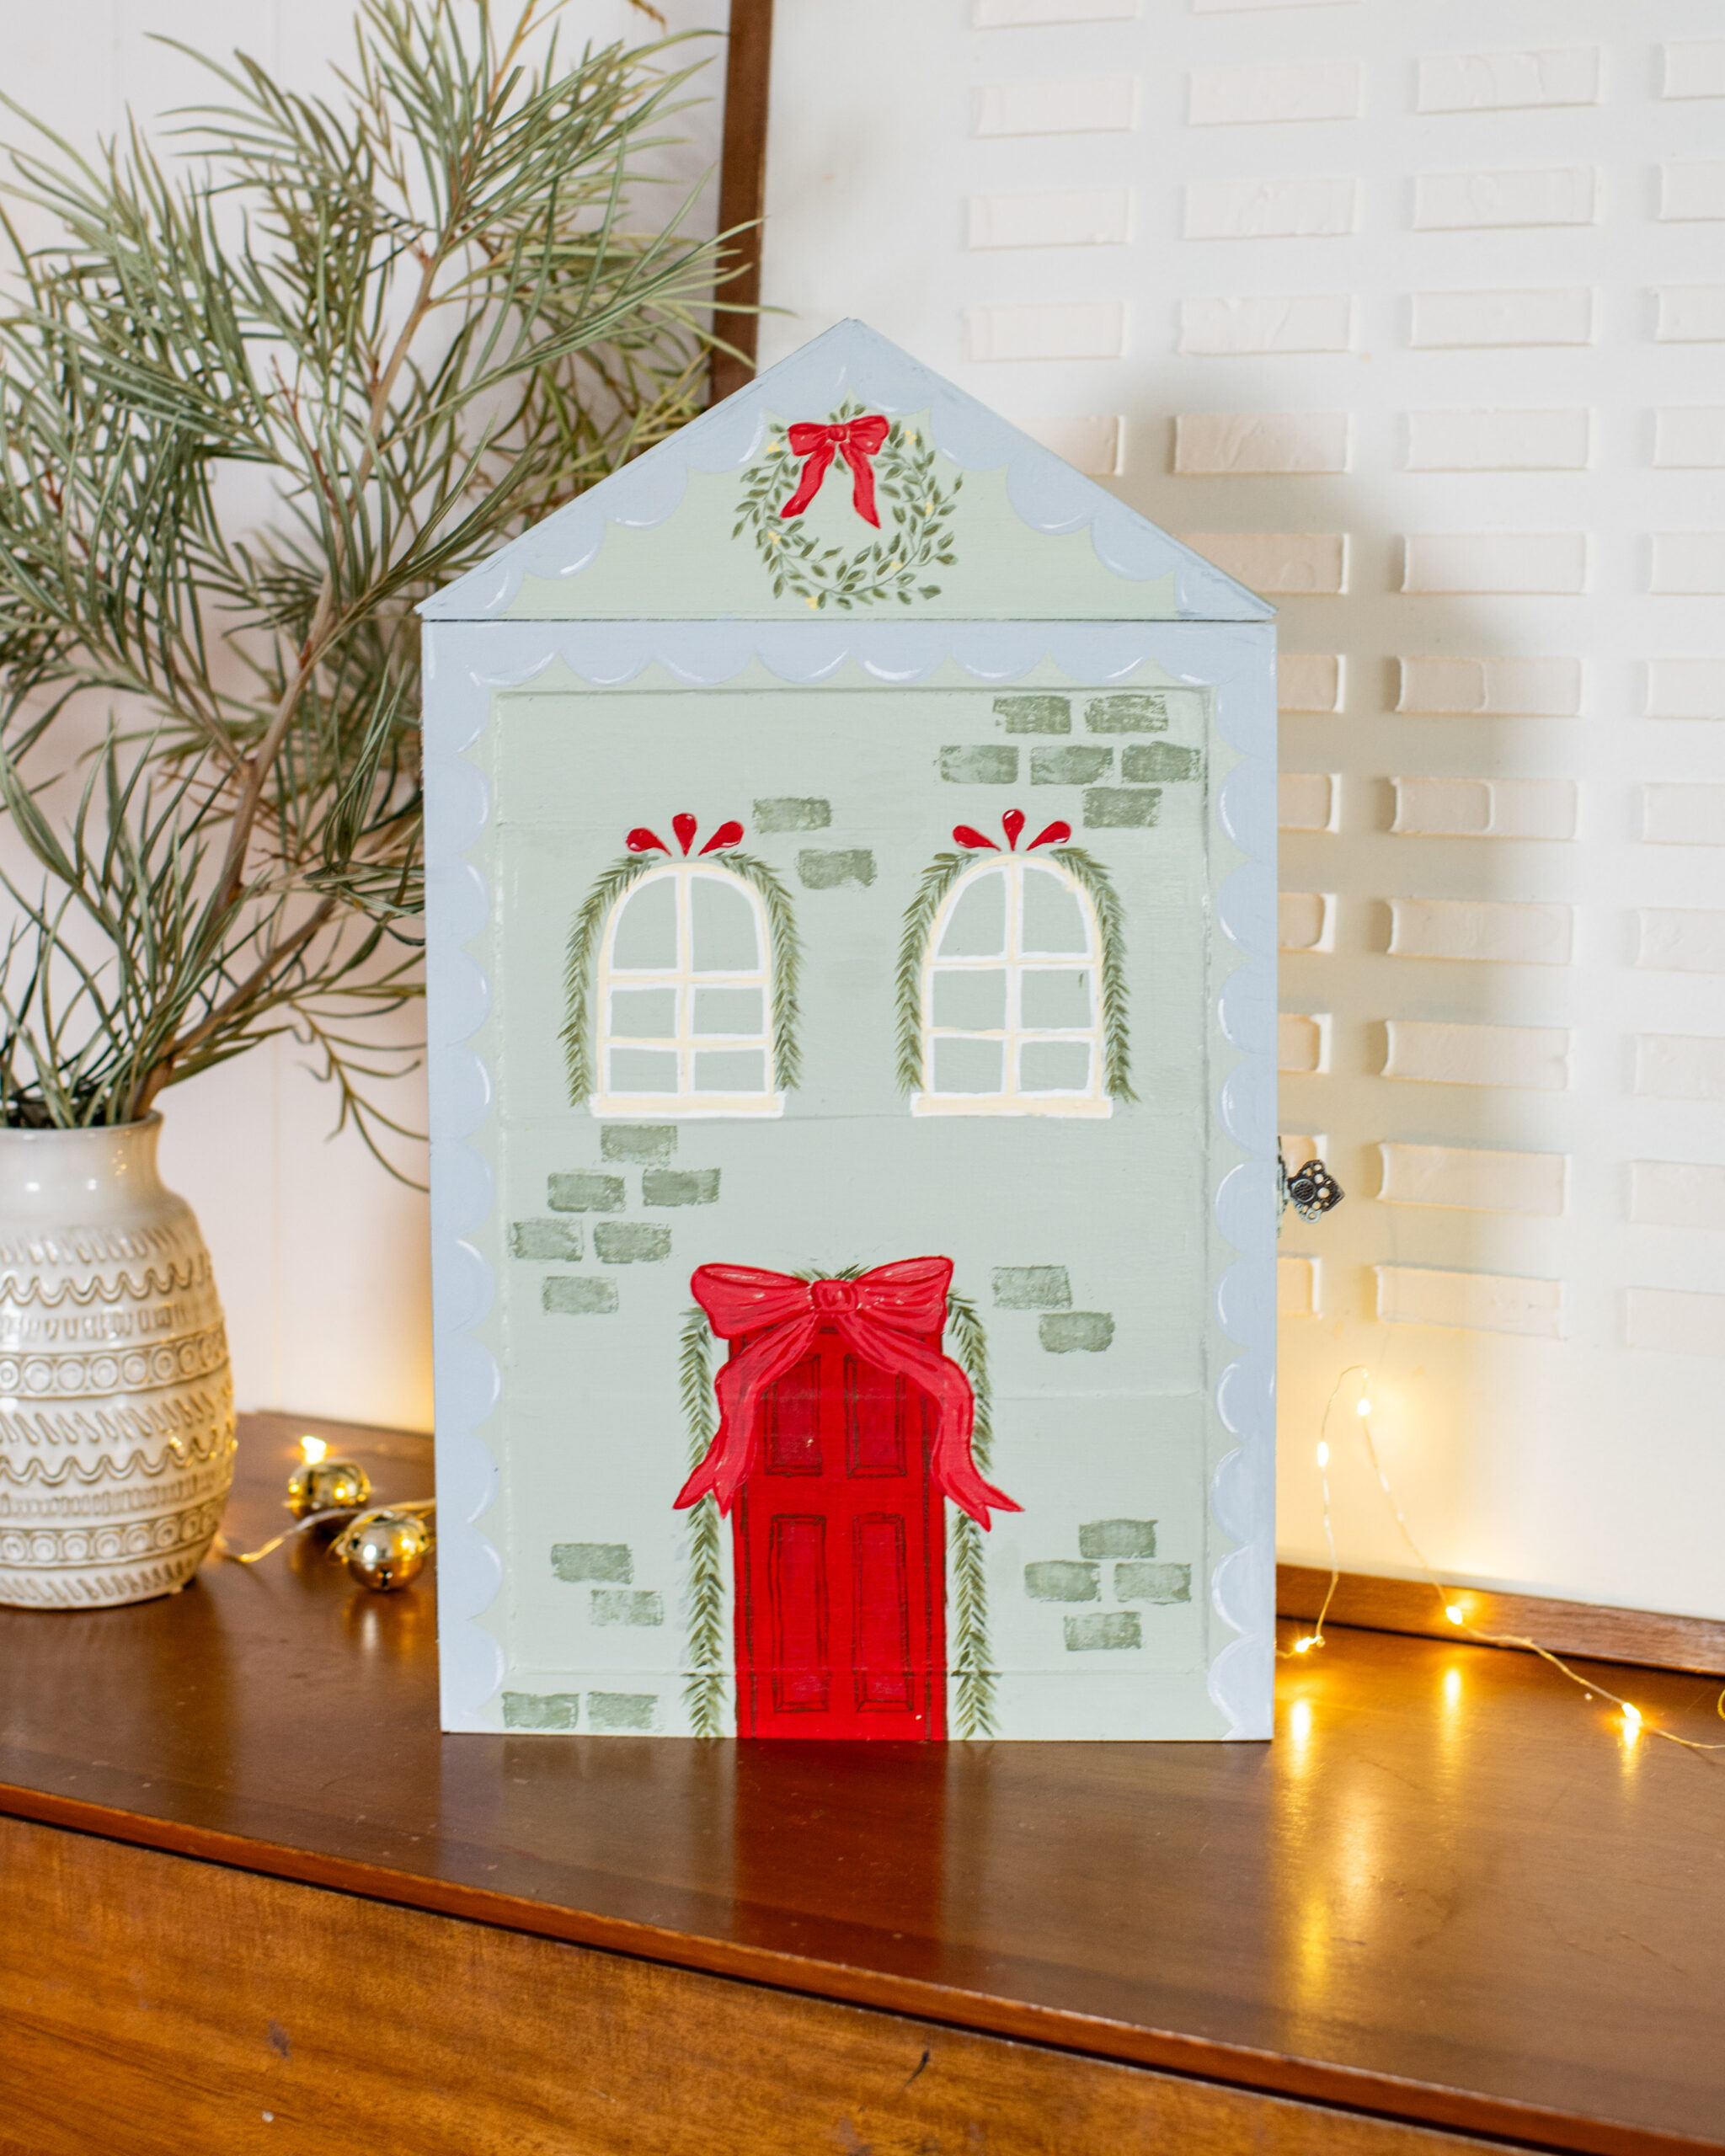
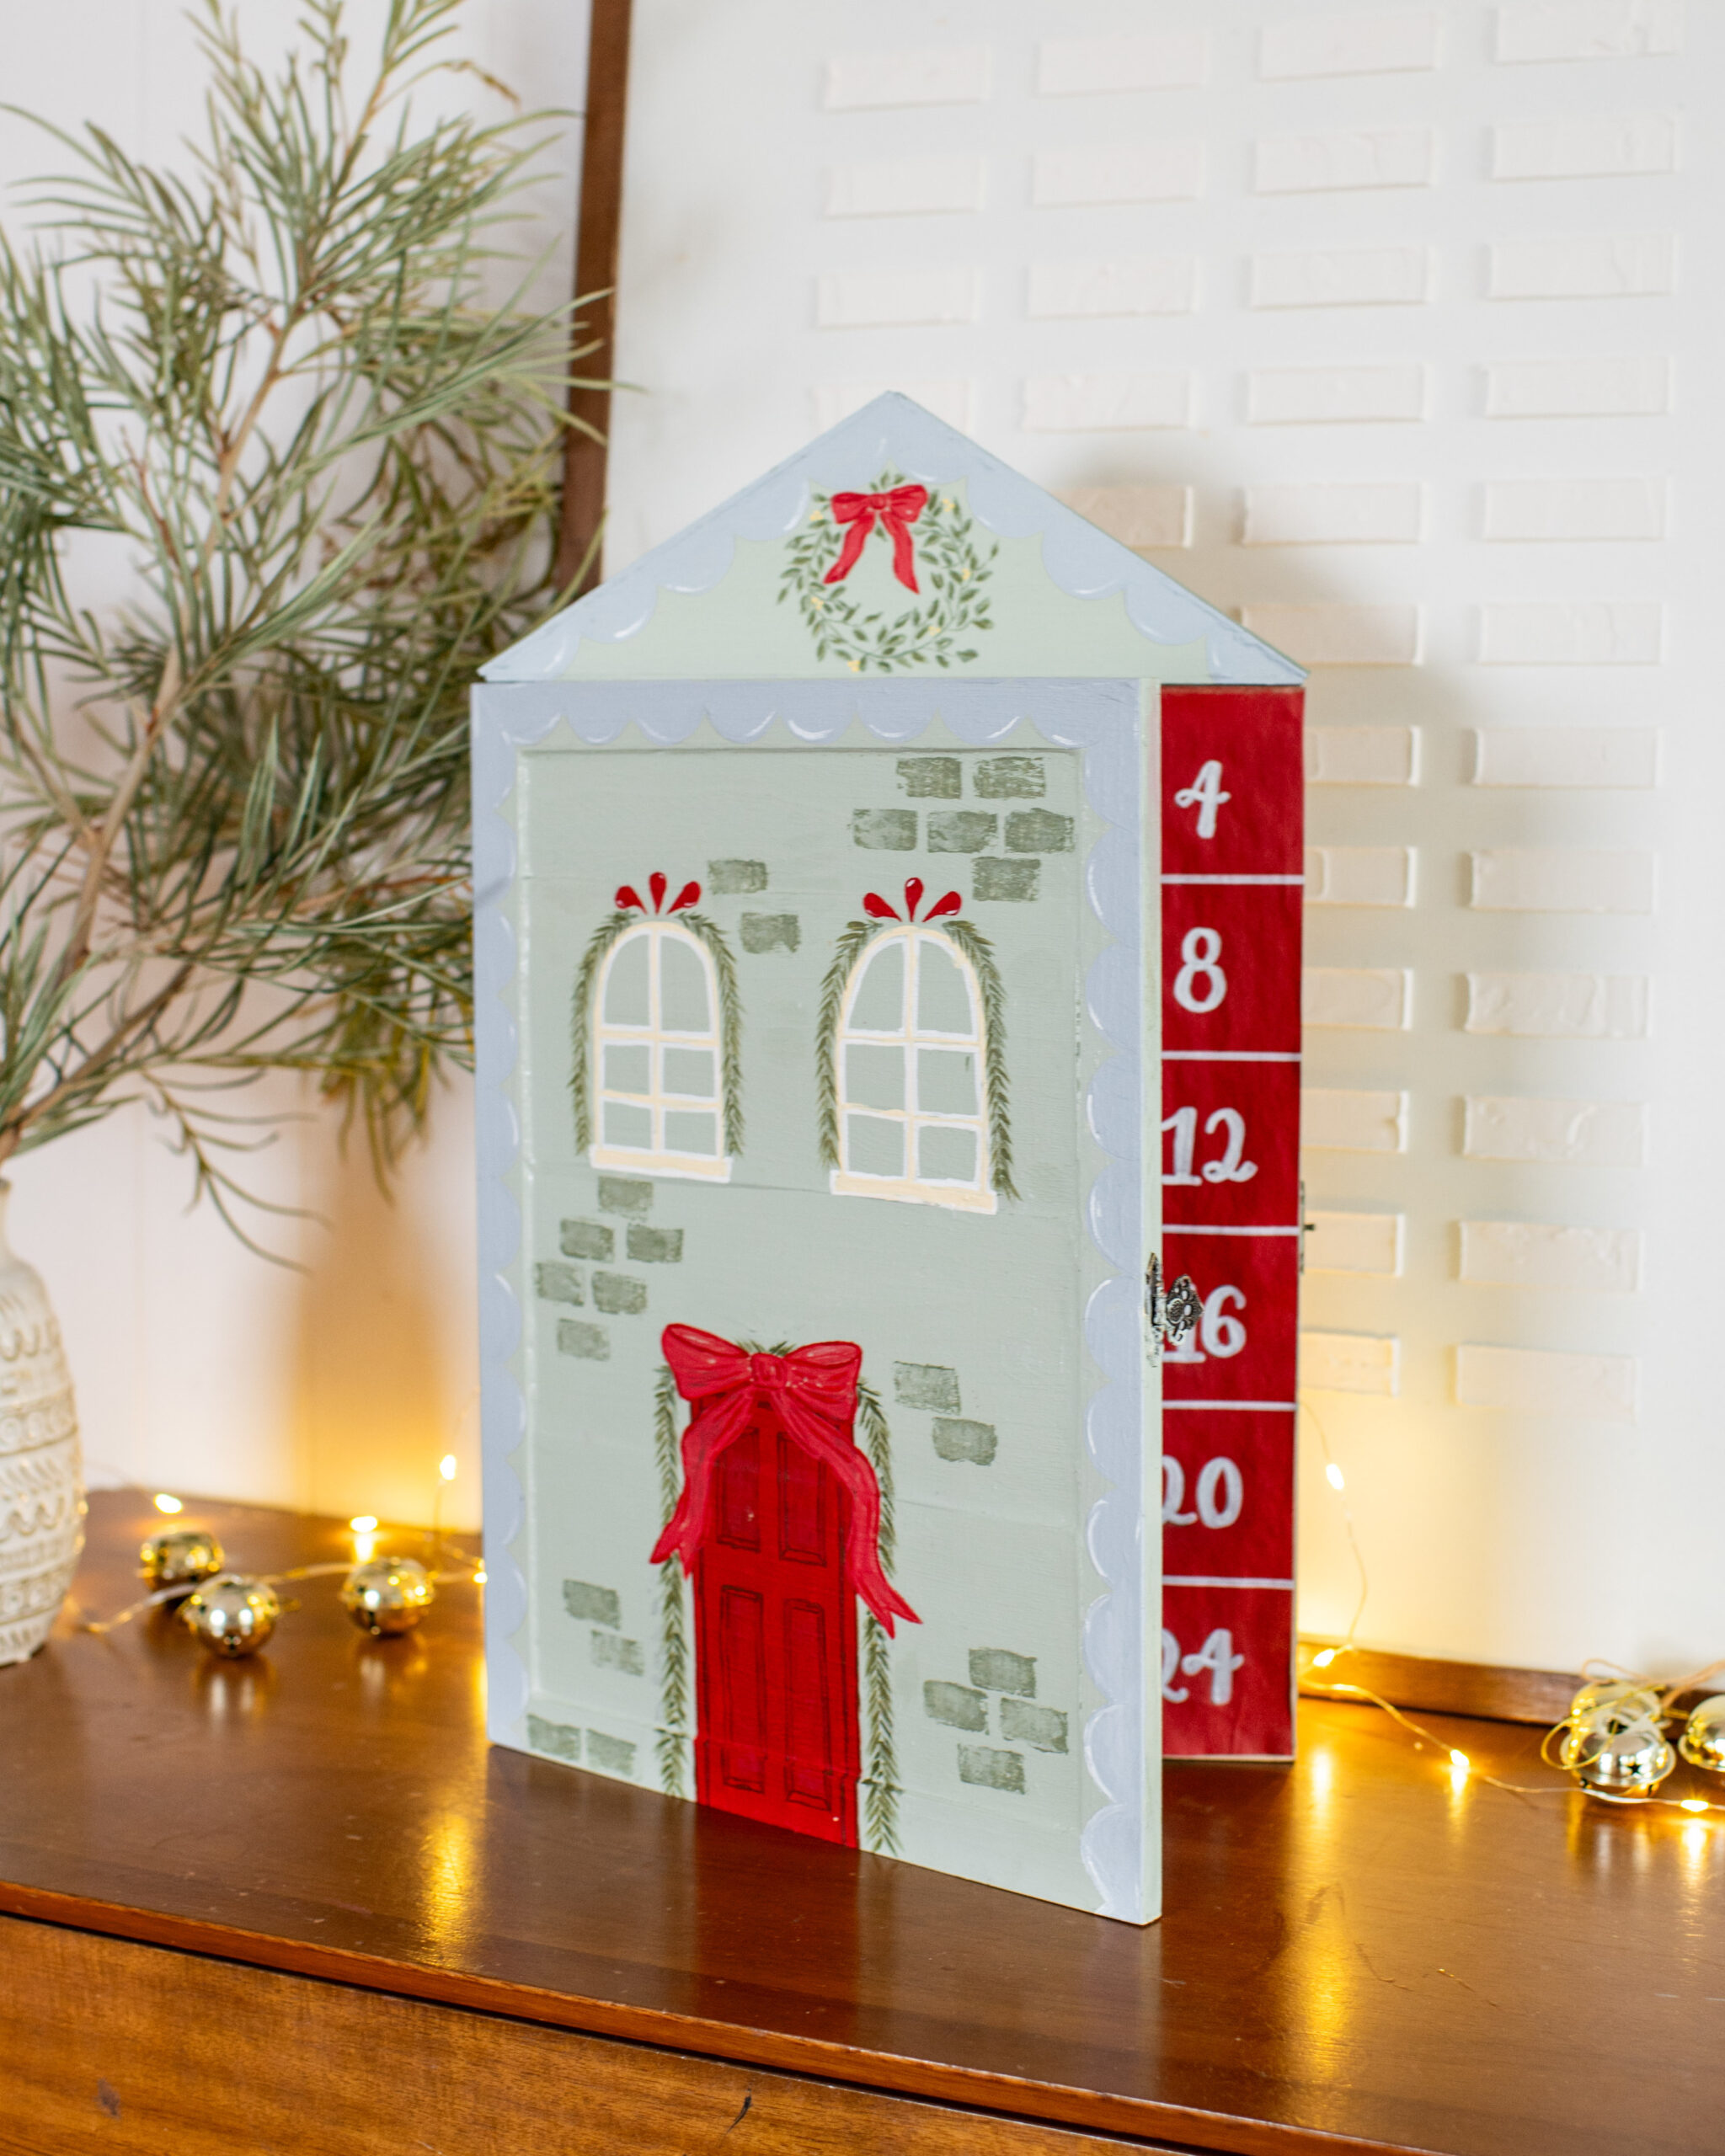
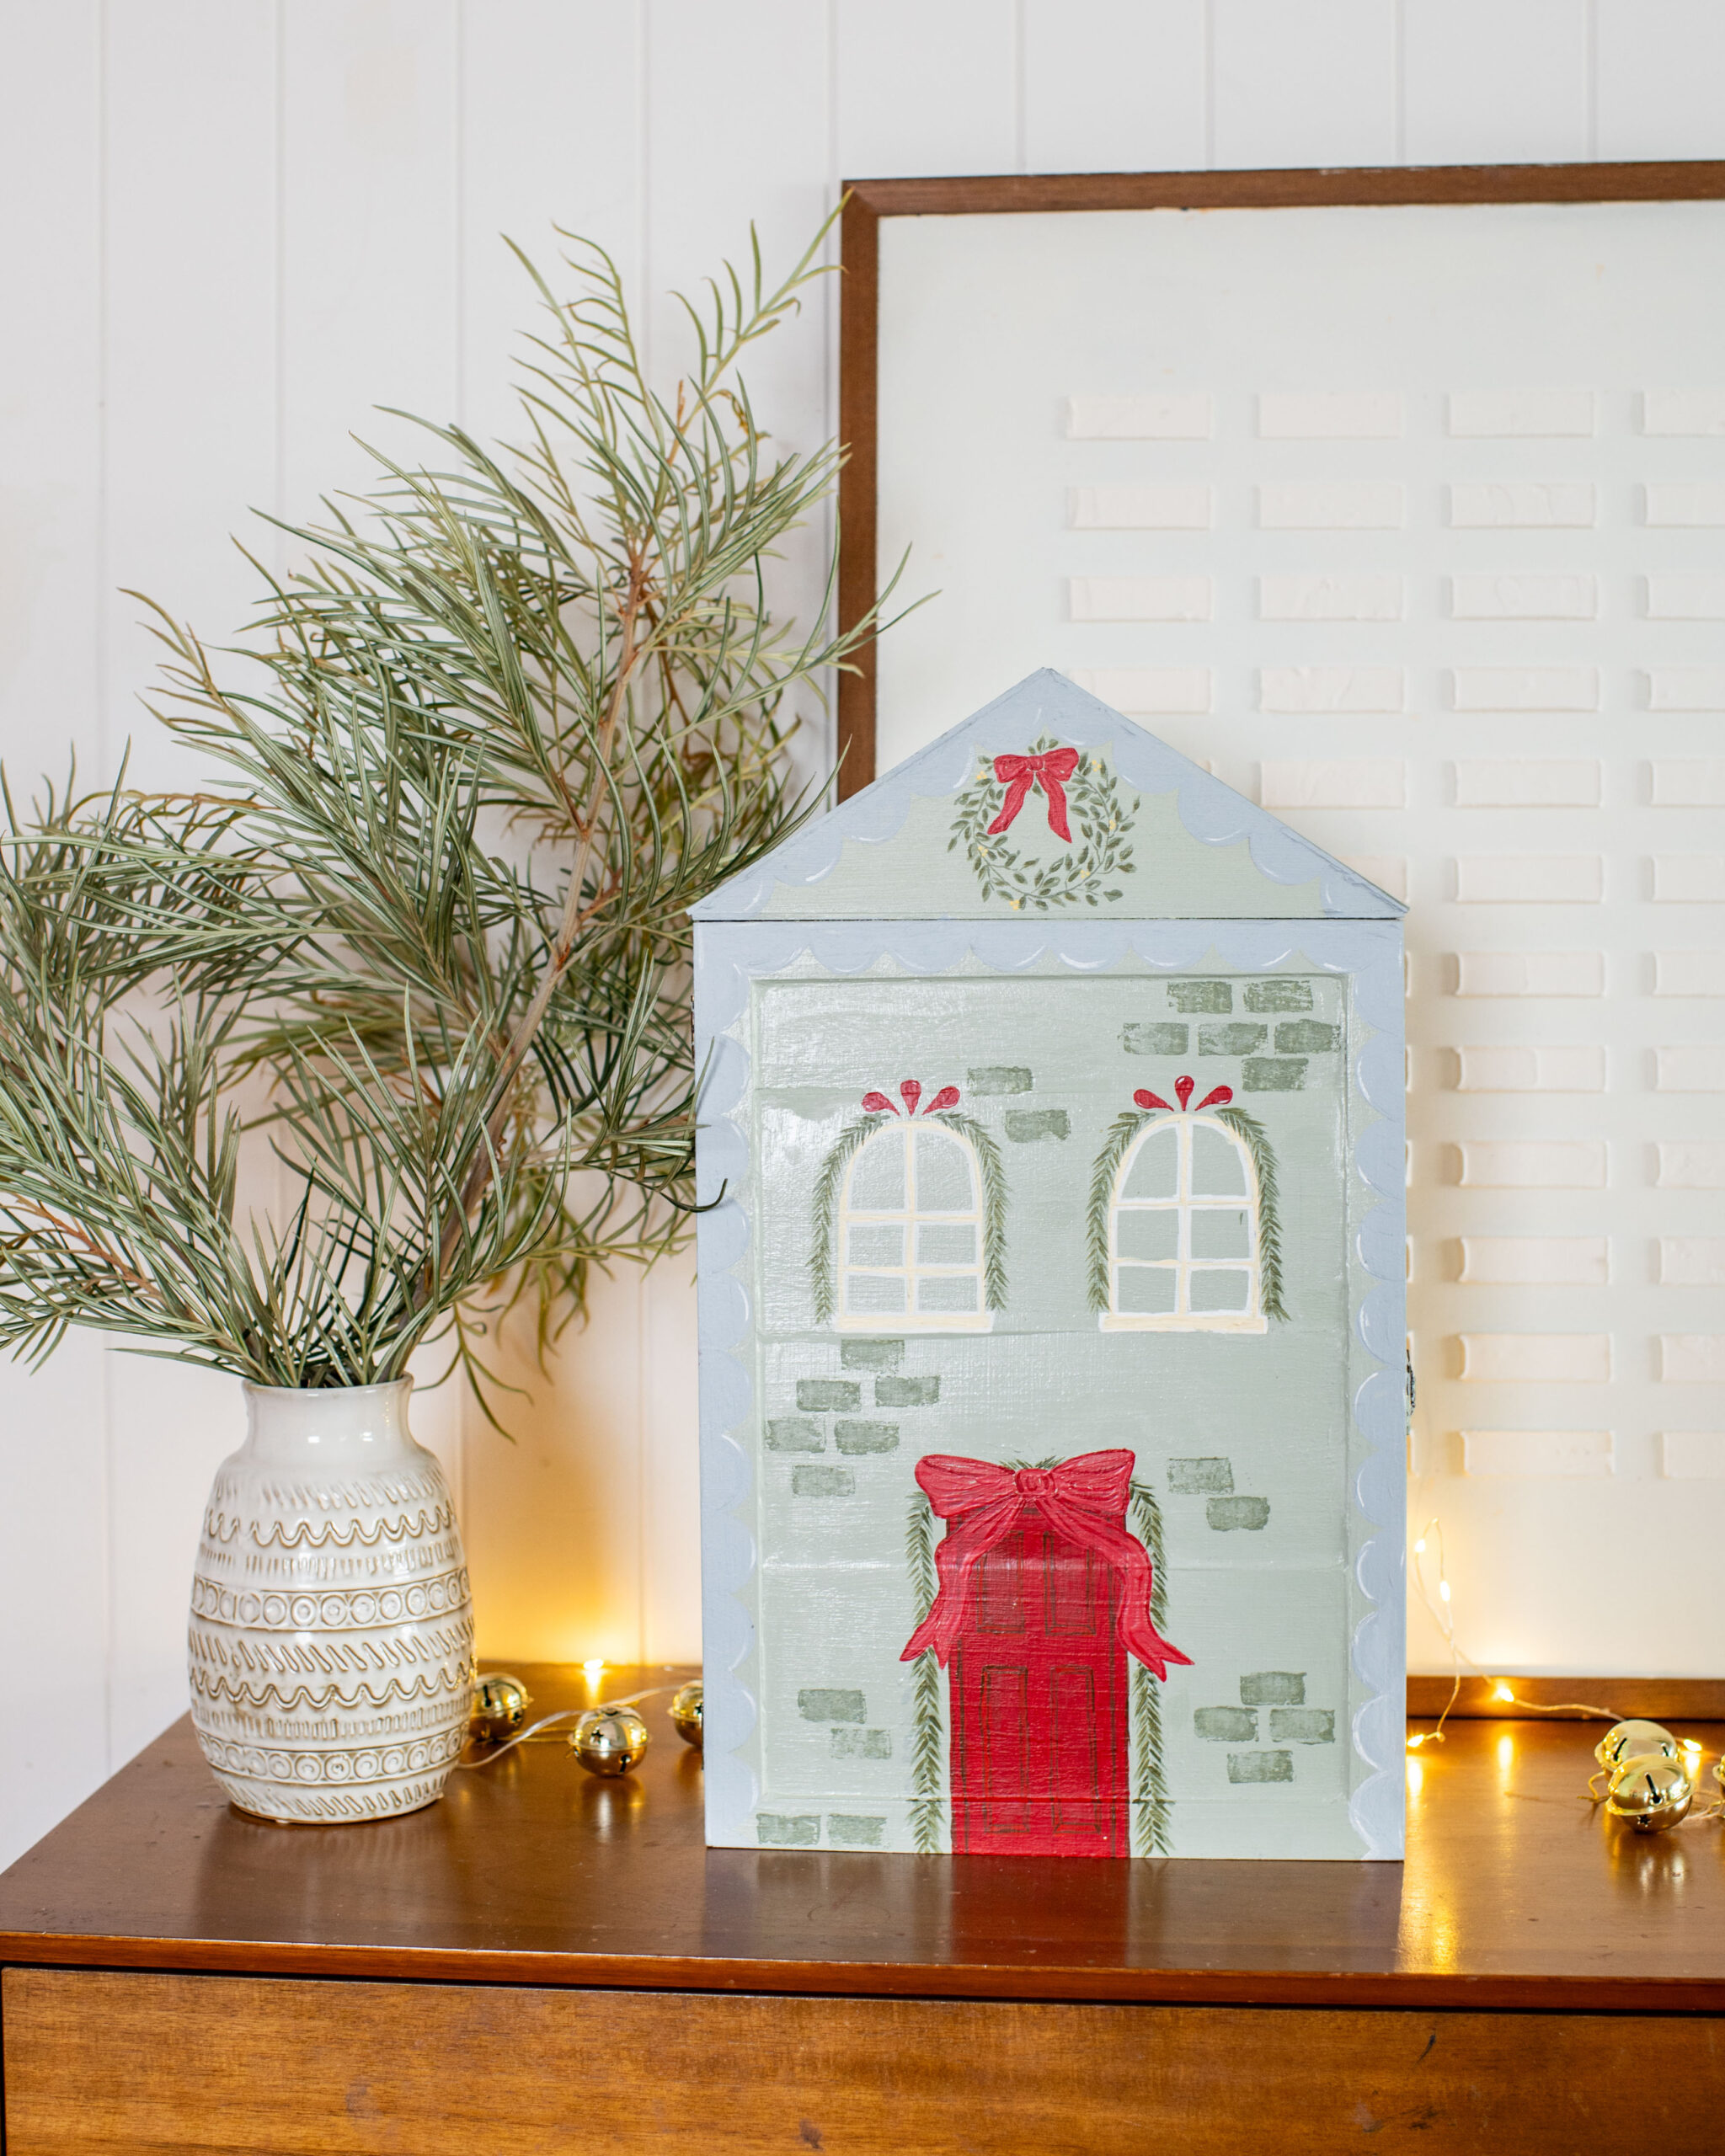
So many of you guys asked for an advent calendar, so I made this one for under $50!
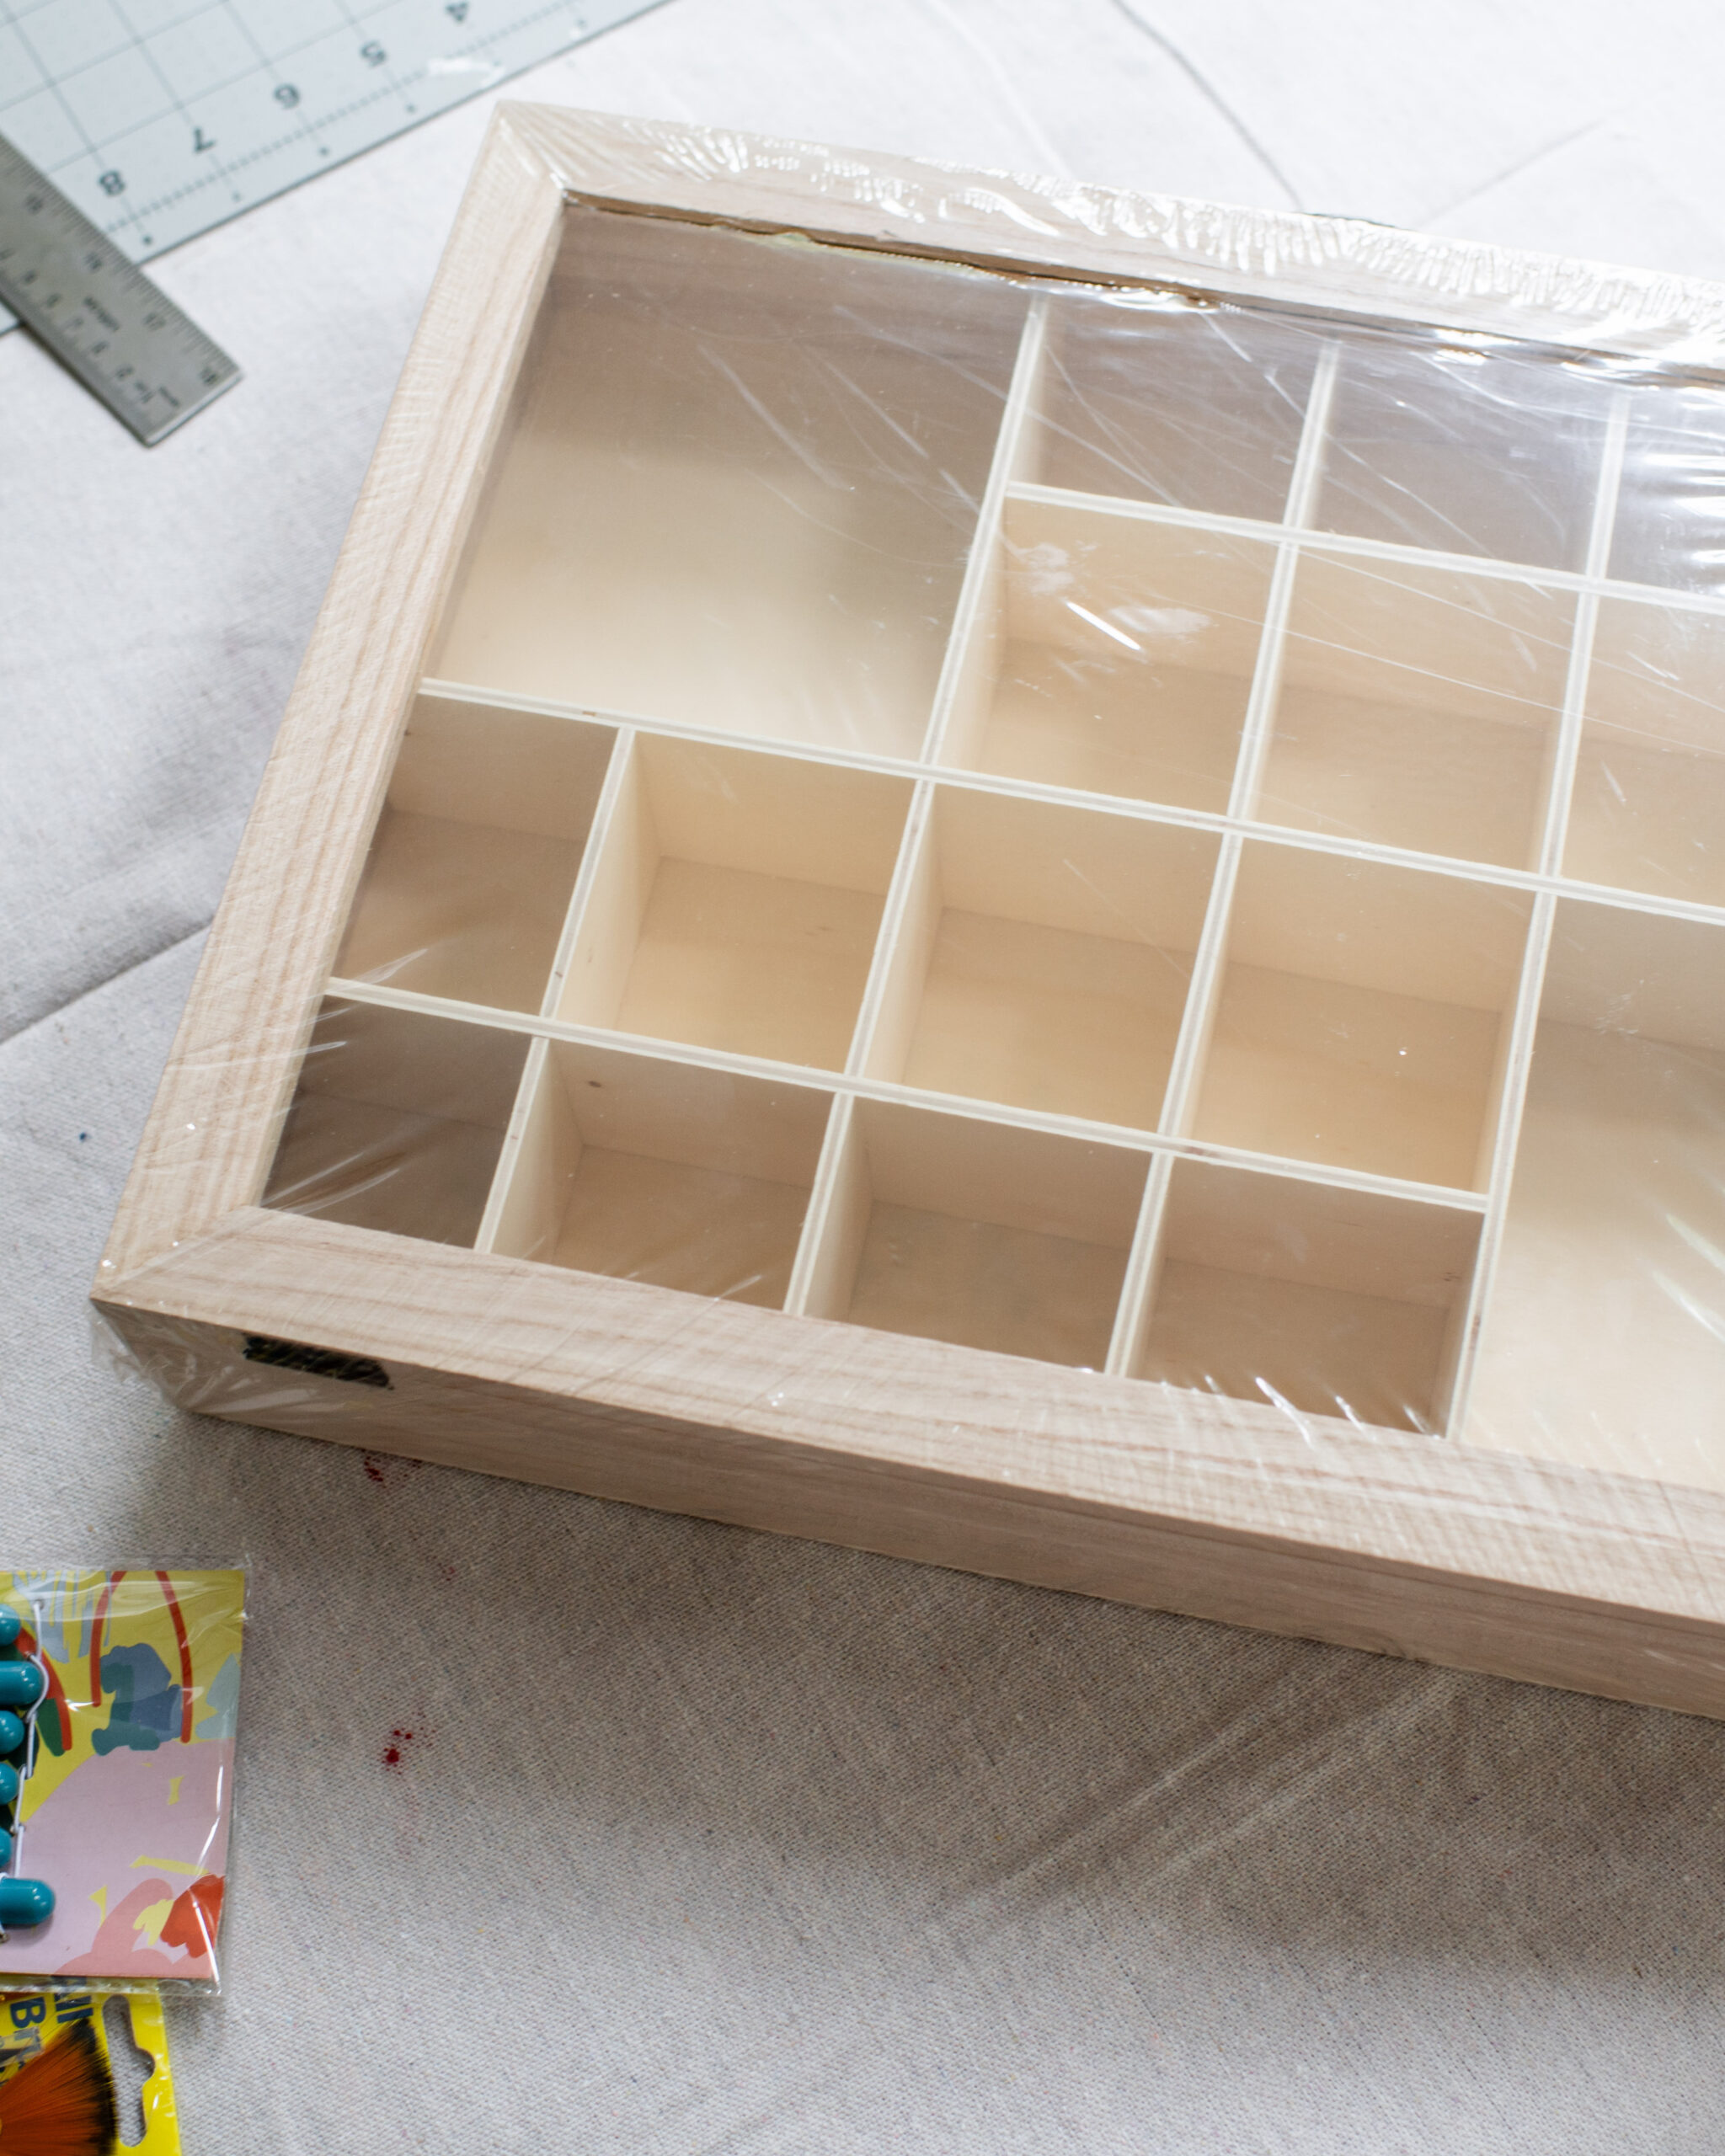
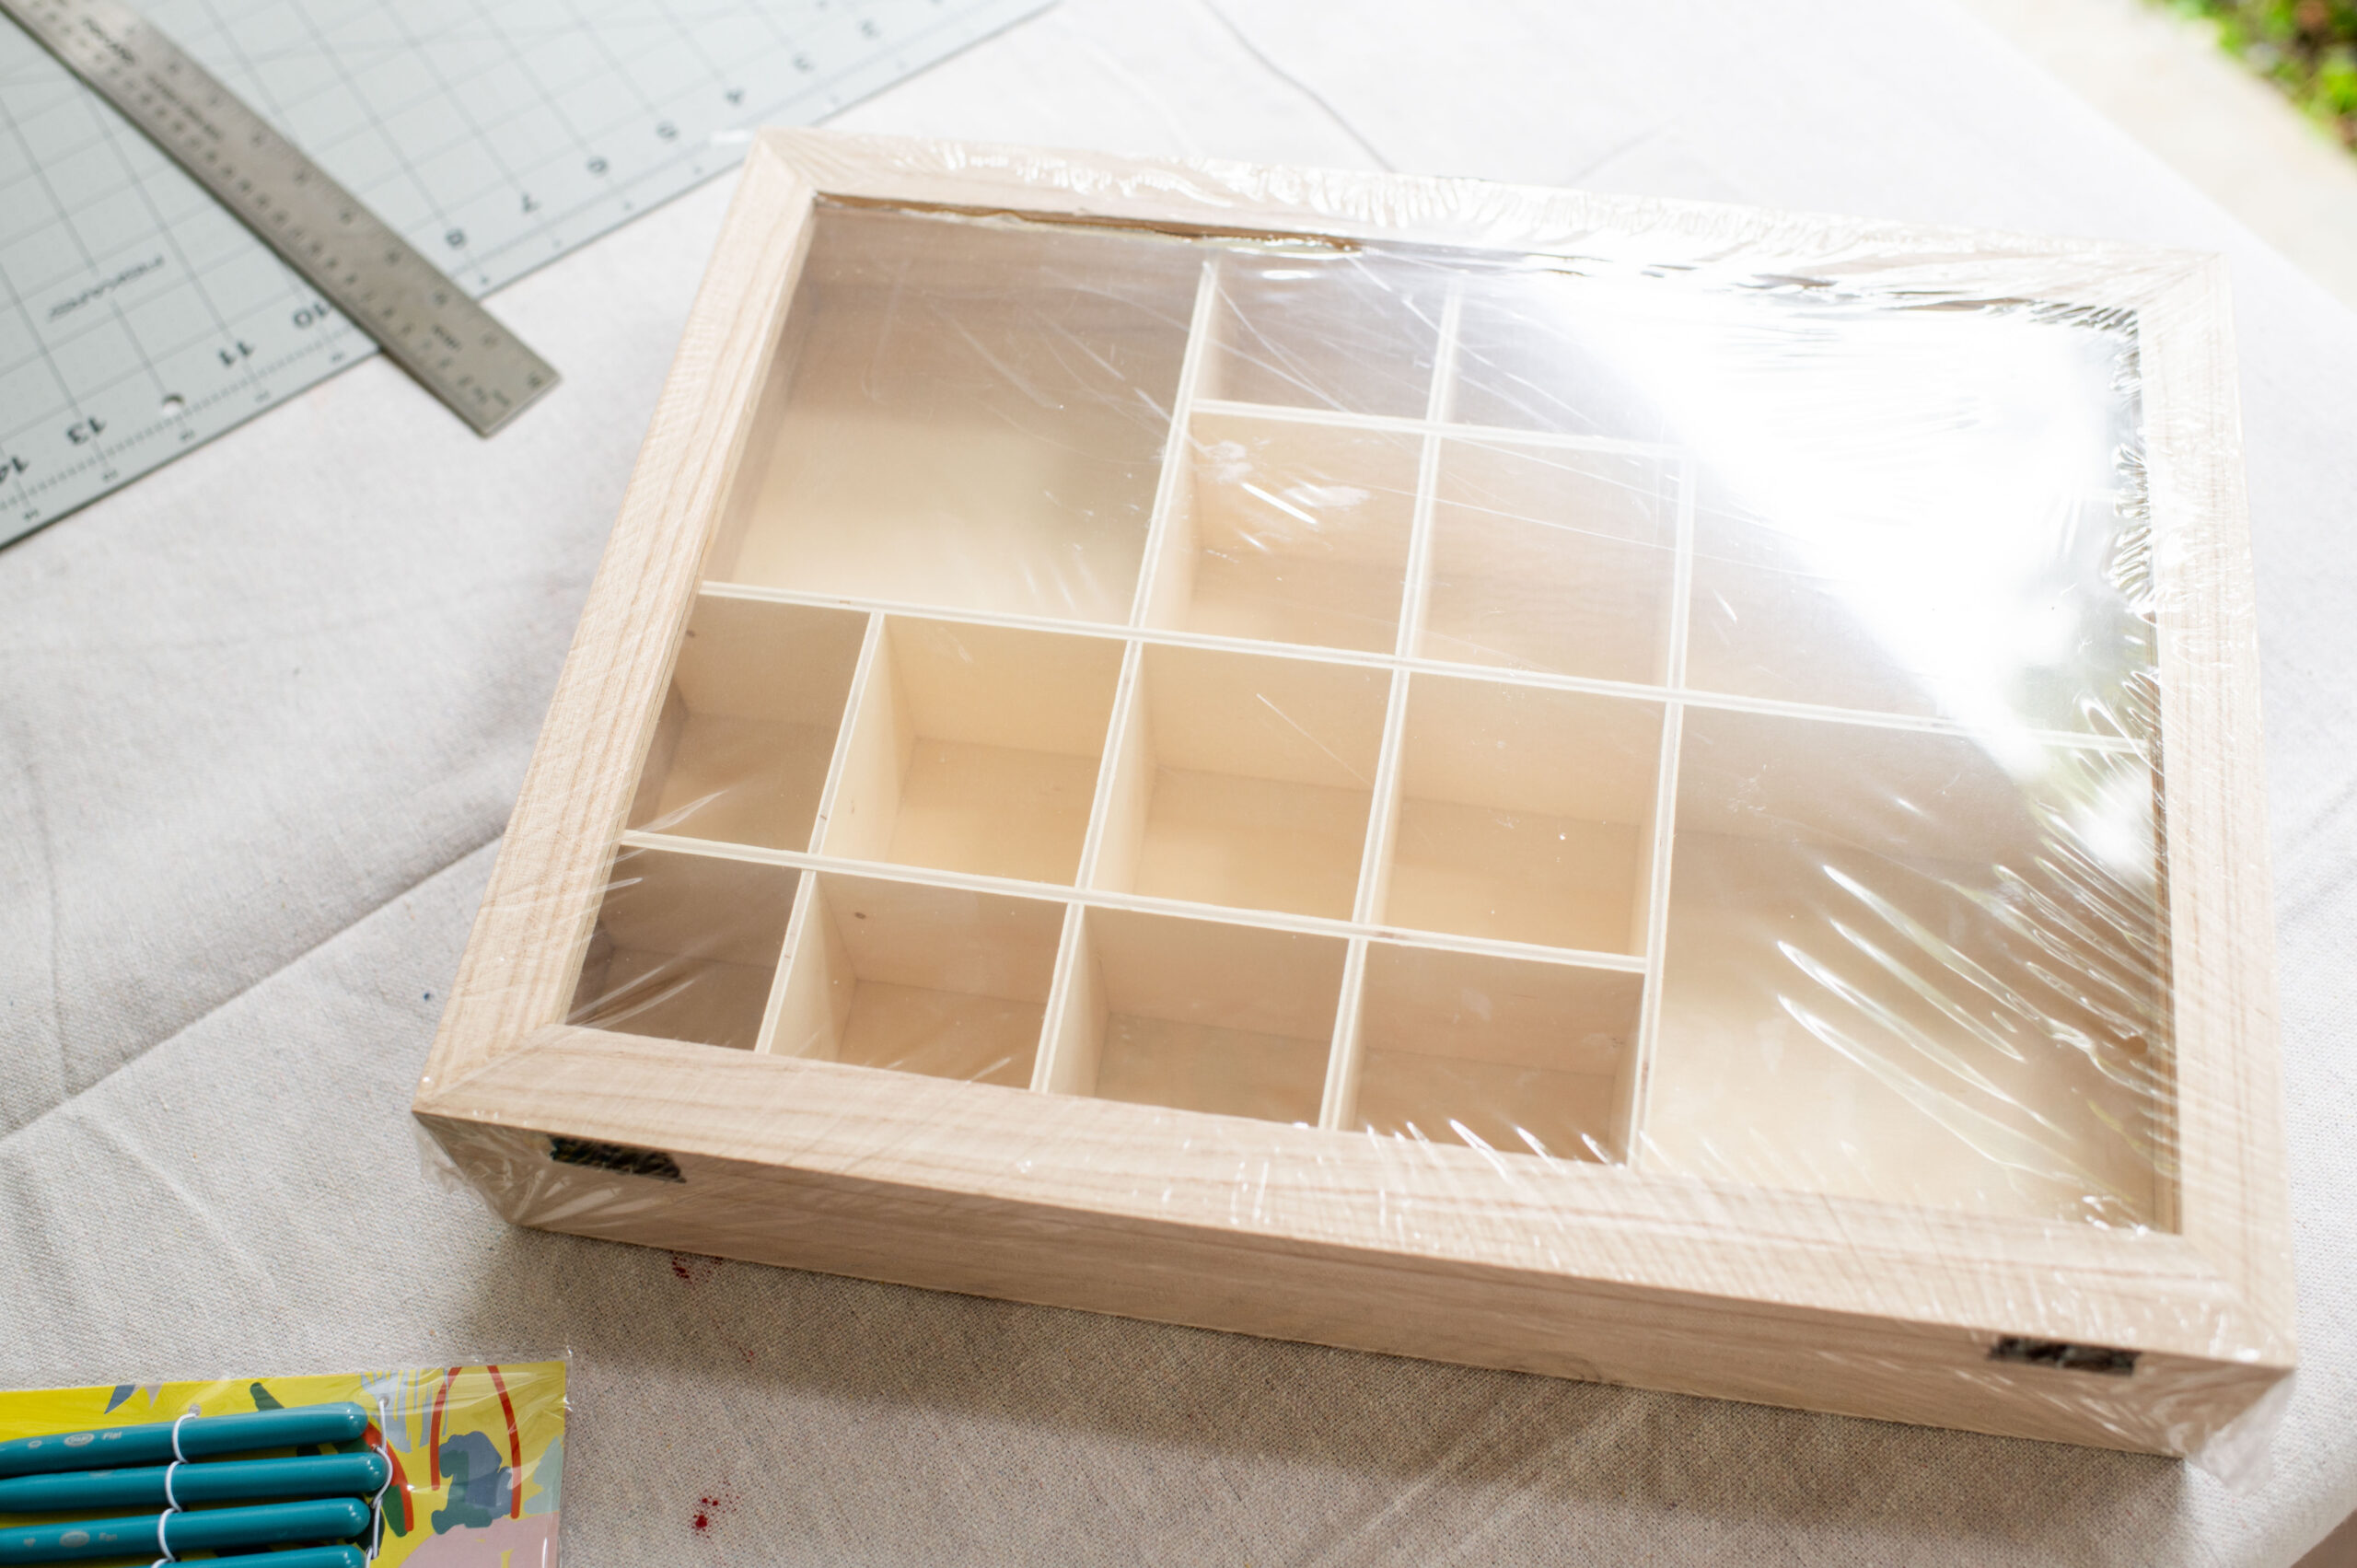
I made this DIY Advent Calendar using a craft box from Bunnings, as soon as I saw all the little compartments I knew there was so much potential with this box, and given my love of all things cottage and dollhouse inspired, this felt like the perfect end of year project, and I knew the girls would love it!
Download the Advent Calendar Activity printable here.
- Before
- After
House Advent Calendar Materials You Need
- Timber Memory Box
- Kraft Paper Roll
- All Purpose Brush Set
- 3 x Hobby Wood Sheets
- Acrylic Paints (I used basic wall paint)
- Super glue and wood glue
- Printed Advent Activities
How to make a House Advent Calendar
1
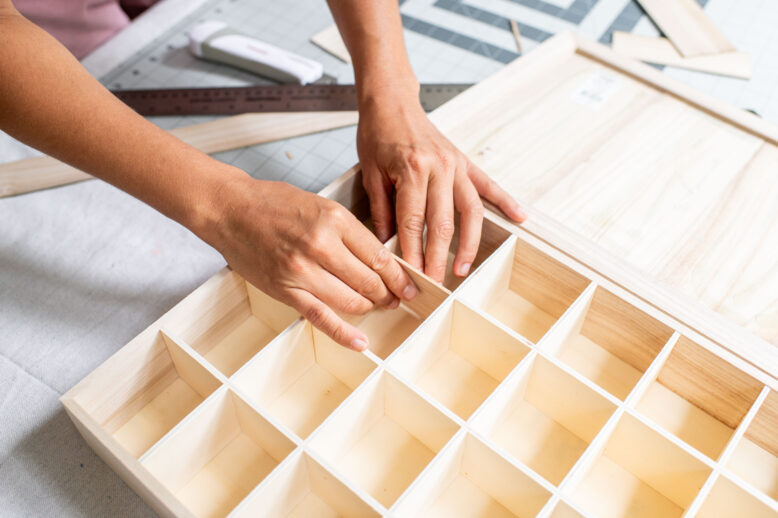
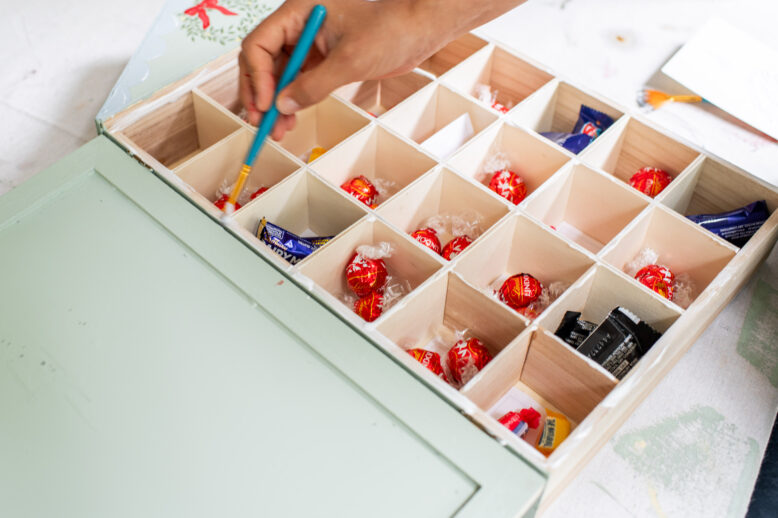
I started by separating the two large compartments into four so that the box had 24 spaces to match 24 Advent days.
2
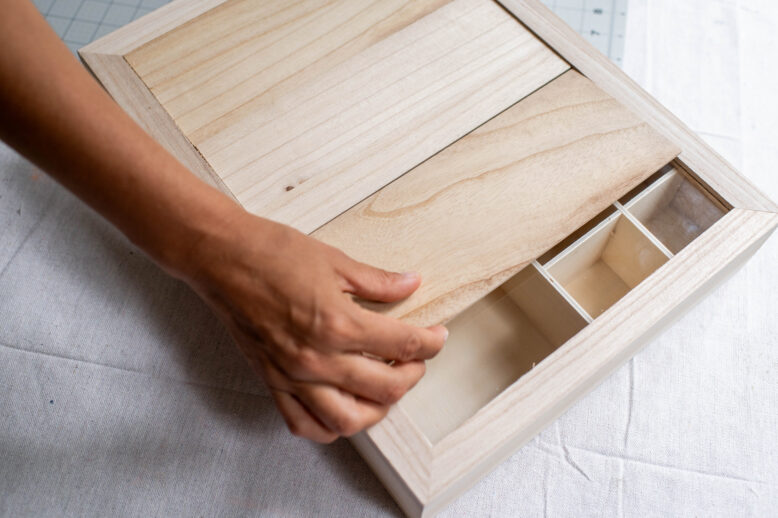
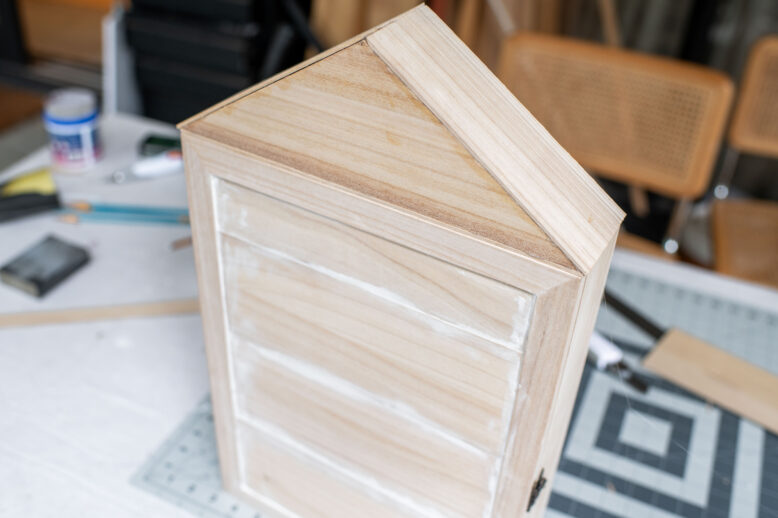
Then I cut and glued on hobby wood to the front of the lid of the box to create a solid door.
3
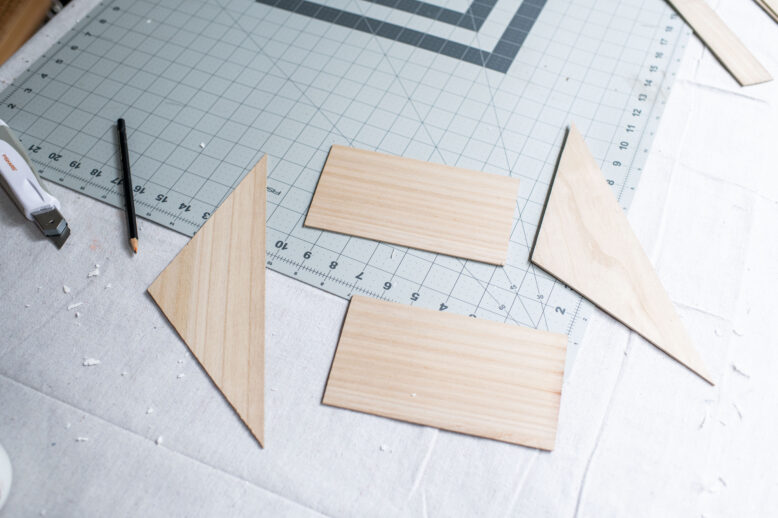
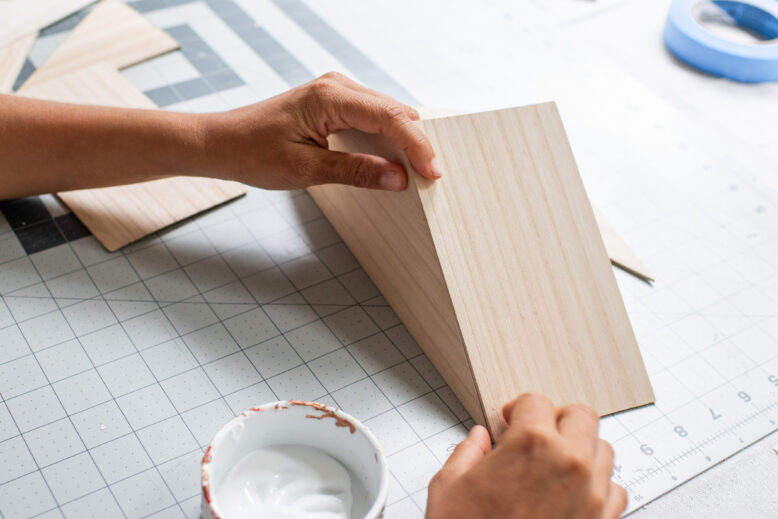
I then cut out hobby wood to make a roof shape matching the size of the top of the box.
5
I then glued the roof onto the top of the box, I also used a bit of wood filler on the front but that is an optional step (I don't think it changed the look significantly).
6
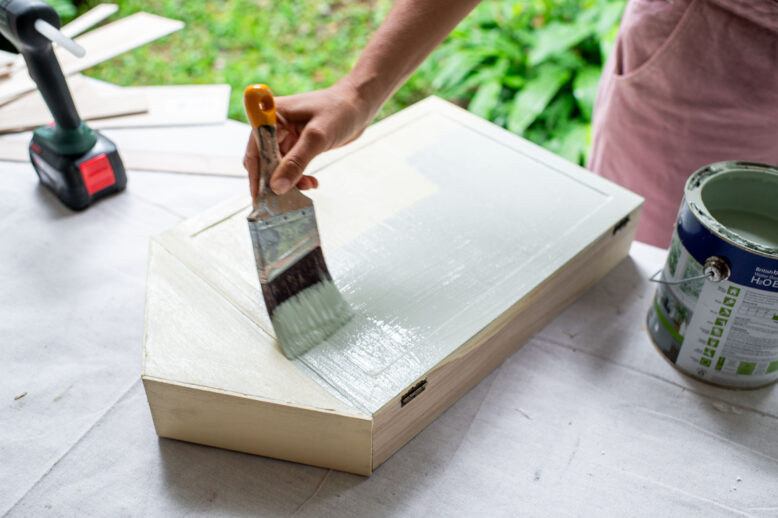
I then painted the whole house - first I did yellow but I didn't love it so switched to green! This is Slender Pine by British Paints.
7
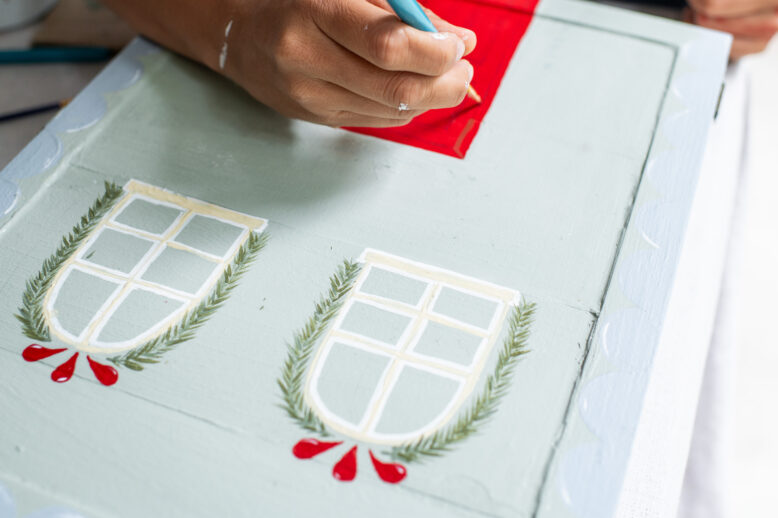
I sketched a basic design on the front including doors and windows and some decorations, and then used paint to bring those to life. You can keep it simple or go all out at this point!
8
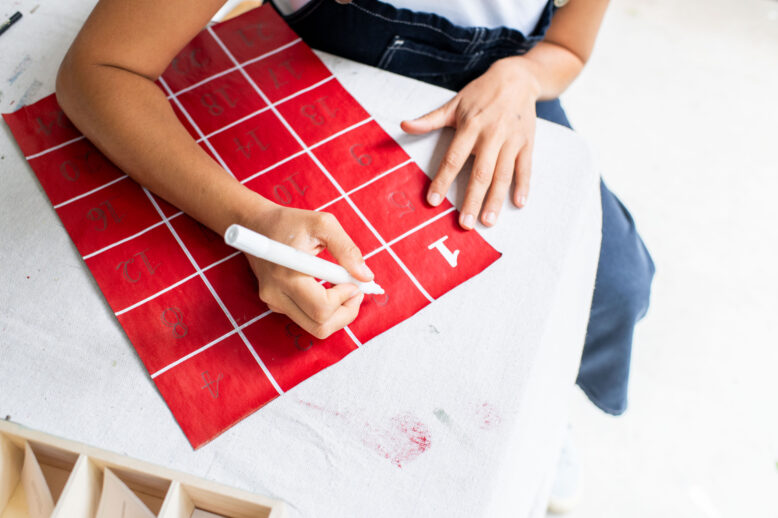
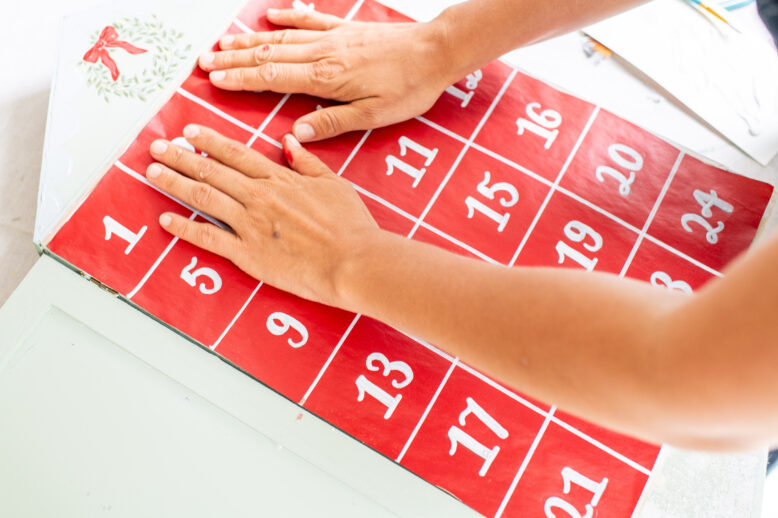
I then cut a piece of craft paper, painted it red and then draw a grid and added the Advent numbers.
9
To the compartments, I added small gifts (hair clips, washi tape, etc), chocolates and the printable advent activities (link above) and then applied PVA glue on the edges all the way around each box.
10
To finish it, I slid the paper on top and pressed it down firmly, ensuring good contact between the paper and all the way around all the compartments.


