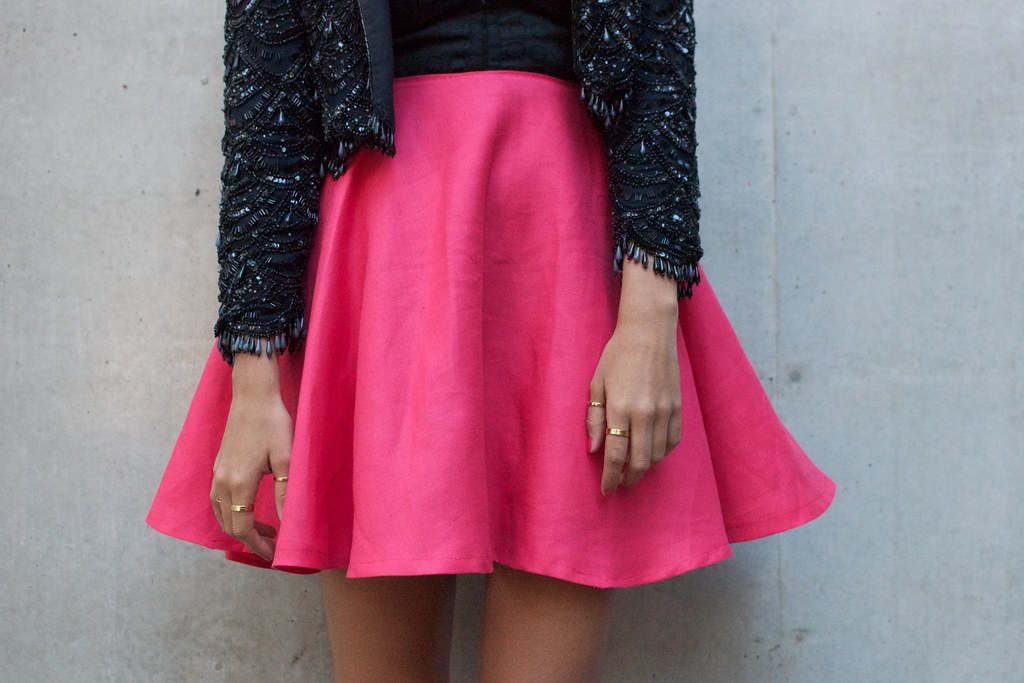
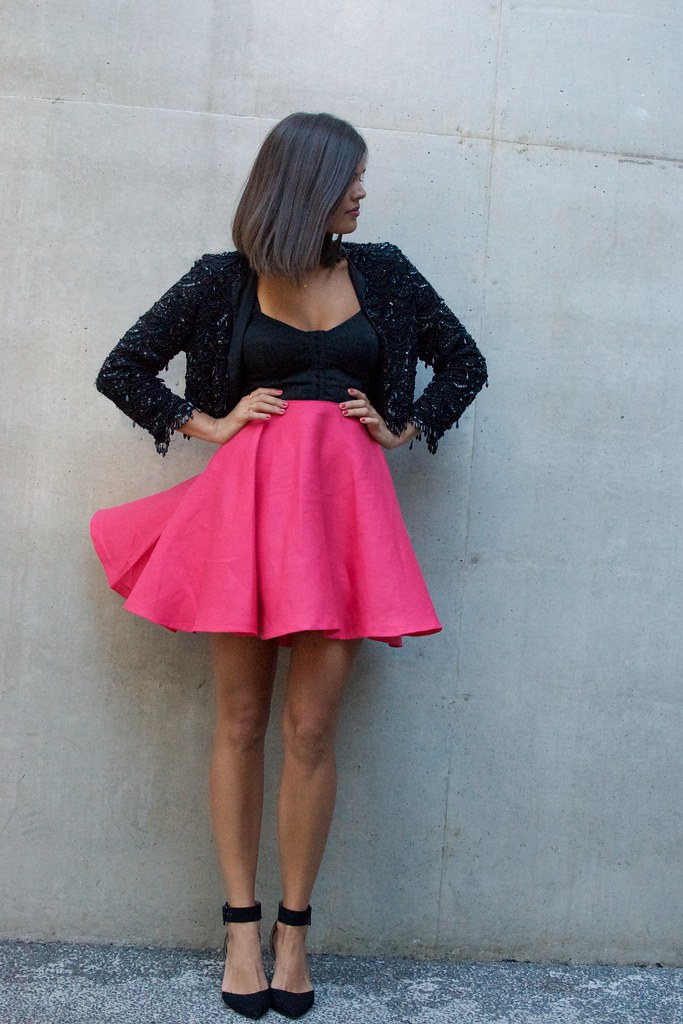
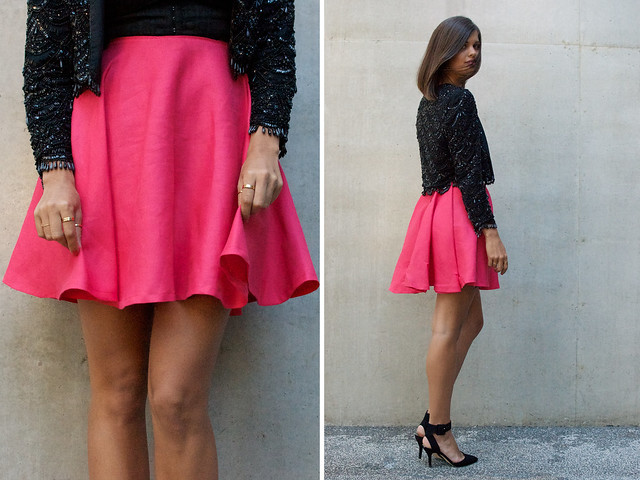
Wearing: DIY Circle Skirt, Crop Top designed by me, Vintage Beaded Jacket from London (most treasured vintage piece I own!), Zara Heels, Gold Necklace from Boticca, DIY rings from the hardware store
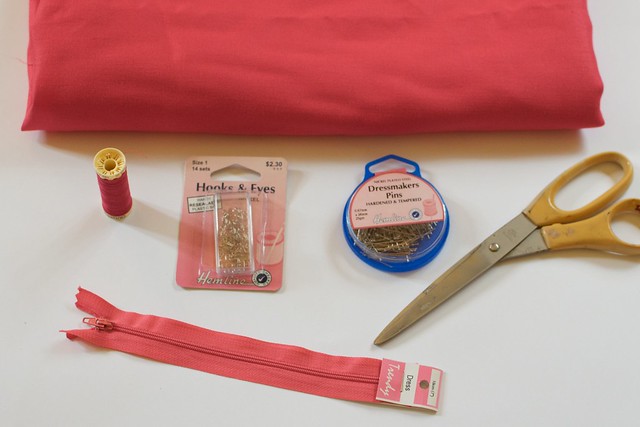
You need:
– 2 meters (or around 2.4 yards) of linen fabric
– Sewing Pins
– A hook and eye fastening
– Scissors
– A skirt zip
– A sewing machine
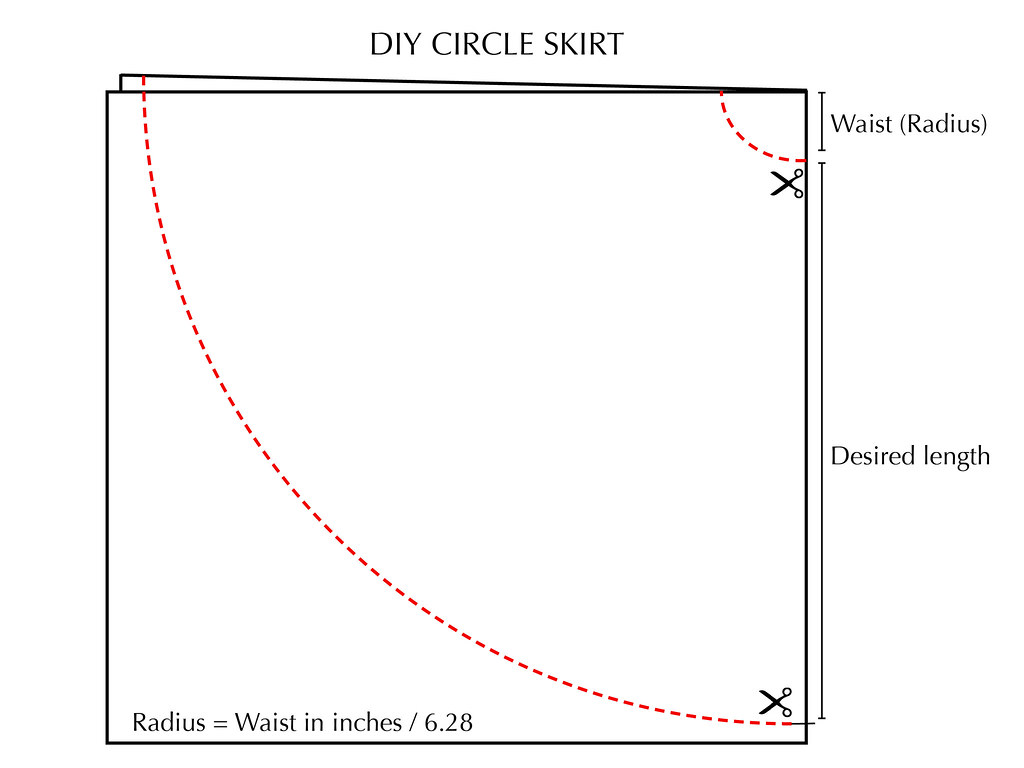
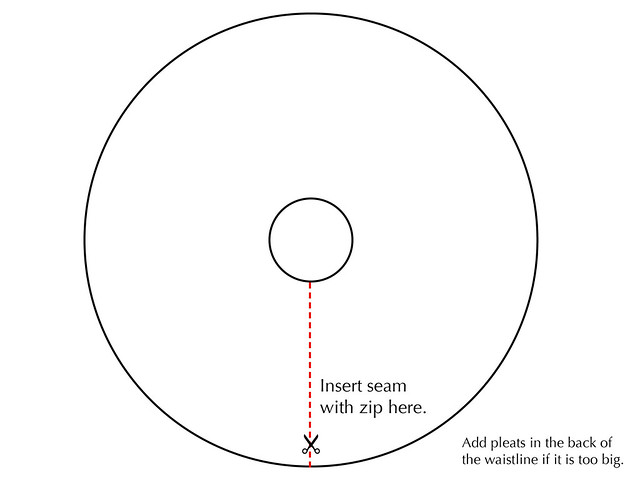
1. The first thing to do is to take your fabric, fold it in half and then fold it again.You then want to cut the skirt out following the diagram below.
I wanted mine a little big so I could add some pleats in the back so I added a few inches to my natural waist.
2. Now you will have a big circle of fabric with a hole in the middle. Hopefully the hole will be the right size for your waist. If it is slightly too big, you can make a few pleats in the back like I did – I preferred this because it added volume to the skirt. Cut a seam into the skirt as shown below.
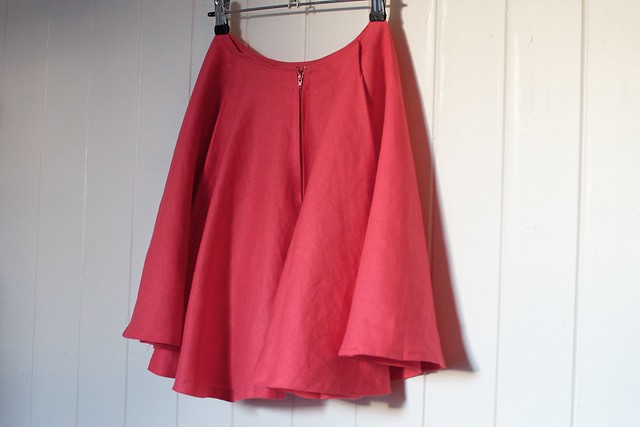
3. Now, first run the zig zag stitch along both new seams to prevent fraying. Then pin the seam on the inside and the zip in as shown below. Using your sewing machine, sew the seam shut and zip in.
I suggest you use bias binding to do this to get a clean hem – it can be tricky to hem a round edge like this and bias binding is a great way around it. I didn’t have any on hand and needed to finish the skirt in less than half an hour to wear out (yes, that’s how I roll) so instead I went around the raw edges using a zigzag stitch to prevent fraying and then did a single fold hem. If you have a serger that would work even better. Add a hook and eye to the top of the zip so it is more secure.


