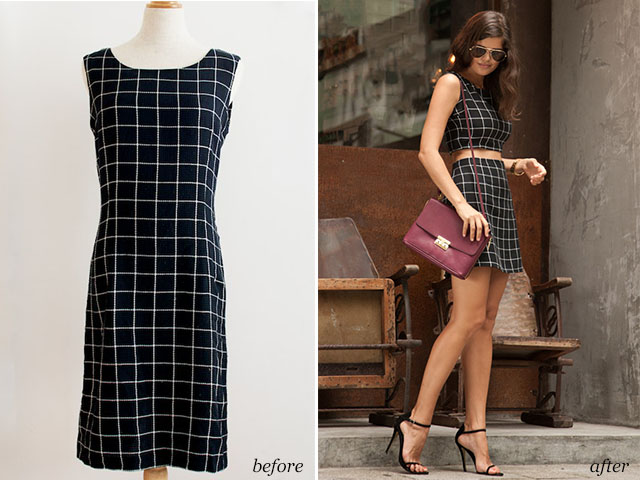
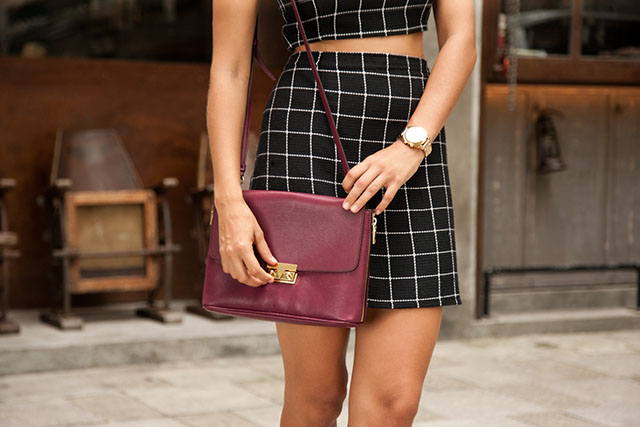
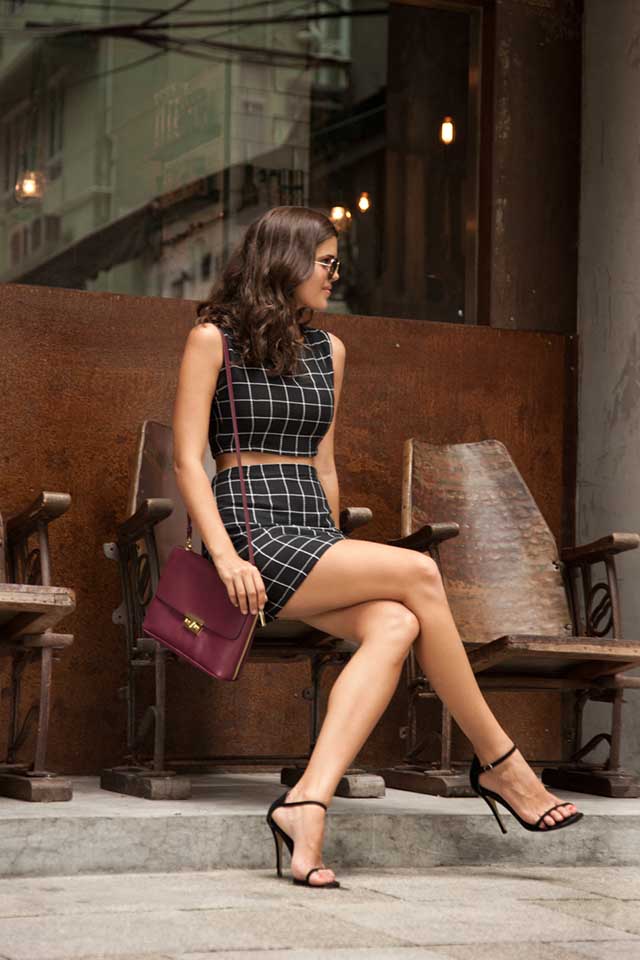
A matching midriff top and skirt combo have been on my wish list for some time, a good year in fact. I always kind of knew it might be possible to make a set myself out of a simple dress, but could never find the right print or pattern in my local thrift store. Recently I was there on a mission to find something completely different entirely and stumbled upon a not so cute fitted dress with a windowpane pattern (aka oversized checks), and knew what I wanted to do with it. It was a very simple cut and wasn’t flattering at all as a dress but somehow worked as a two piece. Hurrah!
Wearing: DIY midriff top and skirt combo, Tony Bianco heels, J Crew bag, Coach watch
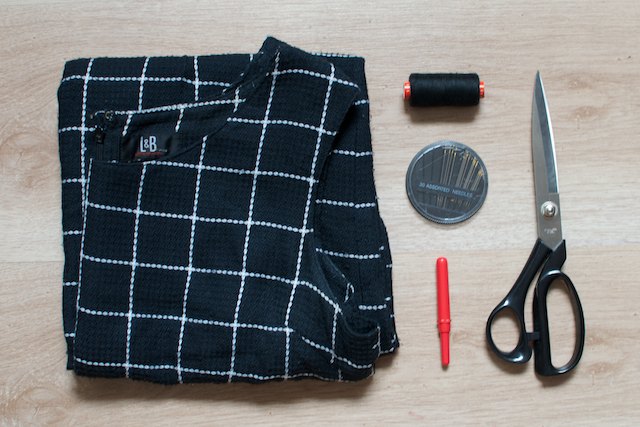
You need:
- a fitted dress
- scissors
- needle and thread
- a metal open end zip
- thread
- pins
How to:
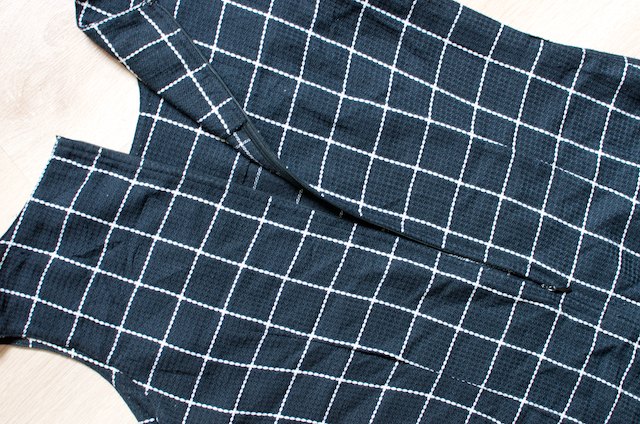
1. First thing to do is to lay the dress on its front and unzip it.
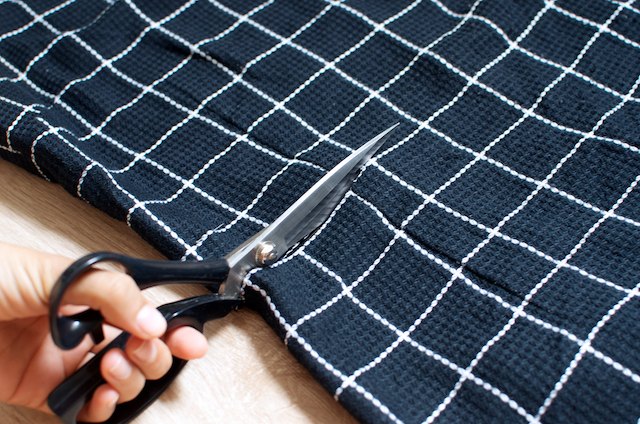
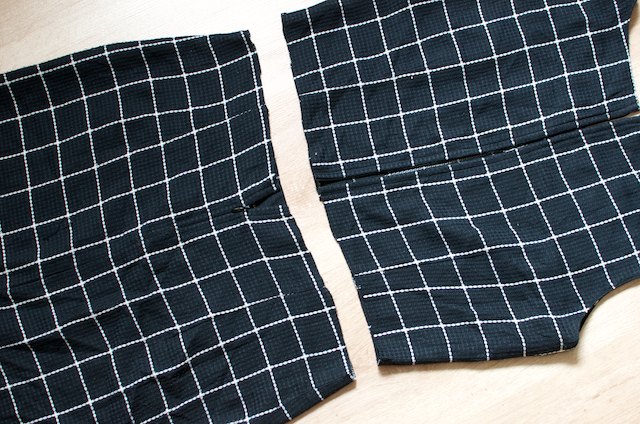
2. Measure where you want to cut the dress in half and cut it using sharp scissors. I used the grid print as a guide. Make sure that the zip teeth are further down than where you cut it in half, thus leaving it attached to the skirt part.
3. Note where the zipper is.
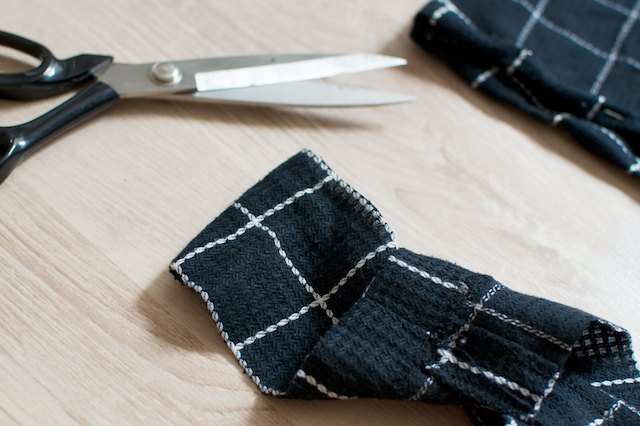
4. I then cut the hem a little so it sat about knee length. Be careful with this because in the next steps you are going to turn the waistband over which will make the skirt shorter anyway.
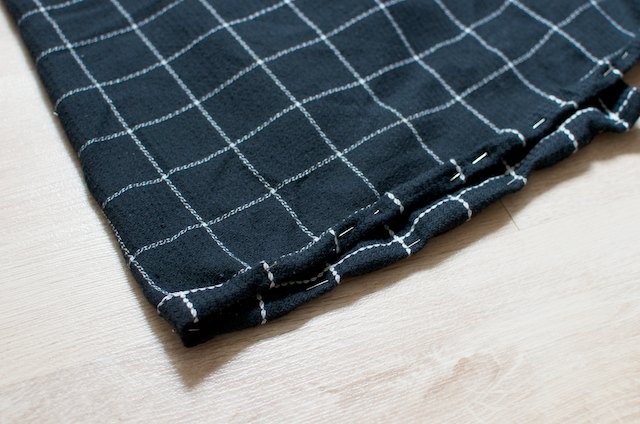
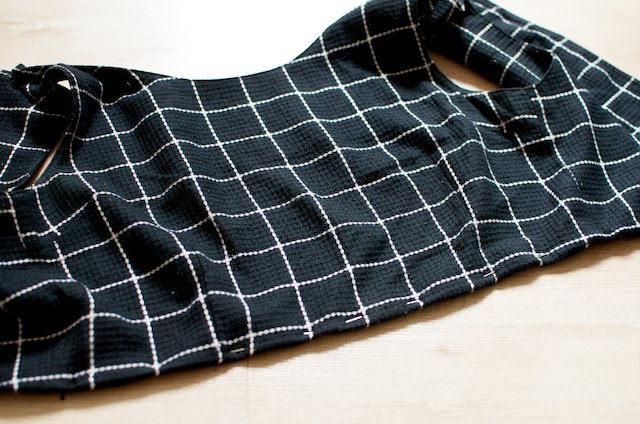
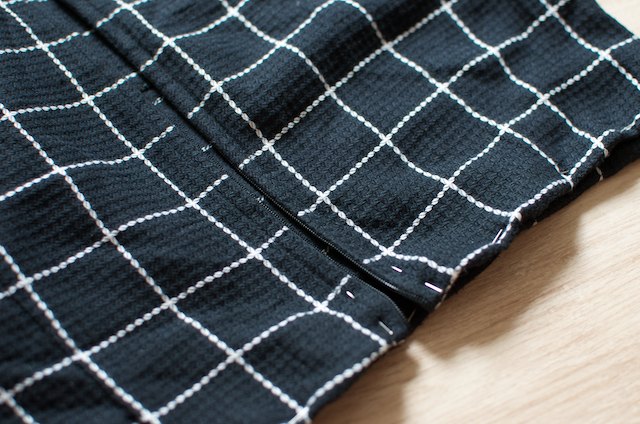
5. I rolled the hem and secured with pins.
6. I did the same with the waistband.
7. When you get around to the zip you can cut the zip away from the fabric because it won’t roll.
8. I then rolled the hem of the midriff top and secured with pins.
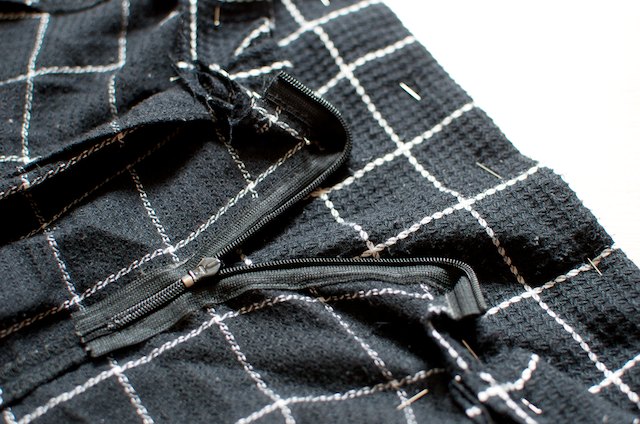
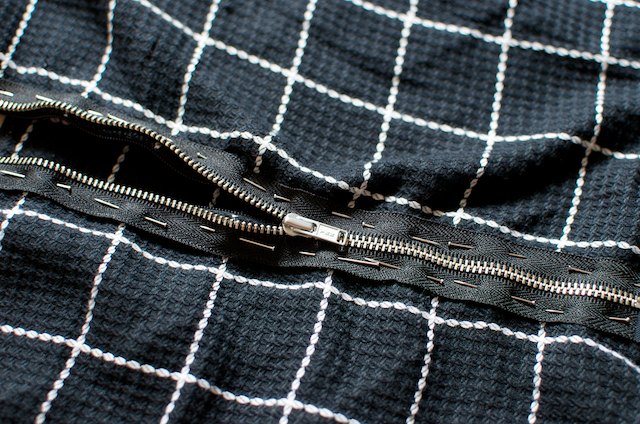
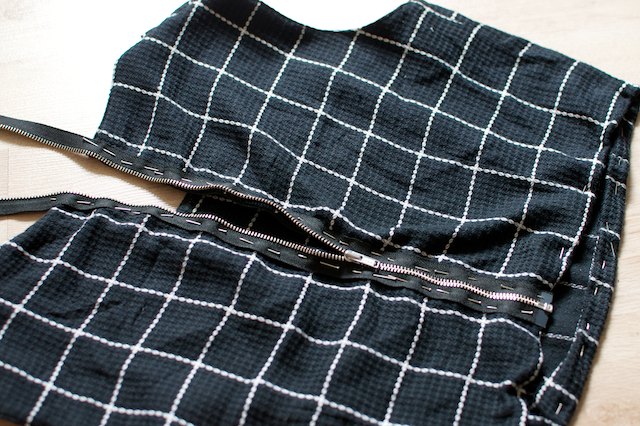
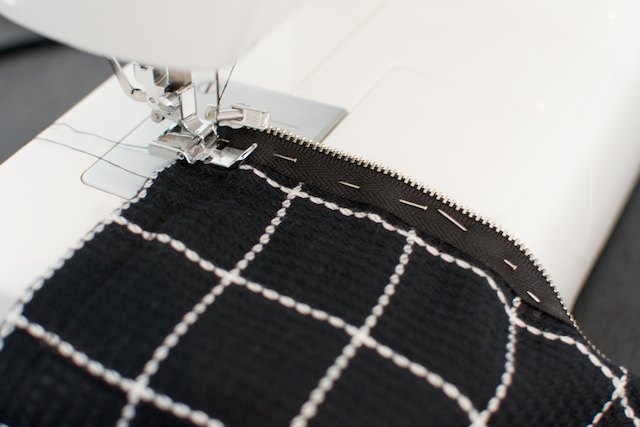
9. To close the back I added an exposed zip over the top of where the old zip was. My mum would probably look at this and think ‘this is so not how I taught her to add a zip’ which would be very true but it was the easiest way and I like the look of the exposed zip (post justification…).
10. I lined up the bottom of the zip with the edge of the hem so that it can be opened completely so you can get in and out of the top.
11. Give the whole outfit a good iron so everything is nice and flat and then start to sew all the hems and edges as well as the zip. Finish off with another good iron and you’re ready to wear it!
And there you go! I was lucky to find such an on trend print in the thrift store, good luck!
Thanks to lovely (and amazingly talented) Bridget Fleming for taking the outfit photos – we had such a fun day shooting!


