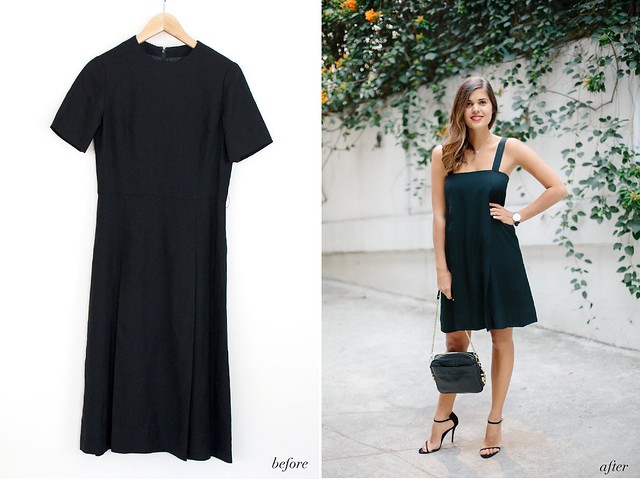
A simple shift dress with a straight neckline has been on my hit list for a while, and recently while pondering what to do with a (frankly) dowdy dress I got from my secondhand store, I realised that it lent itself perfectly becoming said dress. Although the final design ended up being really quite simple, this idea was so satisfying – because the neckline in after is actually the waist from the before dress! (Mind bending I know but you’ll see when you scroll down). Because of this, and the fact that it fit perfectly when cut up, it literally took me 10 minutes to make. I know you’re probably like yep Geneva always says that things take five mins when they don’t, but I’m seriously not kidding you. This time anyway. Enjoy!
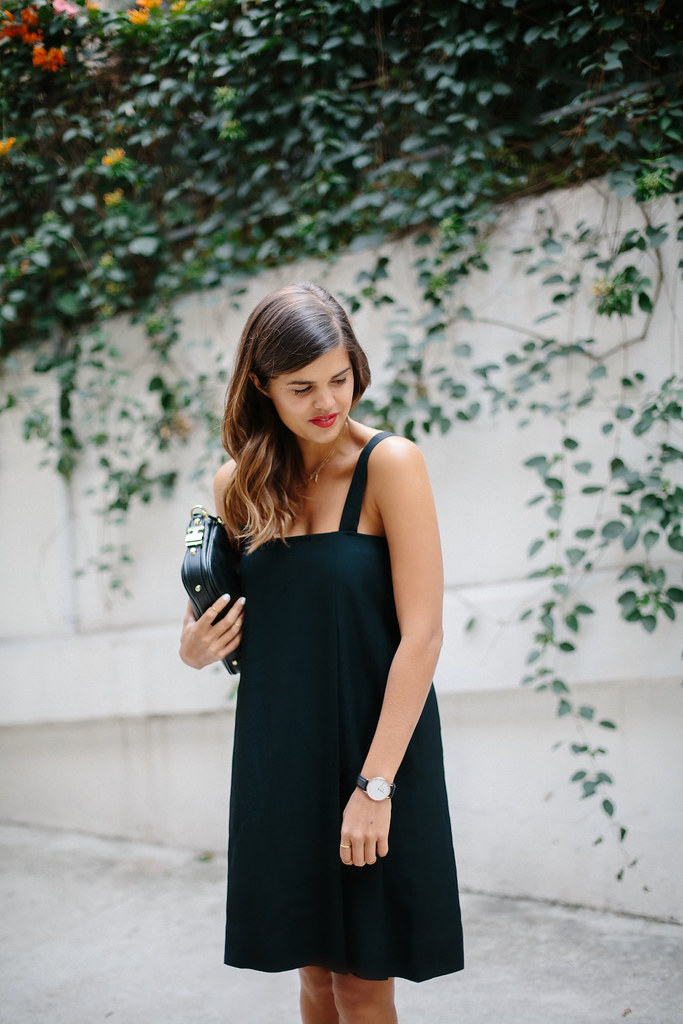
Wearing: DIY Dress, Dylan Kain Bag, Tony Bianco Heels (v old but like these, these or these), Daniel Wellington Watch
This is what it looked like before! If you look at the waist in the first picture you’ll see where I cut it off and turned that into the neckline of the after dress on the right. The pleat at the front feels very on trend actually, perhaps with a slight The Row vibe? (Haha I wish!) Either way it’s perfect for when you want to eat a lot without pesky waistbands getting in the way, and probably lends itself well to maternity dresses, but I’m not there yet.
The Shift Dress
You need:
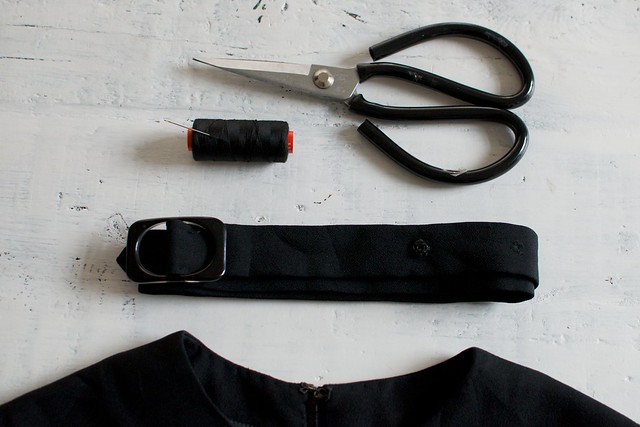
- a dress with a waist seam – make sure the waistline is big enough to fit as the neckline above your breasts, and the skirt part is long enough to make a dress. Alternatively you could make a top using the same method if the dress is too short.
- A needle
- Scissors
- Thread
- Something for straps – this dress came with a belt so we used that, making it really easy!
How to:
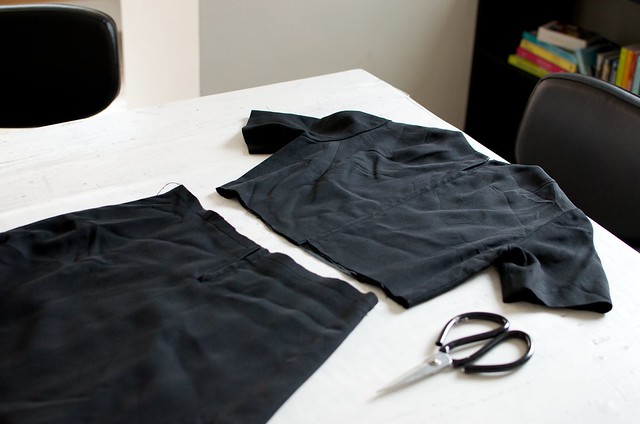
1. Start by cutting the dress in half along the waist seam. You’ll need to unzip the dress all the way down so that the zipper part doesn’t get cut off, you’re going to need that to get in and out of the dress. I also made sure to cut just above the waist seam (rather than below it) so I could turn that edge over and keep the seam for structure.
Stay tuned for what we’re going to do to the top half!
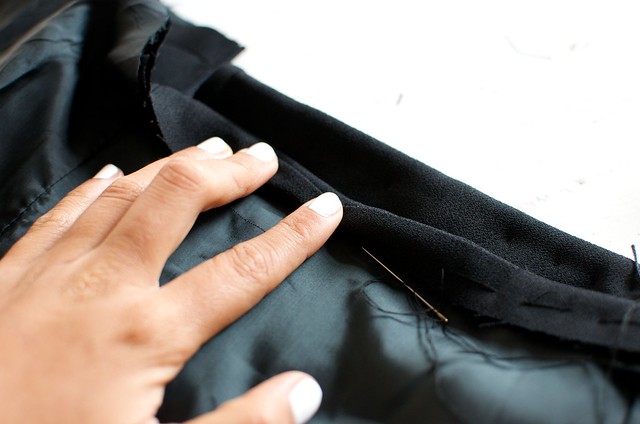
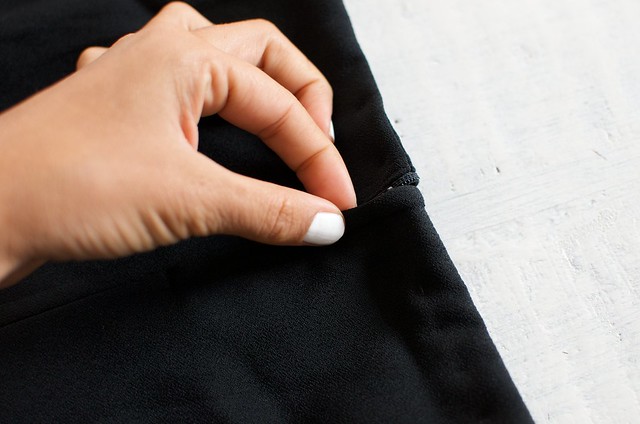
2. Roll the top edge over and sew it down by hand. I used an invisible stitch, where you make long stitches at the back and tiny ones ones at the front.
3. Once you have sewn all the way around make sure to sew the edges of the zip down so the zip doesn’t come off.
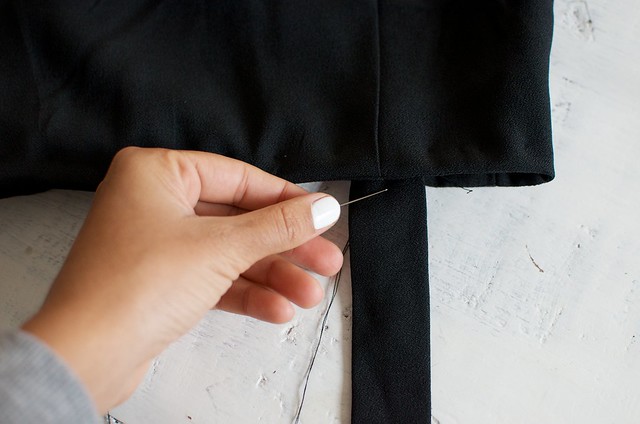
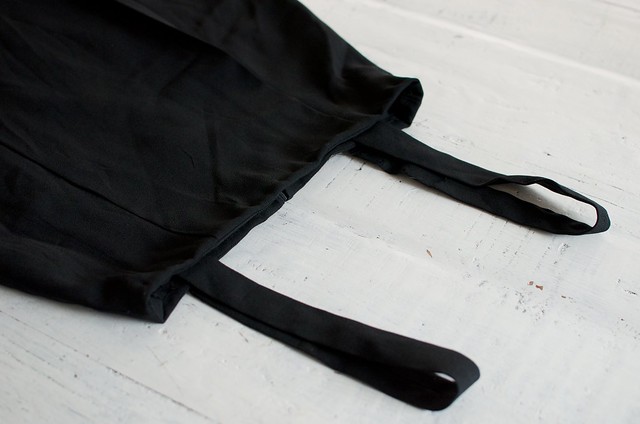
4. I cut the belt in half, removed the buckle and then sewed the straps on.
5. Voila! Make sure you iron really well to better hide the stitches.
I like that it’s really simple, and great to dress up with minimalist accessories. If you would like to have more definition at the waist (the type of dress I are more inclined to wear) you can simply add a belt to cinch in waist.
Photos by Nicola Lemmon
Love before & after posts? You can see a few others here.


