This tutorial will change your life. A little. Maybe? At least it did for me! For years I always struggled with what to do with the inside seams of my projects – without a serger on hand they were often left to fray, meaning over time my piece would start to lose its shine. Not ideal. A year or so ago my boyfriend’s mum showed me how to sew a French seam, basically a quick process of elegantly covering the inside raw edge of any seam, and I have to say it’s taken my projects from somewhat amateur to ‘where did you buy this’ level. Here to show you how it’s done is our in-house seamstress (and illustrator, crafter and all round creative genius) Annie, in our second instalment of ‘Ask a Patternmaker’. Take it away Annie!
It seems the moment you put the word french in front of anything (think: fries, toast and poodle) it makes it sound a whole lot fancier. I guess the same can also be said for the french seam, a sewing technique that works a bit like magic and lets you hide any evidence of fraying edges and wonky cutting, something I am frequently guilty of. We often use french seams in the studio to create a more professional look to our DIYs, and it’s perfect when working with silk or delicate fabrics that would otherwise be eaten alive by an overlocker (yeah, been there before). Most recently we used the french seam to make this DIY silk camisole and because a few of you asked, we thought we’d show you the process in more detail. Read on to see how!
How To Sew A French Seam
You need
-
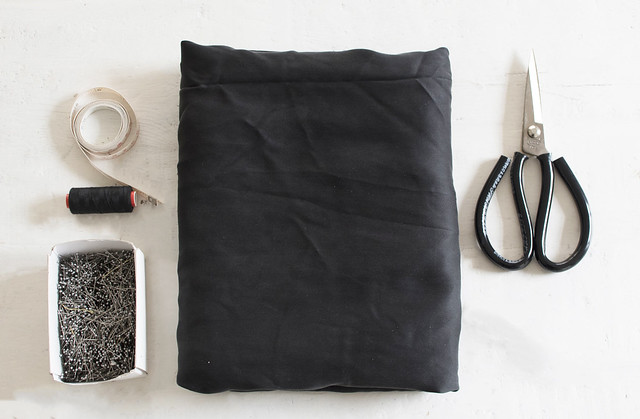
- Silk fabric (cut into two rectangular pieces)
- Pins
- Scissors
- Measuring tape
- Sewing machine and thread
How to
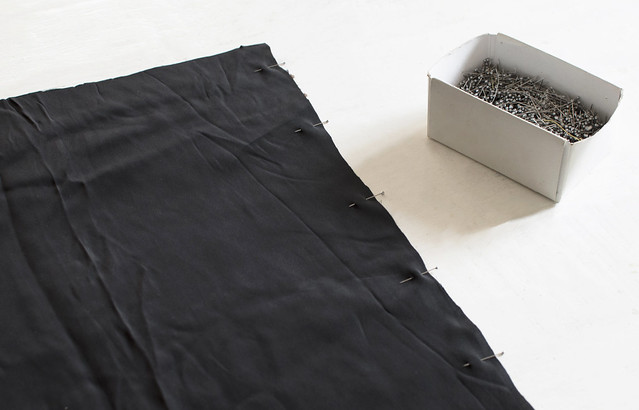
- Pin the two pieces of fabric together, wrong sides facing each other and sew with a 1.2cm (1/2″) seam allowance.
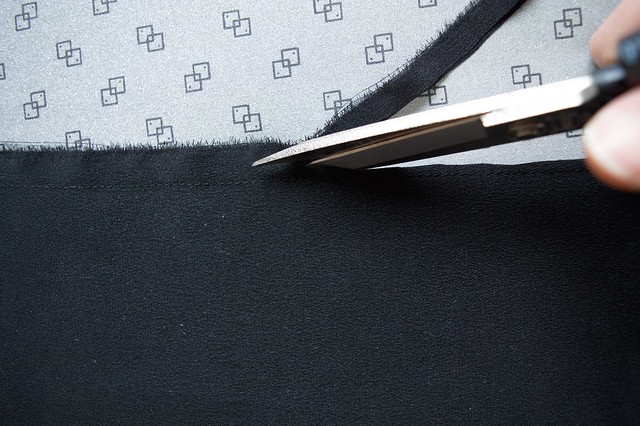
2. Cut the seam allowance back to 3mm (1/6″). The key with this step is that you want the seam allowance short enough so that when you turn and sew the seam on the opposite side (which I will show you in the next couple of steps), the seam allowance will not be sticking out, but not too short that the seam can break open.
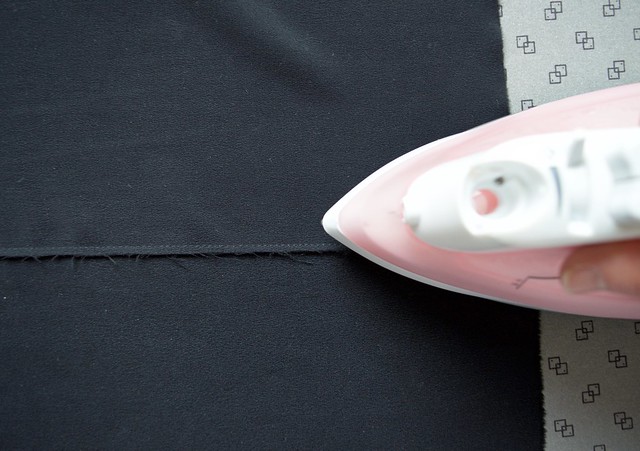
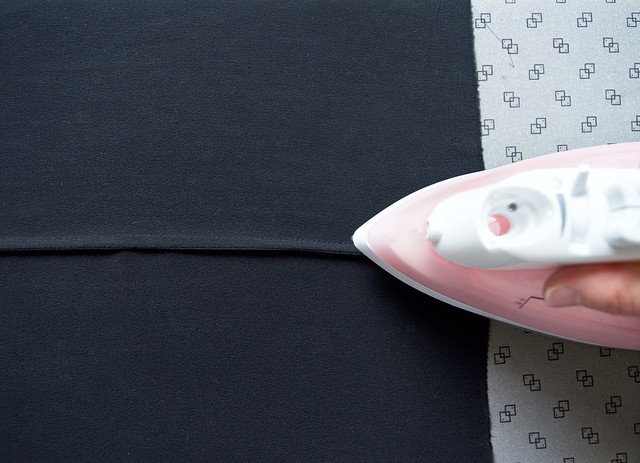
3. Once you’ve trimmed the seam, open the fabric up and iron the seam flat to one side.
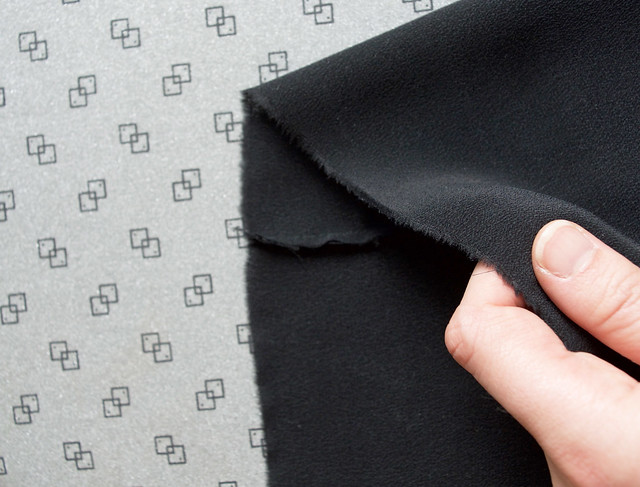
4. With the raw seam facing towards you, grab one side of the fabric and fold it over to the other side so that the seam is now in between the two layers. By ironing the seam flat in the previous step, it helps you create a nice sharp crease at the seam.
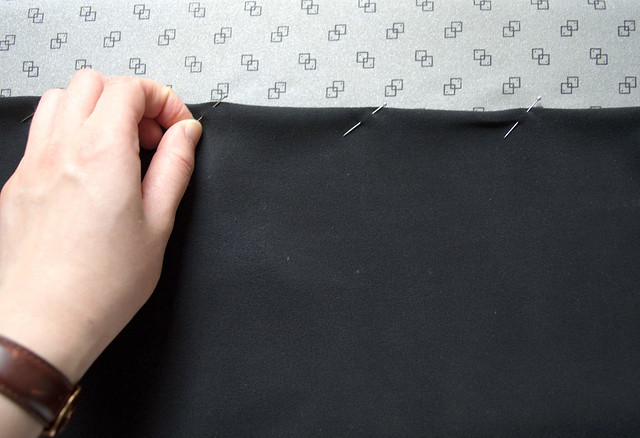
5. Pin the seam together making sure the raw seam is caught close to the edge on the inside of the two layers of fabric.
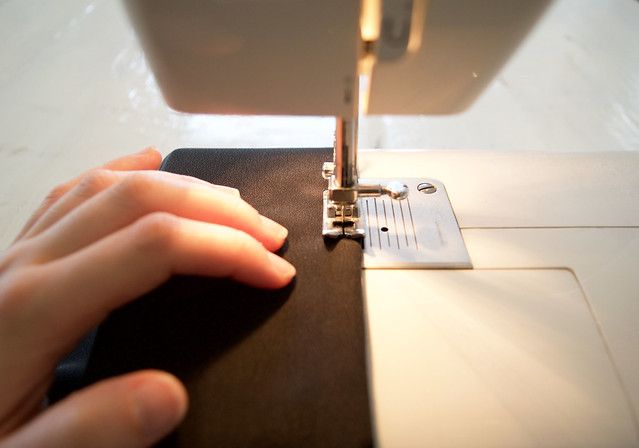
6. Sew the seam again, this time with a 6mm (1/4″) seam allowance. (Note: that this seam allowance should always be larger than the seam allowance of the first raw seam).
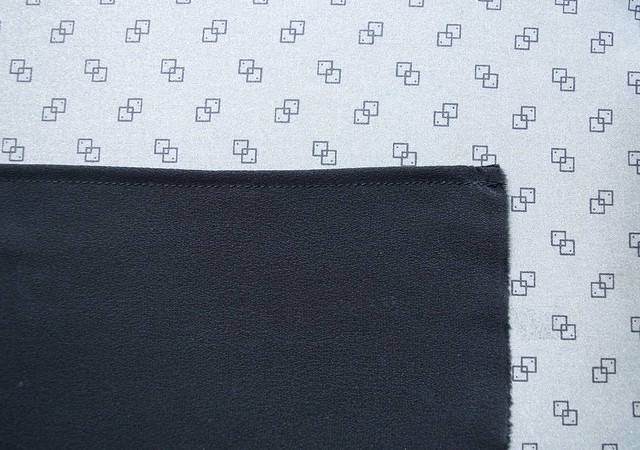
7. When all the sewing is done, your french seam will look like this. There should not be any raw edges visible now.
8. Open the fabric and iron the french seam flat to one side. The side the french seam is on will be on the inside of your garment.
All done. What’s not to love about this little trick?


