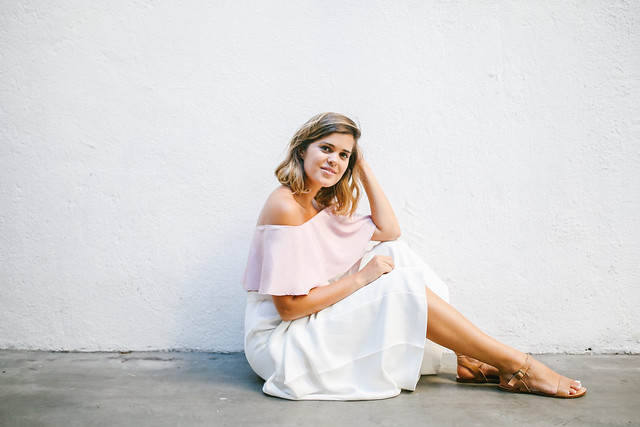
I’ve been a fan of the circle shape for as long as I can remember, there’s something so fun and feminine about that slight ruffle that comes with a circle.
But although I’ve made my fair share of circle skirts, what I haven’t made enough of is other items that are based on the circle shape, which is silly considering they use the exact same process! When you think about it, the circle is inherent in so many things we wear, from a bell sleeve to a peasant top. We thought it would be fun to make a skirt, top and dress using the circle pattern, to show you just how easy it is.
If you tuned in for DIY Friday on Insta Story last week you will have seen us make this IRL, but I thought I would share with you the very very rough video of us making the circle top. Sorry for the portrait size guys, it’s so hard these days marrying up all the content properly, i.e. insta peeps was portrait and chances are you guys want landscape. 🙂 Arggghhhh.
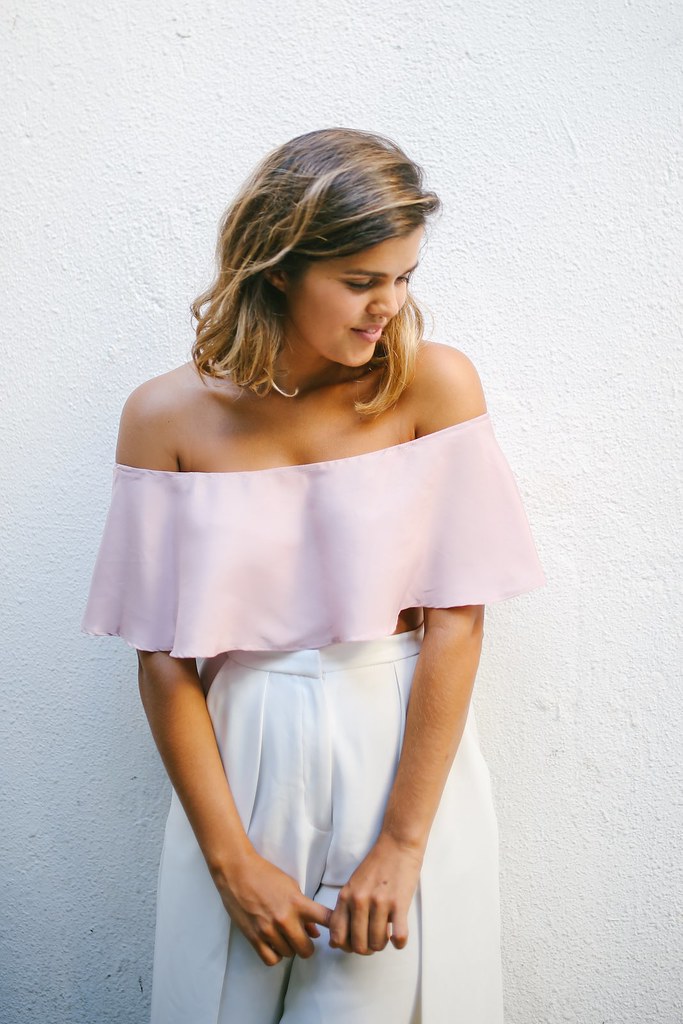
The Top
This easy top works perfectly with a nice light fabric, I love the fluttering feeling of it. You’ll see when you’re making it that it’s a much bigger circle, that’s to accommodate the shoulders. One thing we did do that’s not shown is make a little silk bandeau to go underneath (like the base part from this) so that when you raise your arms your boobies don’t show. Or just wear a bandeau/strapless bikini top.
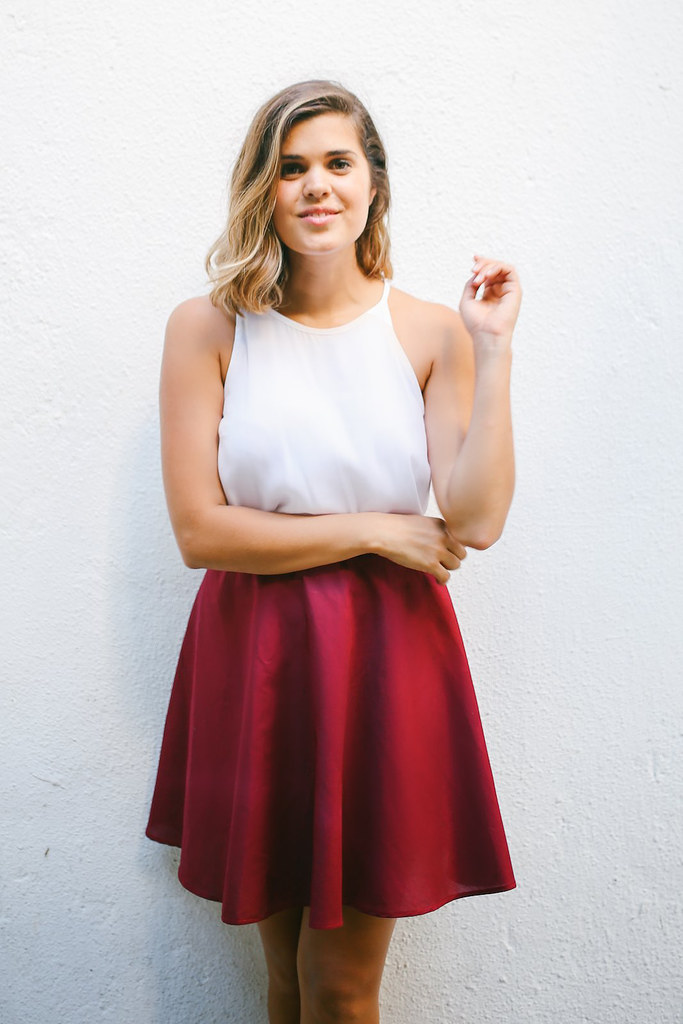
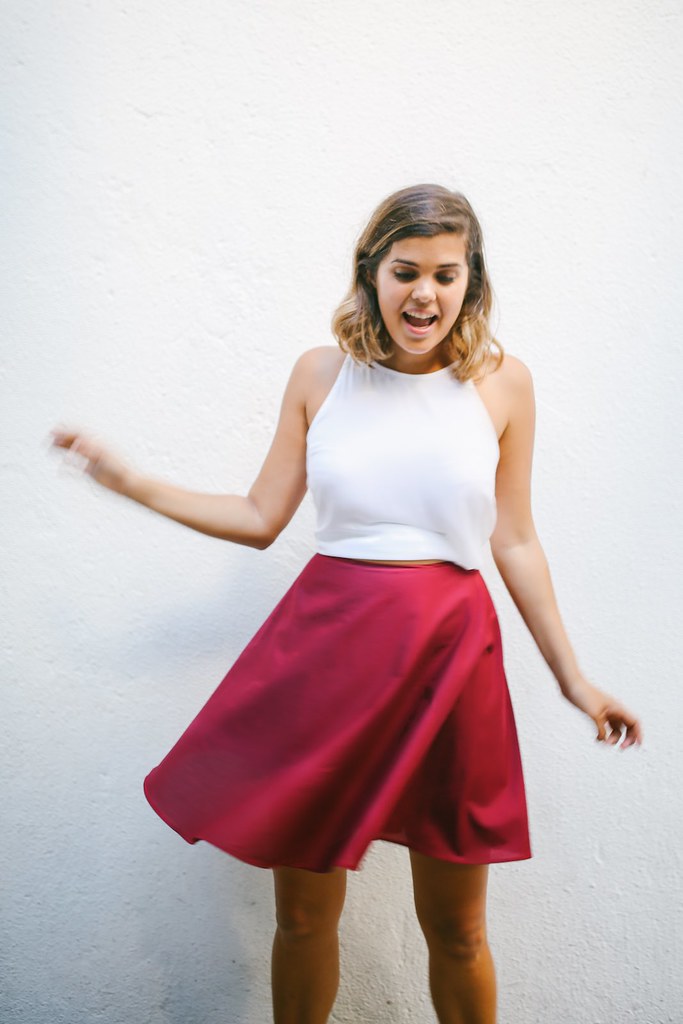
The Skirt
I’ve made this before but this time went for a darker, richer tone. This style works in so many different fabrics, but I like to go for something a little heavier so it has a bit of swish. Each to their own!
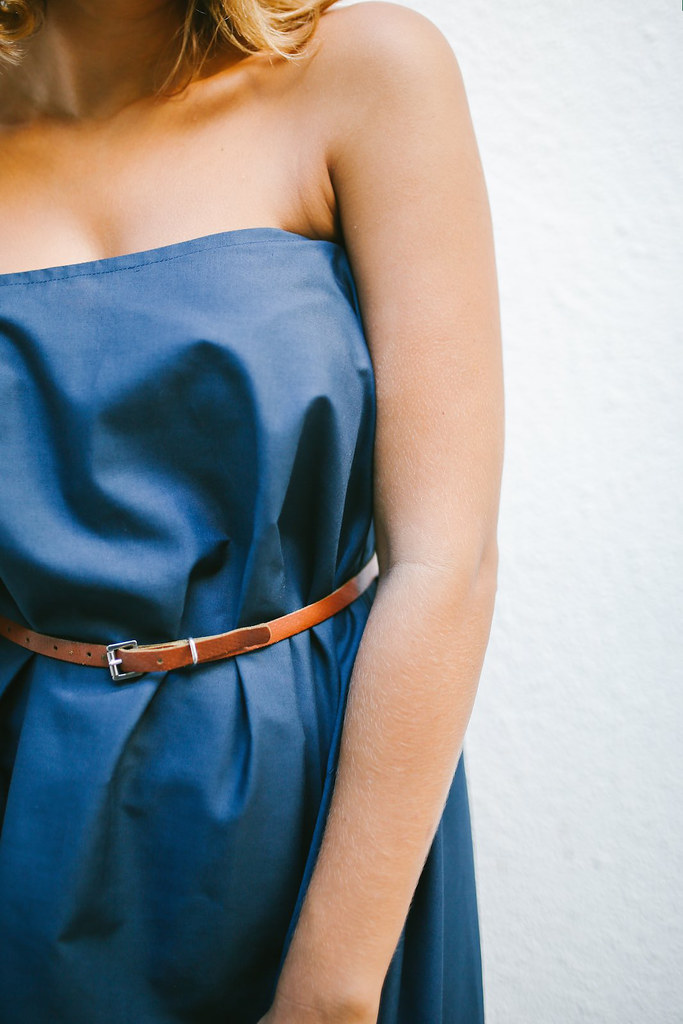
The Dress
This was completely new to me, and was a really fun to make. If you are a bit curvy I would suggest belting this style so your figure doesn’t get lost, but if you have a more straight up and down figure letting it out without a belt so it billows nicely is a great option.
DIY Circle Skirt, Top And Dress
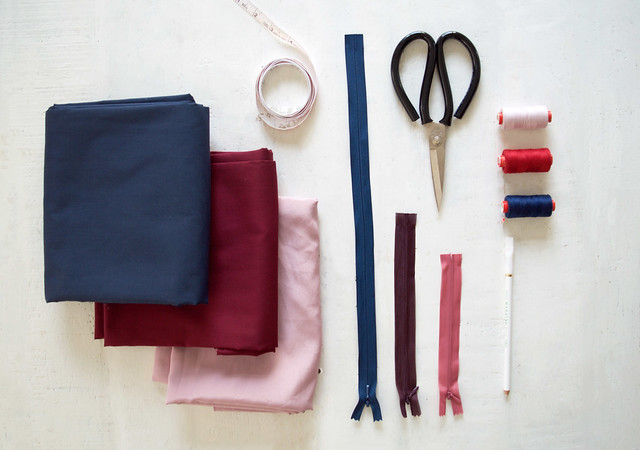
You need
- Cotton fabric (2m/2.2 yards for the dress, 1.5m/1.6 yards for the skirt or 1m for the top)
- Invisible zipper
- Tailor’s chalk
- Measuring tape
- Scissors
- Sewing machine and thread to match
How to
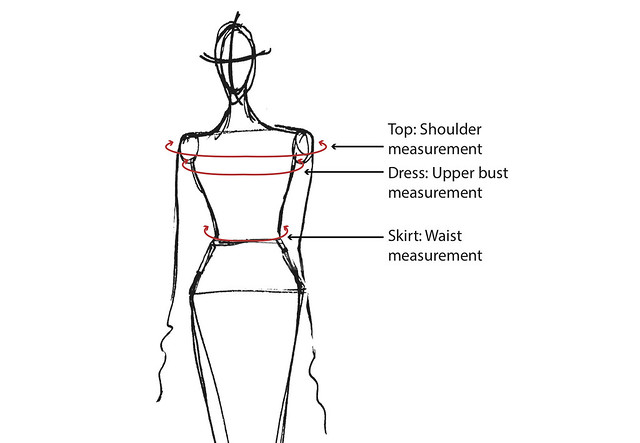
Depending if you are making the top, dress or skirt, you will need to take different measurements around the body using a soft measuring tape (to get more accurate measurements you may need an extra pair of hands to help).
For the top, take the measurement around your front and upper arms all the way round to the back, make sure the measuring tape is firm so that the top won’t slip down, but not so tight that it digs in. For the dress, you want to take your upper bust measurement, going around the body and under your armpits, again you want a firm but not super tight measurement. For the skirt, take your waist measurement i.e. the narrowest point on your torso but this time make sure you can still place three fingers under the measuring tape, this is to accommodate for your rib cage expanding when you breathe.
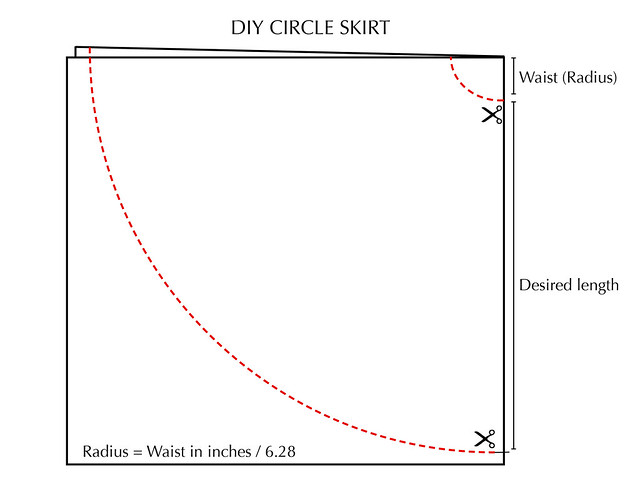
I am using the skirt as the demonstration in this tutorial but the same procedures apply for the top and the dress, just replace the waist measurement with the upper arm and upper bust measurements respectively. The first thing you want to do is fold the length of the fabric in half. Because I didn’t want to the garments to be too full, I only used a semicircle. From the folded edge on the selvedge, measure out the waist radius and desired length using the formula below.
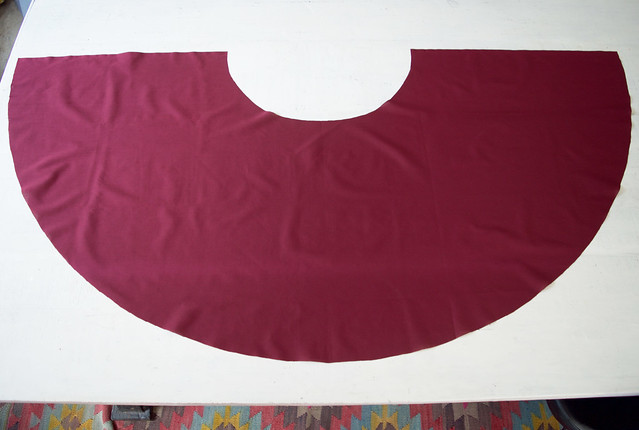
Use a measuring tape to assist you in drawing the chalk lines, cut out the skirt and open it up. It should look like this. The top version will be much bigger the first circle (as you can see in the video).
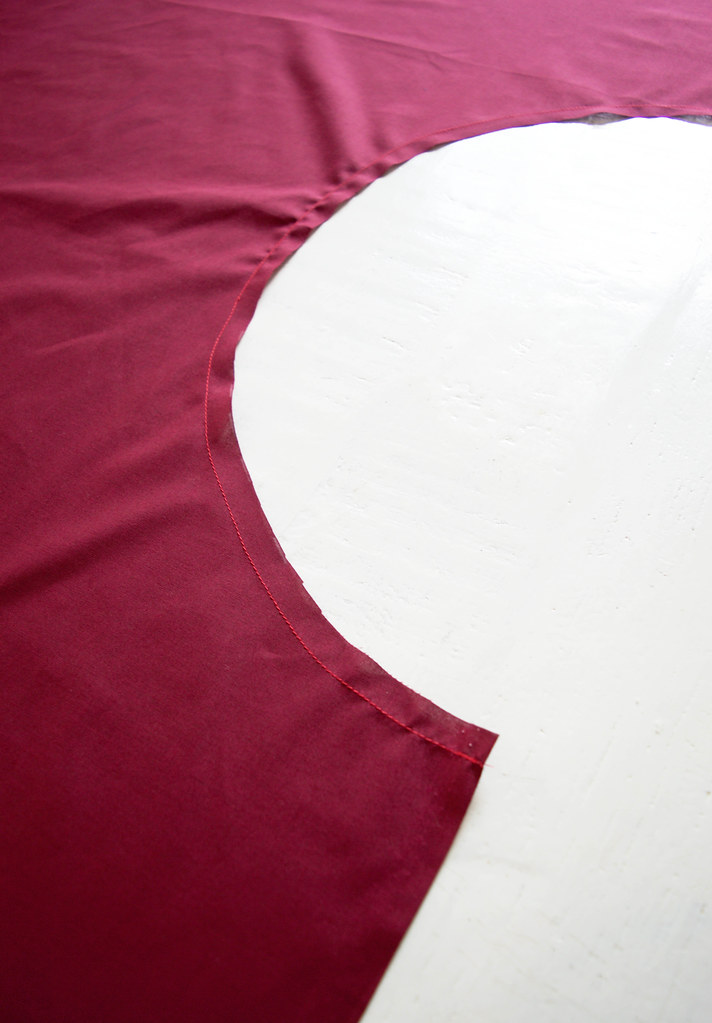
Along the curve of the waist line, sew a 1cm stitching line. This is a stay stitch to prevent the waist line from stretching and warping out of shape.
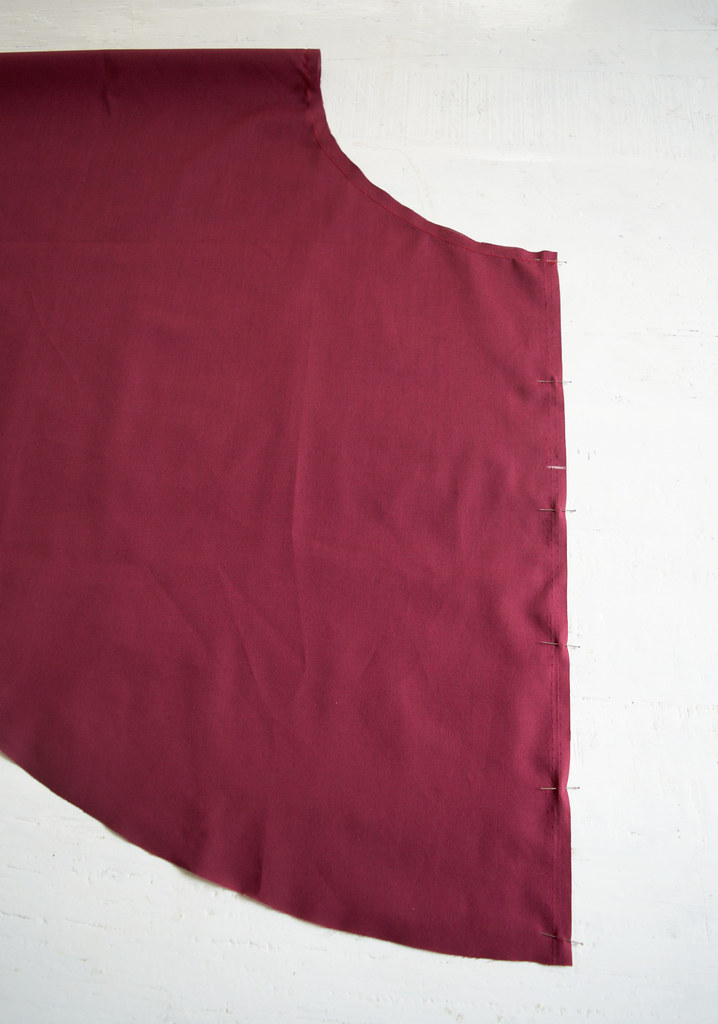
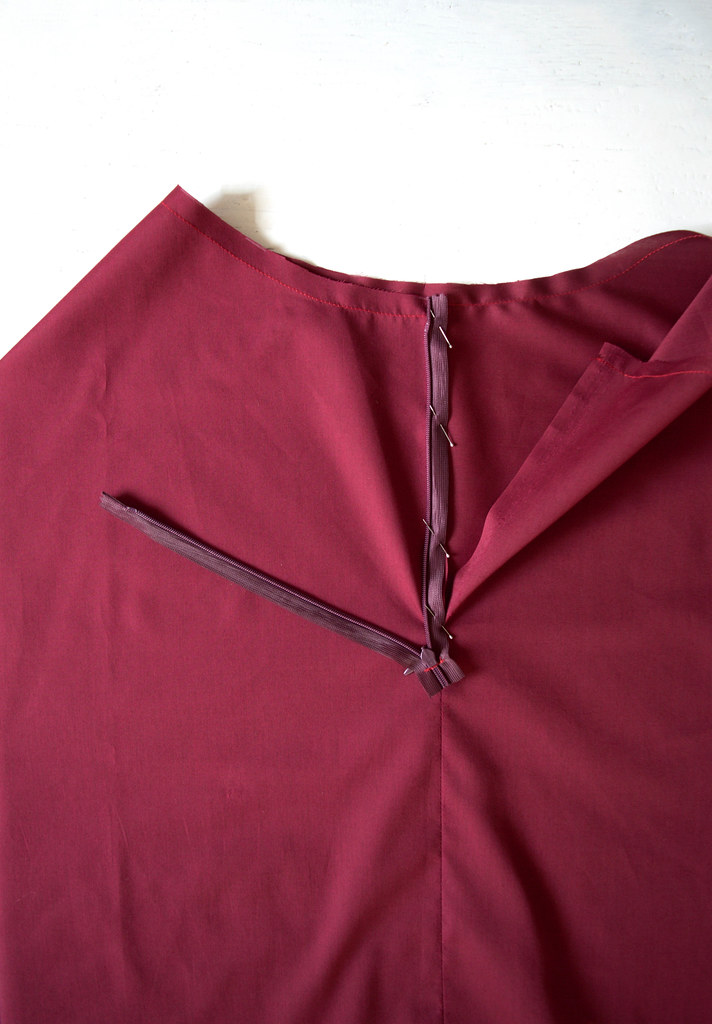
Fold the semicircle back in half and pin the edges together. This will become your centre back and where you will be inserting the invisible zipper. Mark in the zipper gap and sew from that point down.
Turn the shirt right side out and then pin and sew in the invisible zipper. You can refer to this tutorial here for a detailed step by step guide to putting in an invisible zipper!
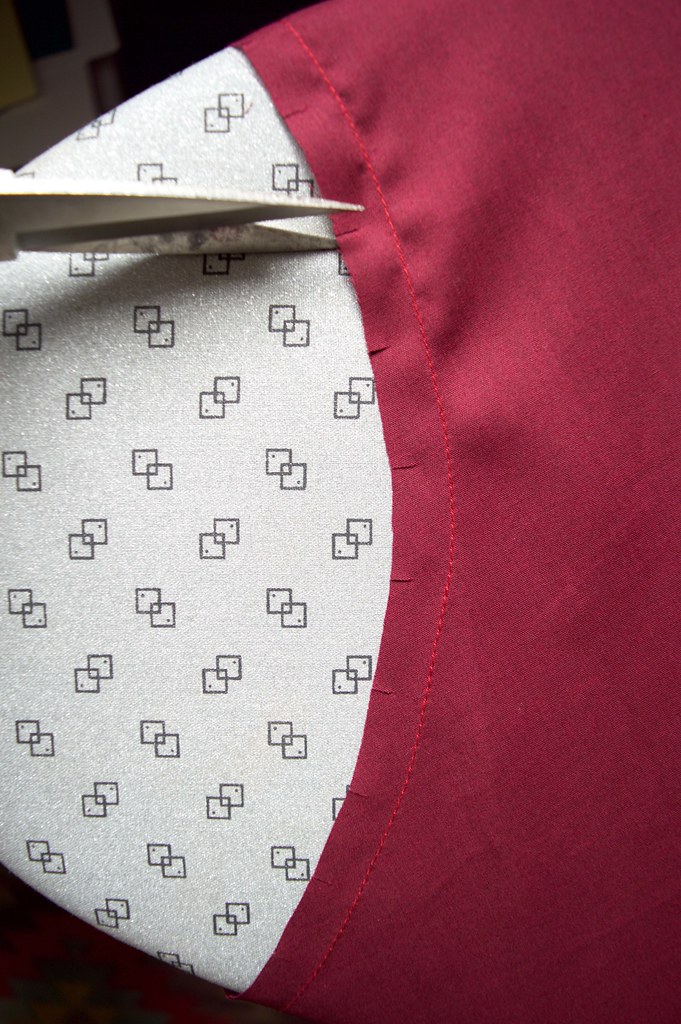
Cut 0.5cm (1/5 in) nicks into the waistline, spacing them about 2cm apart. This doesn’t have to be exact as the nicks are there to make it easier to fold back the seam allowance.
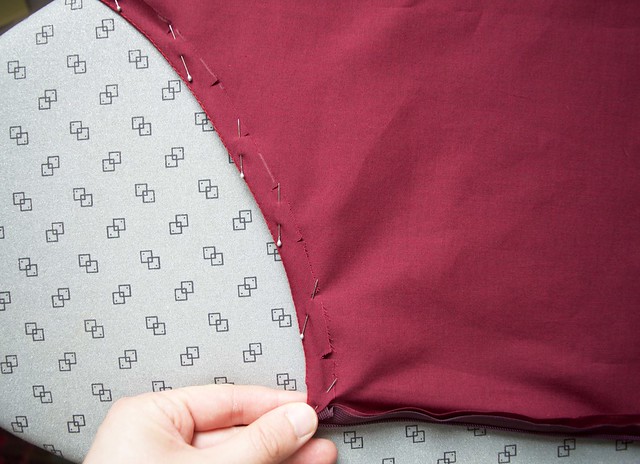
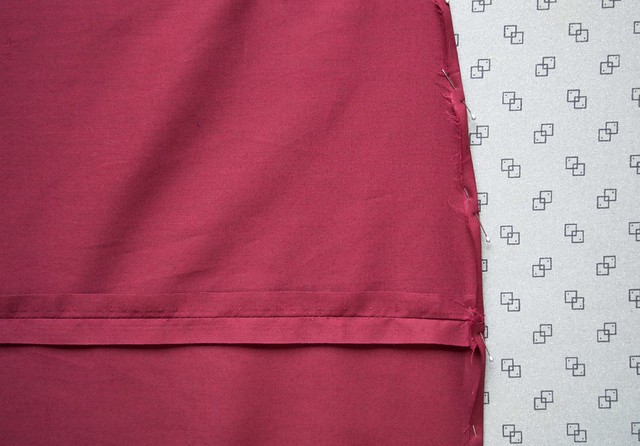
Fold and pin the seam allowance over at the seam line and sew down.
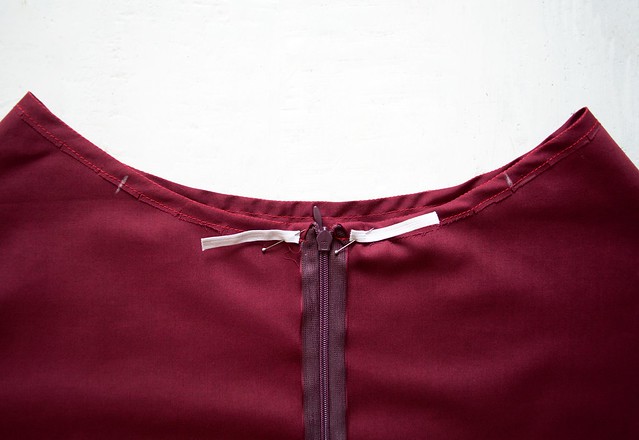
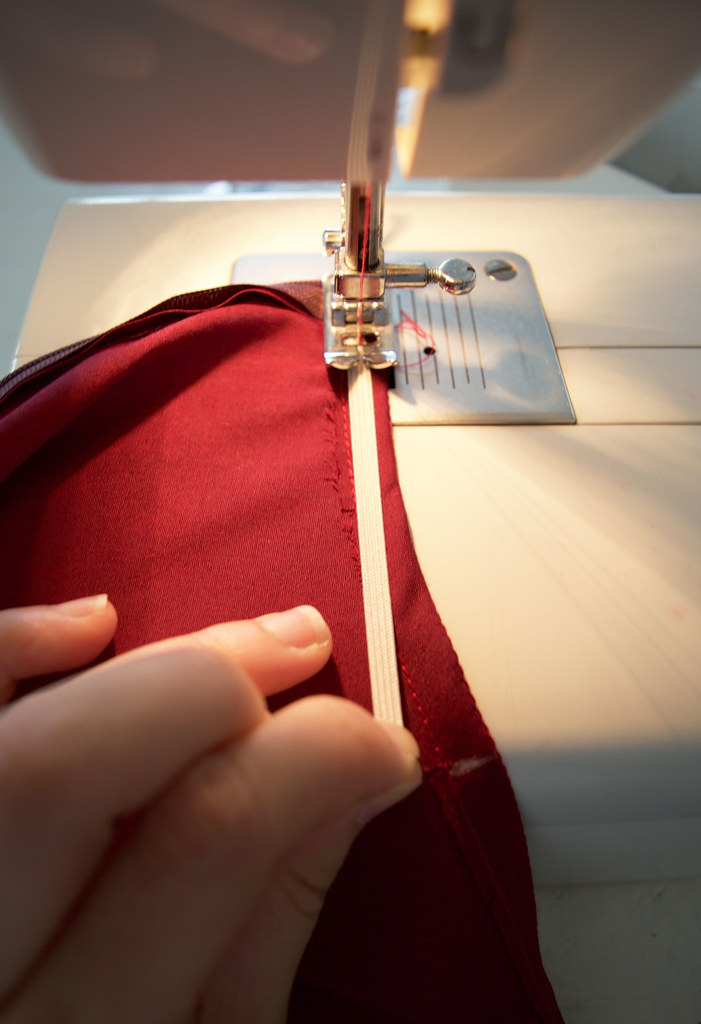
The next two steps with the elastic is optional but it gathers the fabric for some extra grip and helps prevent the garment from slipping off especially for the dress and the top versions. To attach the elastic, mark a point 10cm from the zipper tape using chalk and then cut two 5cm (2 in) long strips of elastic and pin them on either side of the zipper tape.
Sew the elastic onto the waistline of the skirt, pulling it towards the 10cm mark as you sew. This will gather the fabric.
For the hem, pin up 0.5cm (1/5 in) around the bottom of the skirt, and then fold over one to hide the raw edge. If you do the first fold small enough you shouldn’t have any trouble folding and sewing down.
Enjoy guys!
Photos by Bryant Lee, Sketches by Annie Huang


