Oh hello there string lights.
Just so many things you can do with these babies. As someone who struggles with over the top red-green-gold holiday decorations, my answer is to go for geometric shapes and the simplicity of string lights – just that touch of festivity without overdoing it. You’ll remember the Christmas tree I made last year? This is kind of another version of that. Easy and effective, what more could you want?
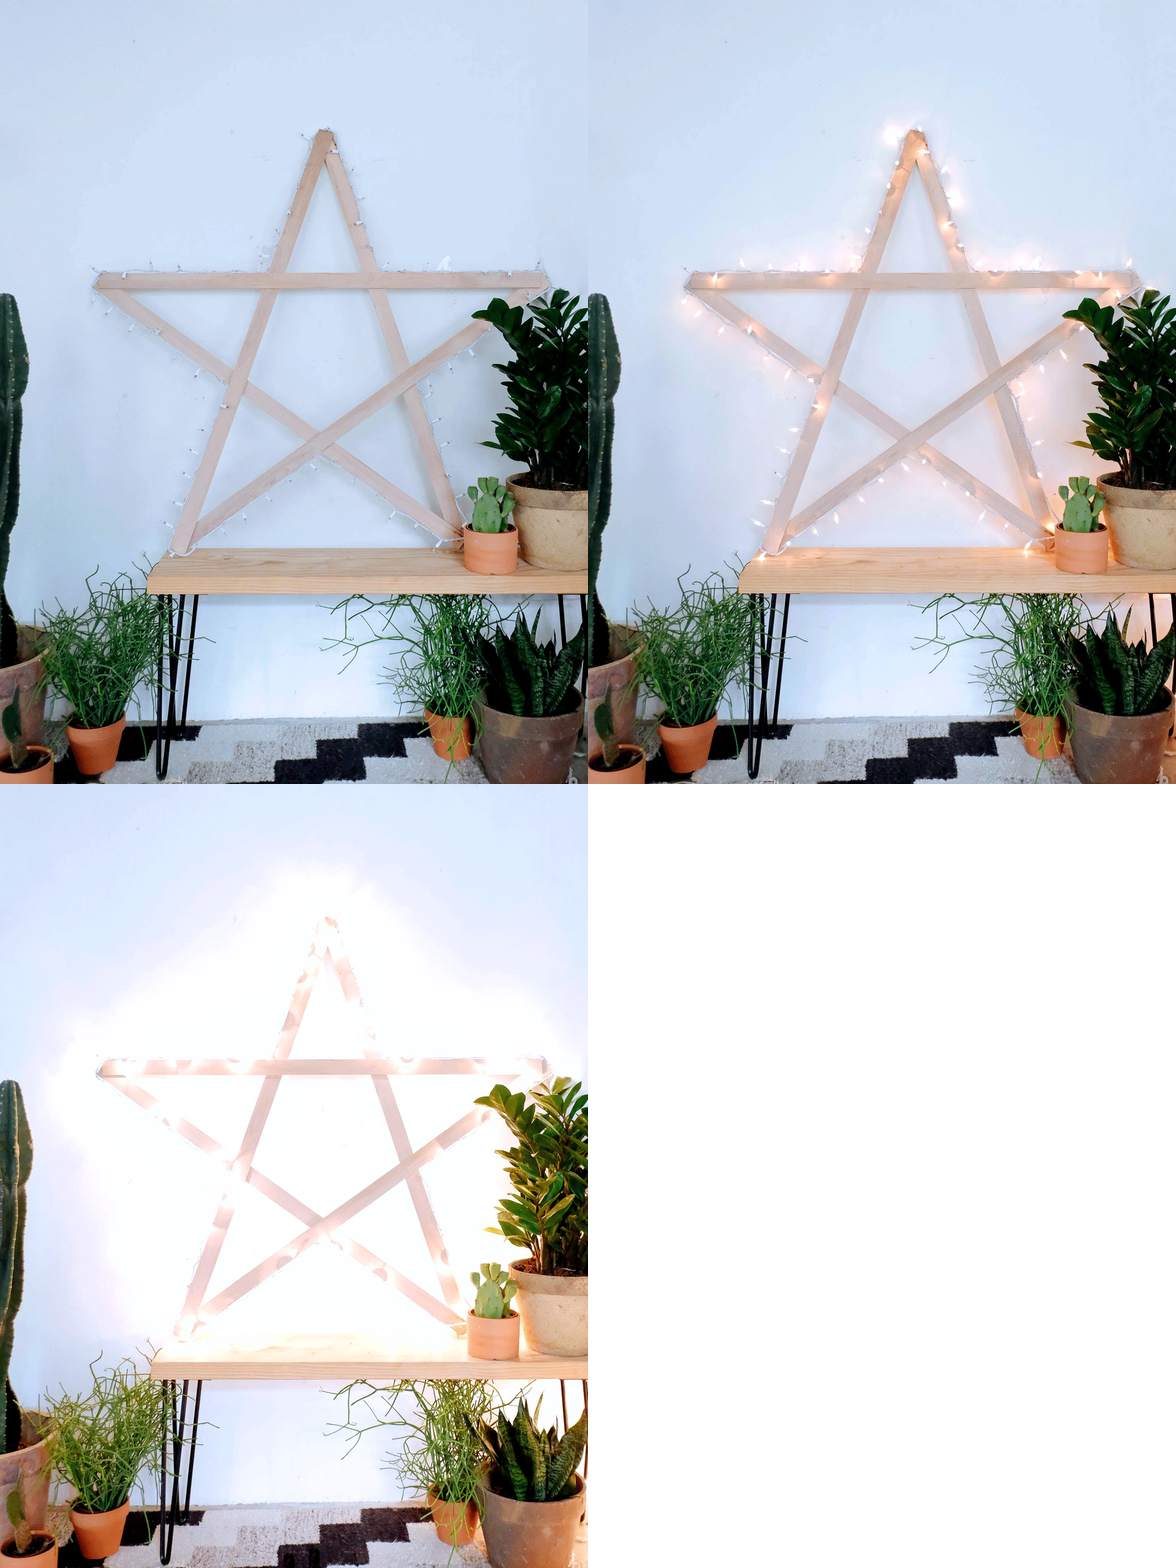
DIY Giant String Light Star
This is a surprisingly easy project that you’ll be able to make in under an hour.
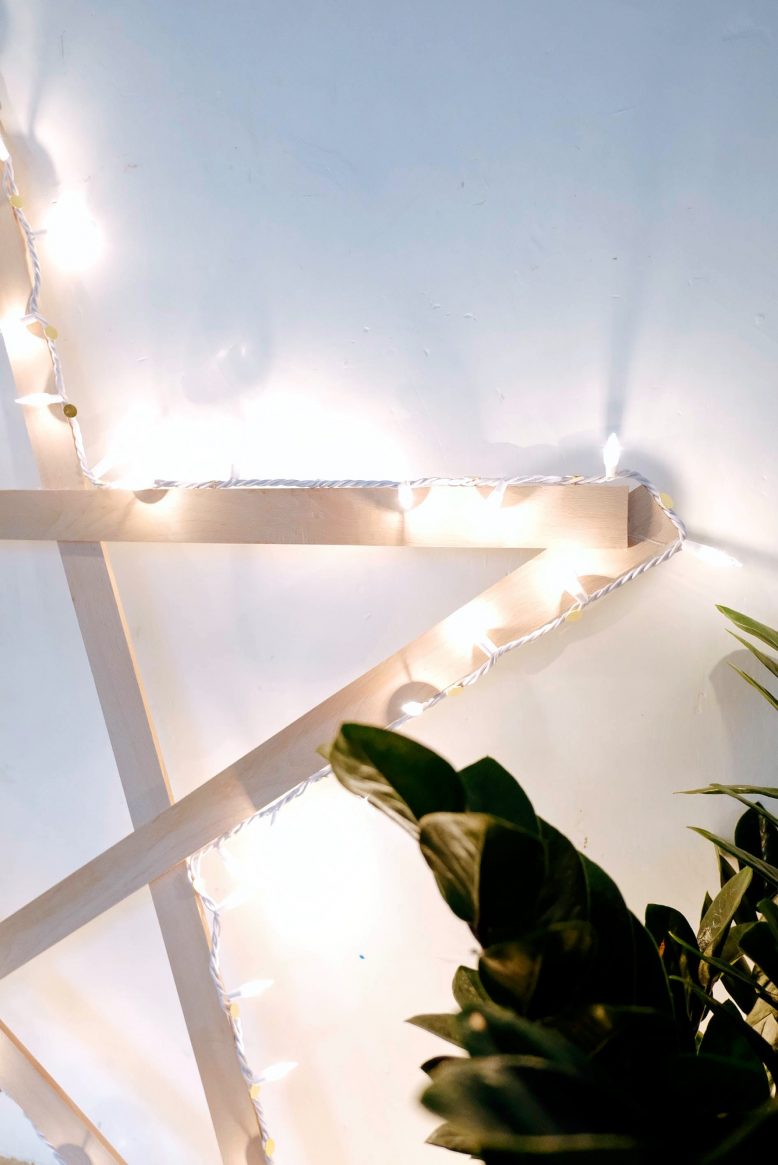
A note about the design – one thing I really wanted to do for this one is have the lights go around the outside of the frame, which is why we have used tacks between the light wires to attach them to the base of the star. You obviously want to be really careful when you do this – if doing it with children you could also use tape, string or wire tires to attach the lights. I used tacks because the string lights I had had gaps and also because I didn’t want to tie anything around the frame of the star (OCD about design). Another option would be to wrap the lights around the frame which would be a little easier, but might not be as aesthetically tidy. Totally up to you!
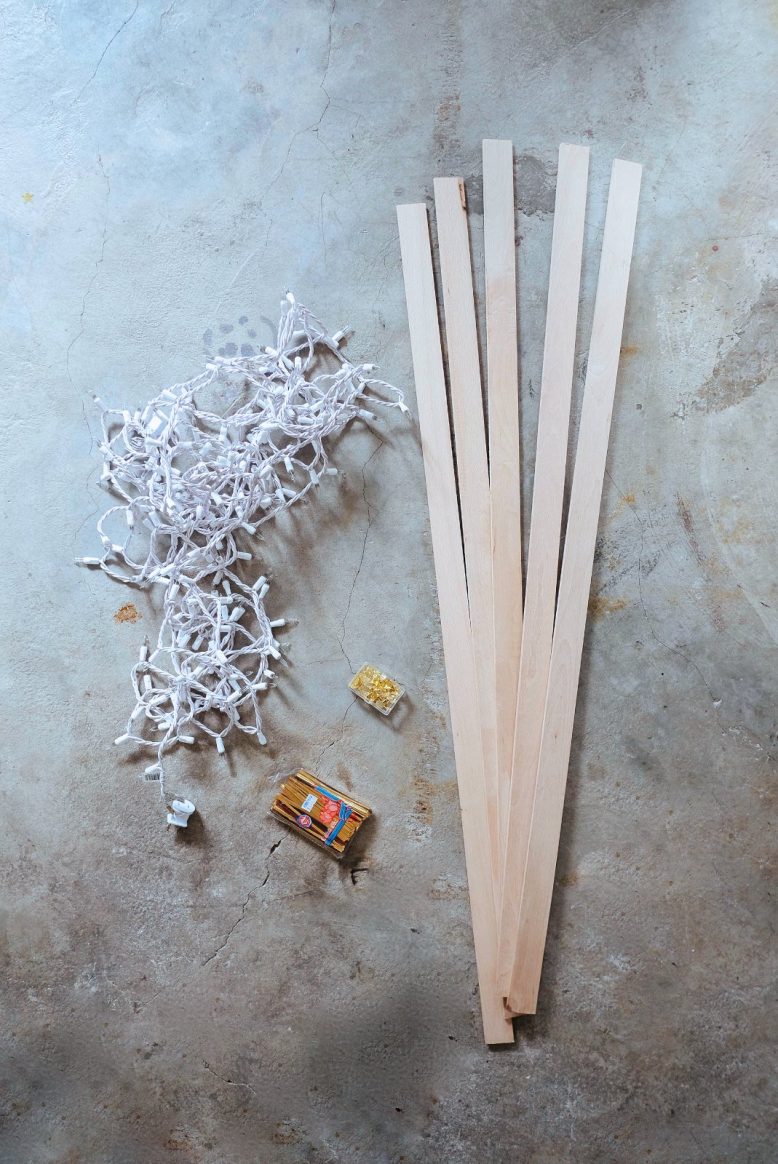
You Need
2
Using your glue gun, glue the wood together at each intersection at the points and in the body of the star.
4
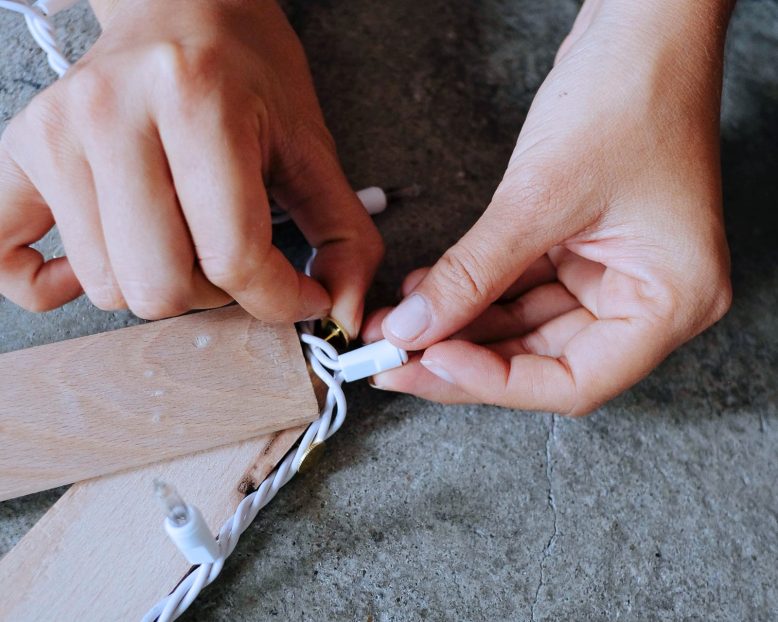
Next you need to attach the string lights to the frame. Use the thumb tacks and secure the lights by pressing them under the head of the tacks. Make sure not to pierce the wires!
5
As you go around, try to orientate the lights away from the star so that they point outwards, before securing them to the frame.
6
Once you get all the way around, secure the last section and then pull any remaining lights to one side, you can set them up on the wall or the table once you place your star.


