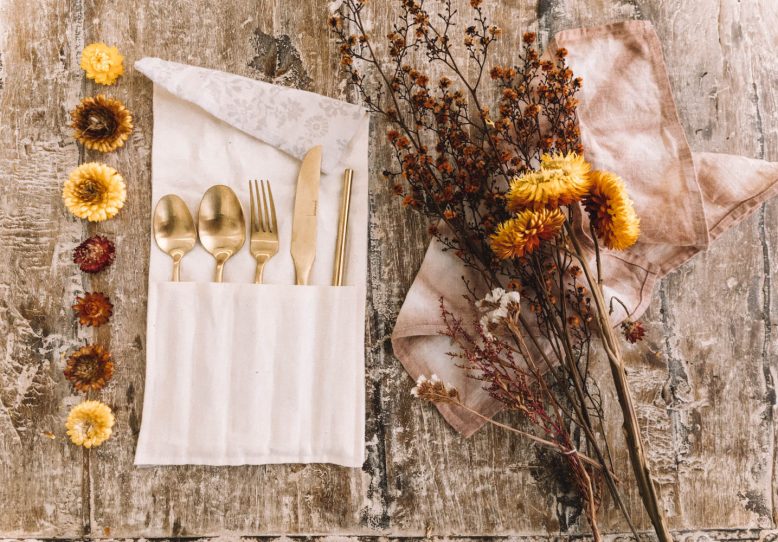
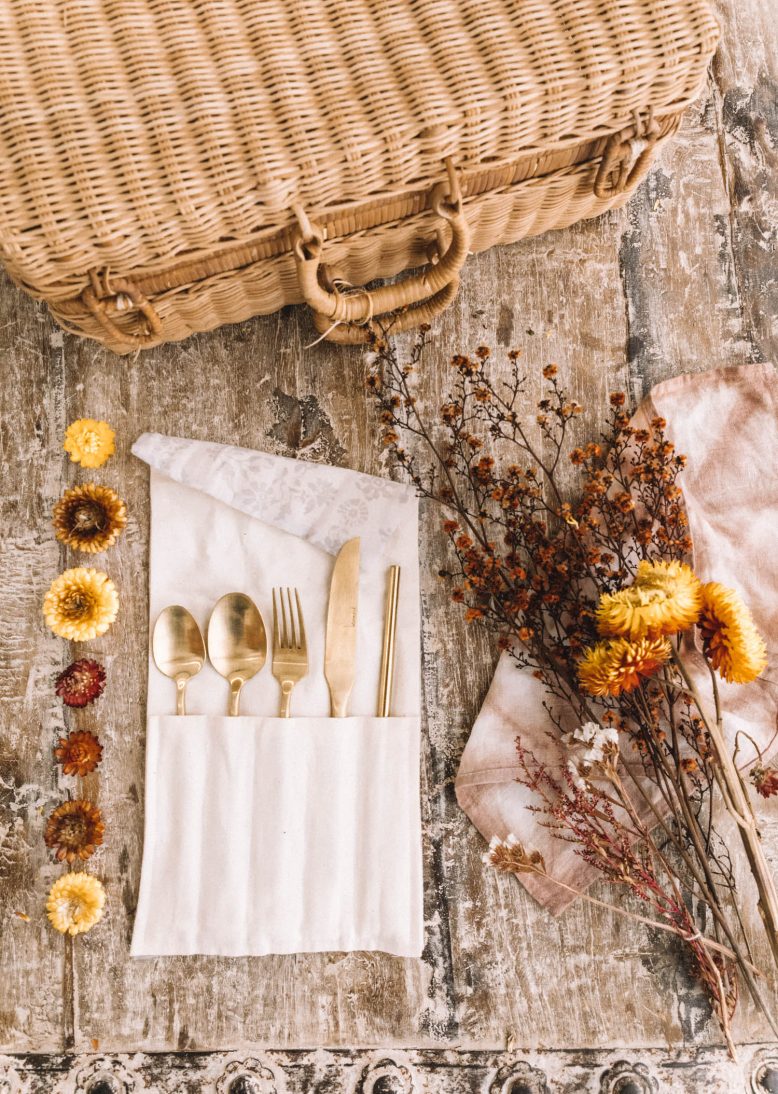
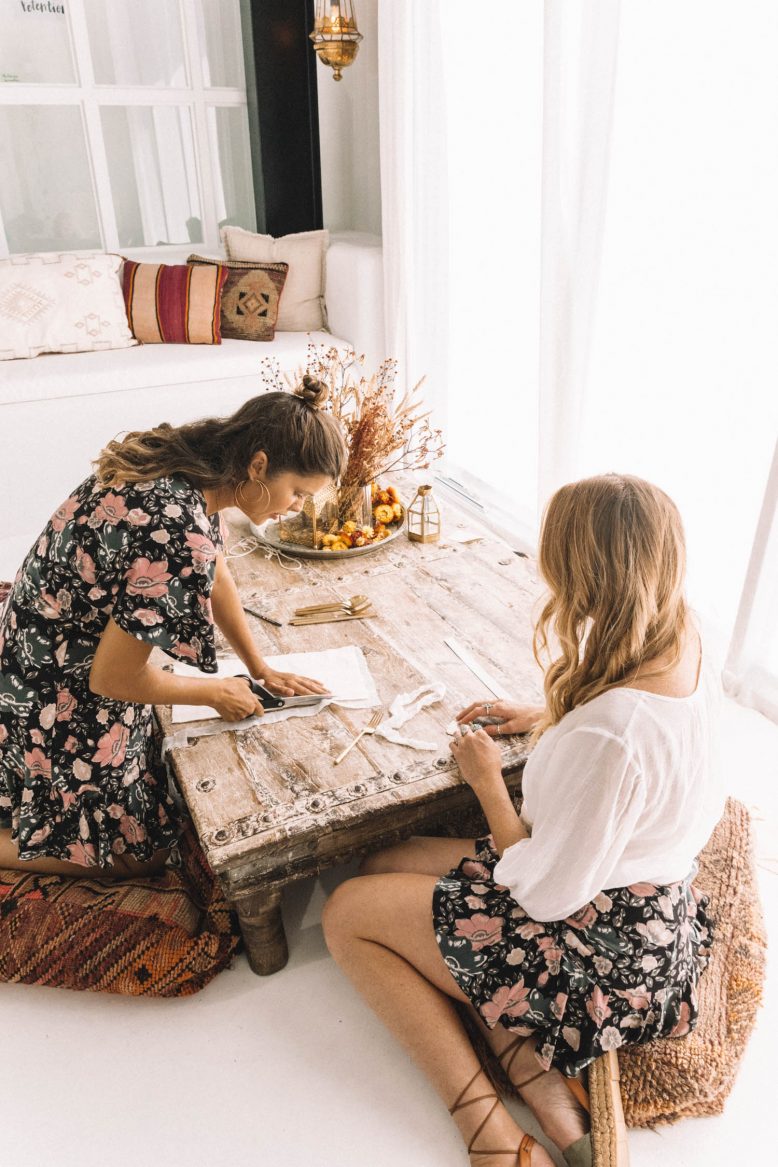
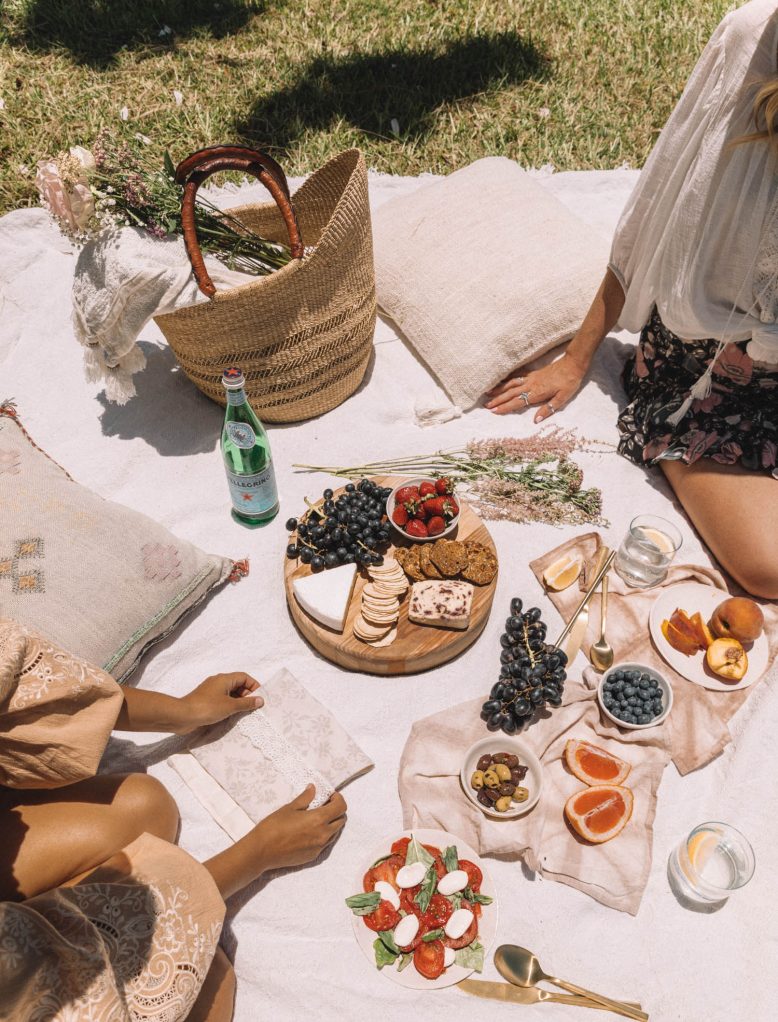
Hey guys! Recently I got together with a few of my favouite creative gals, Mel and Lucy, from Spell Designs in Byron Bay. We’d been talking about getting together and doing a DIY for agggggessss and I was super excited to make it happen.
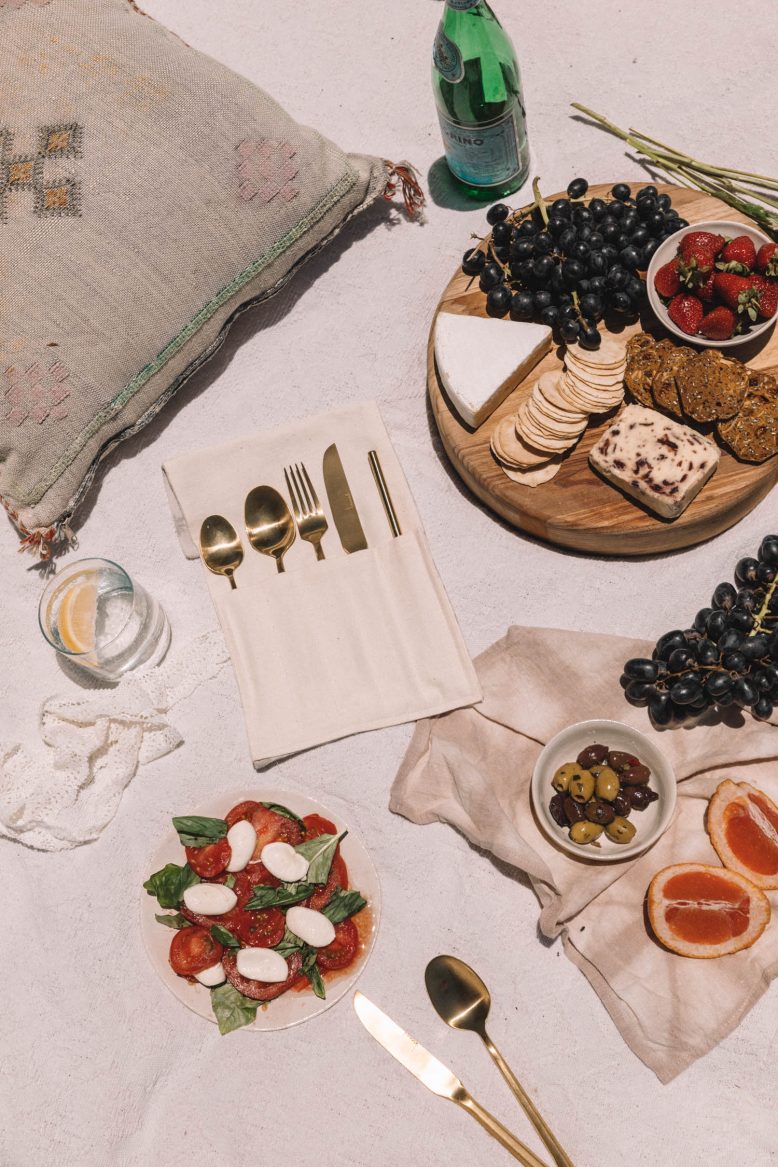
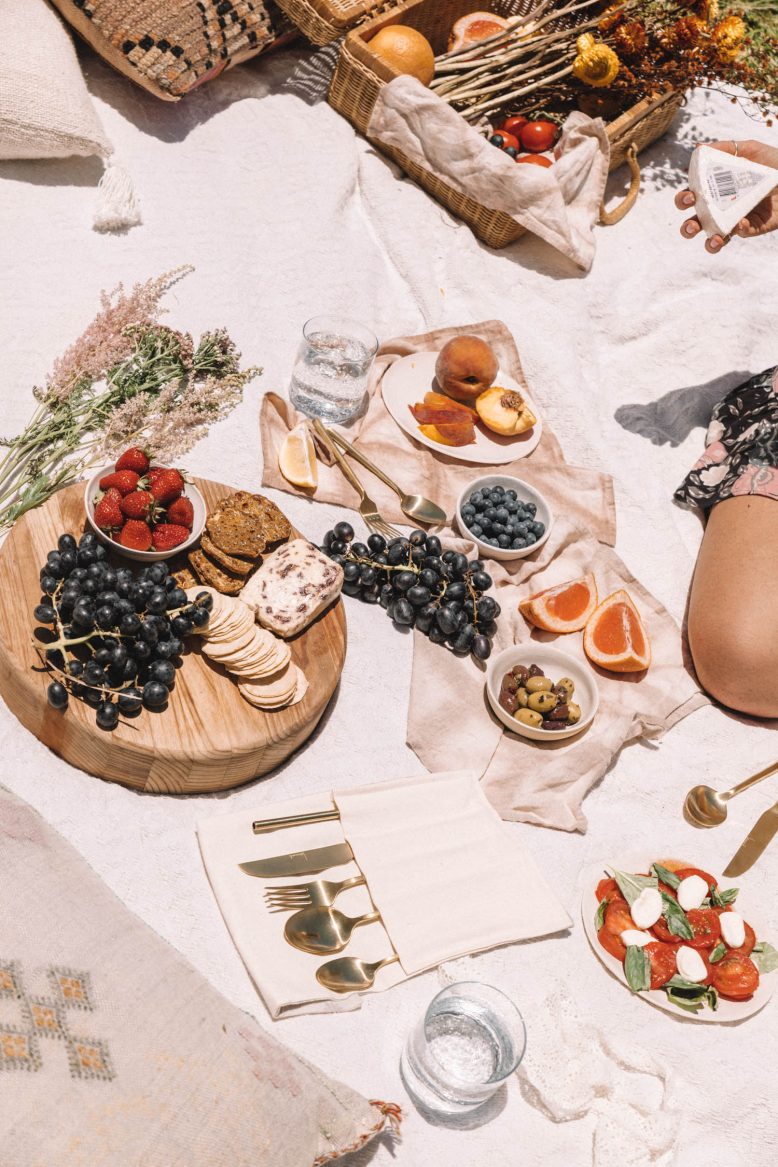
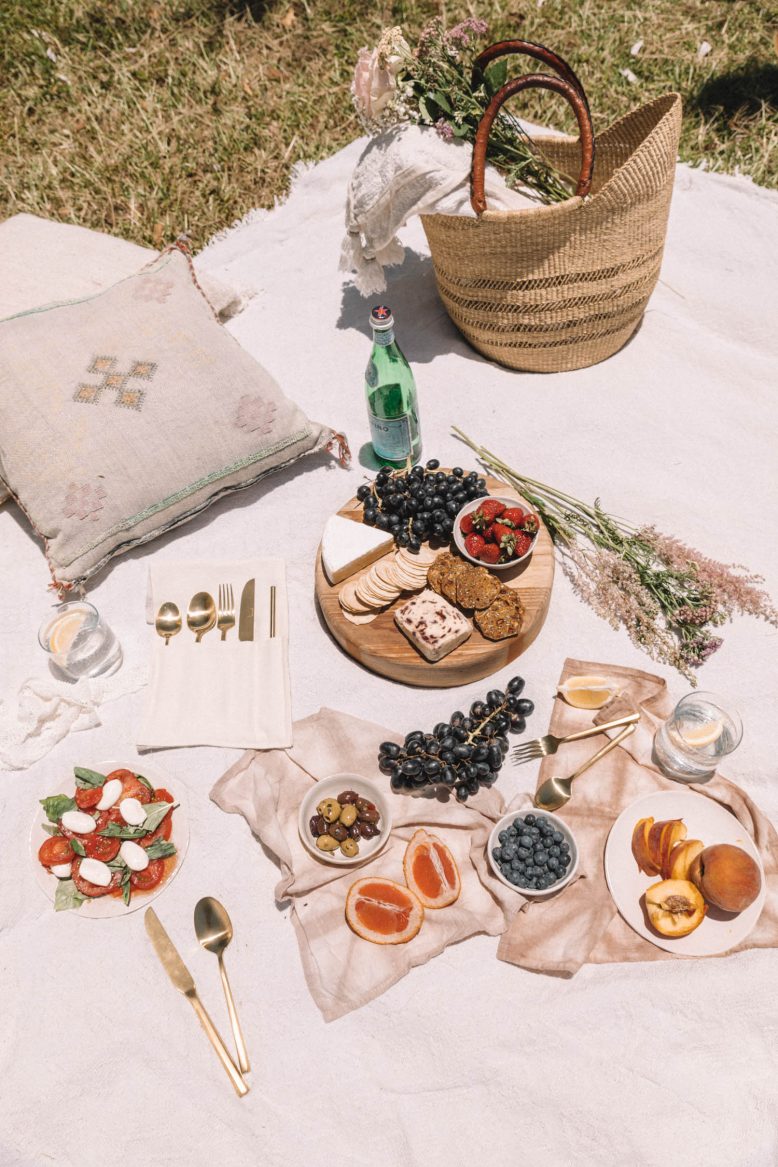
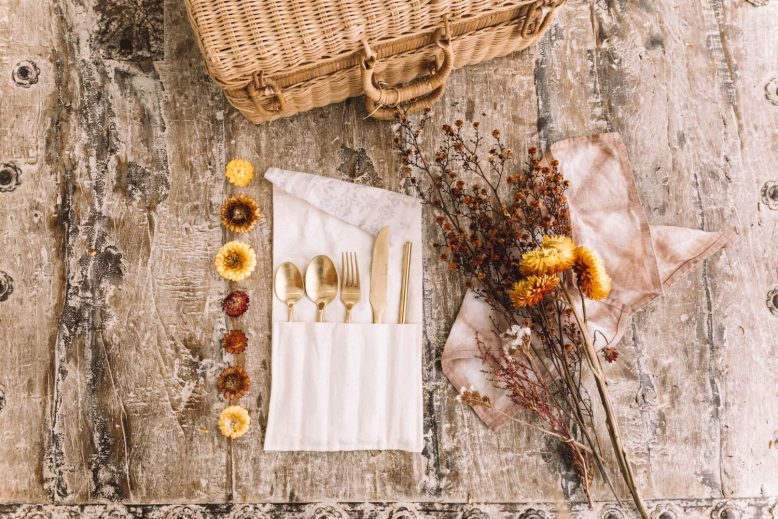
I’m such a huge fan of getting together with friends outdoors for picnics, barbecues and beach lunches, and you need only take a look at the Spell Instagram to know that they’re totally down with a little outdoor munching too. But sadly, if you’re not organised, a by-product of these get-togethers can be trash – plates, utensils and cups. But over the last year, I’ve grown more mindful of this, always looking to choose the reusable option rather than something that gets thrown out straight away. So I’ve started carrying my own cutlery instead of using plastic, but too often have found them clicking around in the bottom of my bag at the end of the day. Lucy suggested that we make a cutlery holder, and I knew it would be something that we could totally do! Enter, the humble fabric DIY cutlery holder. Perfect for picnics, barbecues and your daily packed lunches. Read on to see how!
DIY Cutlery Holder
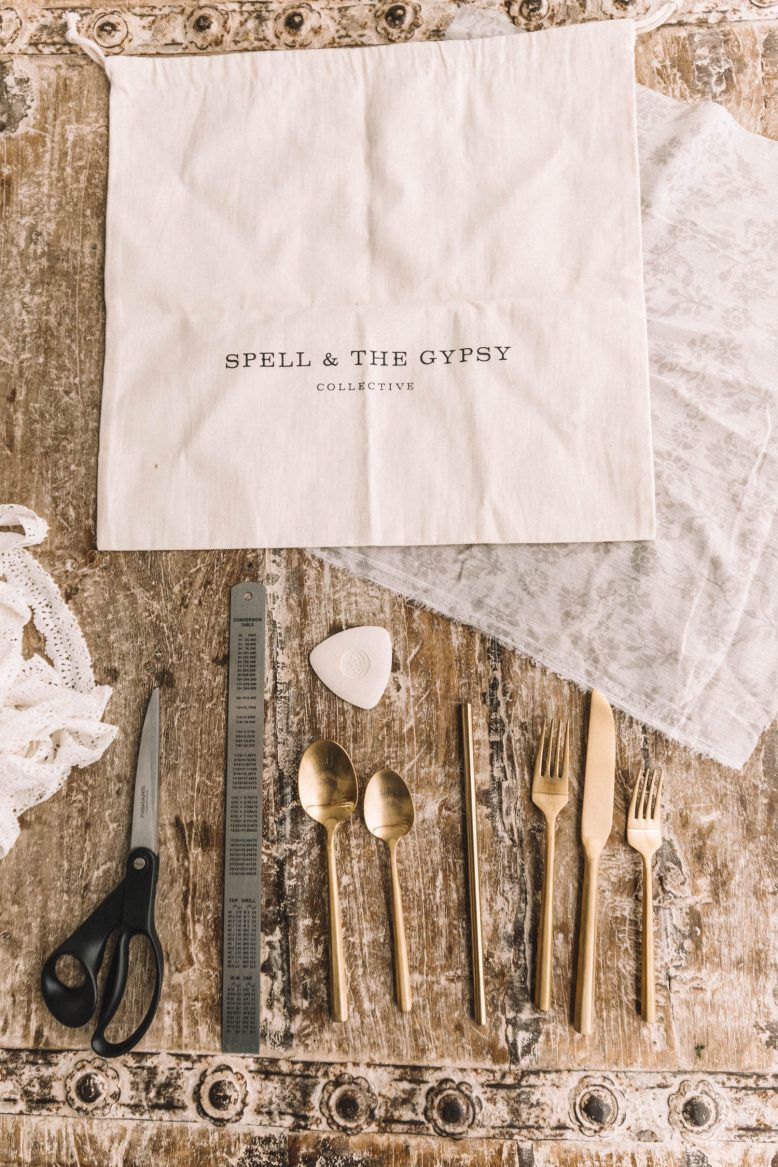
You Need
How to
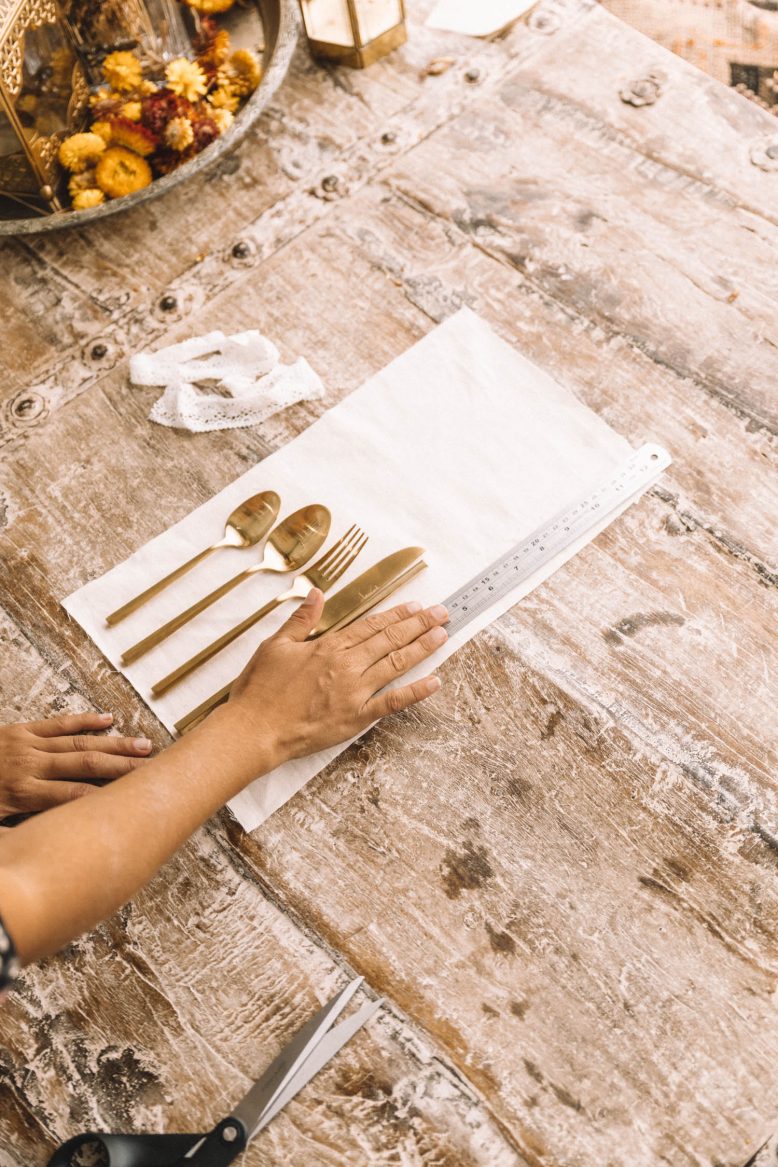
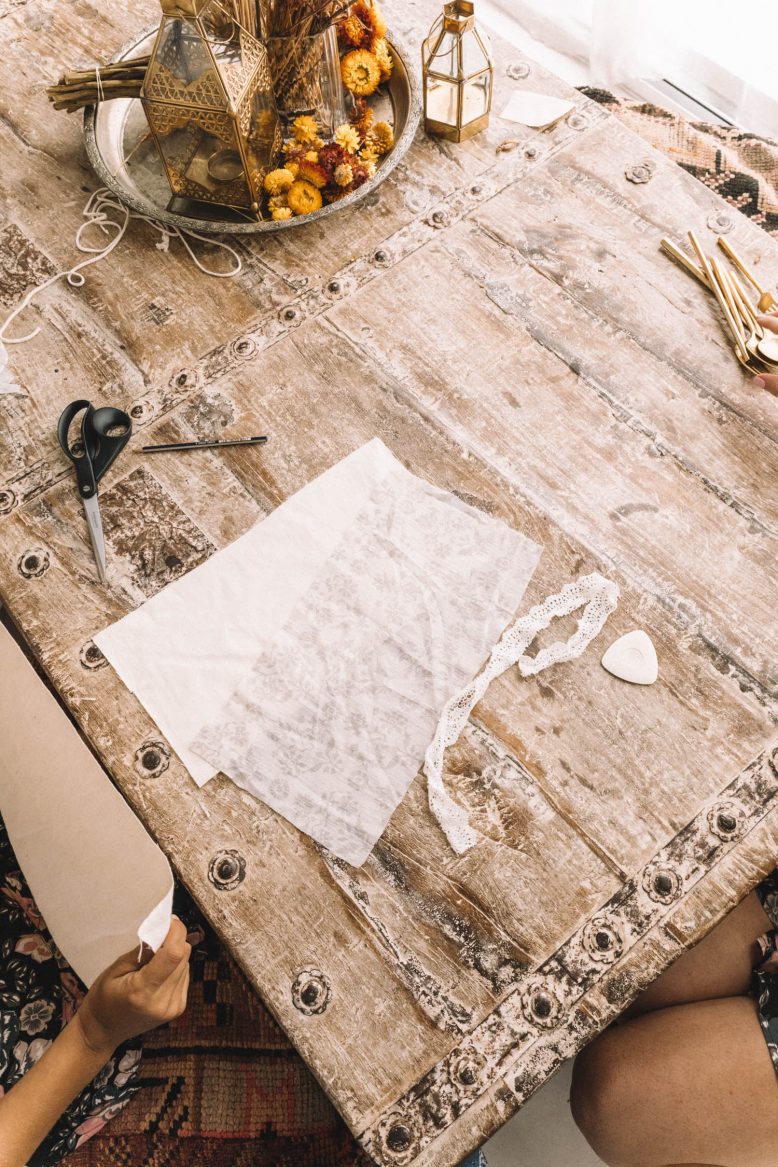
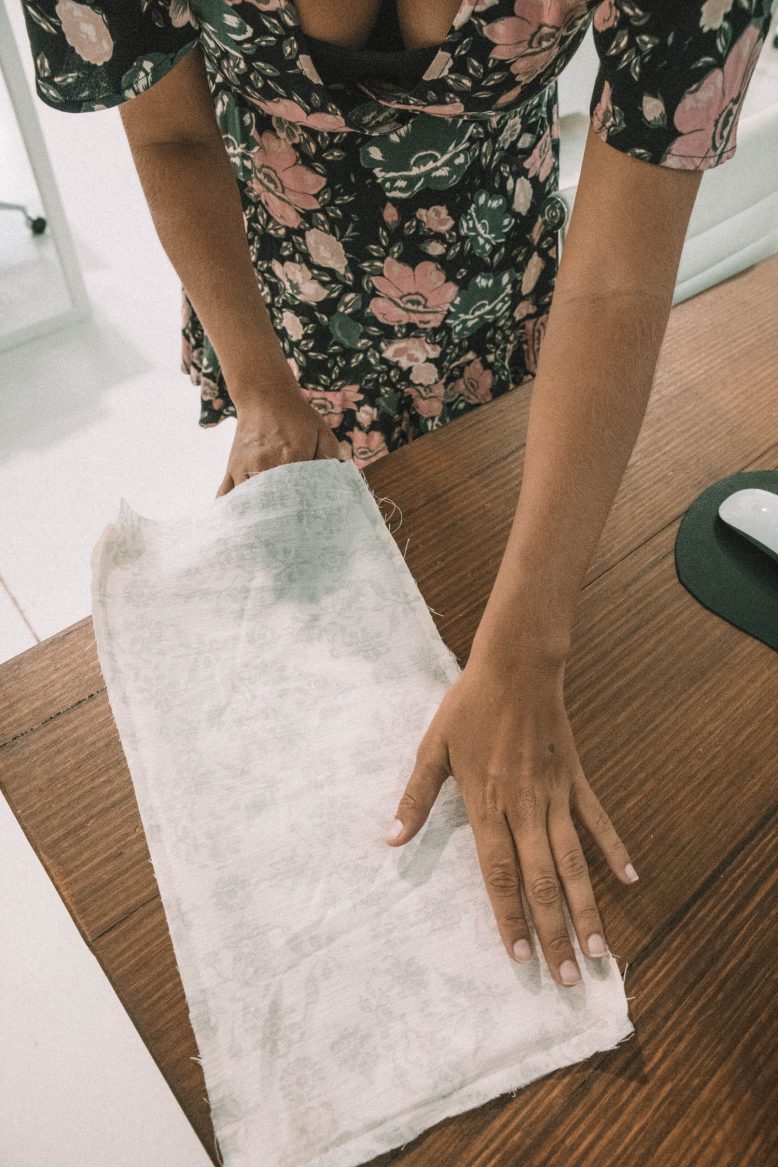
1. Cut one piece of canvas fabric and another of the patterned fabric to the following measurement: 21cm x 41 cm (approx 9 inches x 16 inches). In addition, cut another piece of canvas roughly half the size of the first piece.
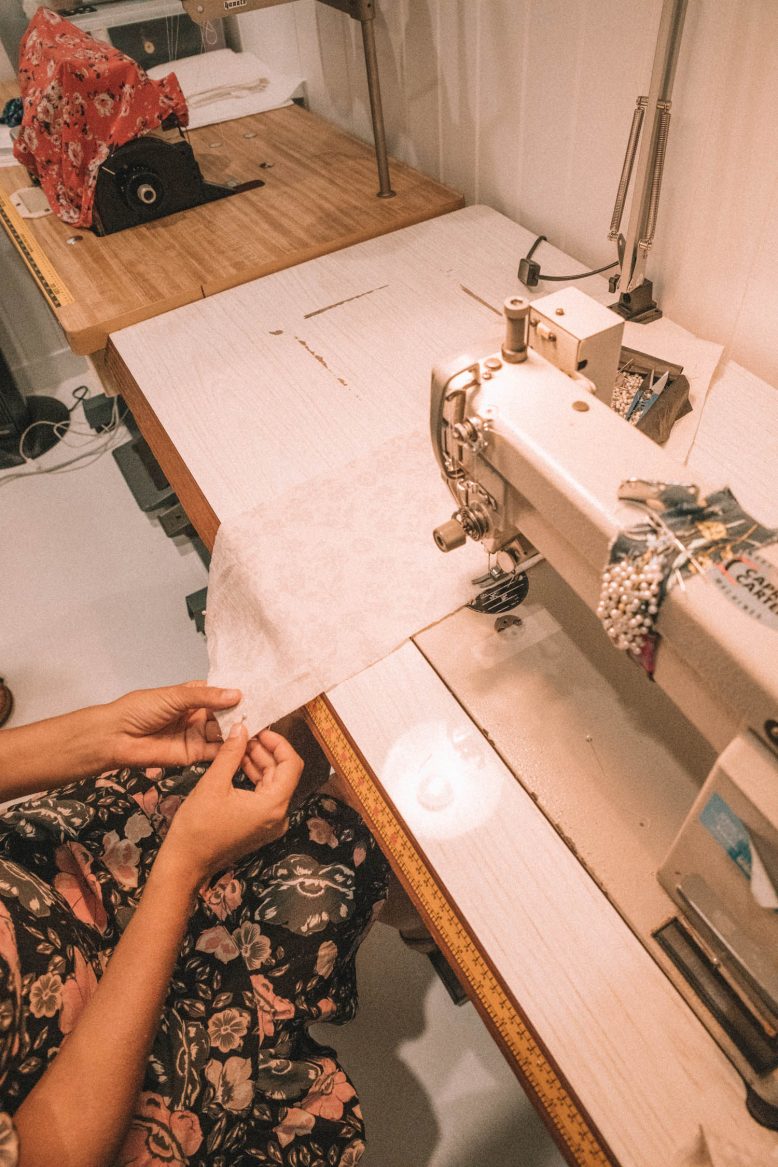
2. Once you have your fabric cut, pin together the two large pieces of patterned and canvas fabric, with the wrong sides of the fabric facing in.
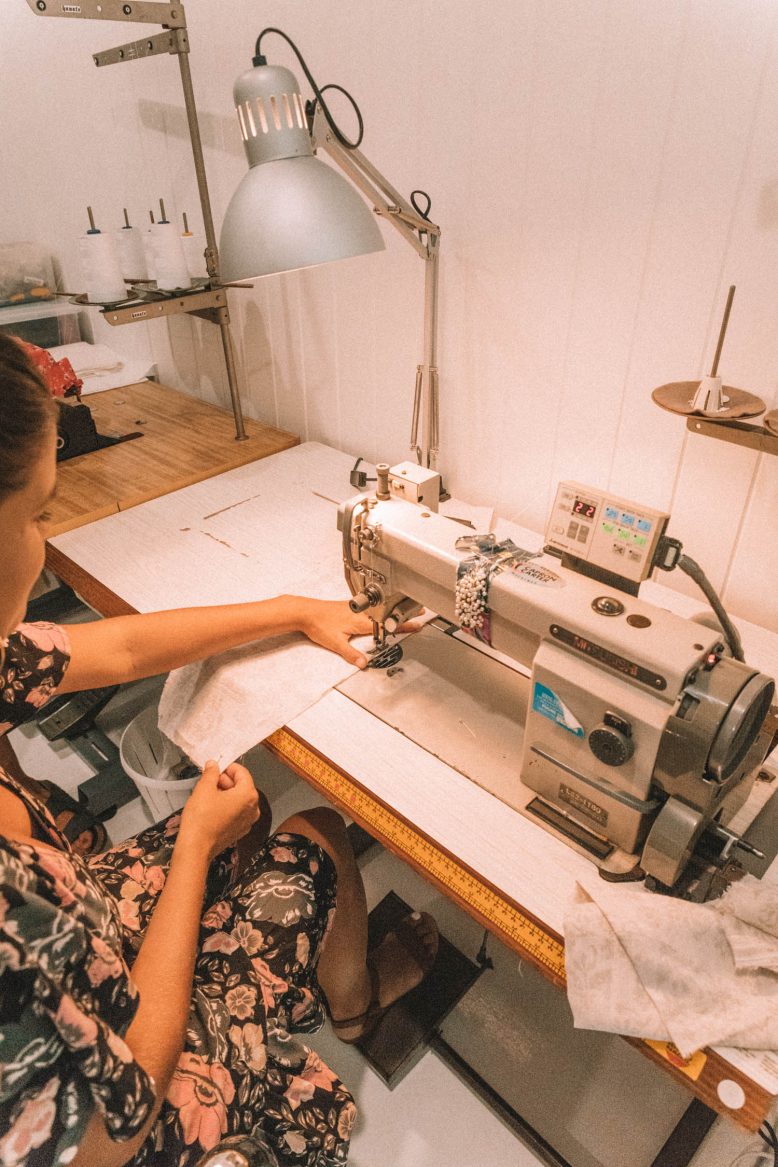
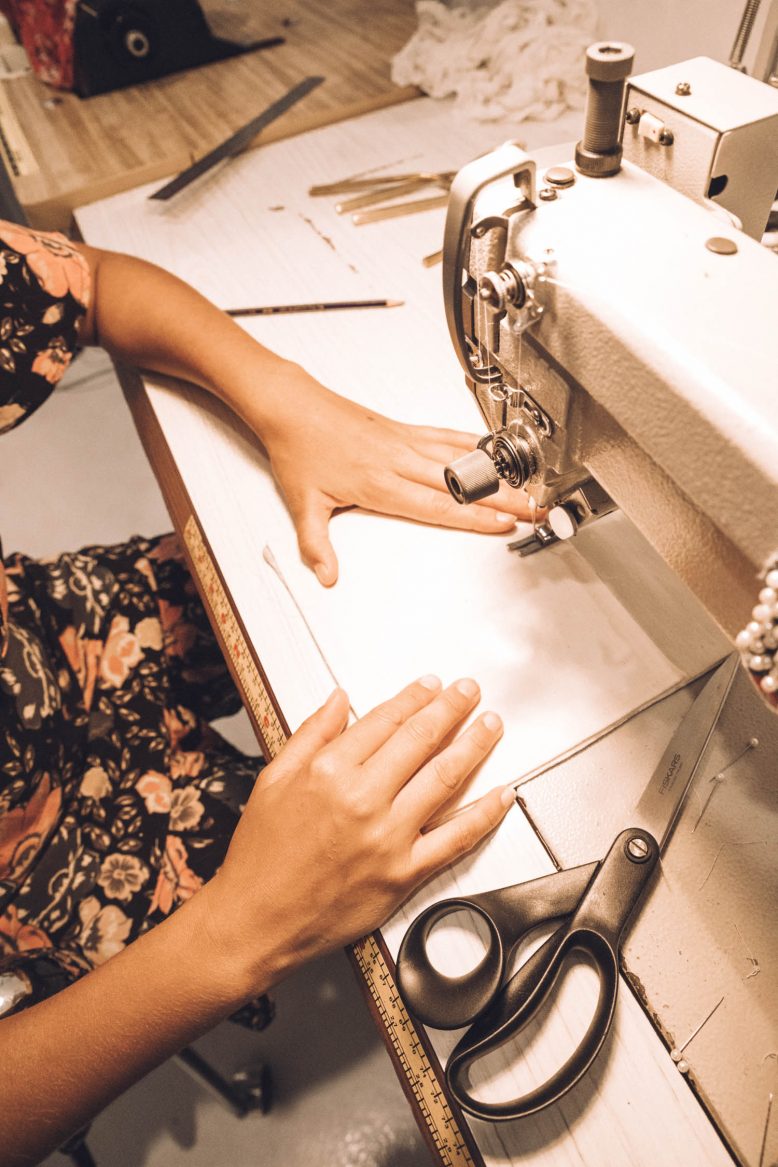
3. Time to start sewing! Sew around three sides of your two pinned pieces of fabric, leaving a 2cm seam allowance between the edge and the stitch. Leave one end of the rectangle open.
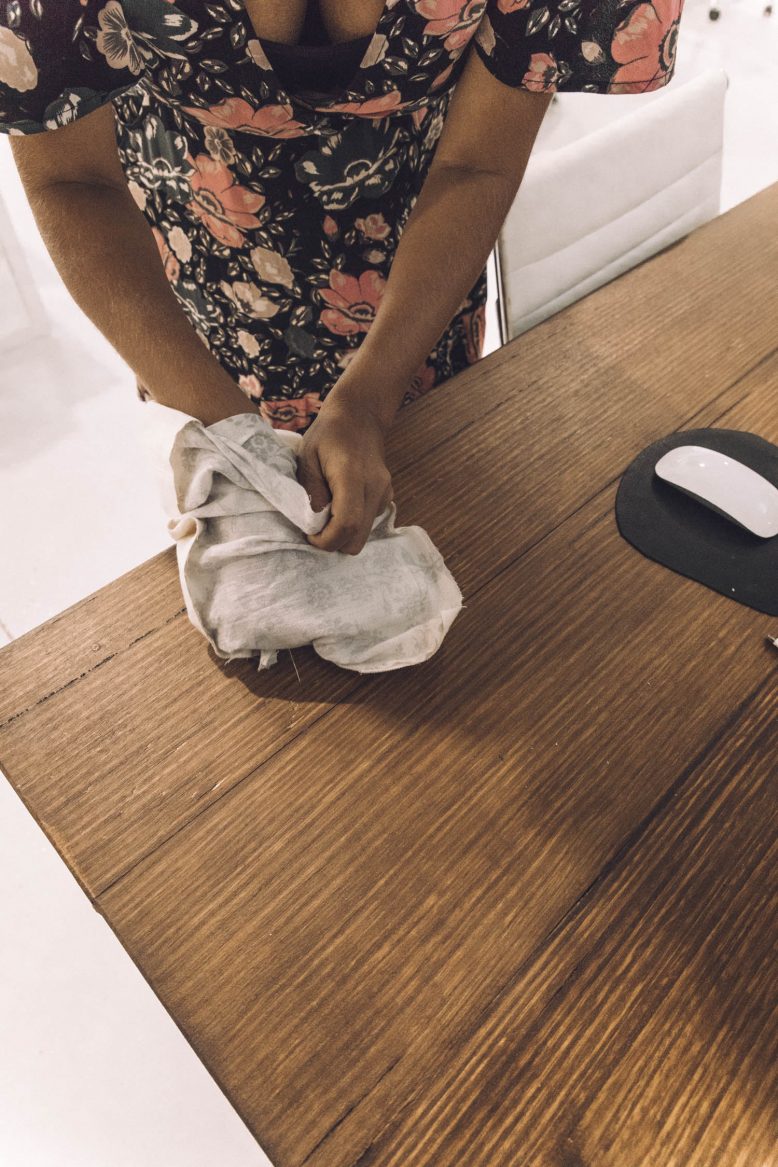
4. Once you have finished sewing, turn the rectangle inside out and iron it well. This is the base of your cutlery holder.
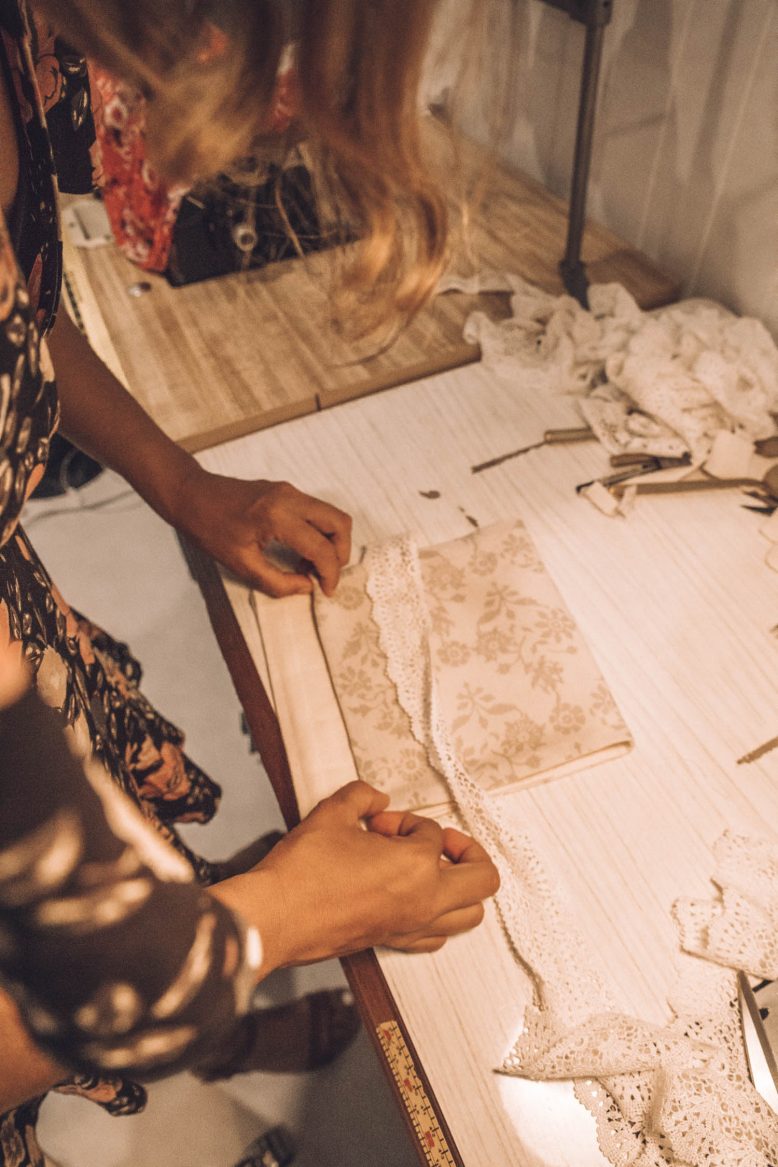
5. Now it’s time to add the pocket. First, take your extra piece of canvas and trim it to size so that your cutlery sits well when inserted, making sure to leave a seam allowance around the edges.
Voila!
Pin this DIY on Pinterest!


