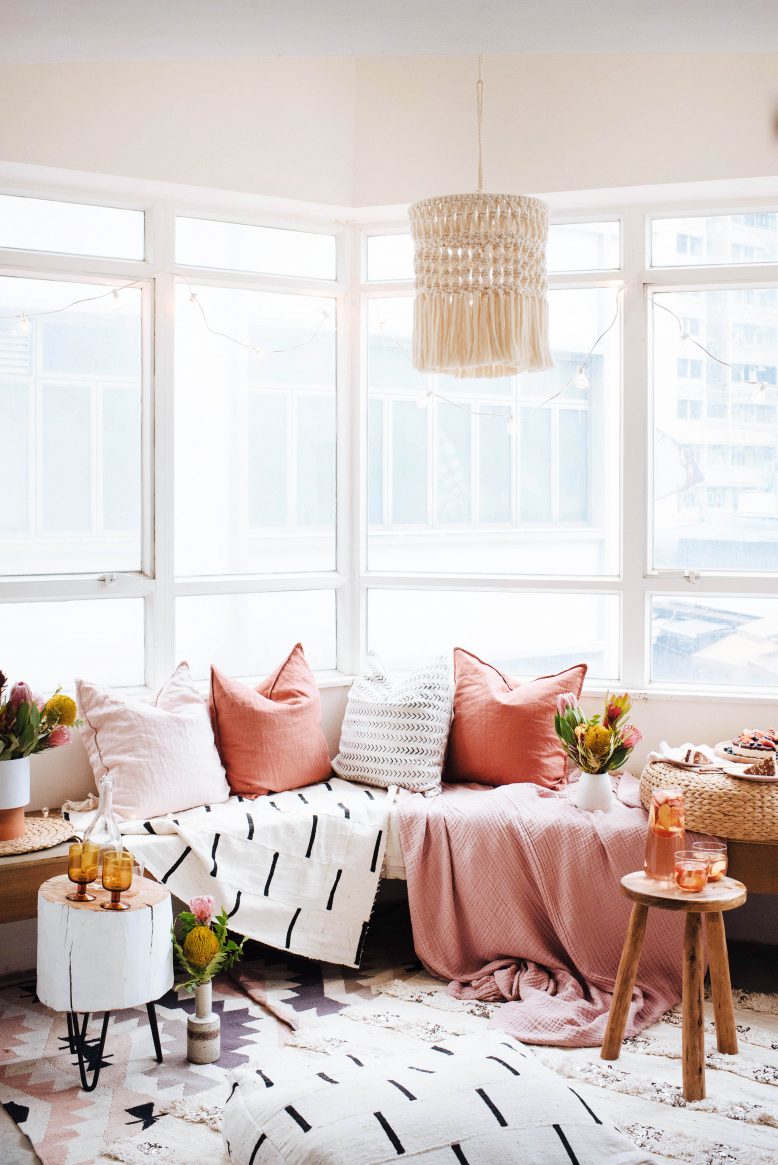
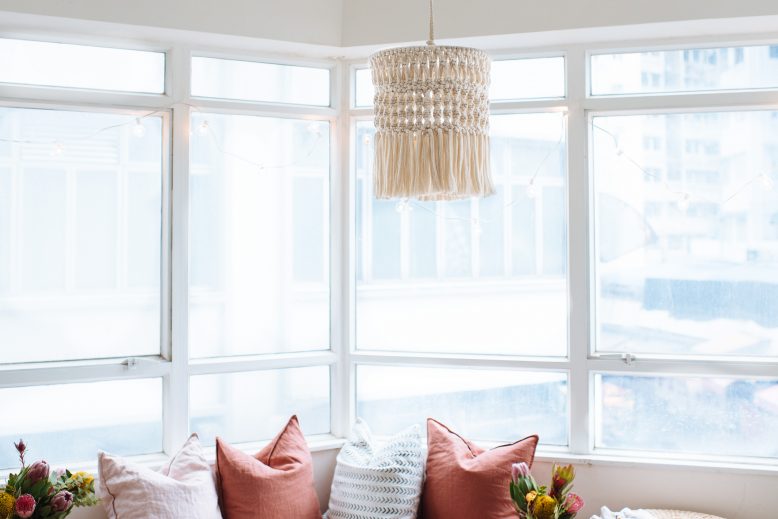
Macramé Mondays… Could become a thing right?
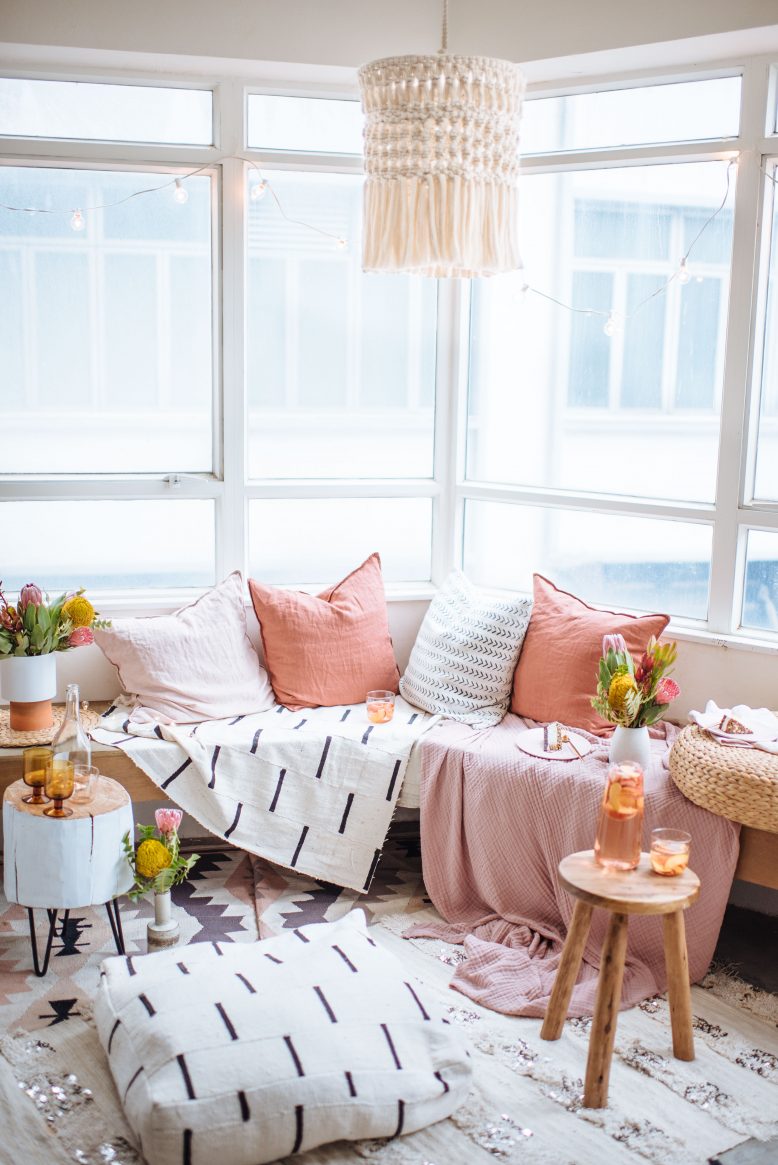
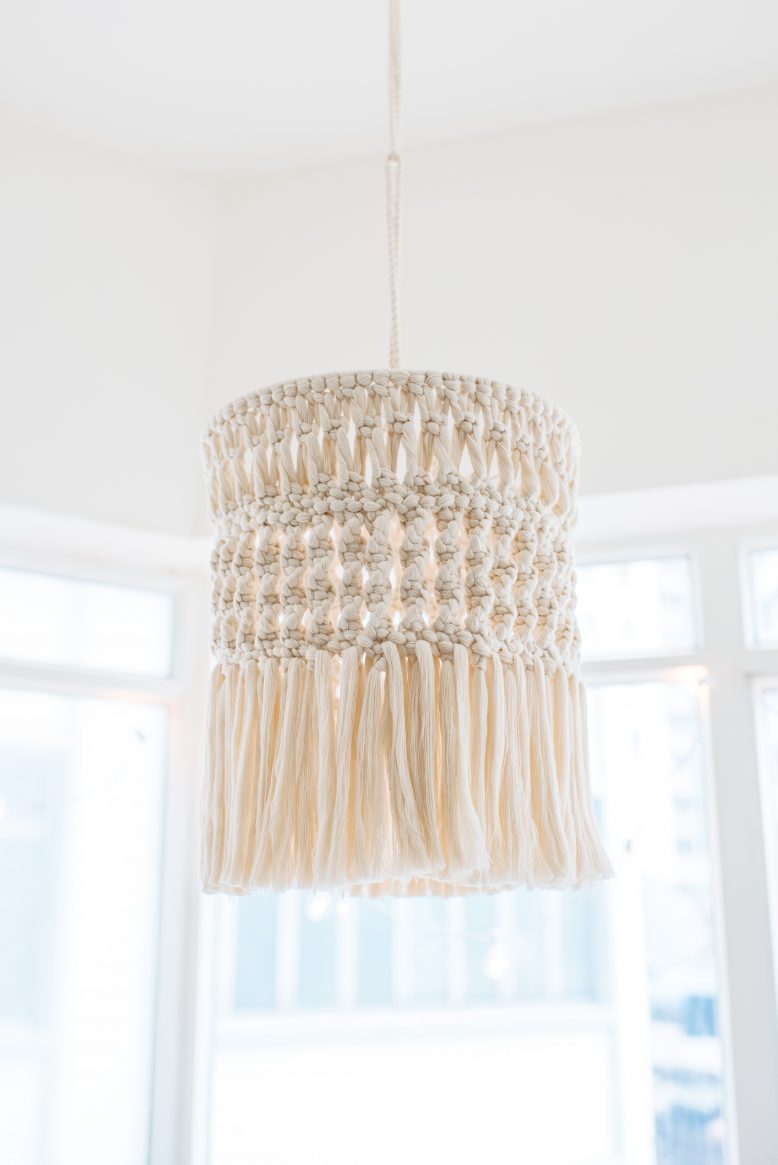
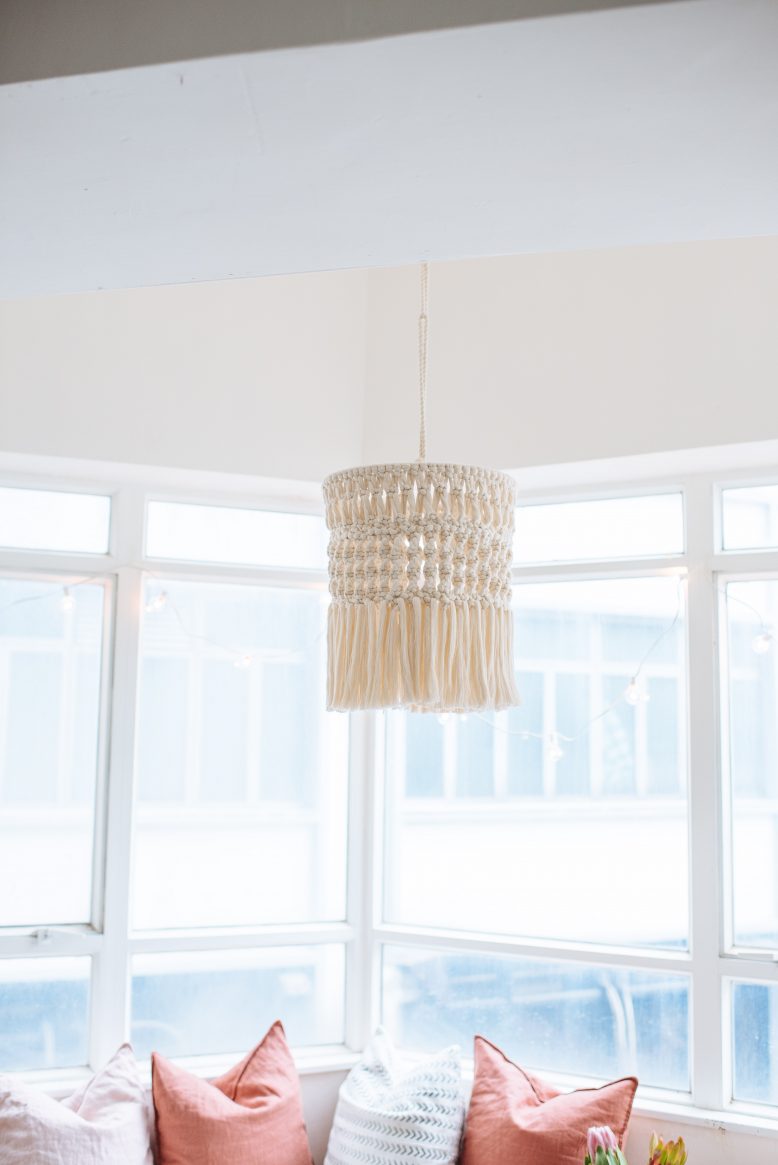
Now, I have to admit, I’m not a chandelier kinda gal, and you’re much more likely to find me sitting under the stars than under a mountain of cut glass. But when I spotted an incredible macramé chandelier in a local coffee shop, I have to admit I loved the idea. So we thought, why not try our hand at it and show you how to make it? For this project you’ll need to refer to our Macramé Knotting Guide, where we give you a breakdown of all the basic knots used in this project. Enjoy!
DIY Macrame Chandelier
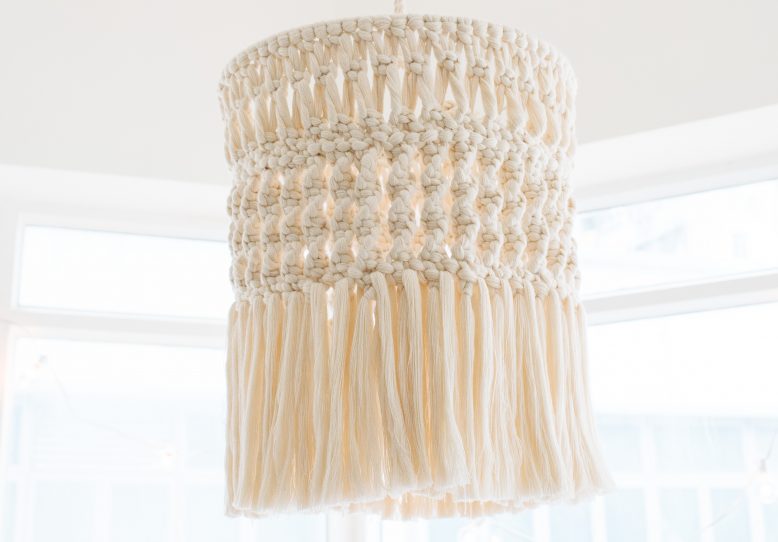
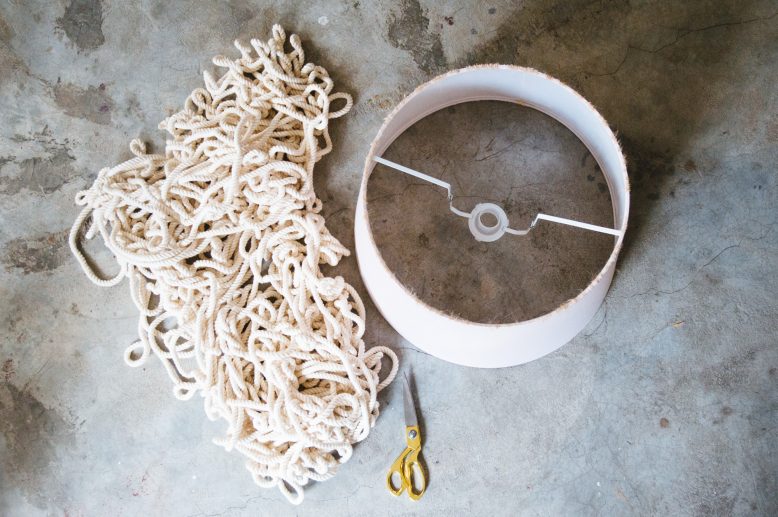
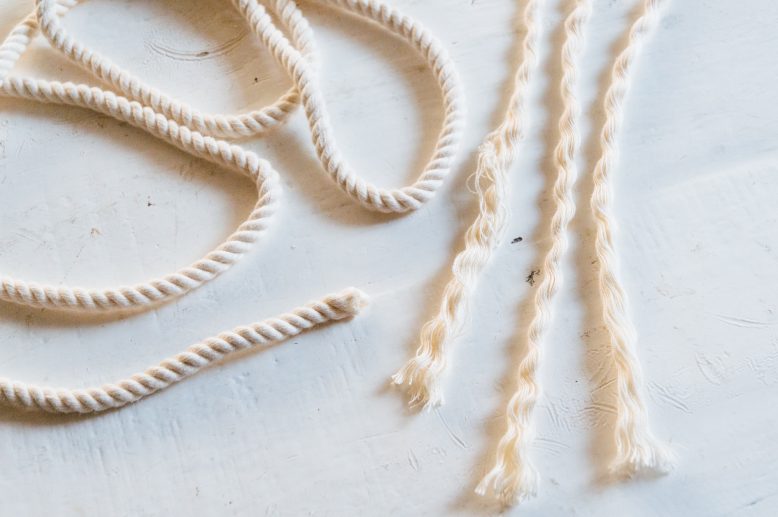
For this project we purchased 35 metres of 0.5 cm cotton three strand rope (40 yards of 3/8 inch rope), which we then separated into three strands for a softer feel. This, therefore, gave us 105m of rope (114 yards of 3/8 rope). If you don’t use three strand rope or don’t want to unravel it, you’ll need to buy 105m instead of the 35m. We ended up with a macrame chandelier that is 25cm in length for the macrame part and 20cm in length for the tassel part (that’s 10 inches for the macrame and 8 inches for the tassel). Then, because
1
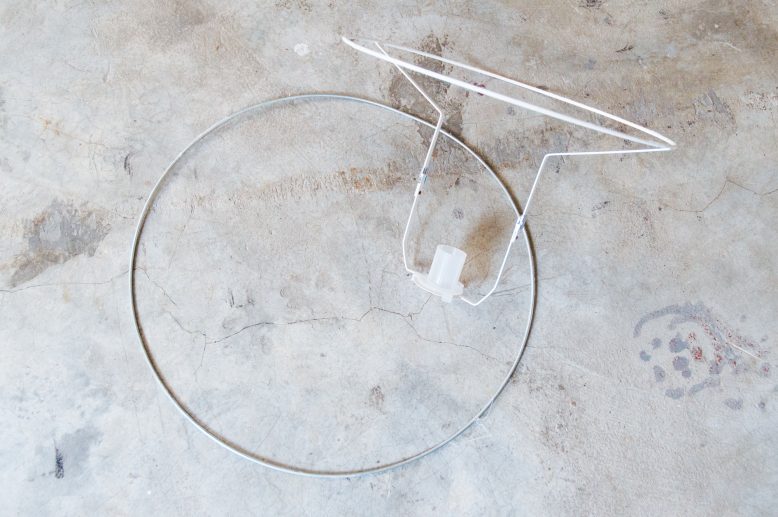
For the base we deconstructed a a cheap lampshade from Ikea that measured 30cm in diametre (12 inches). You want to remove the covering so the wire is left over. We ended up just using the top wire frame and the light holder, and didn't use the bottom one.
2
First, cut your rope to size, our pieces were 3 metres per piece or 118 inches, and then unravel it into three strands. FYI The formula for working out rope length is length of the final woven chandelier times 6, since you'll be folding the pieces in half before knotting them to the lampshade base.
3
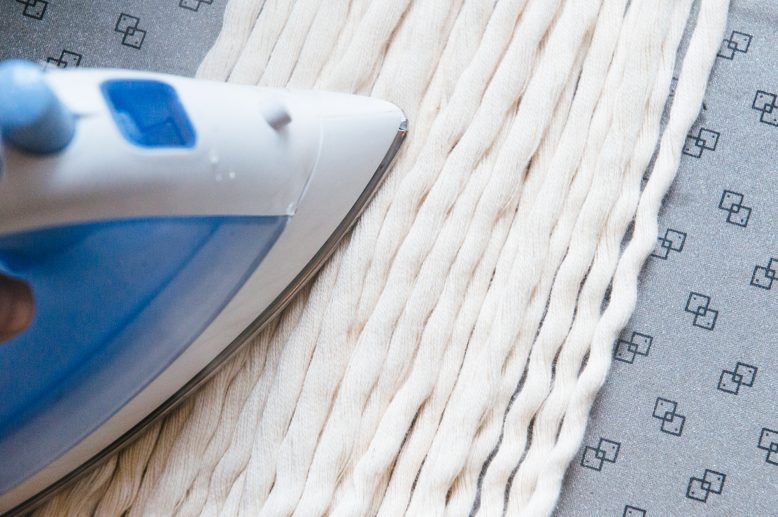
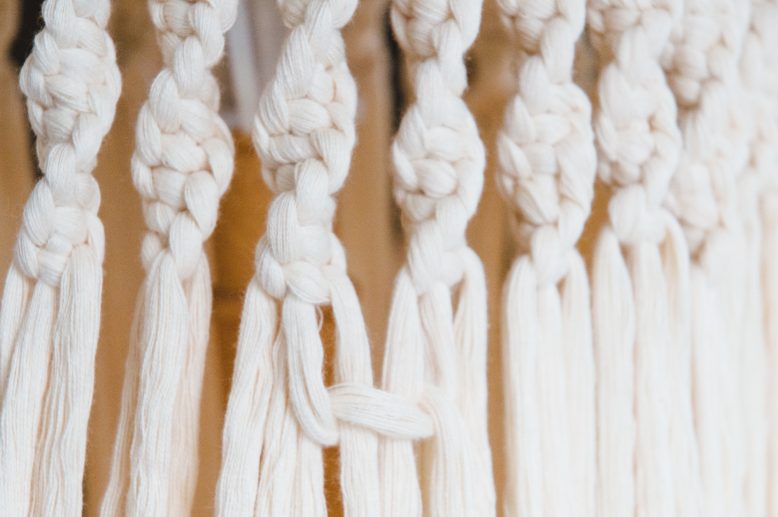
To get that gorgeous soft tassel look, we unravelled the rope and then ironed it to make it straighter.
4
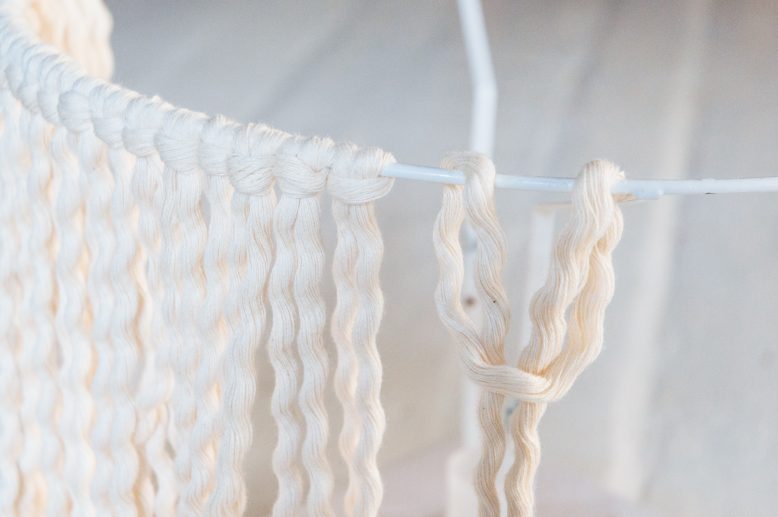
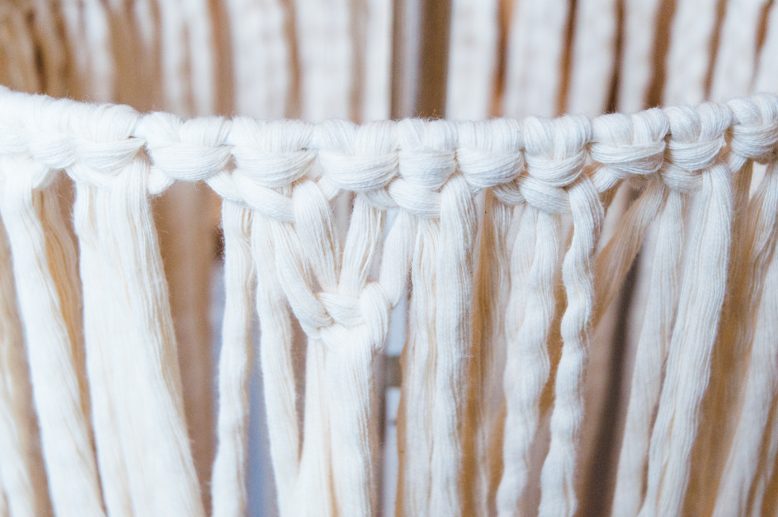
Fold your separated pieces of rope in half before tying them to the lampshade base using a reverse larkshead knot as shown below.
6
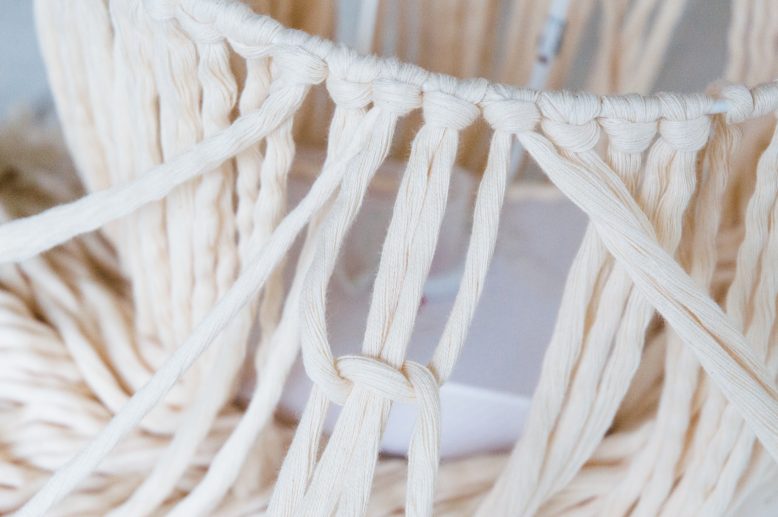
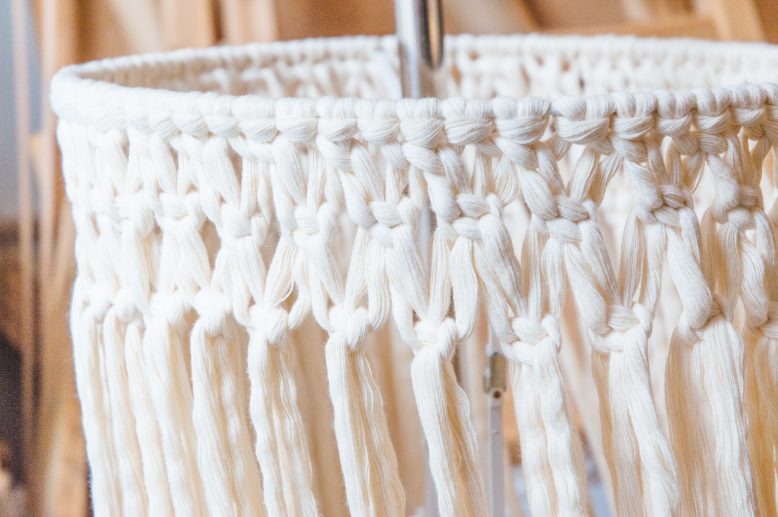
Measure down 1'' from the top row of knots,and begin knotting the first row of square knots.
7
After completing first row,measure down 1'' again and begin knotting the second row of square knots,using alternating strands from the previous row.
8
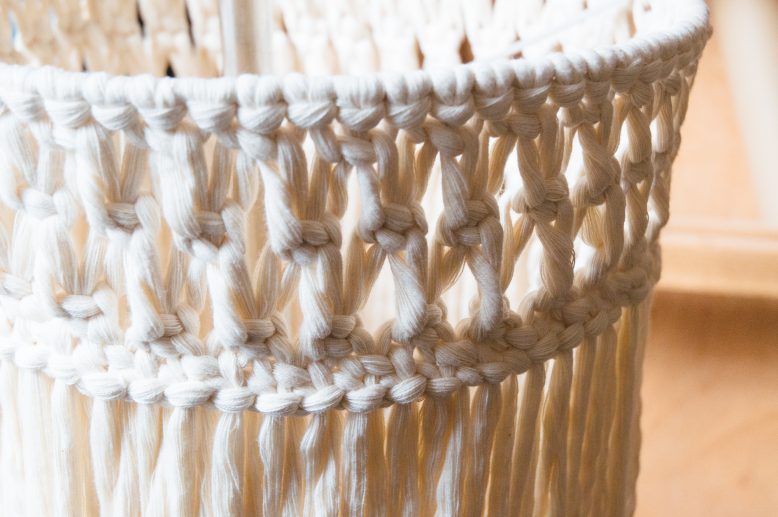
The next row will be two rows of half knots without any space in between,which creates a thick woven border at the bottom.
9
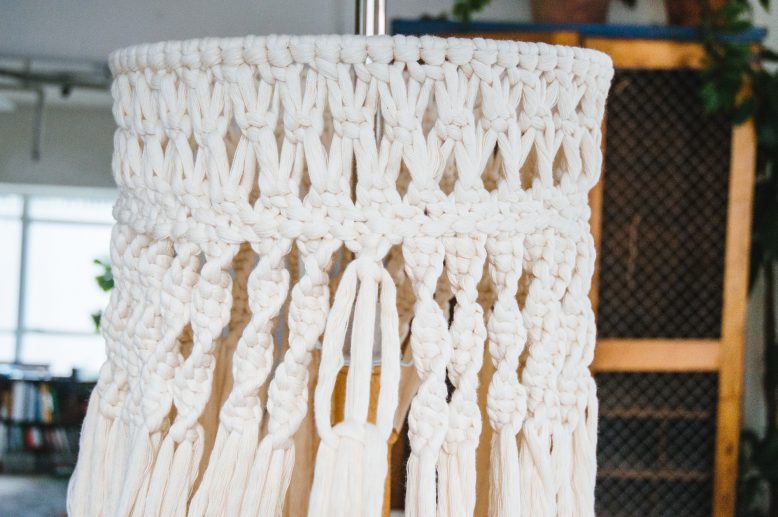
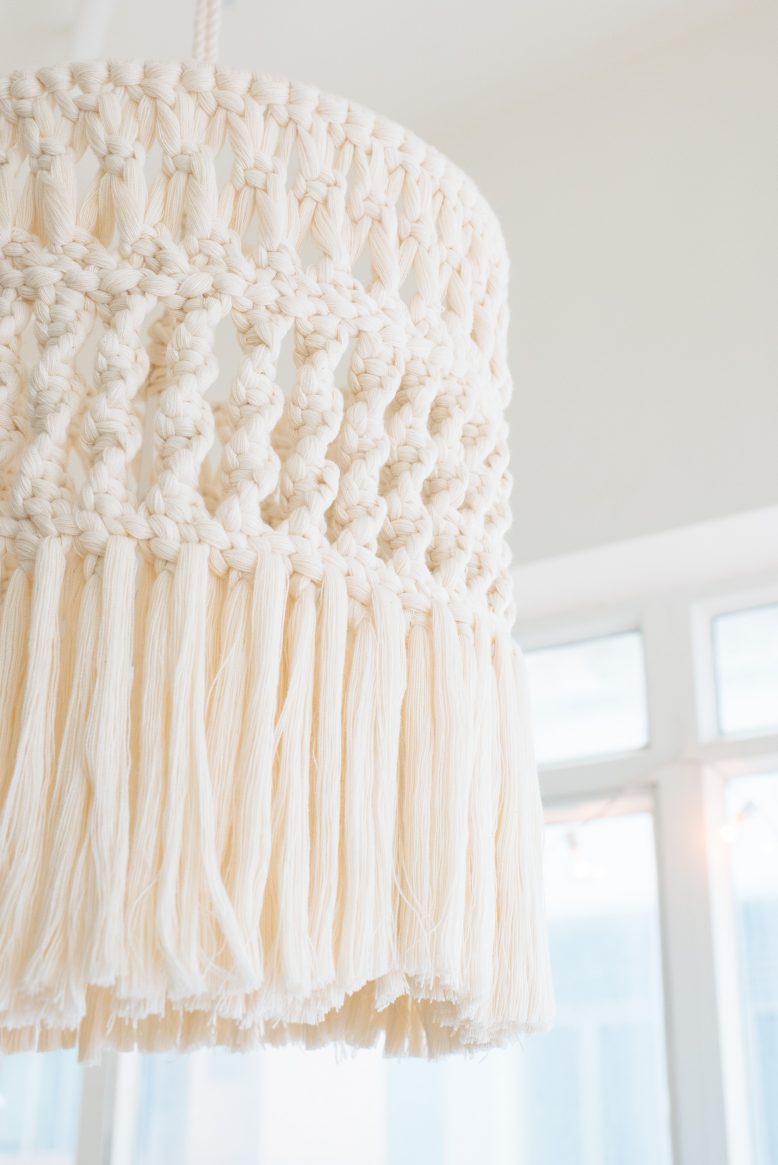
Then we're going to do some twisting half knots.There isn't any trick to doing this,since the knots will begin twisting on their own once you keep knotting.We did 15 half knots for each,and we ended up with 4'' long twisted pieces.
10
Measure the twisted pieces,and adjust them until the lengths are the same,then we're going to do two more rows of half knots to weave a thick border at the bottom.
11
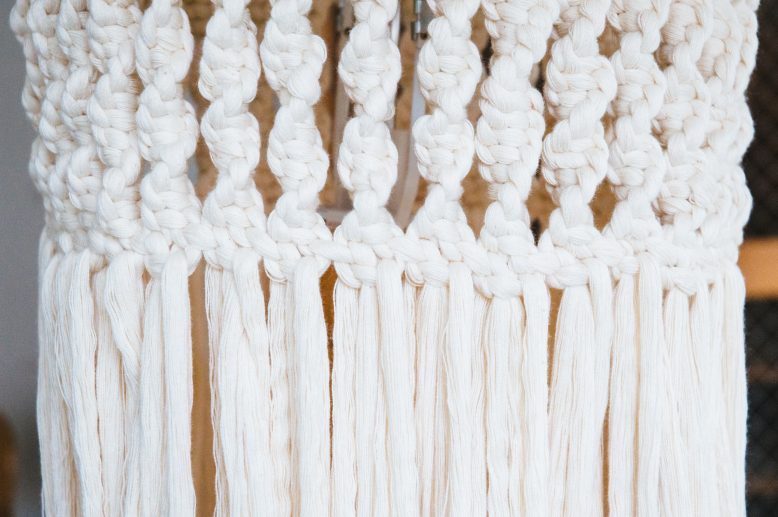
This is what the bottom of the chandelier looks like after weaving the bottom border.
12
The final step is to measure the ideal length for the tassels and snip off the excess rope.
Pin this tutorial on Pinterest!
Loving our DIY Macramé Chandelier? Here are more DIY’s to try: Macramé Plant Hanger | Macramé Rope Bag | Macramé Rope Bag 2.0


