Anyone else take a million photos but rarely print and hang them at home? Guilty as charged!
If you’ve been following me for a while you’ll know that my love of photography has grown over the last few years, and there’s never a time when I’m not snapping a doorway, street or just Ben and Frankie being silly. But if I’m 100% honest, up until recently I had exactly zero photos hanging in my house. Which is crazy! I think there’s an element of seeing so many photos every day that I don’t feel I need to print them, but there’s also a bit of laziness too… I mean, choosing which ones to get printed and taking them to the printer or stationary store can be a bit of a pain. But when I think about it, a favourite photo becomes that much more cherished when you get a chance to print and display it. So it’s silly not to.
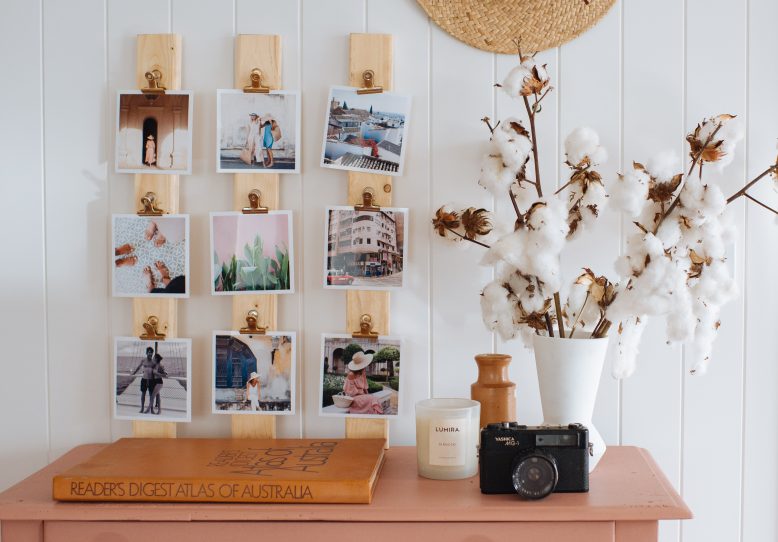
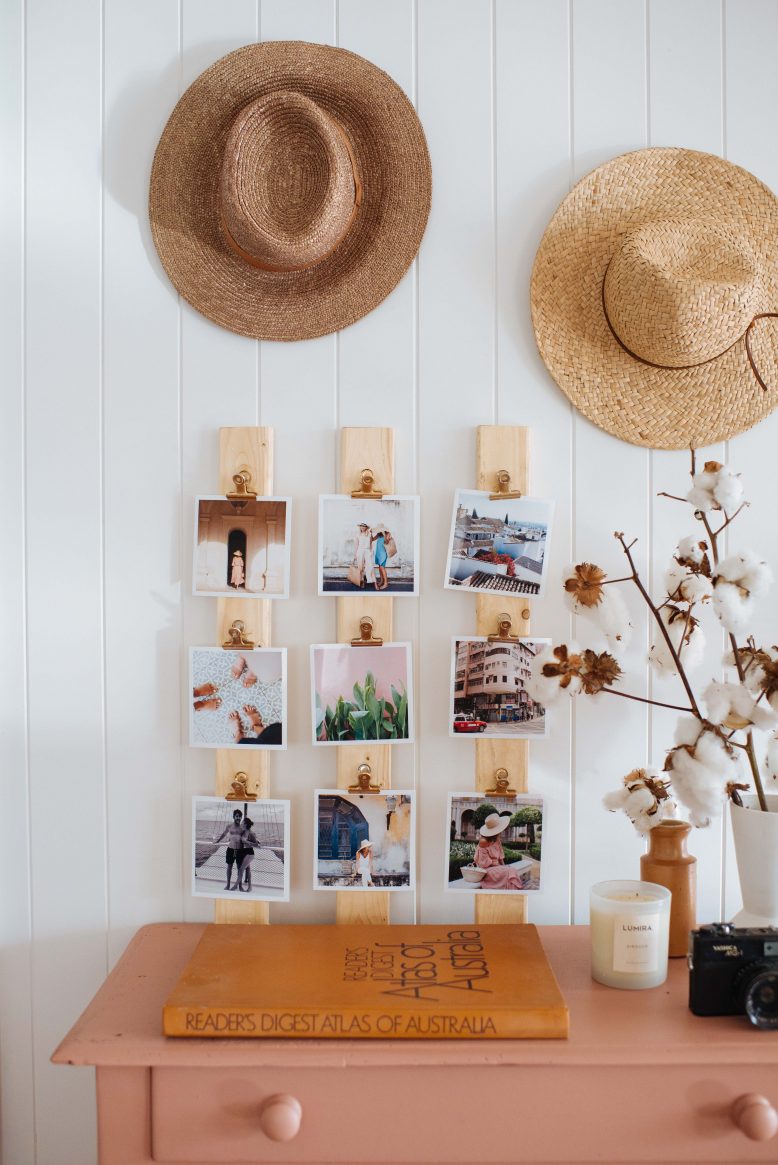
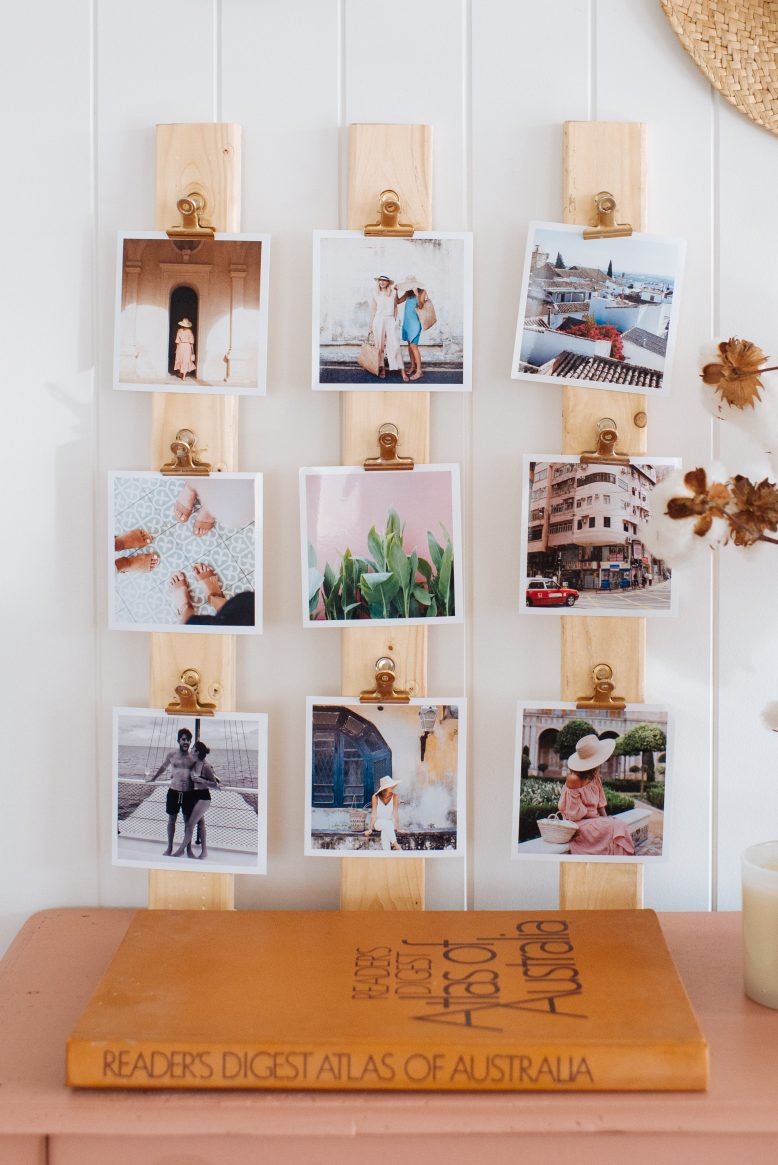
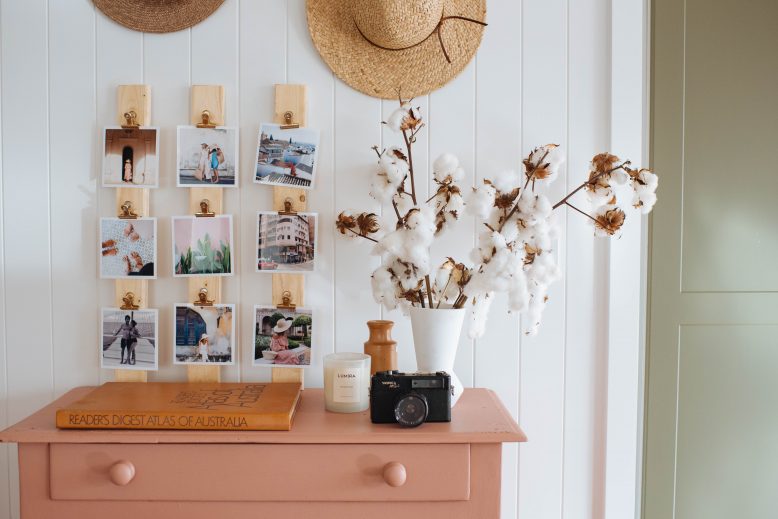
Which is why I’m excited to be working with Canon on a series of DIYs, all aimed at displaying your photos around your house more. Canon has a great range of printers (like this one) and paper to create professional quality photos, without you even having to leave the house. And because framing photos can also be a bit of a palaver, in this first DIY I’m showing you how to make a VERY easy DIY plank photo display. Honestly, this one is so simple you’d be crazy not to!
You need
- Canon Pixma 6260
- Square photo paper
- 3 wooden planks, ours measured 80cm long
- 9 binder clips
- Glue (hot glue or superglue)
How to:
Voila!
This post is in collaboration with Canon.


