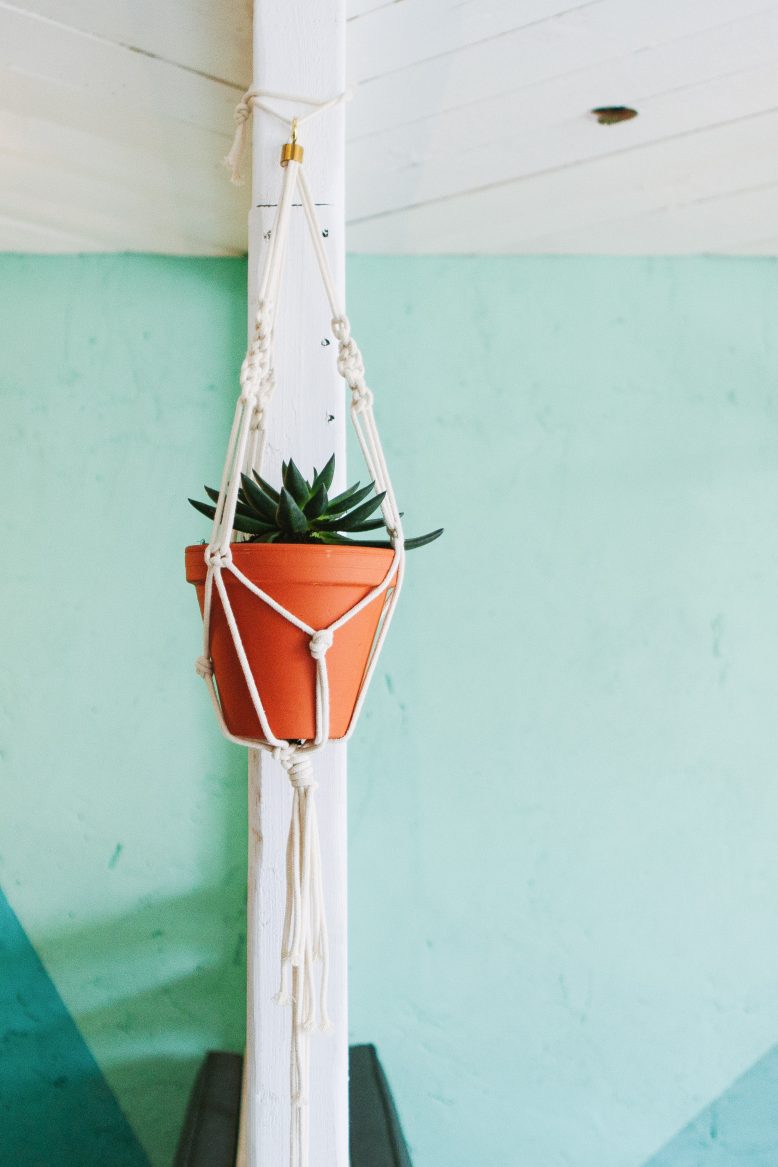
Sometimes I’m surprised by what you guys love the most, and one thing that has struck me is just how much you guys are into macrame.
Which is perfect because I love it too. It’s one of those things that once you get it, you never stop wanting to make things. Yes I know, the knots can be a little daunting at first, but they are much more simple than they appear. AND, with the gift giving season just around this corner something like this is an easy (and cheap!) gift that packs a whole lotta gifting punch. Make a few whilst sitting in font of the tv and all your gift giving troubles will simply melt away.
The first thing you need to do for this project is head over to our Macrame Knot Guide, where you can get acquainted with all the basic knots, including the Half Knot and Square Knot that you will need for this project.
The first step is to cut your rope to size. First cut 4 lengths of rope at 2m (2.2 yards) each. Then, cut one extra piece of rope at around 1m each (1.1 yard). This is the rope you will need for your project.
2
Take your leftover piece of rope and tie it around the other ropes, below the ring. Let that rope hang down to join the bundle. You now have nine pieces of rope.
3
If you have a thicker ring, you can use it to cover up the tie. Or, use some additional rope to wrap around.
4
Bring the right hand piece of rope over the tail of the ‘four’ and pass under and the cross section and through the loop. Pull the knot tight.
5
Time to start knotting! Gather the 9 pieces of rope into 3 bundles of three ropes each. You will create half knots using these sections. Leave around a handspan of gap below the ring before you start doing your knots. First, create a ‘four’ shape with the left piece of rope over the middle piece of rope.
6
Bring the right hand piece of rope over the tail of the ‘four’ and pass under and the cross section and through the loop. Pull this tight, and you've got your first knot.
7
Continue doing these half knots all the way down for 8 knots, and do that on all three bundles.
9
Leave another half a handspan of space before you start doing another row of knots. Tie a square knot here in each of the three bundles.
10
The rest of the planter is fairly simple. Making sure to grab two ropes from adjacent bundles, you are going to tie a simple overhand knot. Leave the middle rope free. It helps to grab ropes that are naturally next to each other.
12
The last step is to tie off the bottom of the planter. You can easily just tie all the rope together, or you can do three separate square knots and then tie those together.
13
Tie it all off and you've got your planter! I like to wrap the bottom with another piece of rope so it looks really nice and tidy. Finally, add a loop of rope through the top ring and insert your pot!
Voila!
Planters shown were made for one of Ben’s design projects, Limewood.


