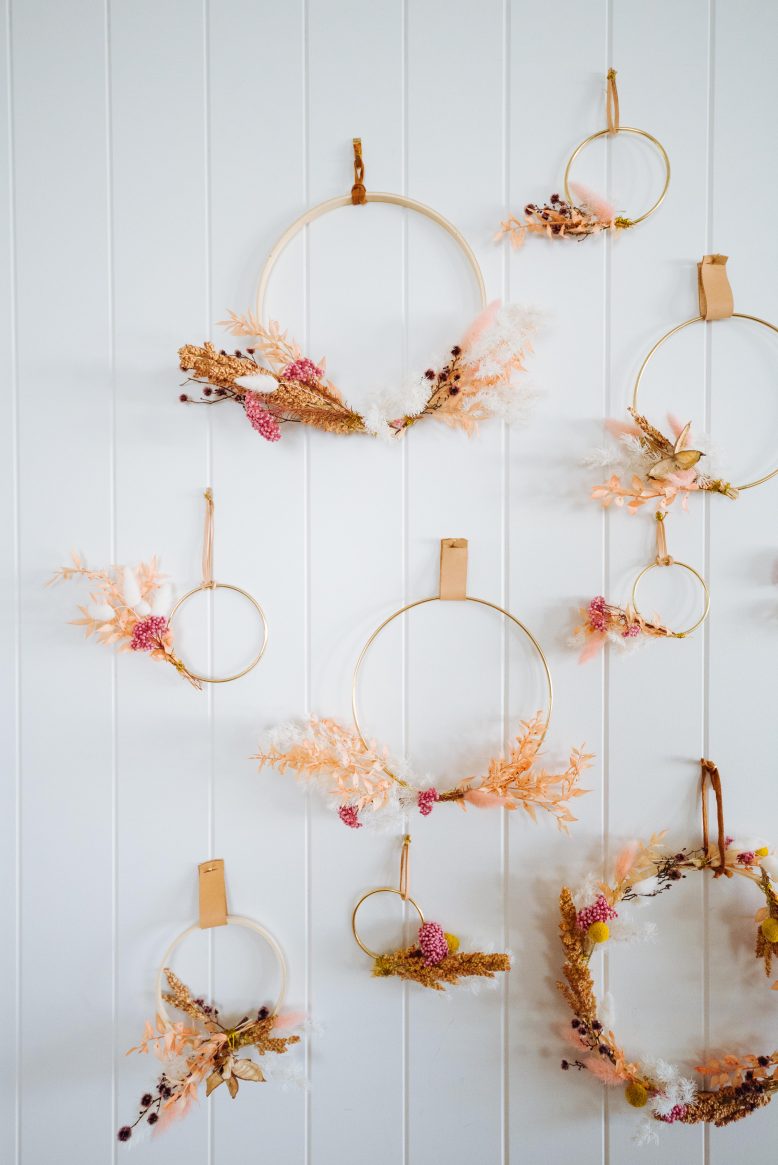
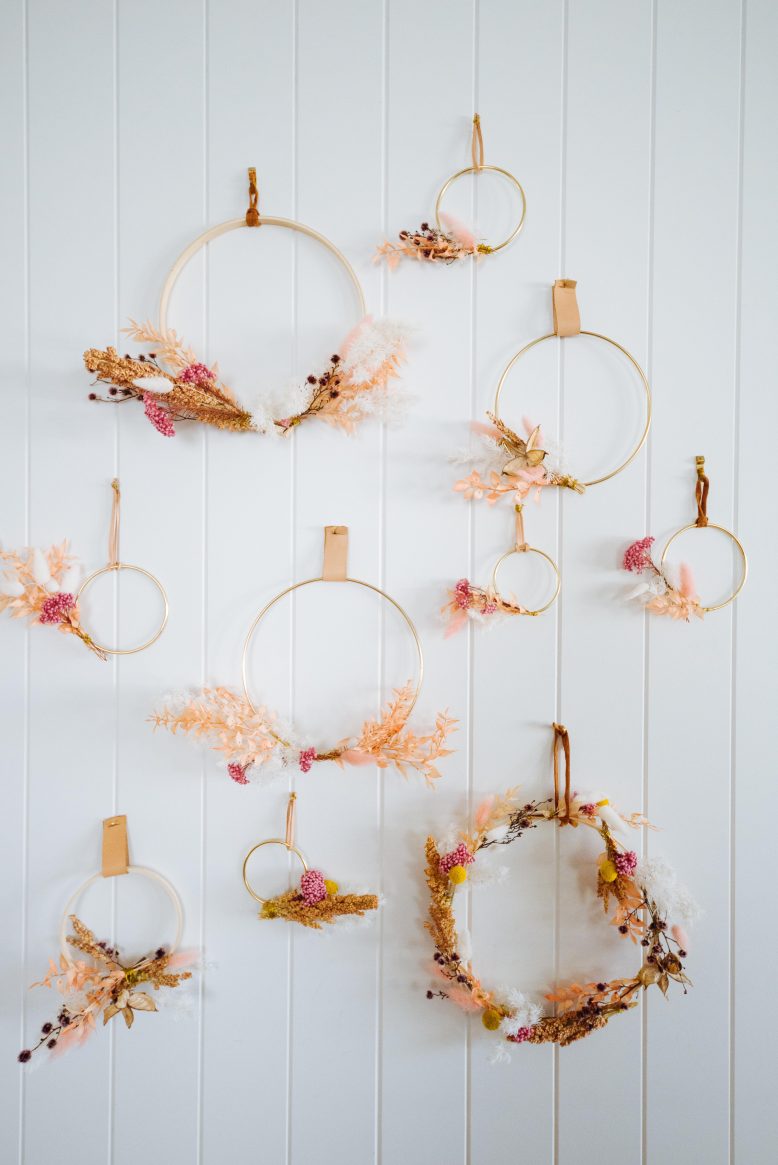
I love a decoration that does double duty, and these dried flower everlasting wreaths certainly tick that box…
They are so great because they can be used as a wall hanging, on the front door, as a tree ornament (I’ve used them on my branch Christmas tree), as a gift topper or even taped to the front of a nice card. I liked to make them in a few different sizes, they don’t take long at all, and then use them in various ways throughout the holidays. The best thing is that no matter what design you choose, they usually look great, because the dried flowers lend the perfect festive feel! Anddddd because I’ve chosen non-traditional colours, they’ll see you through to new year and beyond. Yay!
You Need
- Assorted dried flowers
- A gold metal ring or embroidery hoop in any size
- Gold florists wire
- Scissors
- A leather tab or piece of ribbon for the tie
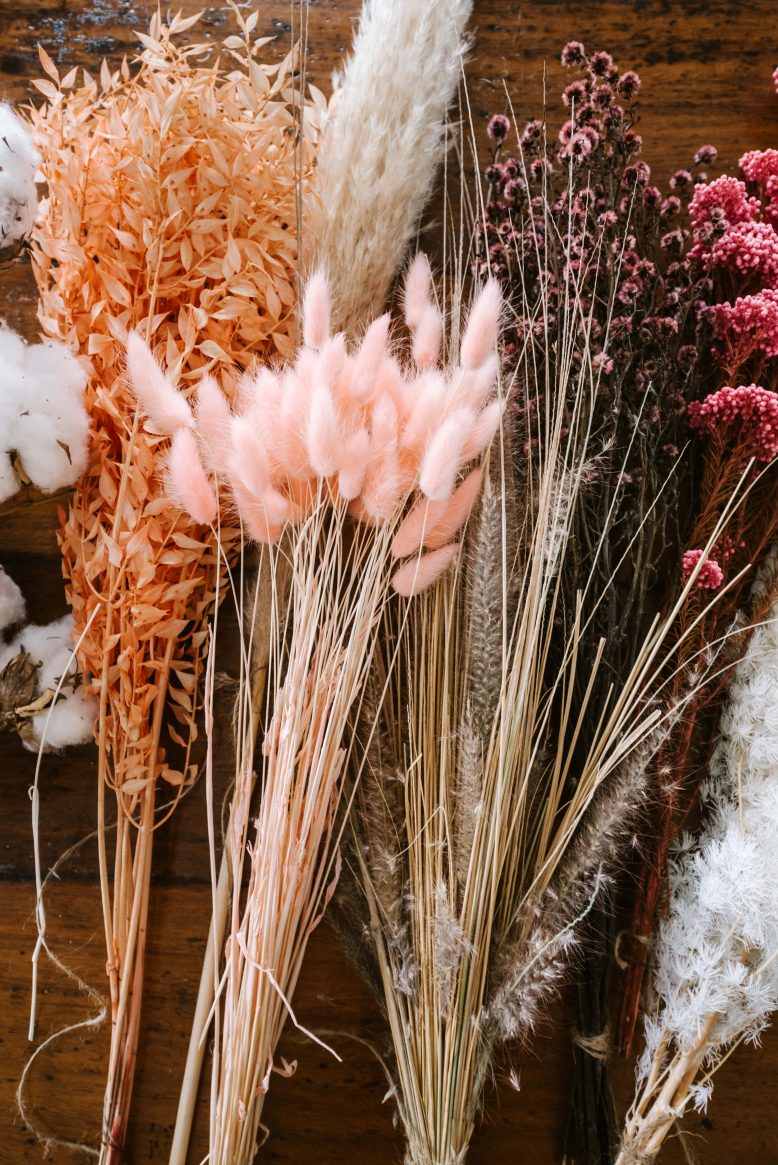
When it comes to sourcing your dried flowers, there are a few options here. You can dry your own (foraged or bought), or you can bought them already dried from a florist or flower market. I have noticed that there are a lot more options on the market now for dried flowers, and although they can be more expensive than drying your own, they do last forever and often you can find the perfect shades as florists sometimes dye them! We got quite a few for this project but you only need a few bunches to do these.
How to
- Lay out your ring and have a think about your design. You can really experiment with anything you like – symmetrical, one sided, big, small. Or all the way around. The beauty is that pretty much no matter what you do you’ll find it will look good… Because of the dried flowers!
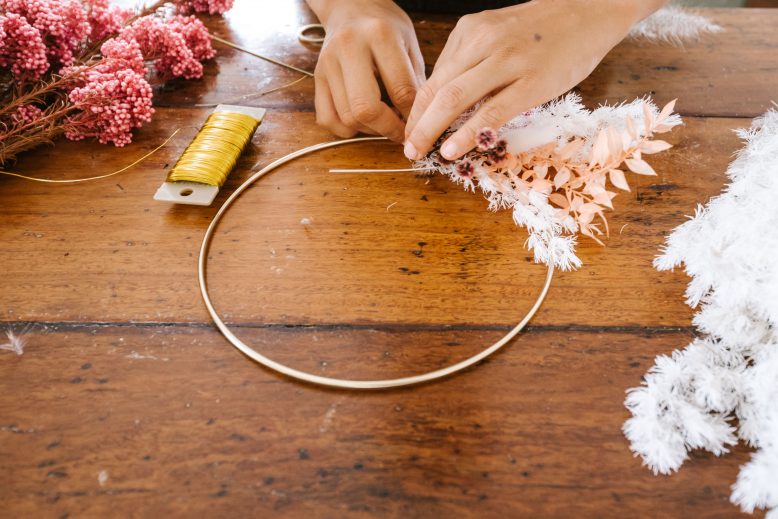
- Put your wreath together in layers. Start on one side, and consider first the largest part of the display. Cut a few flowers and use your wire to make a mini posey. Then, use some wire to attache it to the wreath. Make your wire nice and tight, so you don’t have t use too much, as this will make it bulky.
- Make your next posey, choosing other flowers that match in with your colour palette. Add a few pops of colour or stick with neutrals.
- Keep going, wiring your posies and then attaching them to the wreath.
Once you are happy with the layout, take a piece of leather or the ribbon to make a hanger for the top. They can then be hung on the wall or used as a tree ornament! Or, if you are going to use them as a present topper you can skip the tie. These little wreaths are so easy to make and sooo versatile!
Stay tuned for my front door wreath coming in the next few days! Wearing this beautiful dress from Spell, which is certainly getting me in the festive spirit.


