Welcome to the paint series!
If there’s one subject that garners the most questions from you guys, it’s paint. Which is great because I a) absolutely love to talk and b) particularly love to talk about paint. I know I’ve said it over and over but it’s one of the easiest ways to bring life to your space and transform it, without having to do anything scary or major like pull down a wall or redo the floors. In any decorator’s toolbox, it’s the lowest hanging paintbrush, if you will.
That said, paint can be tricky. And an ill thought out colour palette or a poorly chosen paint can totally ruin the look and feel of your space. Picking paints quickly and without much thought can lead to lots of heartache in the long run (unless you are a fan of painting over things lol), so it’s best to be methodical about choosing your paints. Work done upfront planning and testing paints pays off! In this first post of our new paint series, we’re going to be sharing the definitive guide to choosing paints. Read for for the guide!
How to Choose Paints
Step 1. Find Inspiration
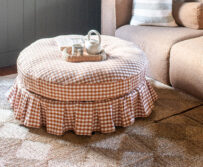
Finding inspiration is absolutely key for picking a great paint or paint palette. I like to start by finding something for inspiration. It could be a piece of fabric, artwork, run or pattern. Anything that has colours that work together and show a few key colour tones, and a neutral base tone. Assemble a moodboard of these images, and if you can, add an indication of the other materials or furnishings for the space. This will give you a general idea of how the paint colours will work with the whole look. Once you’ve found your inspiration, you’re ready to pick paint to match! Below I have shared the mood boards for the two palettes we considered during our renovation.
Step 2. Choose Paint Chips
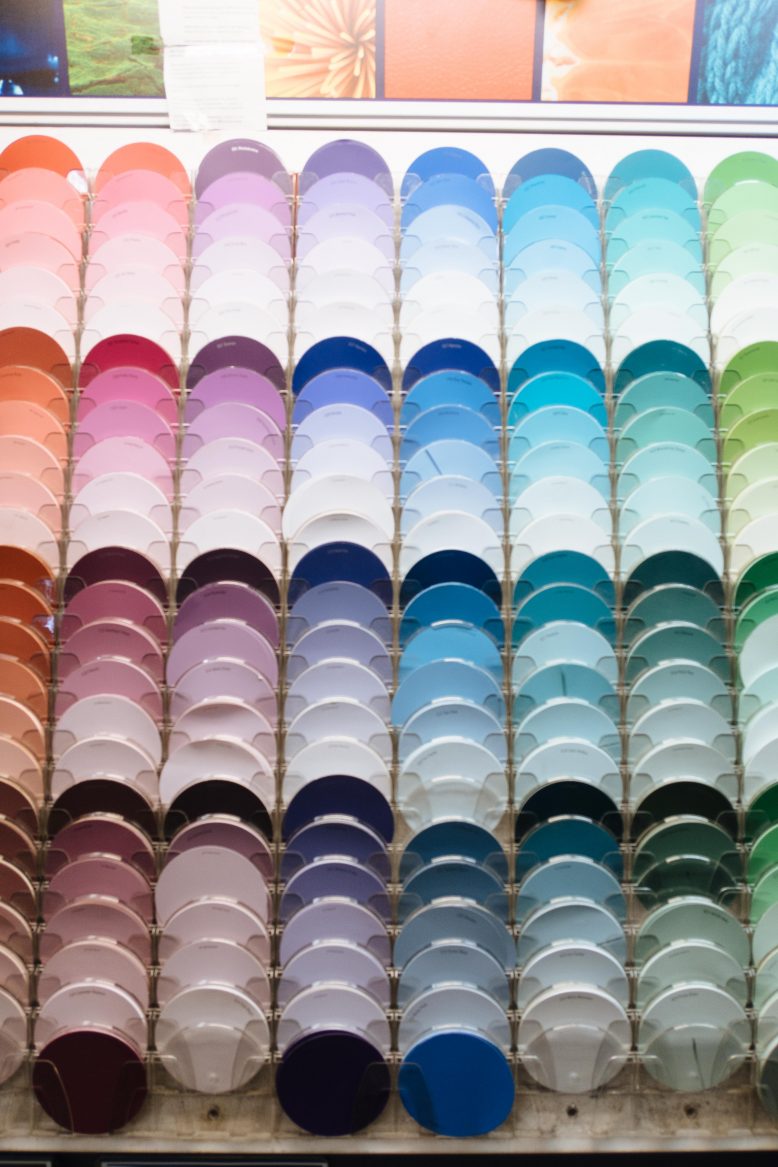
The next steps is to choose some paint chips in the palette that you want to use. I usually go into a paint store to do this. A big hardware store that has lots of different paint. brands is the best idea. Use your moodboard to pick some colours. Remember that colours can vary on your computer screen, so paint swatches are better. They’re not foolproof though, so I always choose a few in similar tones, because they often differ a lot from what you see once you get them into your space. For example, if I am getting a green I will pick 3 or 4 greens to sample. It might sound like overkill bit honestly it’s worth it. Often the colour I liked best in the paint chip turns out to be the worst one on the walls.
Step 3. PURCHASE PAINT SAMPLES
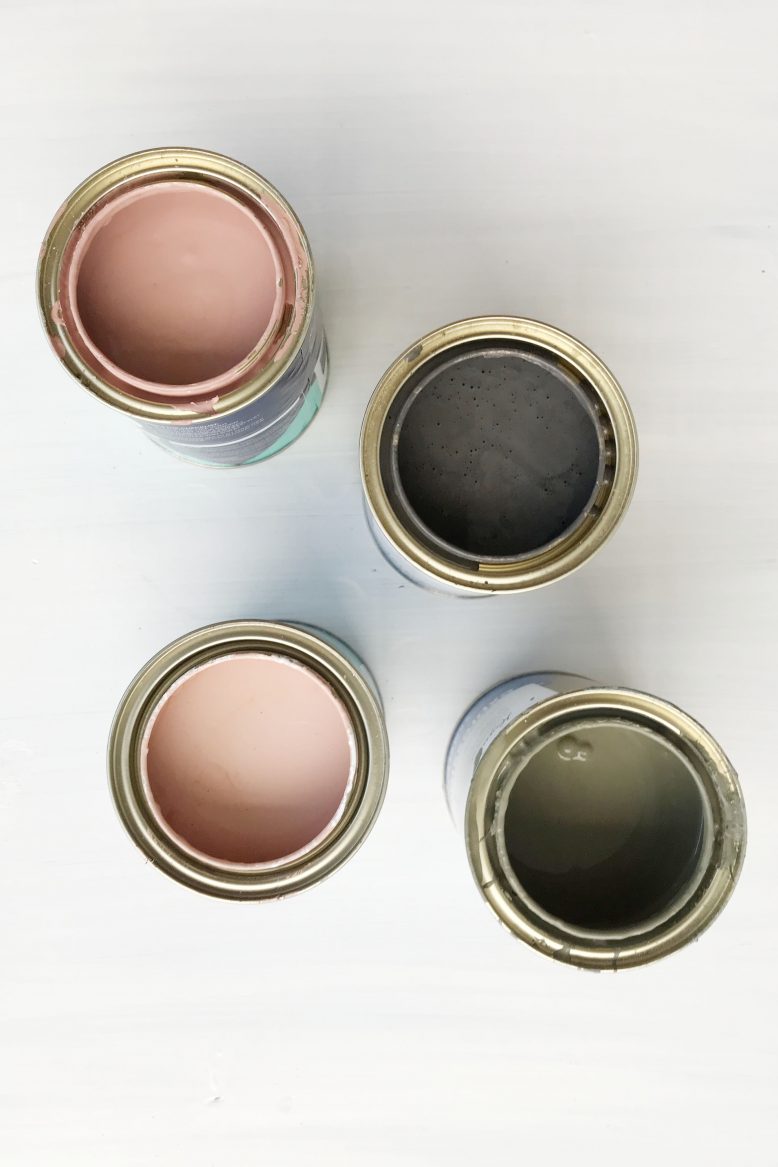
Once you’ve picked a range of paint chips, it’s time to sample! That means buying all the paints in your selection in smaller pots to try. This is such an essential step because the light, floors, windows and furnishings and direction your home faces all impact how a colour looks in a space. I always figure I can hold onto the samples and use them for other things too.
Step 4. Sample the Paint Colours on Your Walls
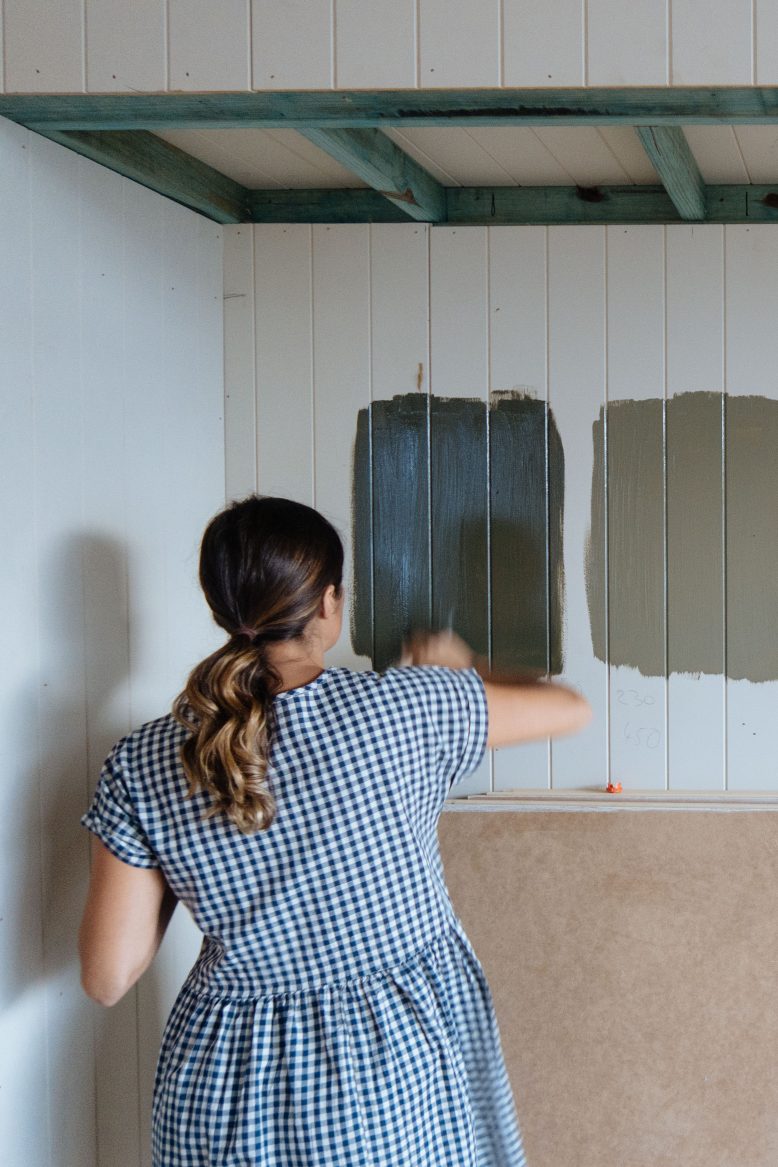
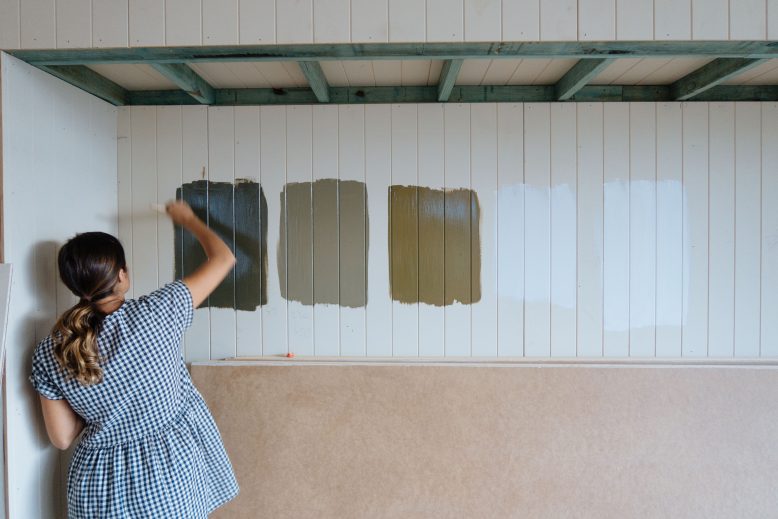
With your samples purchased, you’re ready to apply them. You can do this one of two ways: directly paint your walls or paint paper, or board. I like to do it on a board, first painting the board the same colour as the walls. The advantage of putting the colour on a board is that you can move it around. Some people say that you shouldn’t test colours next to each other, like if you are trying out a few greens, because they throw off the perspective. But to be honest, I feel there really isn’t any other way to do a real comparison, so I always paint them side by side.
Step 5. Assess the colour
Wait until the colours are dry, and do a second coat if you need to. Often you will see straight away that some colours aren’t great and be able to exclude them. If you’re choosing between two very similar colours, definitely try to understand the room and the light. You’ll want to see what the colour looks during the day with sunlight and what it looks like at night, and morning vs afternoon. It’s amazing how light changes the appearance of colours. Check the color on cloudy days, sunny days, and at night when you’ve got artificial lights on.
Step 6. CHOOSE YOUR COLOURS!
Once you’ve tested your colours, you should be at a point where you can choose them! Don’t be disheartened if you haven’t found the one you like. This can happen! If you have, you’re ready to buy your paint. To estimate the amount of paint you need in order to cover the walls or your item, add together the length of all the walls and then multiply the number by the height of the room, from floor to ceiling. In general, you can expect 1 litre of paint to cover around 6 square metres of wall.
Here are some paint calculators that may help you:
Because we know you love them, we’ve created a little illustration of these steps so you can save them and keep them on hand. Enjoy!


