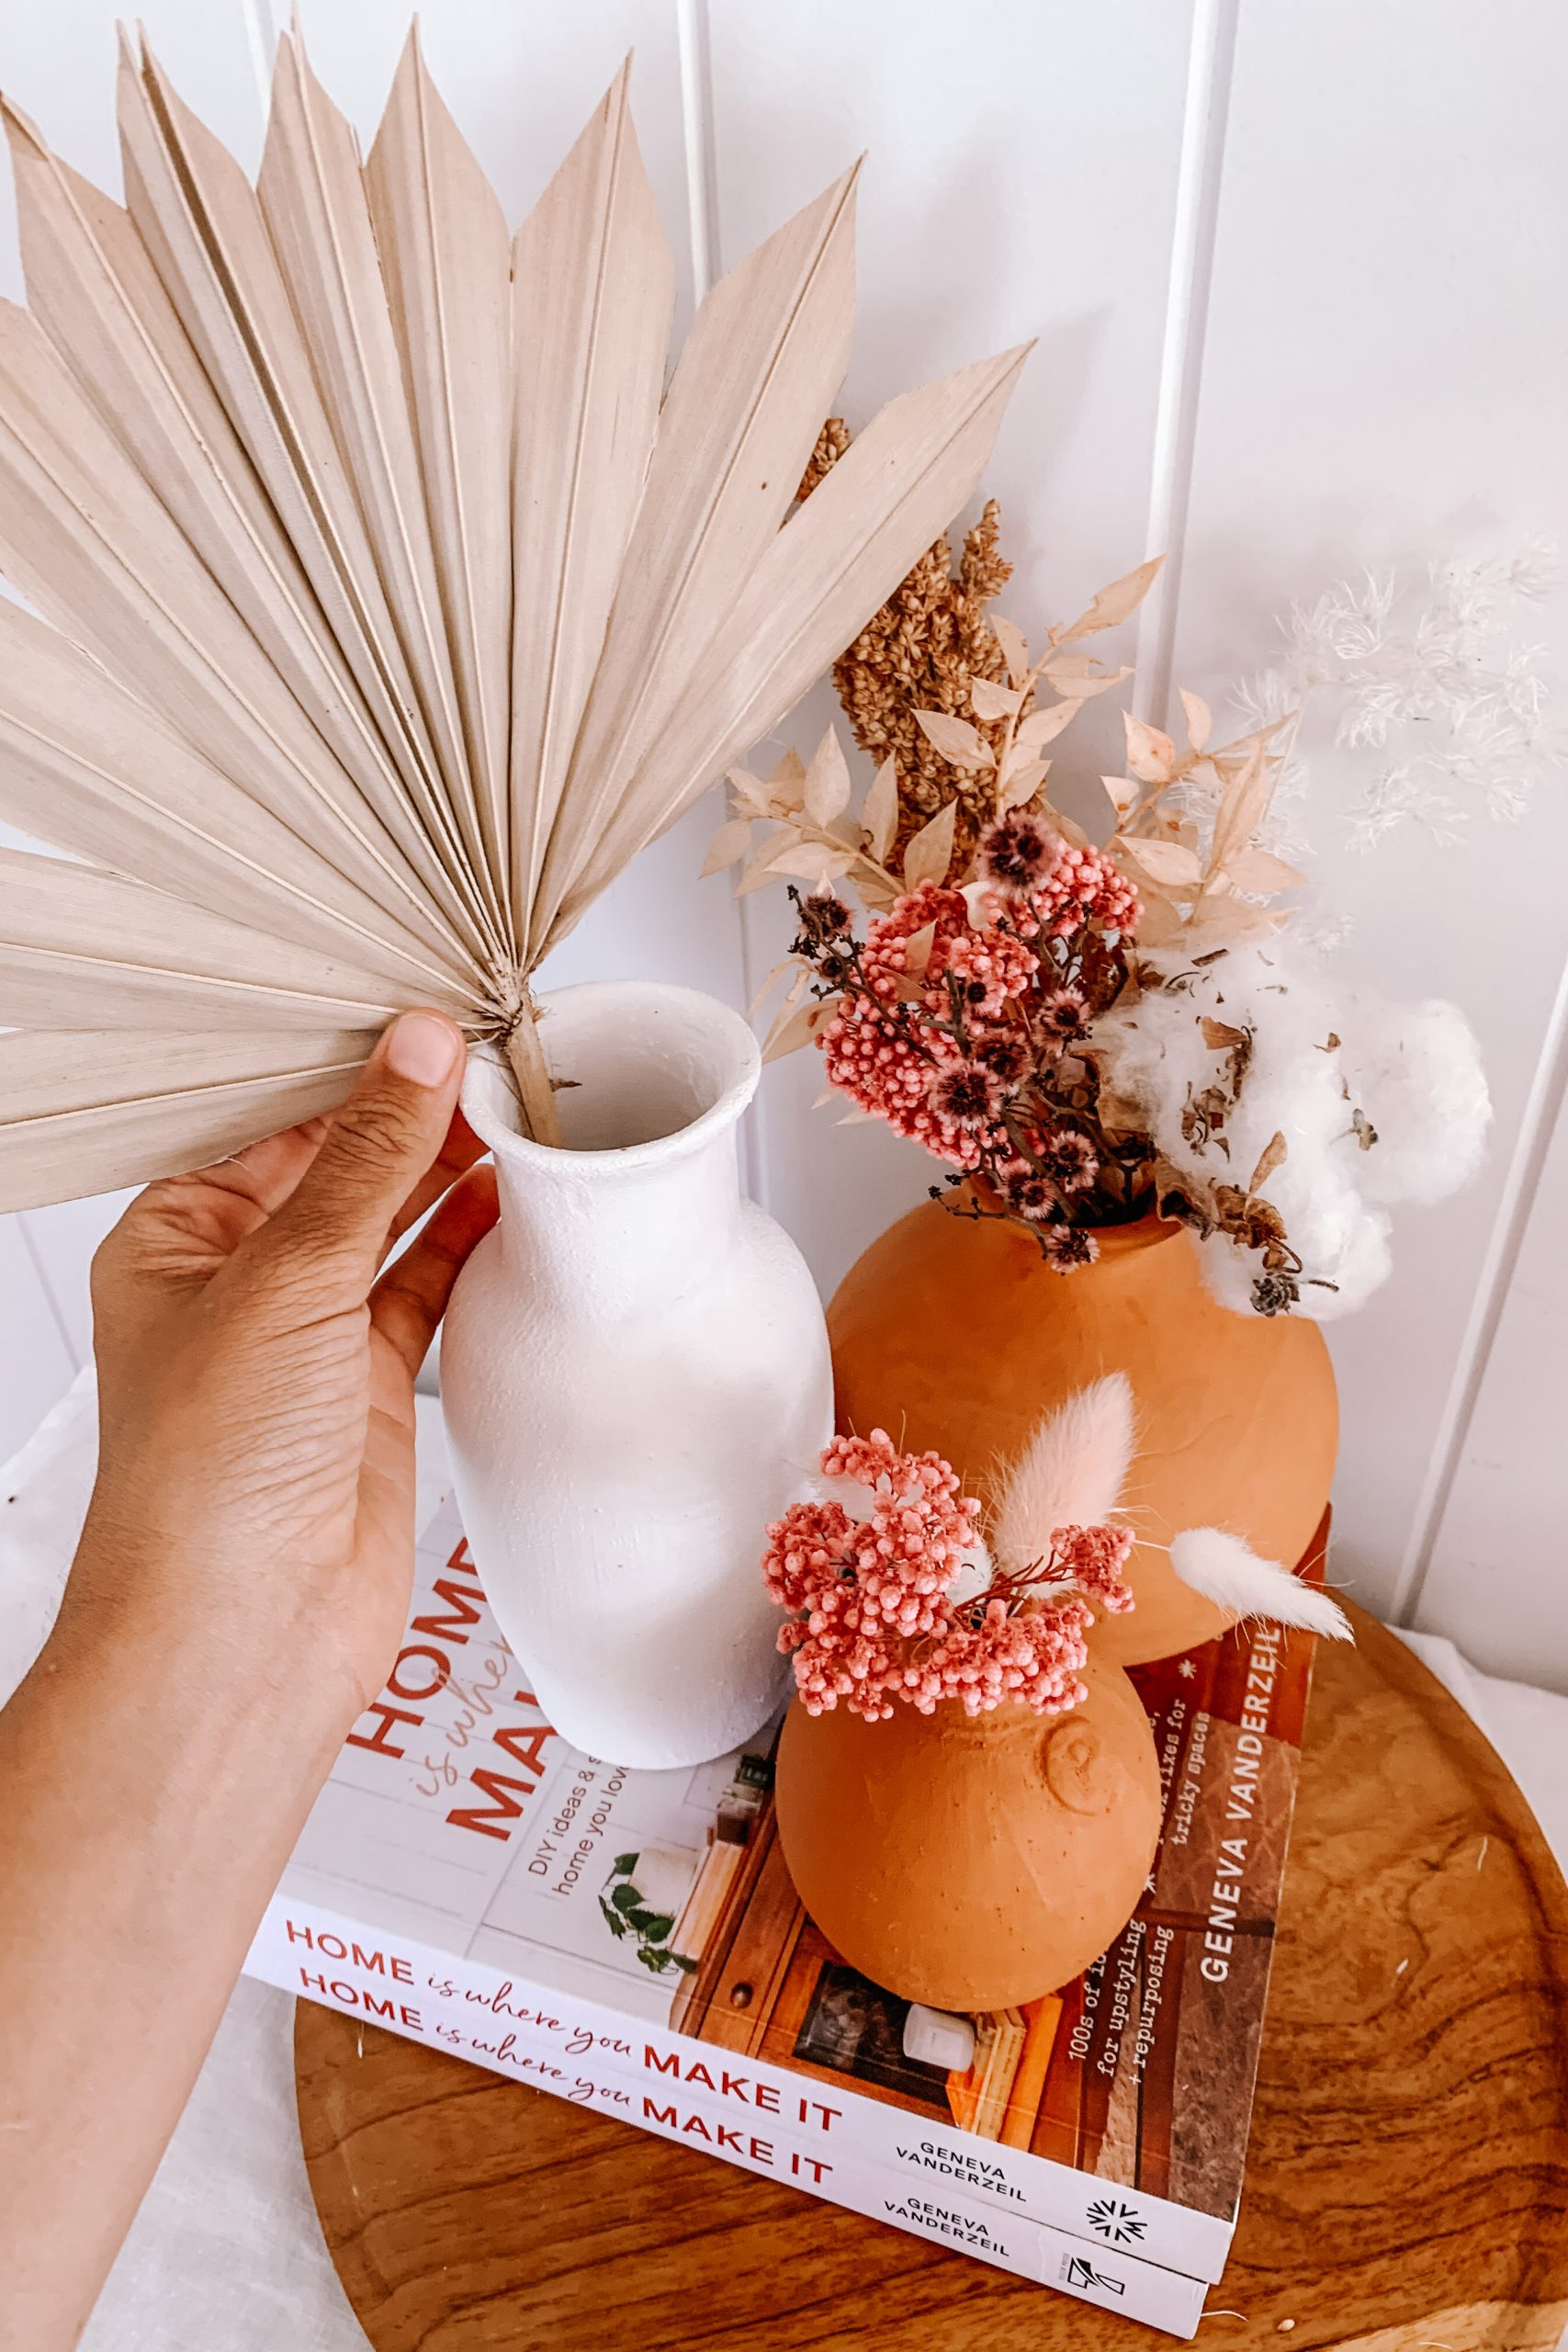
Hello fellow trash to terracotta lovers. When I recently published my tutorial for doing upcycled terracotta vases, there was a) such enthusiasm for upcycled vases that my heart pretty much burst with happiness and b) a resounding call from you guys about doing it in a white version. Update: check out my updated ceramic effect paint recipe here.
‘Does this come in white?‘ hit my DMs and inbox so many times that it felt wrong not to find out for you. The brand that sells the liquid terracotta doesn’t really sell a basic white version, so I decided to create my own!
My DIY Textured Ceramic Effect Paint
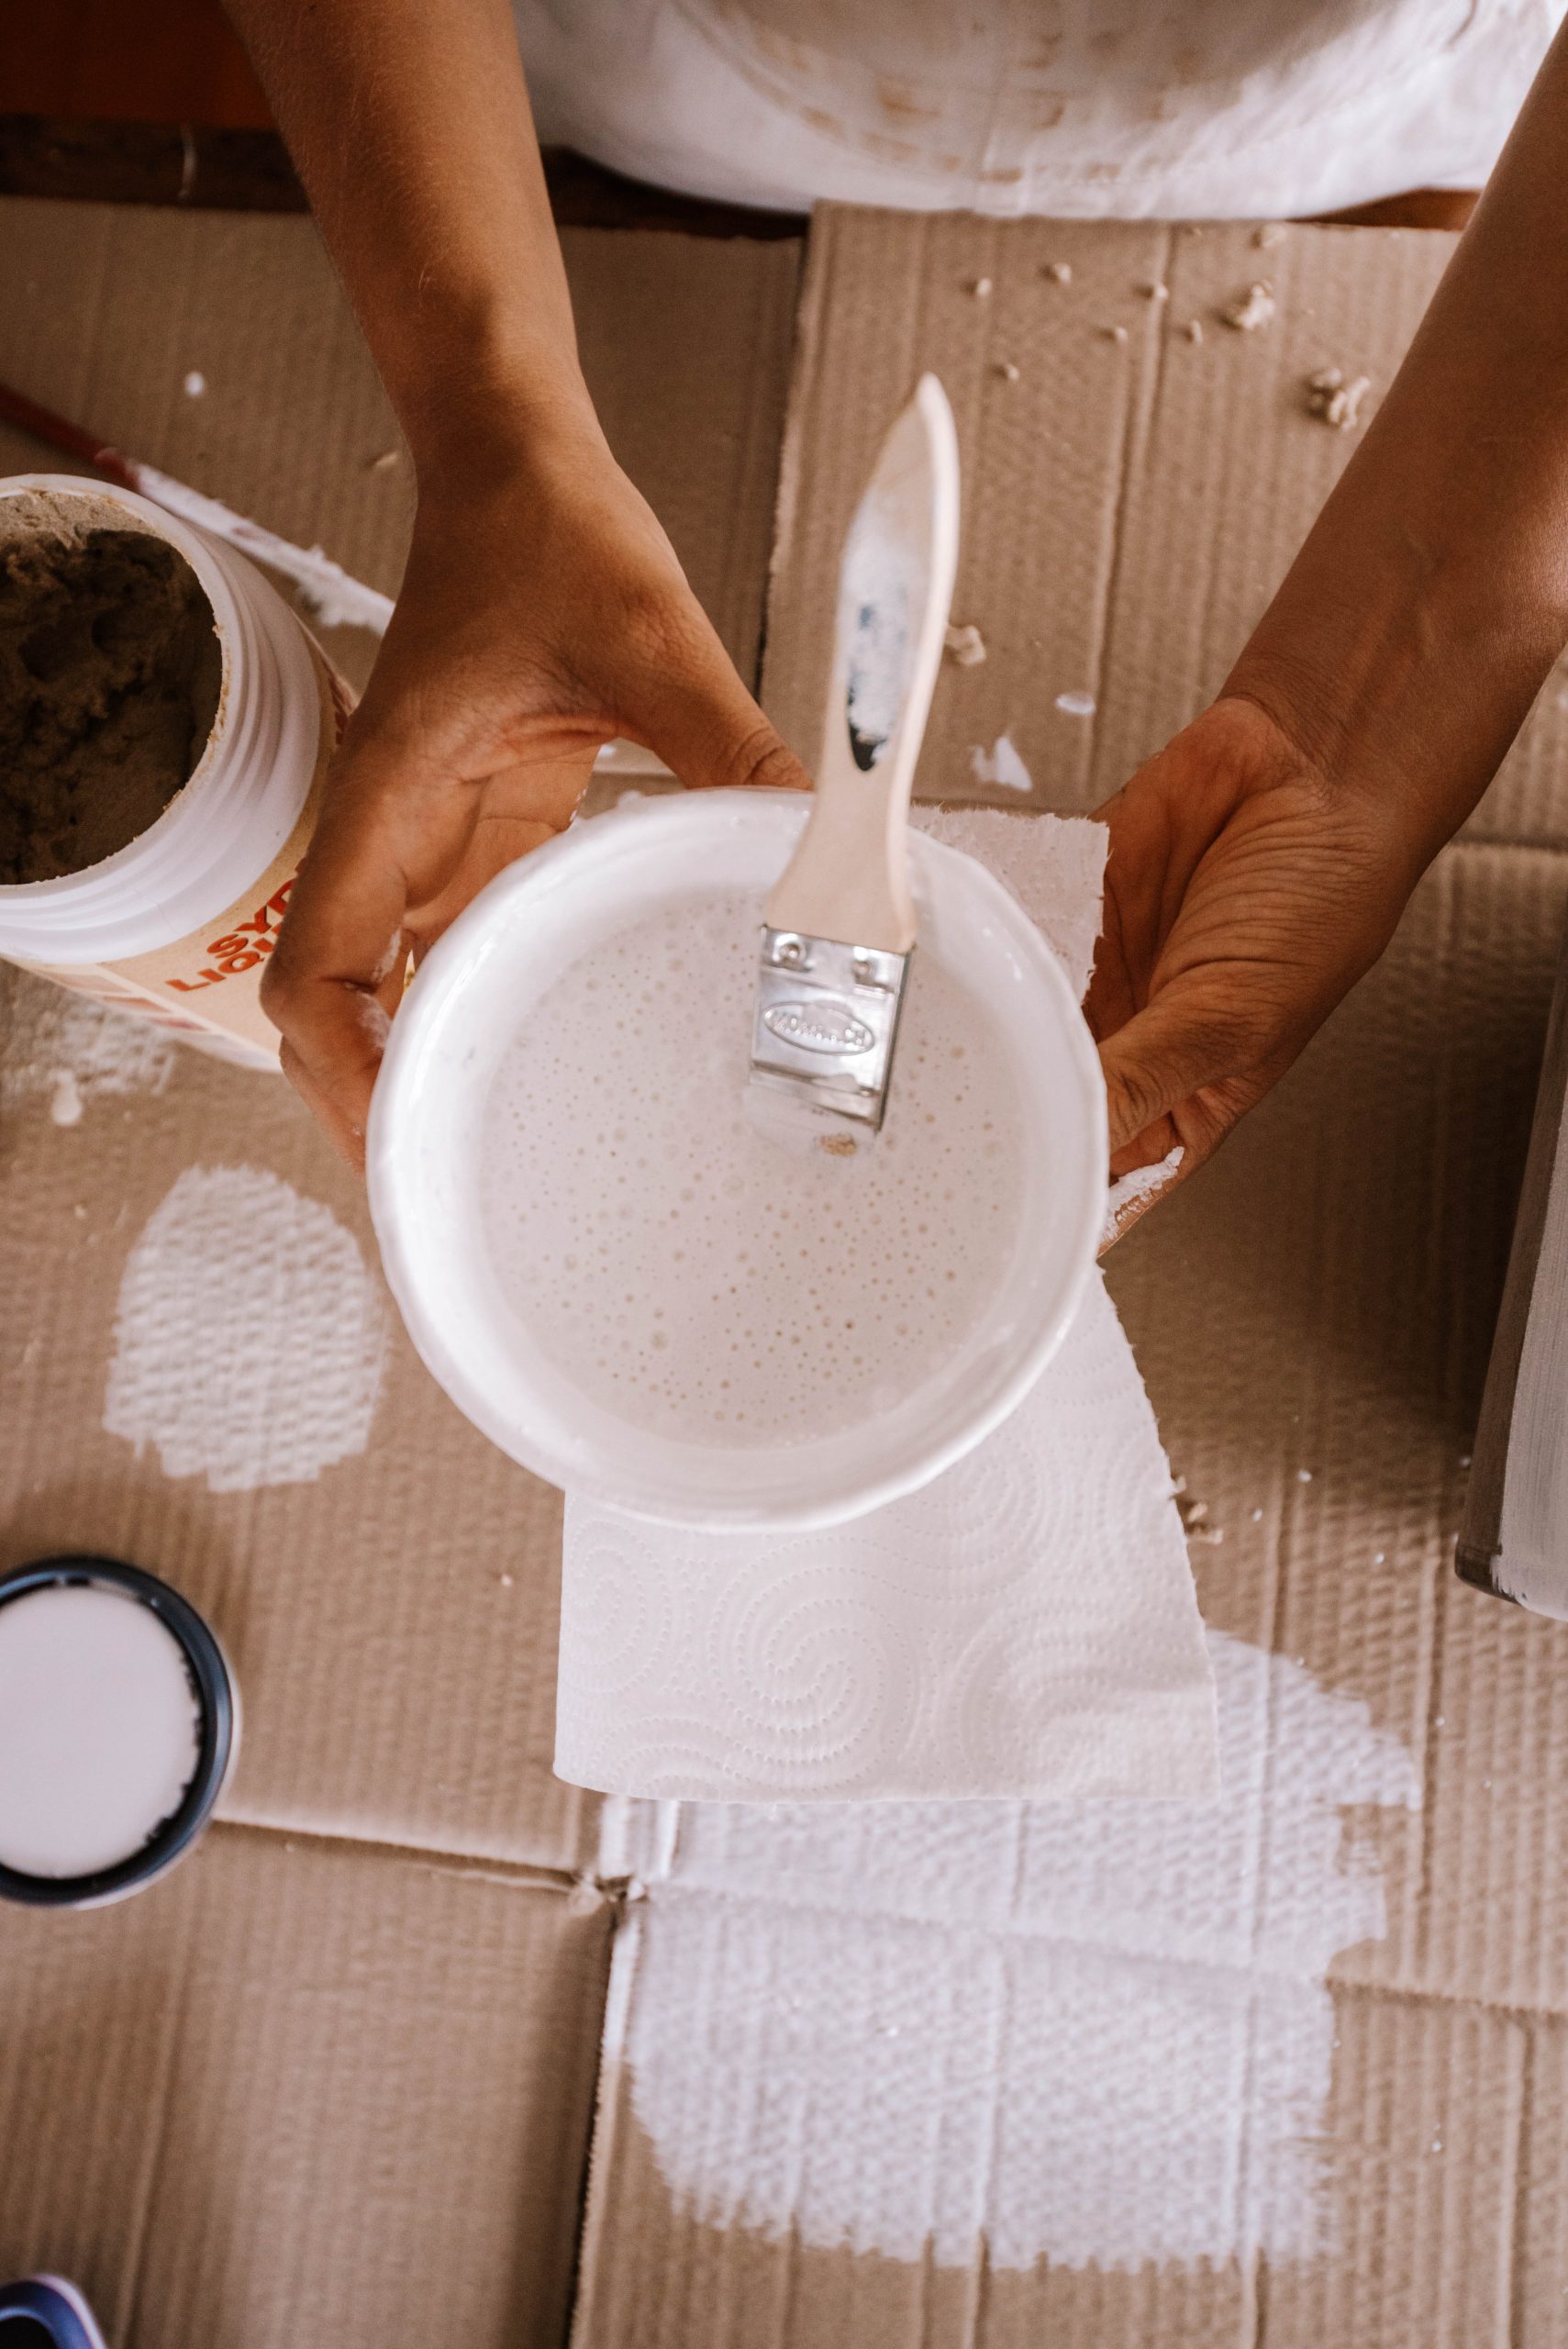
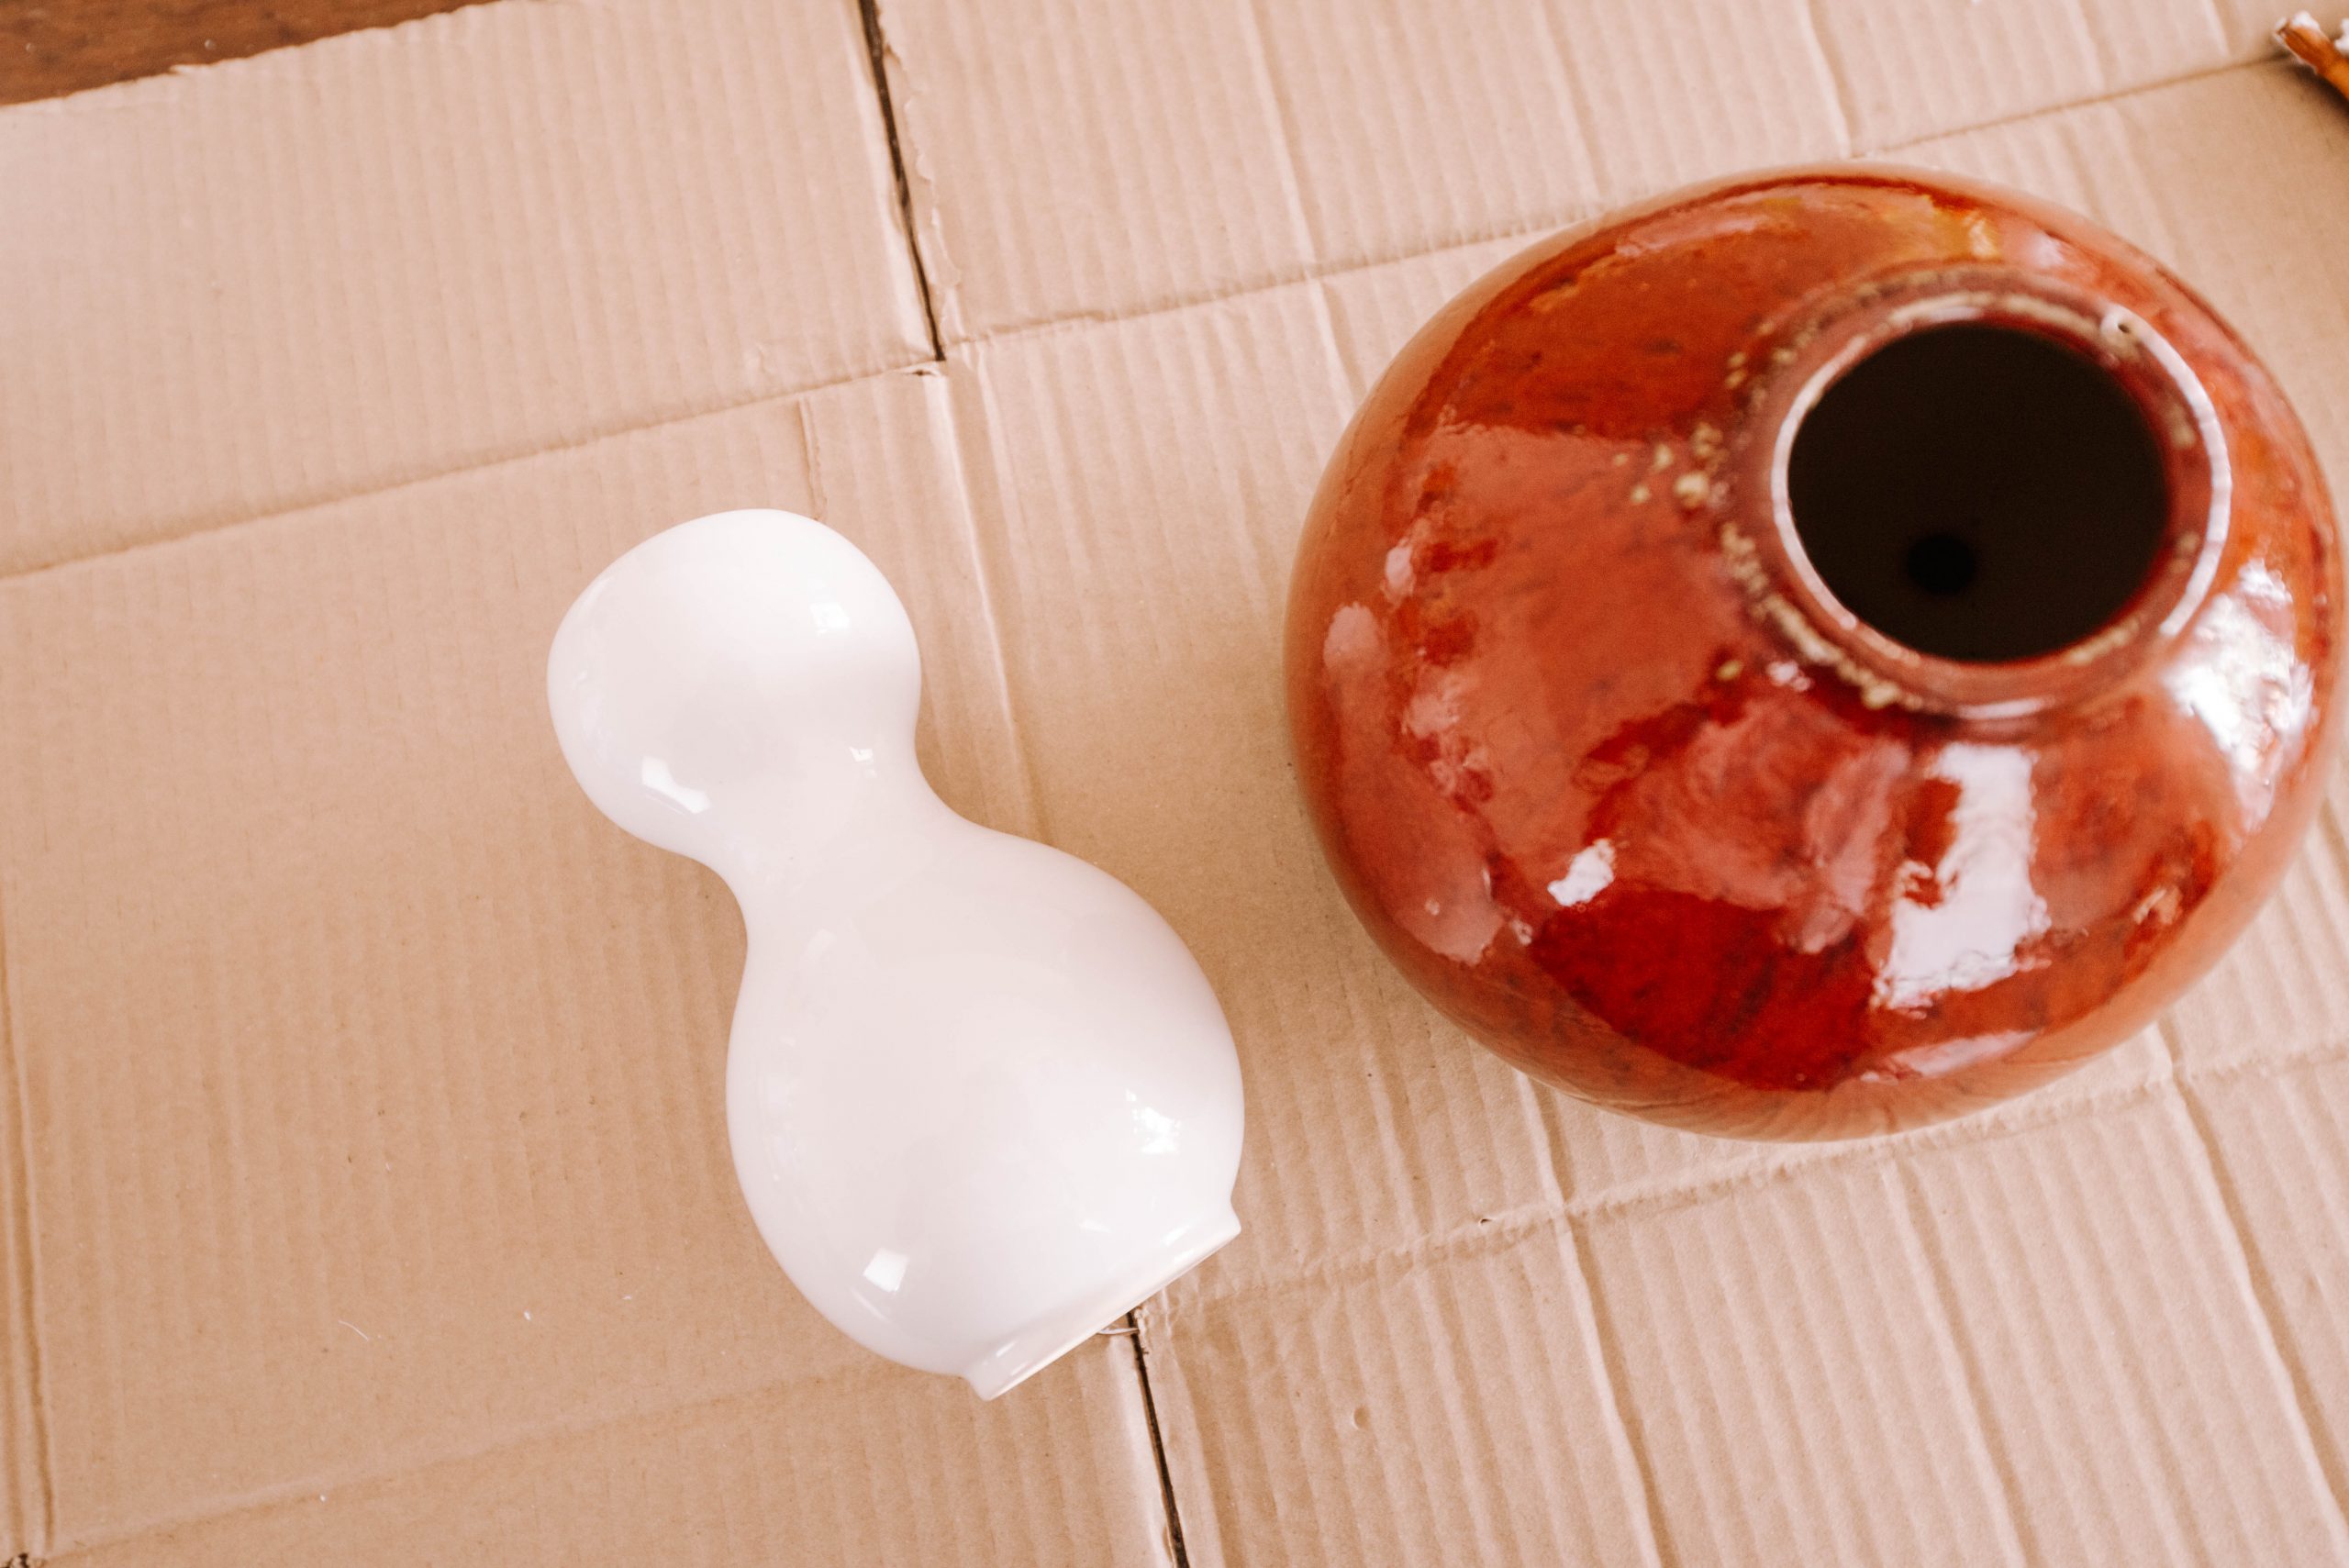
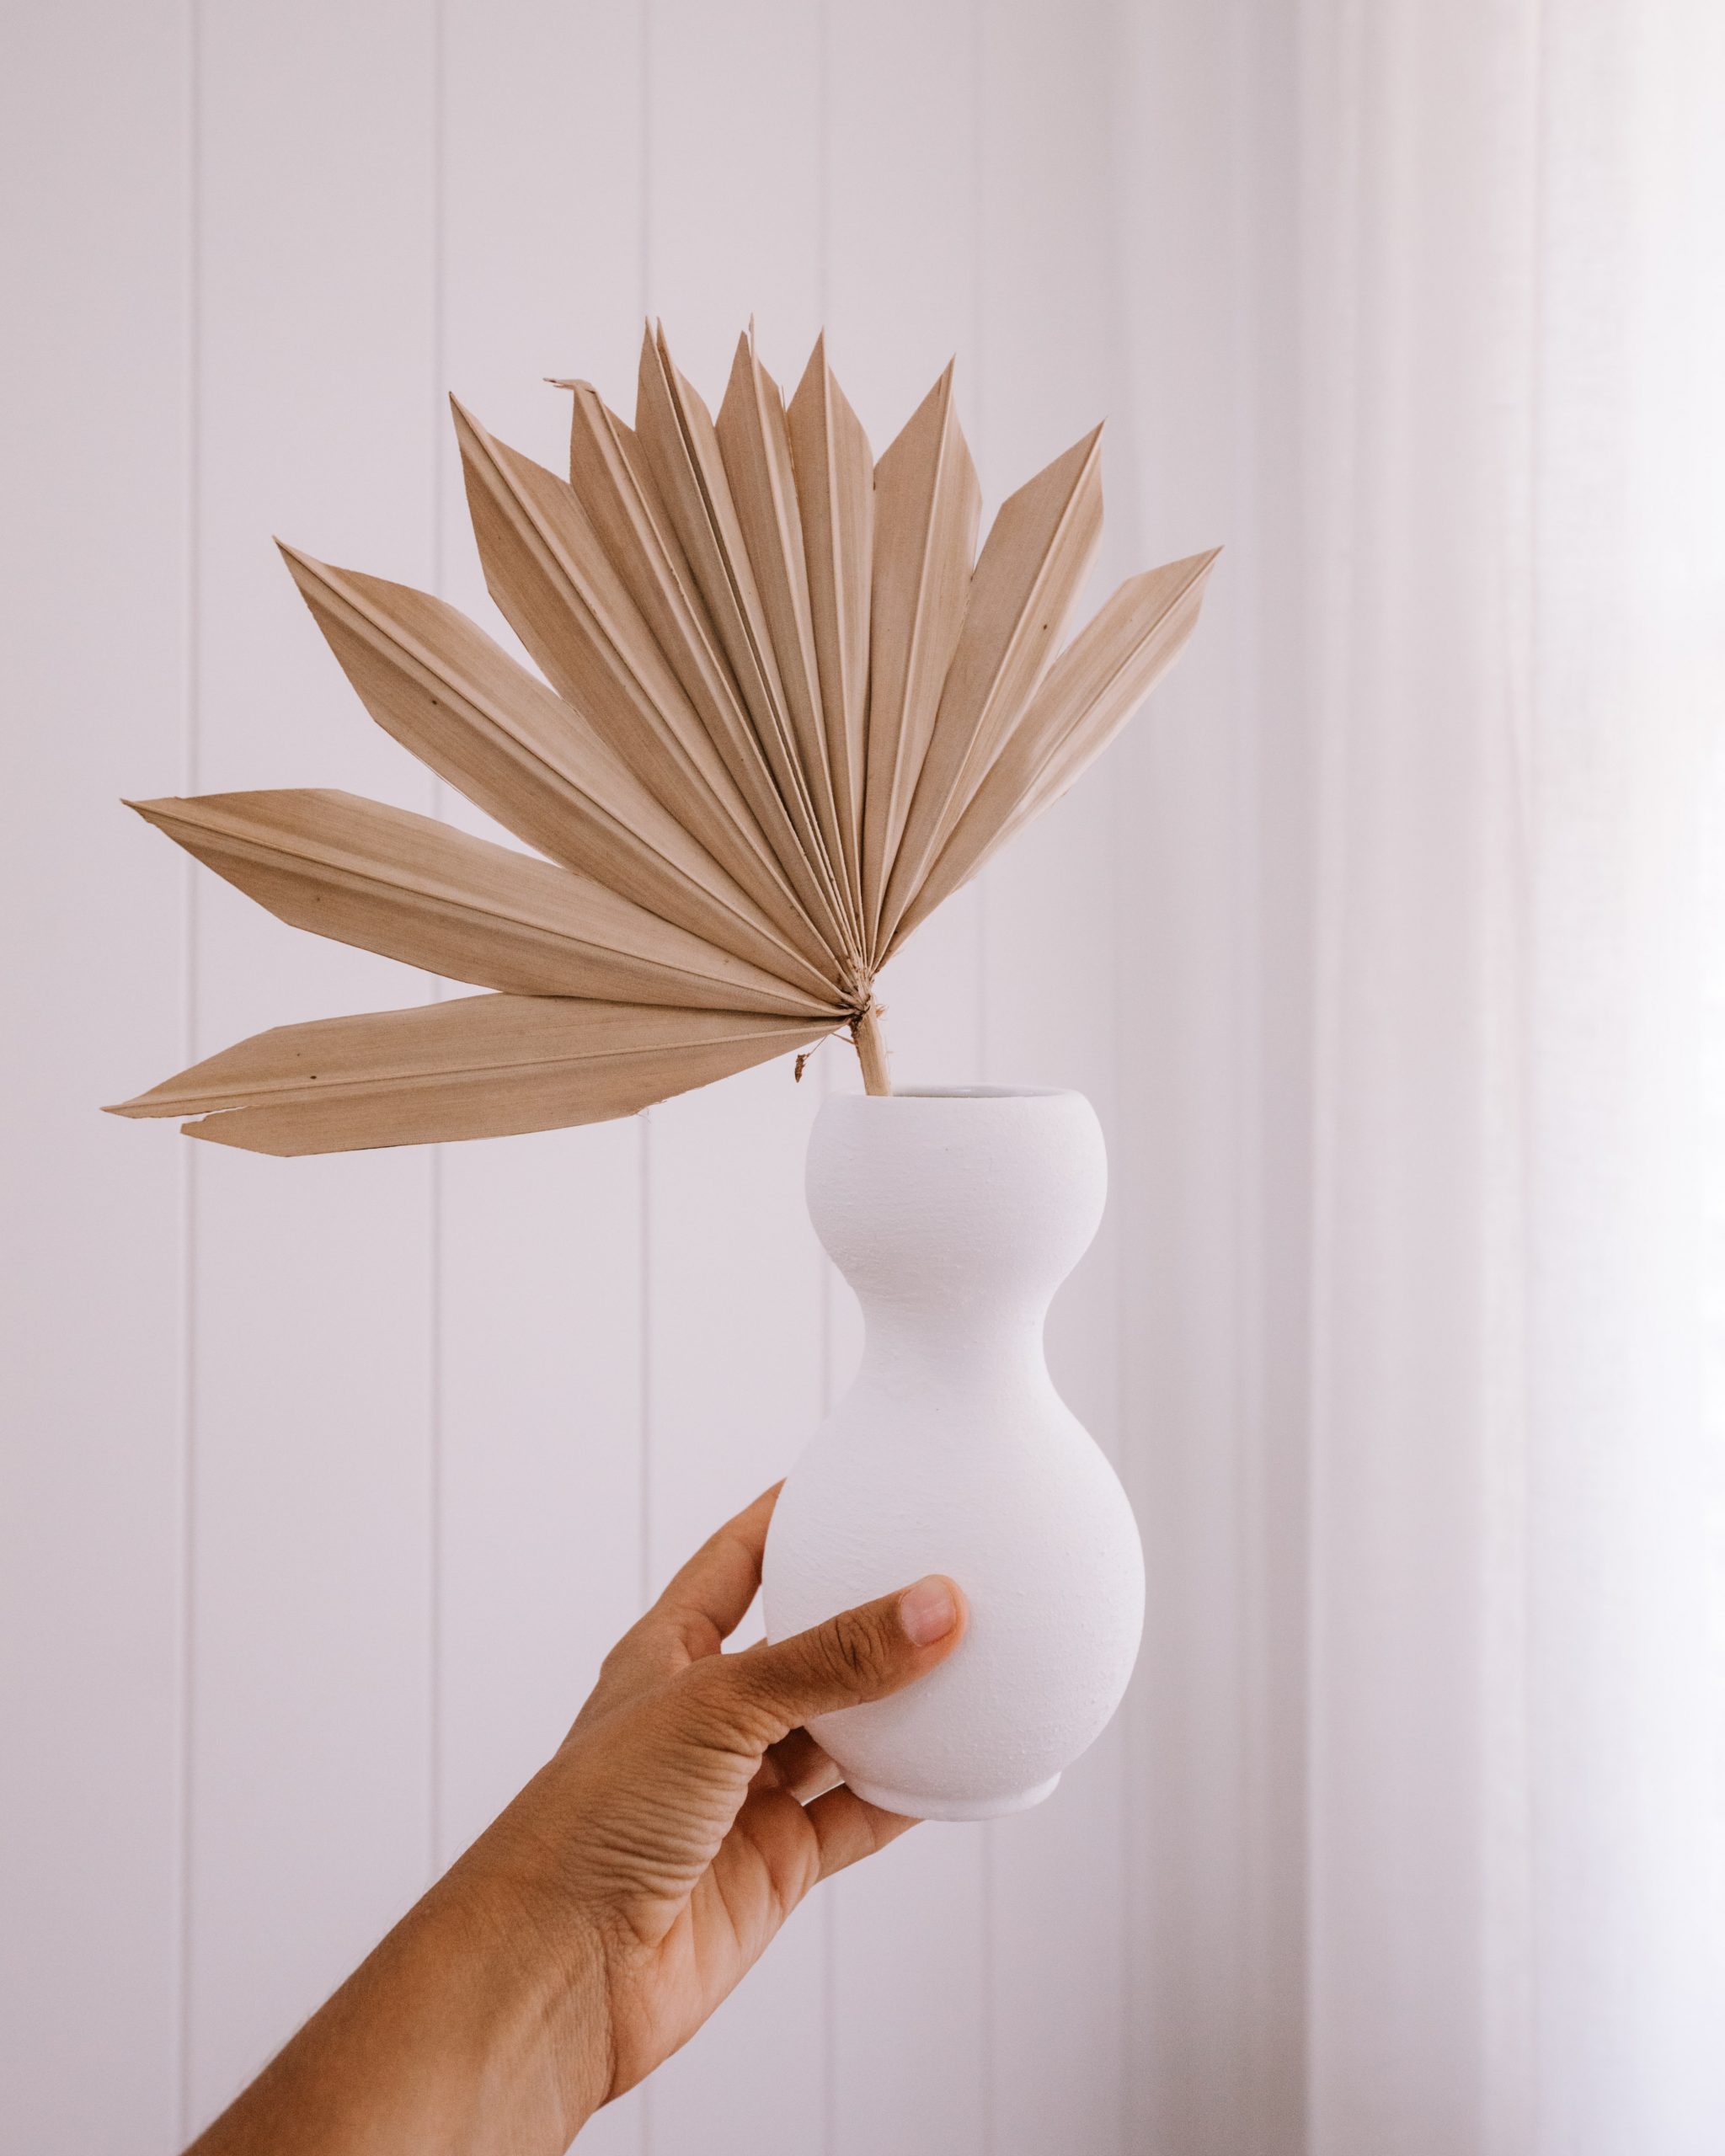
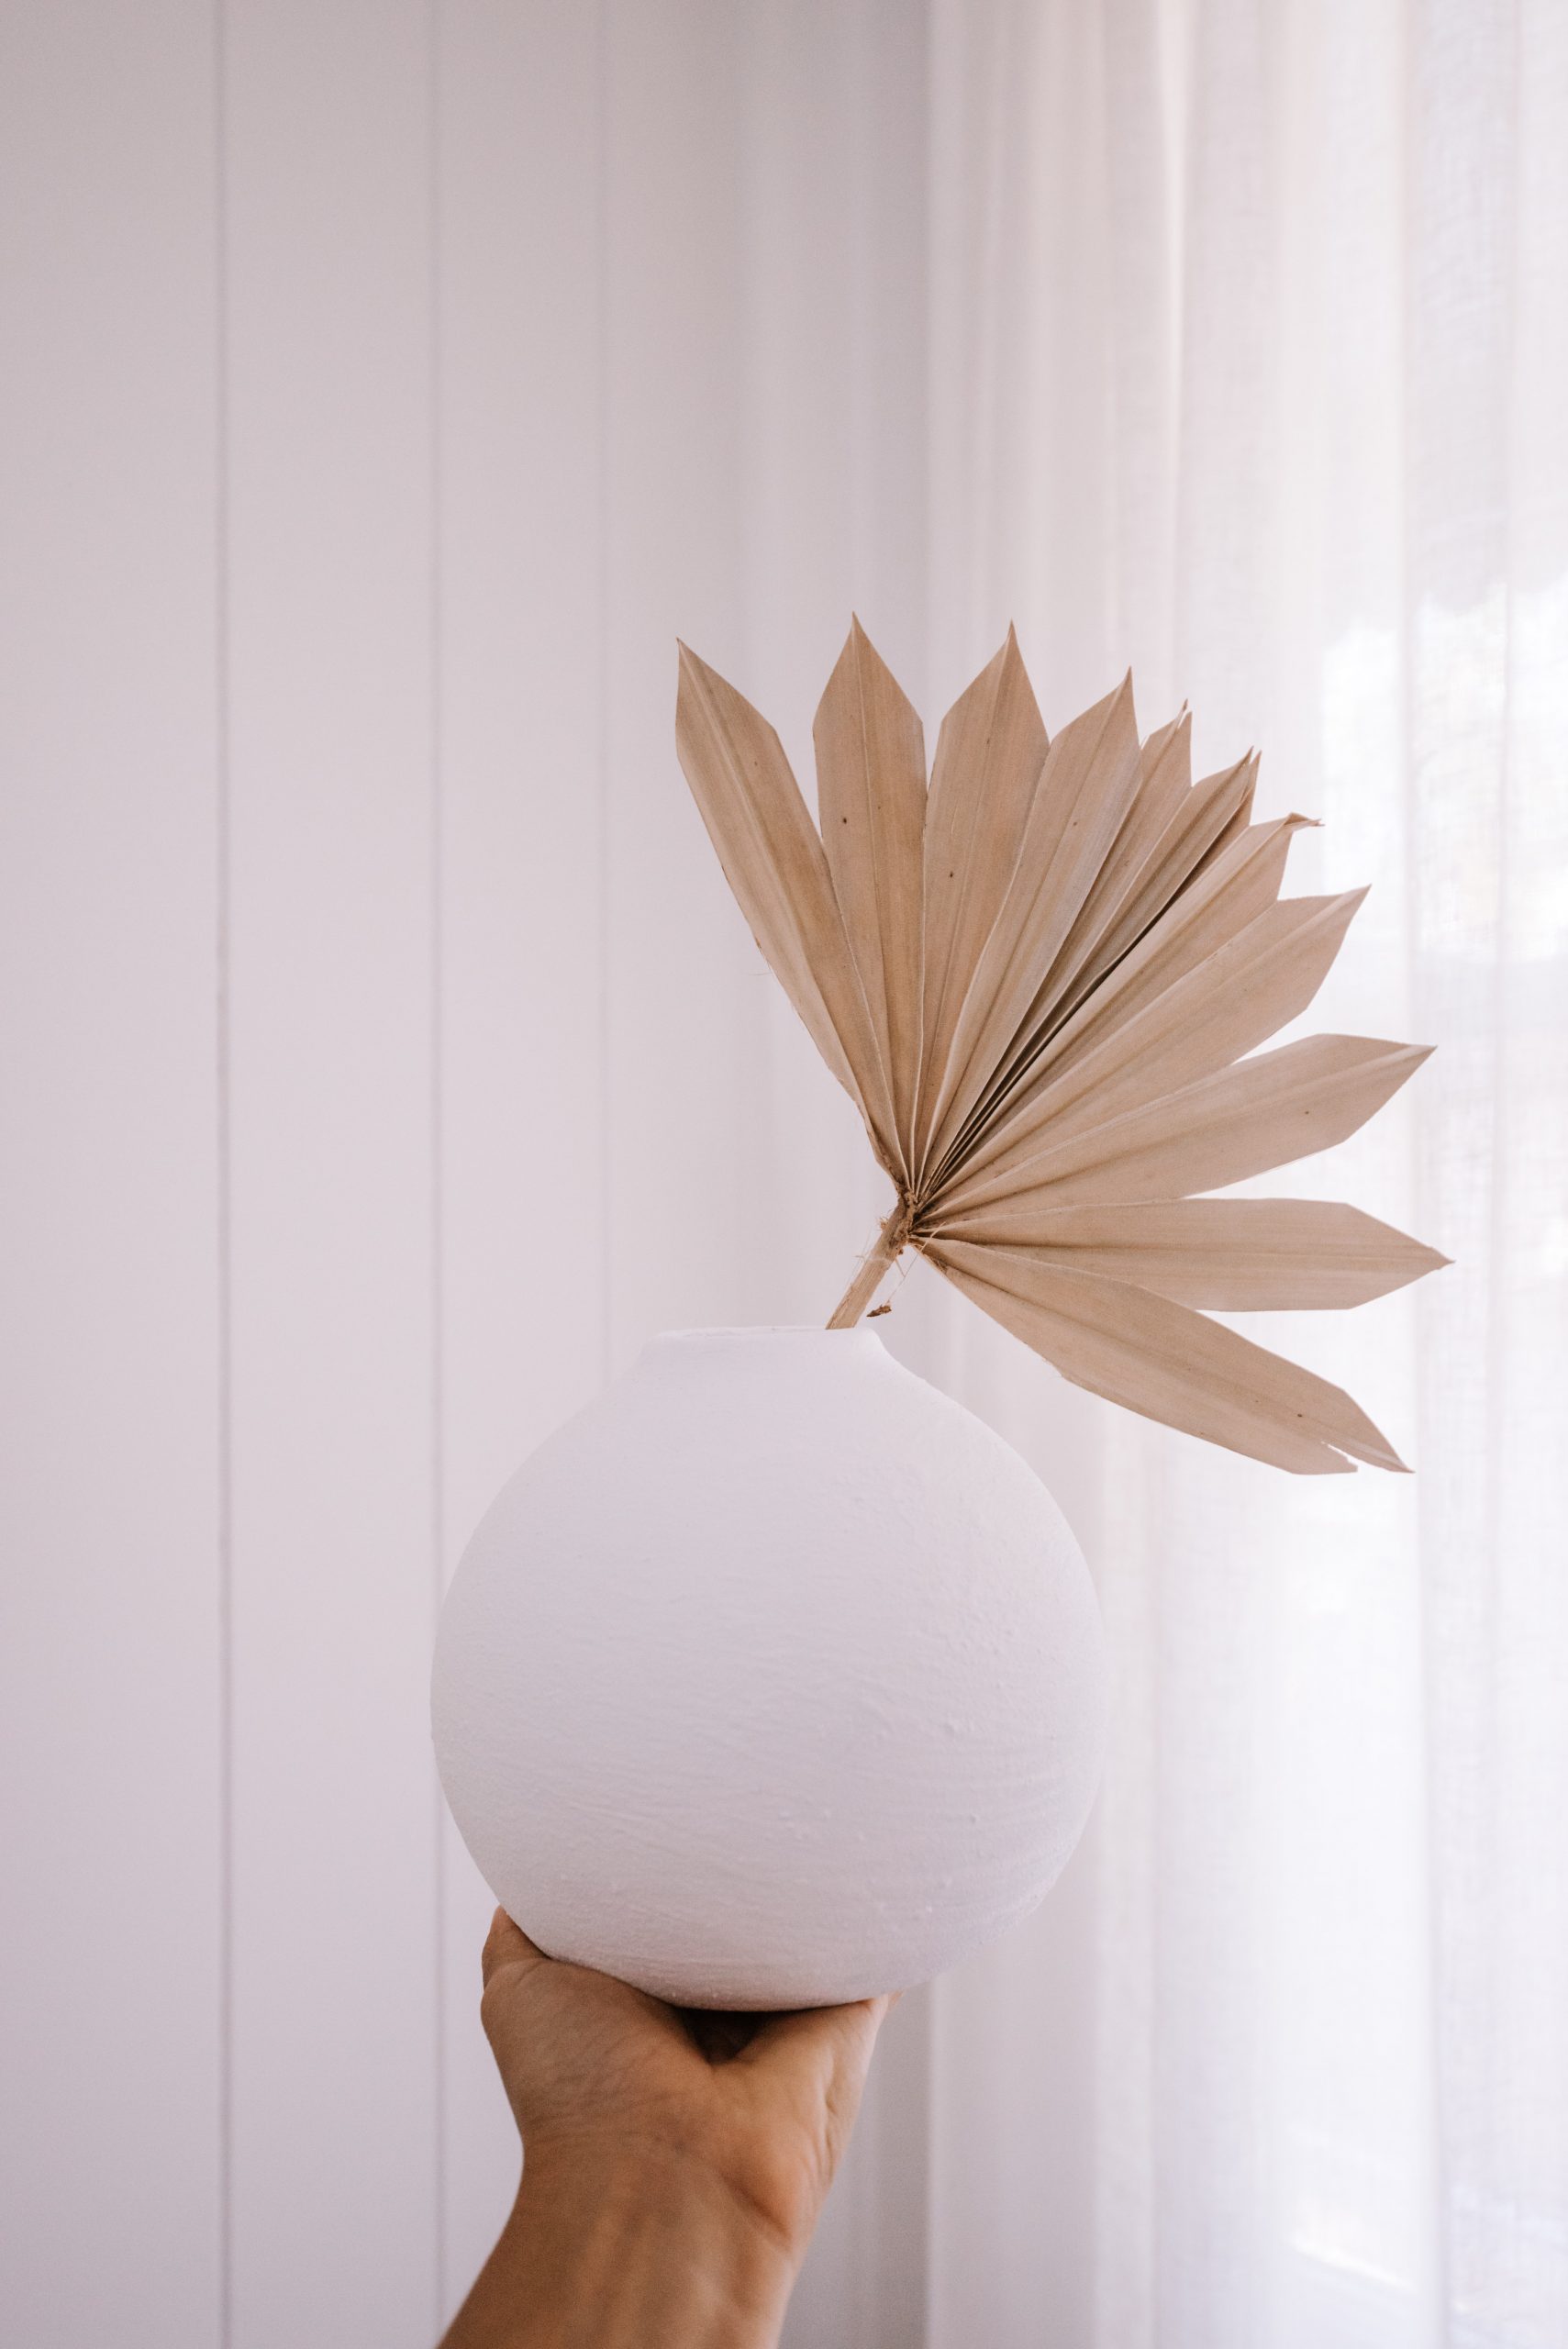
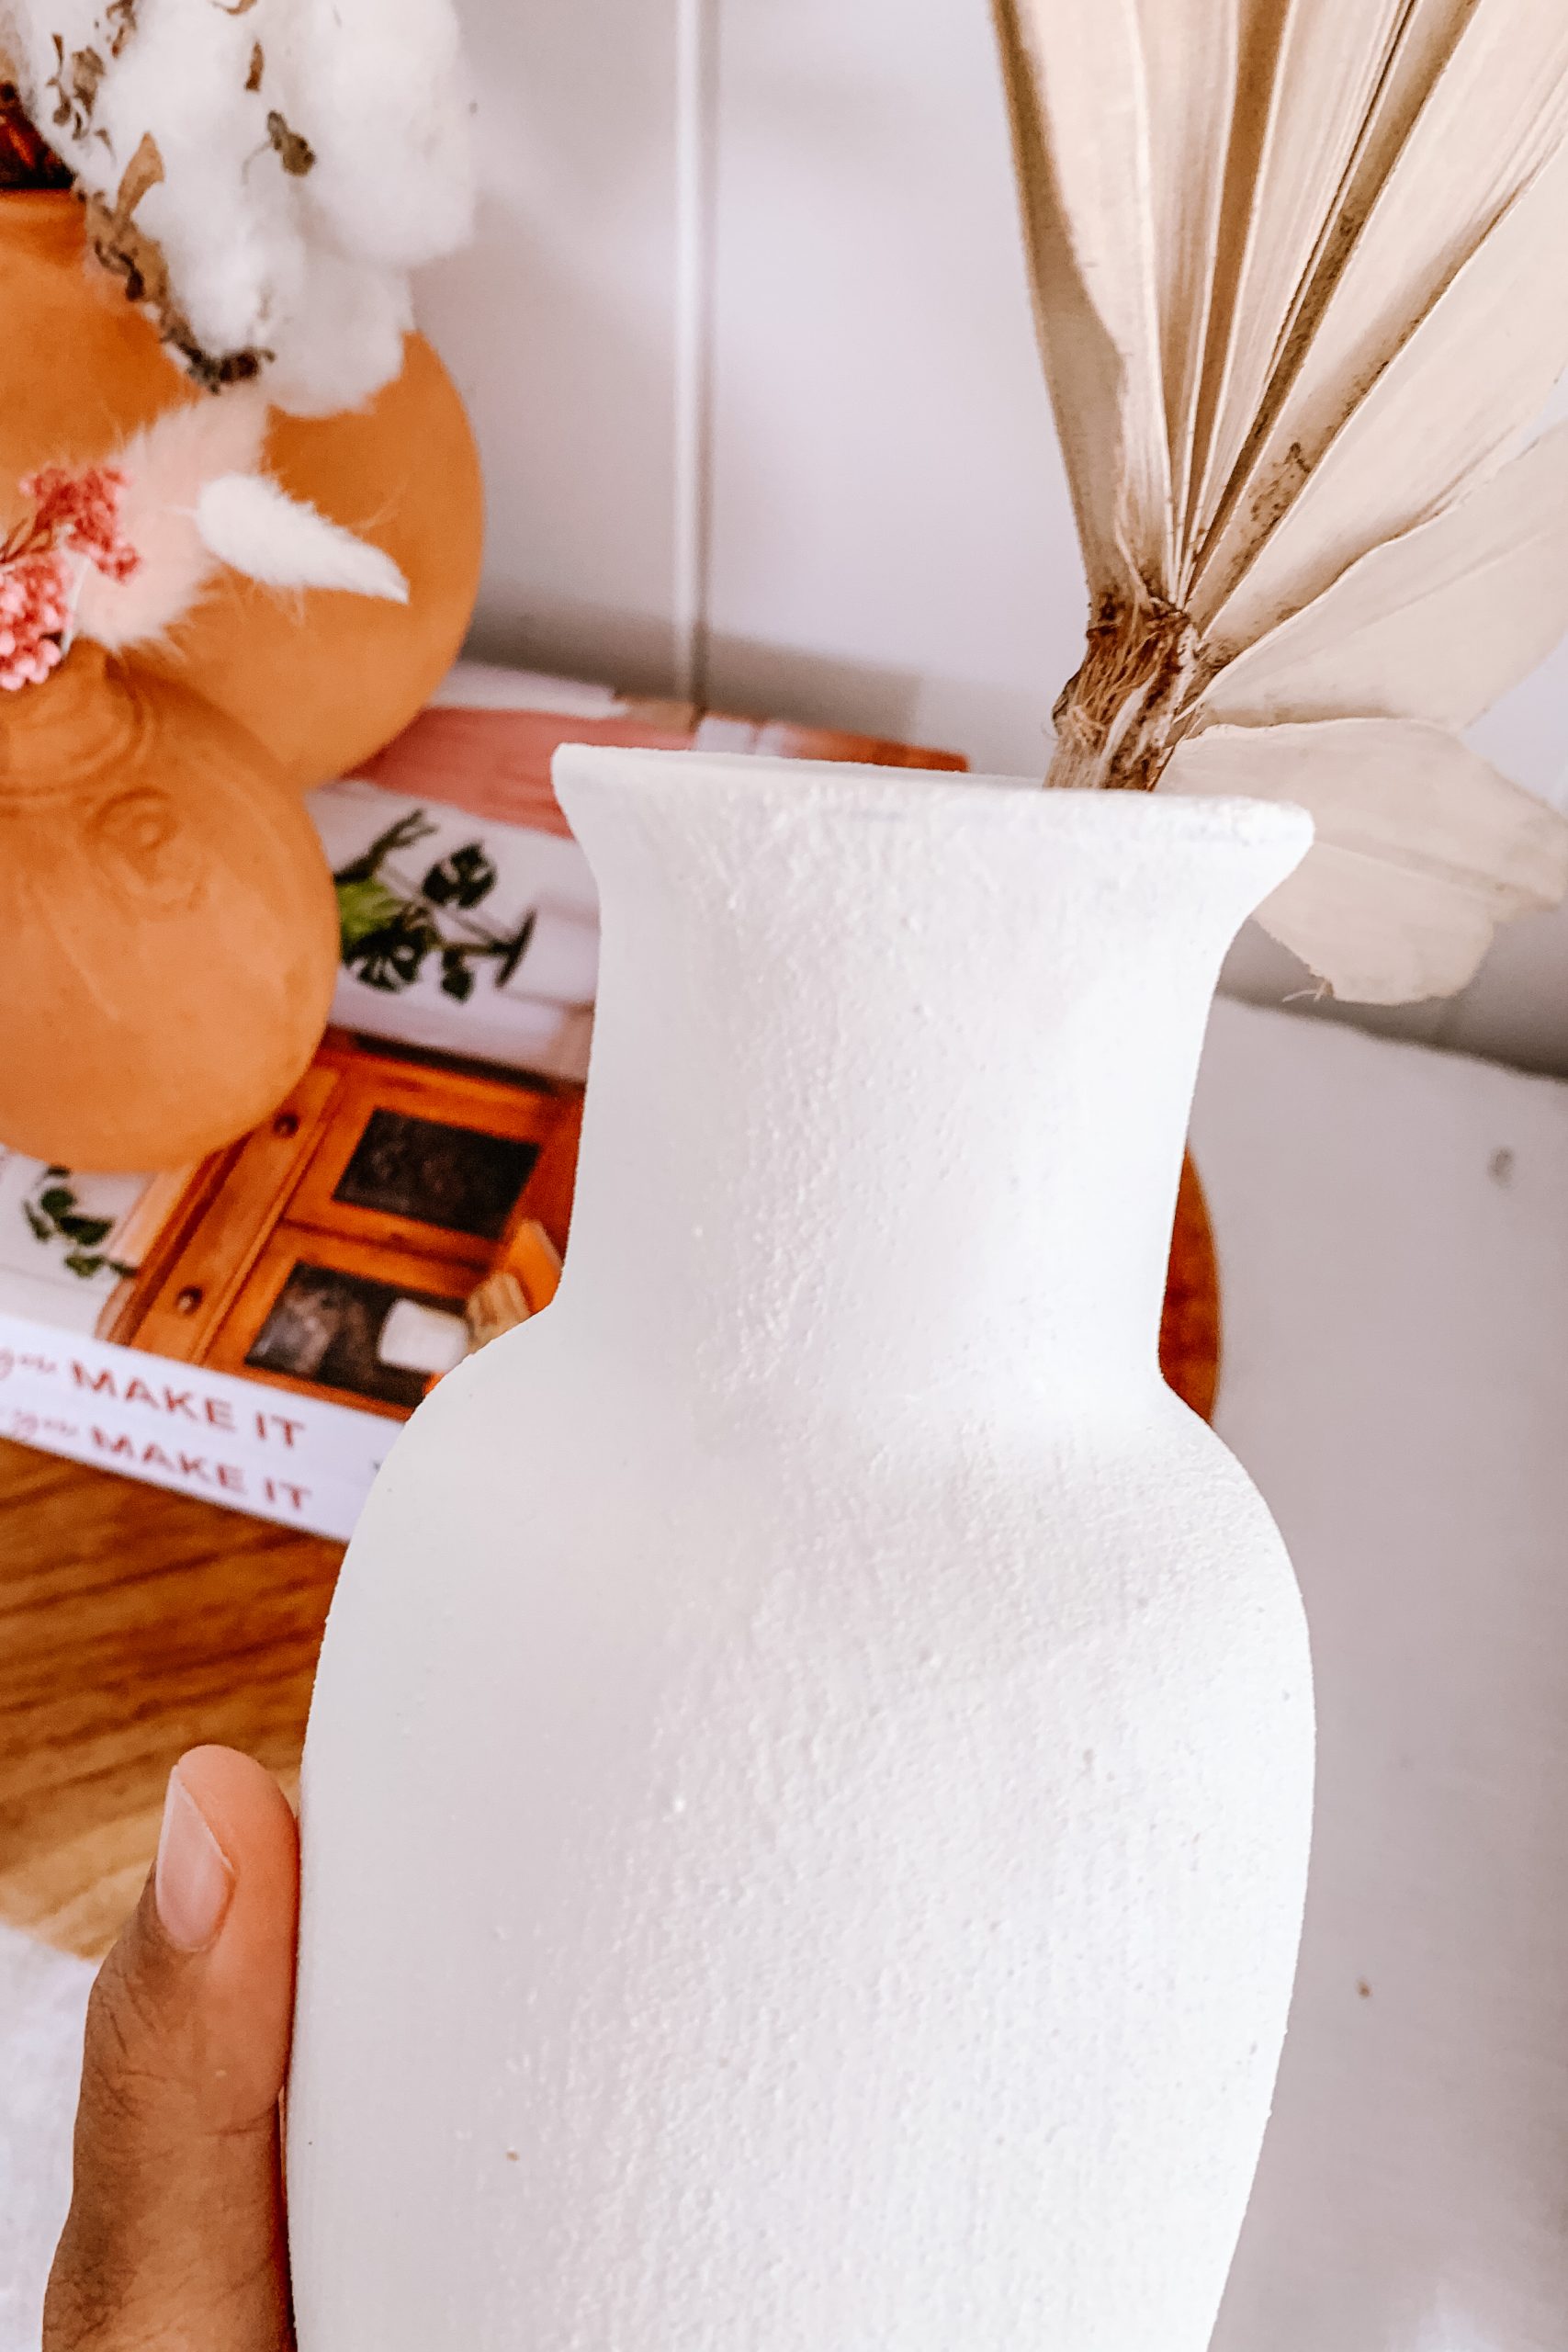
On a whim, I looked around for options to create my own textured paint, not so much chalk paint but one that would give a really textured feel and change a basic vase into a more bespoke, hand made feel. I had on hand some baking powder and thought it could be a good option. So I added a table spoon of that. The initial reaction was crazy! The paint bubbled up and basically turned into mousse, which was kind of surprising. I mean, yes I know that’s what baking powder does when you bake a cake but there wasn’t any heat involved in this so I was surprised. BUT when I painted it on the vase, I noticed it was the most amazing ceramic style texture, with the power to transform a basic glossy thrifted vase into a seemingly hand crafted vessel. Here’s the recipe!
Materials
- 250ml of paint (around one cup)
- 1 teaspoon of baking powder
- small container
- a spoon or small stick for mixing
- a thrifted vase
- brush (foam or one with bristles)
For this project I used Dulux wall paint, in Vivid White. I think most white wall paint would work, so long as it is acrylic and water based. The ratio is basically 1 tablespoon of baking soda per 250ml of paint (a cup) , so if you have more paint you should adjust the amount of baking powder accordingly. For the brush you use for this, a foam brush will give a less textured feel, but a brush with bristles will give a more organic feel. Personally I think you want more texture with this!
How to:
- Put your paint into the small container and add in your baking soda.
- Use your spoon or brush to mix up the paint, mixing well until the baking powder is all mixed in.
- You should see some bubbles start to form and a mousse texture become apparent.
- Prep your vase by washing it then wiping it clean.
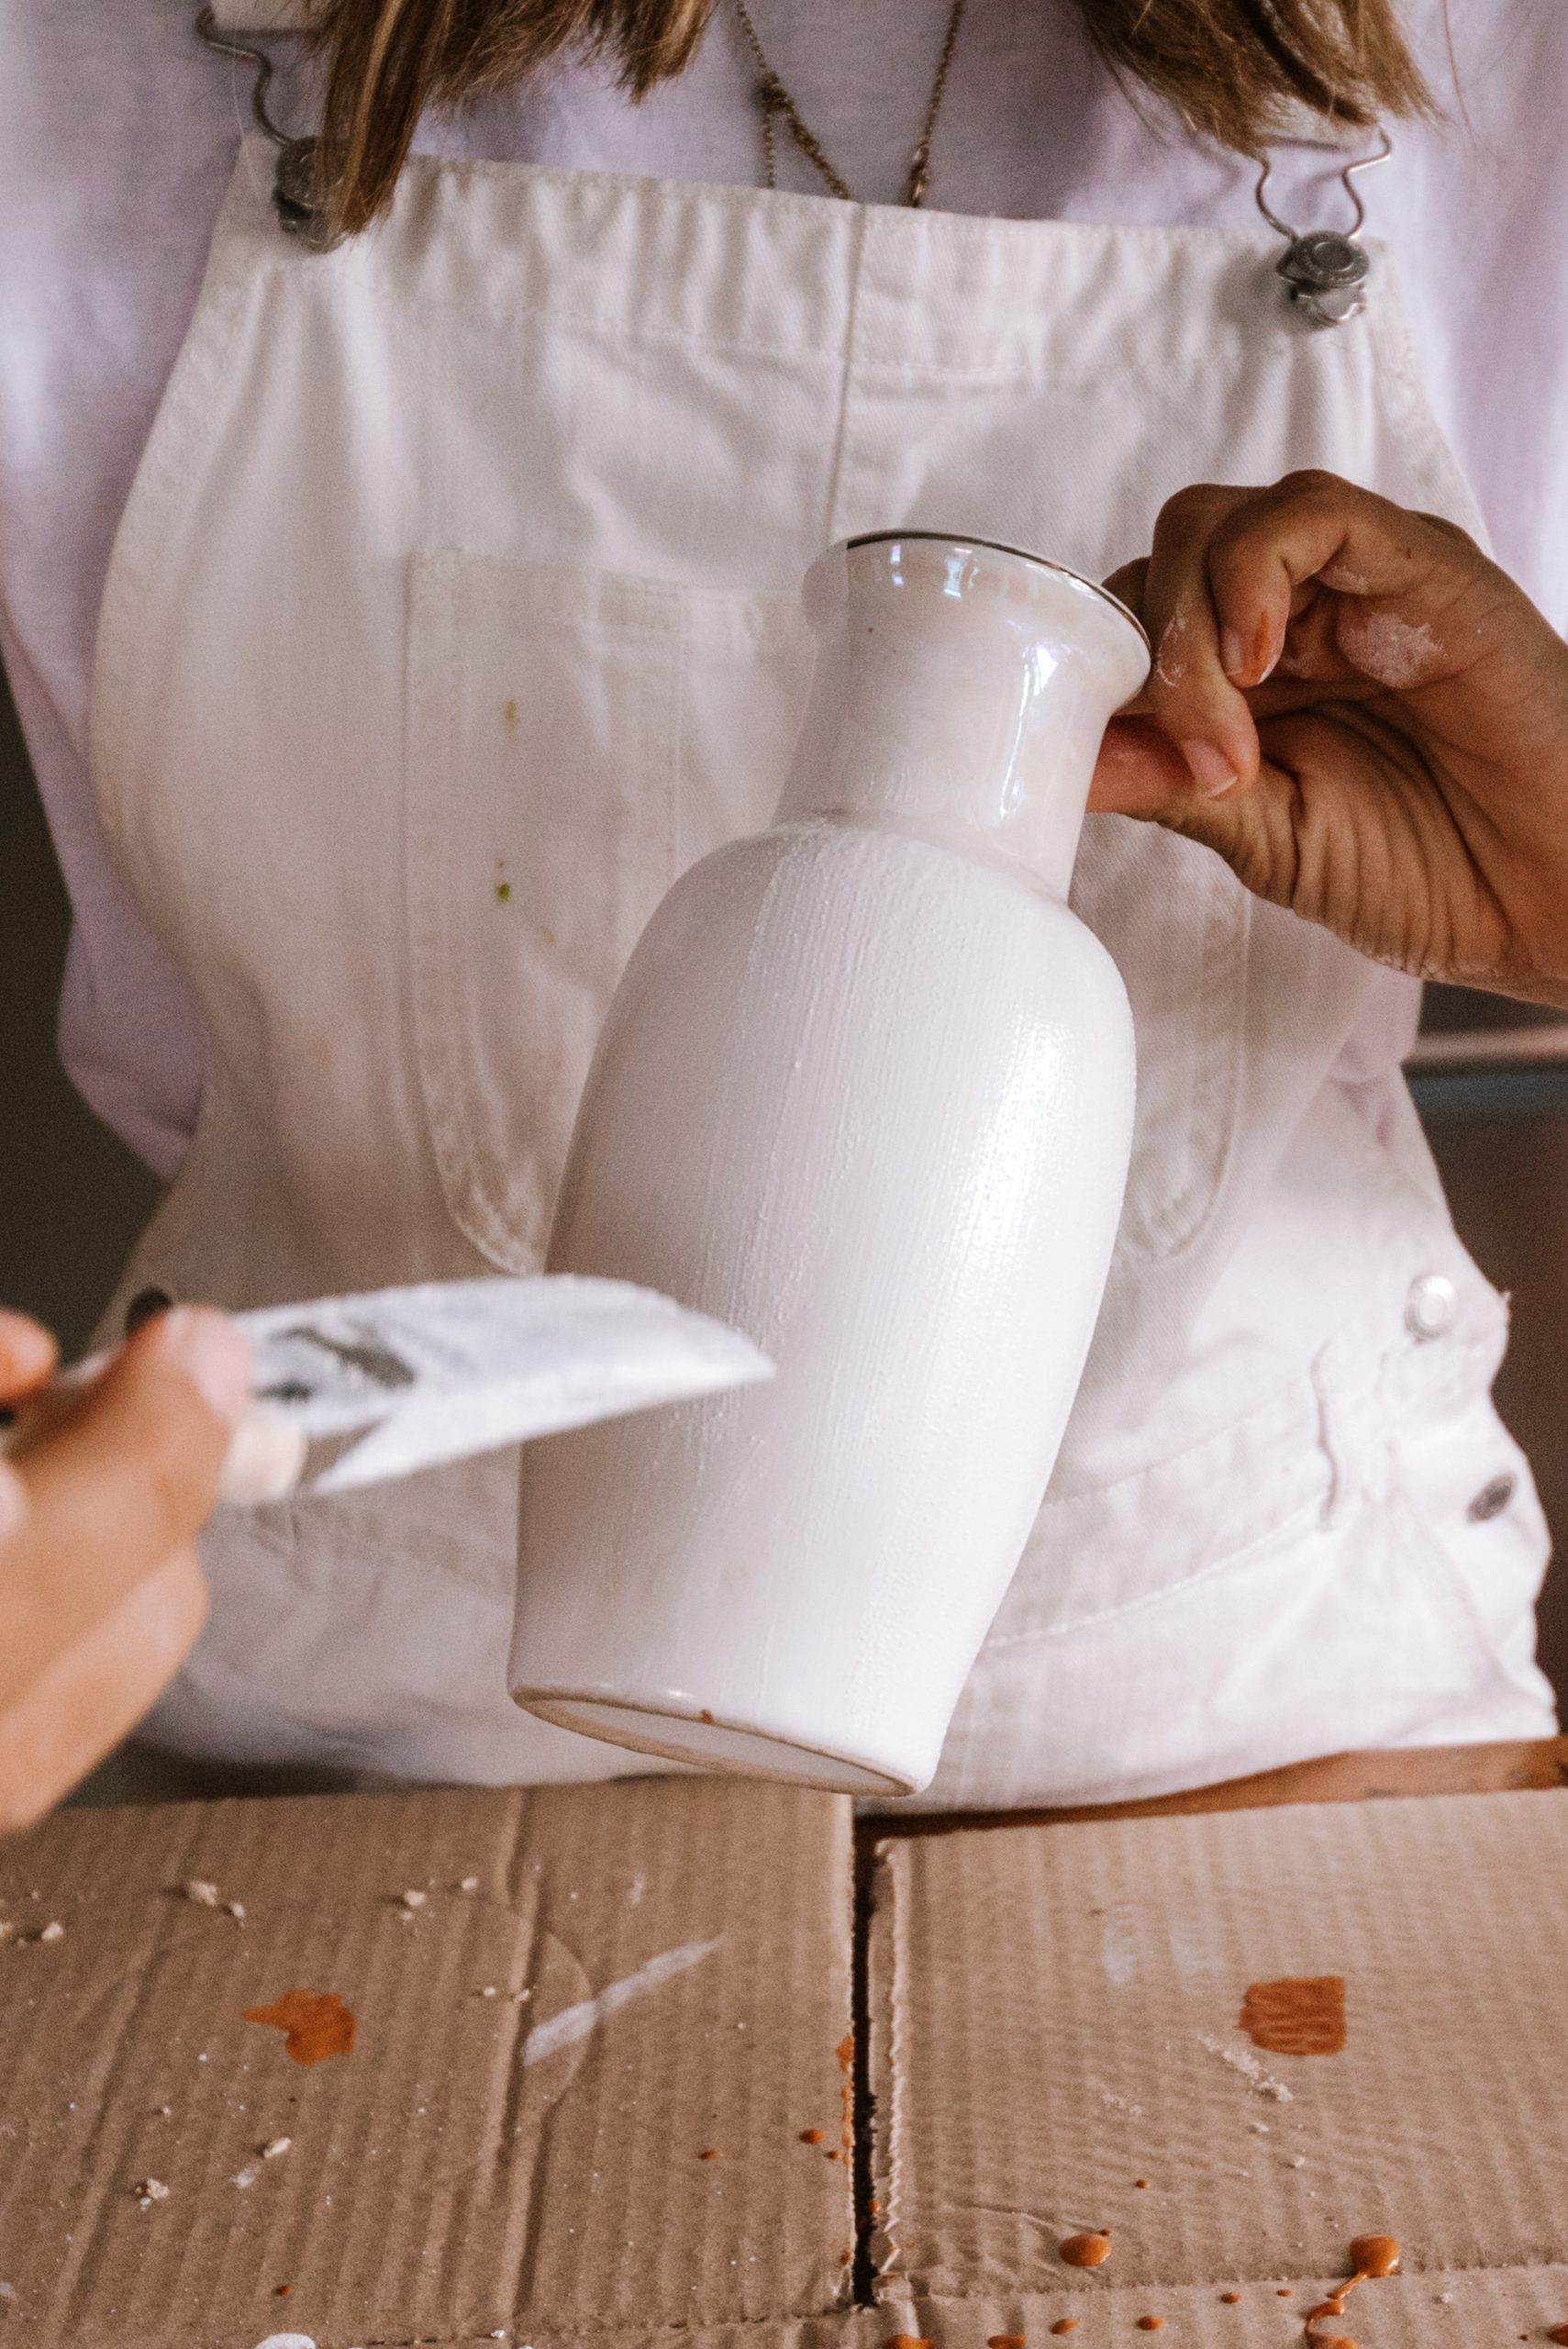
- Take your brush and do a first coat on your vase with the paint. This will go on quite watery and transparent but don’t worry.
- Let your vase dry for half an hour or so (until it’s touch dry) then do another coat. Continue this until you think it is thick enough. I did 3 or 4 coats. For darker or patterned vases you will need to do more coats.
- Finally, let this dry overnight and harden completely. I noticed it took a bit longer to dry than the previous terracotta version.
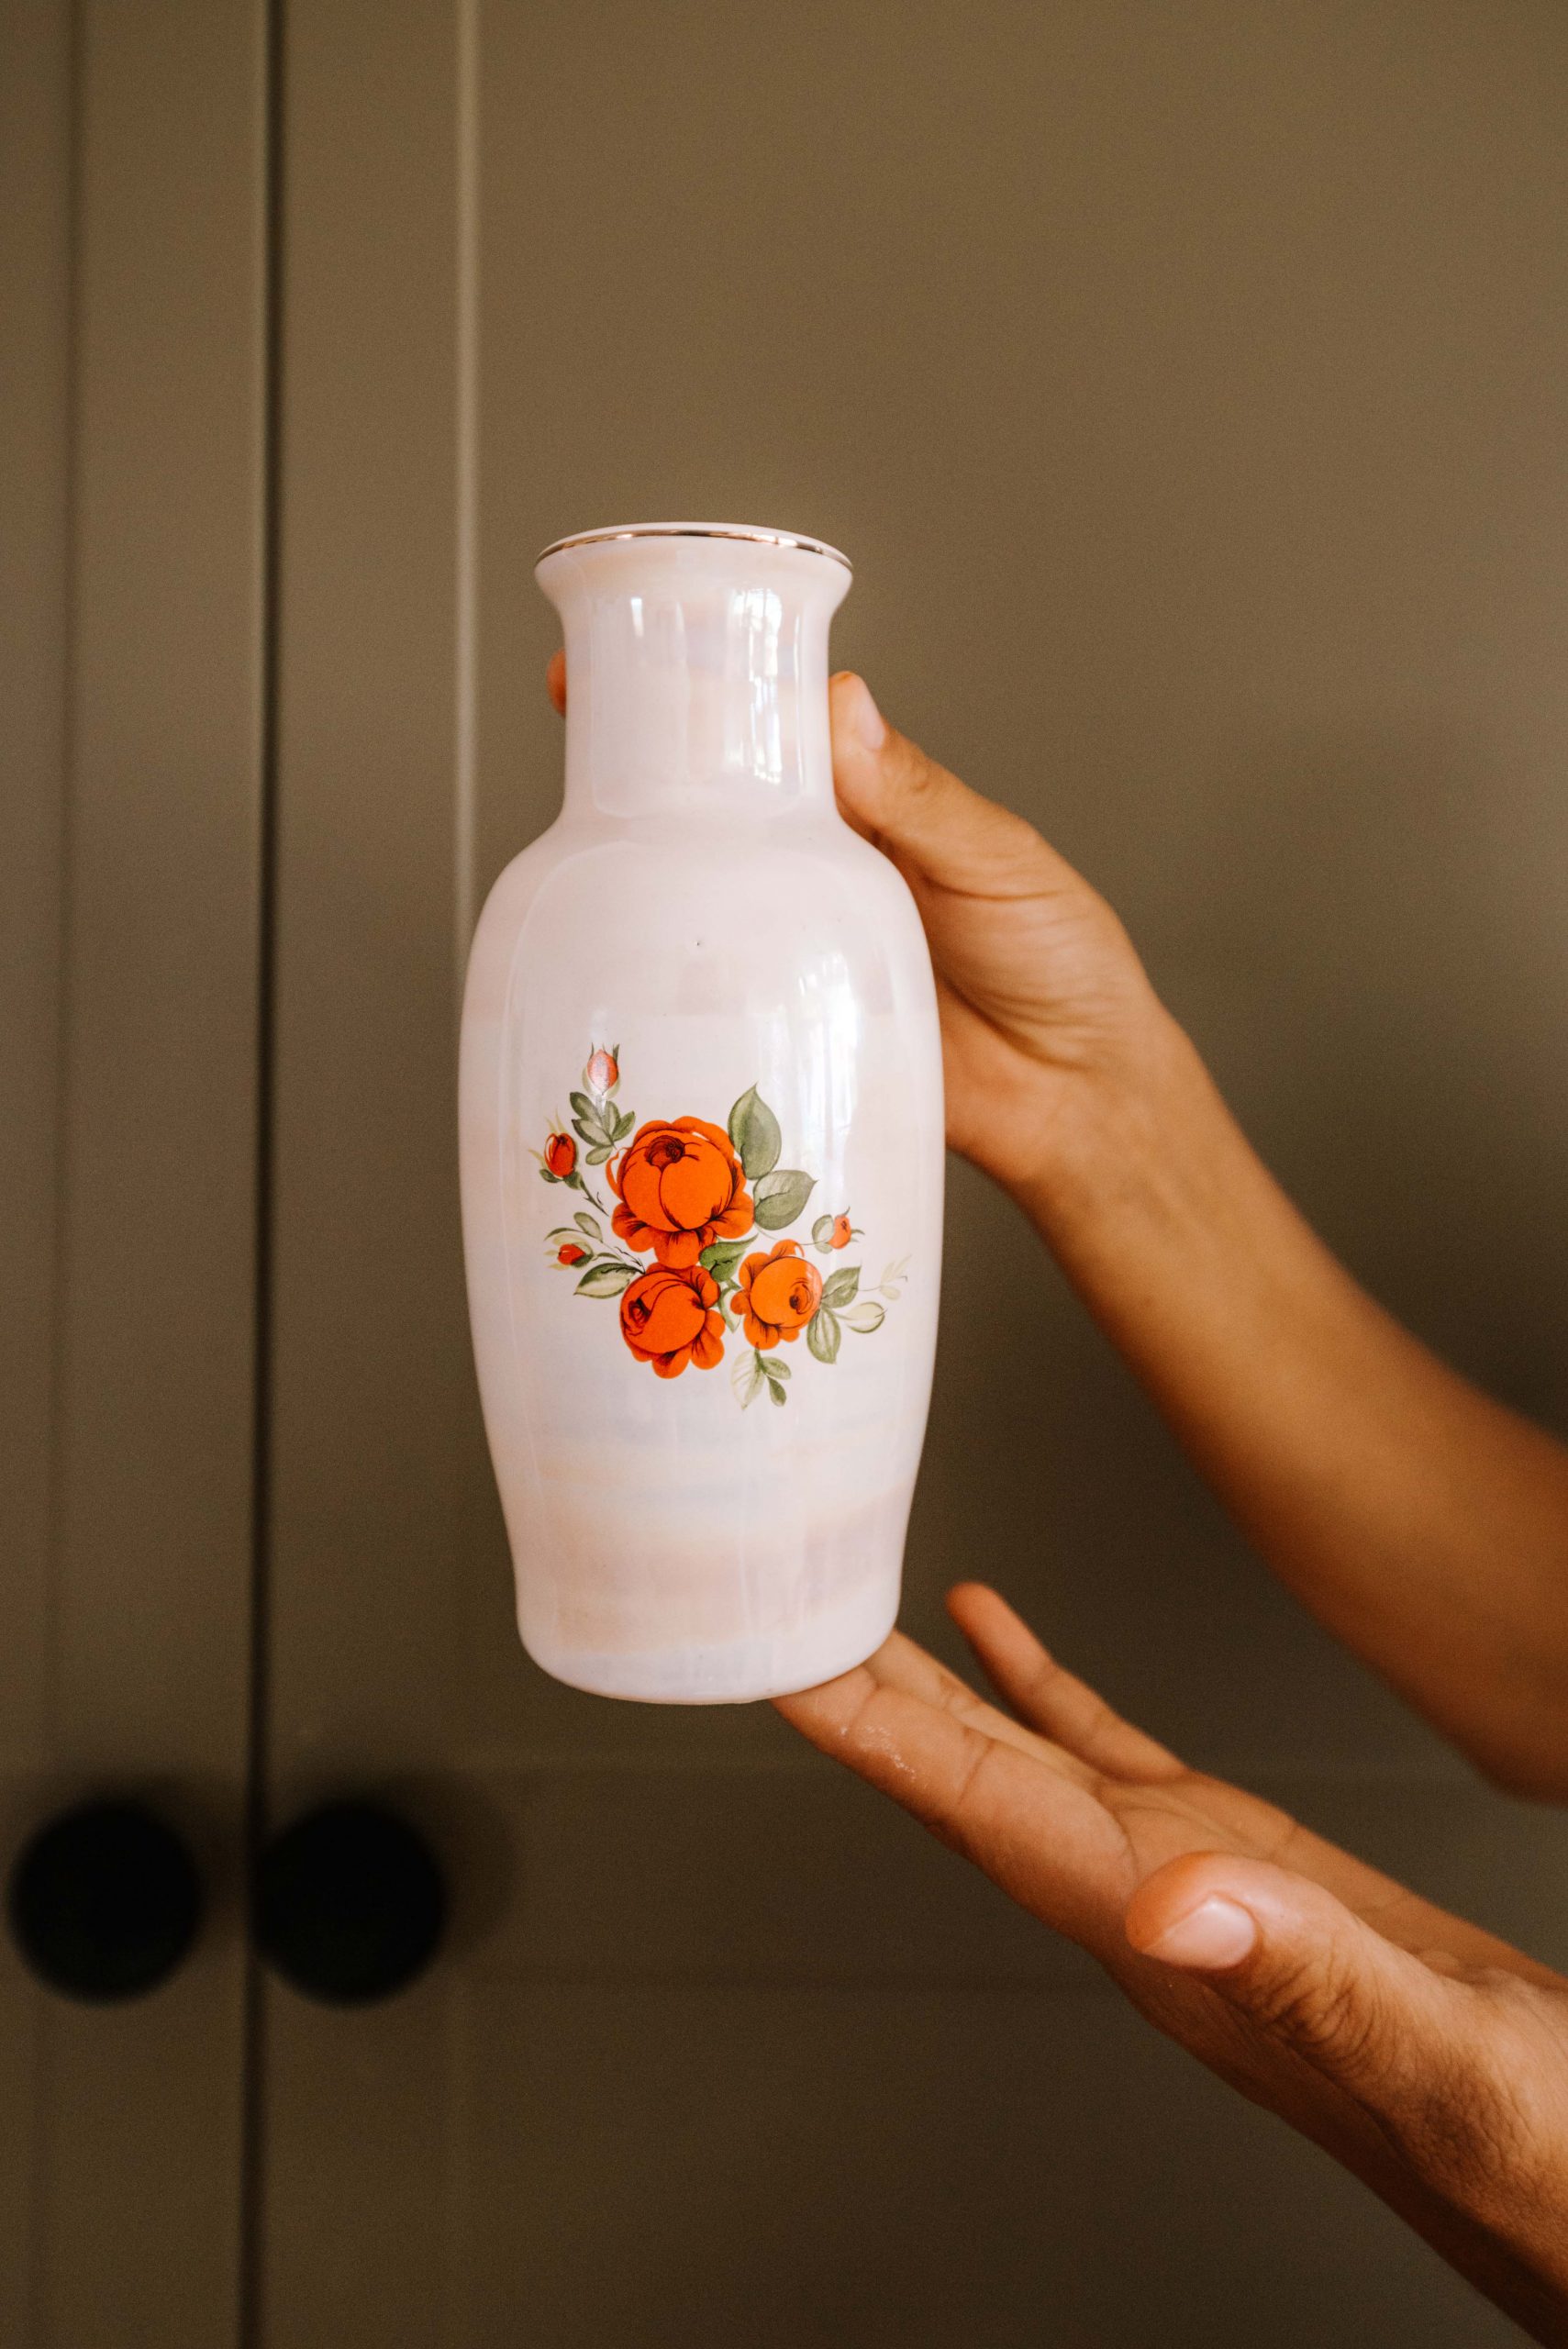
- Before
- During
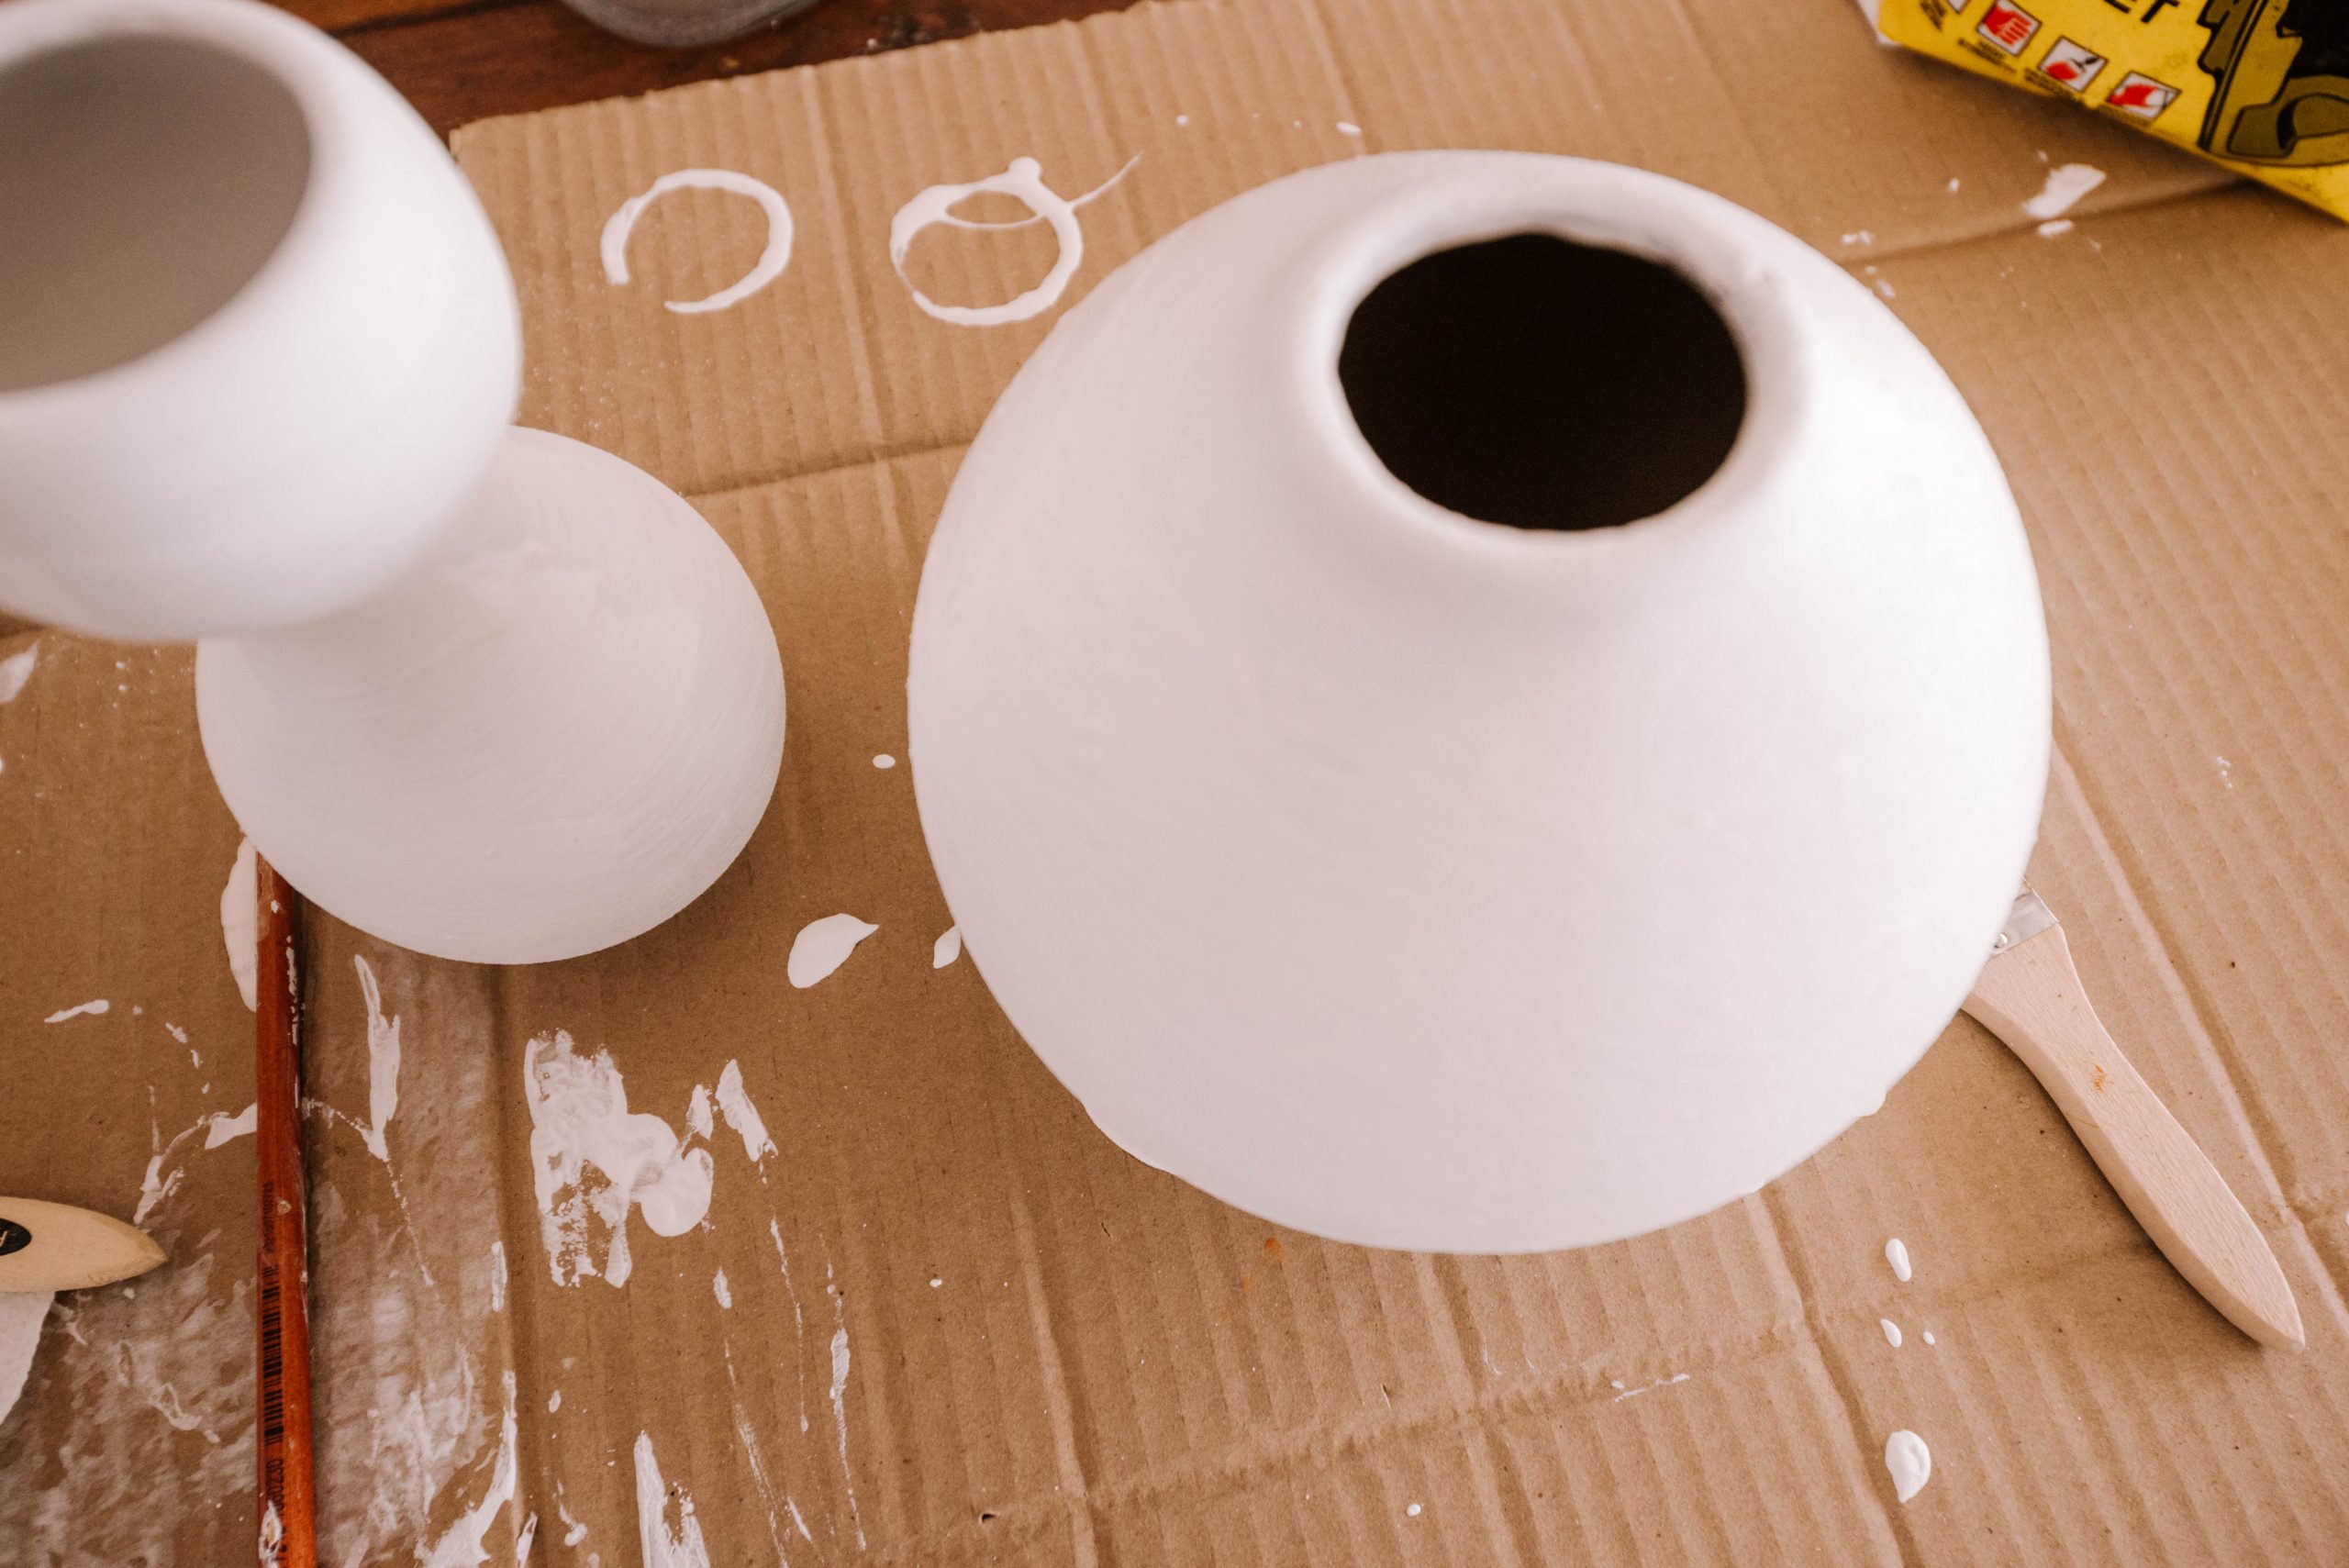
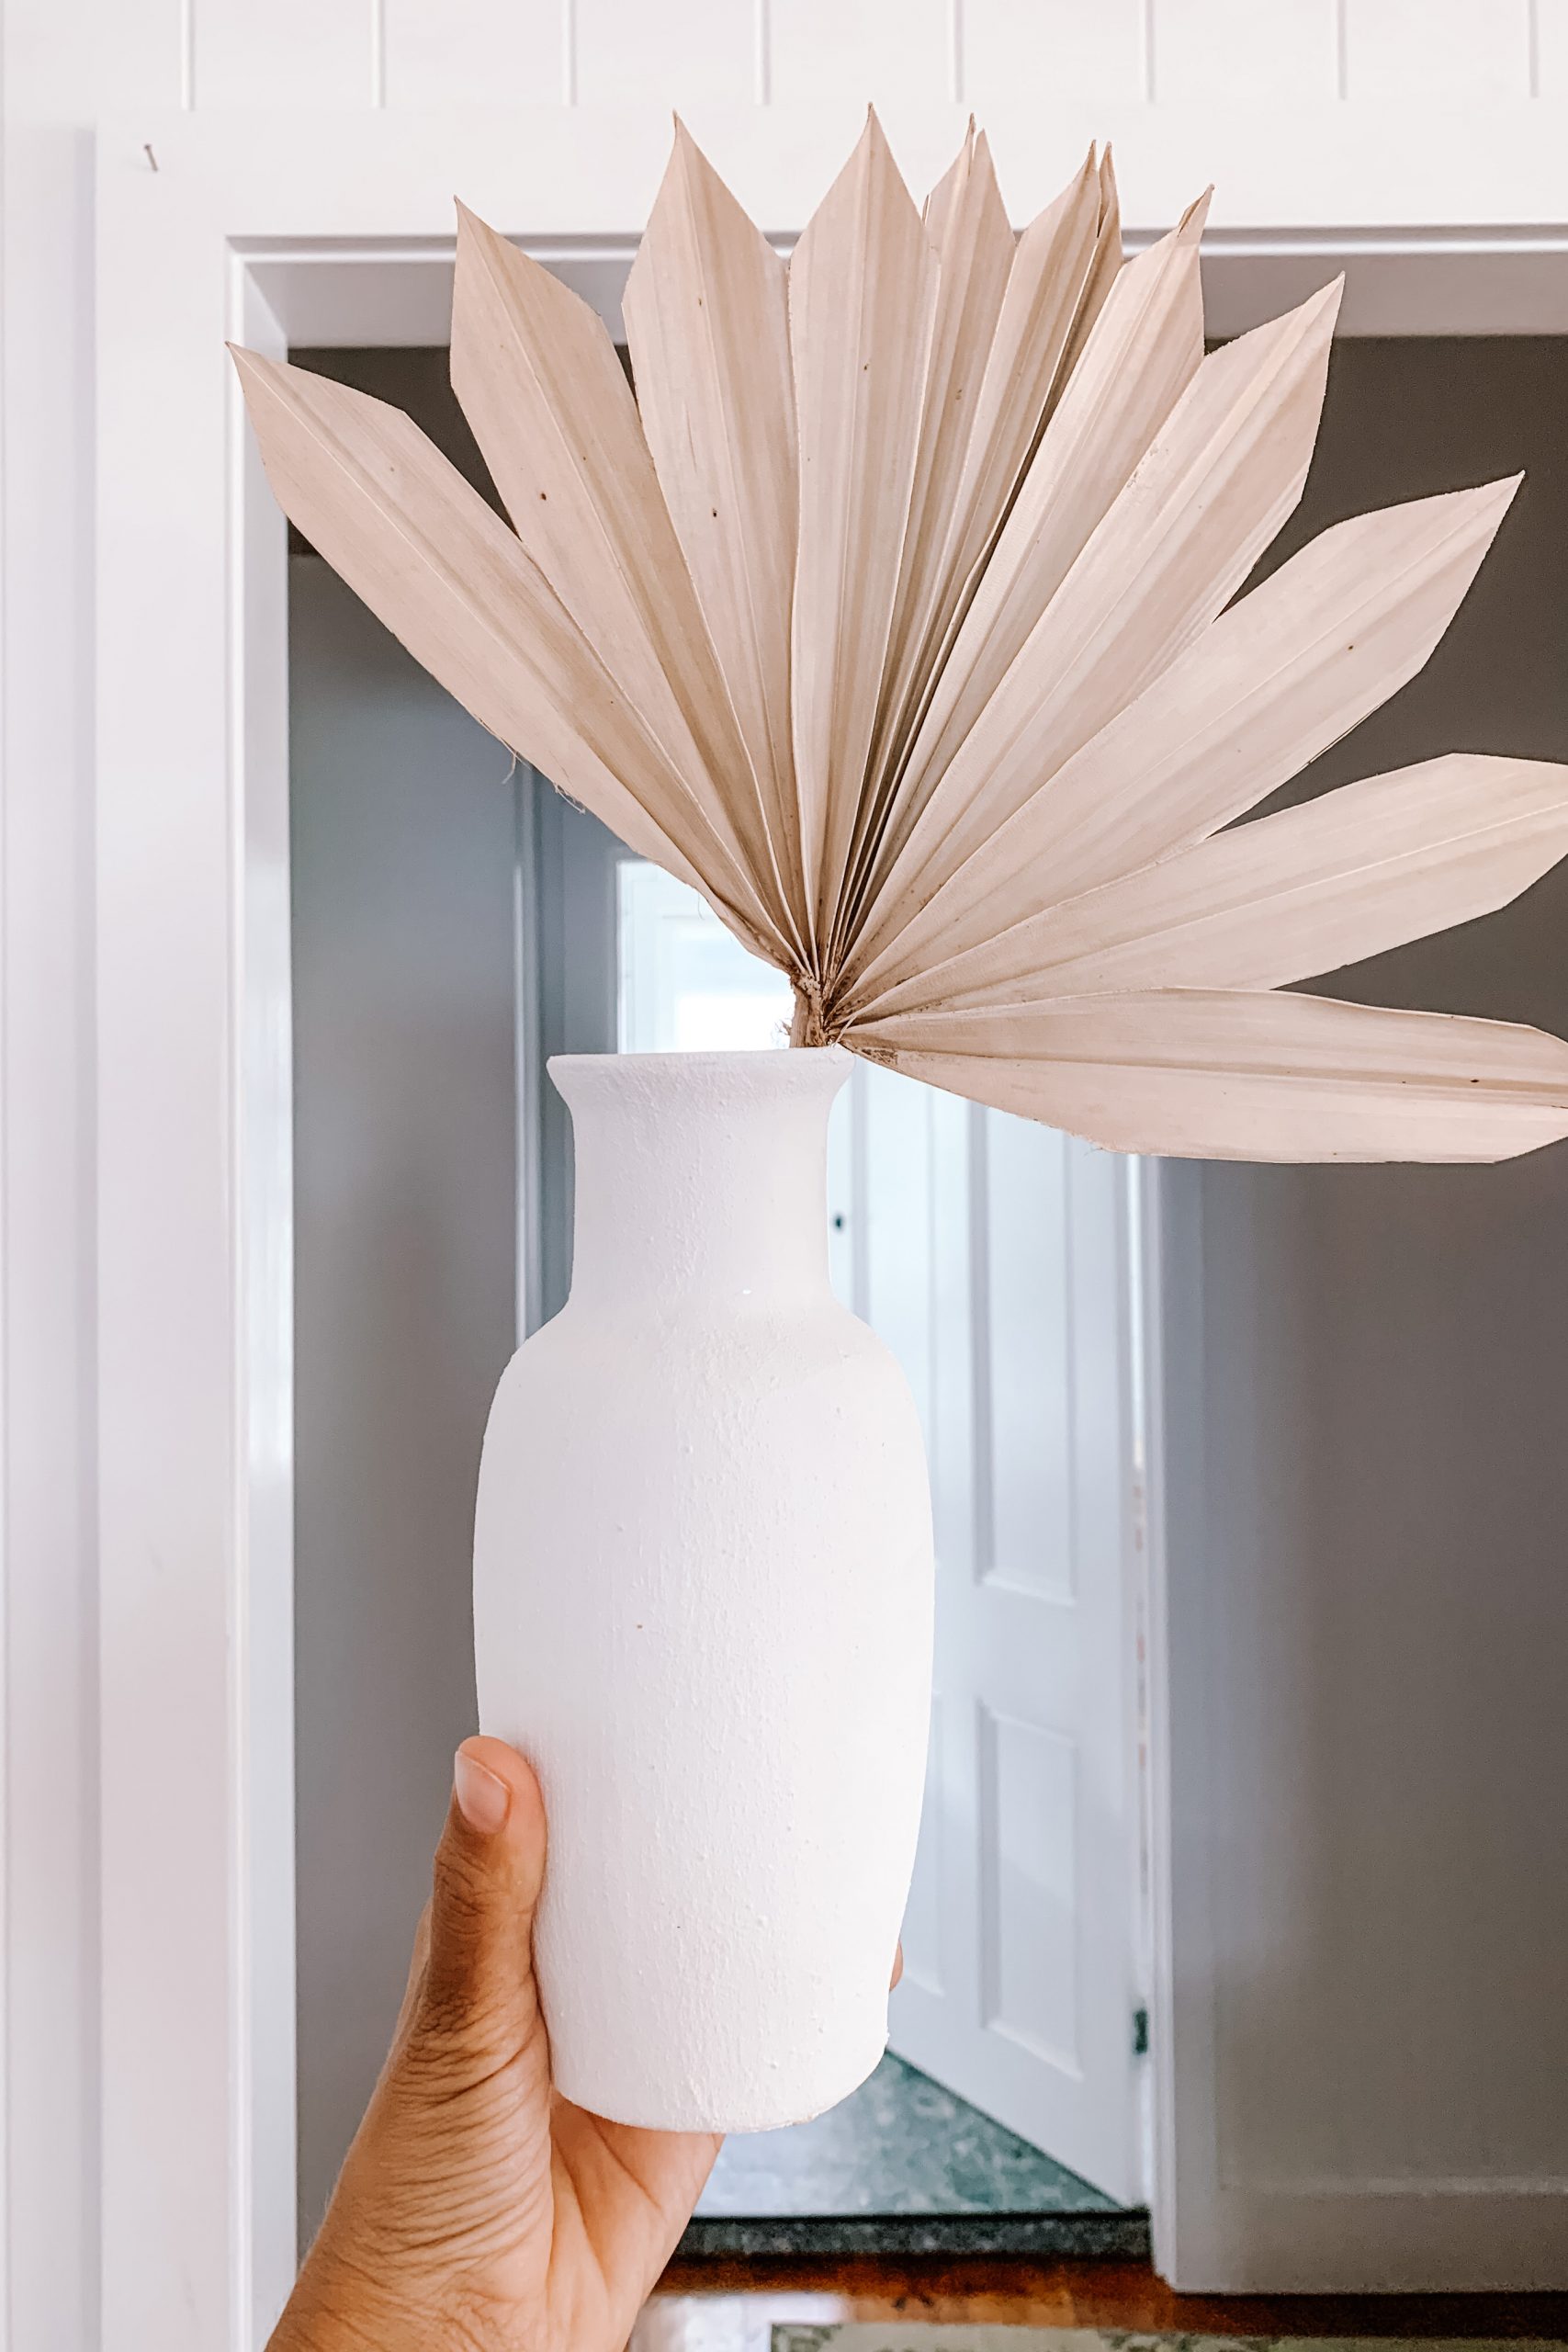
- After
- Before
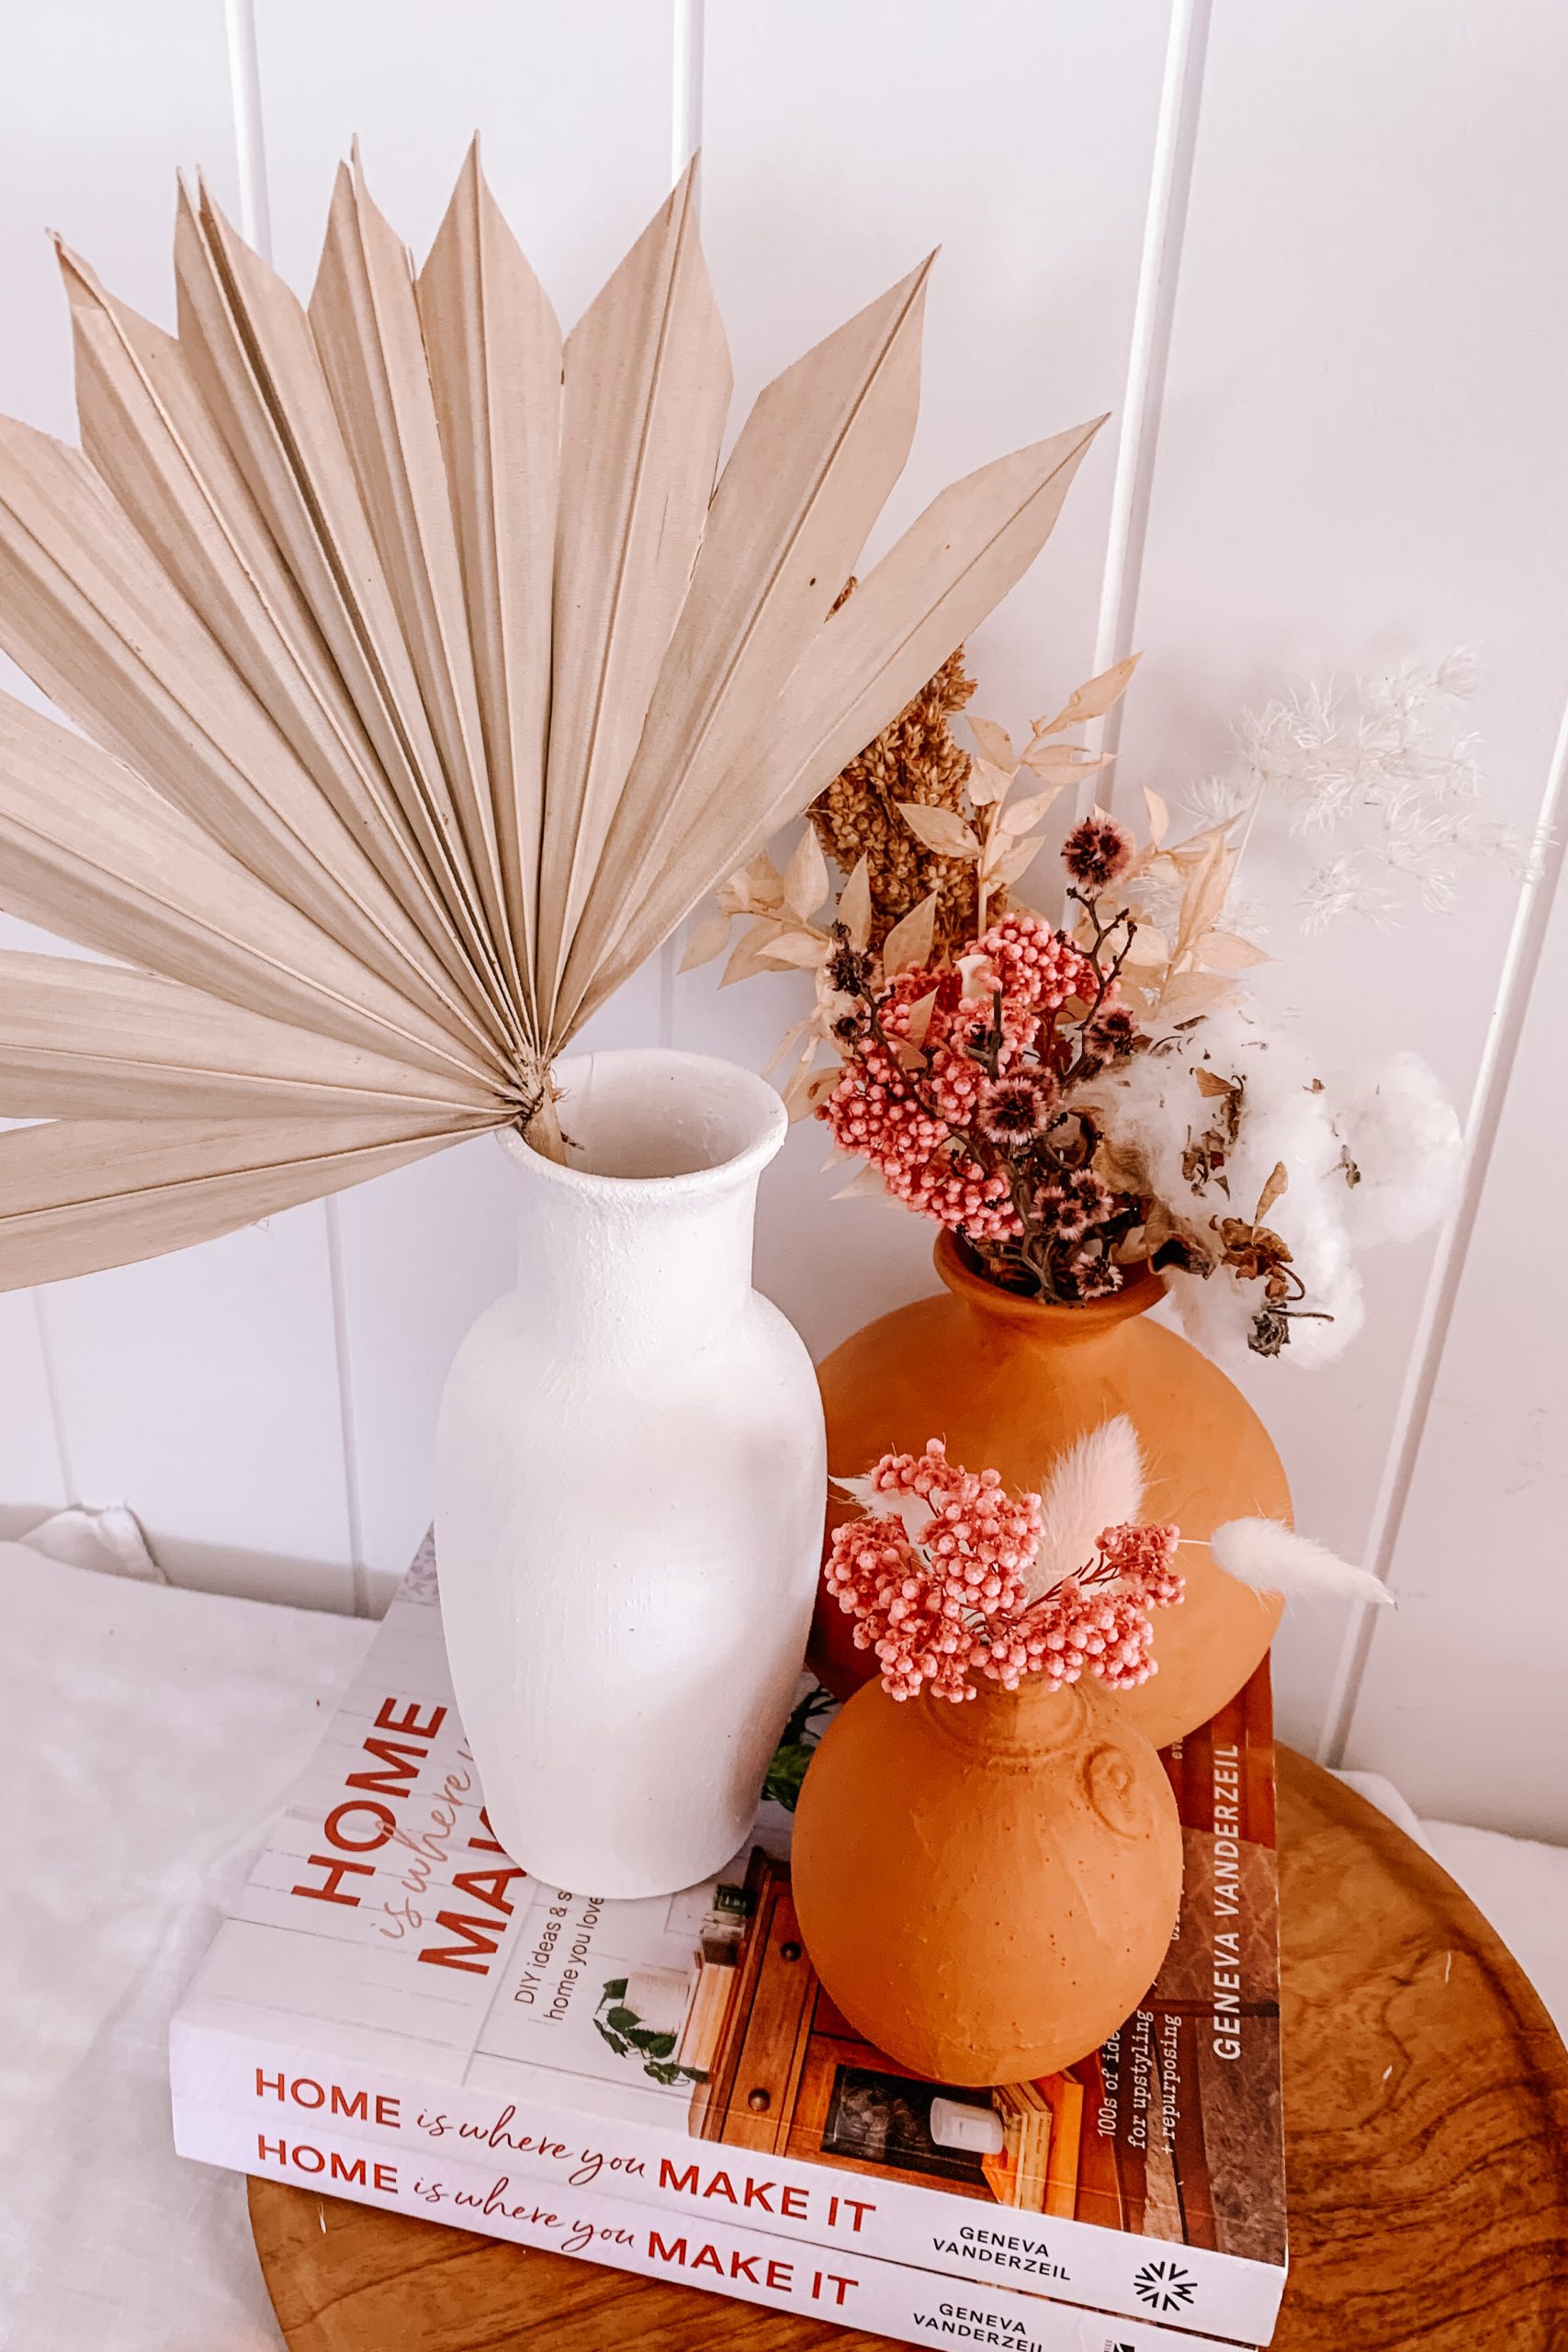
Voila!
If you’re new here and love updating vases as much as I do, make sure to head over and follow me on Instagram, where I’m constantly updating this project. You can also see all the amazing #trashtoterracotta projects that have been done using my methods.


