Foods to last you for a while, but make it organised.
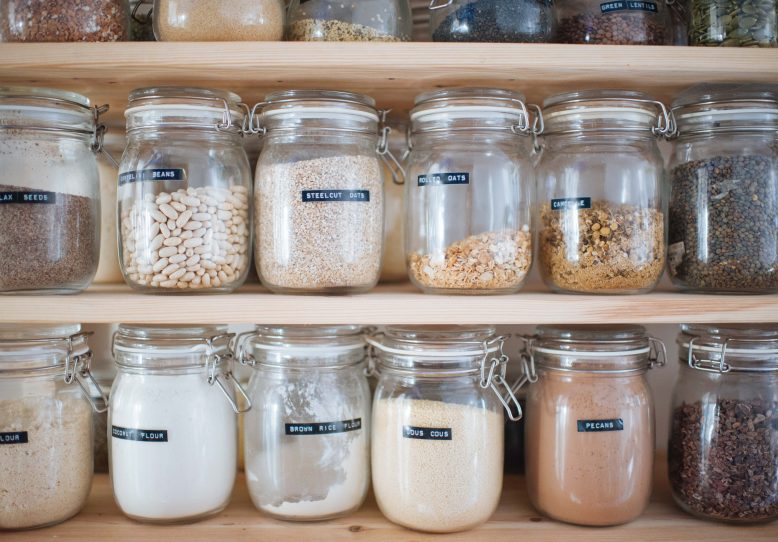
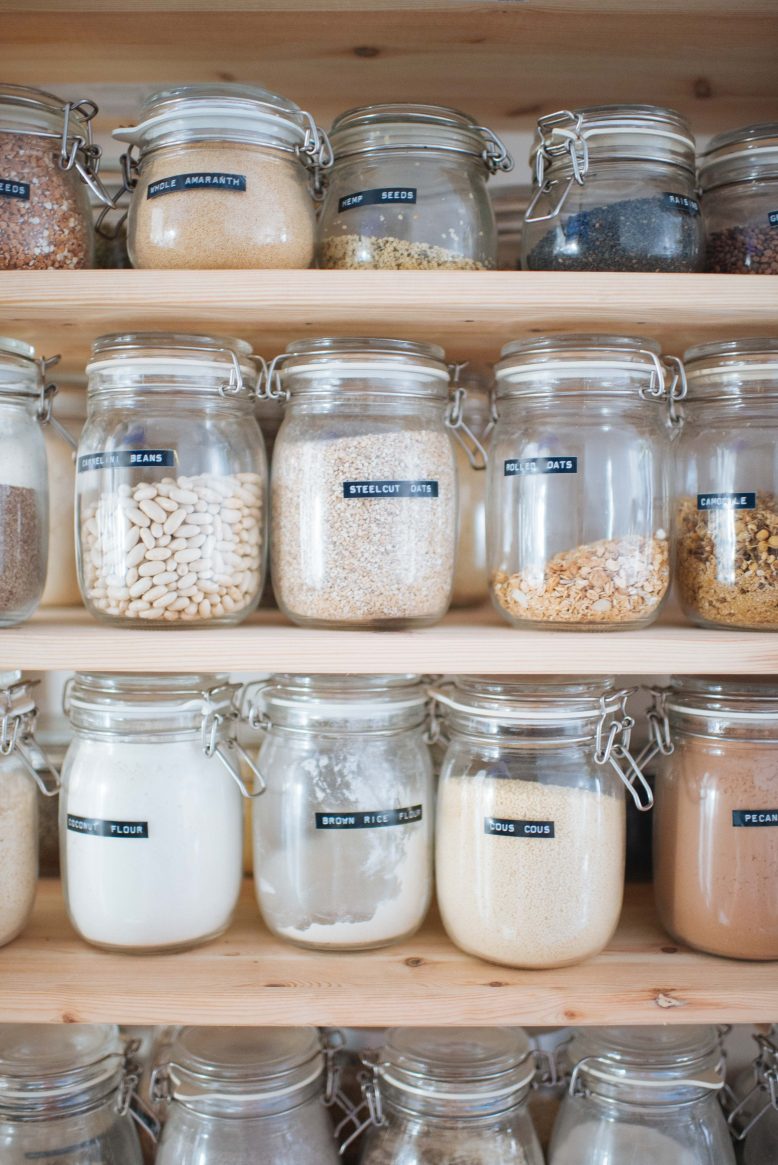
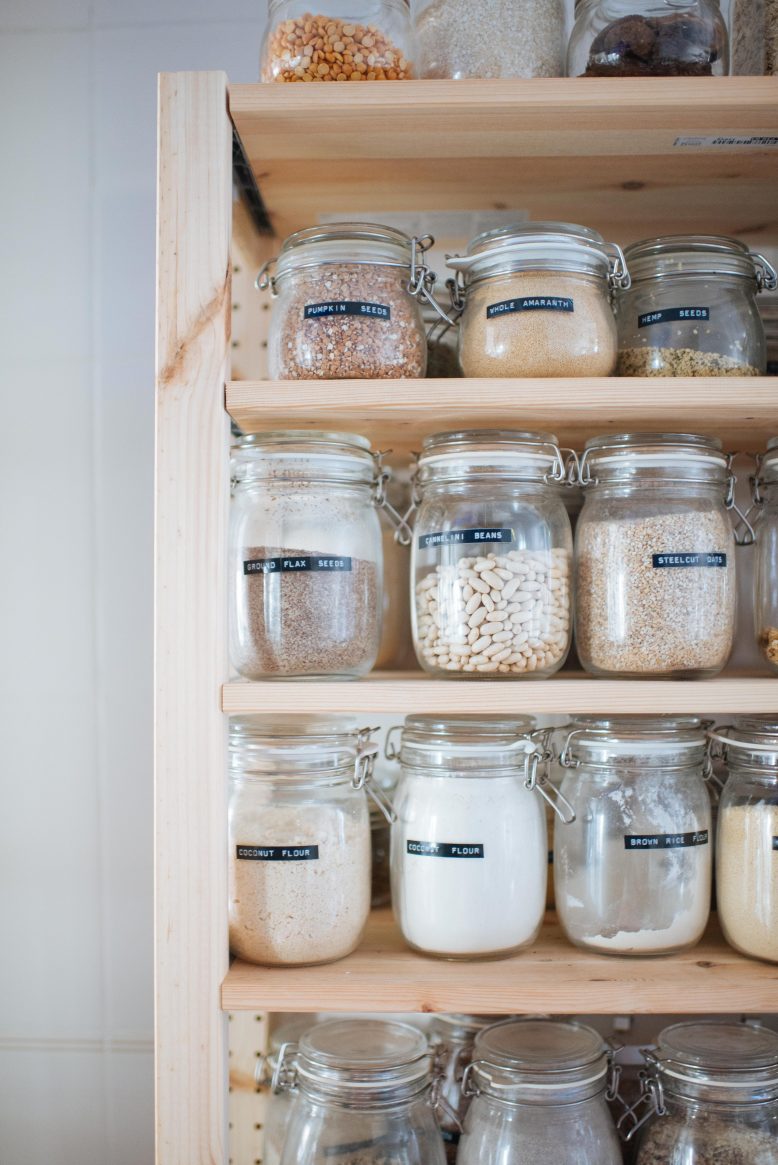
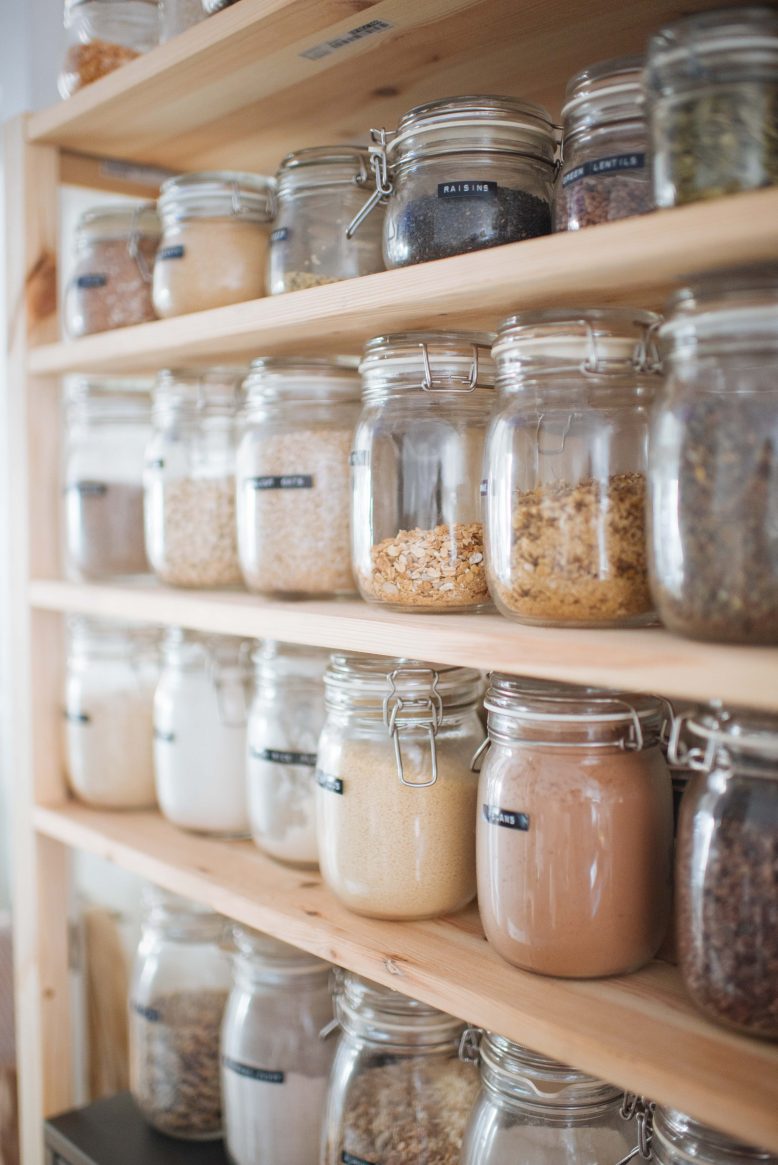
Chances are you might have a few more dried foods than you usually do, like beans, rice and pasta. AND you may just have a little more time on your hands than usual. So I wanted to share a VERY satisfying project with you. A few days ago I shared a photo of our jars pantry on Instagram and I got quite a few questions about the jars, and labels and all the other little elements of the little corner of the house. So I wanted to share with you the low down and some favourite products that I used to create this easy but seriously pleasing set up.
The Essentials
Chances are its hard to get what you need in supermarkets at the moment, and honestly these are essentials that I’ve been stocking up on for a while. That said, I have invested in pasta and more dried beans when I have had a chance recently! This is what I usually have in my pantry in terms of dried goods.
- Nuts: almonds, cashews, macadamia, pecans, pine nuts. For nibbling, putting in smoothies, making healthy balls out of, toasting and putting on salads.
- Coconut flour. Mainly for making pancakes and banana muffins.
- Desiccated coconut. For making healthy balls out of and adding to smoothies and cakes.
- Flaked coconut. For putting in smoothies and adding by the handful to steel cut oat porridge.
- Buckwheat Flour. For making pancakes out of (recurring theme).
- Almond flour. For making banana bread out of.
- Steelcut oats. For making porridge out of (a big batch made on sunday is a quick fix for the week). Wayyyy better than quick cook oats.
- Lentils – puy, red and green. For having with fish at dinner. Or for making dhal out of.
- Bean Soup Mix. A mix of beans and barley that you can use in soup.
- Hemp seeds. For putting in smoothies.
- Pumpkin seeds. For toasting lightly and having with blueberries and greek yogurt.
- Quinoa. For making into a side salad dish or a coconut pudding.
- Brown rice. For making spiced pilaff with.
- Chia. A quick pudding easily made with coconut milk and banana.
- Mung beans. For soaking and then putting in a mason jar upside down so they sprout and then sprinkling on breakfast etc. This sounds so hippy, and indeed I did pick it up off my mum, but it’s really good.
The Jars
I have to admit I am VERY particular about the jars that I use in the kitchen, and really love a clean and simple look. Luckily, there are so many places you can get them (and a few that deliver!). Here are some ideas.
Ikea have some great jars and that’s what I used here, from the KORKEN range. They are so simple and minimalist and have some great sizes including small, medium and large. Depending on where you live you should be able to order these online. We also used an Ikea IVAR shelf (in our old apartment shown here) to store these.
You can get them on Amazon too here, here and here.
The Labels
Now, labelling these jars creates a thing of beauty, but don’t kid yourself that it’s quick. Luckily many of us have more time on our hands than usual so dedicating time to doing this isn’t such a bad idea. To make the design look really nice, the trick is to choose an embossing label maker, as opposed to the more modern printable label maker. The embossing label maker is infinitely more time consuming, but so worth it! Find yourself some good TV and go to town. This label maker is a good option, and similar available here.


