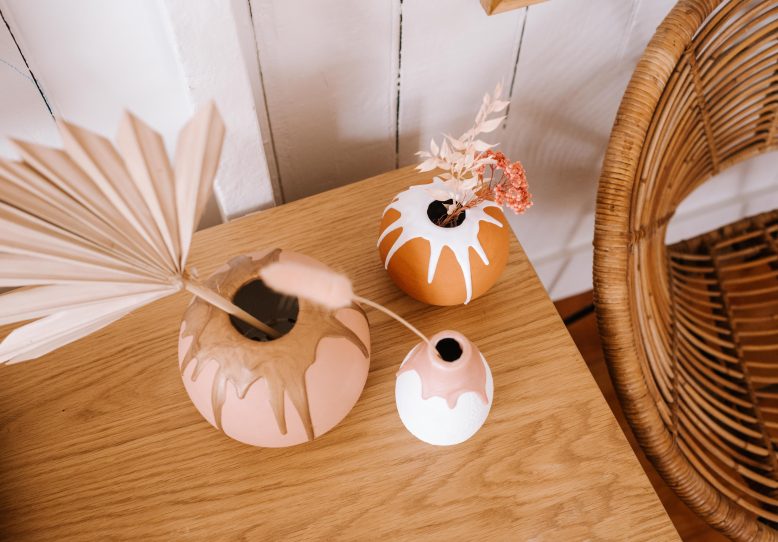
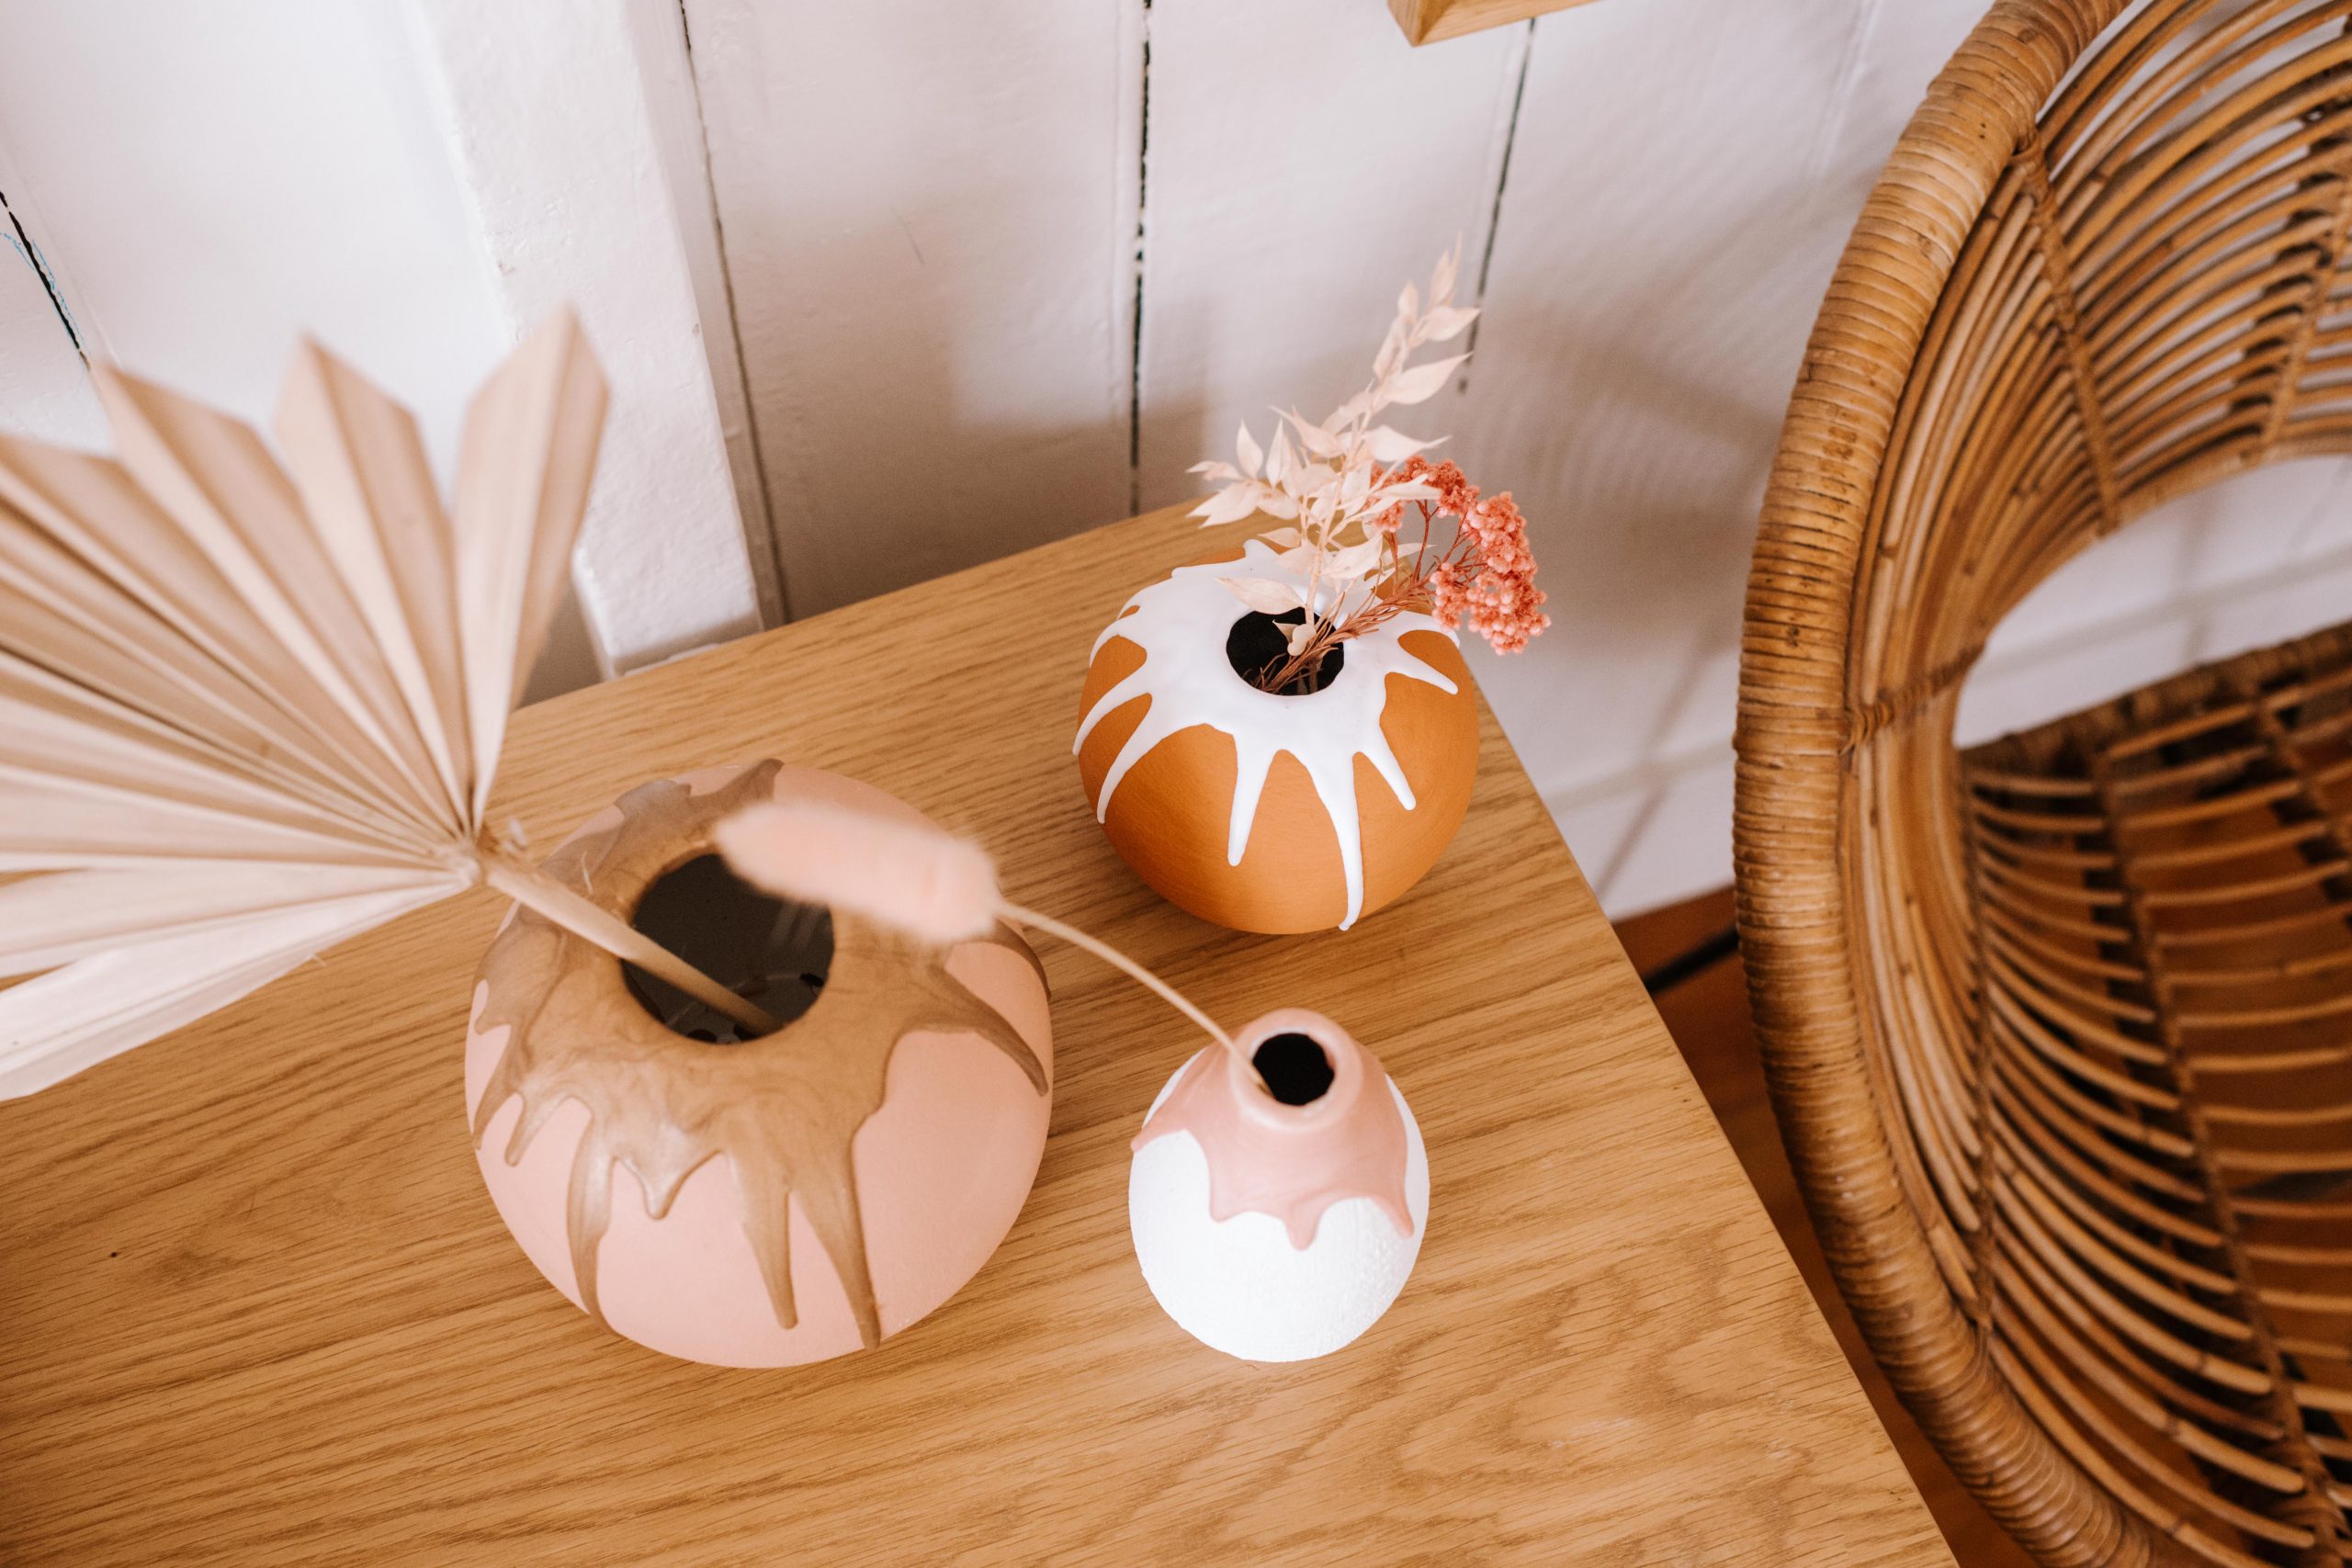
I’m so excited to share with you a very pretty technique I’ve been working on.
I’ve been really wanting to experiment with drip glazed ceramics for a while, it’s an aesthetic I’m always drawn to. But to be honest, the process used by professionals looks like it requires a somewhat complicated set up, so I’ve been looking for an alternative. Recently I got the chance to use the new Liquid Sculpey and was so excited because I found it was so great for creating this look!
You’ll be well aware of my love of Sculpey polymer clay. It is just so easy to use to create cute home decor projects. I made this wall hanging for me and this one for Frankie. I also made some very simple fridge magnets. So when the team at Sculpey asked me if I would like to have a play around with this liquid clay I was excited to get my hands on it. I knew straight away it could be the answer to all my drip glaze dreams. And it was! Read on for how to create these yourself.
Materials
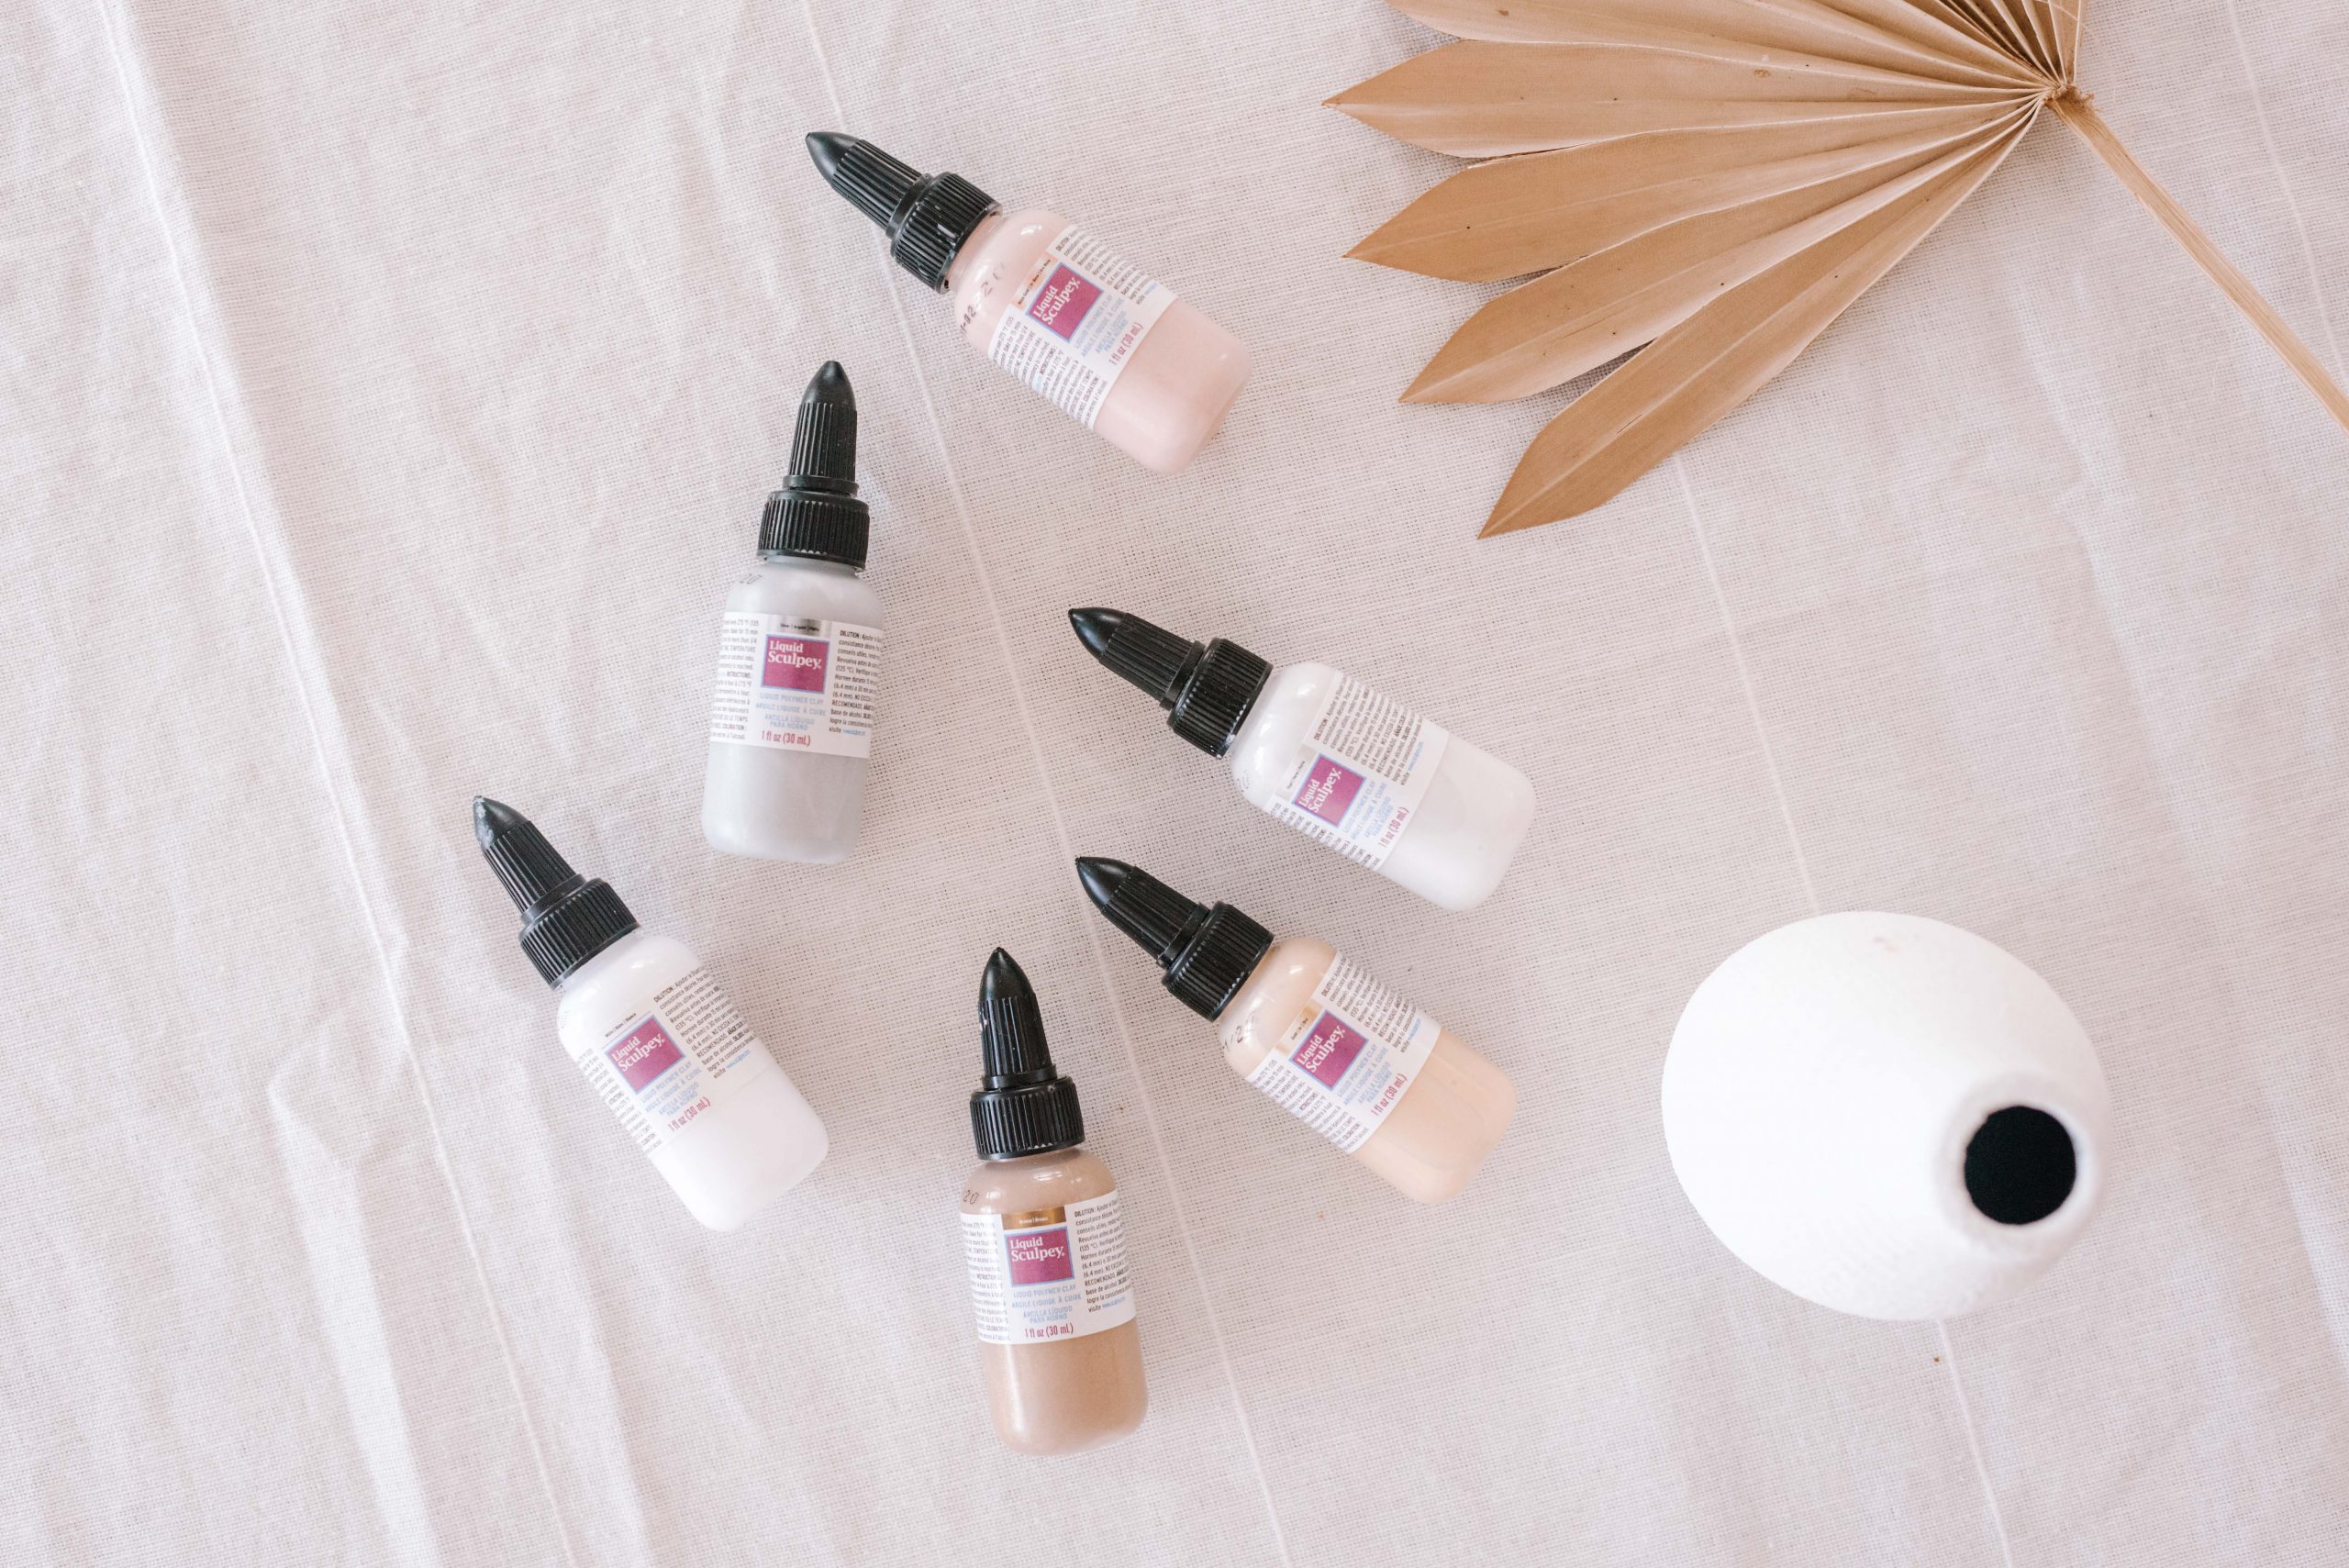
- Liquid Sculpey Polymer Clay (I used white, rose gold and bronze for this)
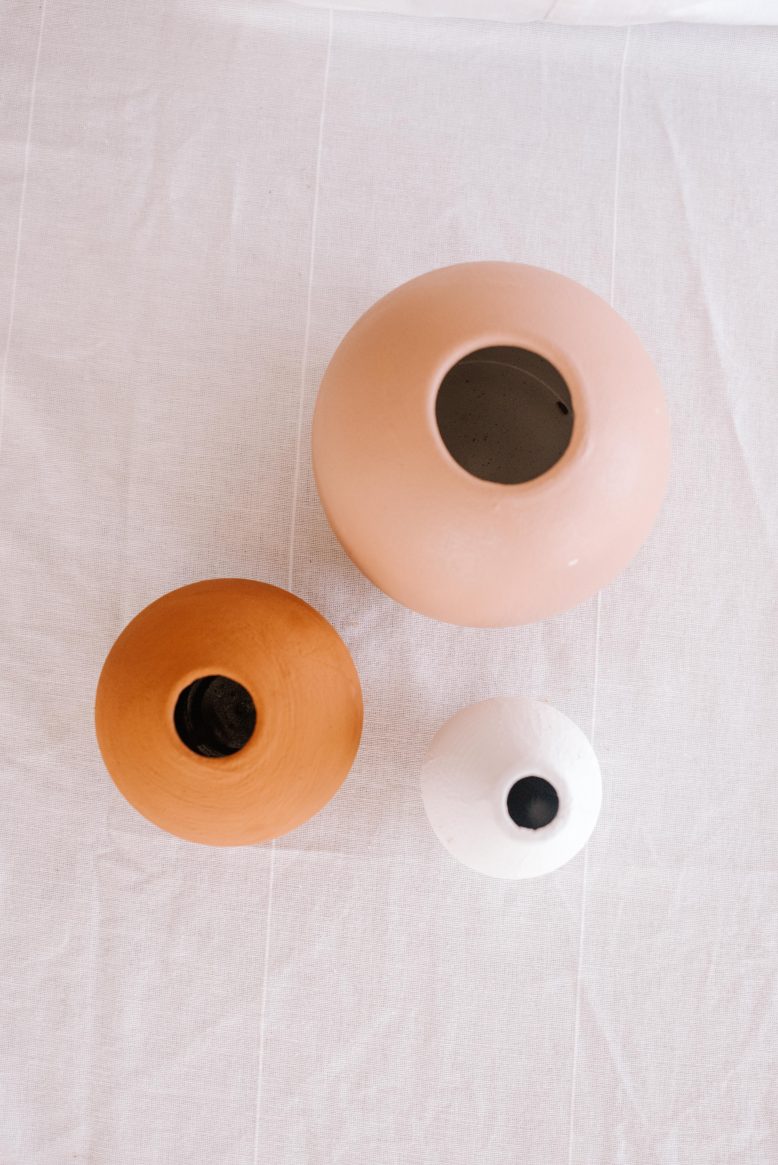
- Ceramic vases or pots
- Oven
- Tea towel or oven mit
How to make drip glazed ceramics
First, set your oven to a low heat (I put mine on 110 celsius/230 fahrenheit).
1
Once your oven is warm, place your vases into it for five minutes to warm them up. I found that using warm vases helped to set the drips nicely prior to putting them in the oven. Using an oven mitt, remove your vase from the oven.
2
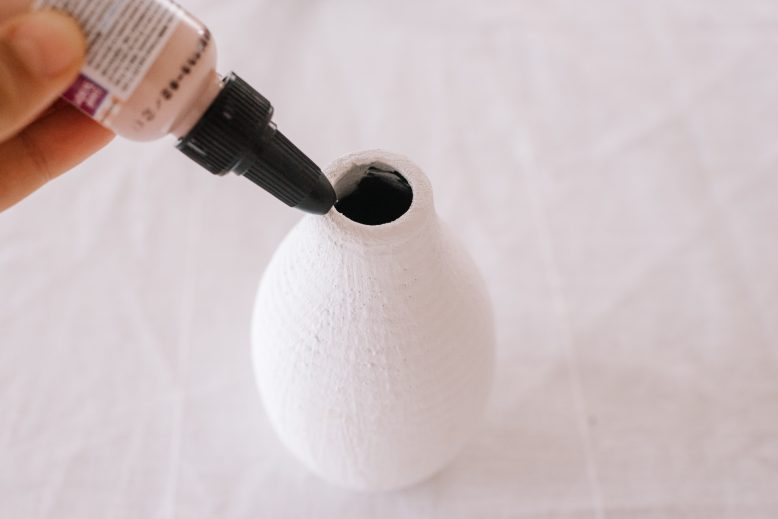
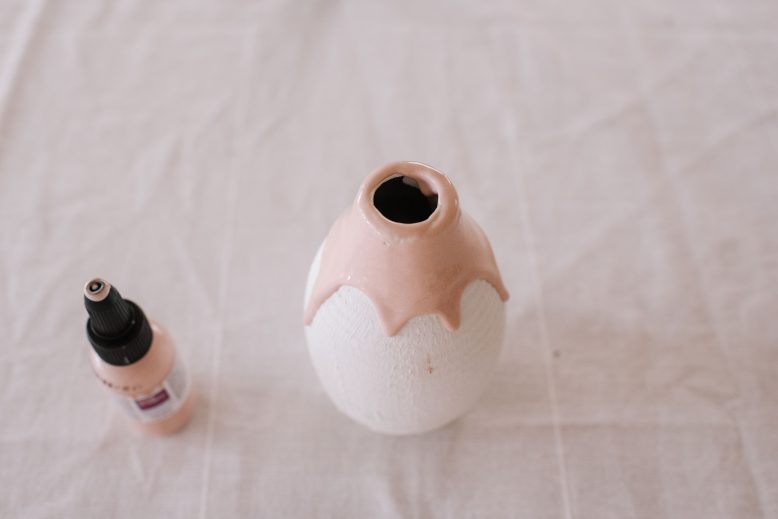
Working quickly, squeeze the liquid clay along the top edge of the vase. Move your hand in a sweeping motion to promote the drips.
3
Working quickly, squeeze the liquid clay along the top edge of the vase. Move your hand in a sweeping motion to promote the drips.
4
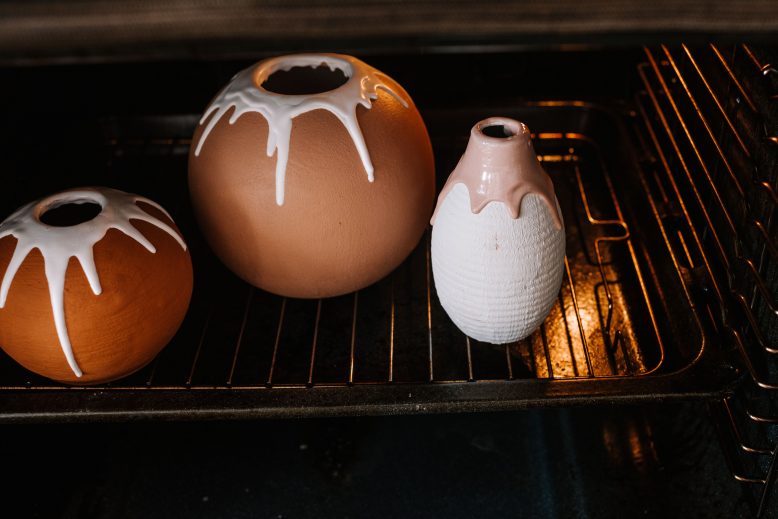
Place your vase back into the oven. If your drips are moving down to the bottom of the vase I suggest you add some tin foil underneath.
5
Let the clay bake for 10 - 15 minutes, or until it is firm. Remove from the oven to cool.
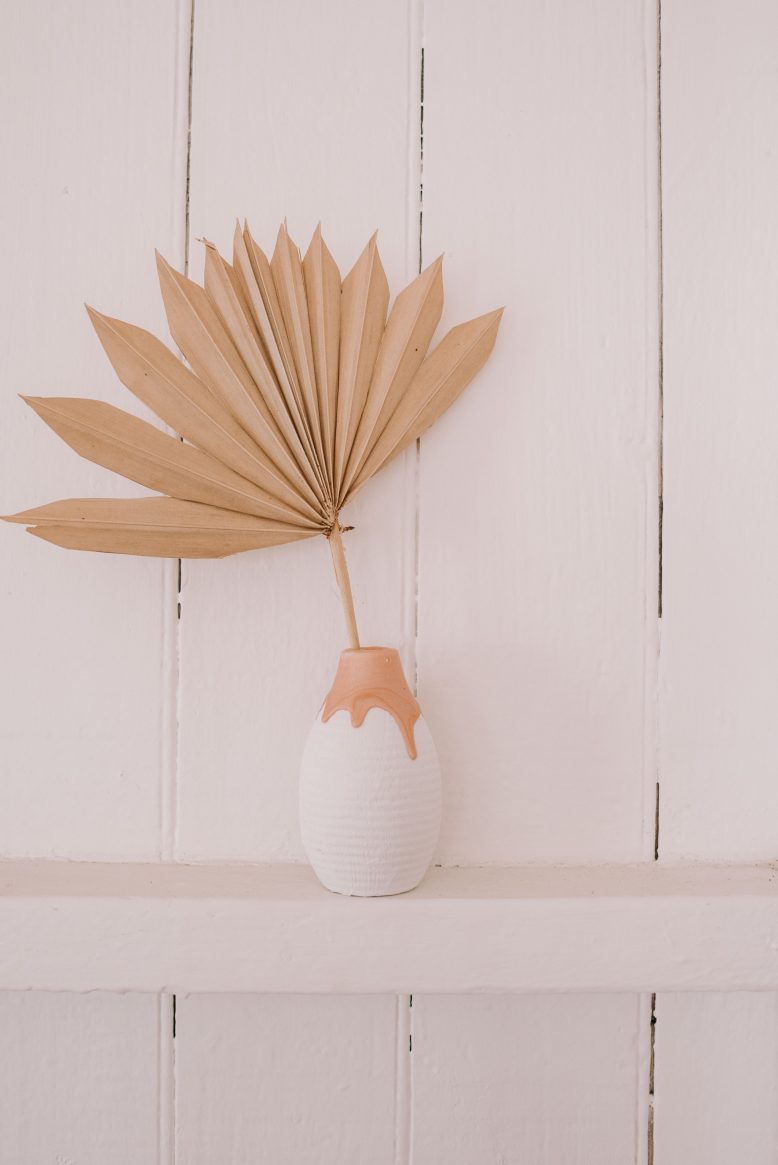
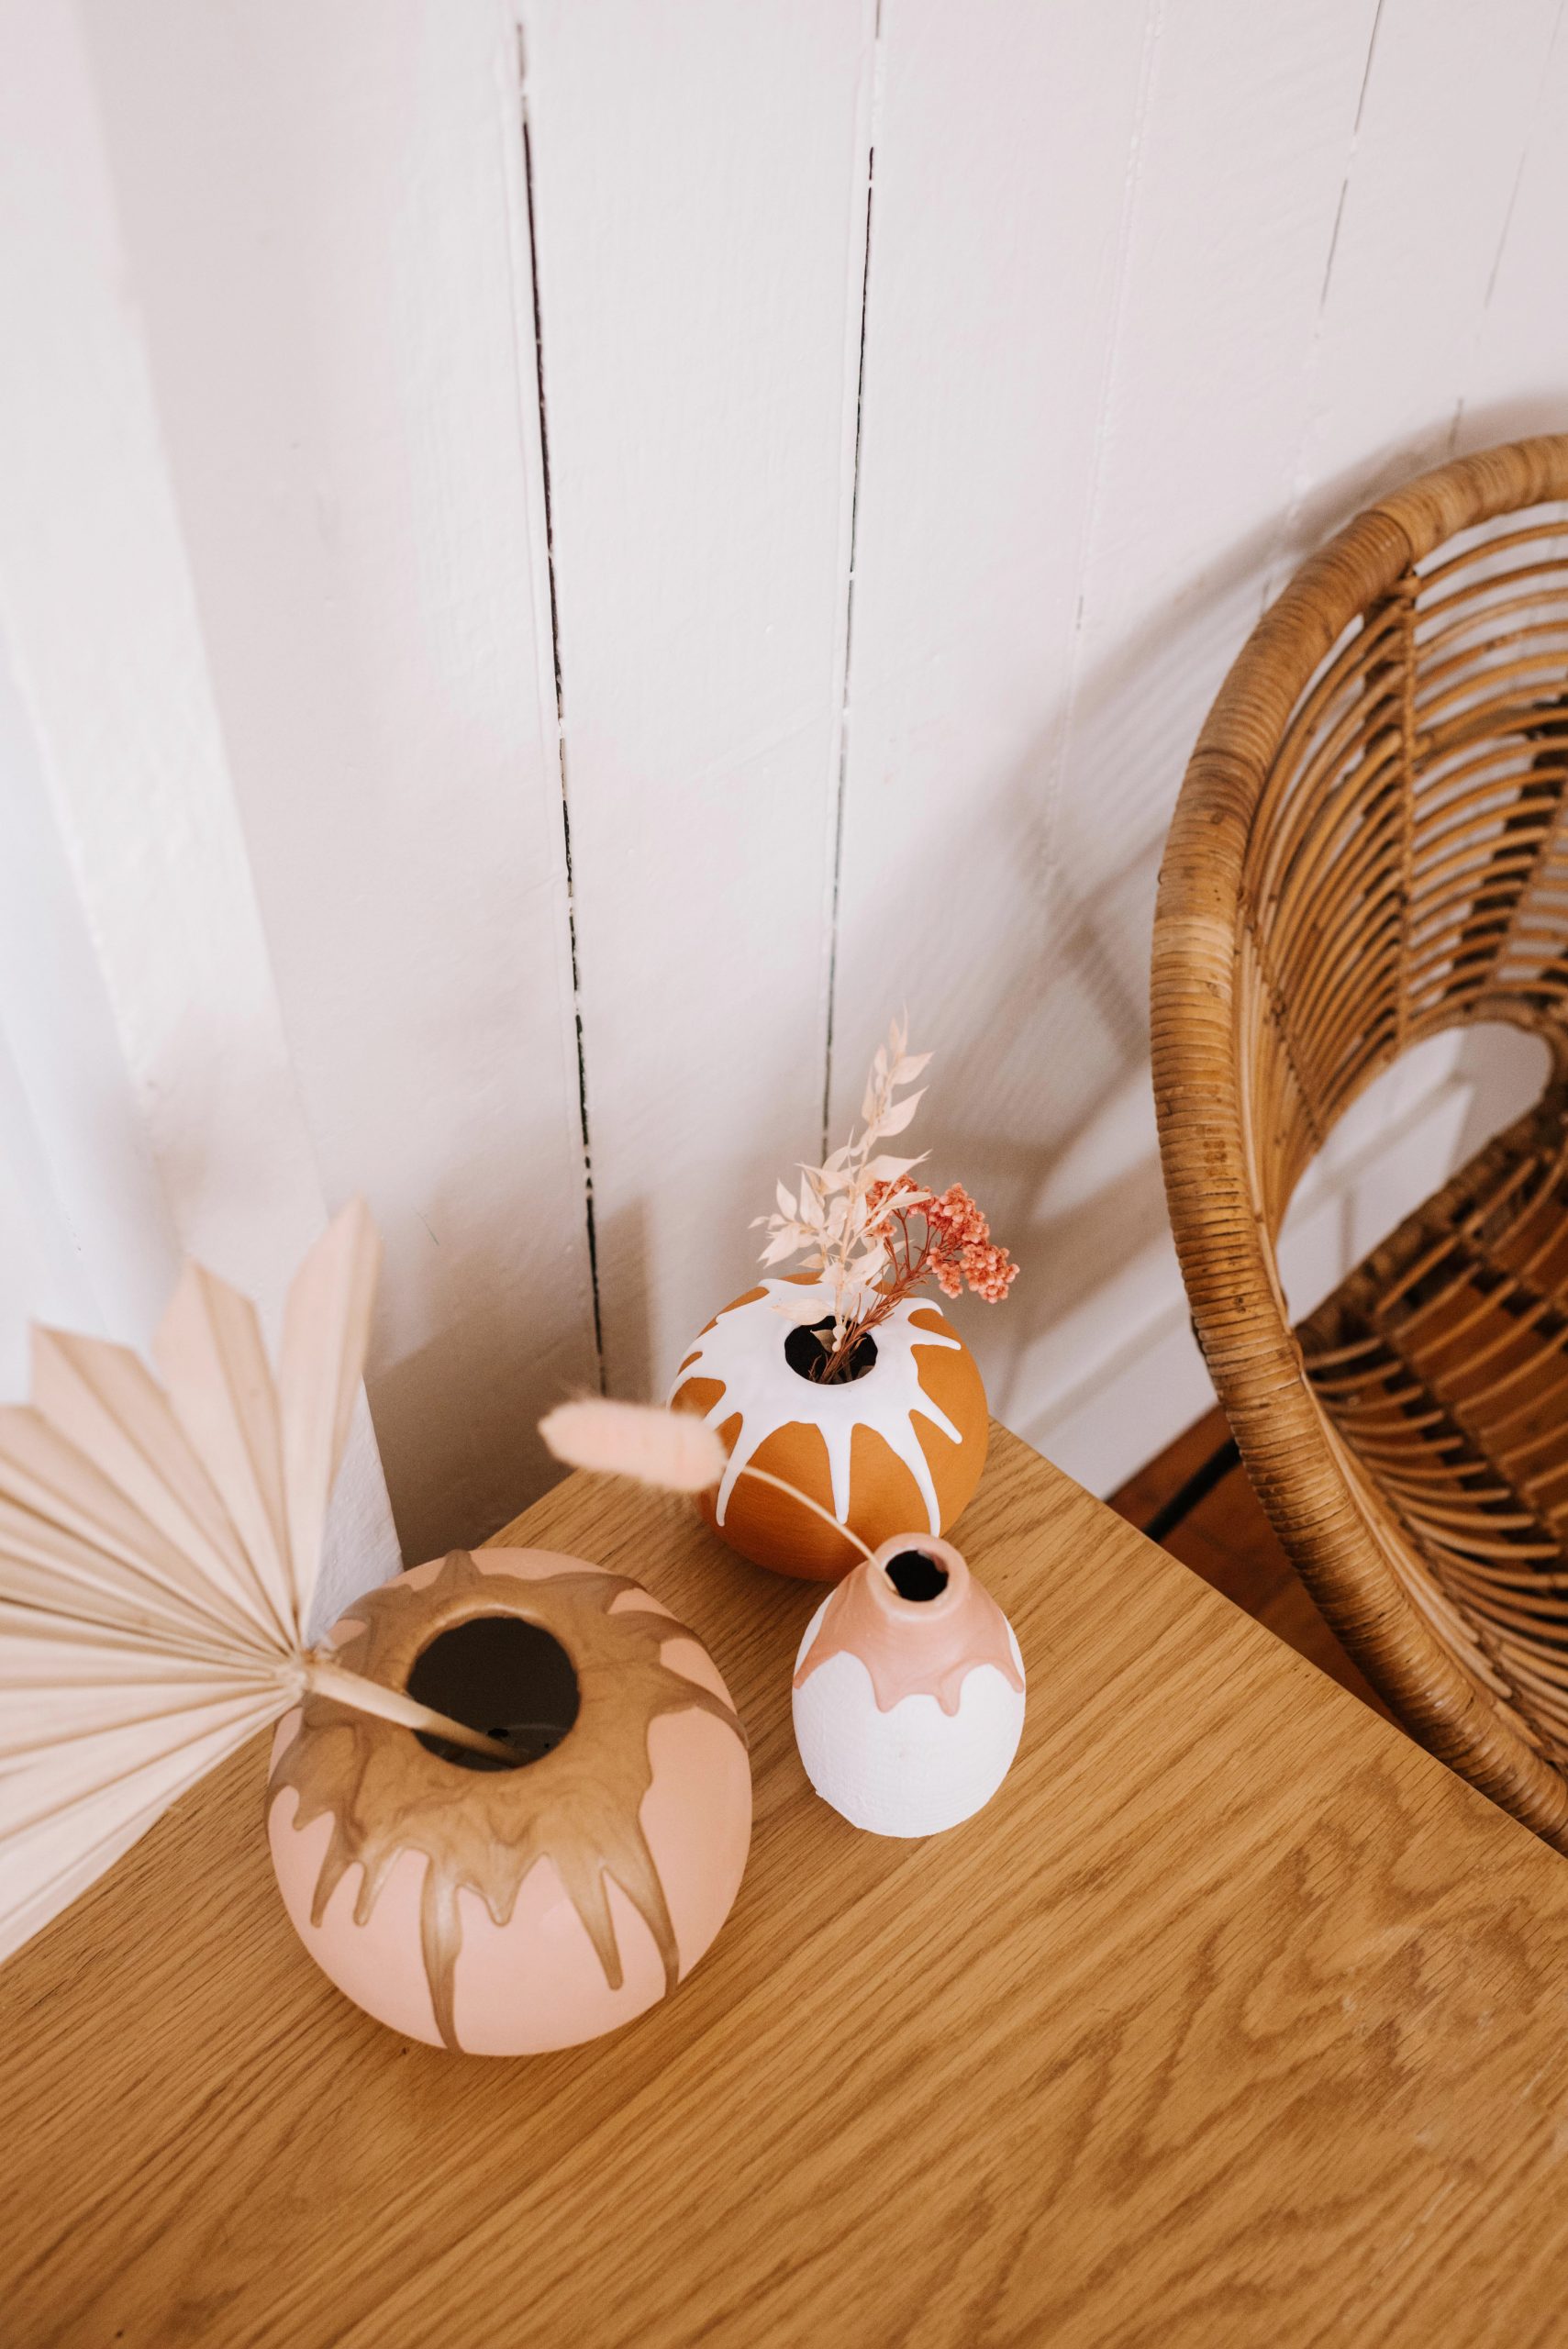
Voila!
This project is in collaboration with Sculpey.


