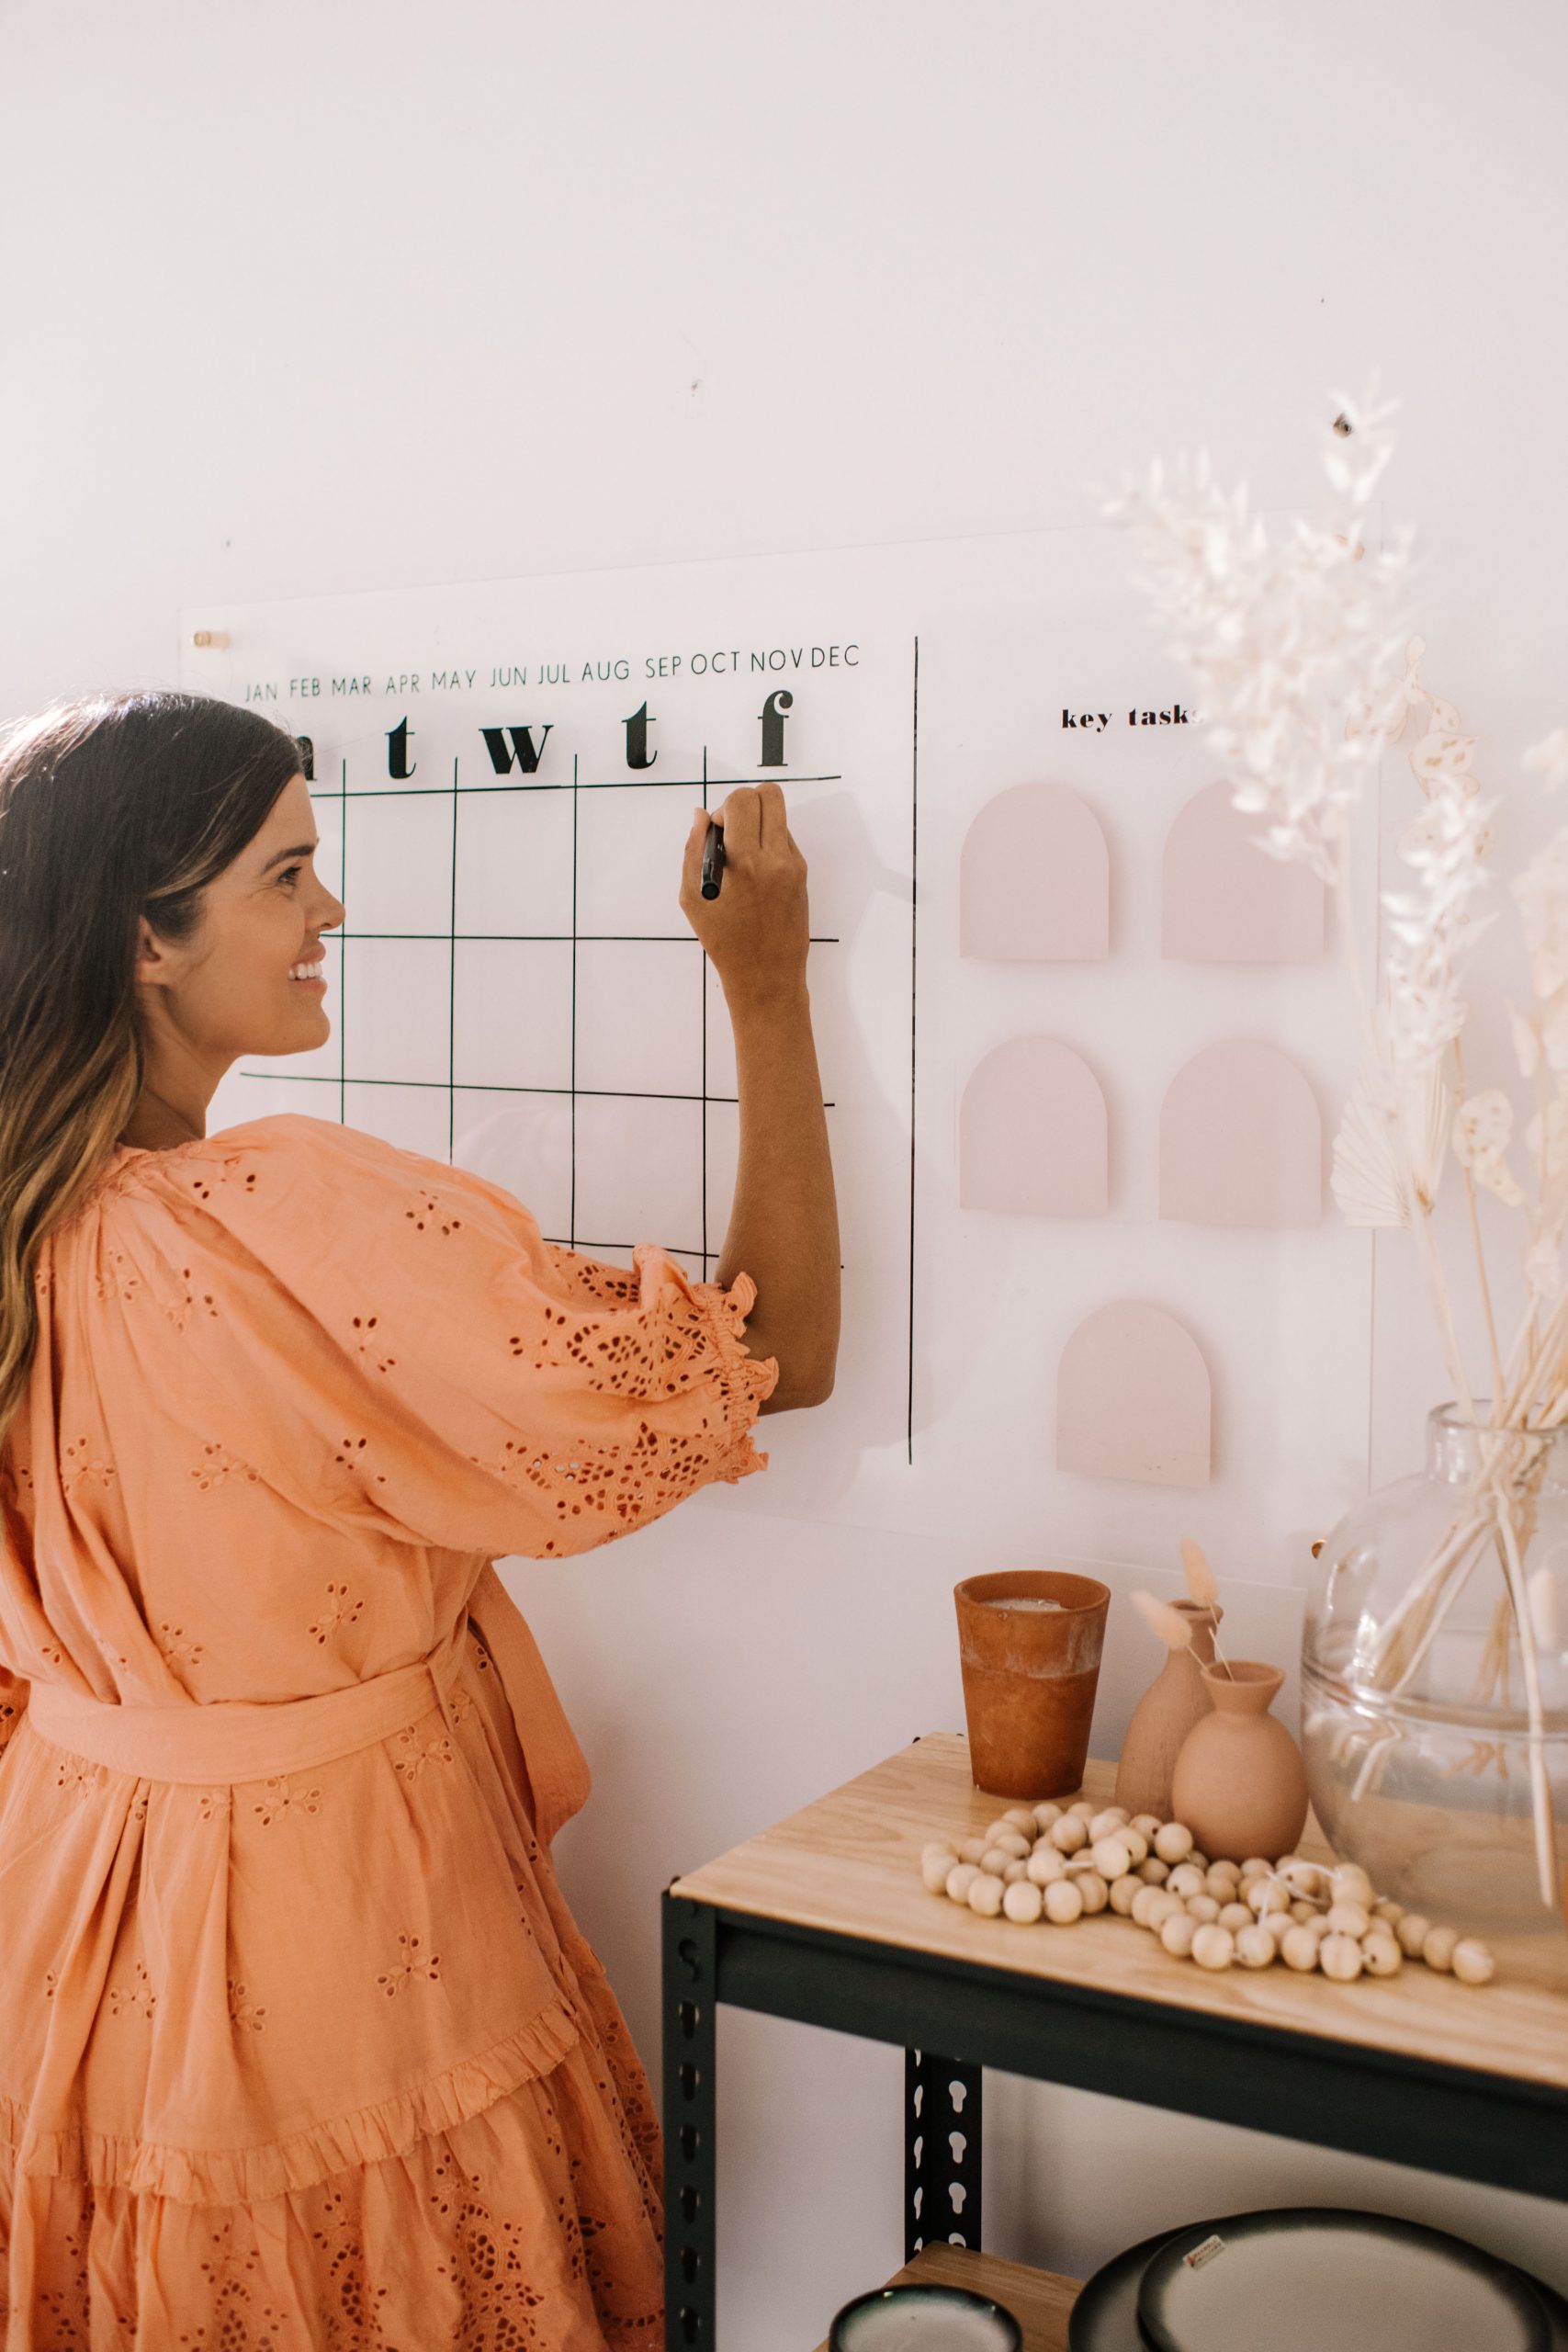
It’s that time of year again, when we all start thinking about how we can be a little more organised.
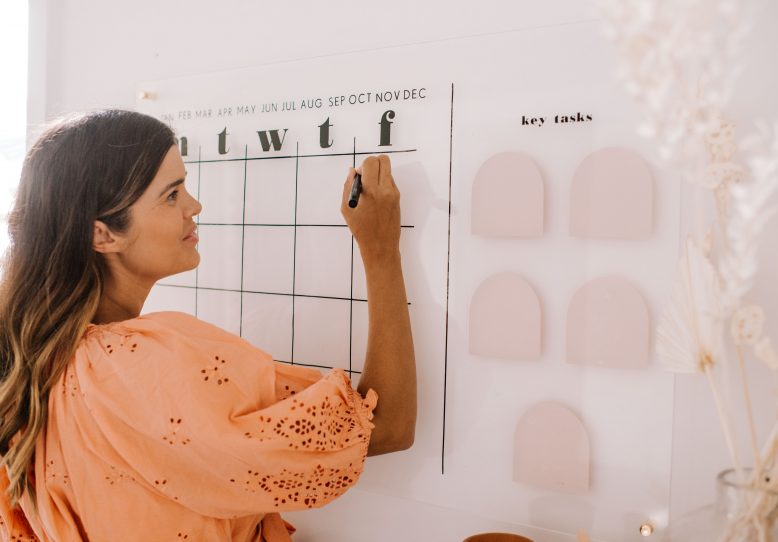
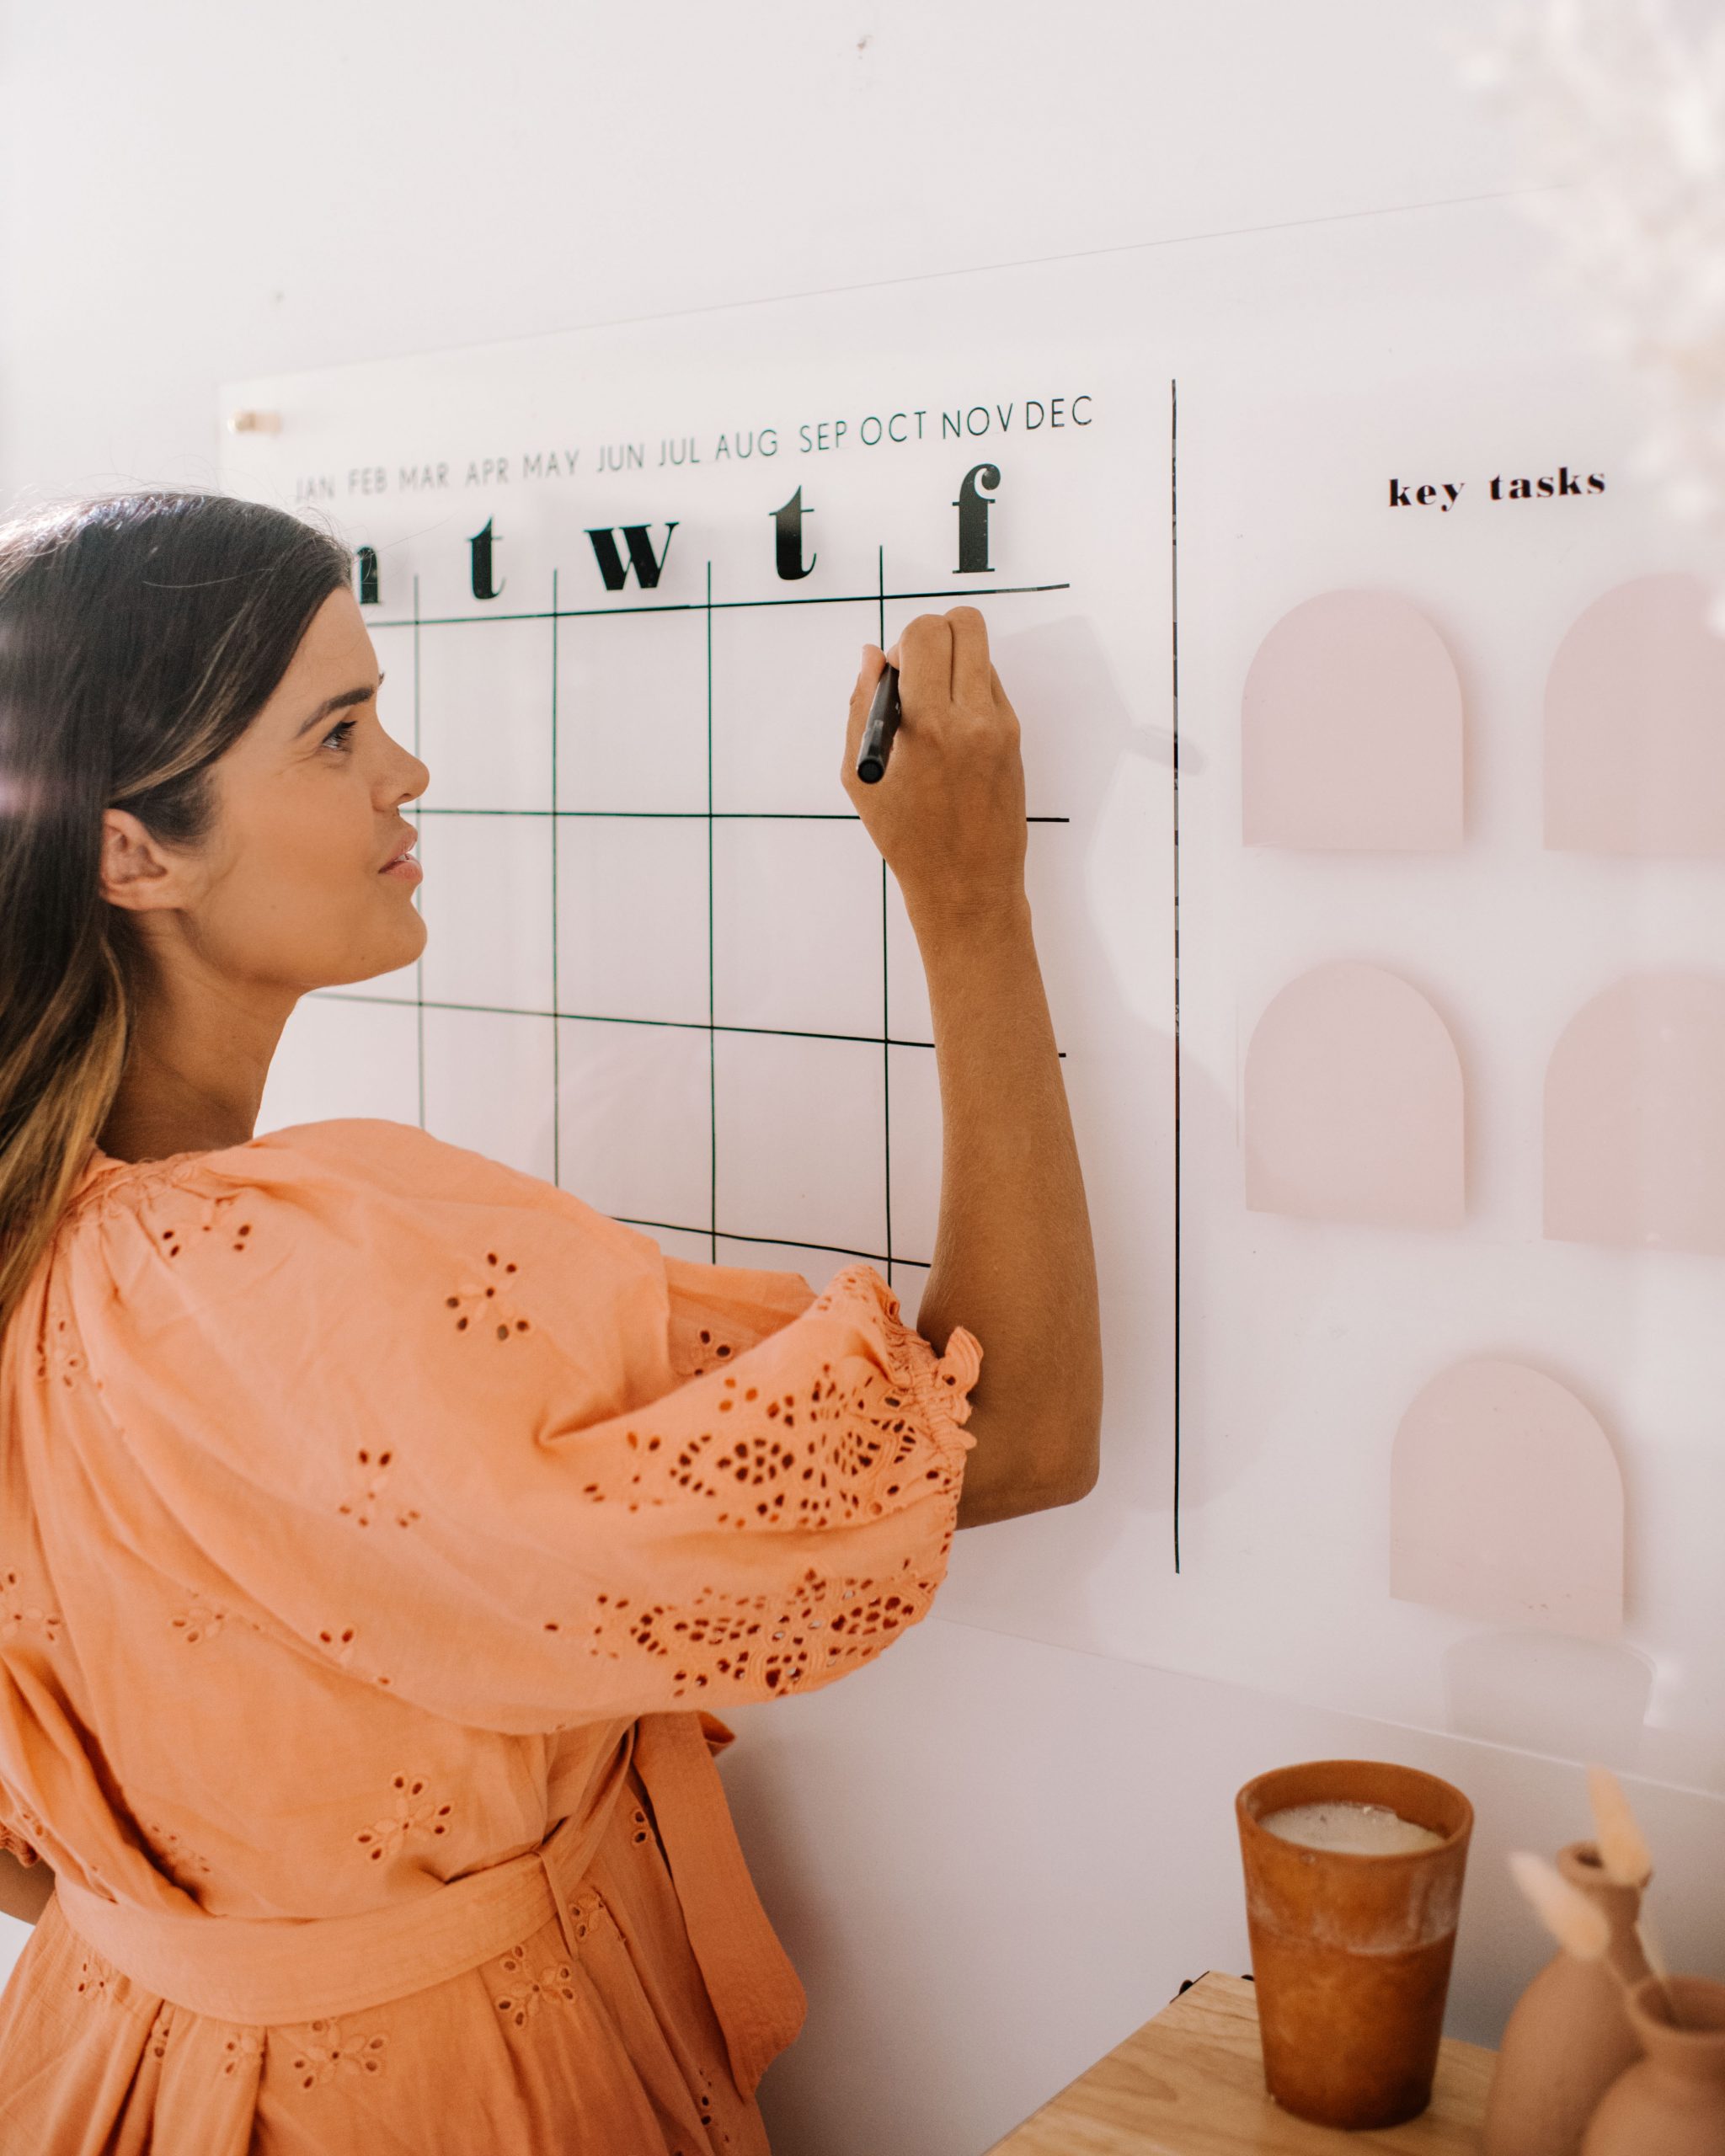
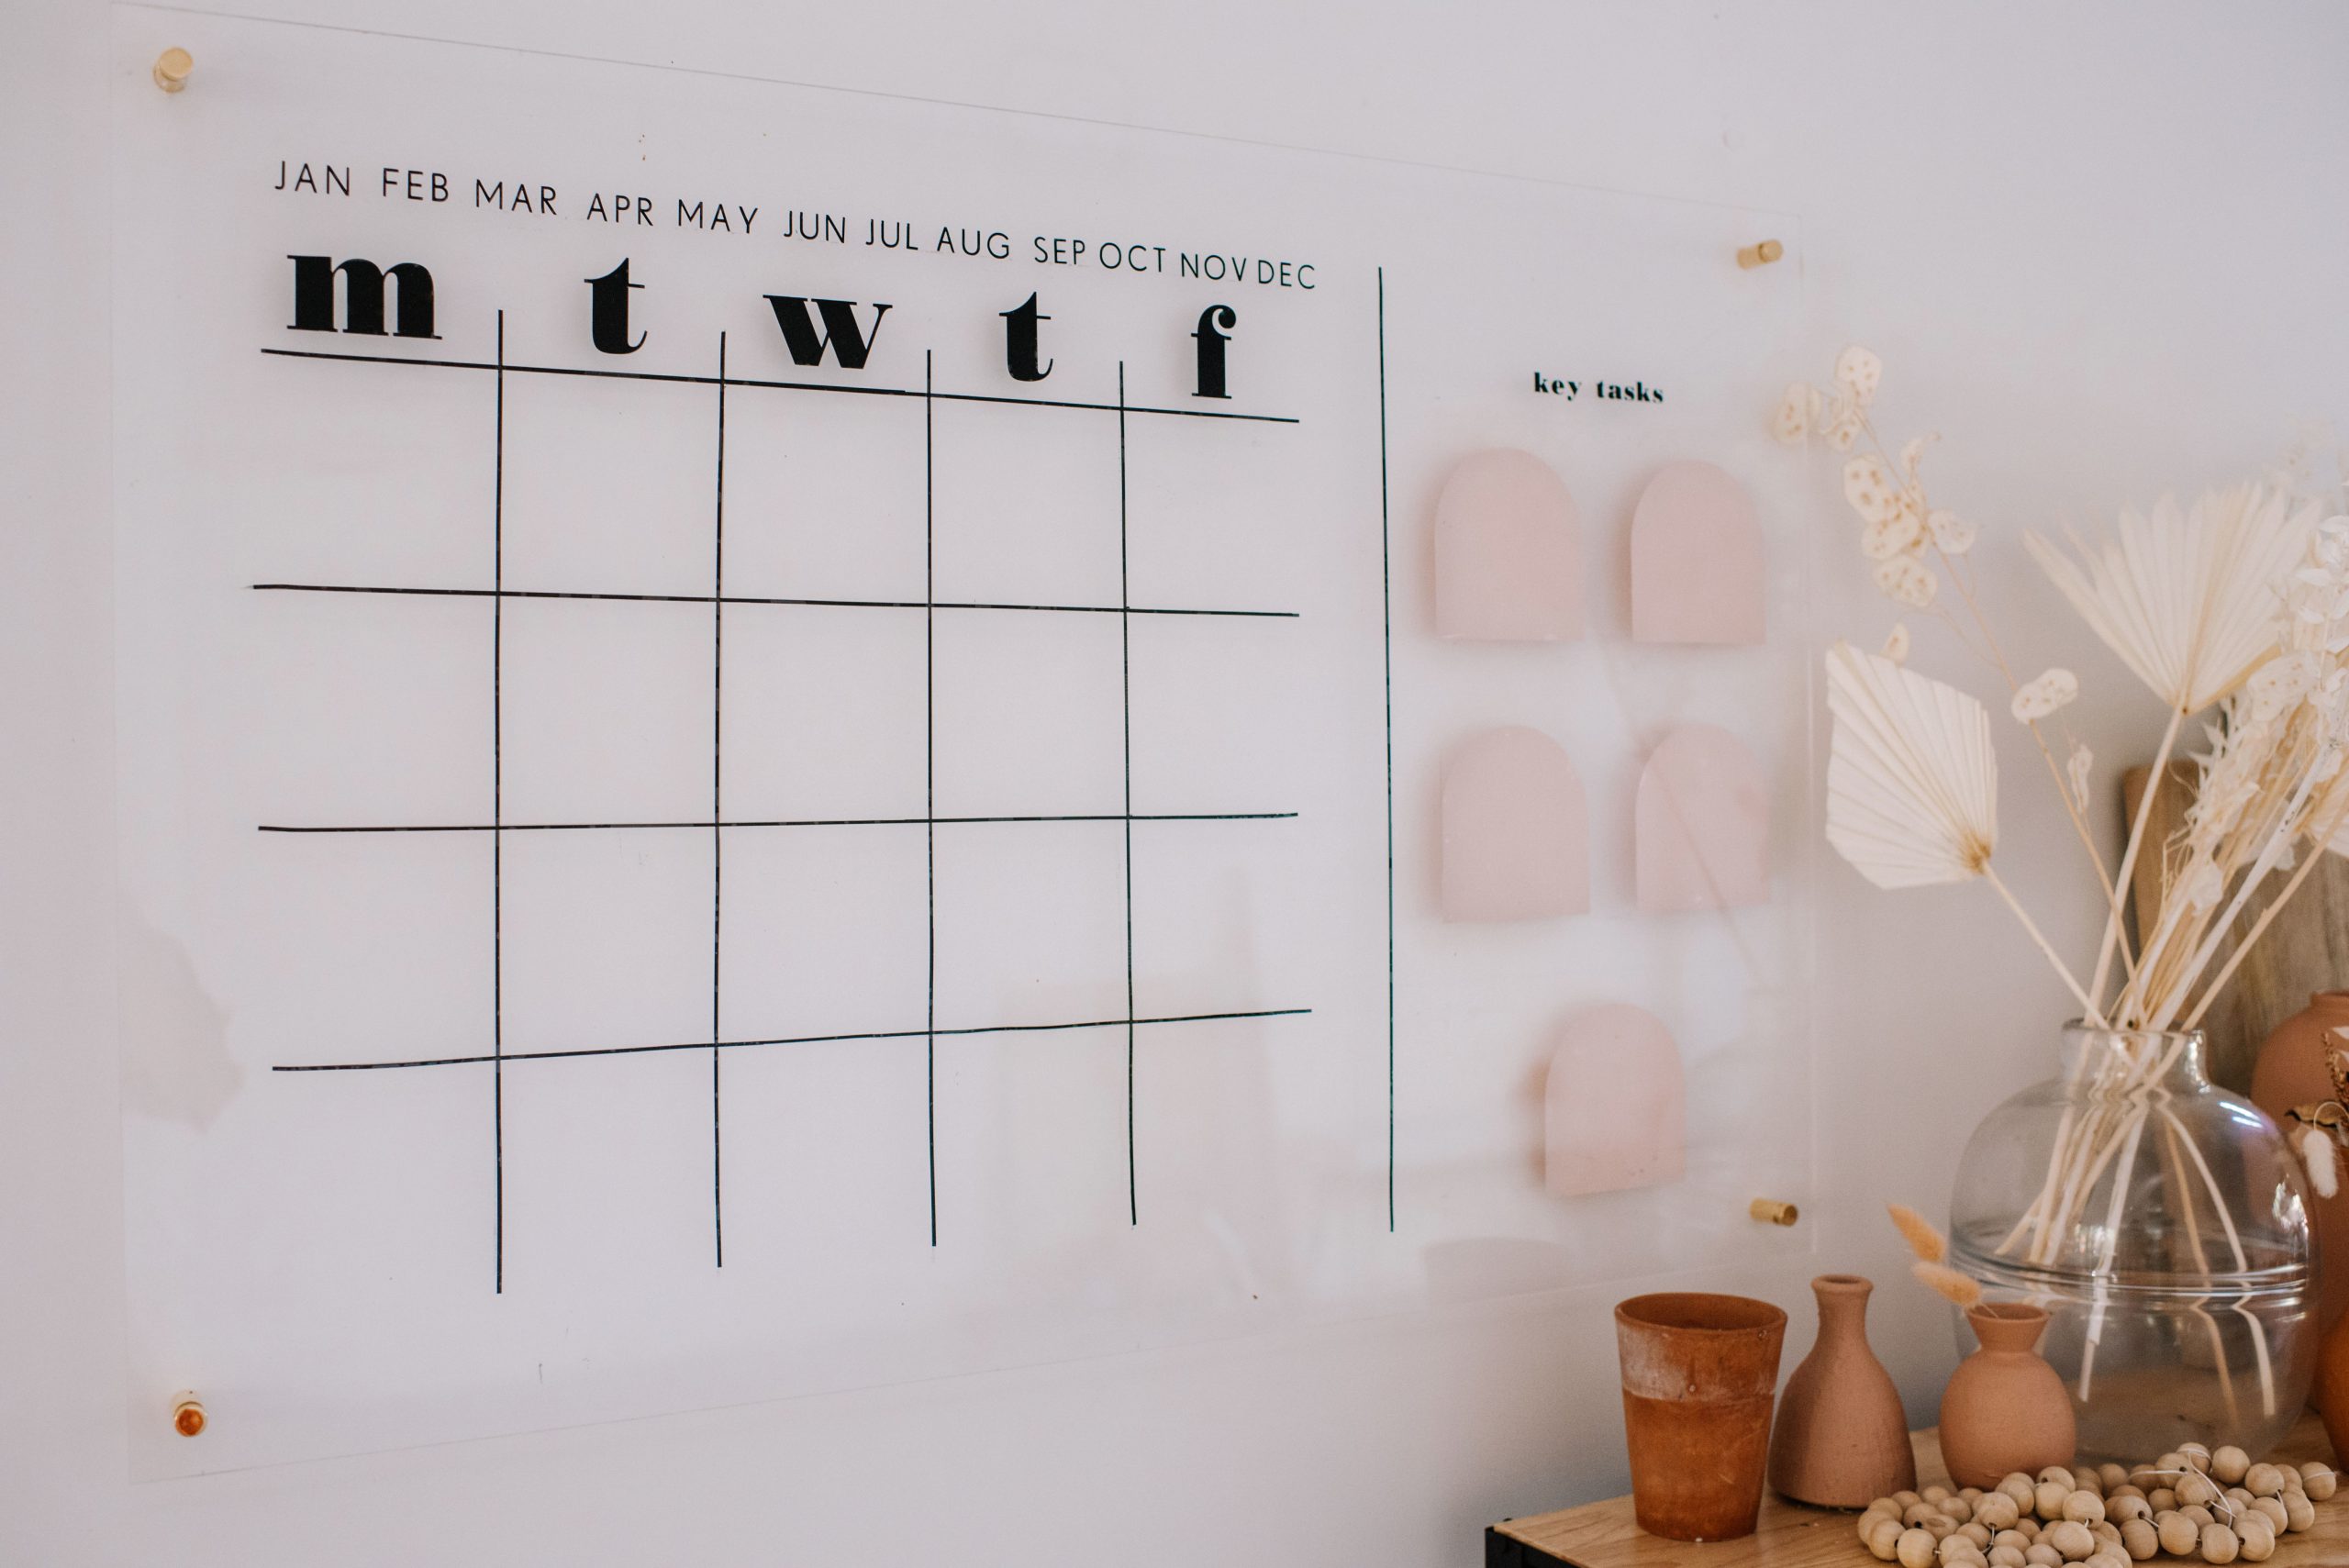
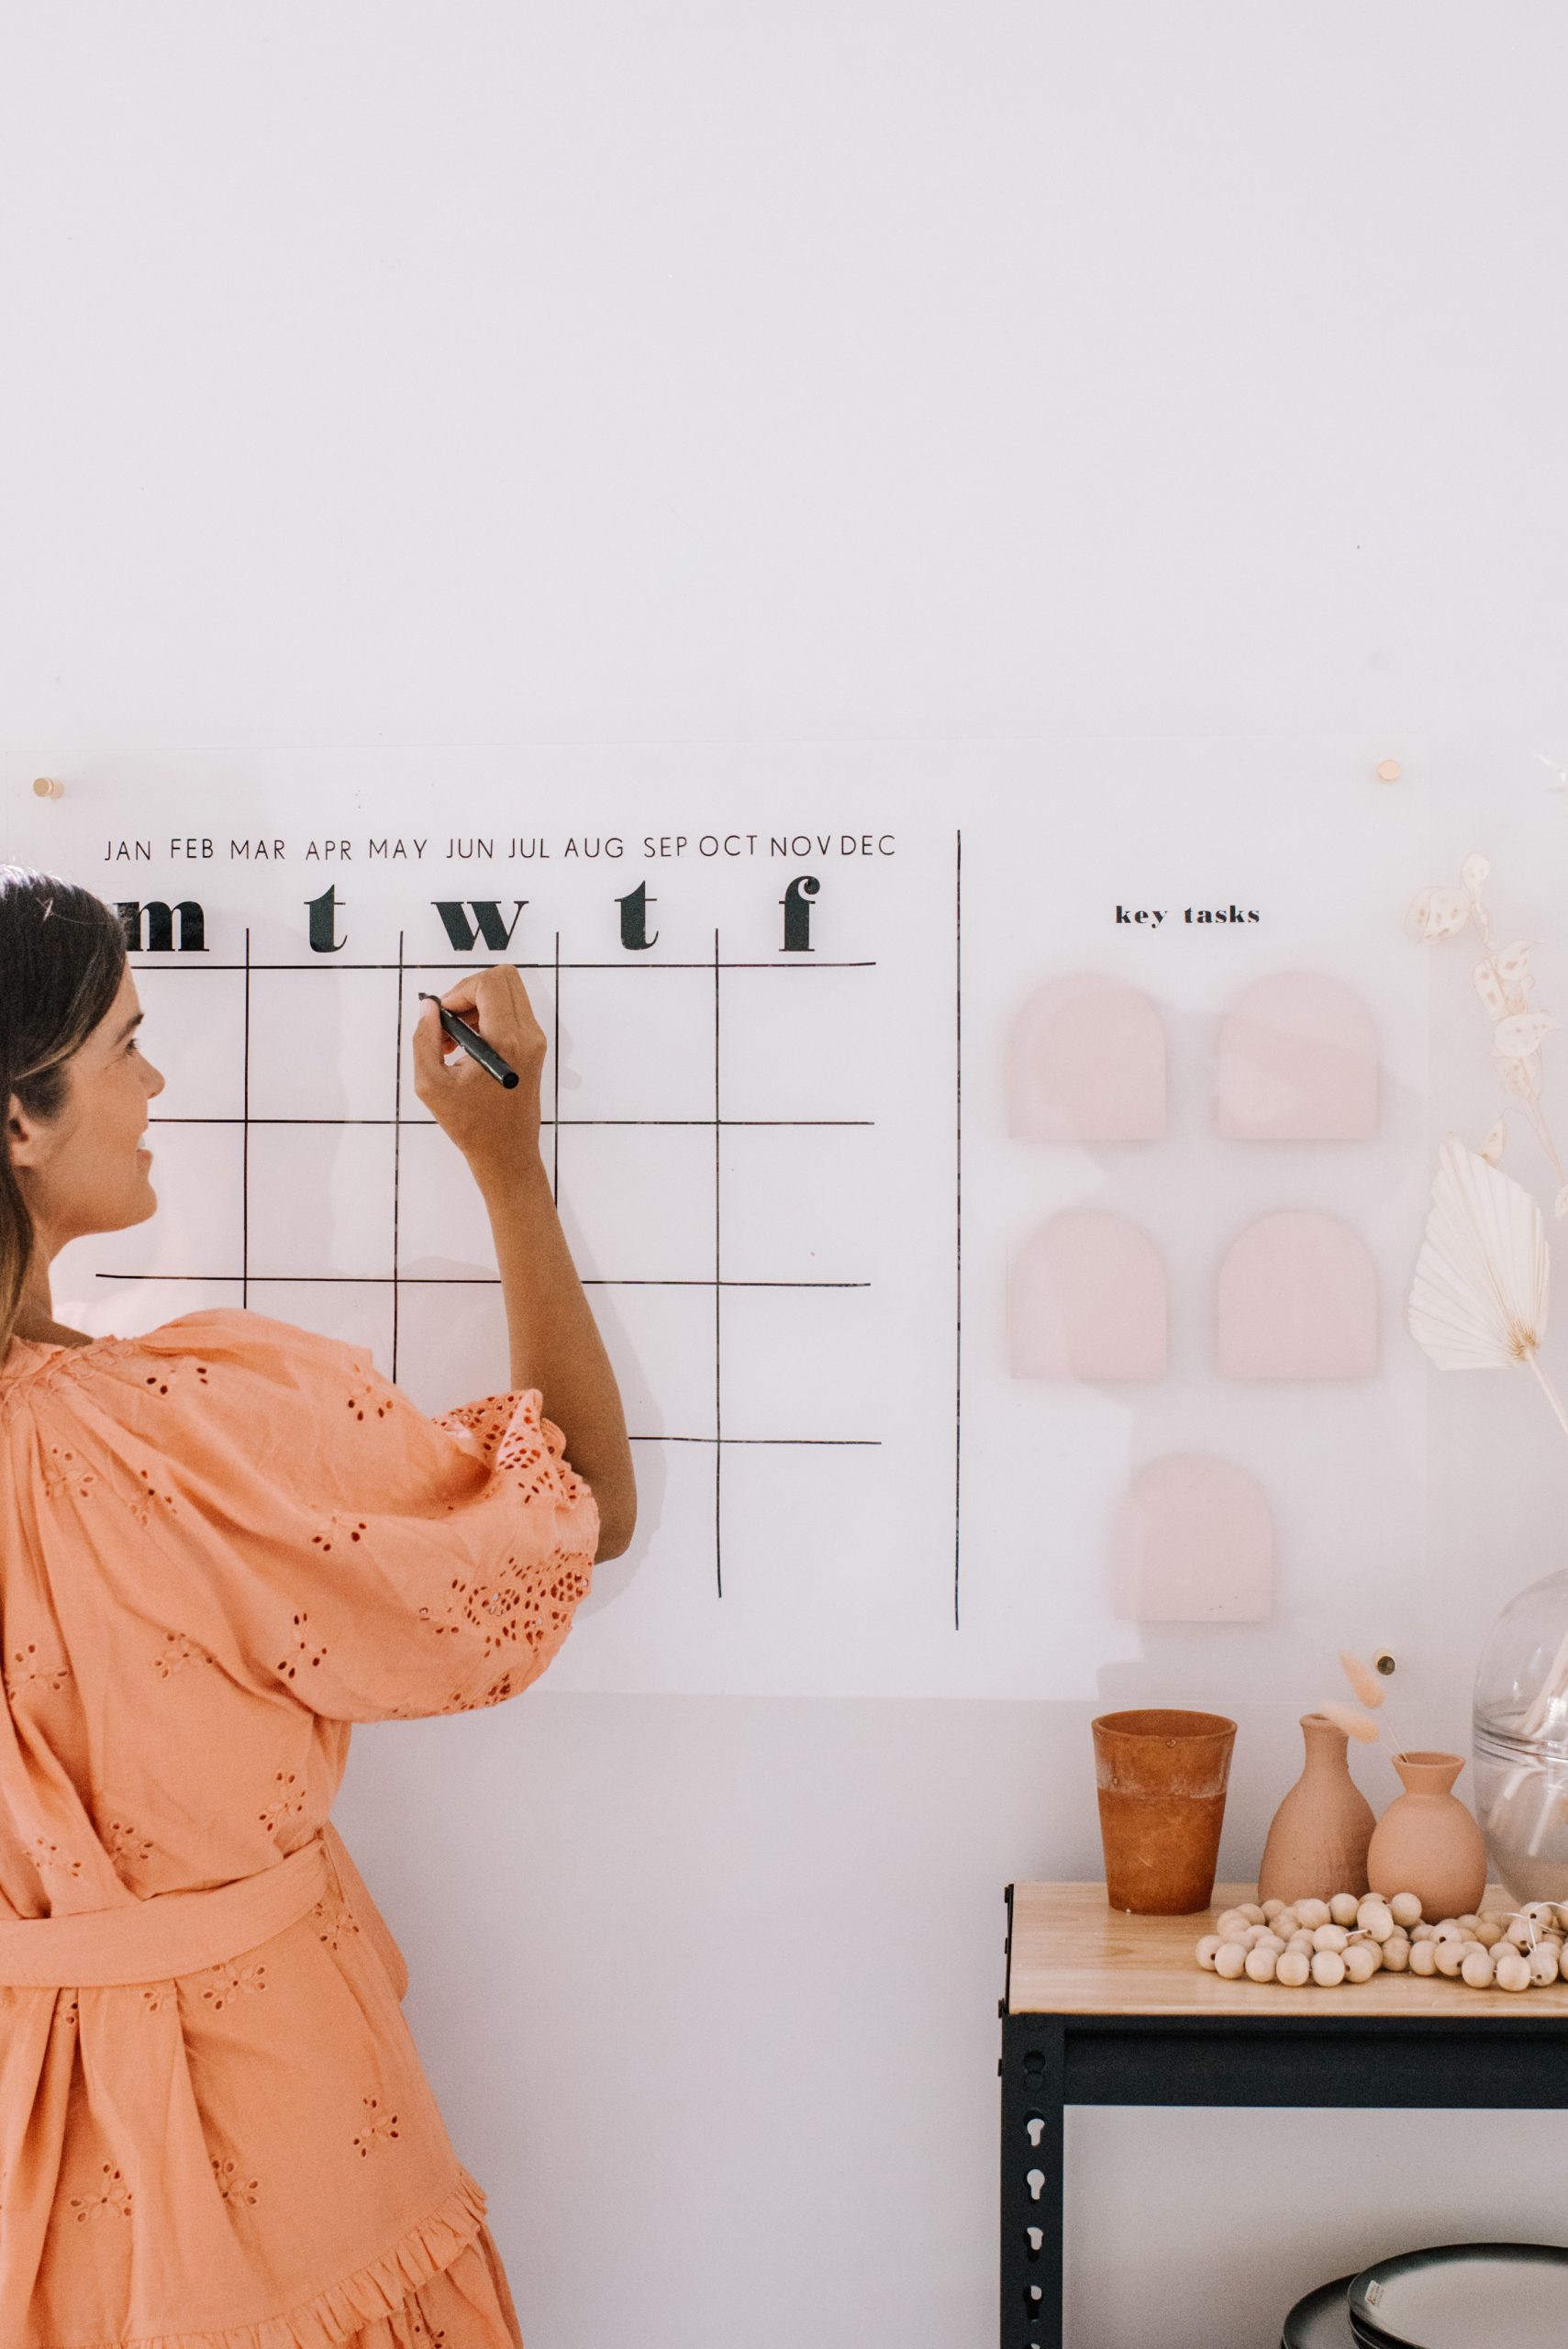
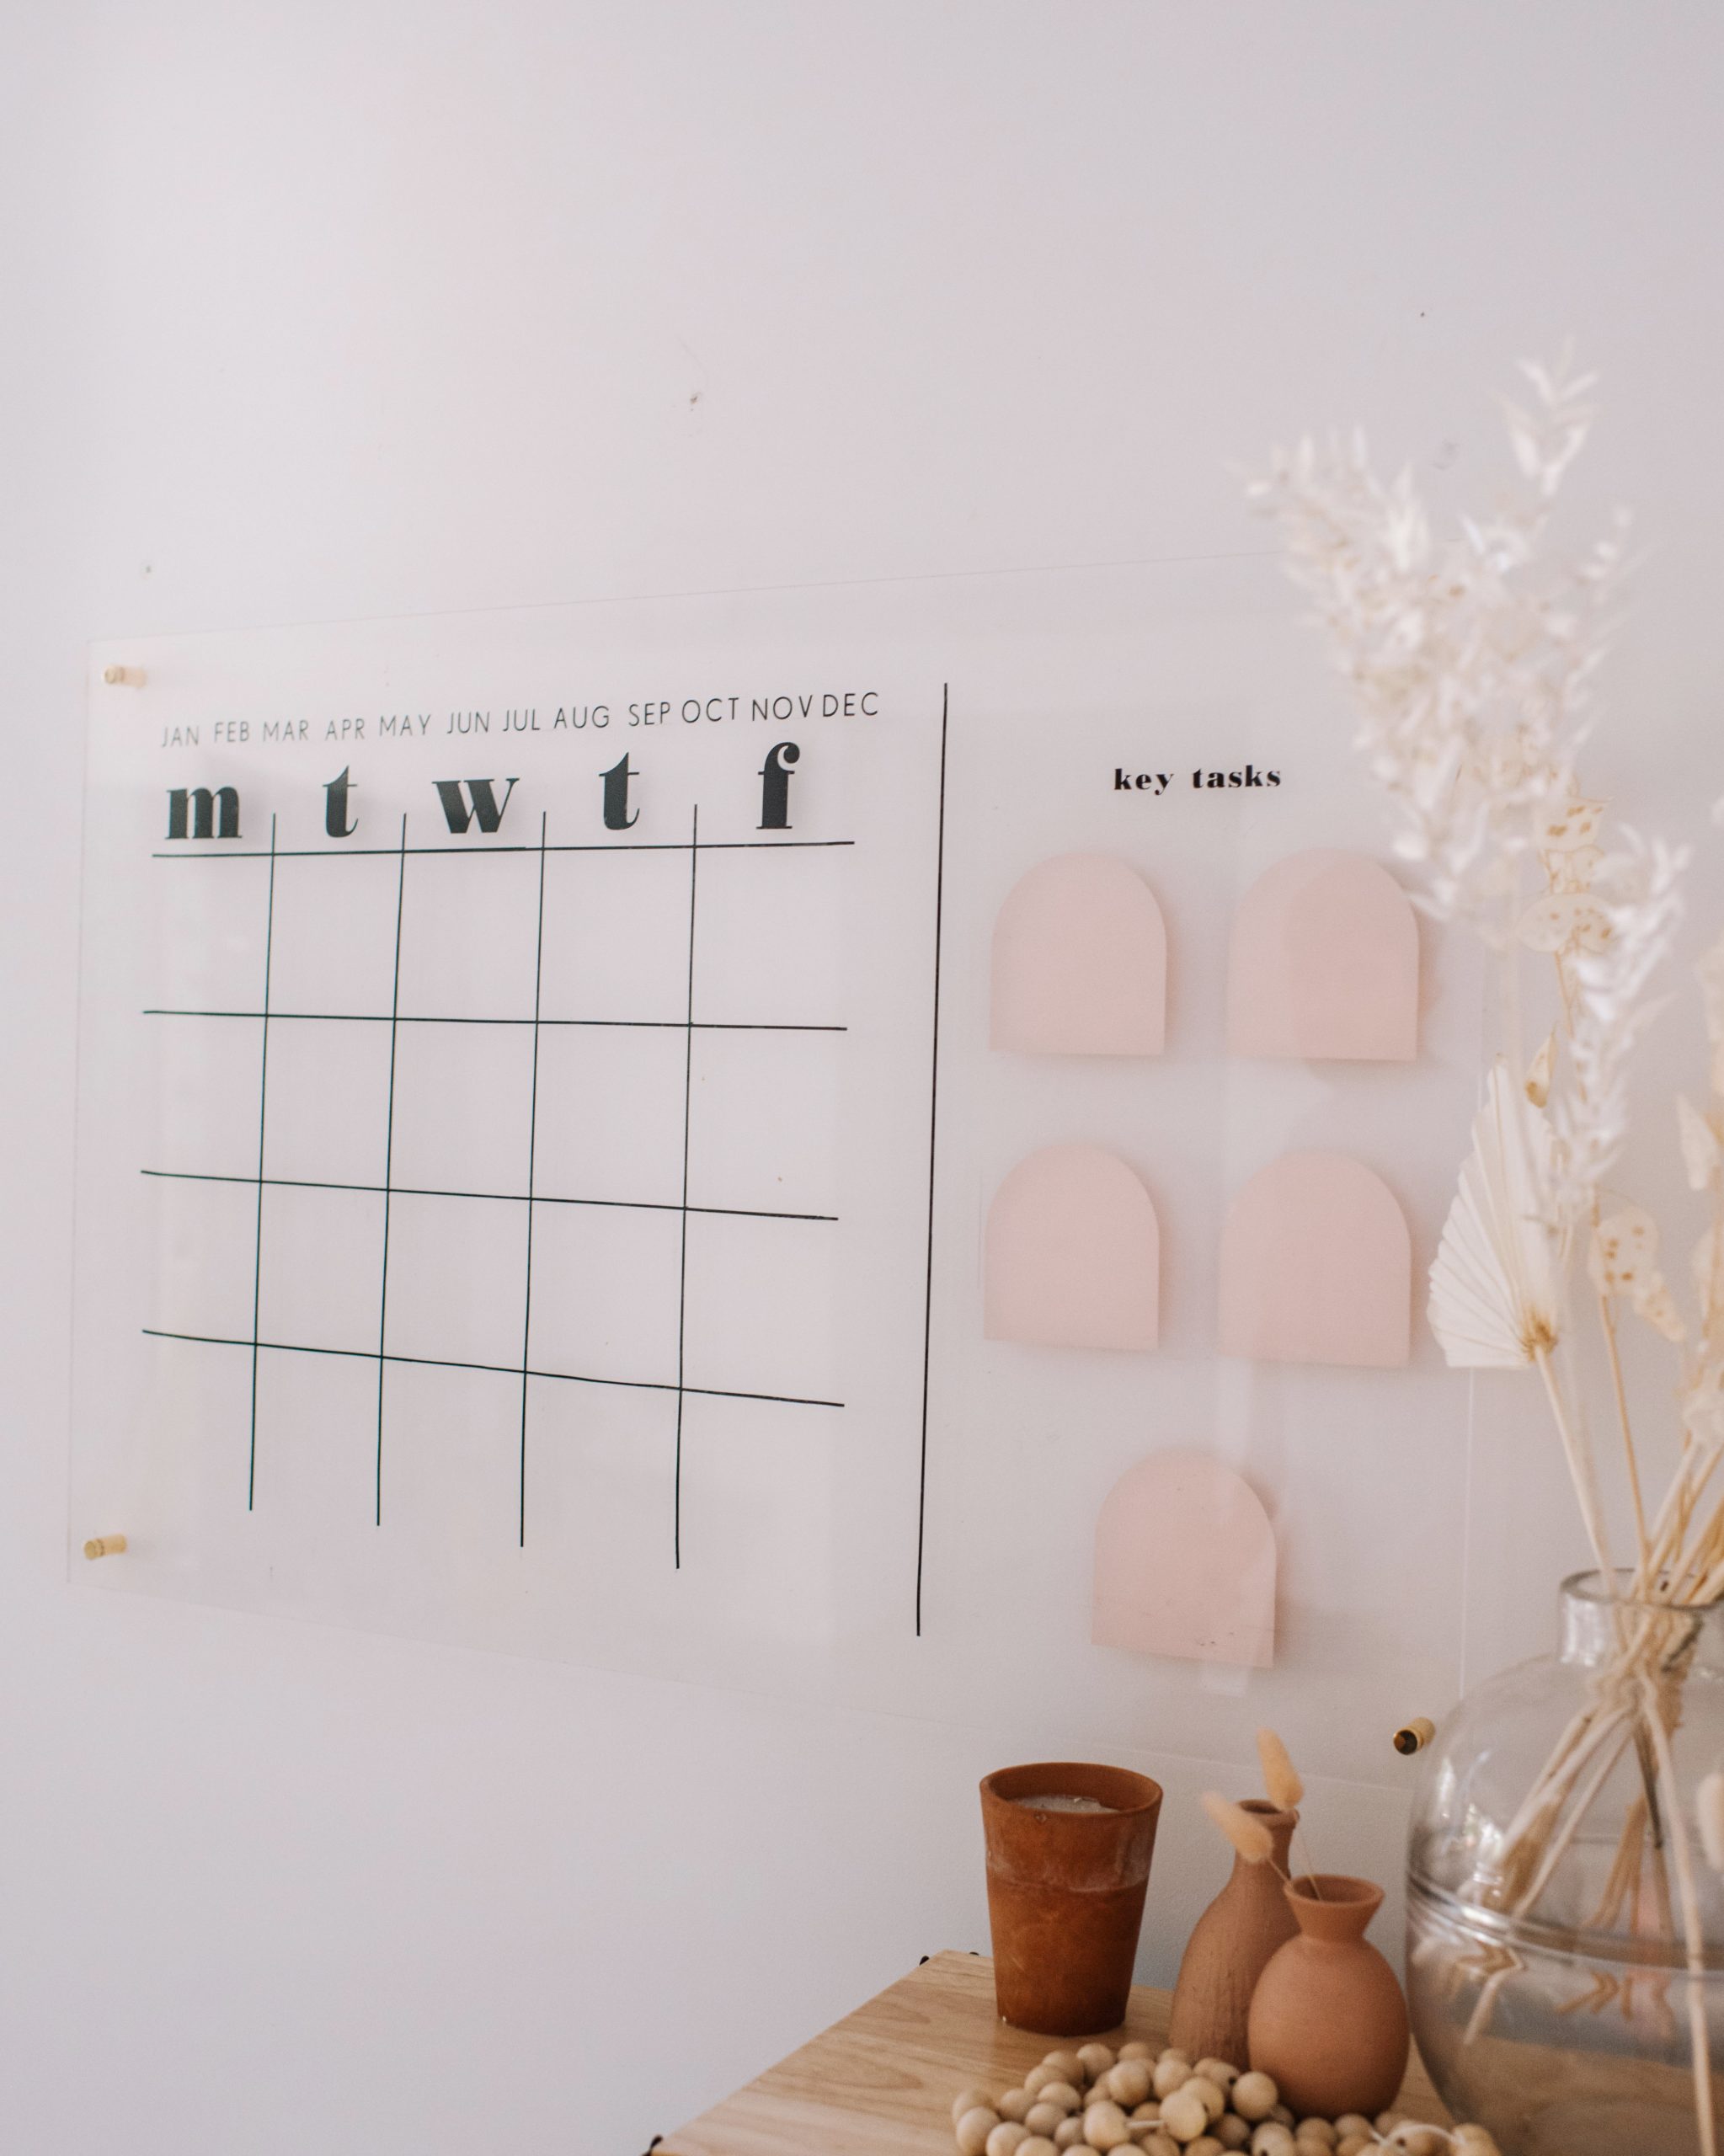
If you’ve been following me for a while, you’ll know that I absolutely love January and the fresh start it brings. After the rollercoaster that was 2020, I’m ready to turn over a new page! I’m a huge fan of lists and planners, but recently decided I needed something on the wall to help me visualise my week and month. Enter, another simple Cricut Joy project! I’m so enamoured with my lovely little Cricut machine, and knew this would be the perfect project to do some more experimenting. I wanted to create a whiteboard style planner, but with a bit more style. Once again, my favourite thing about this project is that using the Cricut you can personalise it as much as you like and add your own personal flair.
You need:
- Cricut Joy Machine
- A piece of acrylic sheet
- Cricut Permanent Smart Vinyl in Black and Tulip (and any other colour you like)
- Cricut Transfer Tape
- Cricut Weeding Tool
- Cricut Scraper Tool
- Scissors
- 4 Gold Standoff Wall Mounts
- Whiteboard Marker
- Rule
Creating The Design
The best thing about using a Cricut is just how personalised you can make your design. So when it comes to creating a design for your wall planner, think about what areas of your life would be best planned out on the wall. I knew I wanted to use it in my studio so made it work focused with spaces for Monday – Friday, along with an area for key tasks, where I will probably write shoots or projects that need to be completed. But equally, if you wanted to put it in the kitchen you could do meal planning, or a monthly planner so the whole family knows what is happening.
How to
1
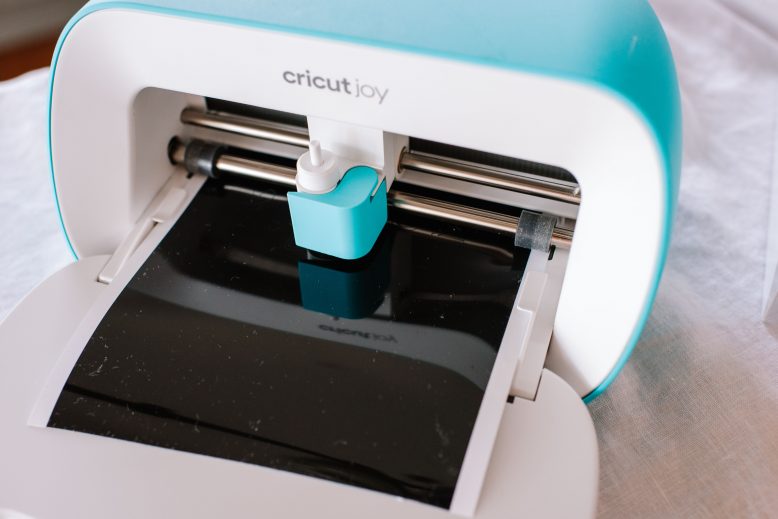
Start by selecting and setting up your design in the Design Space app. I created words using fonts from the app (Bodoni and Drescher Grotesk) along with some shapes like arches and lines I created using the canvas. Because I wanted the vinyl to be on the underside of the clear acrylic so that writing and dry erasing was easier, I selected Mirror in the print section. That meant the Cricut prints as a reflection of the word but once it is applied on the underside it corrects. Load your Vinyl into the Cricut Joy, and press go on your app.
2
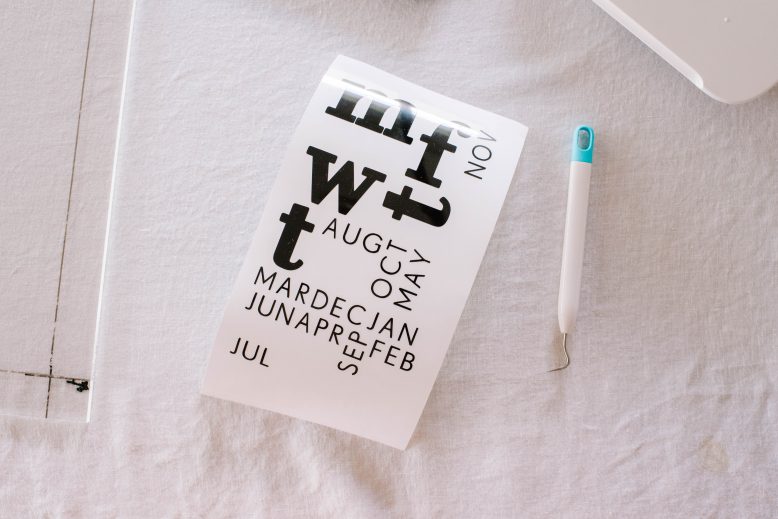
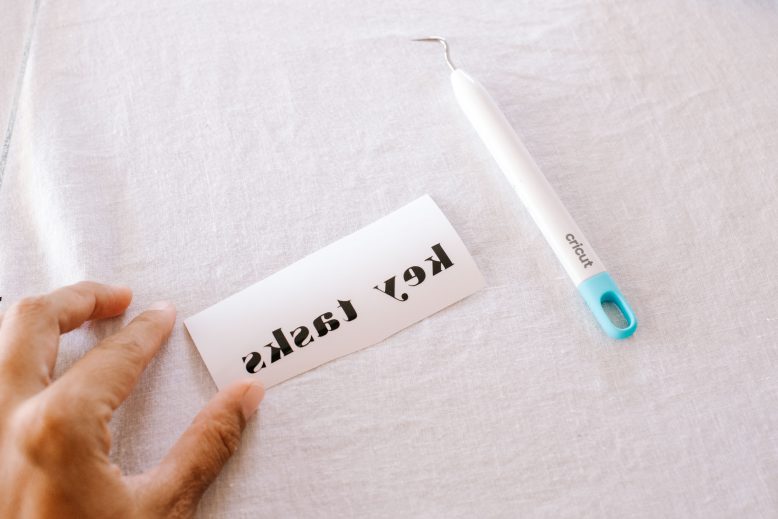
Unload your material from the printer and you will be able to see the printer has cut out the design. Using your weeding tool, weed your design to remove all the negative space. I kept to one side all the vinyl that I removed so that I could use it later.
4
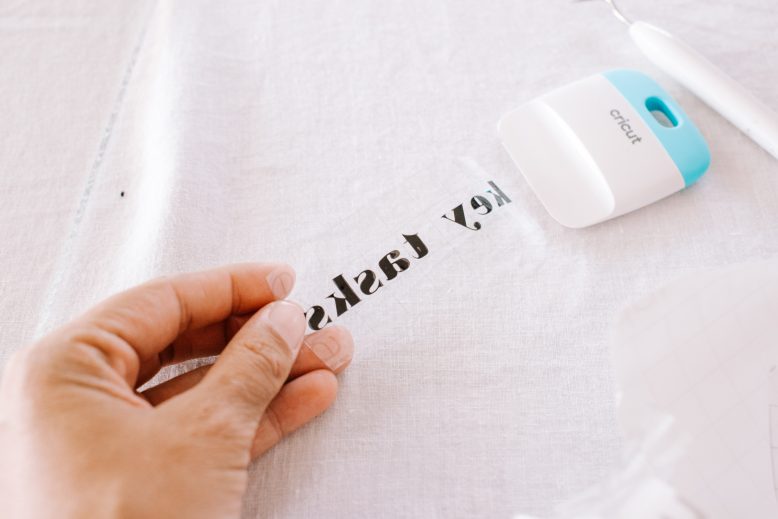
Using your transfer tape, carefully cover your design and use the scraping tool to make sure it is perfectly bonded with no air bubbles. Remove the white backing from your transfer tape. This can be a little tricky particularly when you are doing small words, so it’s worth taking your time and carefully removing the white backing.
5
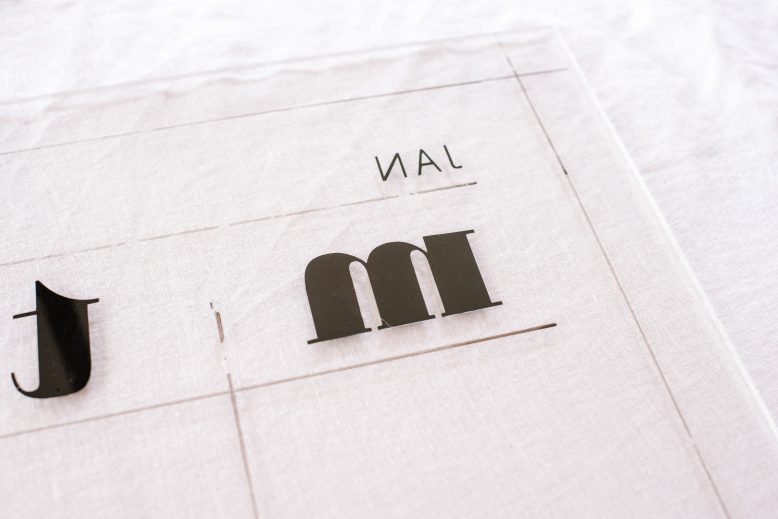
Putting the acrylic right side up, I used a whiteboard marker and ruler to draw out the layout of the board. Then I flipped the board over to apply the vinyl on the underside. Press the design and transfer tape onto the acrylic board, following the lines. Use the lines on your transfer tape to make sure the vinyl is in line. Use your scraper for a seamless bond on the acrylic. If any small bubbles get caught under the vinyl, I found you can carefully move them to the edges. Carefully remove the transfer tape from your design, leaving the design on the planner
7
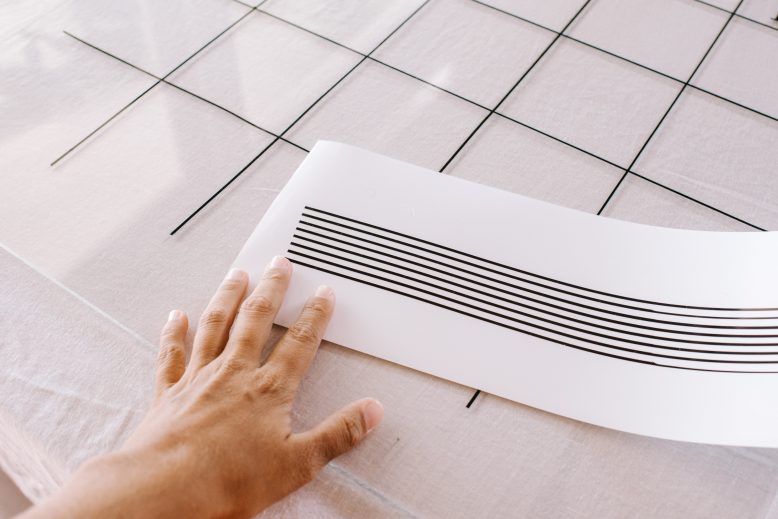
I used the outline on the board that I had done in whiteboard marker to lay the vinyl lines down onto acrylic board.
8
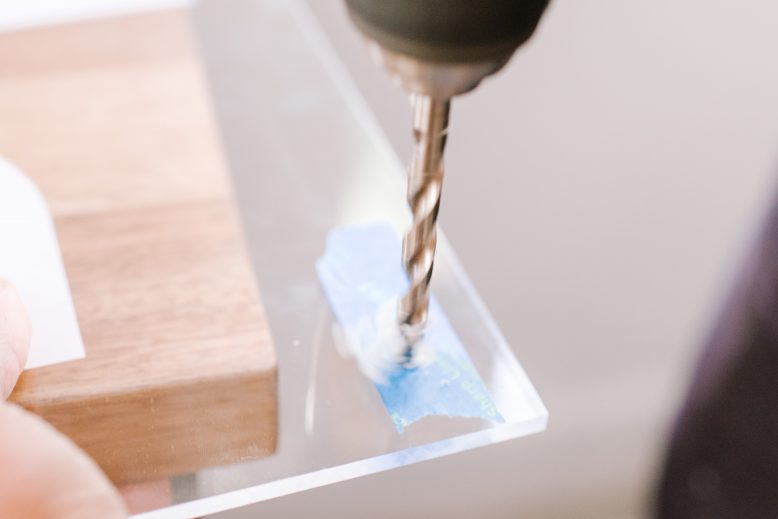
To finish, I used a drill to drill holes in the corners of the board, and then attached the board to the wall using the gold standoffs.
Voila!
I absolutely love how it turned out and I think I’ll make a few extra for other things I need to plan.
You can find Cricut Joy and its accompanying materials at Spotlight, Harvey Norman, JB Hi-Fi, and Big W in Australia.
This project is in collaboration with Cricut.


