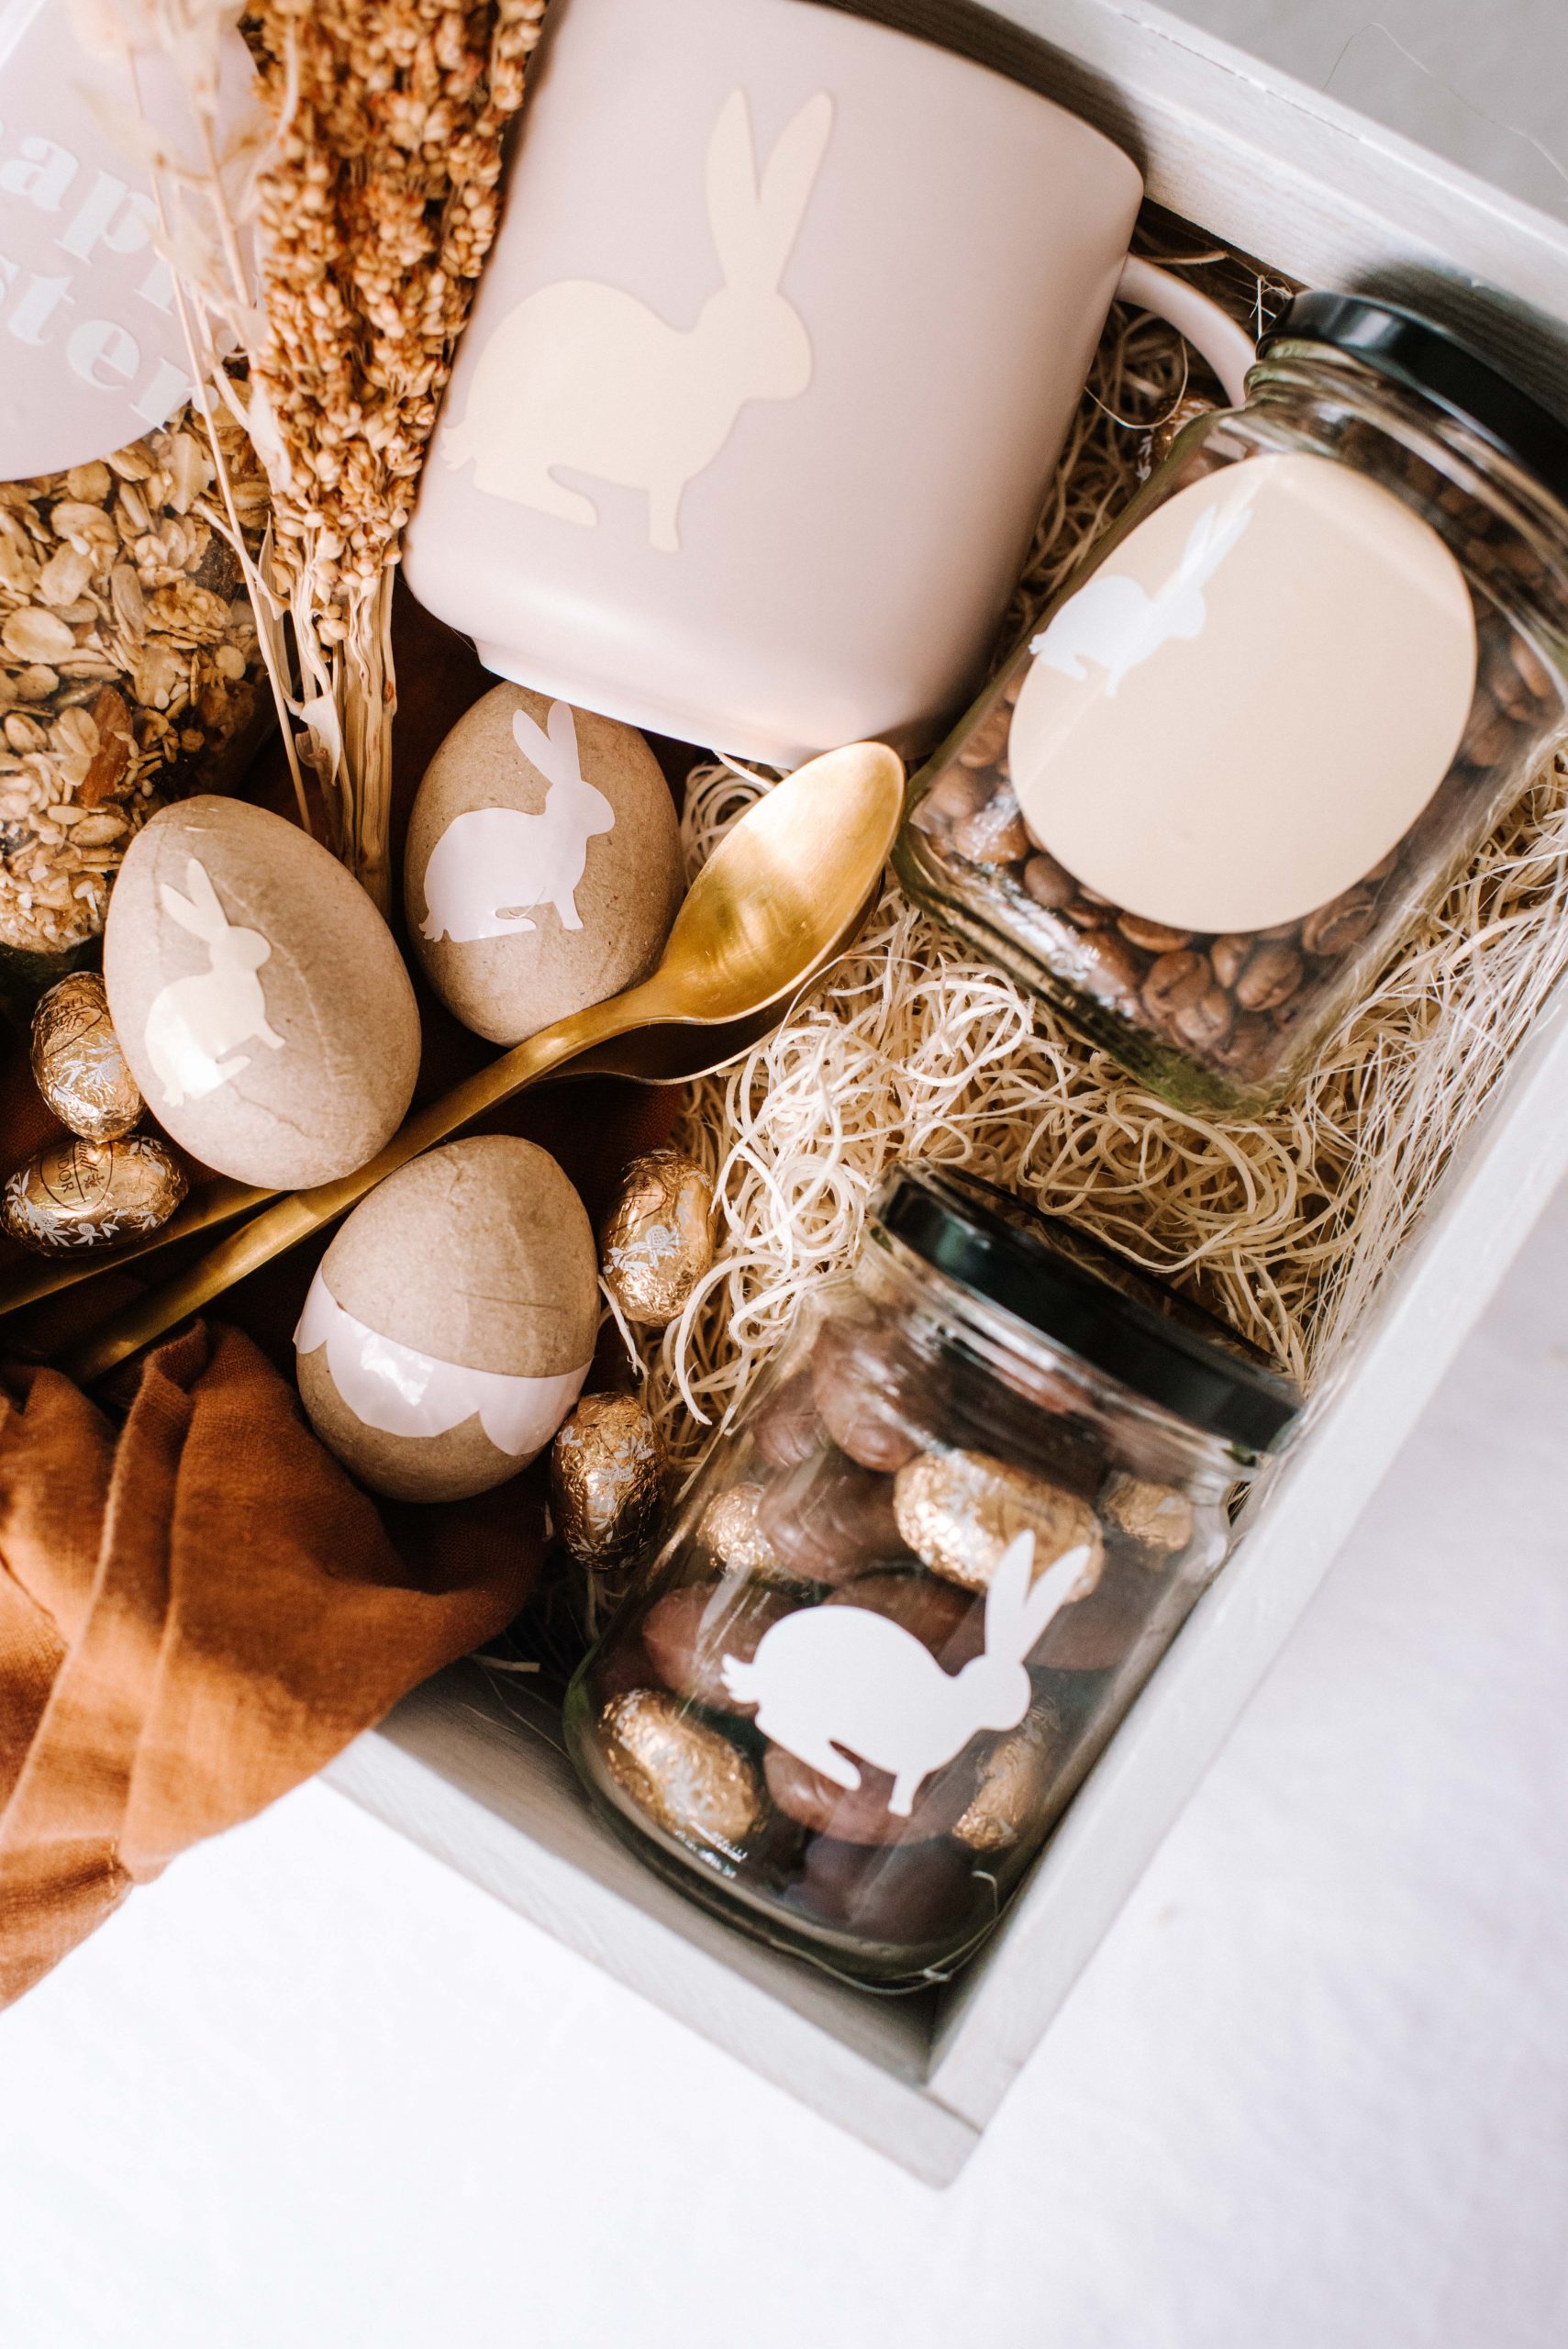
Easter crafts are often focused on the kids – Easter egg hunts, little sock bunnies and alllll the paper crafts. But what if you want to create something for the big kids in your life? Something to say I’m thinking of you and I hope you have a great Easter? Enter the Easter Breakfast Hamper.
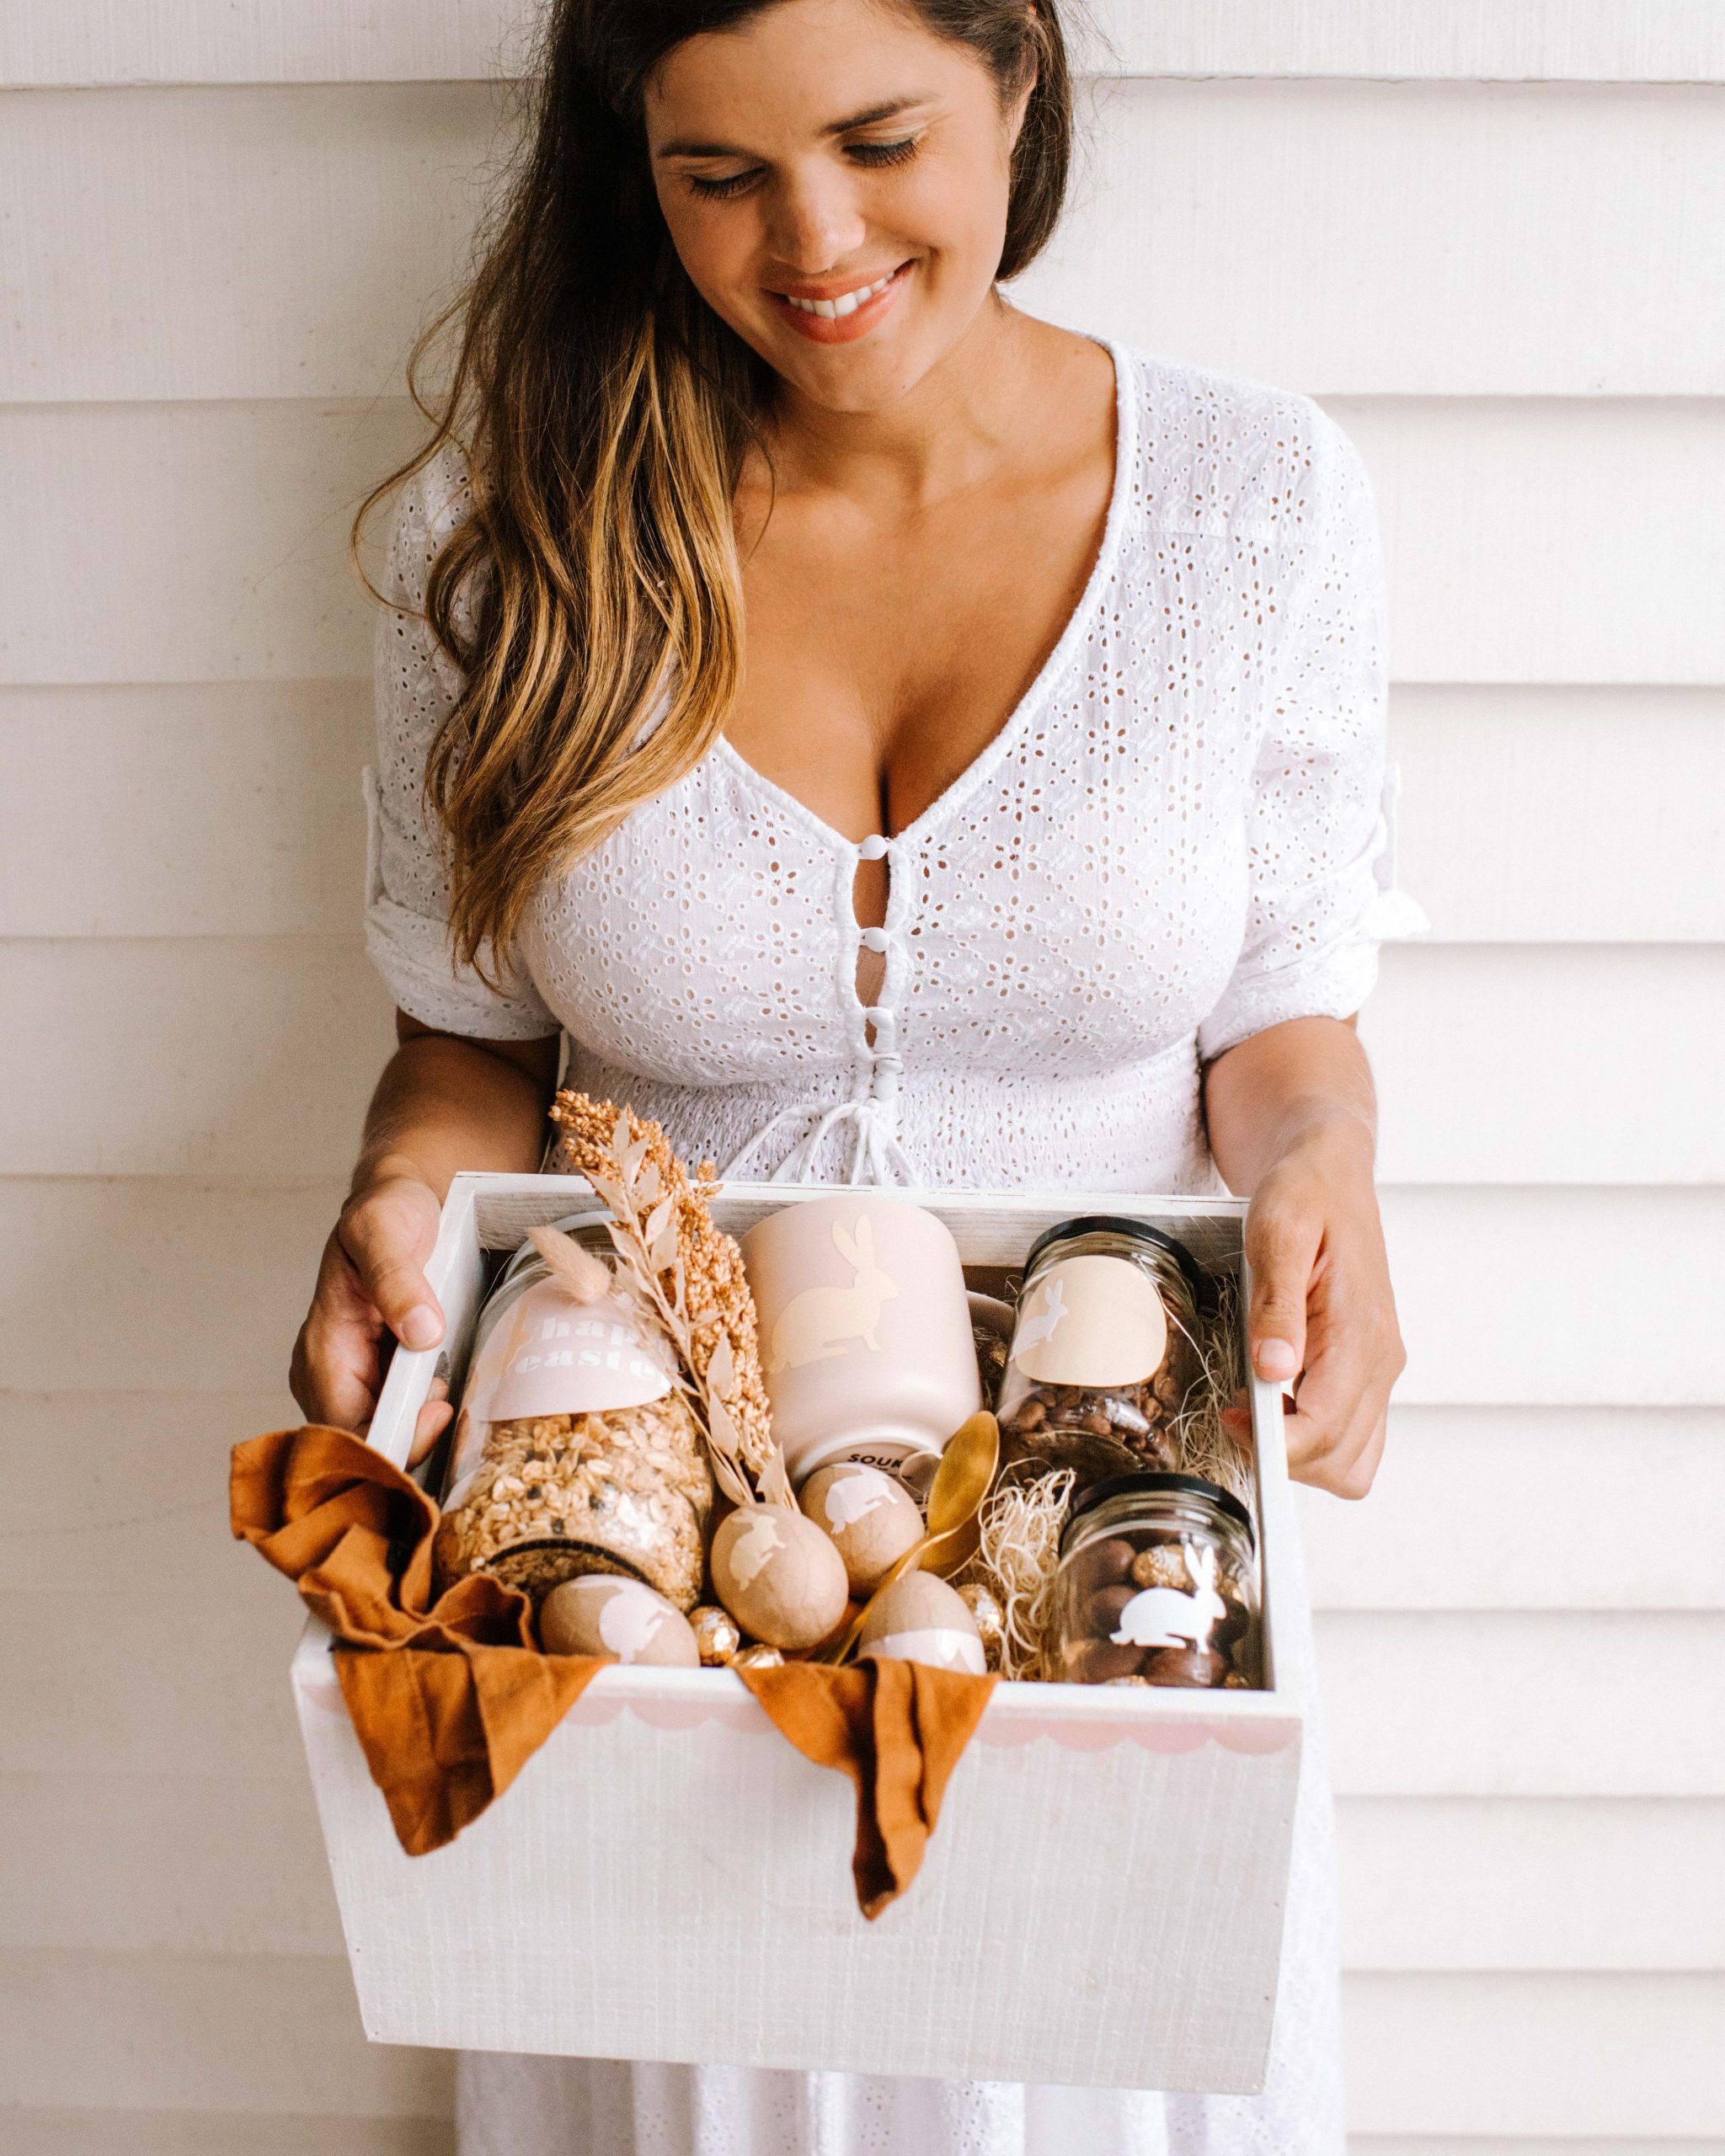
I’ve always been such a big fan of giving, and receiving, hampers. It’s just so exciting to get a box of little sweet little things. It’s kind of the gift that keeps on giving! After thinking for a while about what to give my family for Easter, I came up with this Easter themed breakfast hamper, that they can enjoy in the morning, which I personalised using my Cricut Joy.
You Need
- Cricut Joy Machine
- Cricut Smart Vinyl
- A box, crate or basket
- A nice mug
- Jars
- Easter Eggs
- Cute spoons
- Dried flowers
- Food for the jars like homemade granola, coffee beans, easter eggs or pancake mix.
- Shredded recycled paper or hamper paper
- Anything else you want to add!
Creating My Design
Recently I have really been enjoying searching the image library in the Design Space app to find ideas for my designs. No matter what I have needed I’ve always been able to find it, so for this one I searched for rabbits, scallops and then also used additional shapes in the canvas too. It was so easy to put together these designs and didn’t take much time at all.
How to
1
I’m all about choosing a nice colour palette, so I first up chose the colours I wanted to use for the hamper. I decided to go with Tulip, White and Parchment for the vinyl, with some rust and gold tones featured in the hamper too in the form of a linen napkin, spoon and easter eggs.
2
The next thing I did was to customise the crate by adding a vinyl scallop around the edge. I found this pretty scallop in the Design Space app and then simply cut it out using the Cricut Joy. I also added some scallops to some cardboard Easter Eggs I had.
3
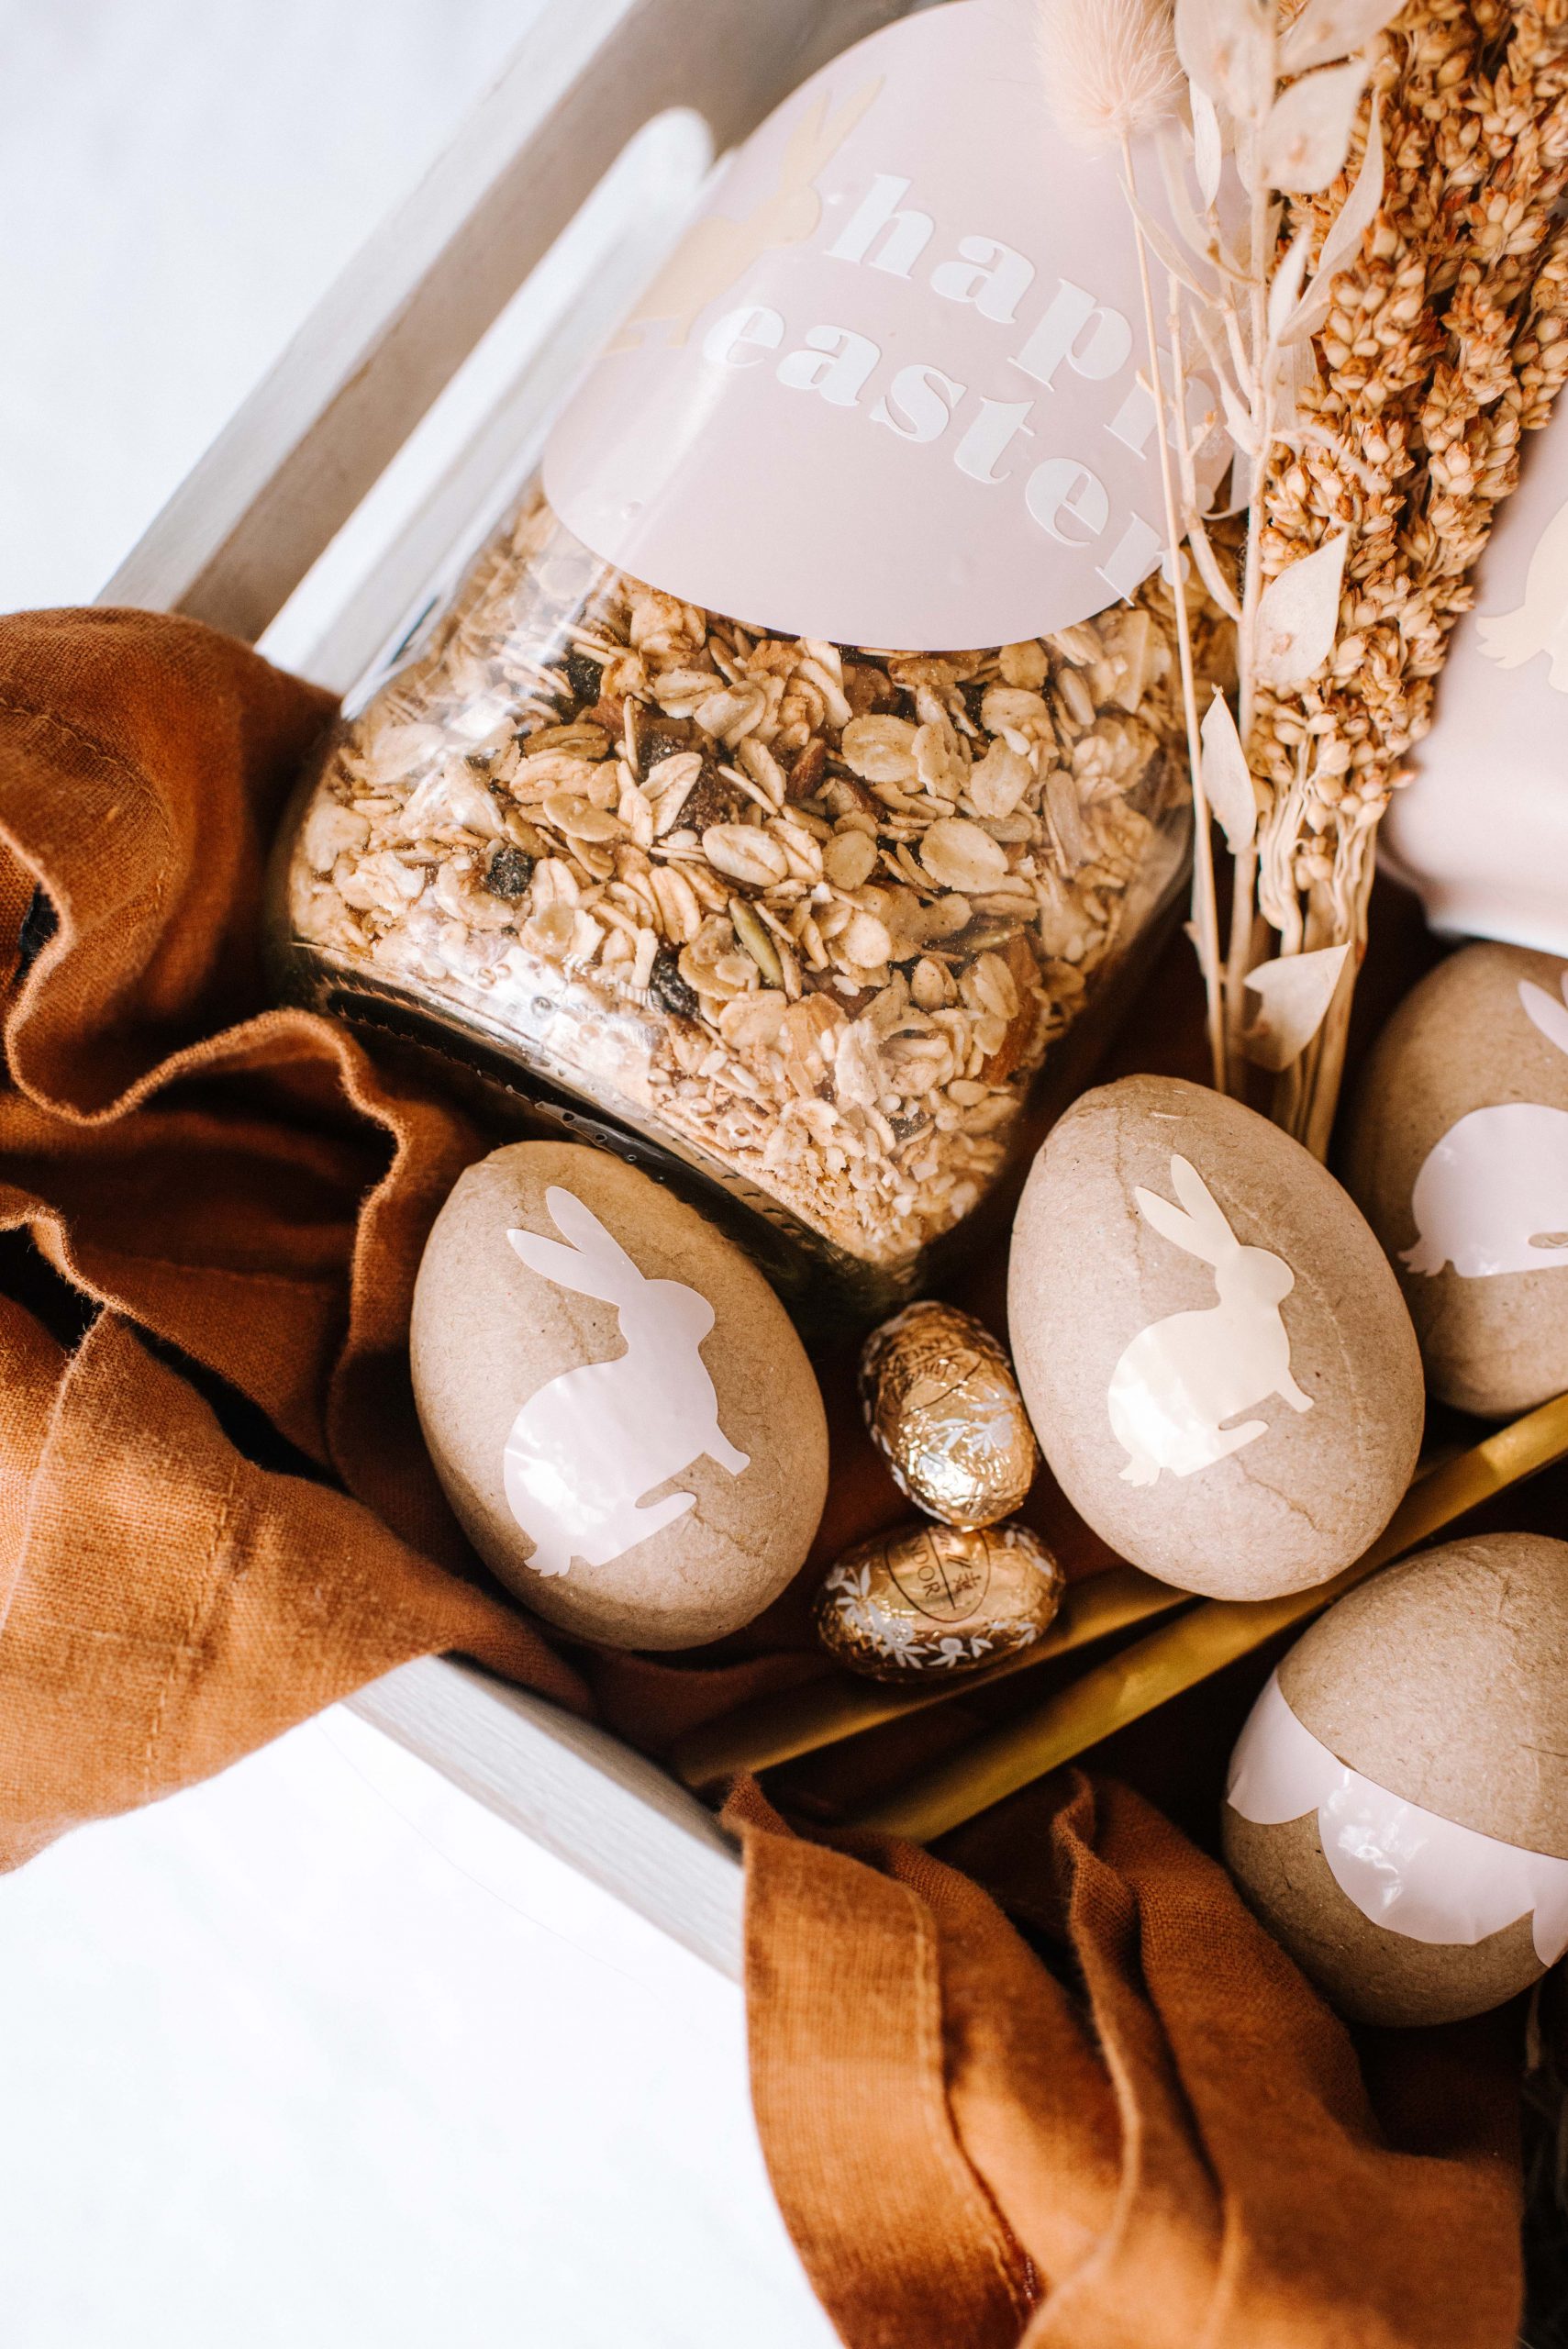
I wanted to then customise some jars and put some breakfast items in them. I added vinyl circles, bunnies and words to the jars.
4
What I like about these is that they infinitely reusable, so I kept the designs nice and simple so they can easily be replaced with other ingredients.
5
Next up, the mug! I’ve been wanting to try to customise a mug using permanent vinyl for a while, and I thought this hamper was the perfect opportunity. I actually created two designs, one with a little bunny face and the other with the silhouette of a bunny. To do this, I cut my design onto vinyl using the Cricut Joy, and used the transfer paper to burnish the design into the cup. It looks so great!
6
Once all the items were customised, it was time to put the hamper together. First I laid the shredded paper to prop up the contents. Then I added the bigger items like the granola and the mug. The jars of coffee and chocolate were next, and then spoons, easter eggs and lastly some dried flowers. I love how it turned out.
You can find more info and local retailers for Cricut here.
This project is in collaboration with Cricut.


