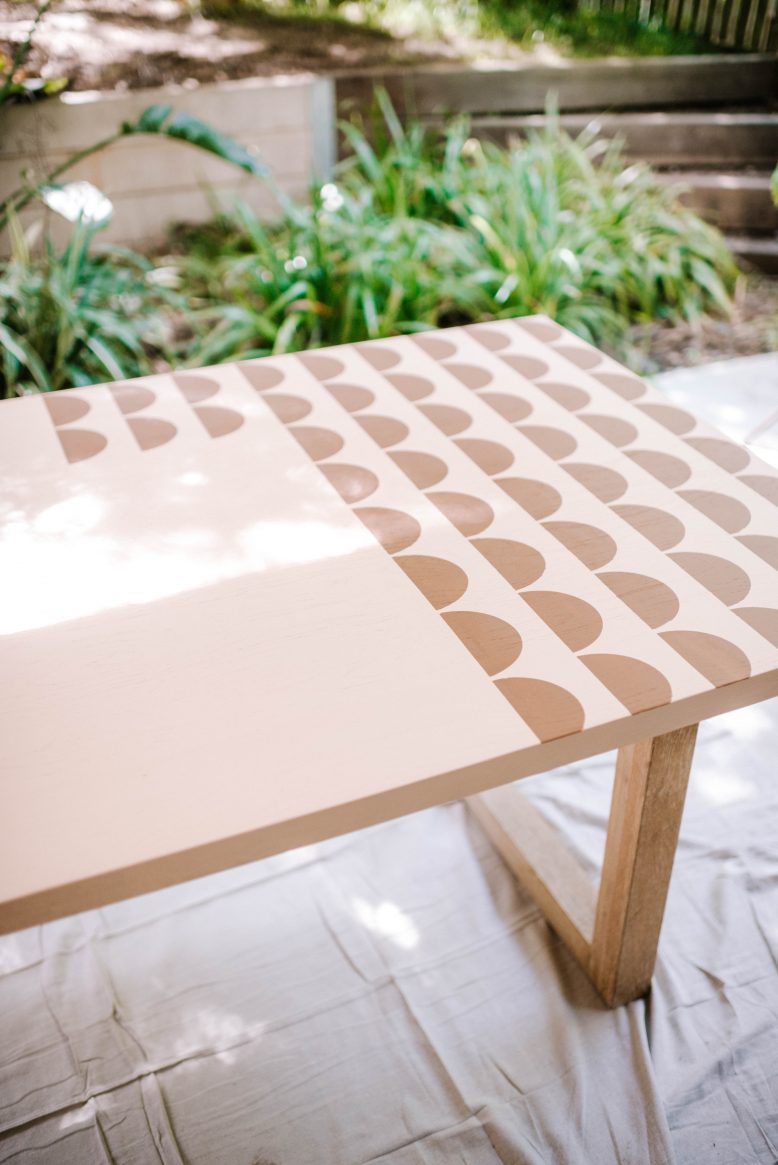
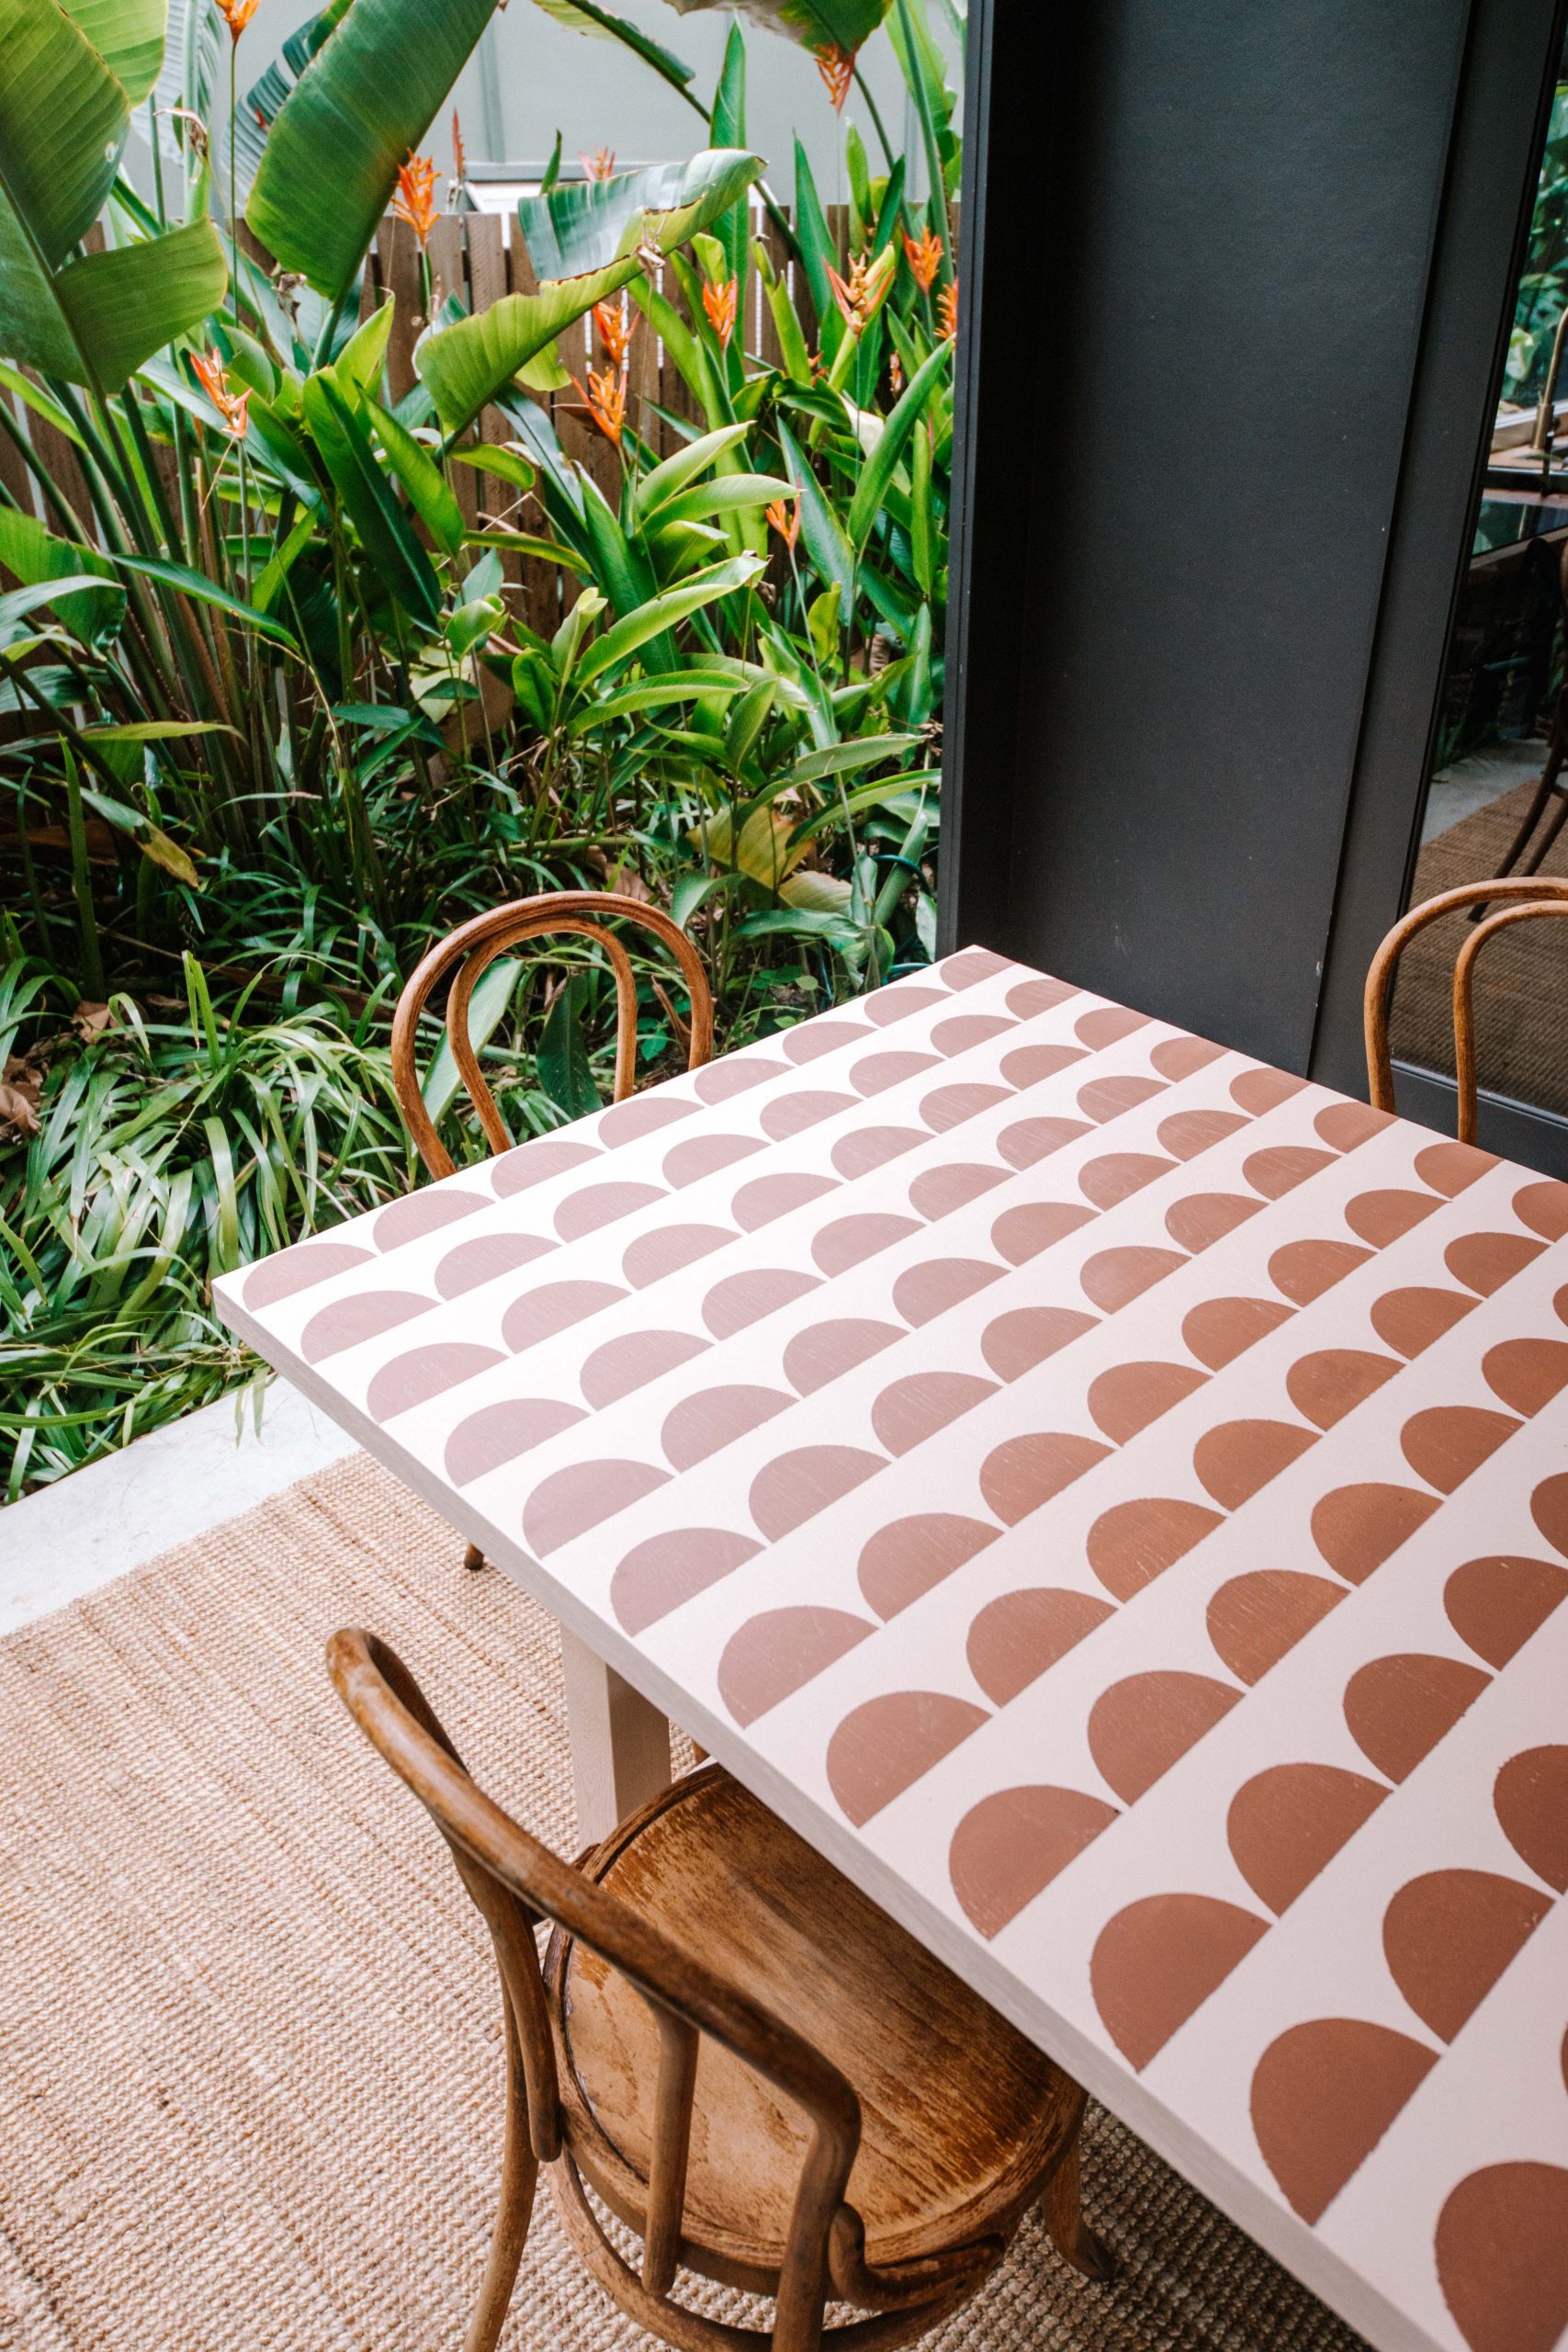
I’ve wanted to paint with stencils for ages but have generally been underwhelmed by the stencil options out there. After a bit of research I realised I could make my own custom ones using my Cricut Maker! I mean, is there anything this machine can’t do?
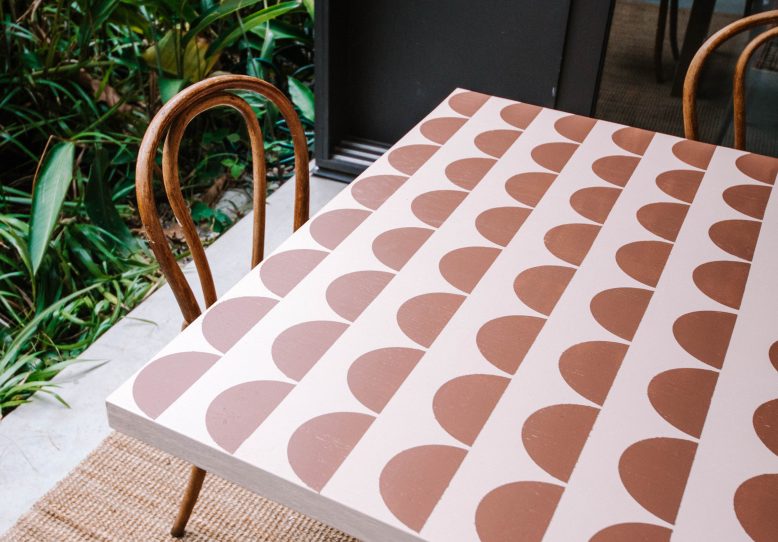
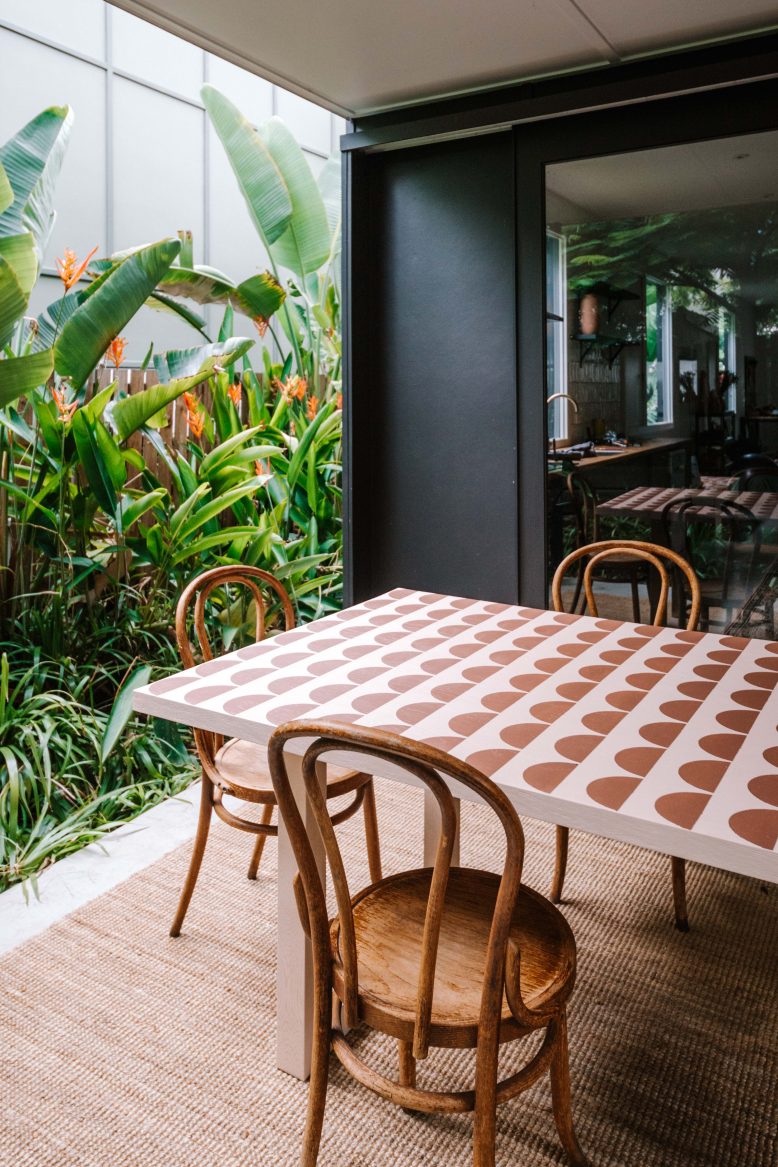
Here is a quick tutorial on how to create your own stencils for painting projects. If used gently, these stencils can be used over and over. I recently used a scallop stencil to create this upcycled outdoor table and I can’t wait to try more stencils in upcoming projects.
You Need
- Cricut Maker
- Cricut Stencil Material
- Standard grip mat
- Painting supplies and item to paint
How To
- Measure what you plan to paint so you can design a pattern that fits.
- Using the Cricut Design Space app, choose or design your pattern. I used the canvas to create an arched design by repeating the shape over and over.
- Lay a piece of Cricut stencil material onto the grip mat and press down to remove any bubbles.
- Insert the mat into the machine and press make it on the Design Space app.
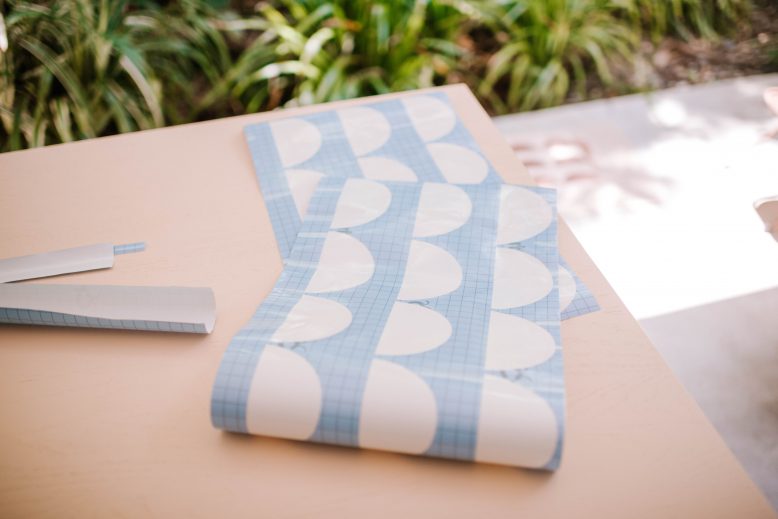
- Once the machine is finished cutting, remove the stencil from the mat, and then remove the negative space of the stencil.
- Take the backing of the stencil off and lay it down on the item you want to paint.
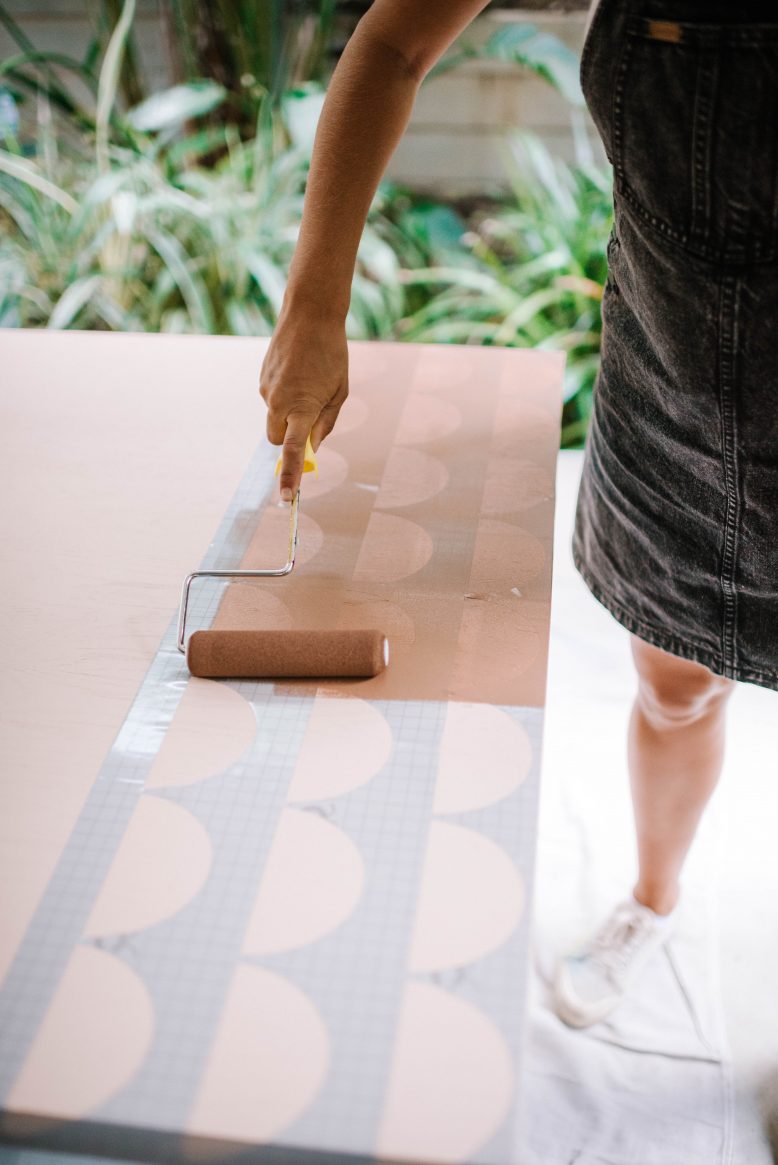
- Go over the stencil first in your base colour (if you have one) and then do two coats of your stencil’s main colour.
- Remove the stencil while it’s still tacky, and then repeat the pattern. I like to cut two stencils and alternate, letting one stencil dry while I use the other.
Voila!
- The Stencil Painted Table


