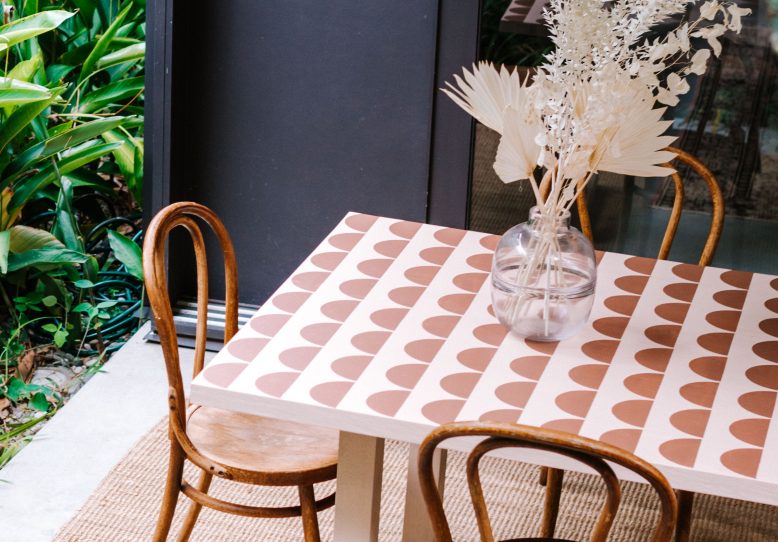
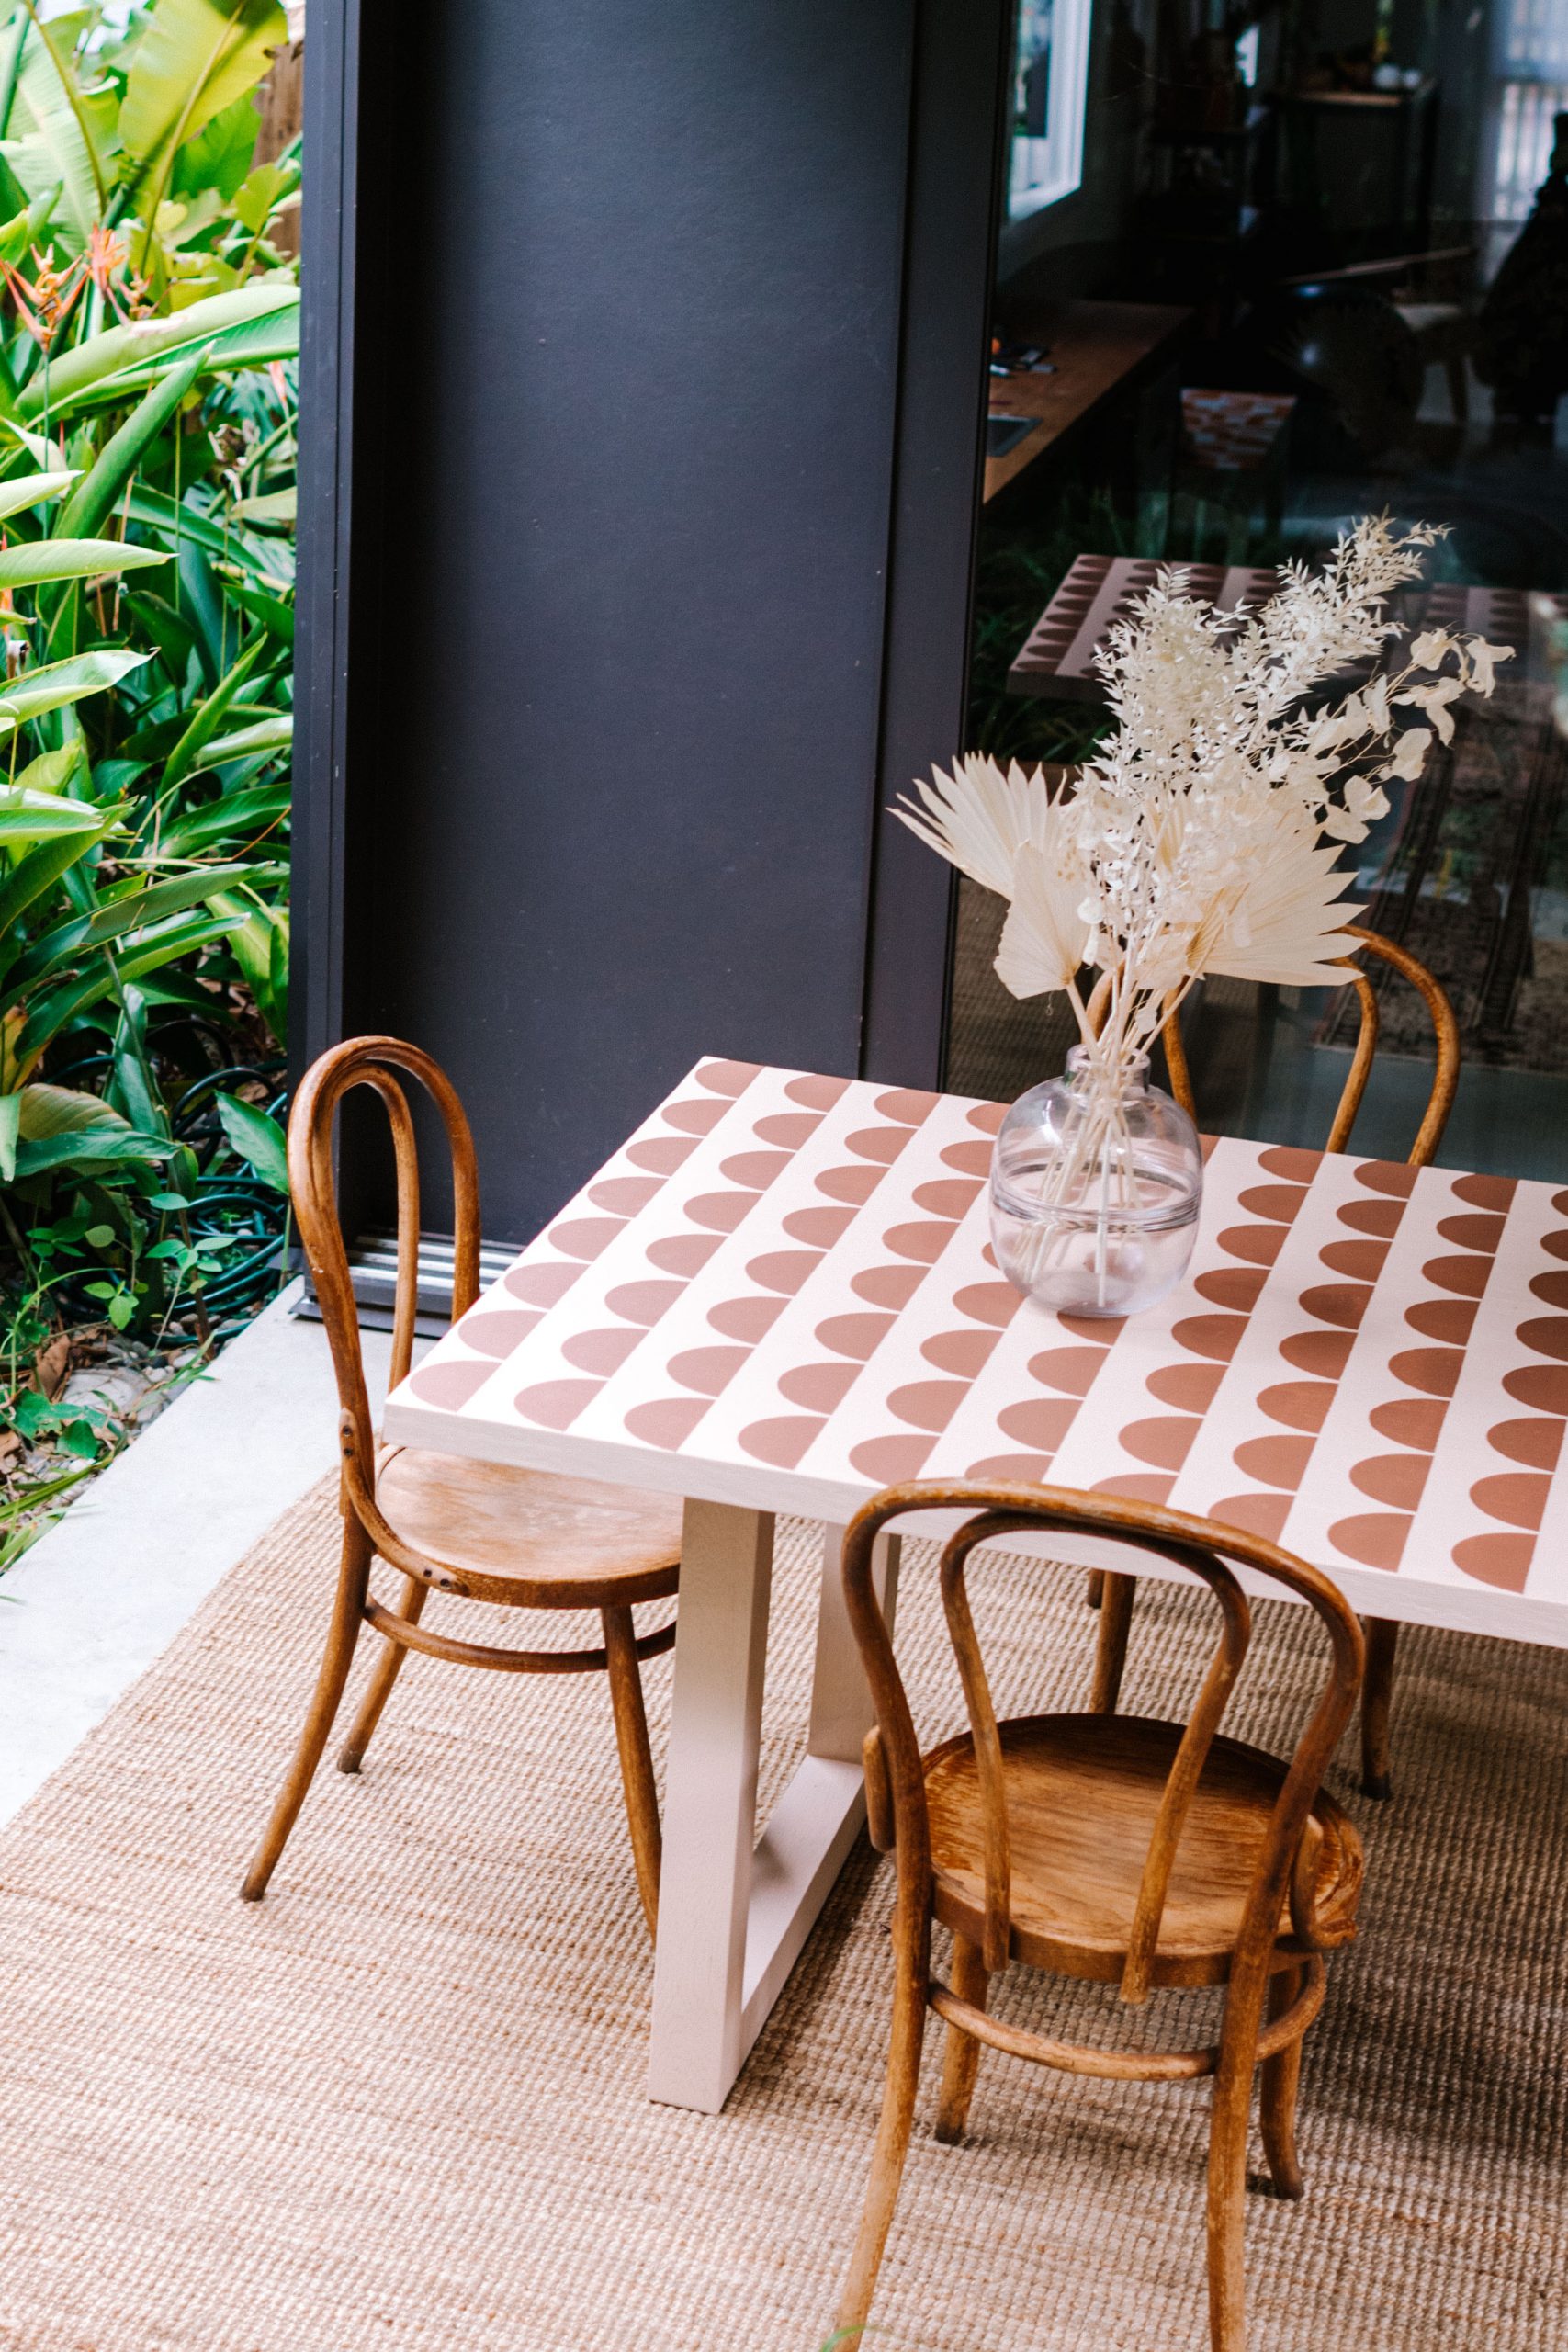
You guys know I love a painting project! When my brother asked me to give his outdoor table a much needed refresh I knew it was a good opportunity to challenge myself. In the form of stenciling a pattern on it…
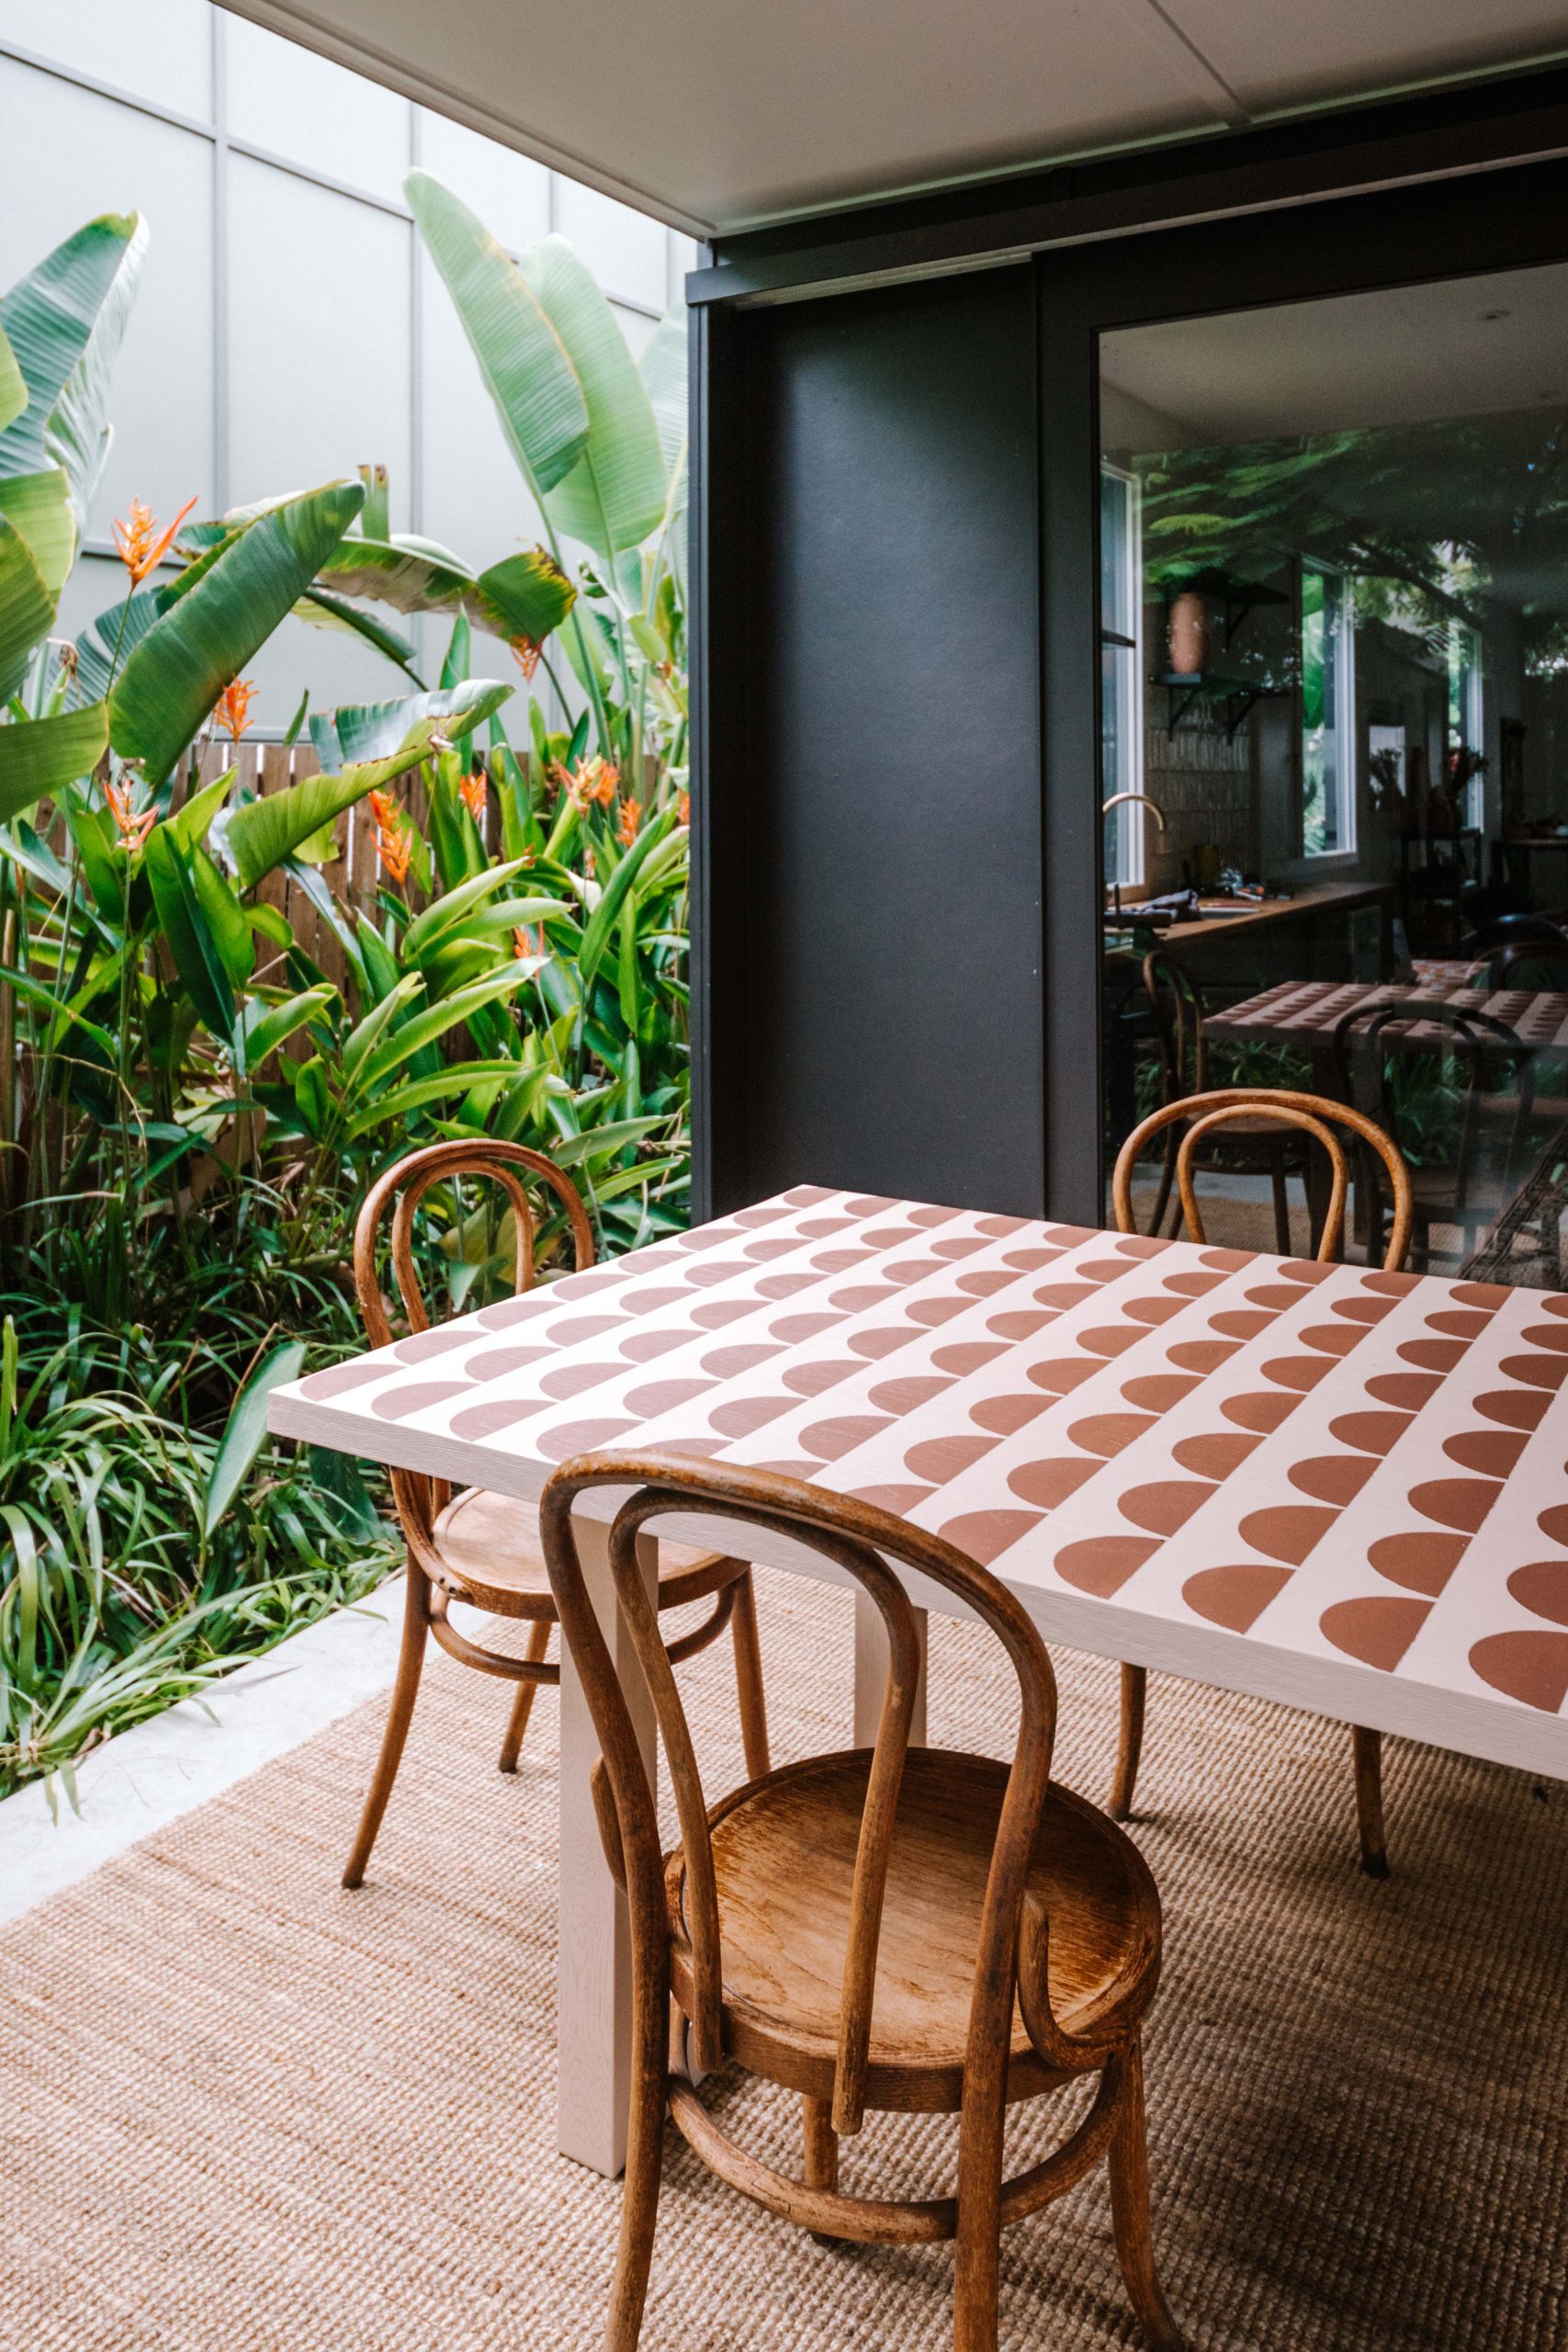
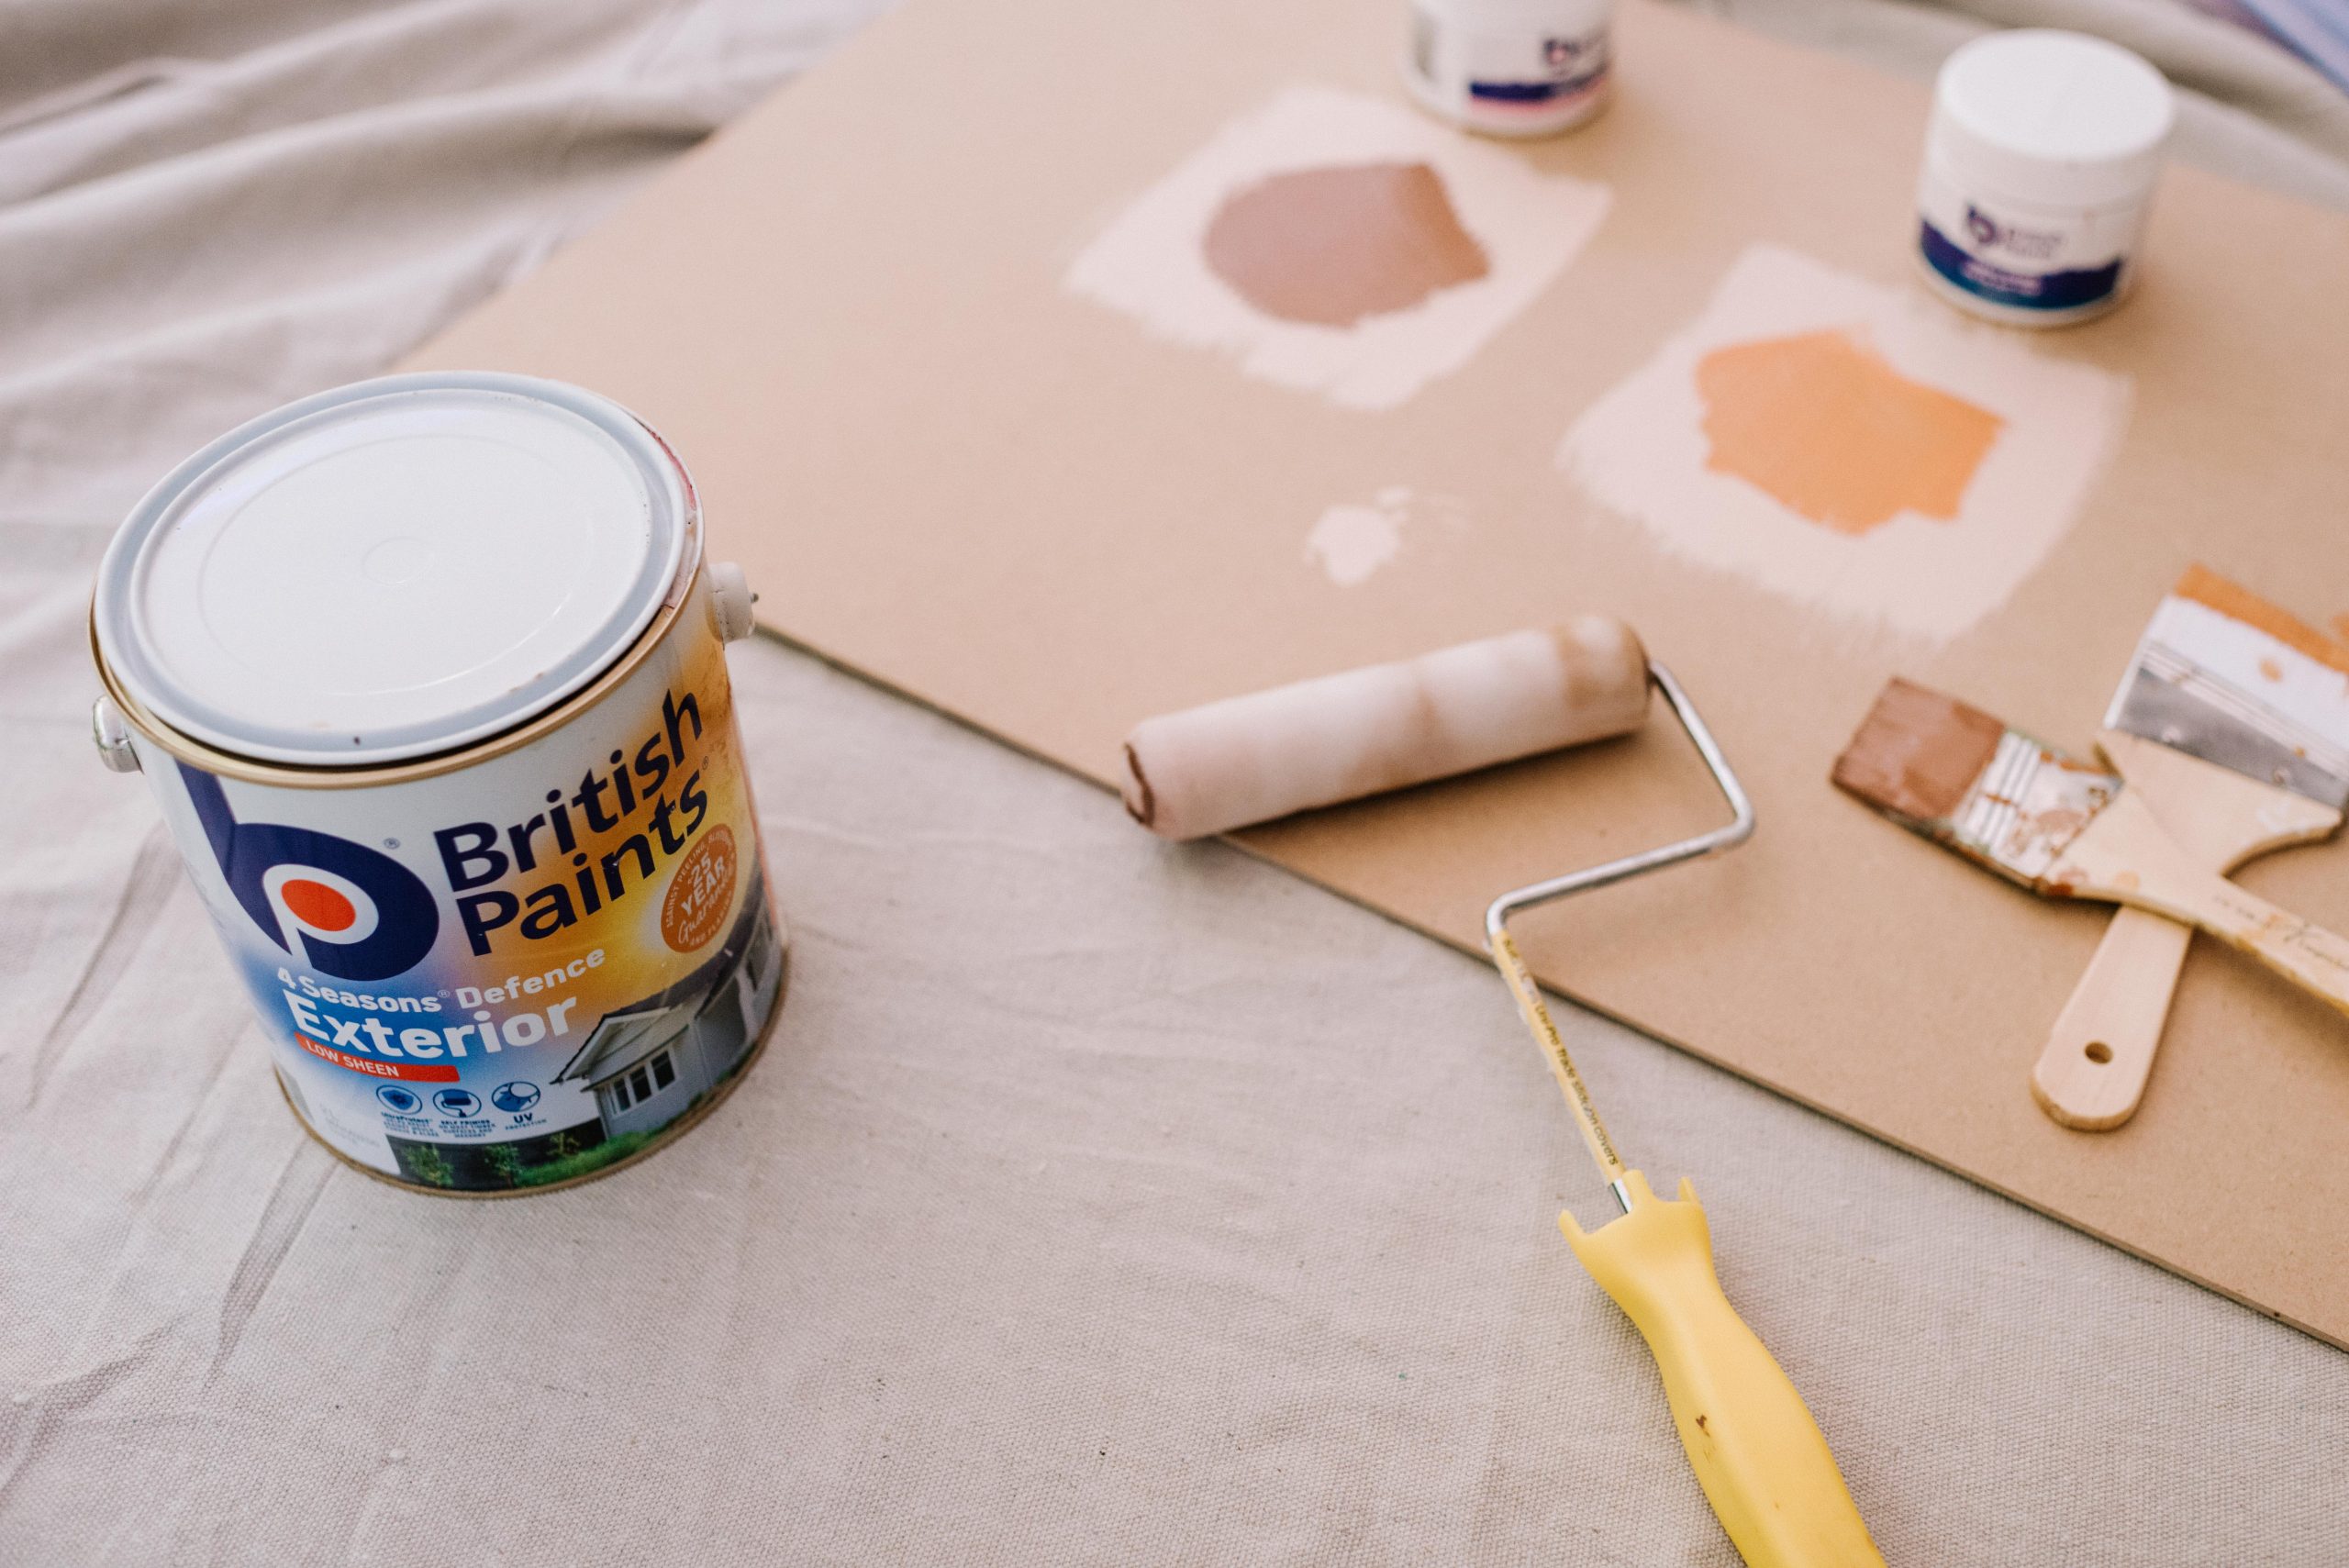
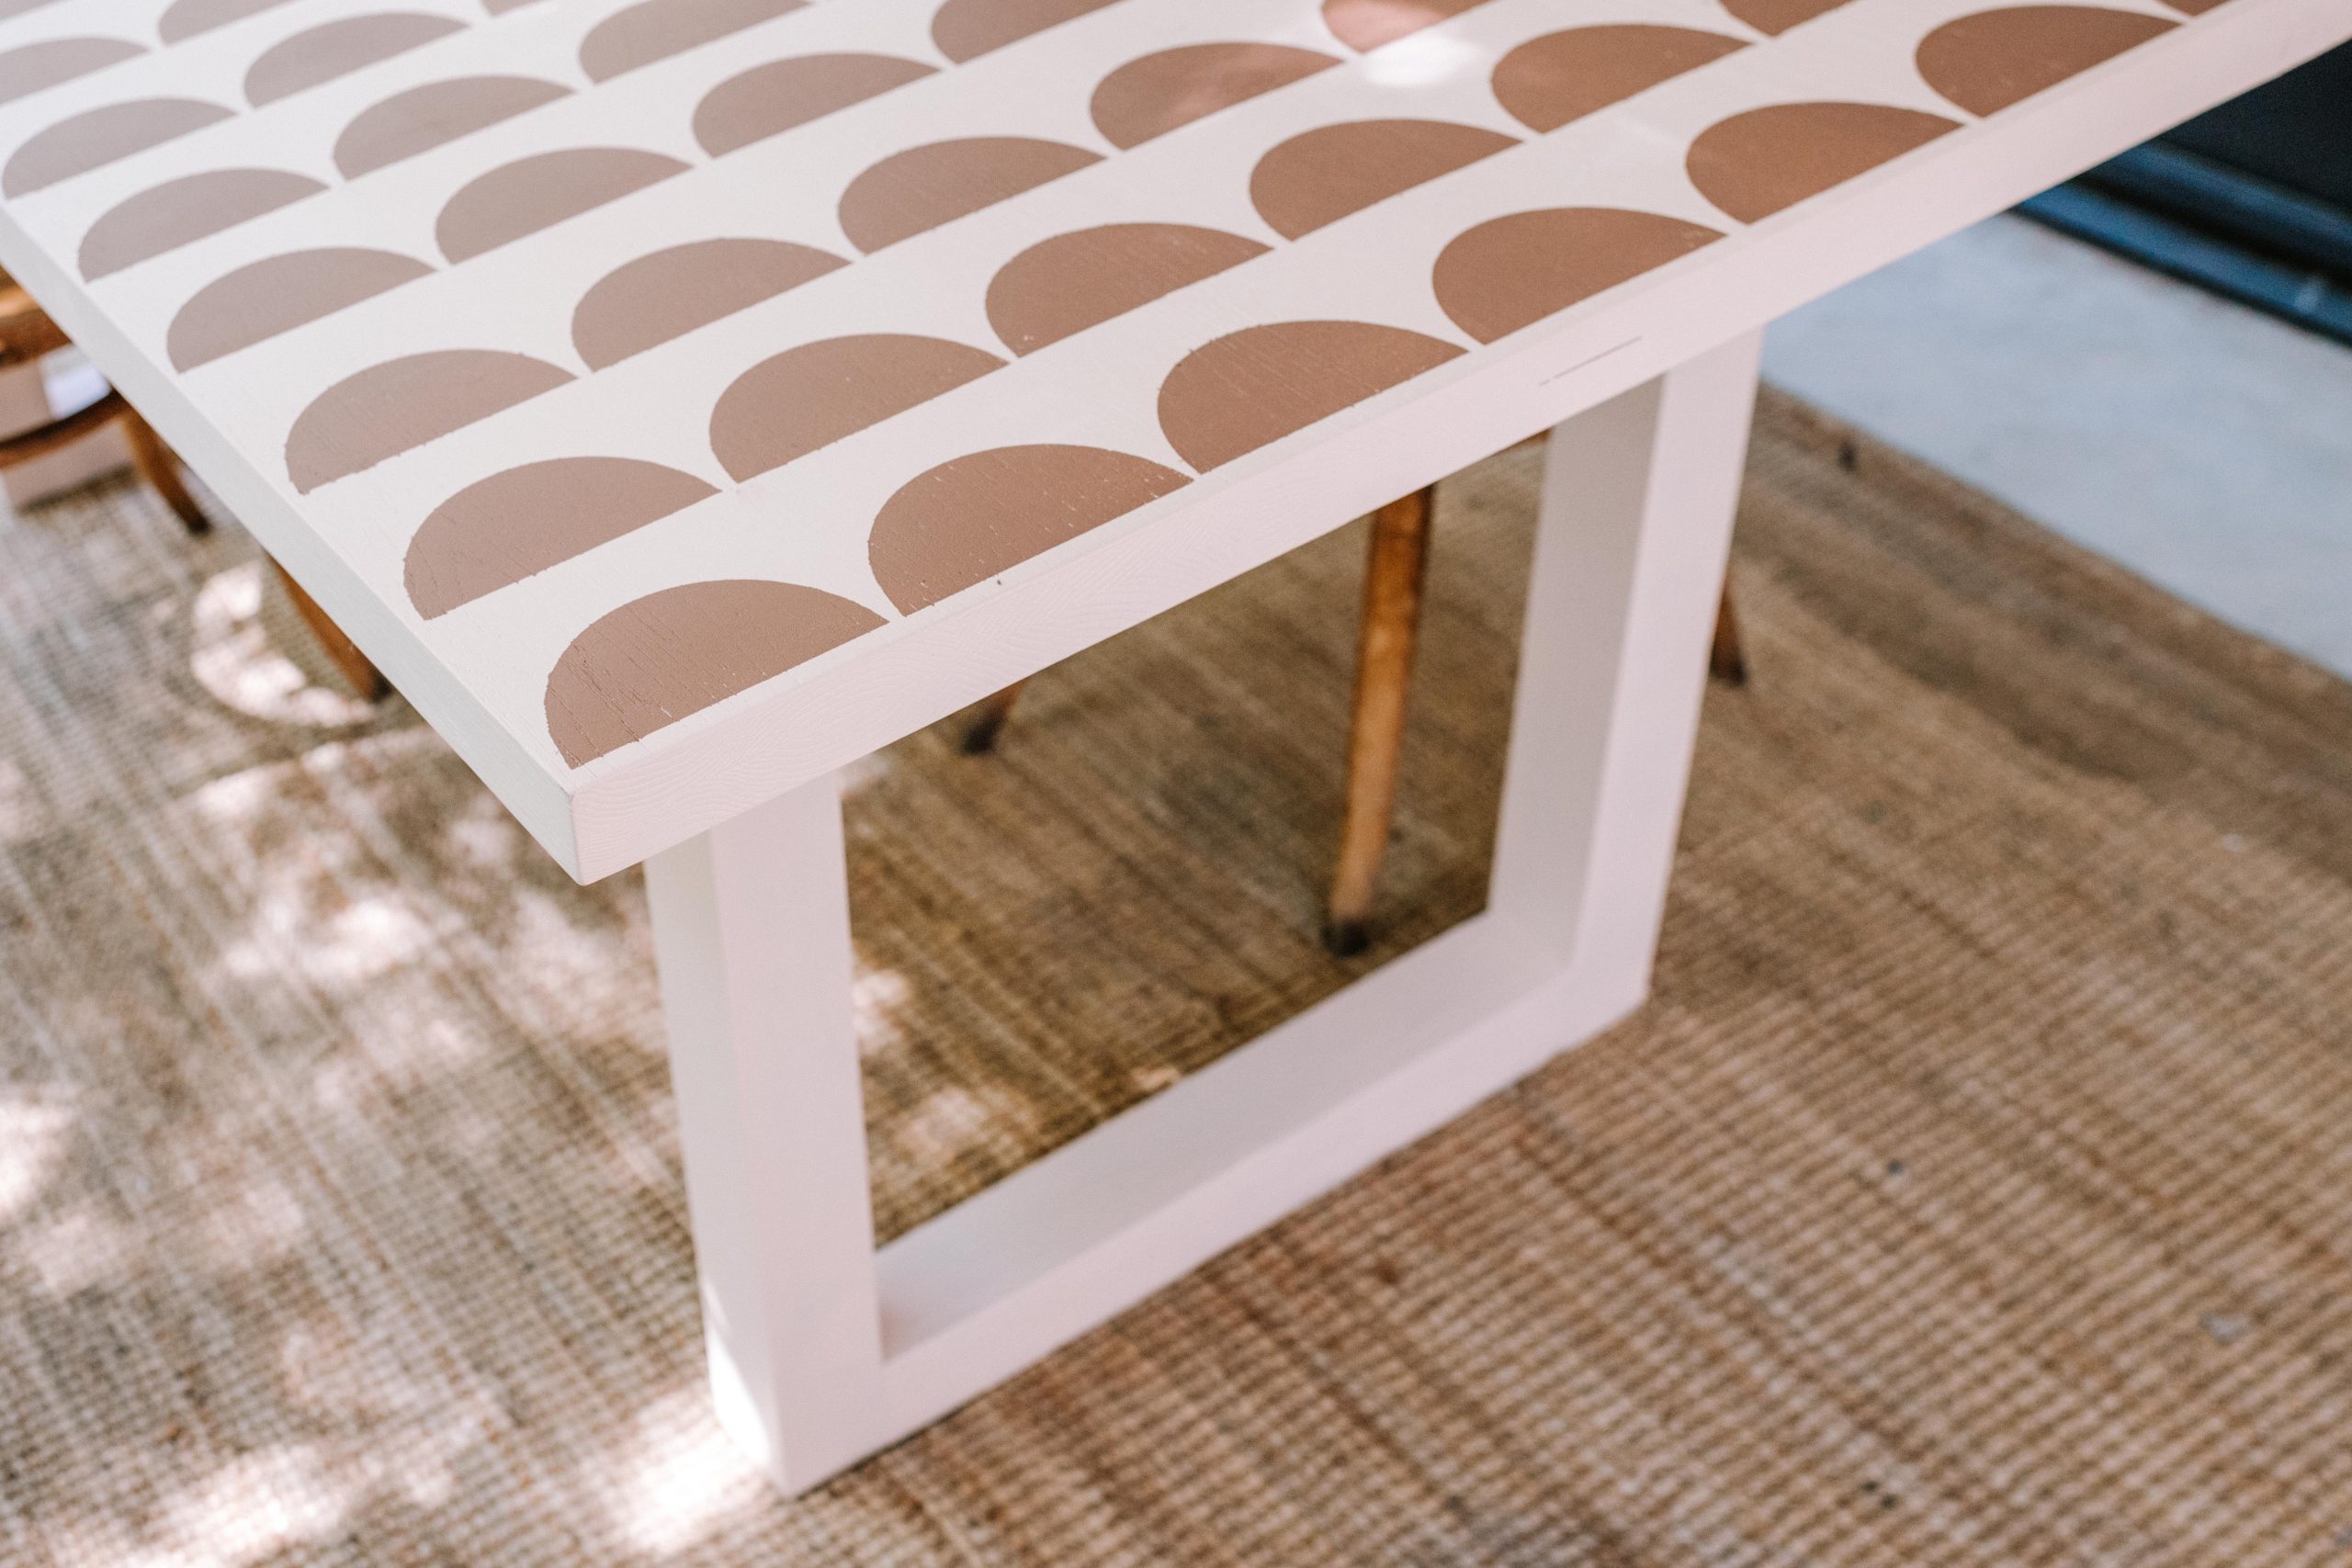
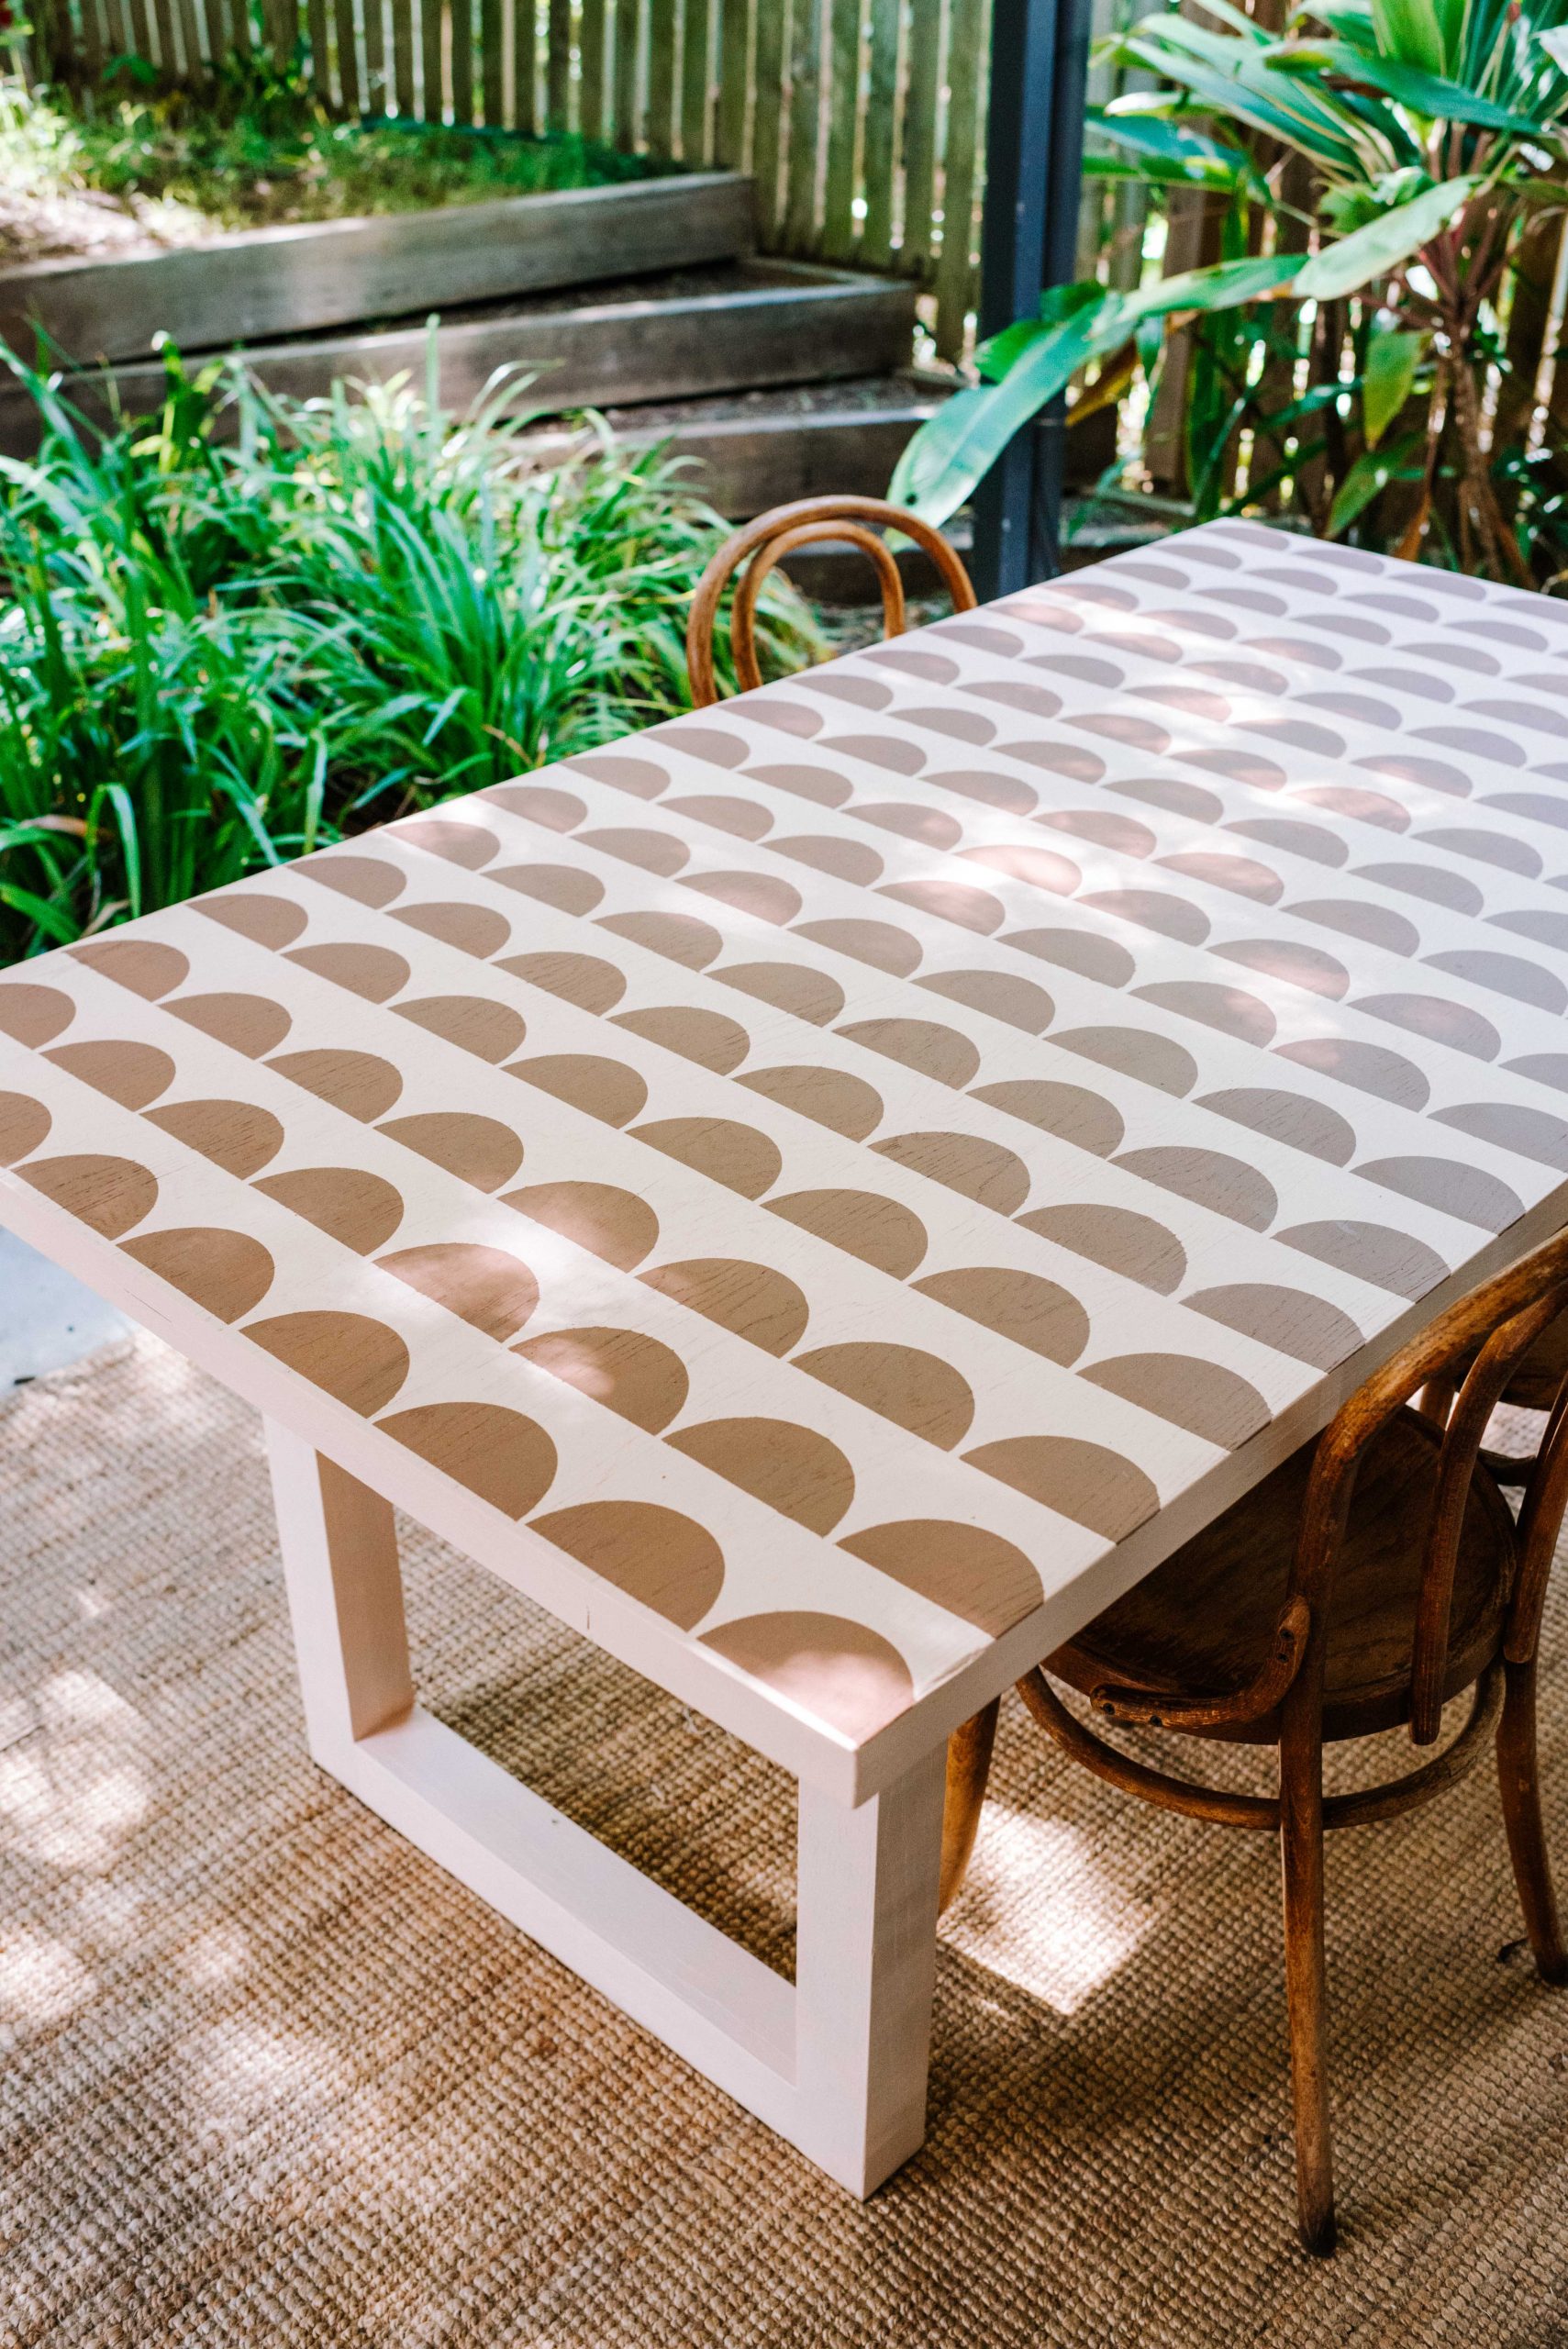
I took some time to choose the right colours from the British Paints 4 Seasons range (so many good combinations!) and landed on these gorgeous ones – Retro Peach and Field Notes. The 4 Seasons range is designed to withstand the elements, so I know it would be perfect for this outdoor project. The colours go so well together and bring to mind a tiled table, without the work. Well, I’m not going to lie it was some work, but nowhere near as much as tiling a table!
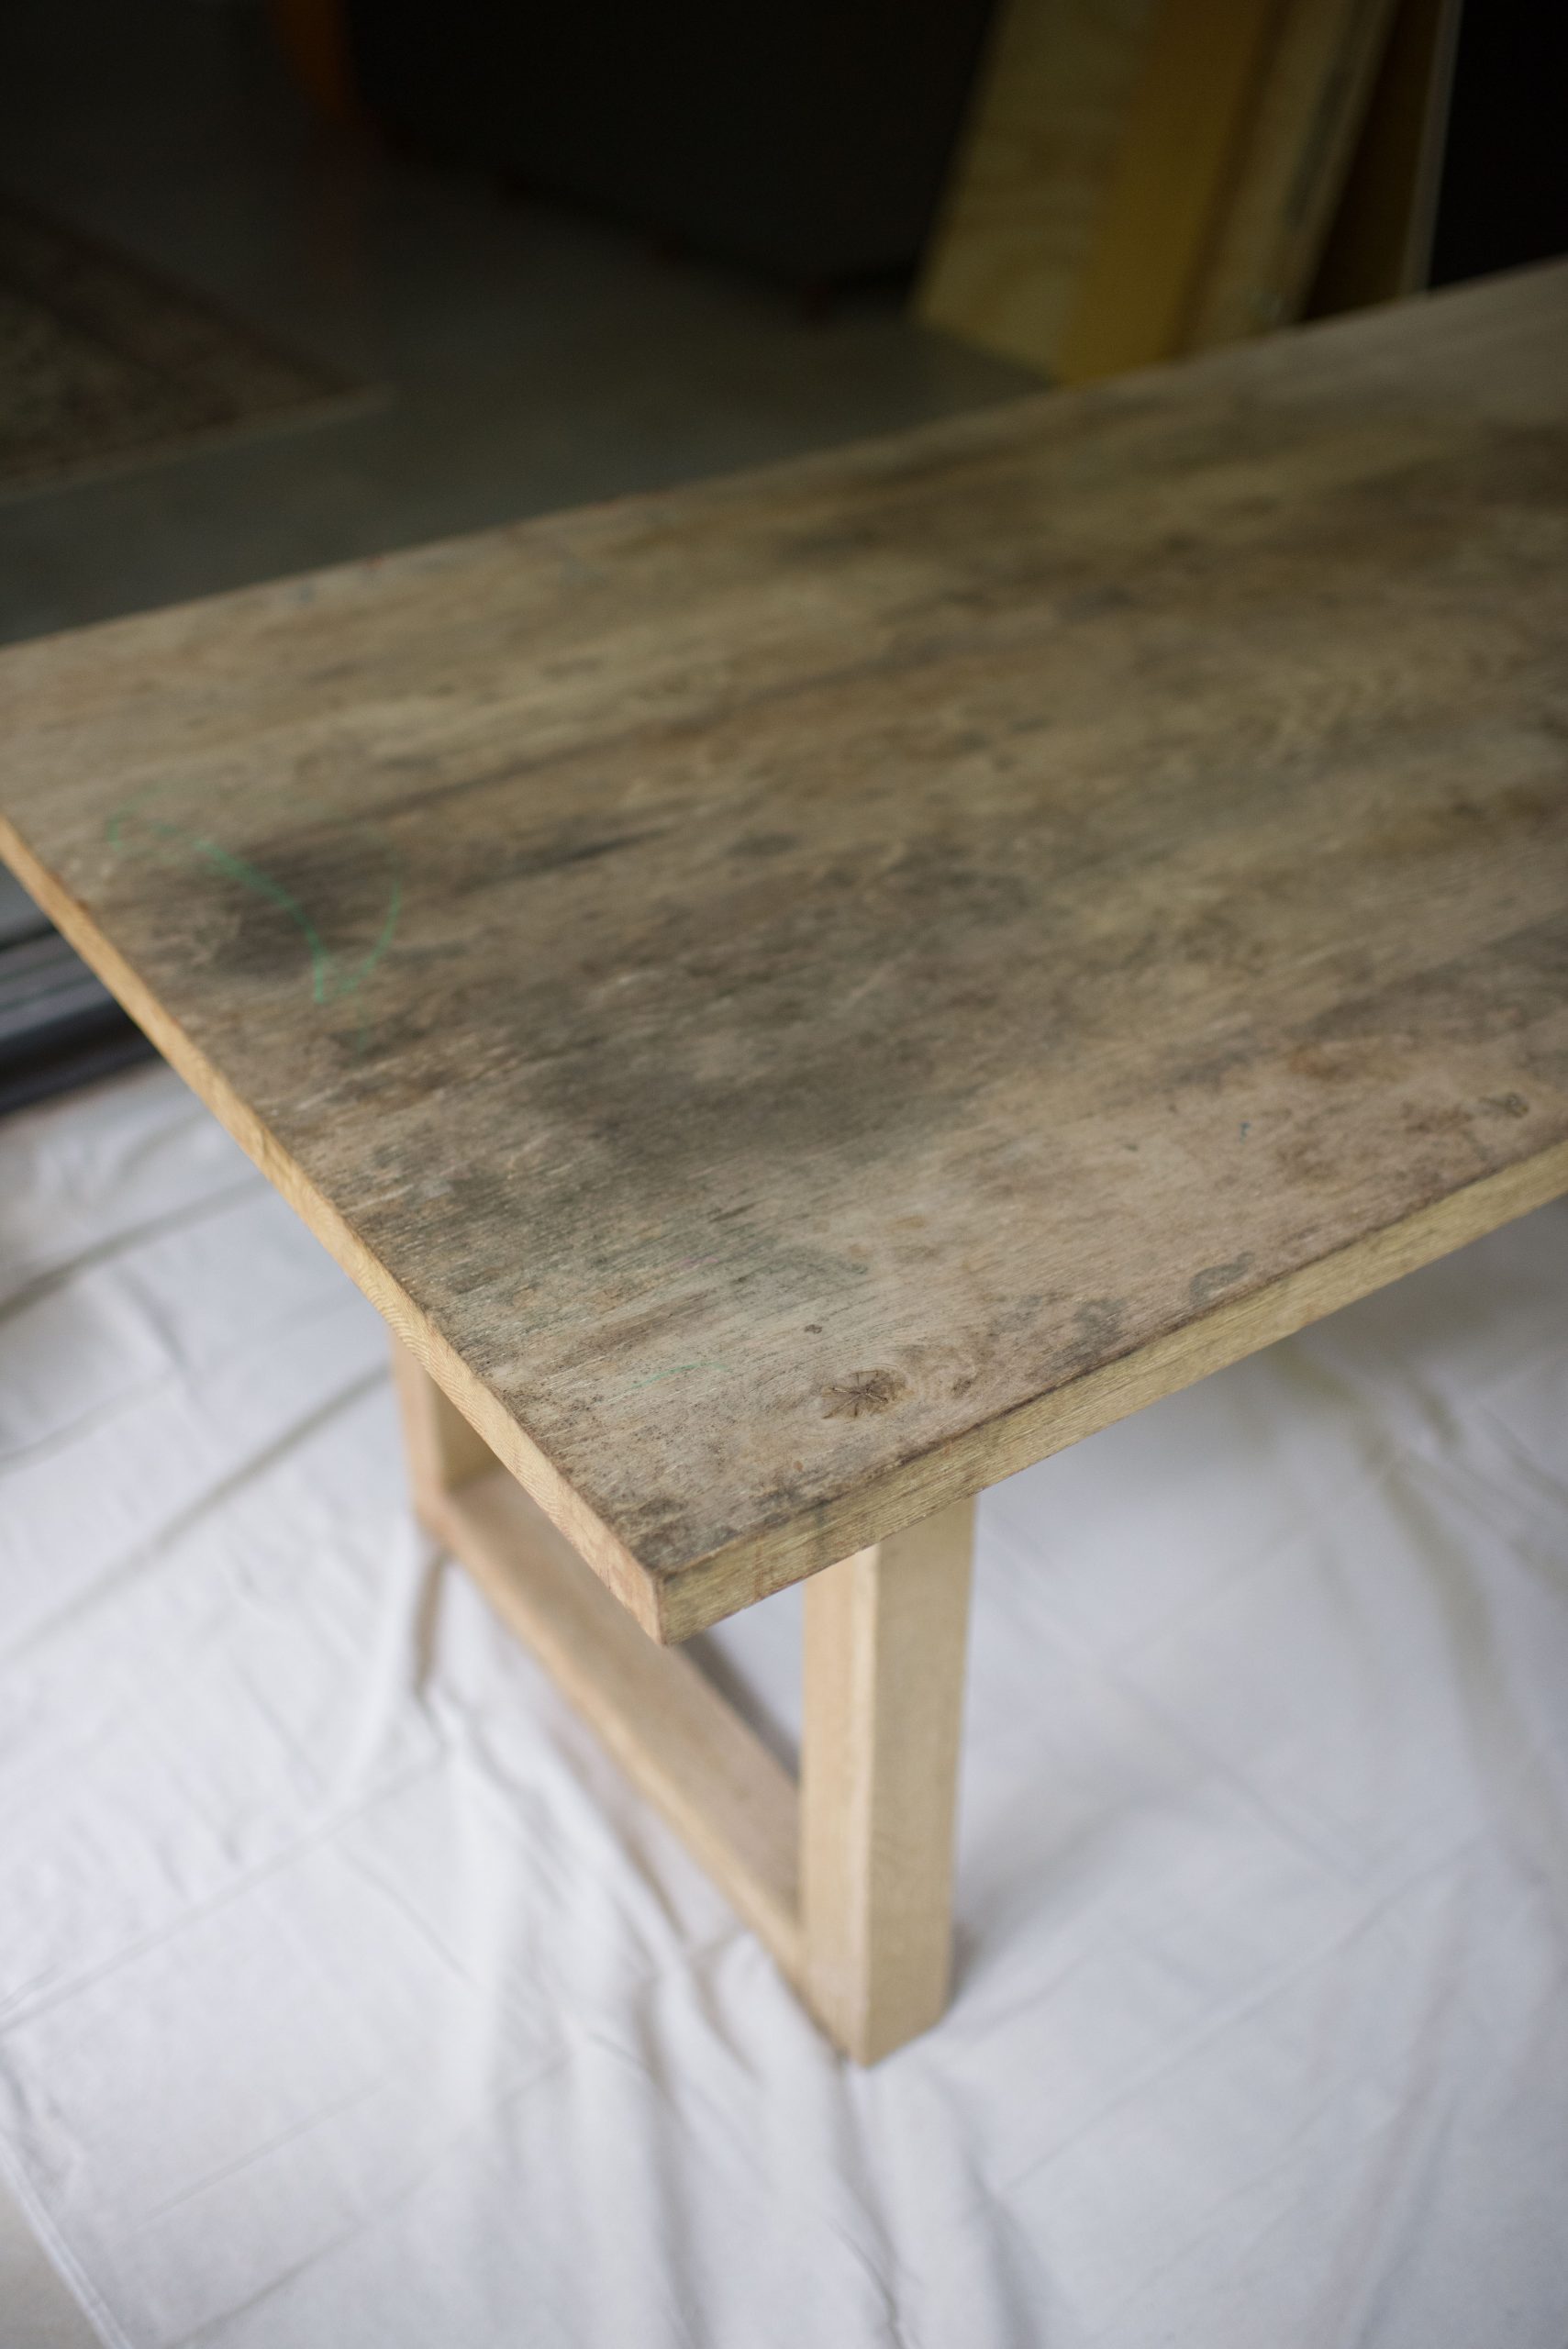
- Before
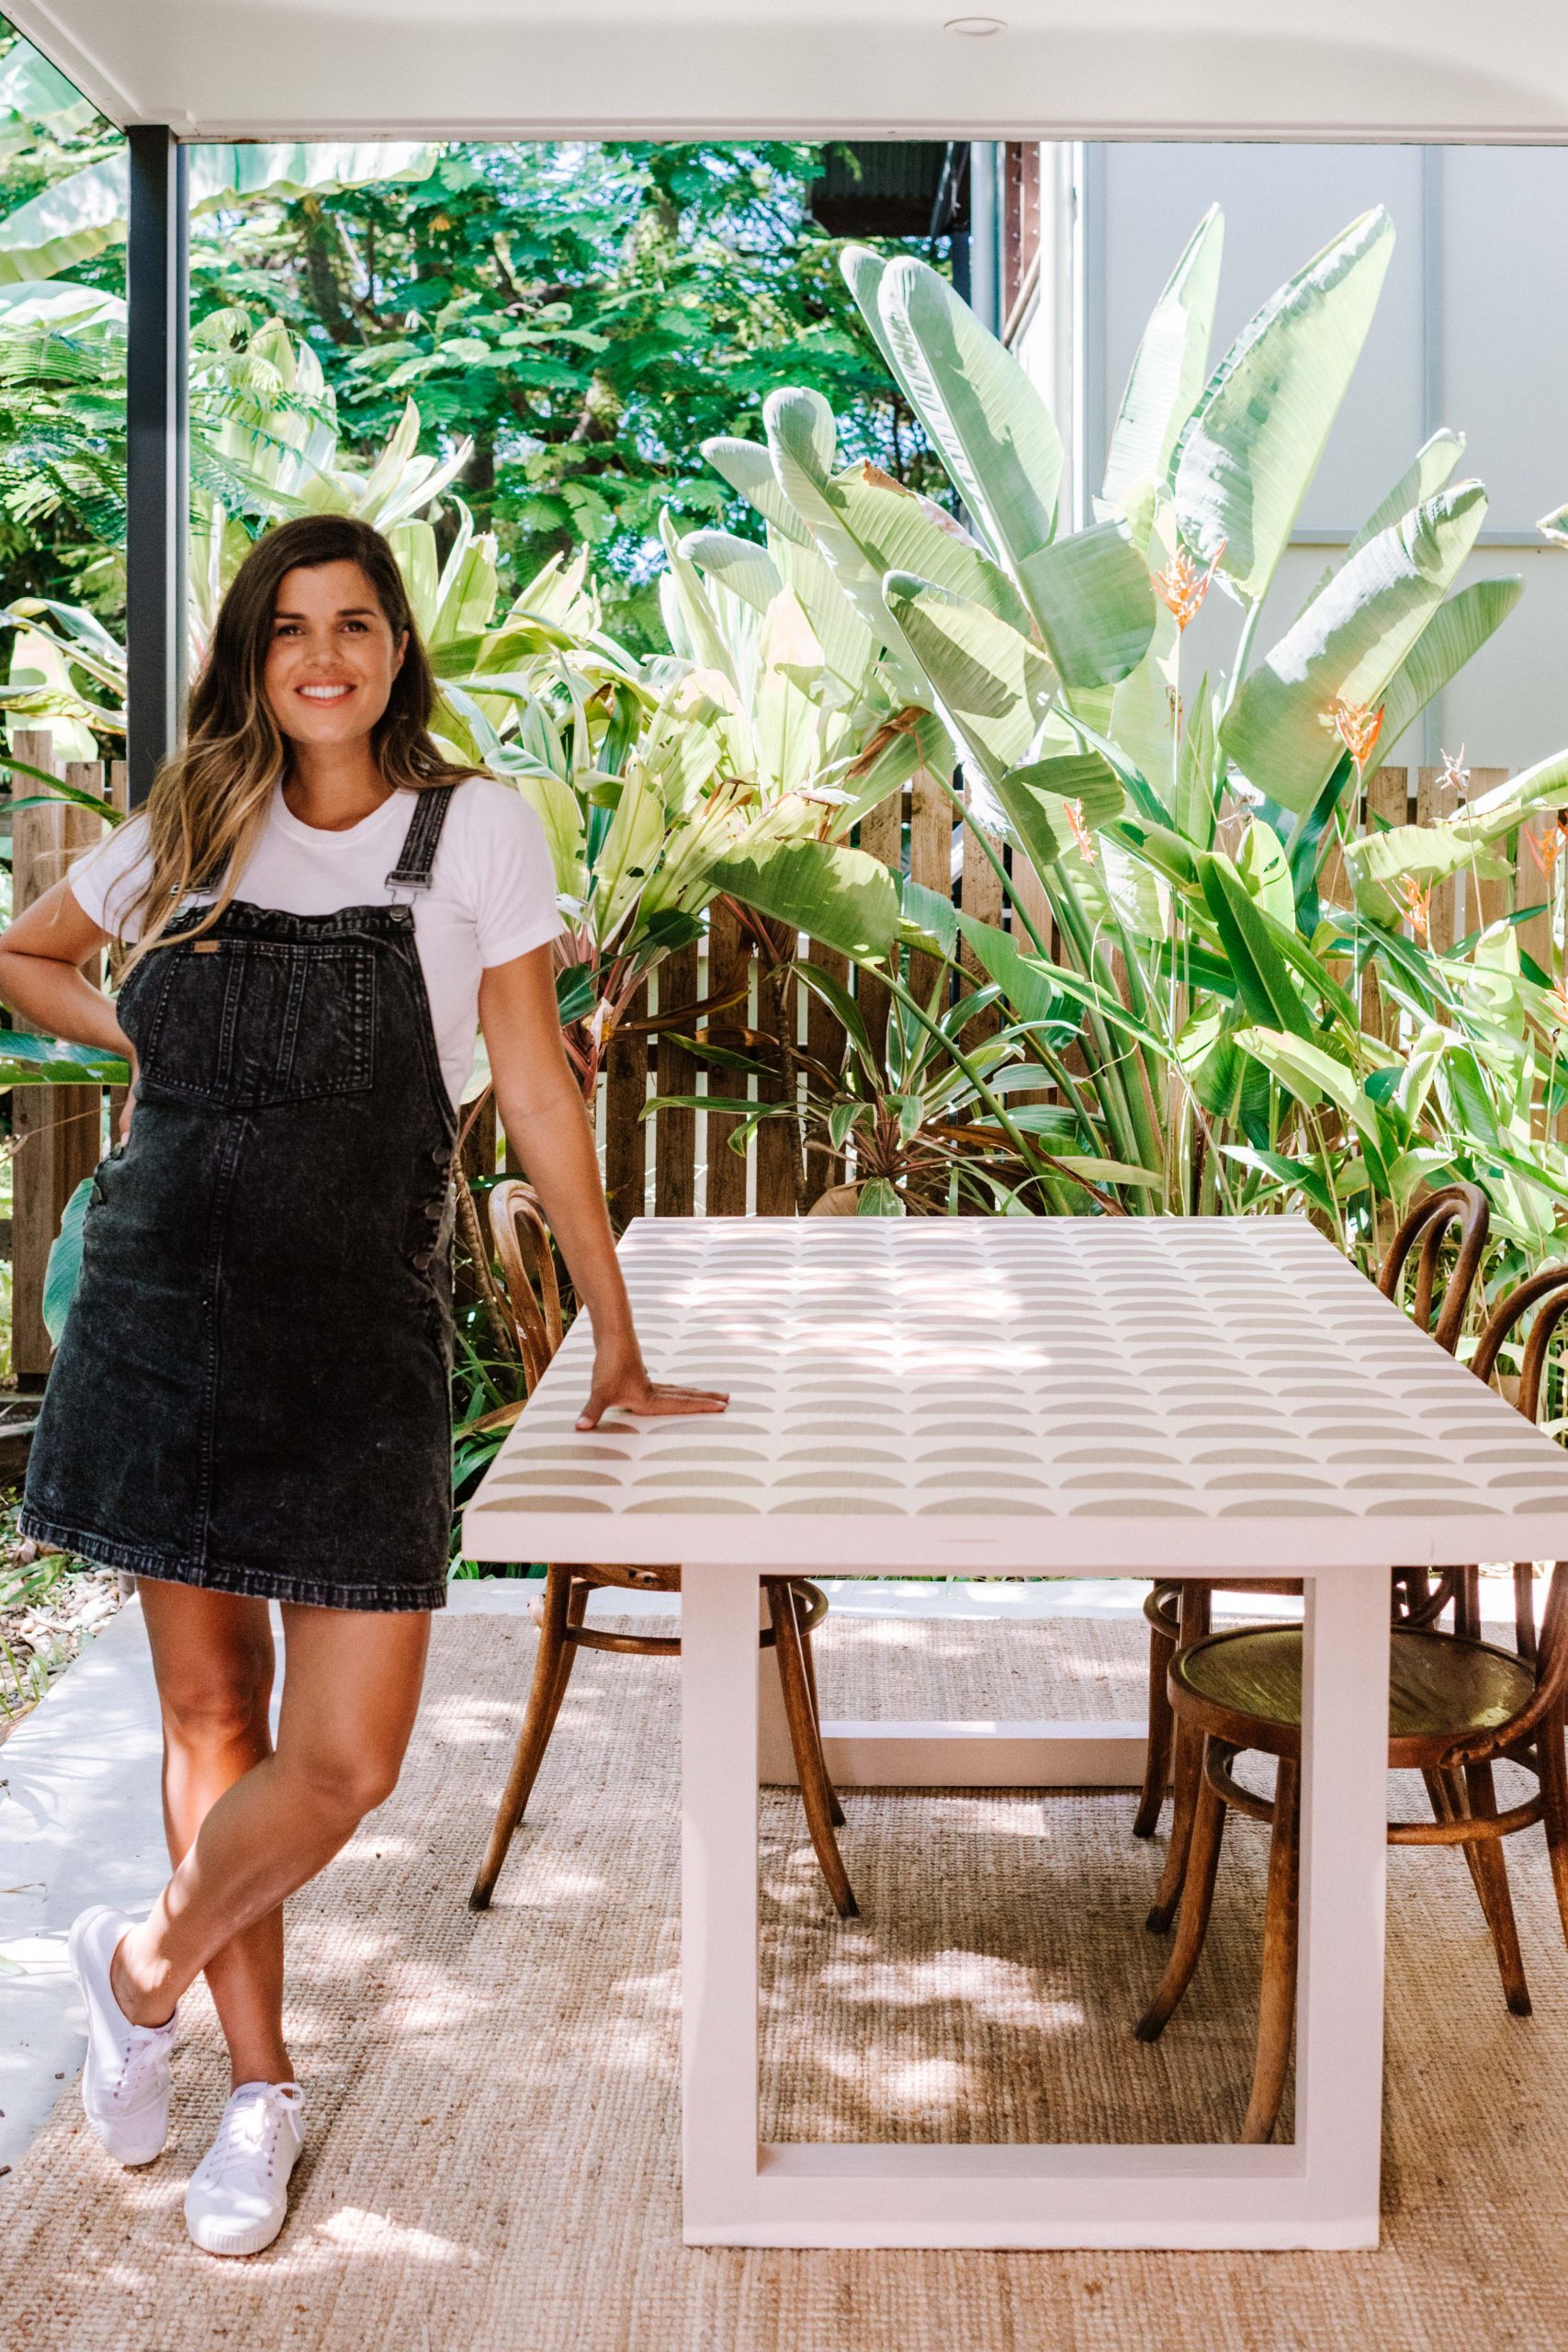
- After
Materials
- Outdoor Table
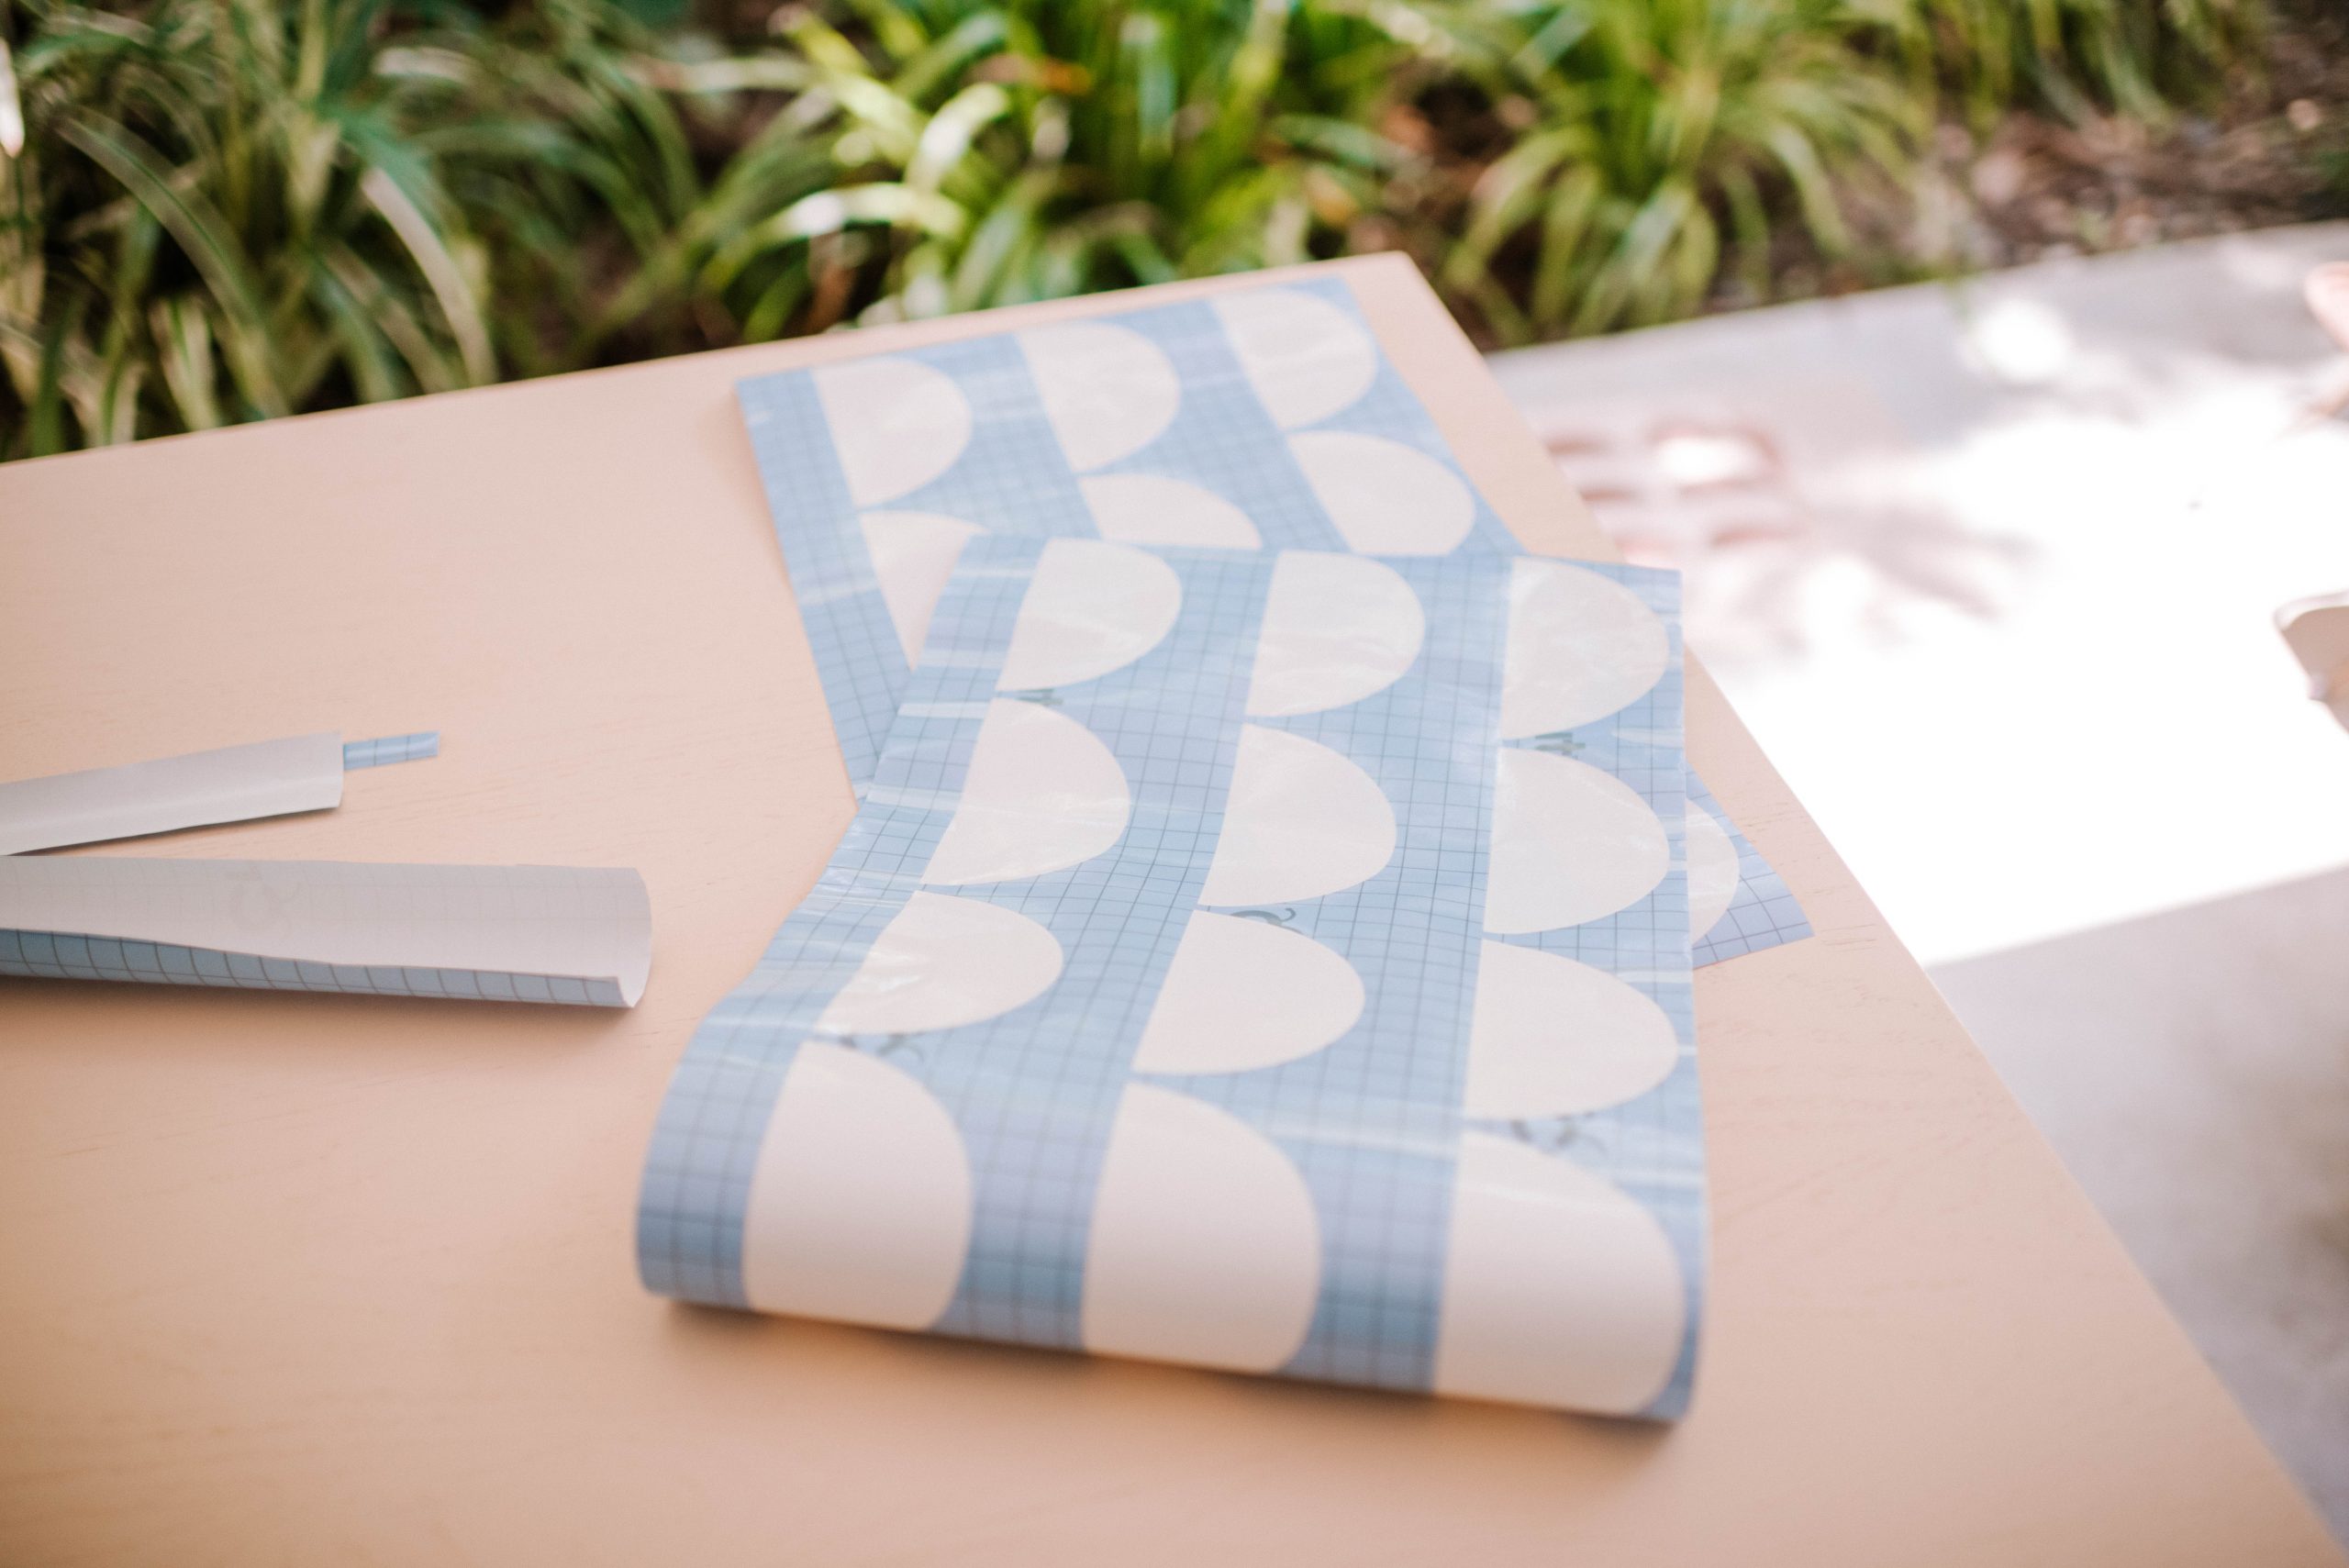
- Vinyl Stencil (I made mine using the Cricut maker)
- Two tones of outdoor paint, mine was British Paints in Retro Peach and Field Notes
- Dense Foam Rollers
- Small paintbrush
How to
- Start by sanding your table, we used some fine grit sandpaper to remove the dust and dirt from the surface of the old table that was quite worn out.
- Then paint your table with two or three coats of the base colour. It’s good to have a base colour as this makes fixing any mistakes much easier!
- Grab your stencil. I made mine from scratch using my Cricut Maker (tutorial coming soon!), but you can also buy them or make them by hand. You’ll have to make sure the stencil is the right size for the table to ensure there aren’t any sections of pattern overhanging or chopped off too much.
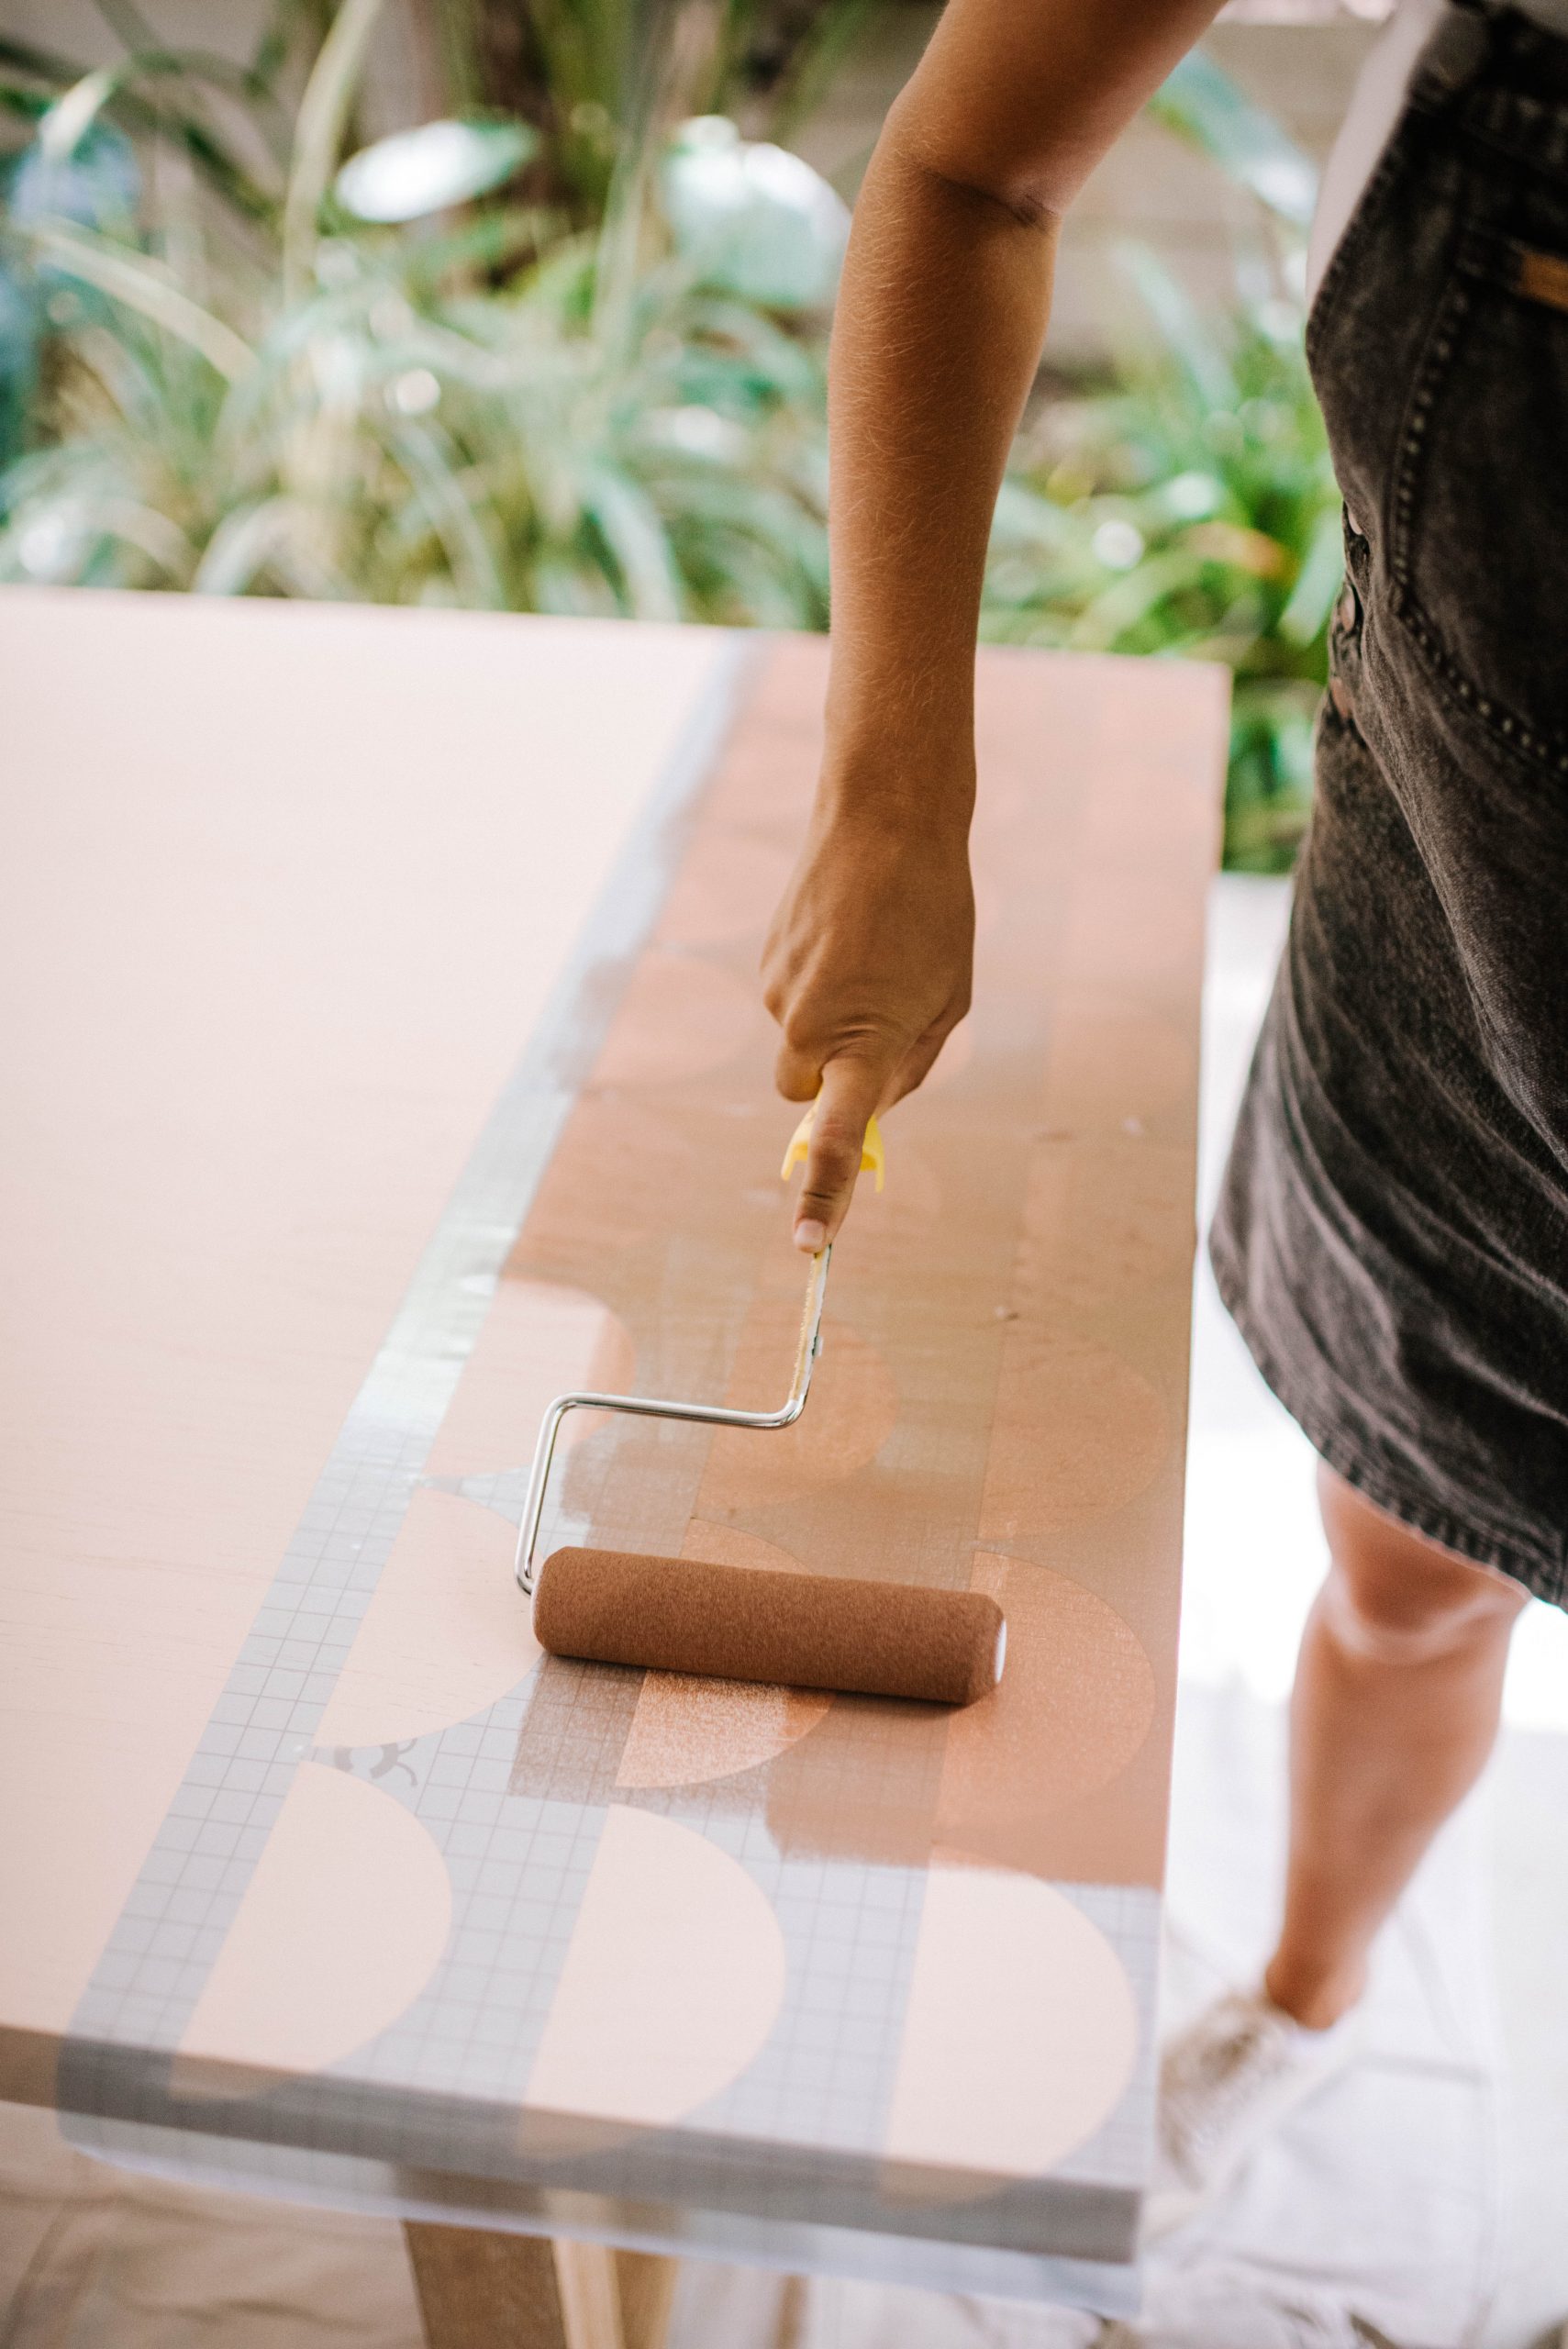
- Lay your stencil down and start by painting one coat of the base colour over the top. This is a hack I learnt while I was doing it (from so many lovely readers over on Instagram!), and it’s amazing because it helps to seal the stencil and means that any leakage will be the base colour and not the highlight colour.
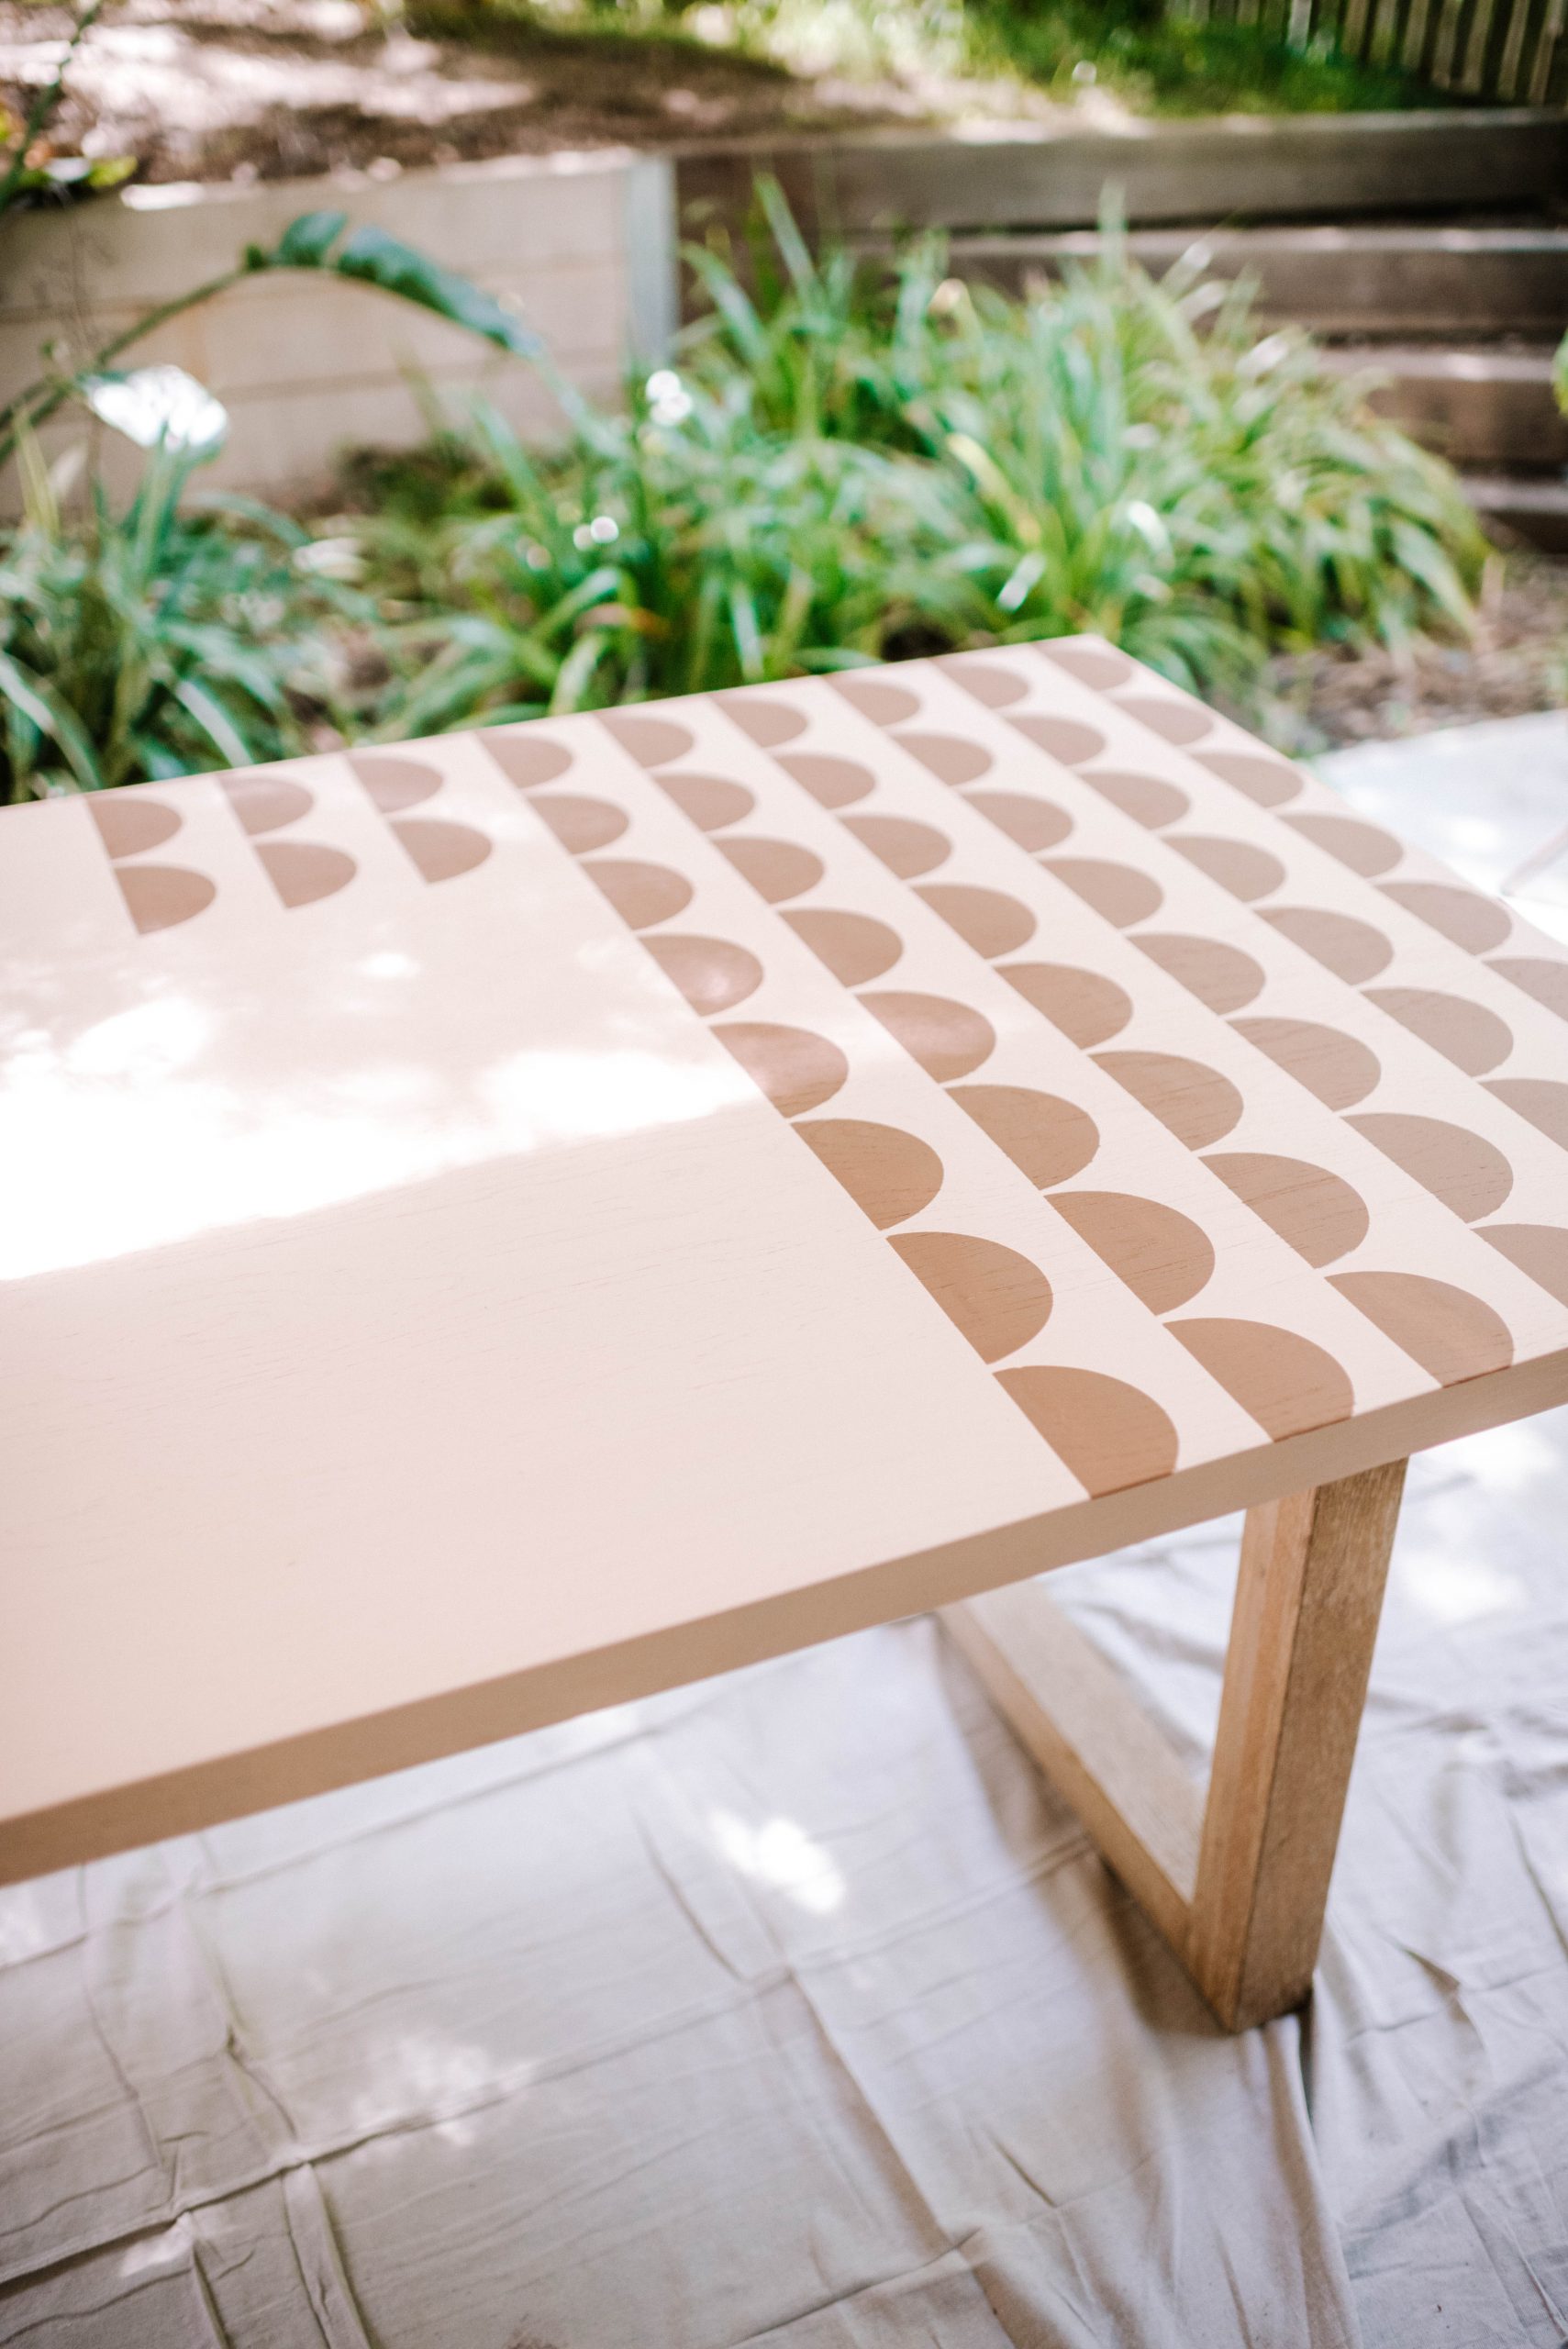
- Once the base colour has dried, do two coats of the highlight colour in quick succession. Let this dry for a few minutes until tacky and then remove your stencil. Try to remember to breath while you do this.
- Use a small paintbrush to fix any small mistakes or splodges.
I also painted the legs to match the base colour of the table.
Voila!
After


