Mother’s day is one of my favourite times of the year, not only because I’m a mother now myself and love to be doted on, but also because it’s such a nice time to get creative with gifting. Mums just love handmade gifts! Me included.
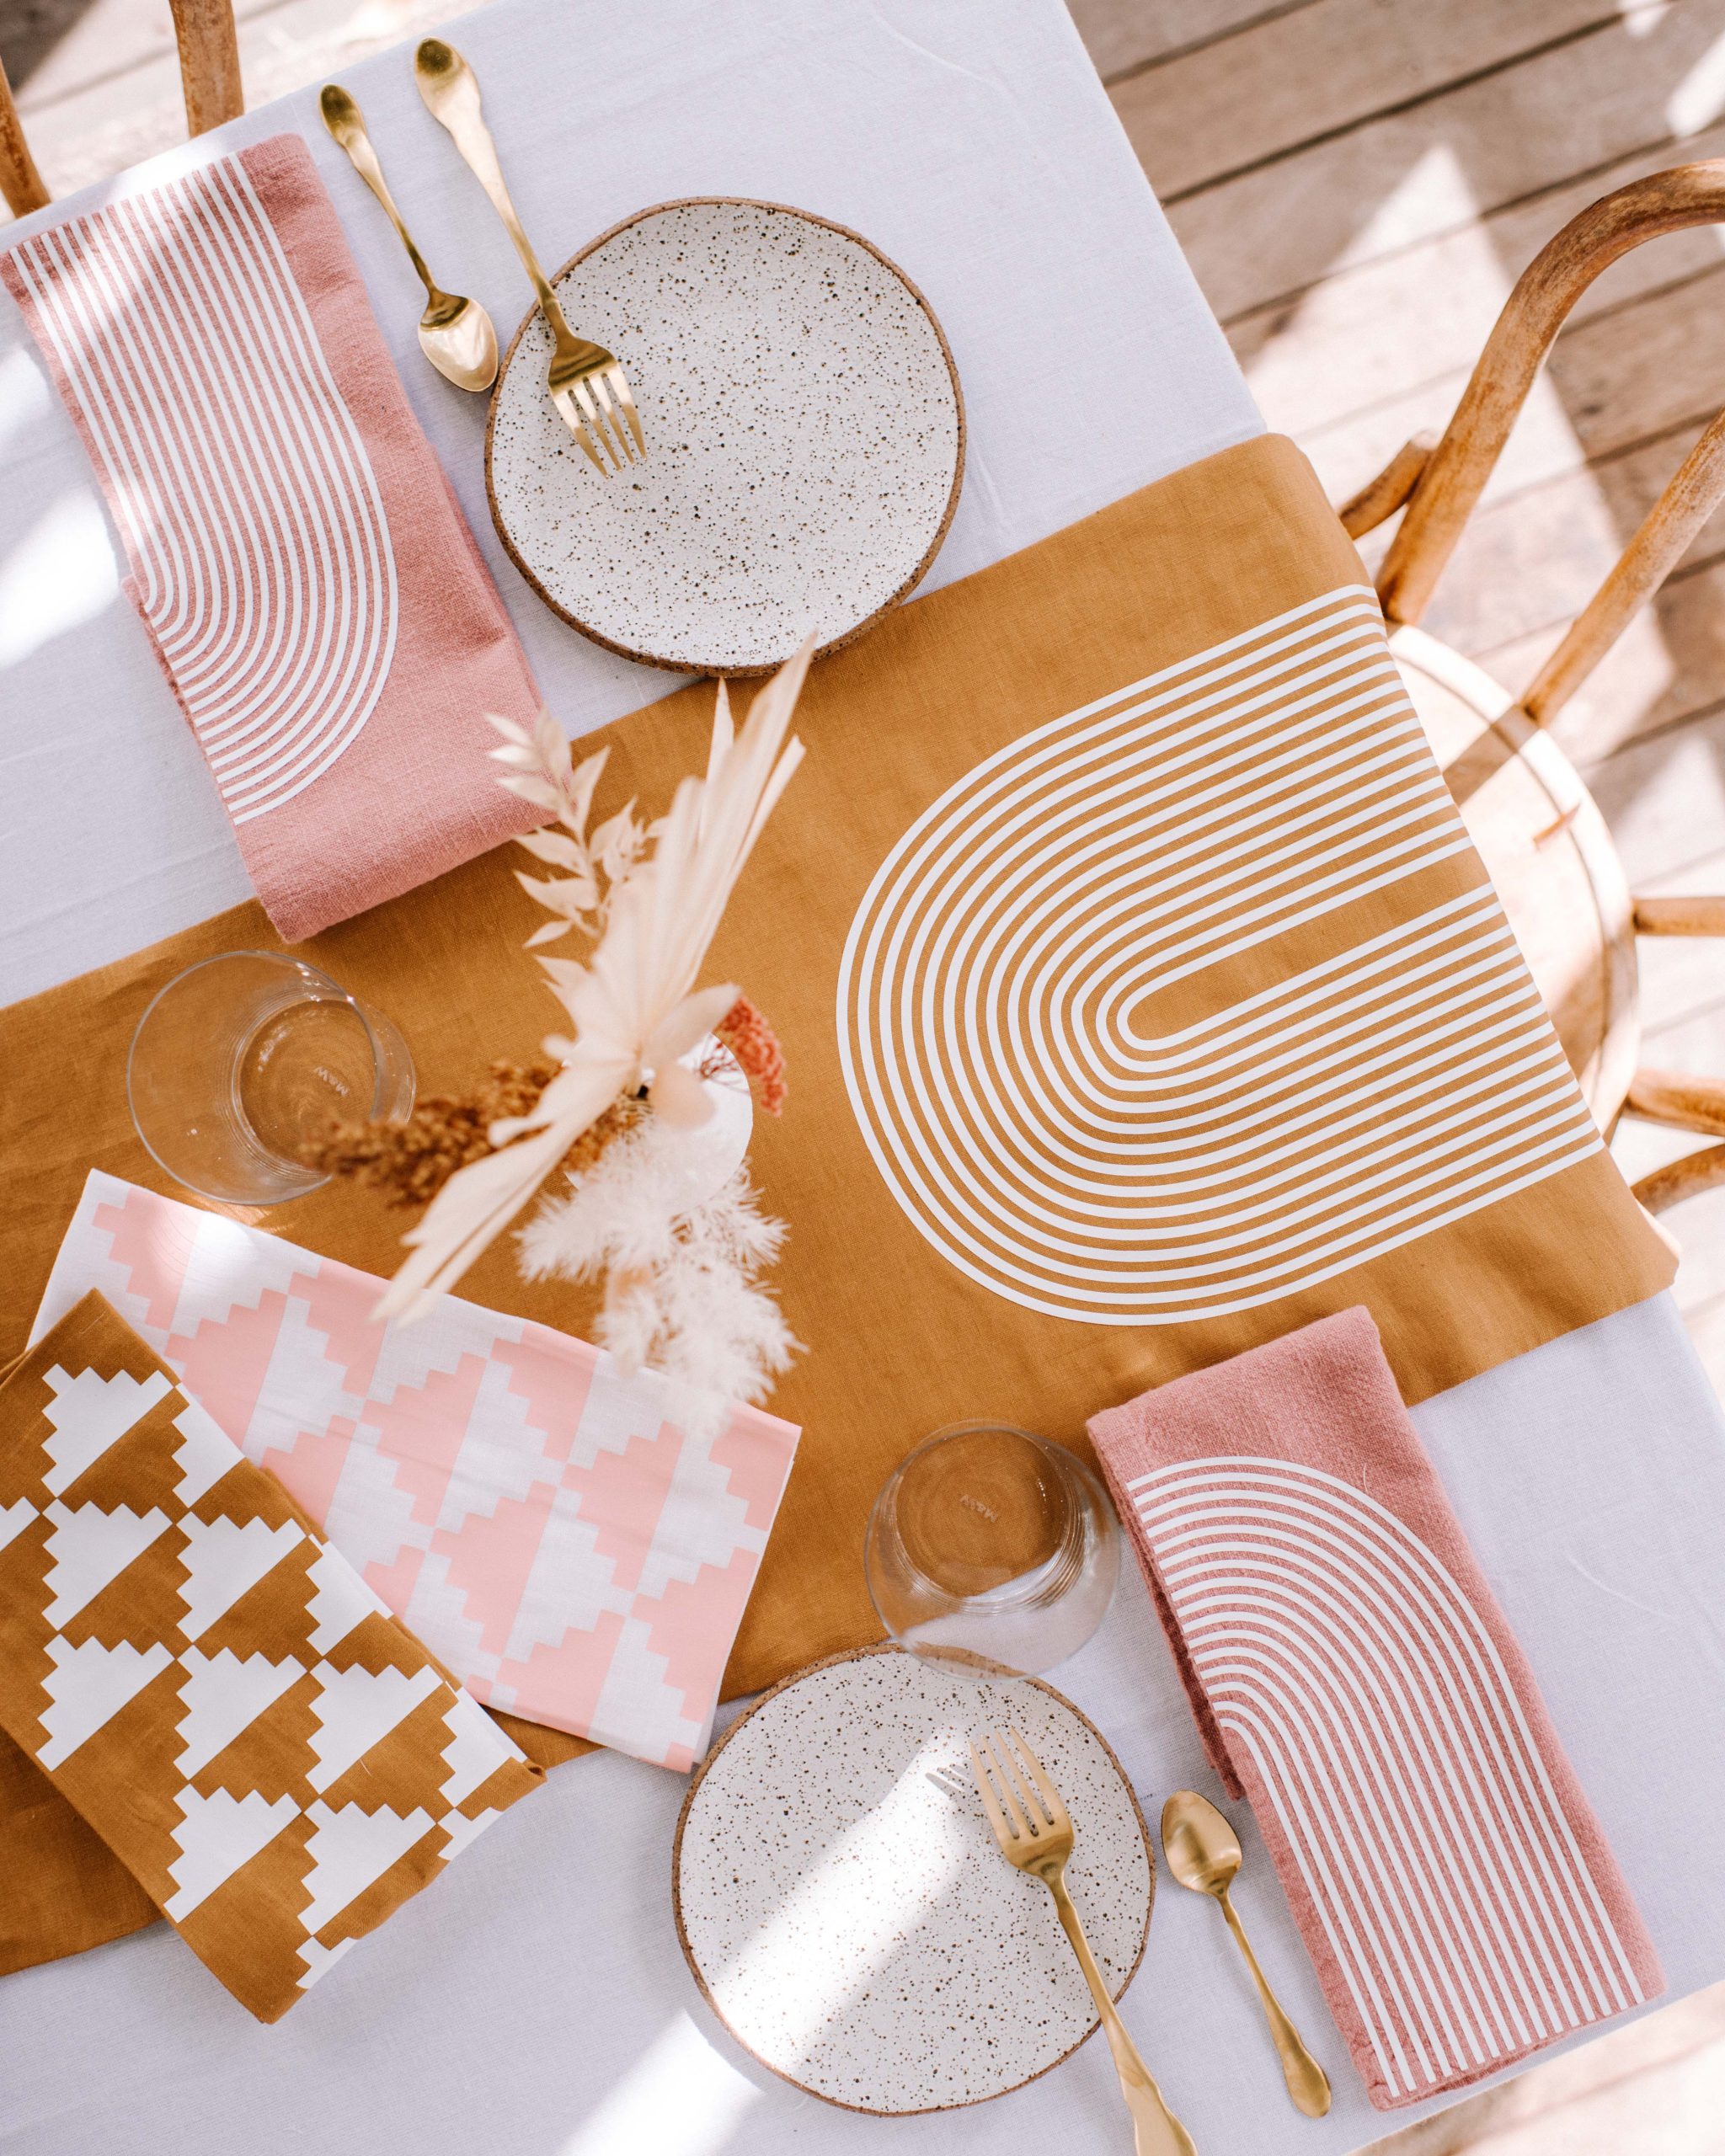
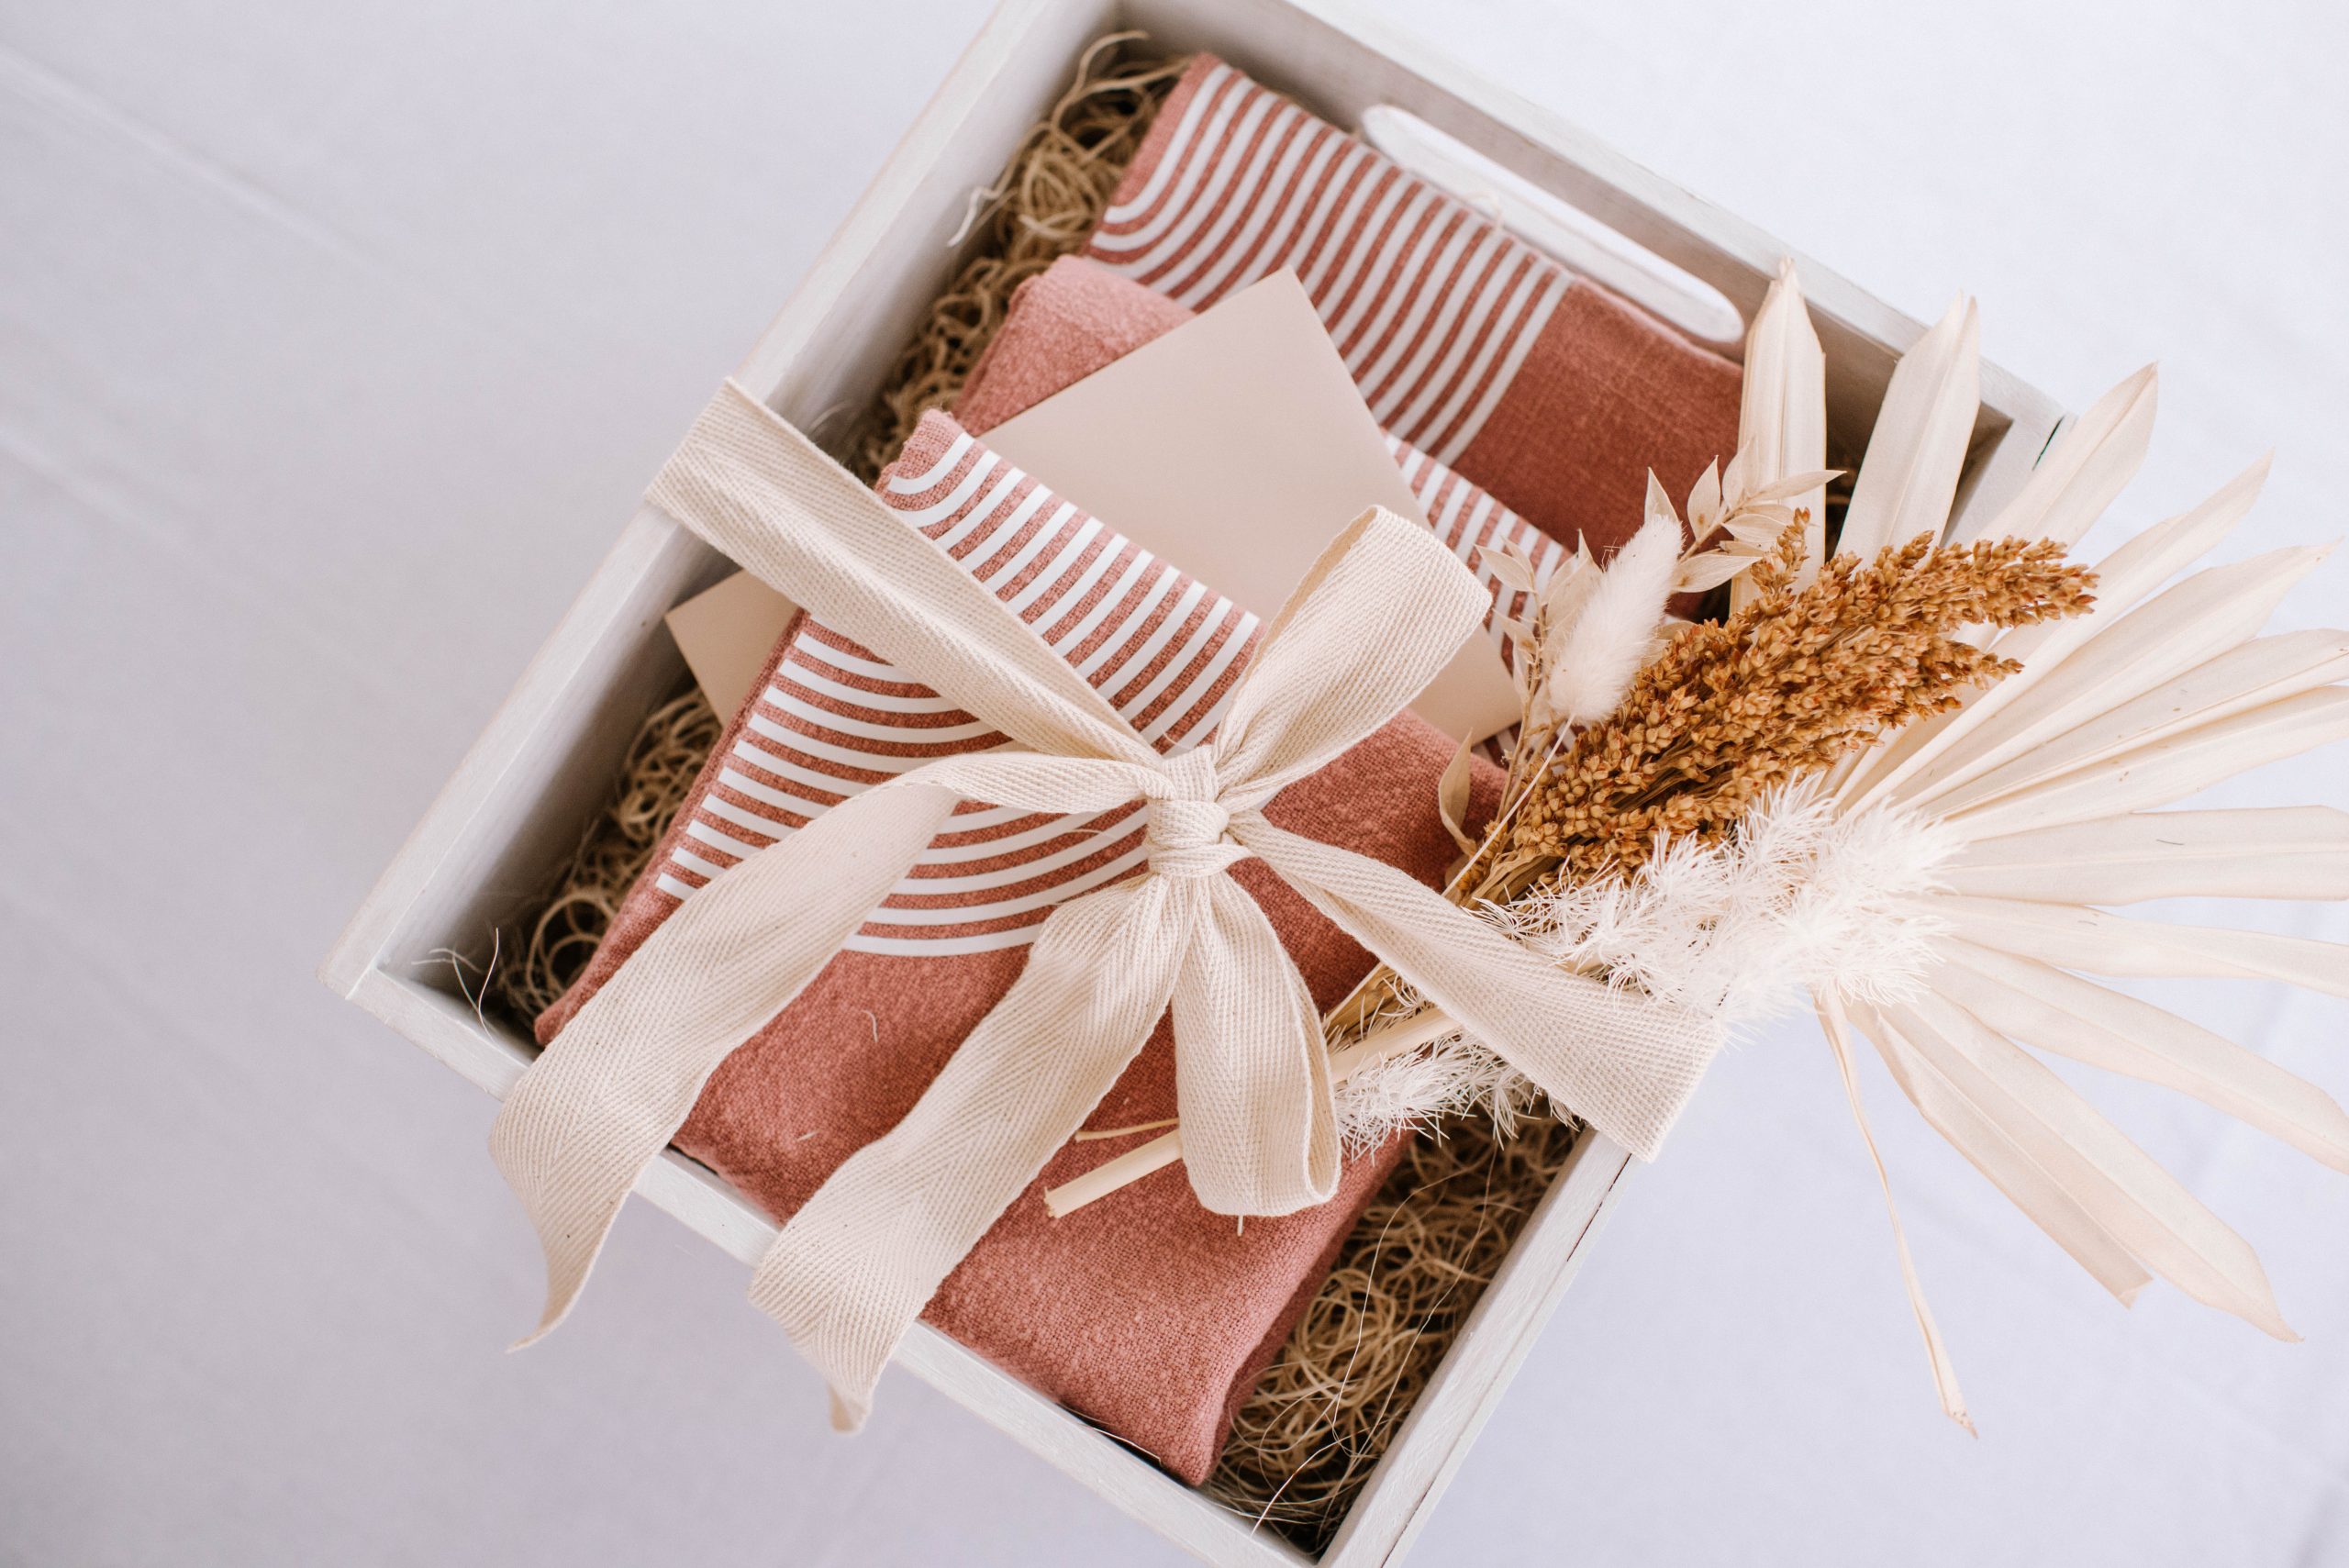
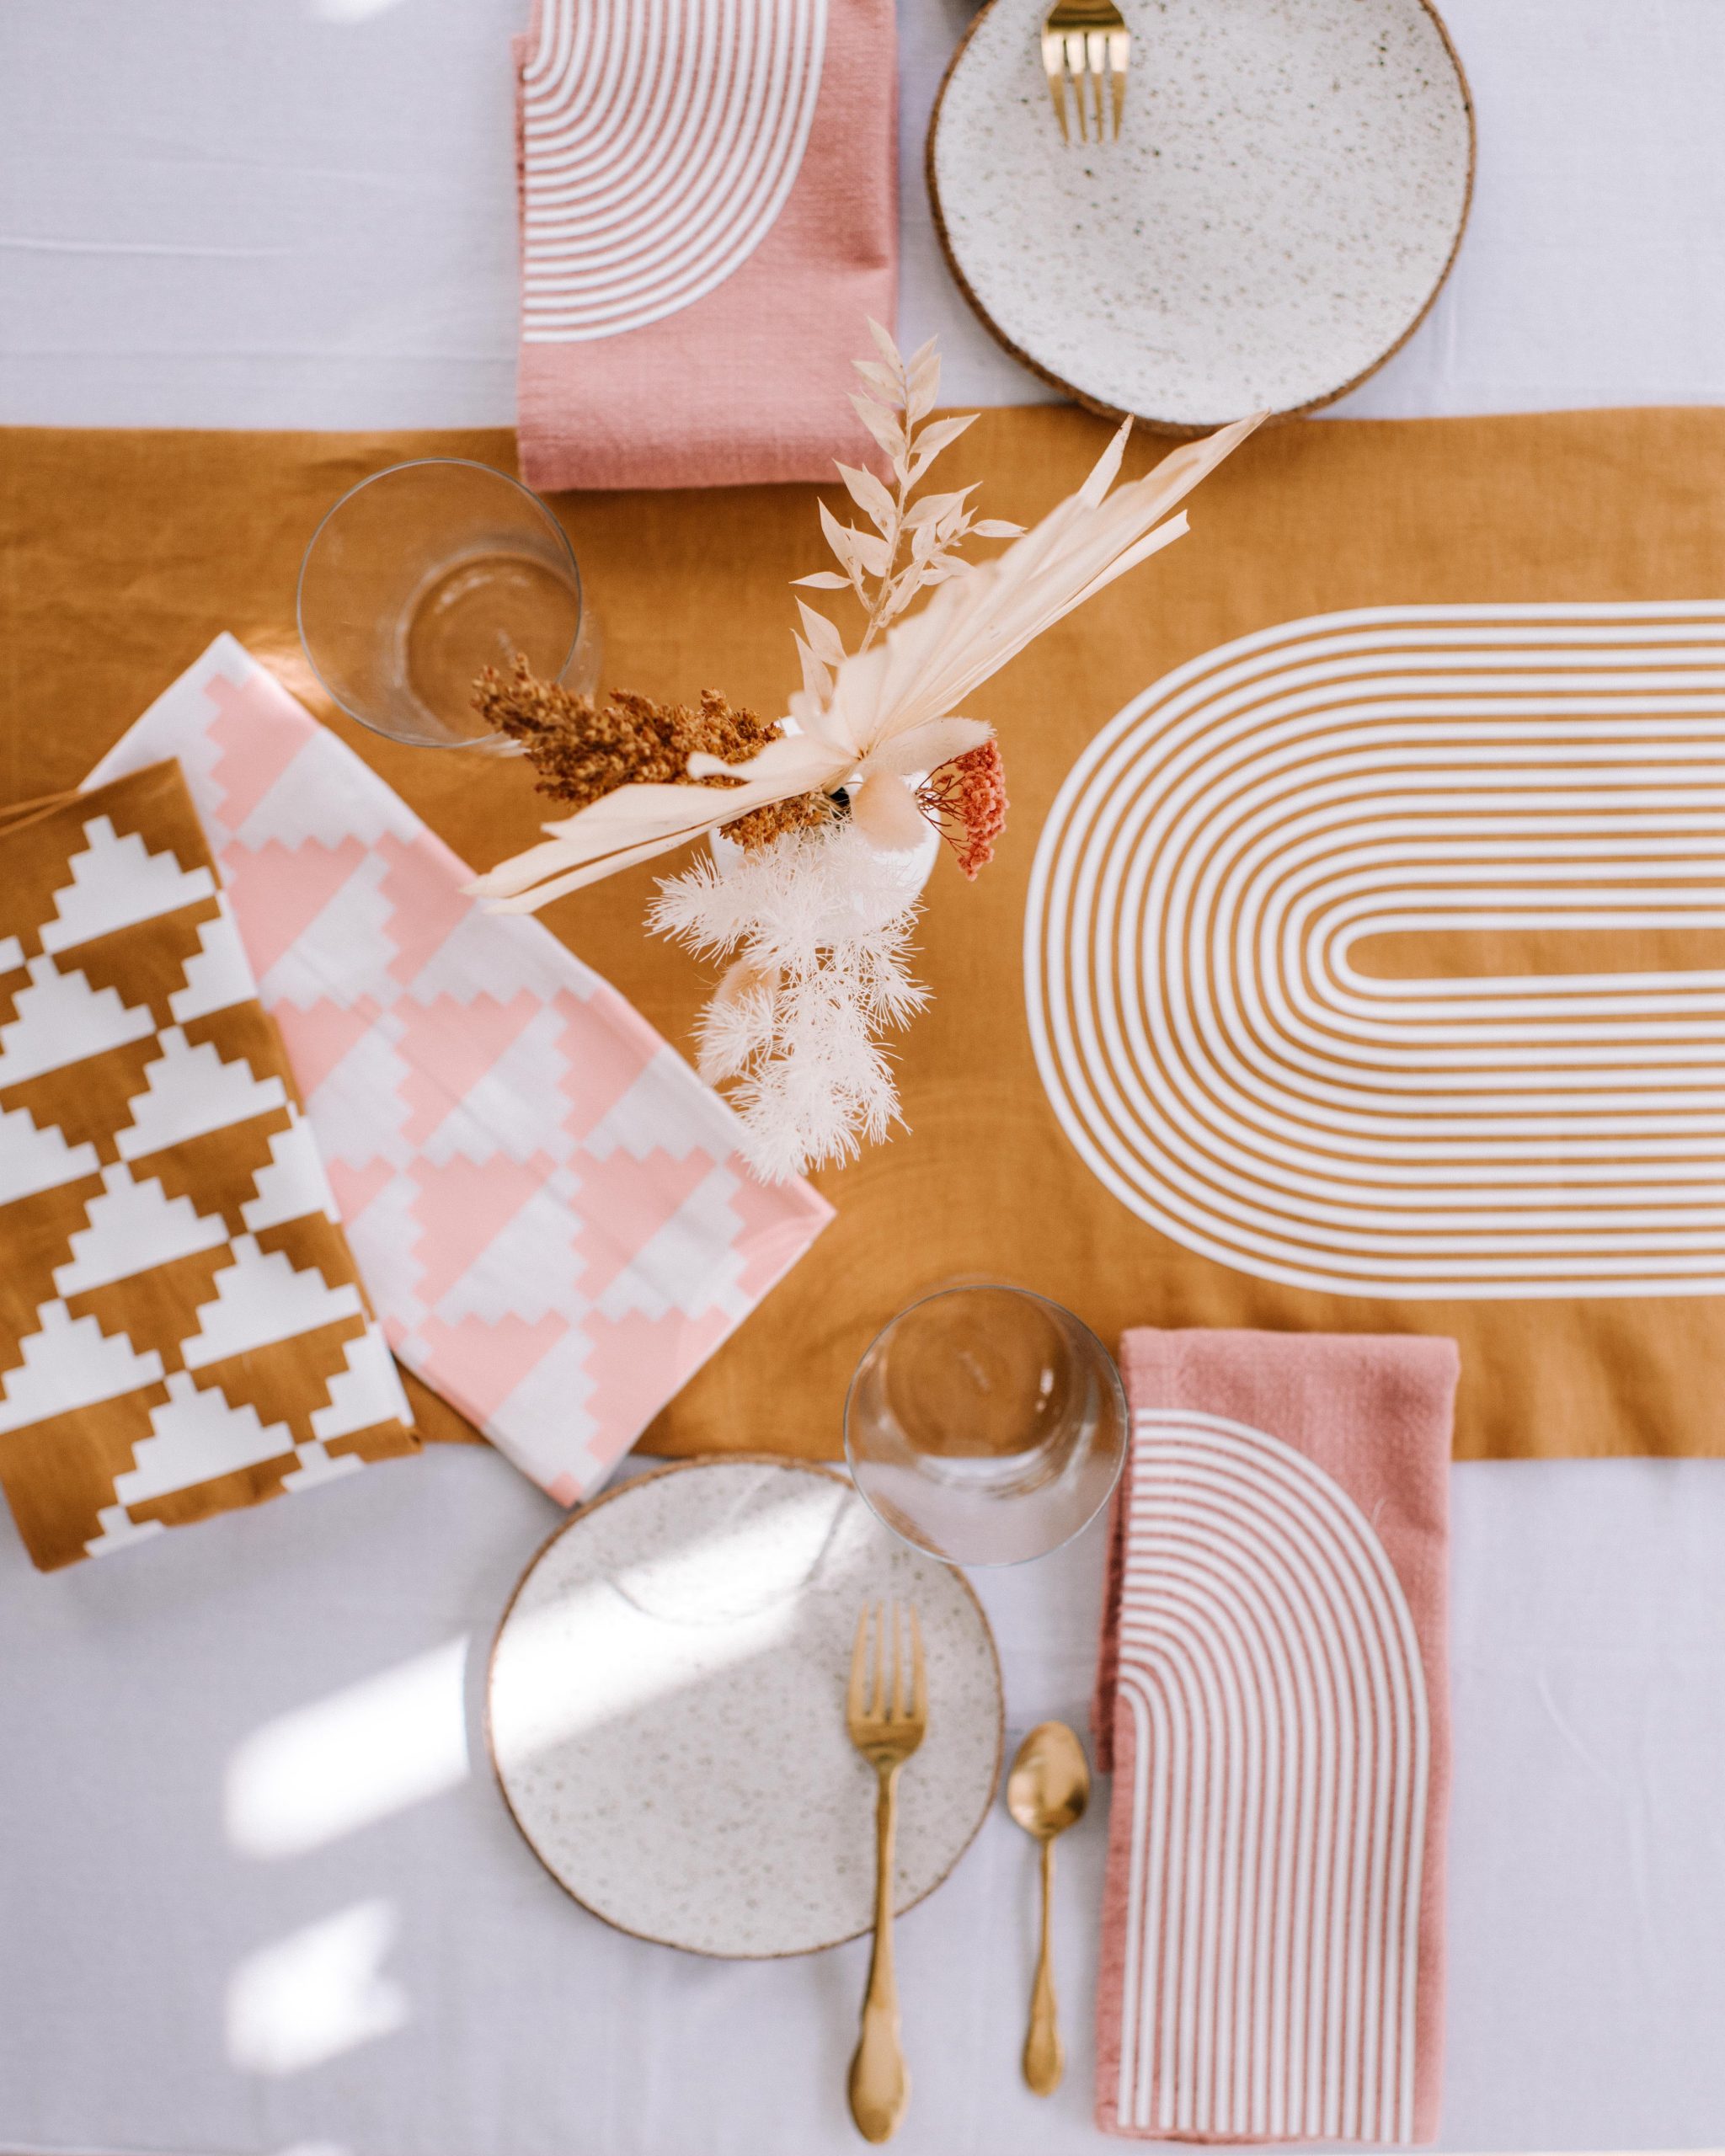
This year, I knew I wanted to make something for my mum’s table. She always makes such beautiful food for us and never stops hunting for table runners, napkins and tablecloths. These also double as lovely (and sustainable!) gift wrap! I’ve been wanting to experiment with Cricut’s iron on vinylIron On Vinyl and thought this would be the perfect project to try it on. I just love how many different materials you can use on the Cricut.
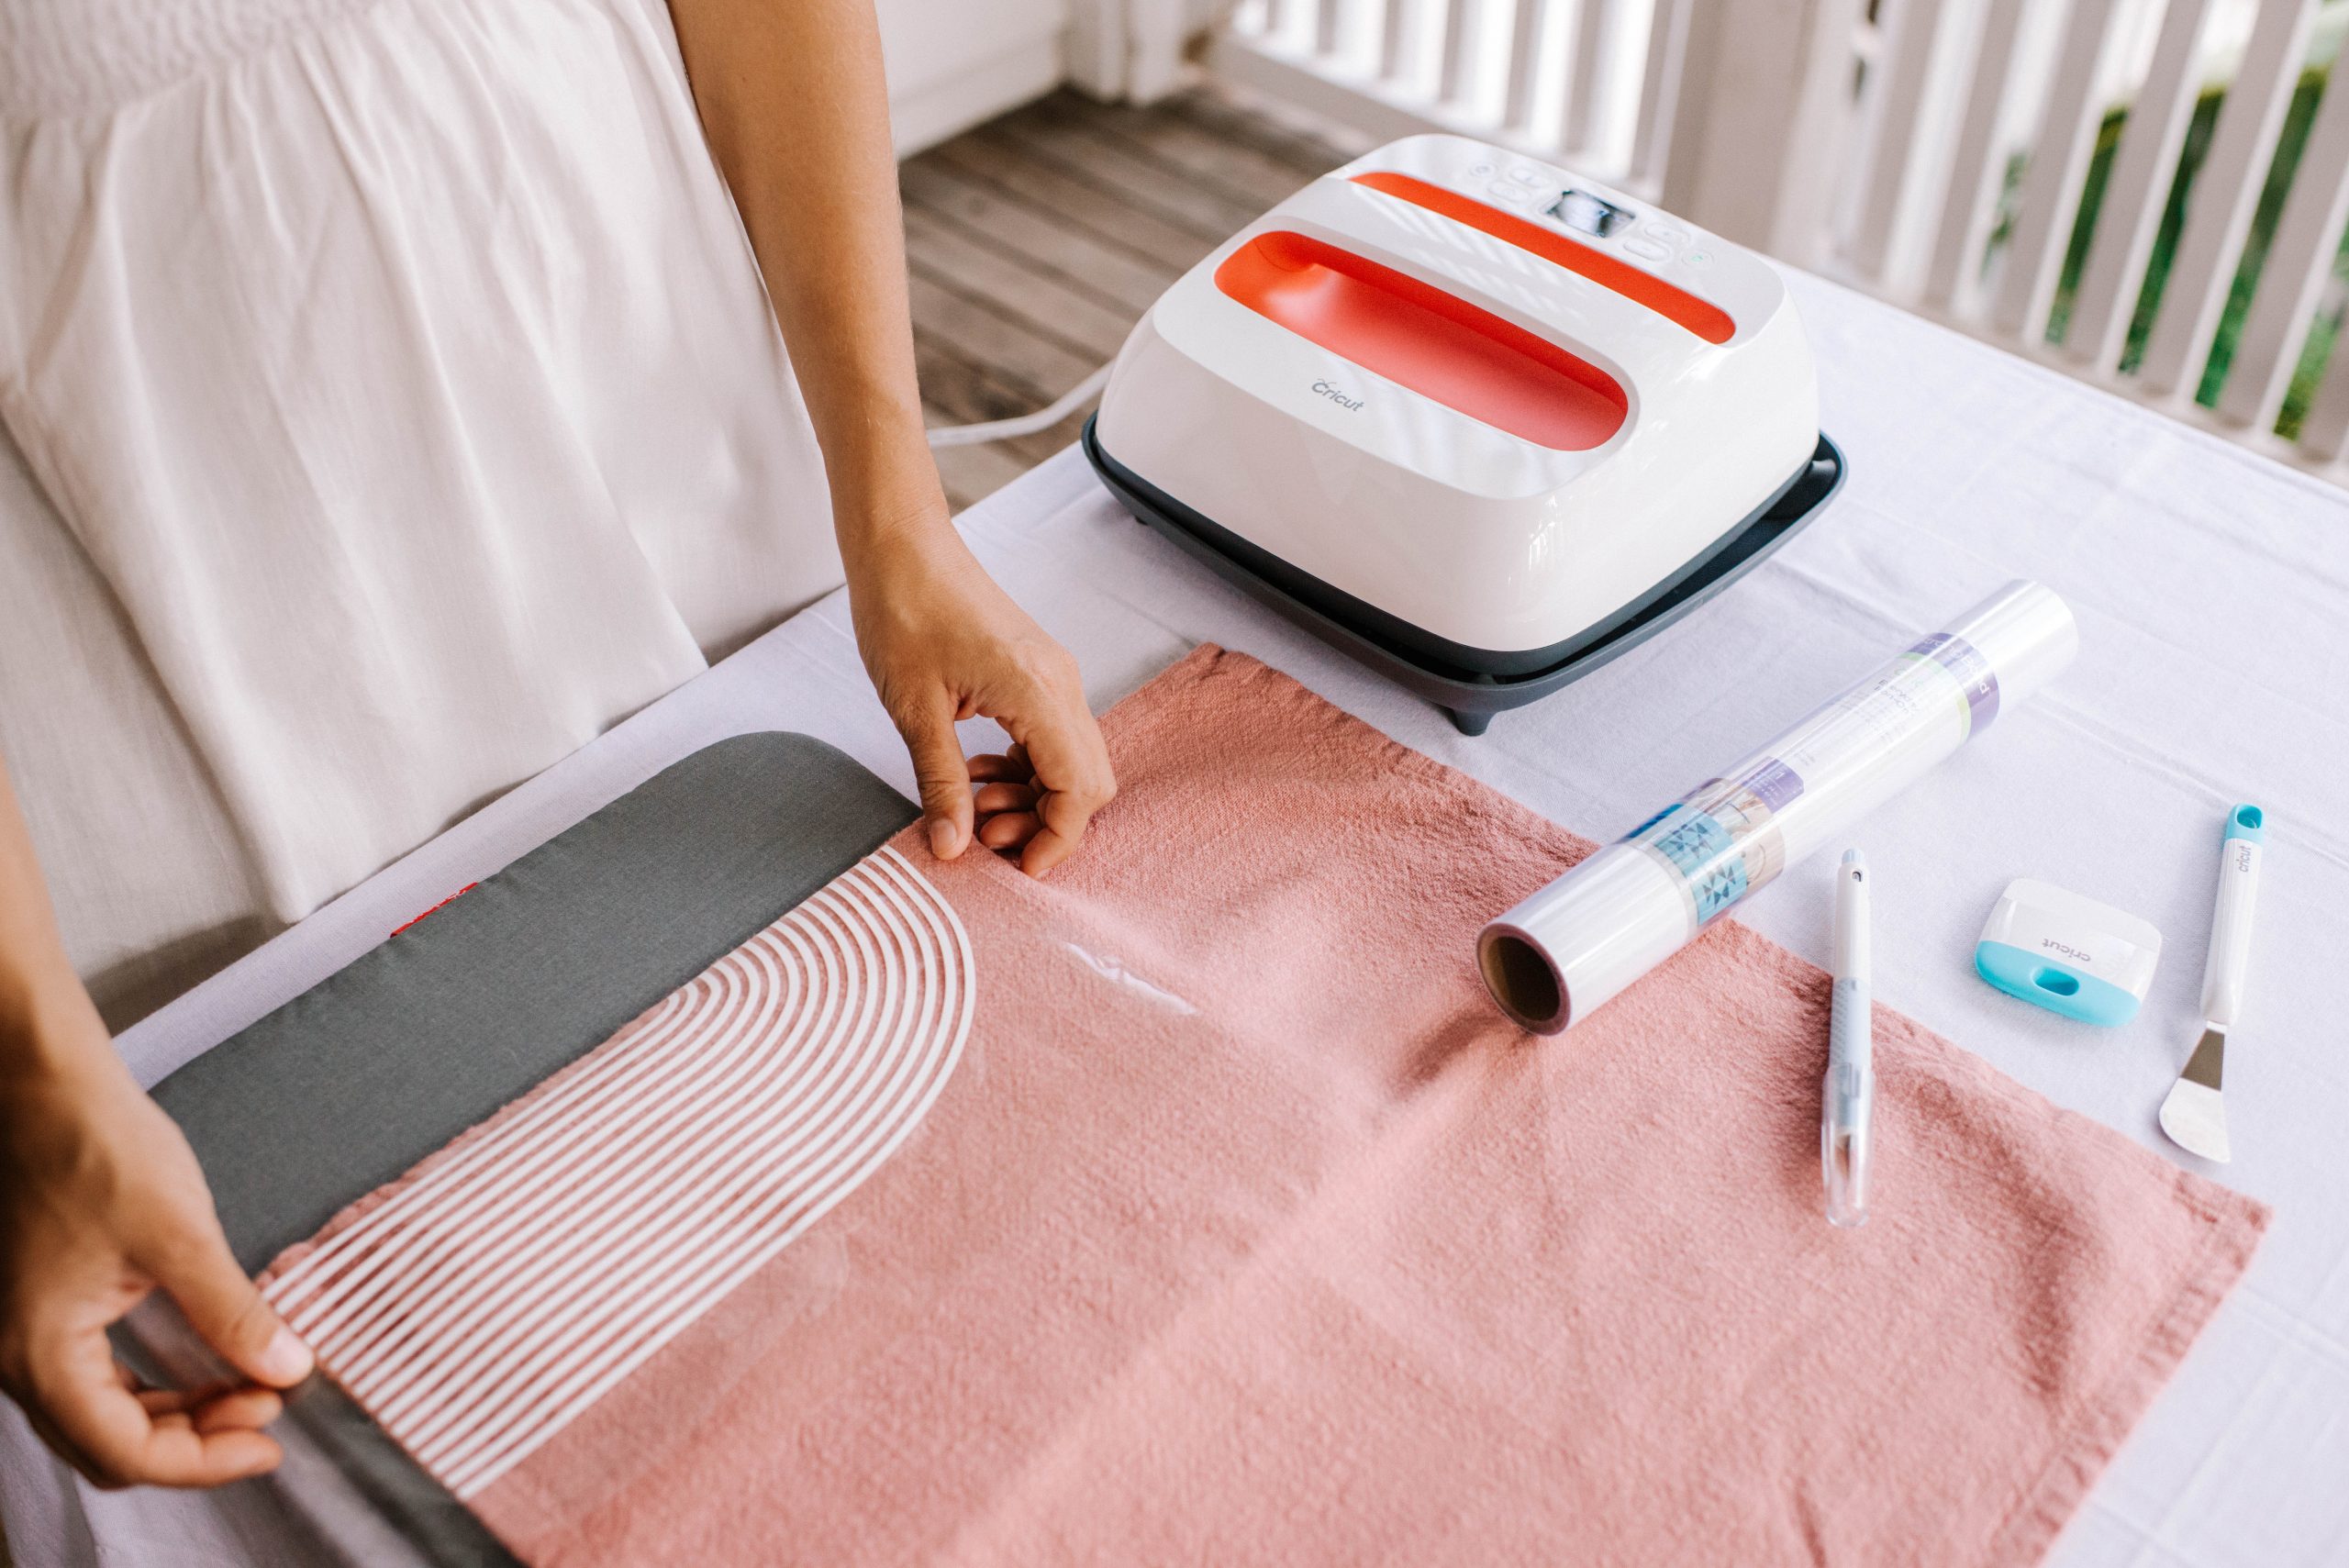
You Need
- Cricut Maker Machine
- Standard Grip Mat
- EasyPress, or Household Iron and Press Cloth
- Cricut EasyPress Mat
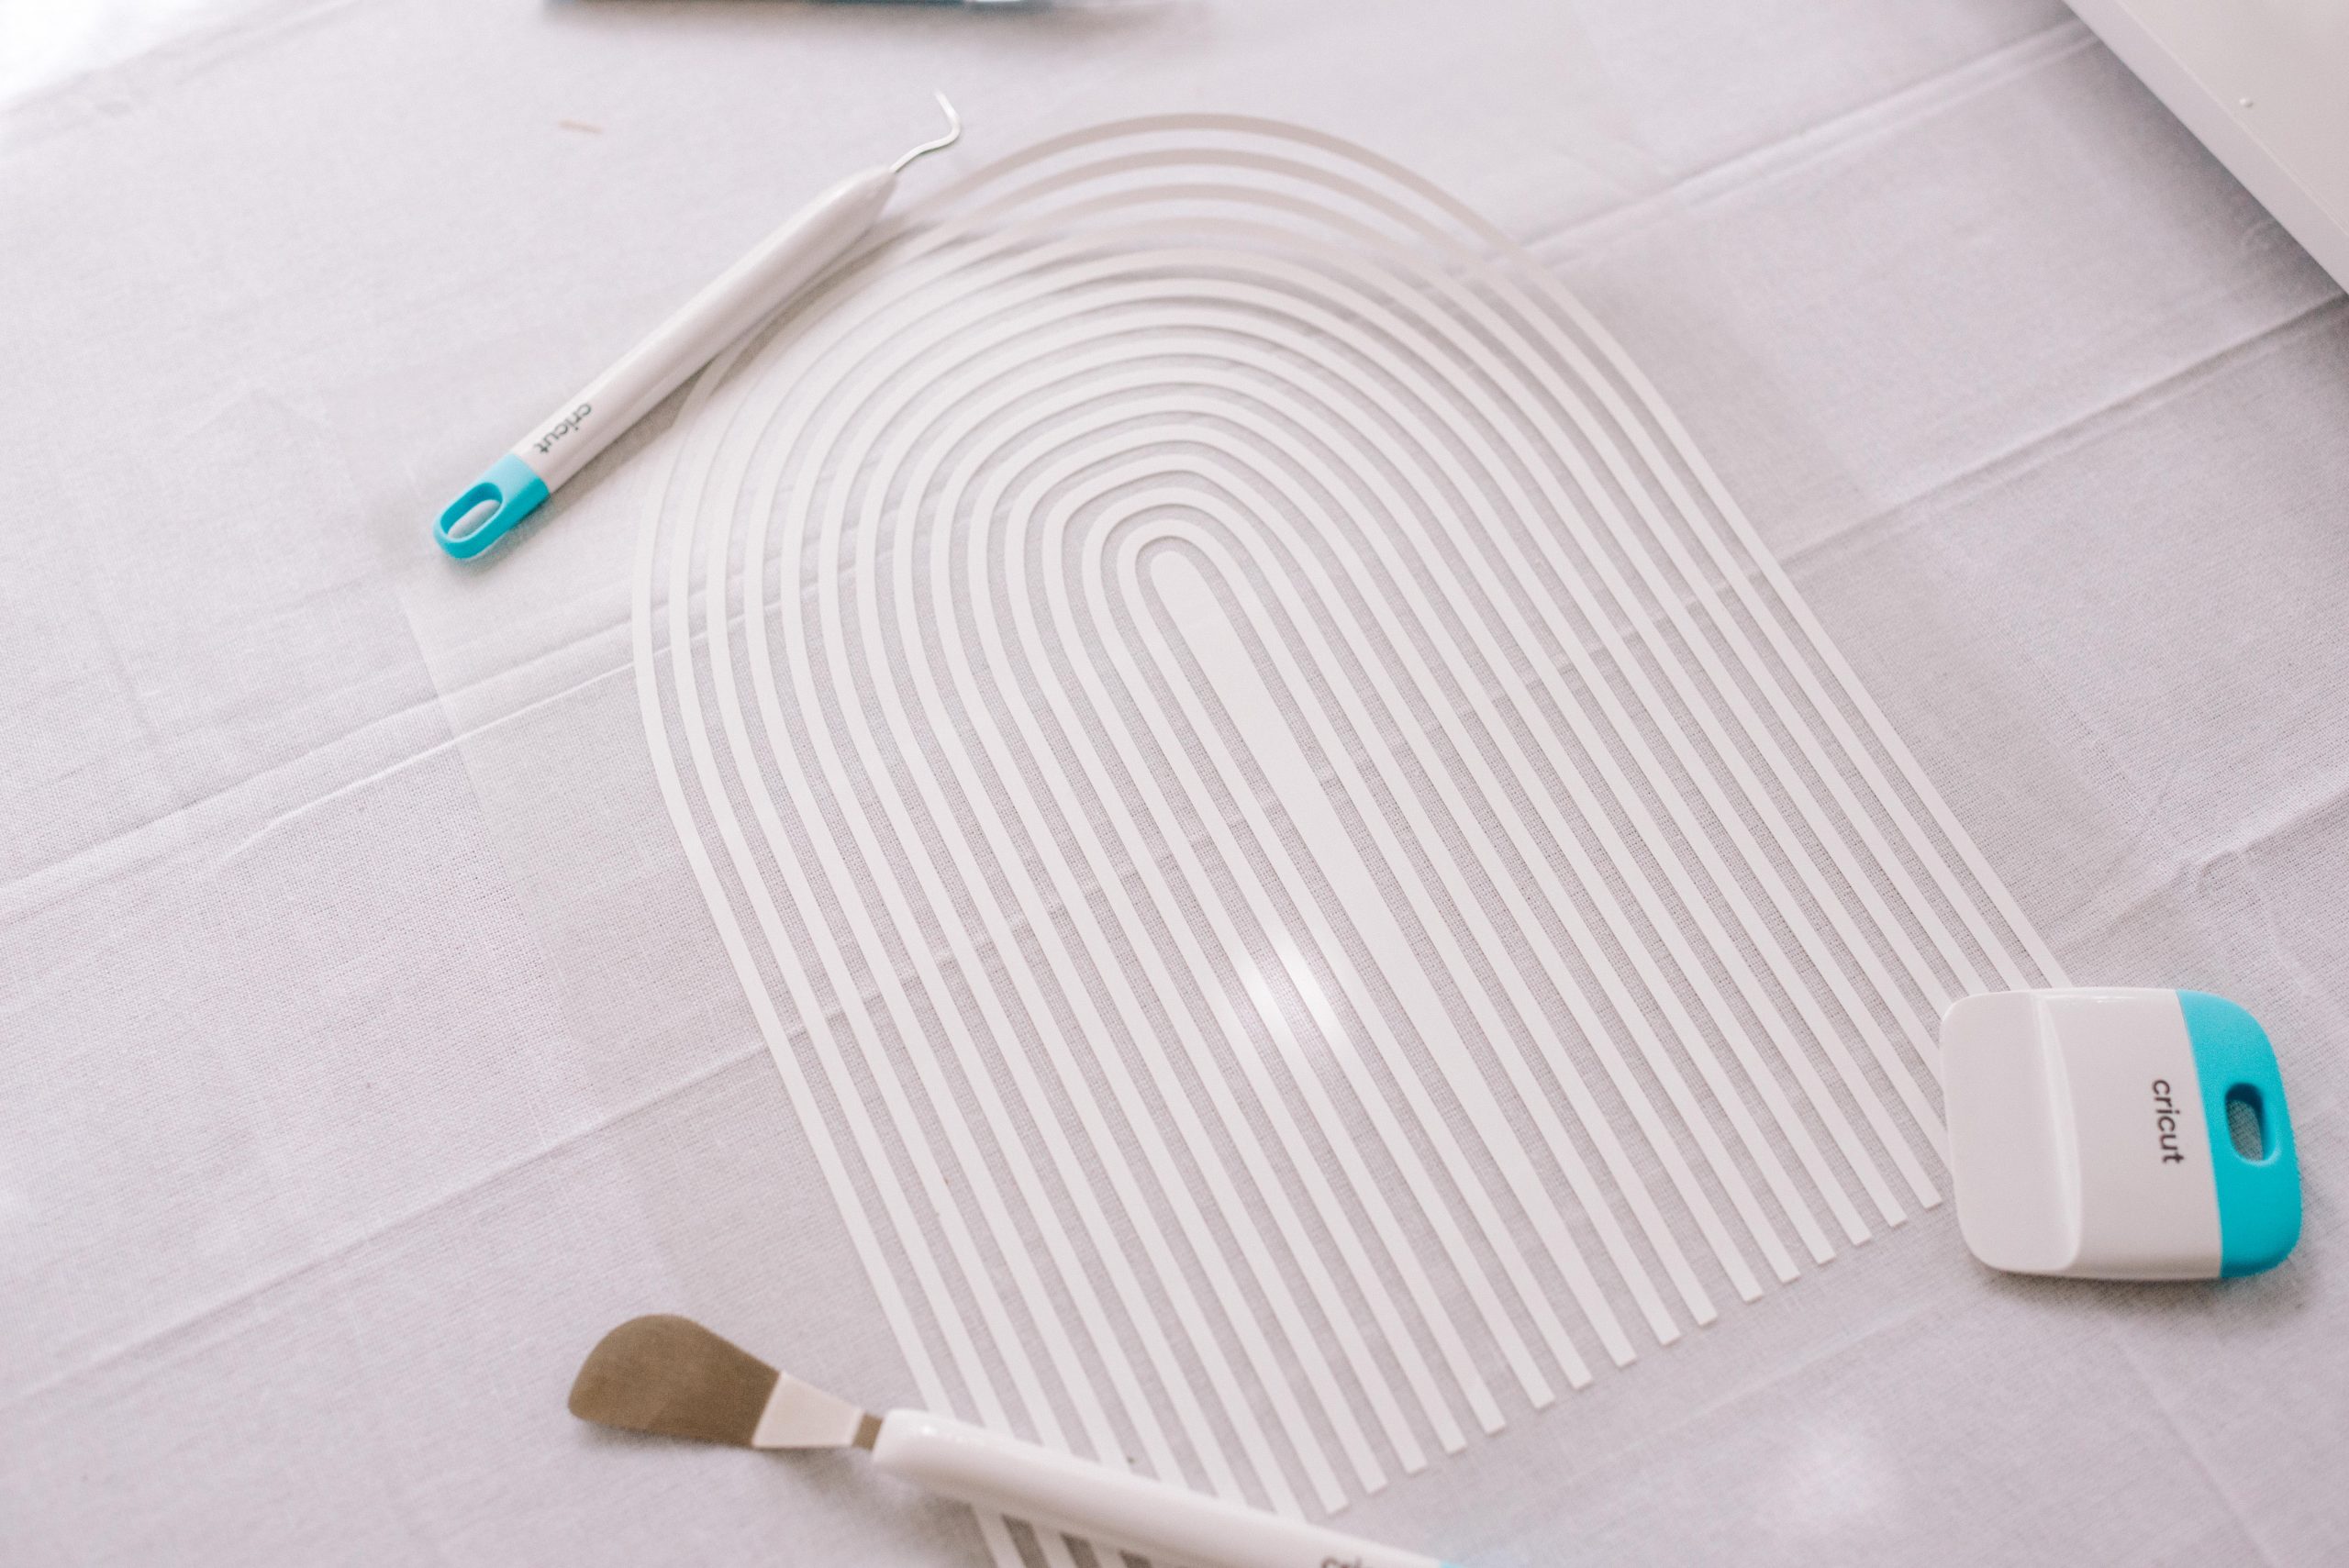
- Cricut Weeding Tool
- Linen napkins and table runner (or linen fabric to make your own)
Creating The Design
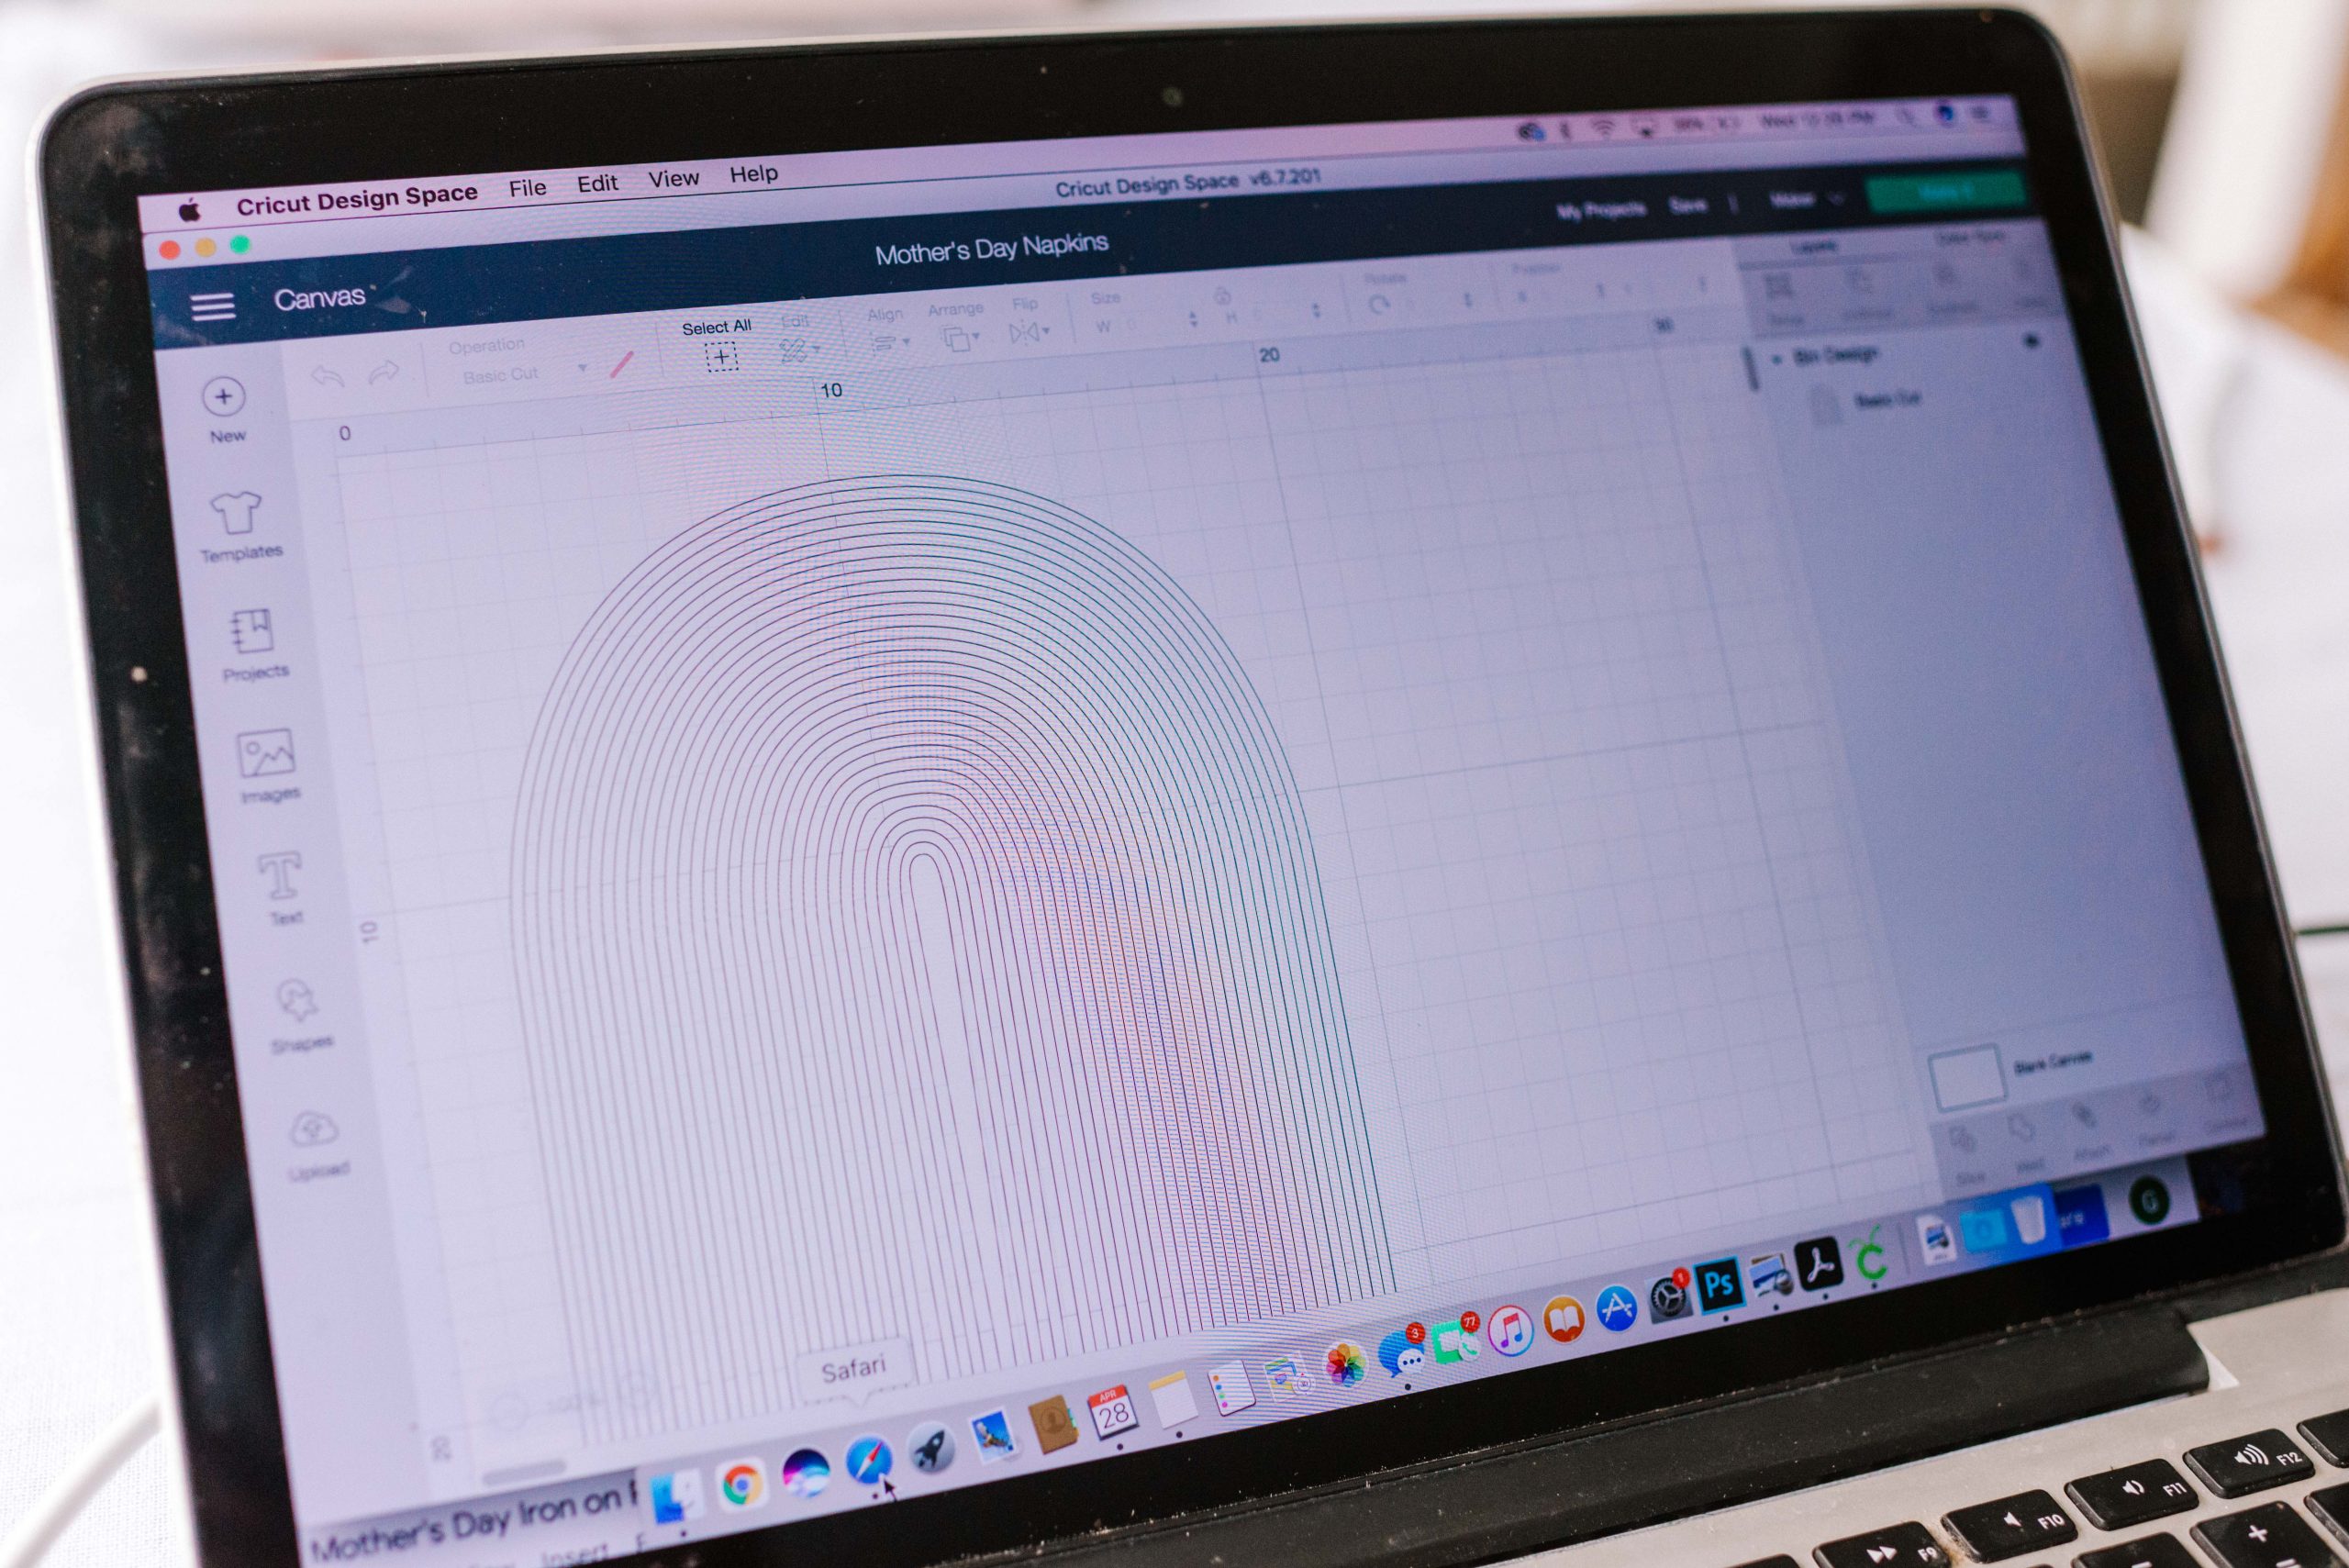
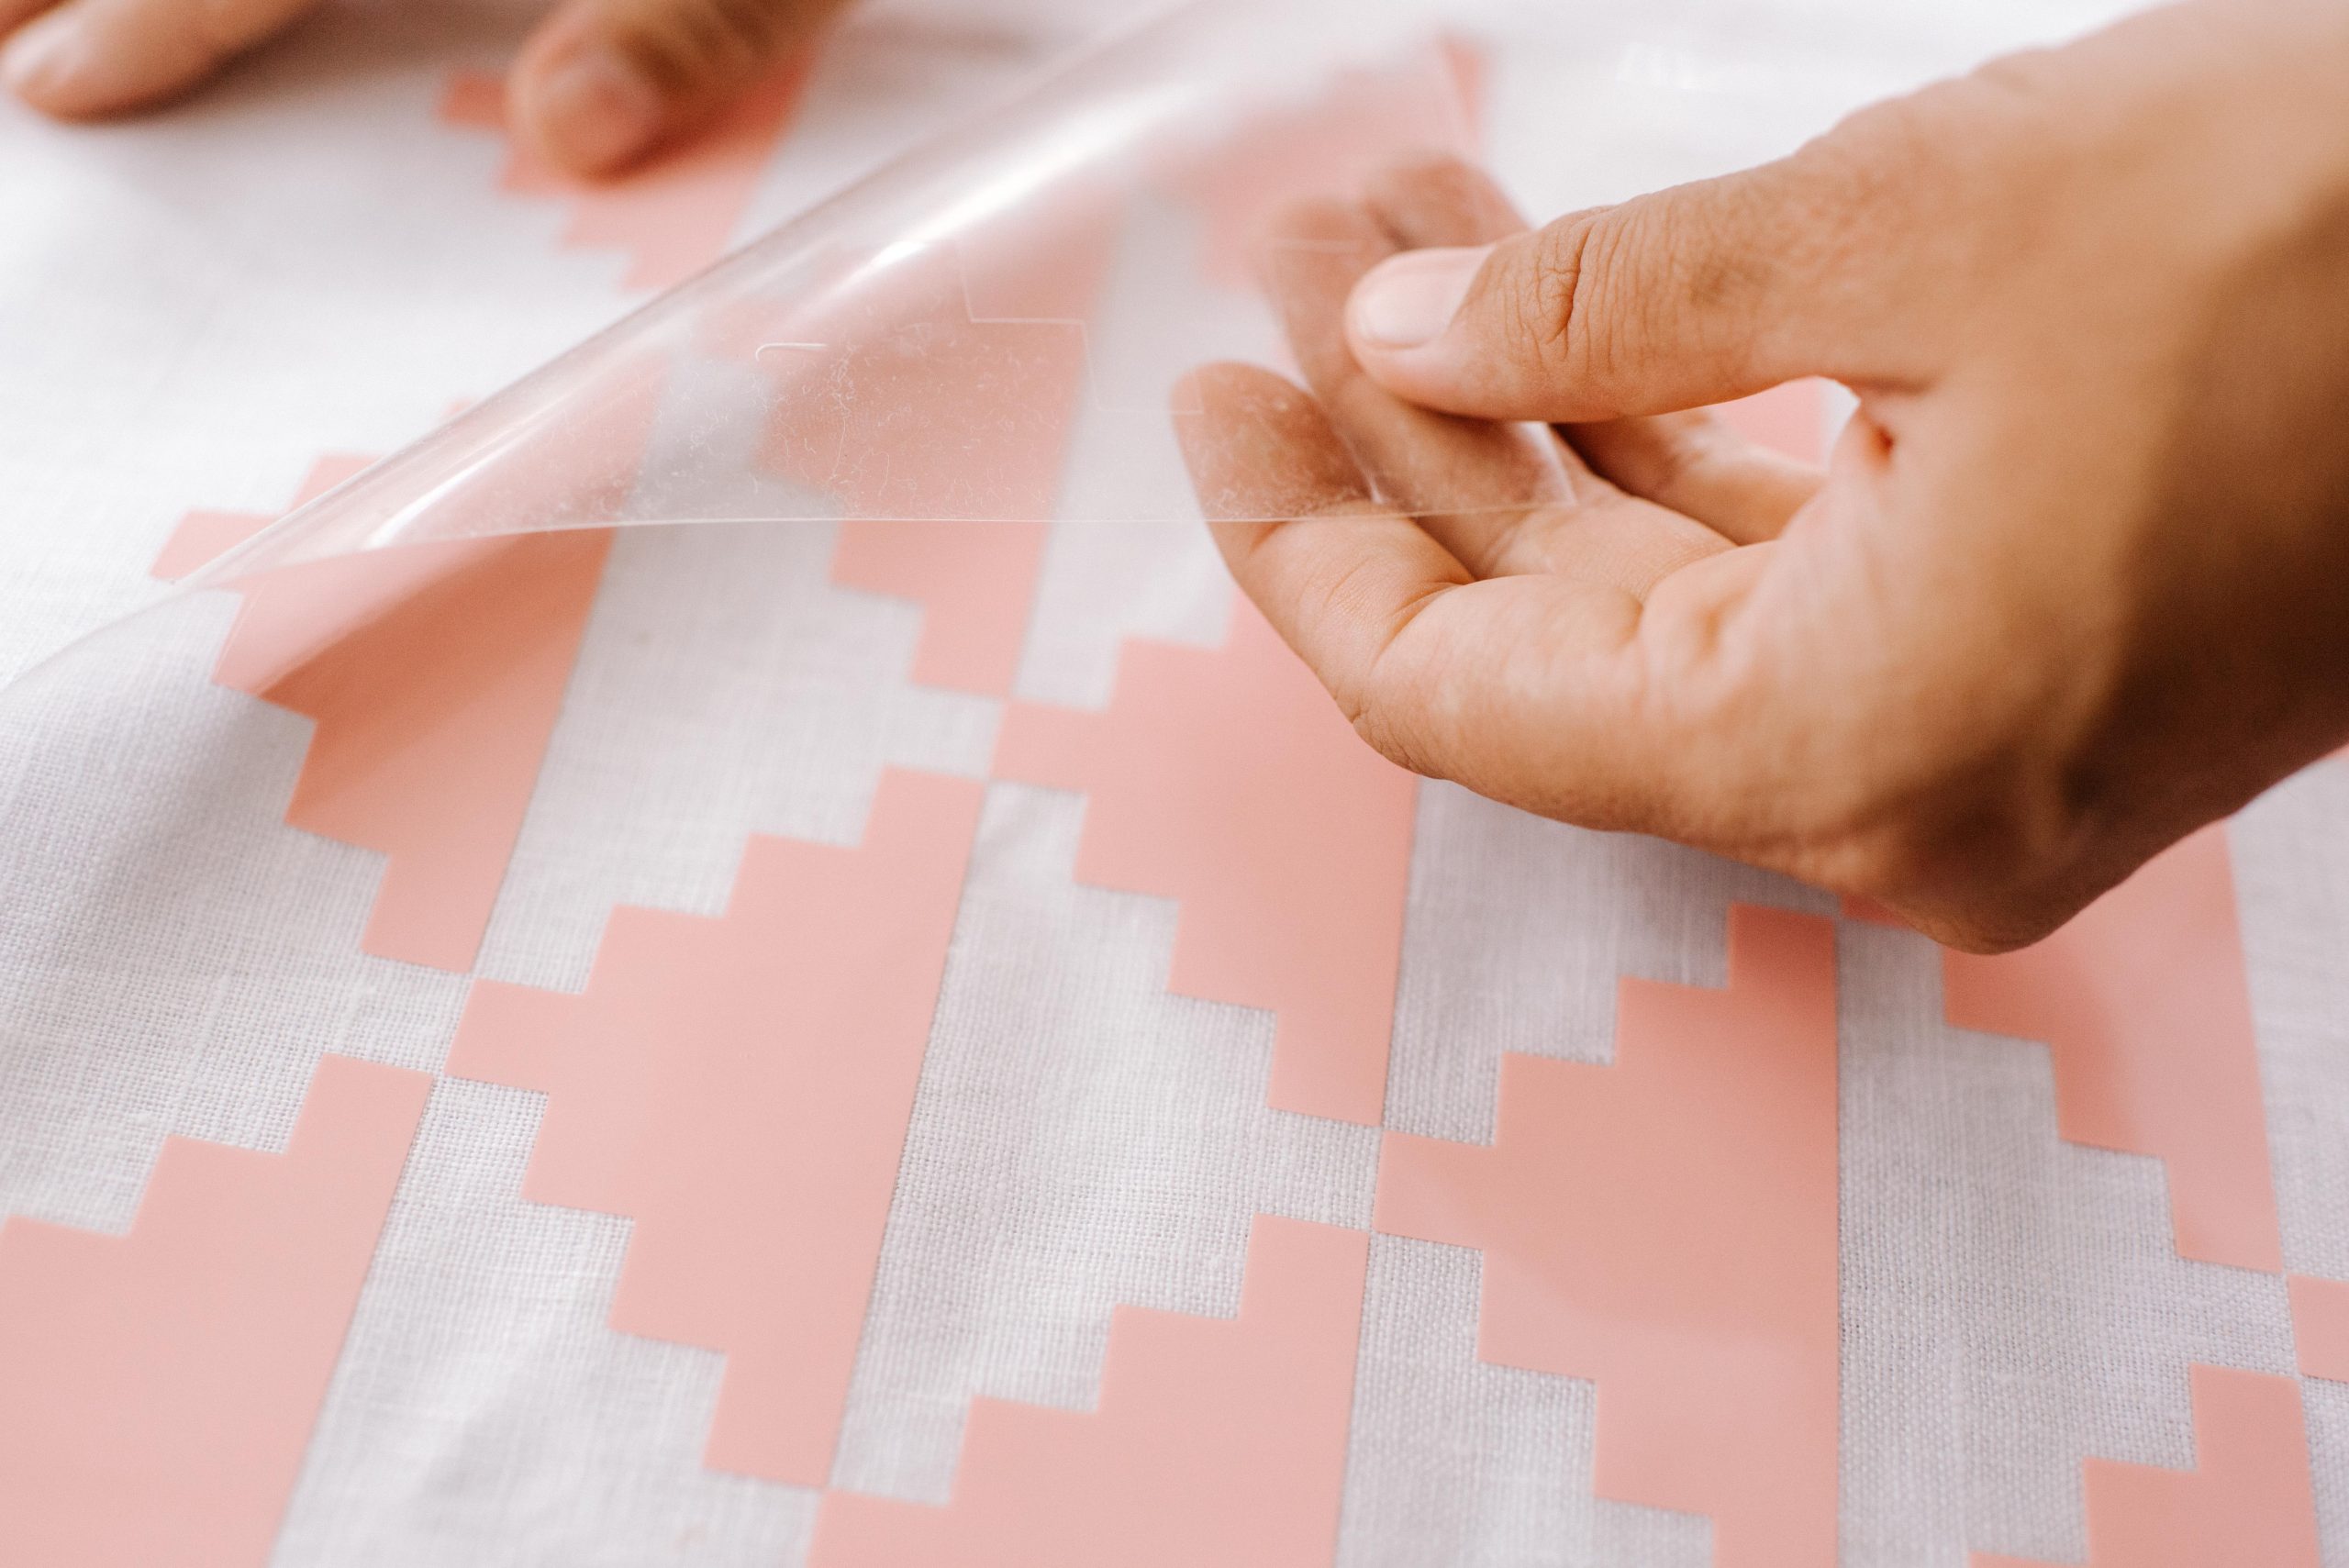
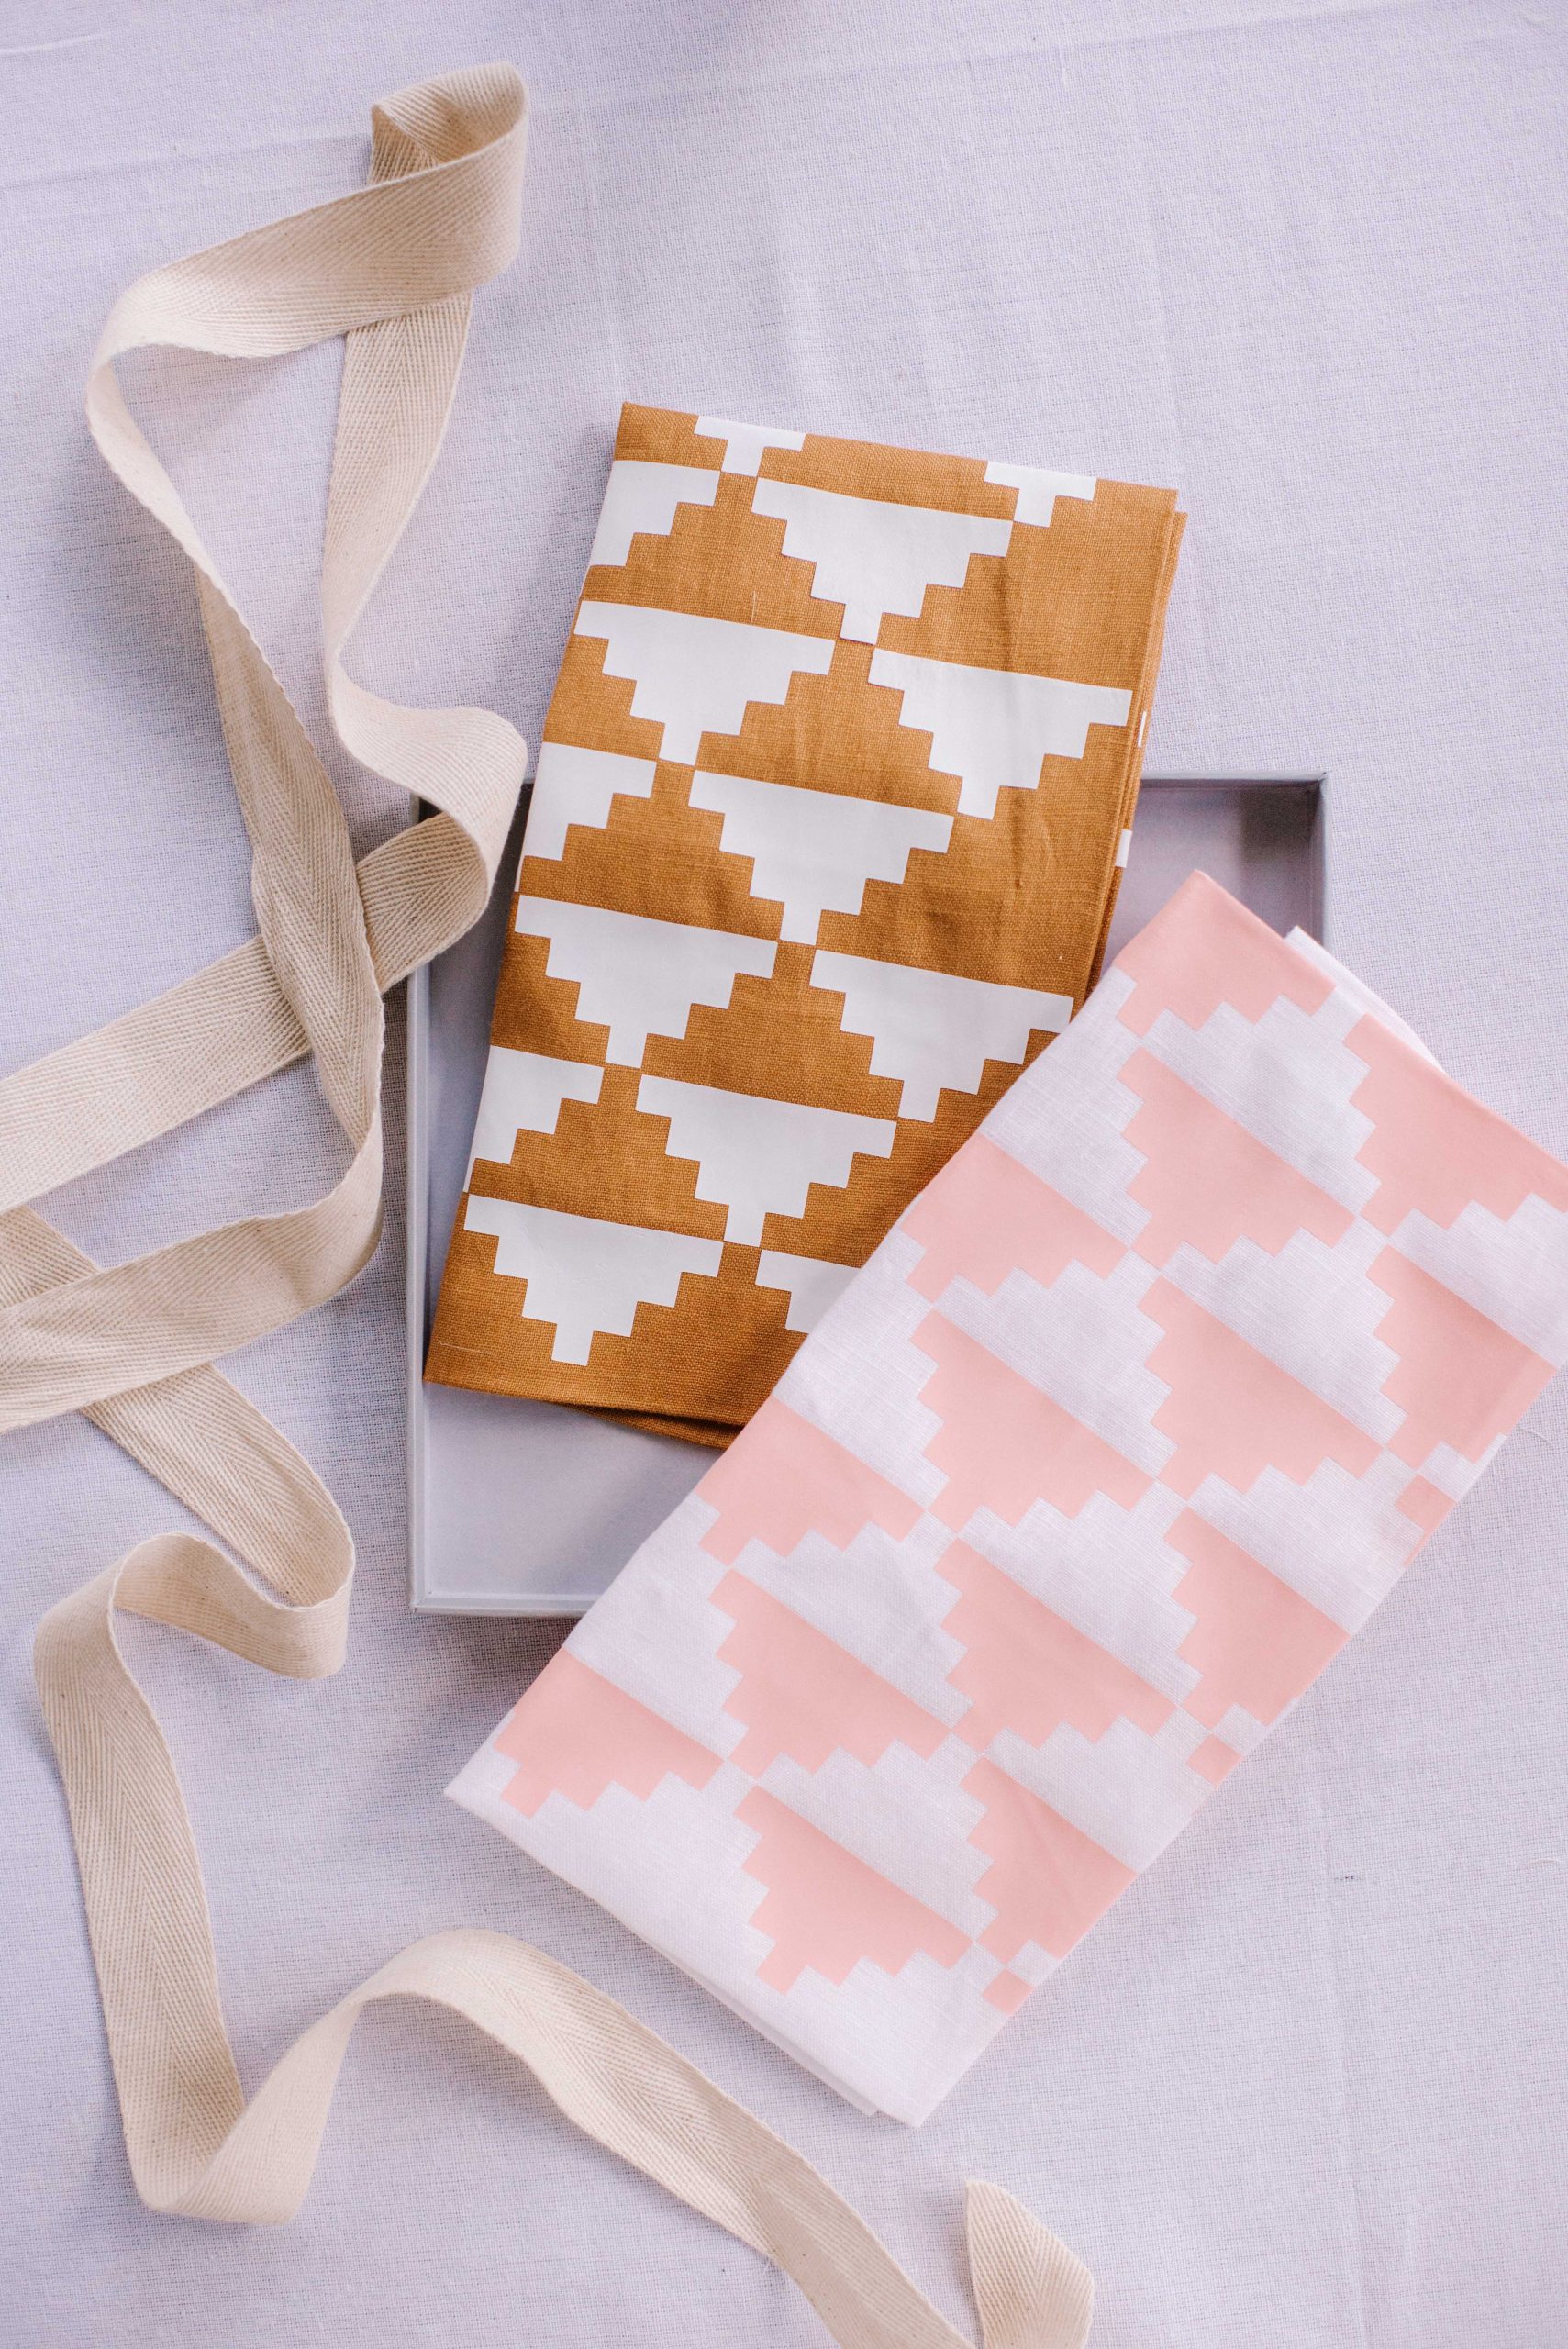
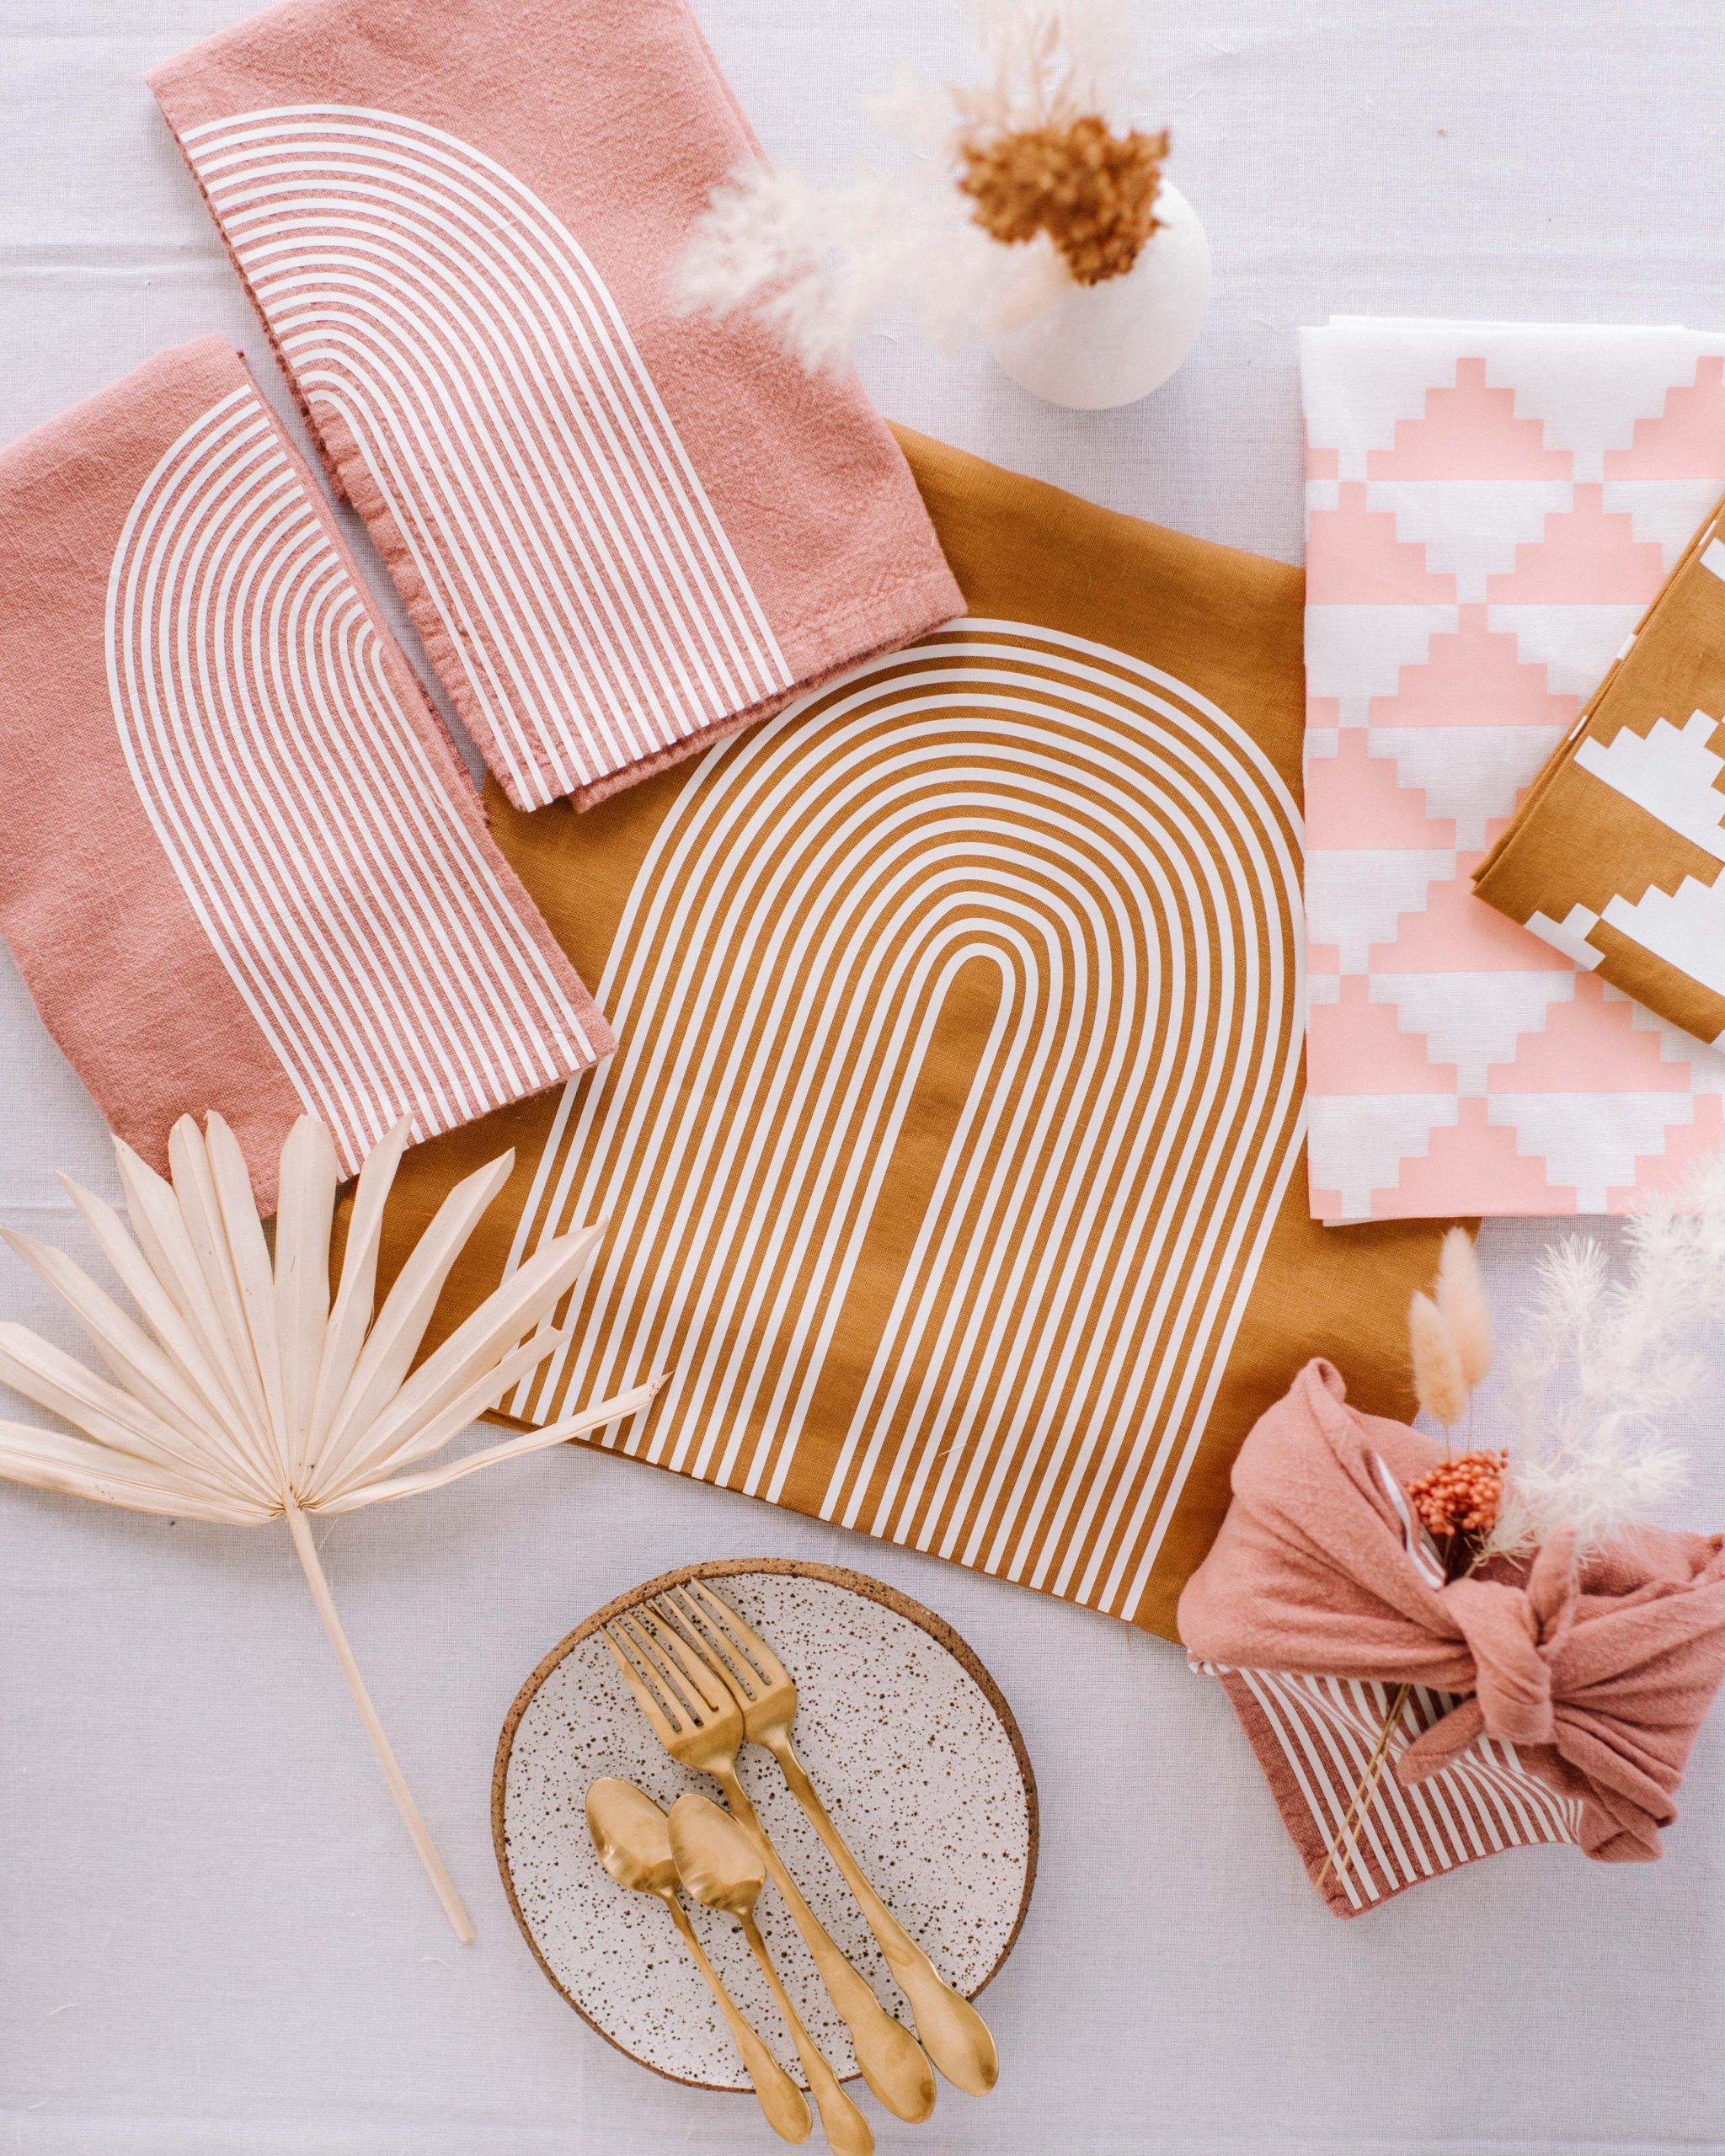
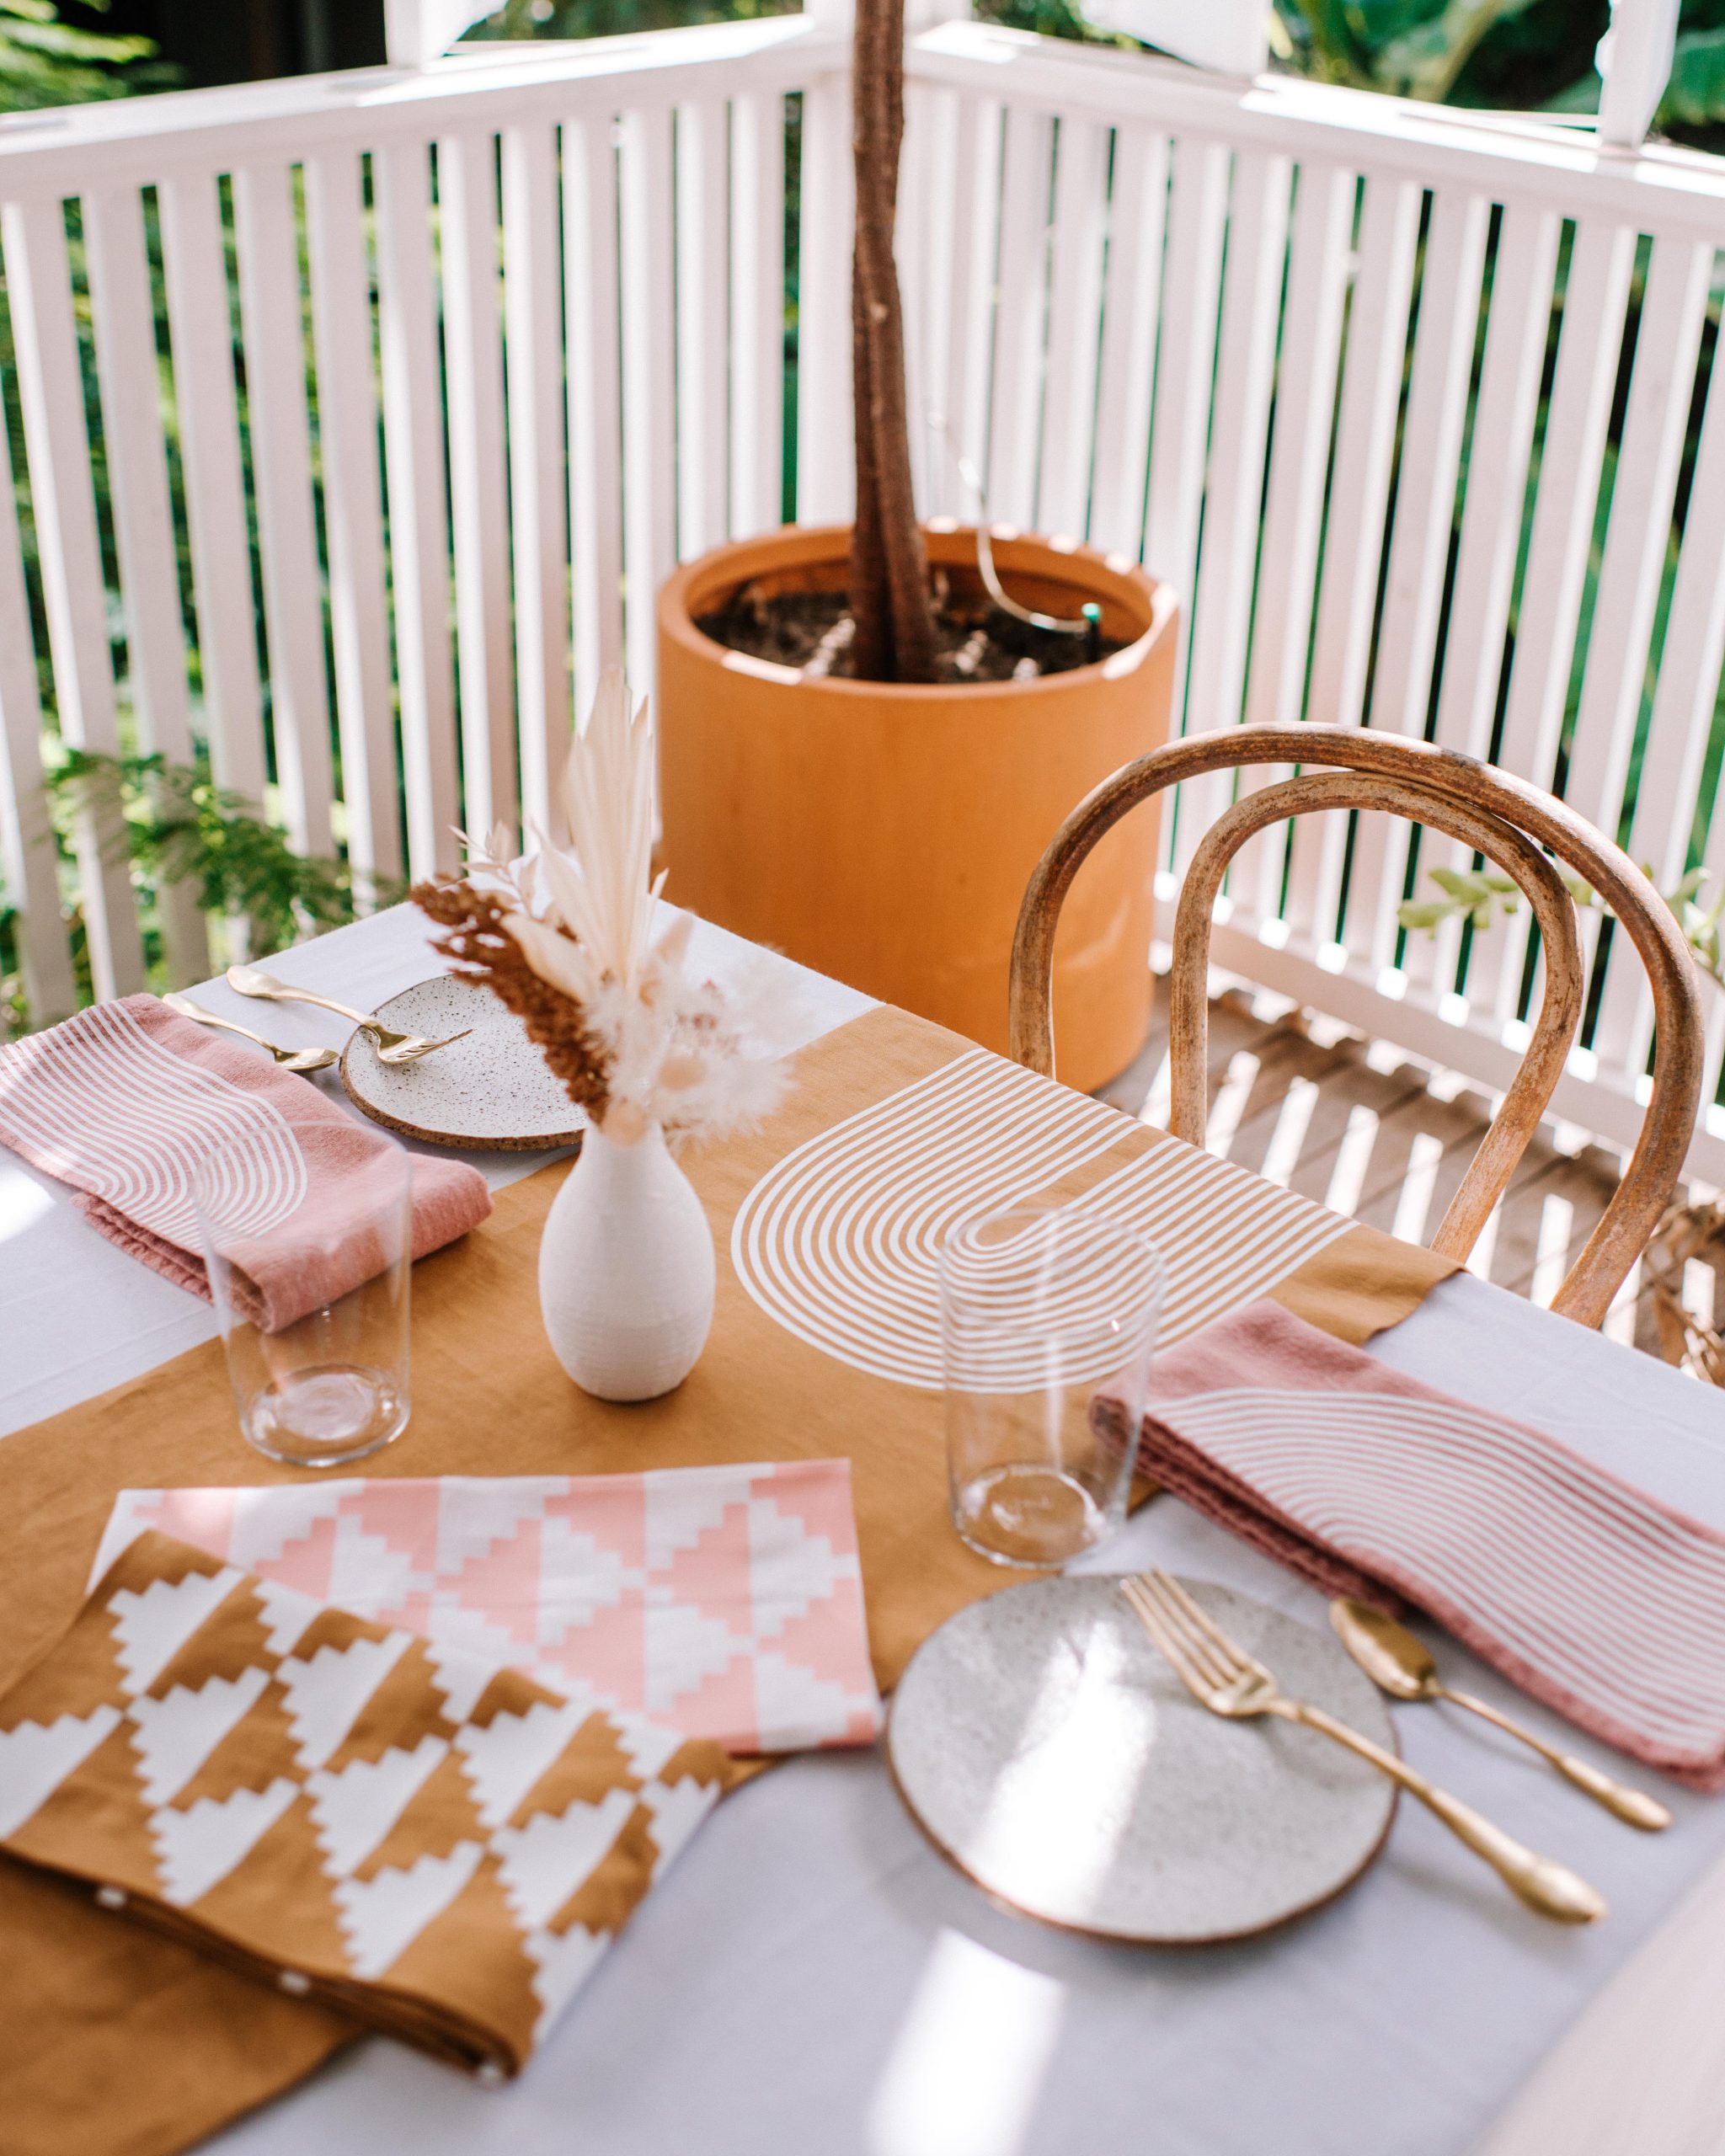
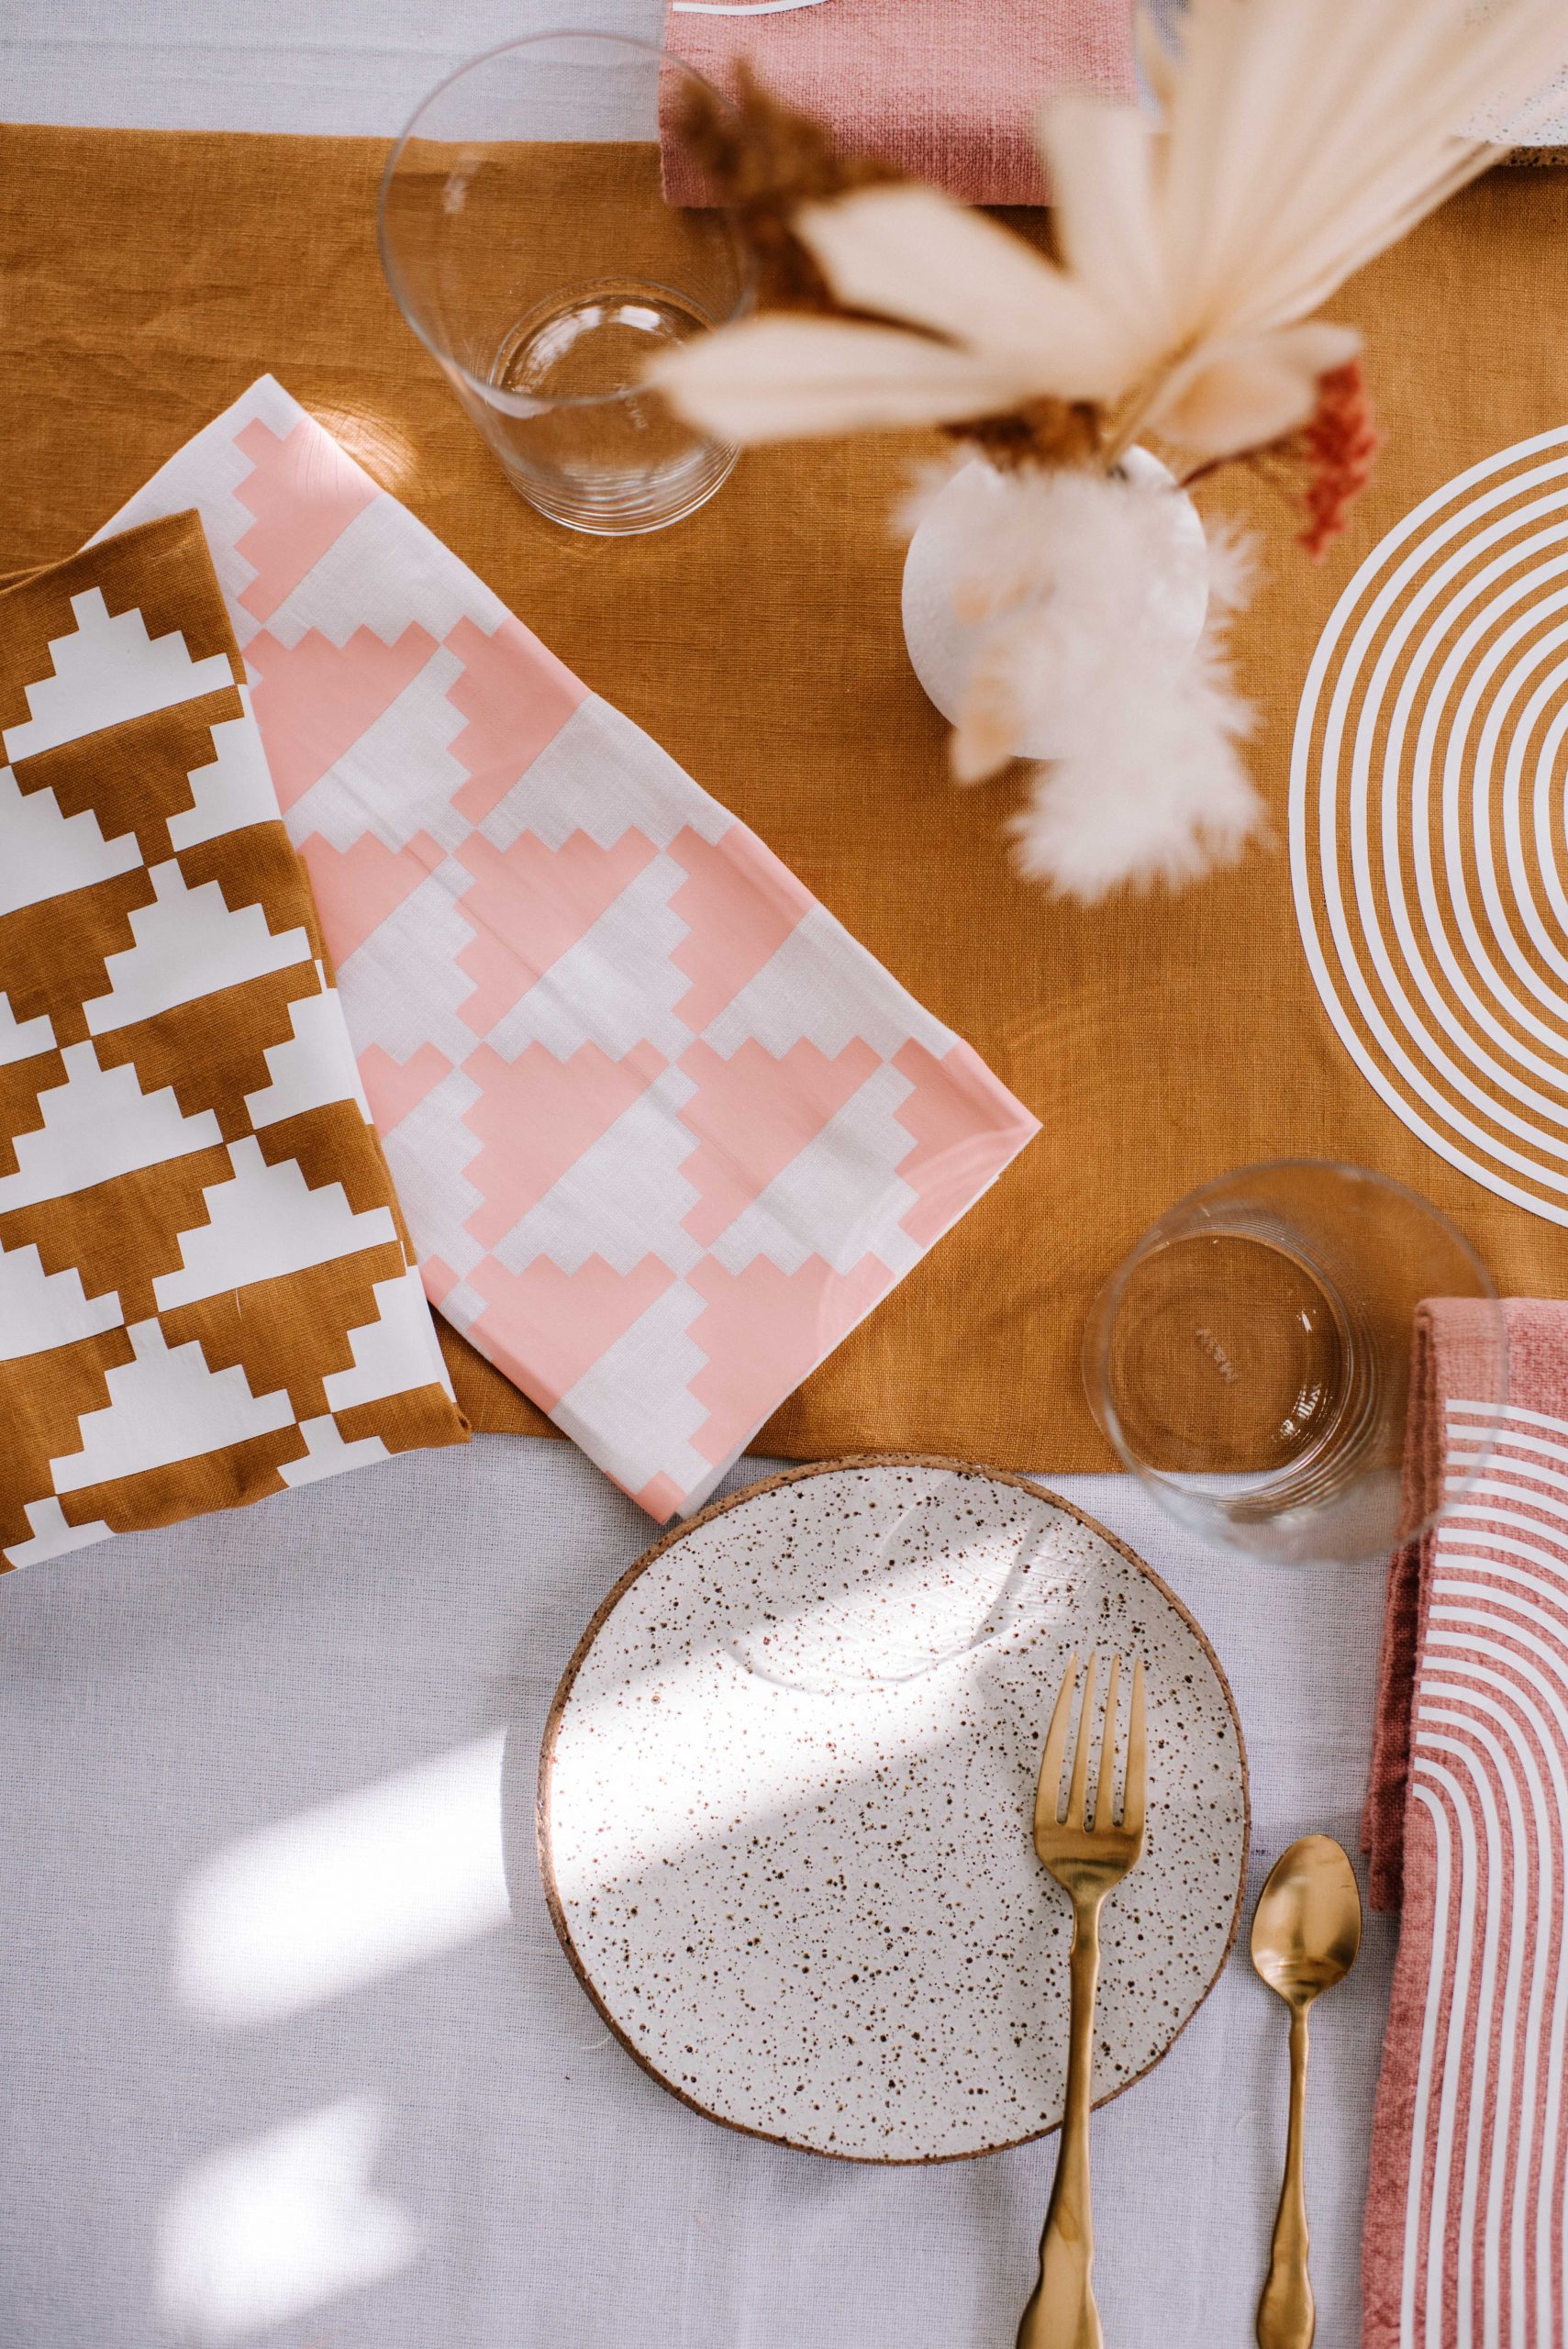
I love using Design Space and find it so easy to create interesting and modern looking designs. Sometimes I customise designs I find in the project gallery of the app, like the arched shape I have used in this project, and other times I simply use shapes to create interesting designs in the canvas, like I did for the stepped pattern. It’s really so simple!
How to Make Customised Table Linens
- Make or buy the base linens for your project. I bought some linen fabric and made the table runner, and then used some ready made linen napkins.
- Create your design in Design Space. Be sure to Mirror the image when using iron-on and place the shiny side (clear liner) down on the mat before inserting into the machine.
- Follow the prompts in Design Space to cut the images from the iron-on material.
- Use a Weeding Tool to remove the negative pieces of iron-on so just your design remains on the clear liner.
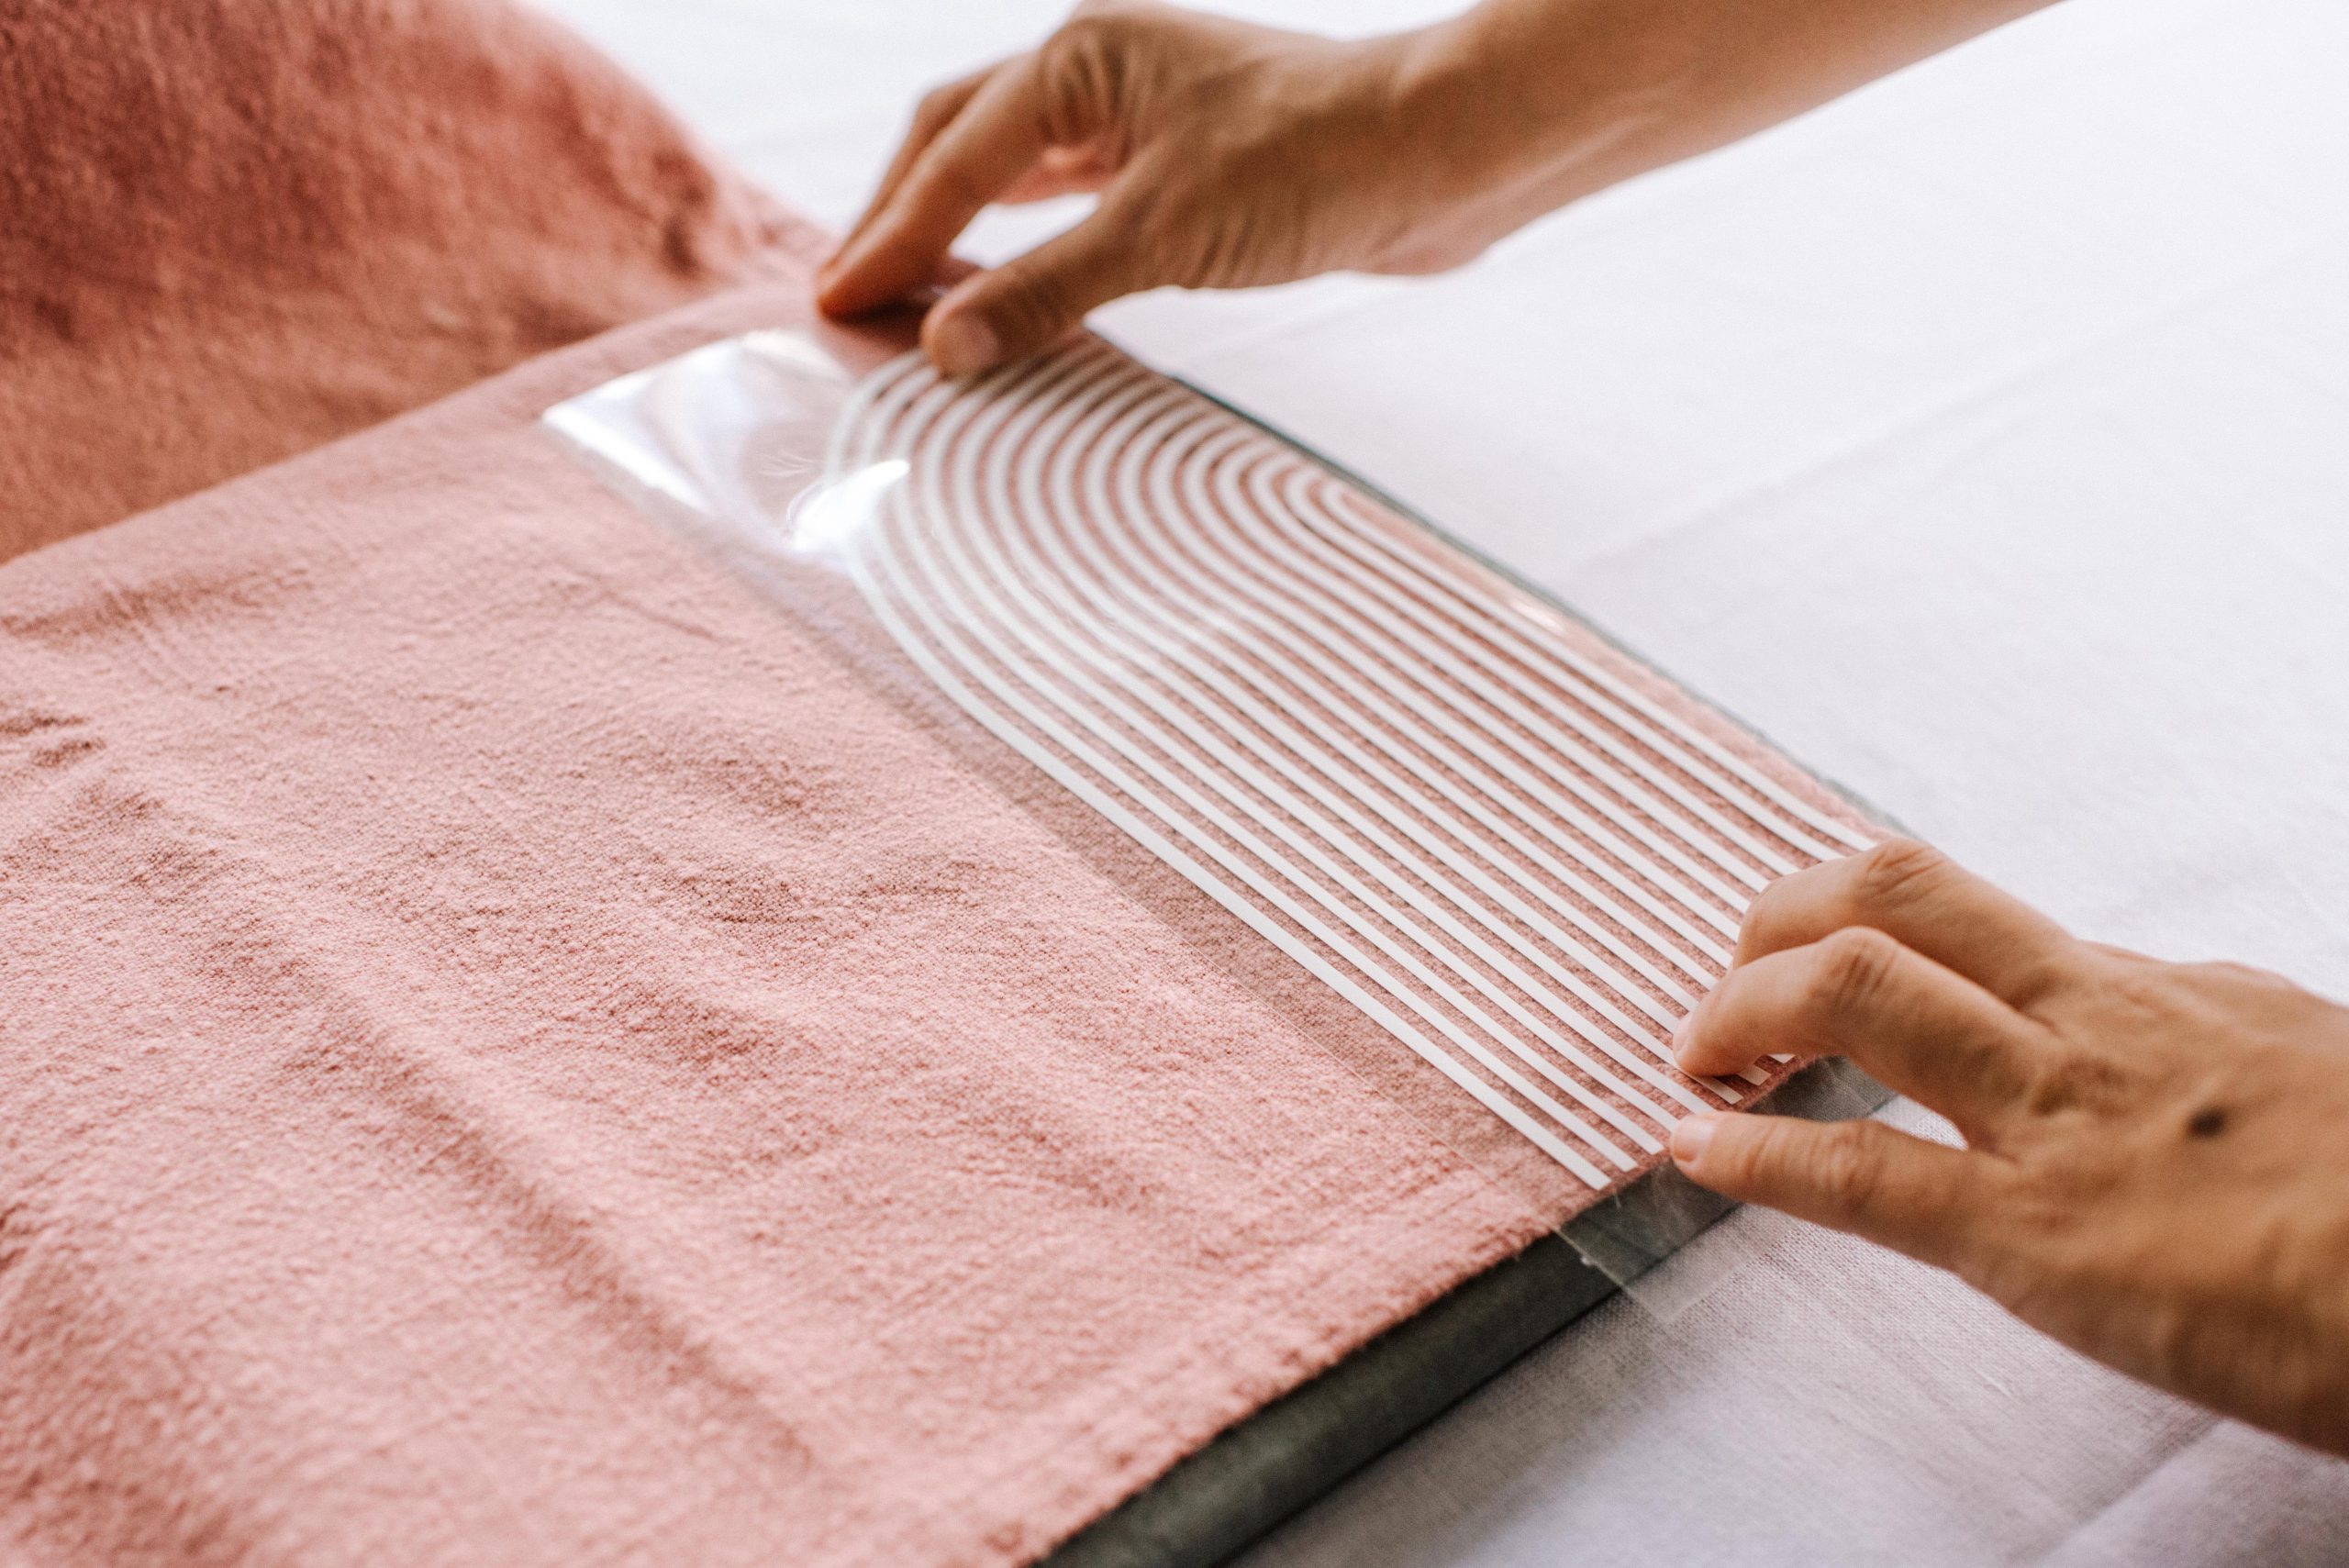
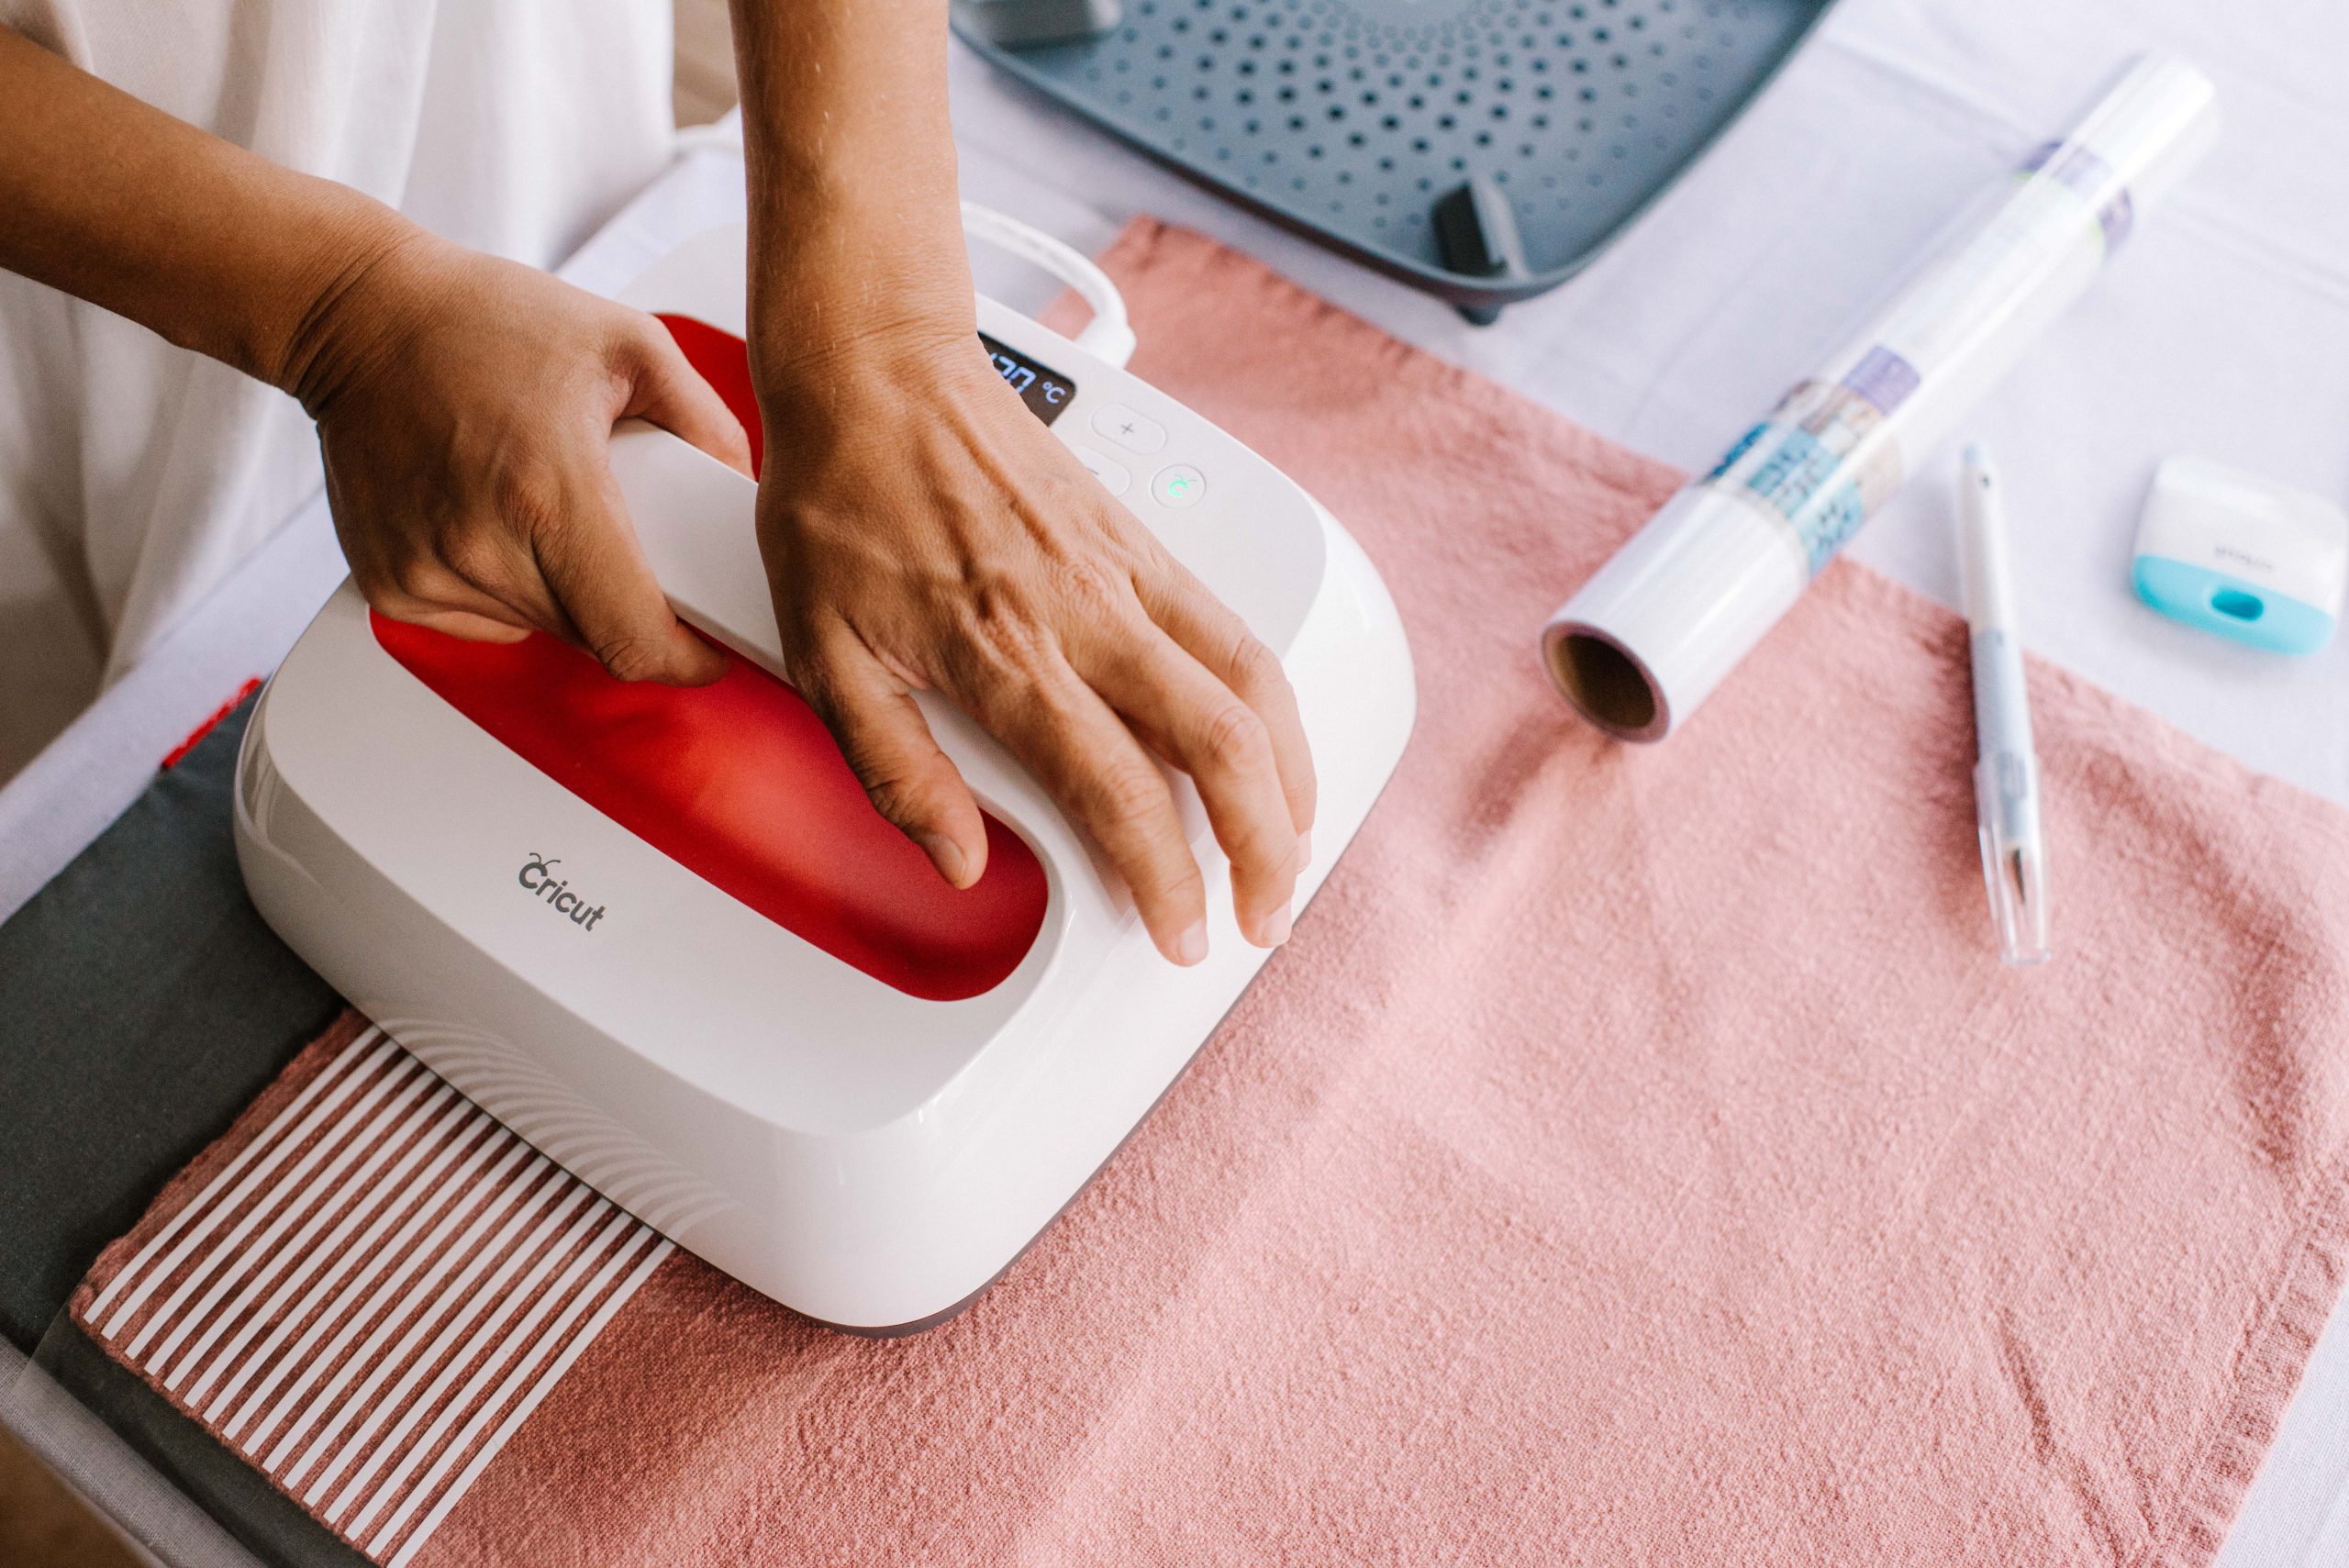
- Apply the iron-on layers to the linen using a Cricut EasyPress and Cricut EasyPress Mat.
- Make sure to refer to Cricut’s heat guide to get the correct time and heat settings and how to best remove the clear liner.
Voila
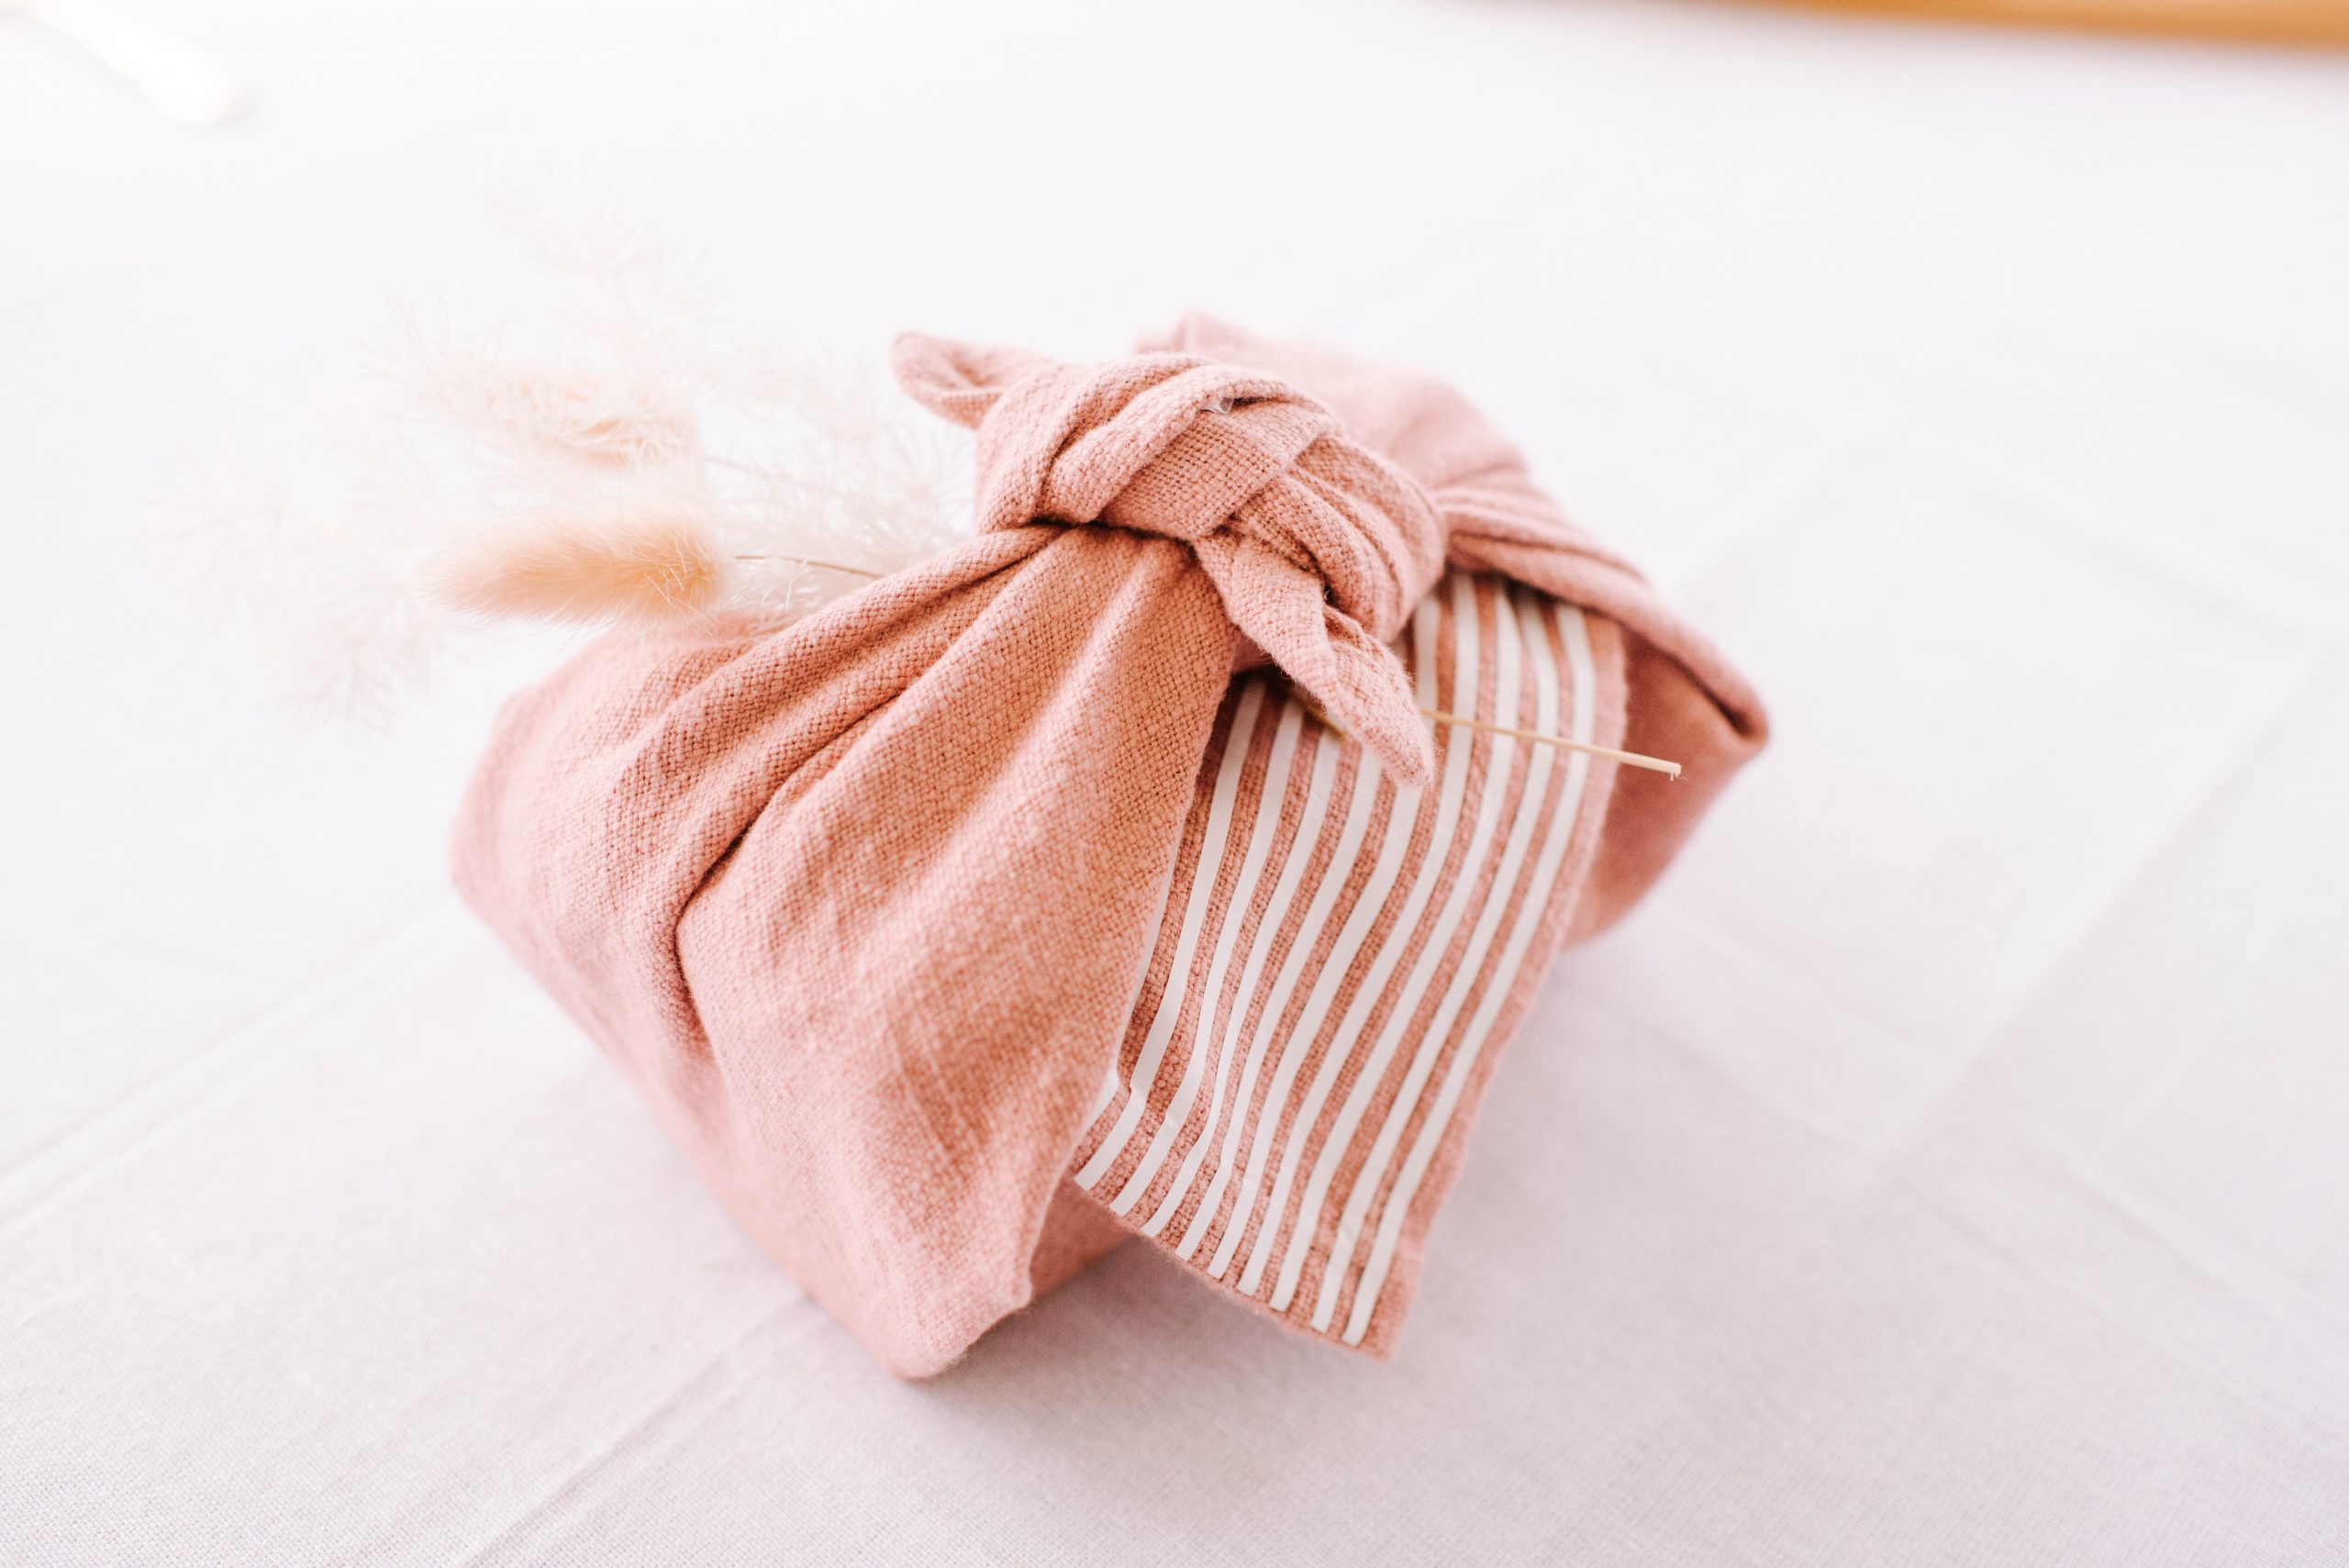
I absolutely love how it turned out and I can’t wait to make more things using this gorgeous iron on vinyl. The best thing is that you can use the table runner or napkins as creative wrapping paper for other gifts, something I absolutely love to do!
This post is in collaboration with Cricut


