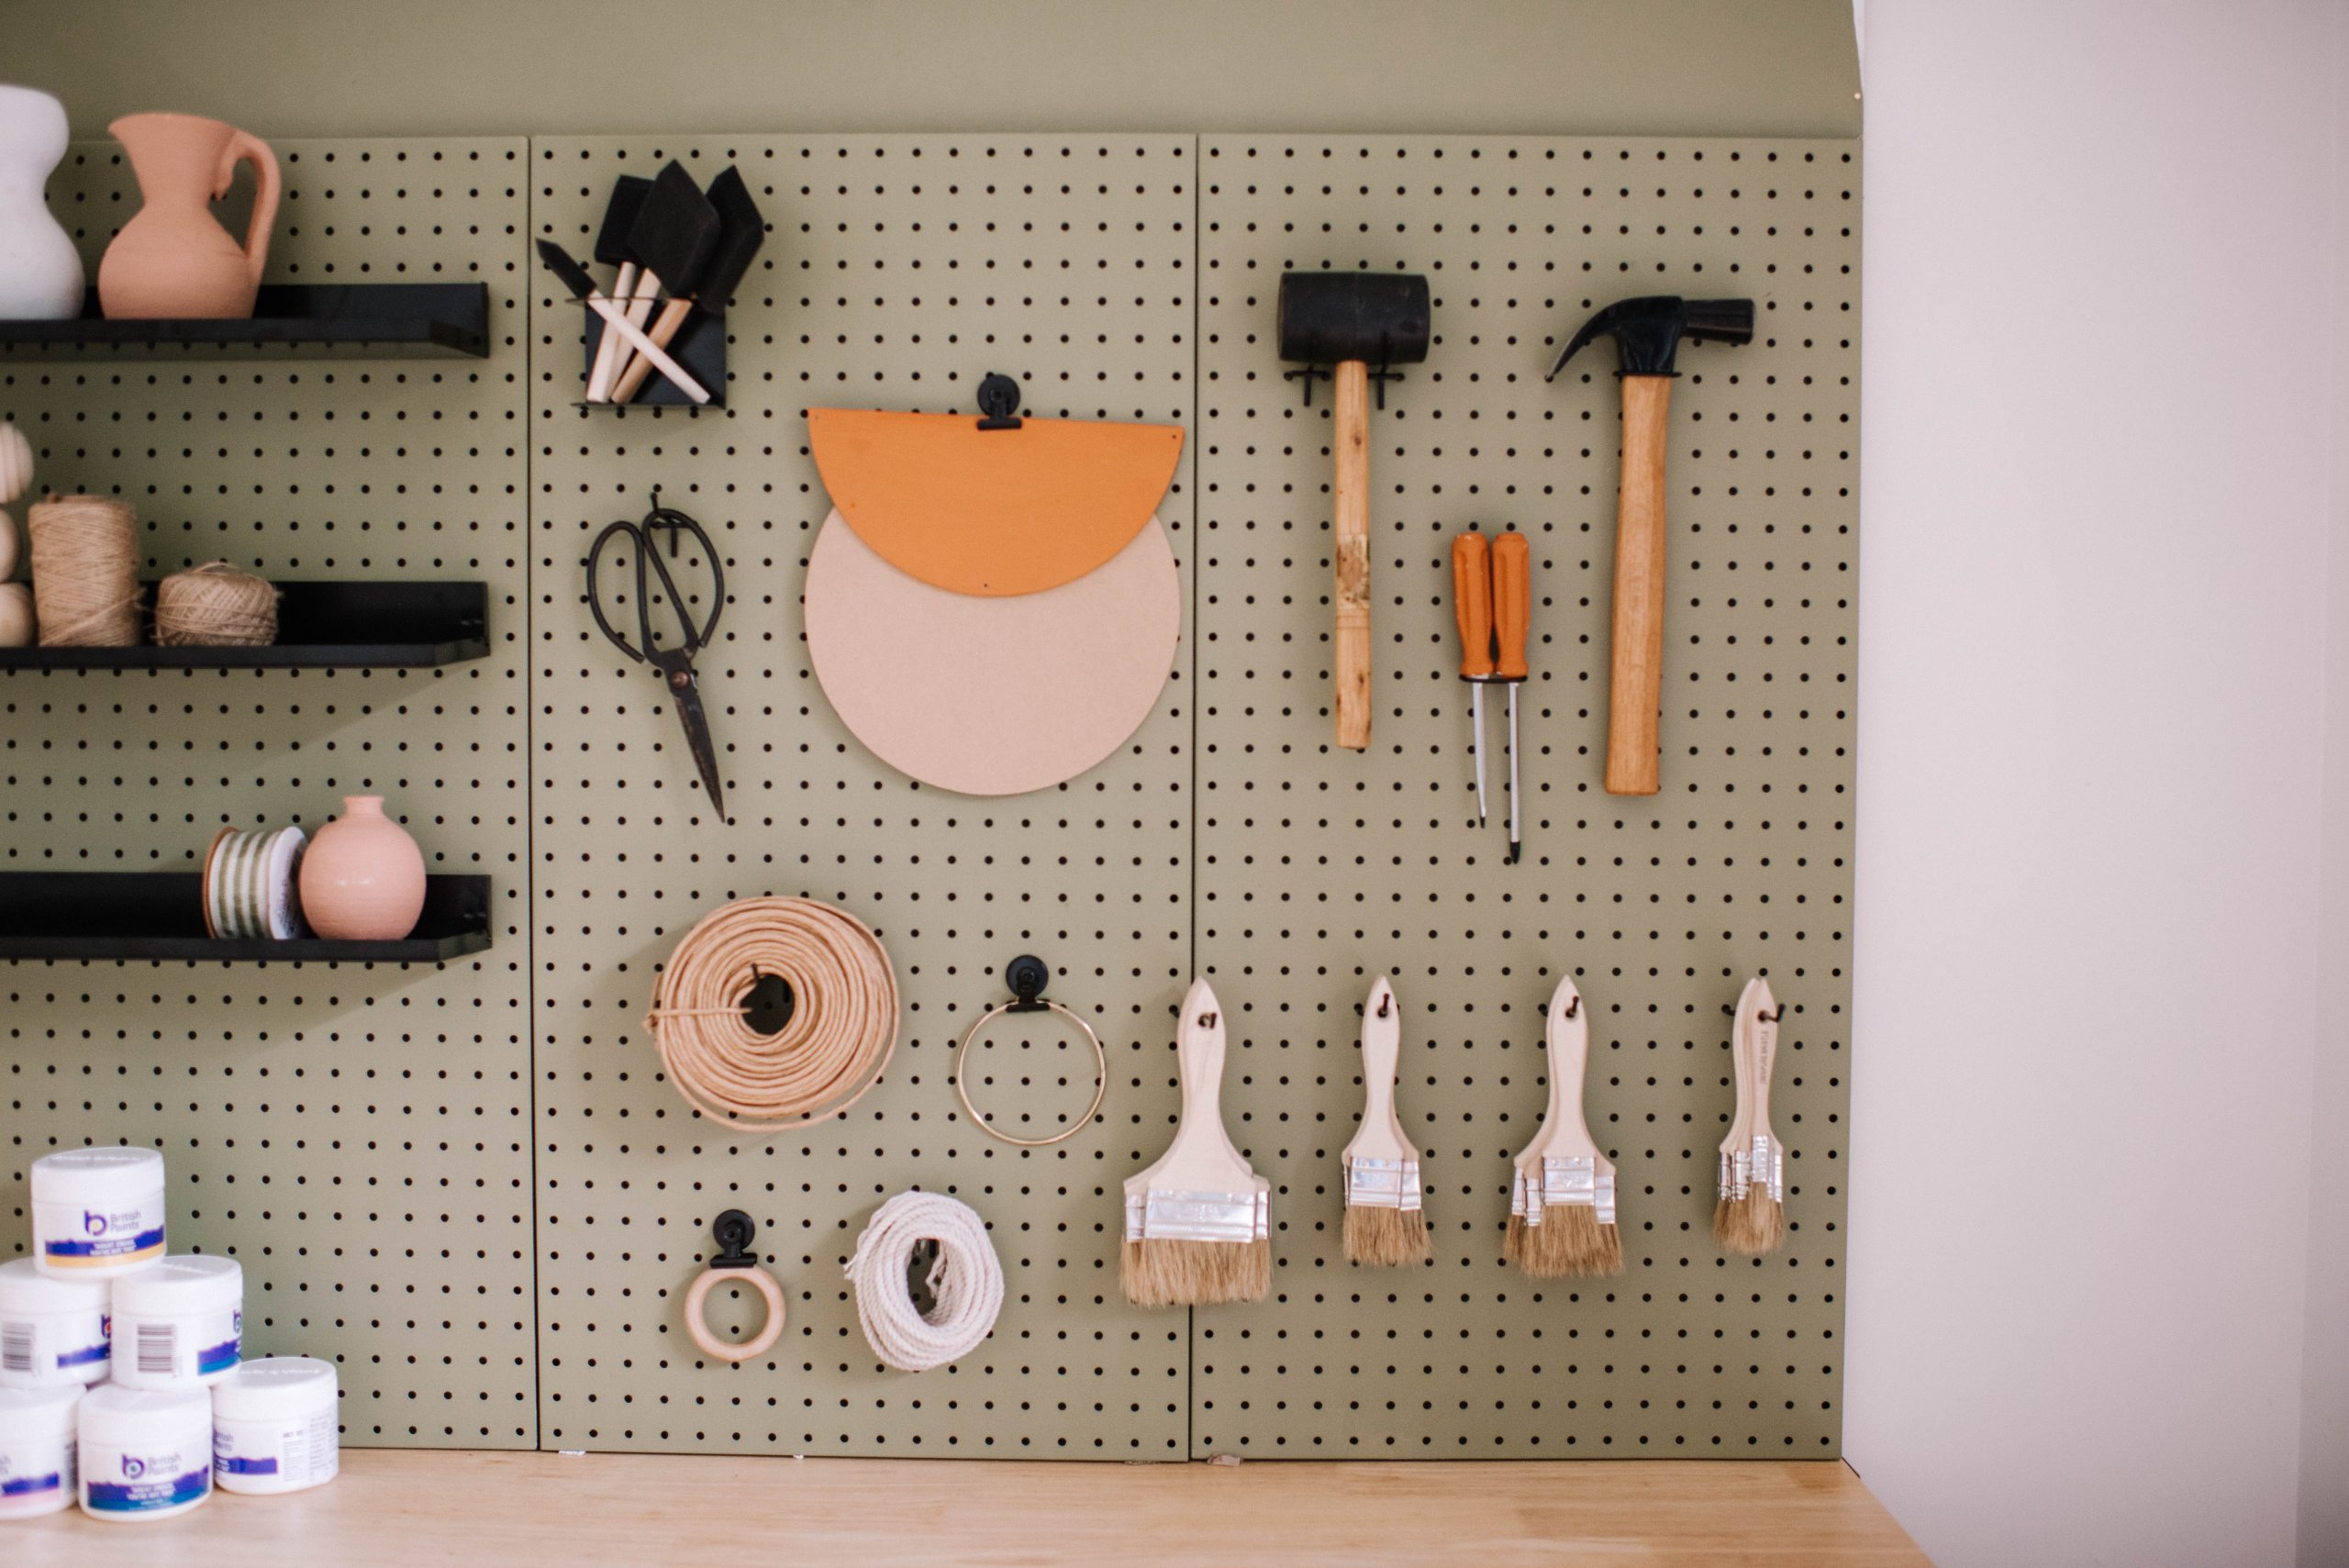
Decorating when you are renting can really make a house feel like a home. For years when I was renting, I was always looking for clever ways that would help me evoke my personal style without getting in any strife with landlords. It’s actually where a lot of my DIY projects started as I needed affordable furniture and art that I could move or sell if needed!
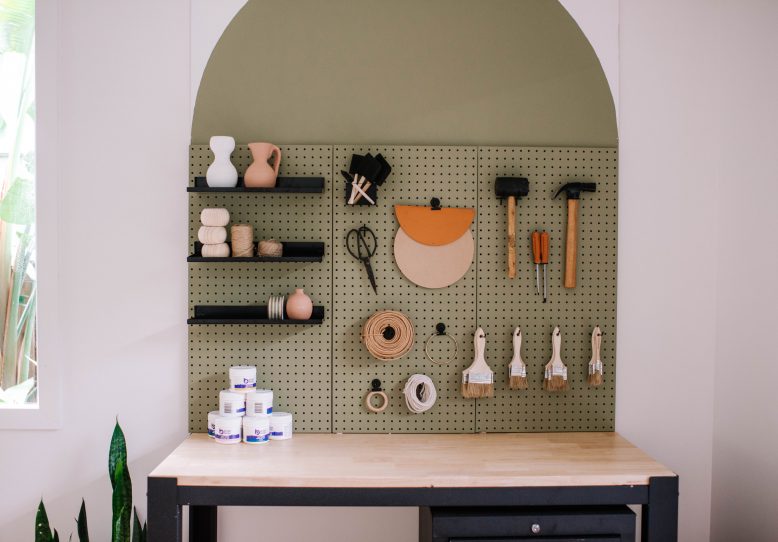
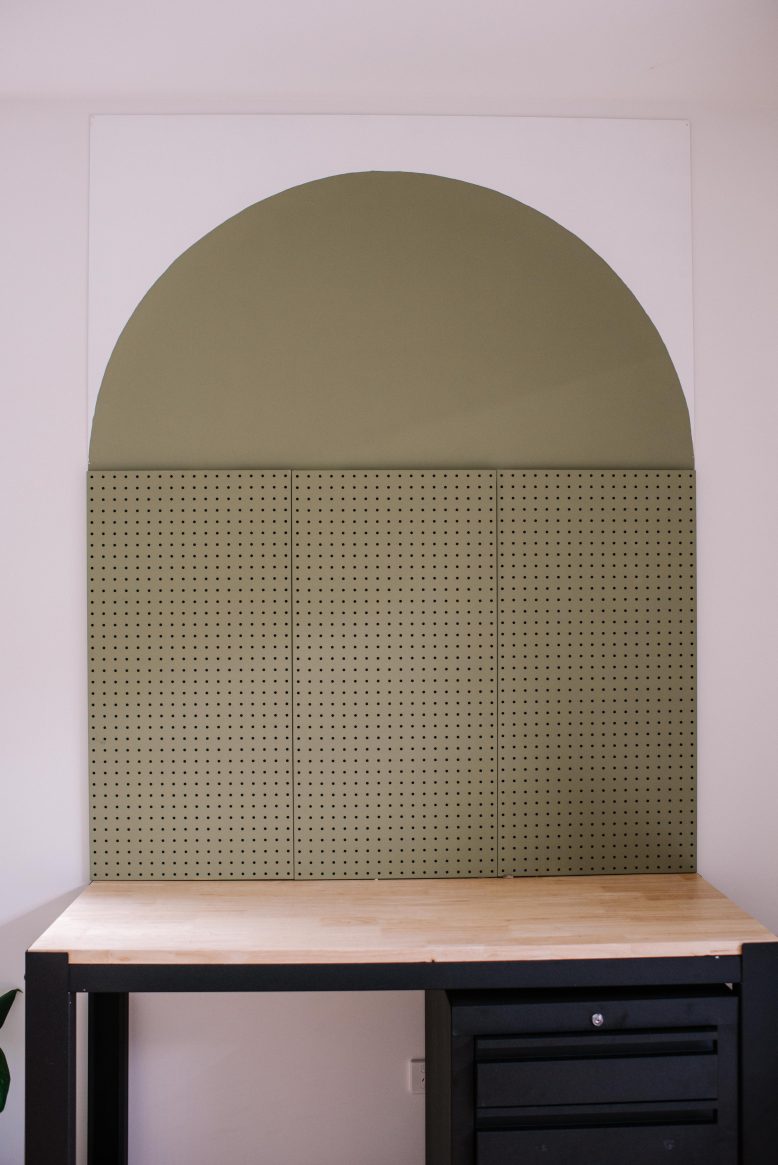
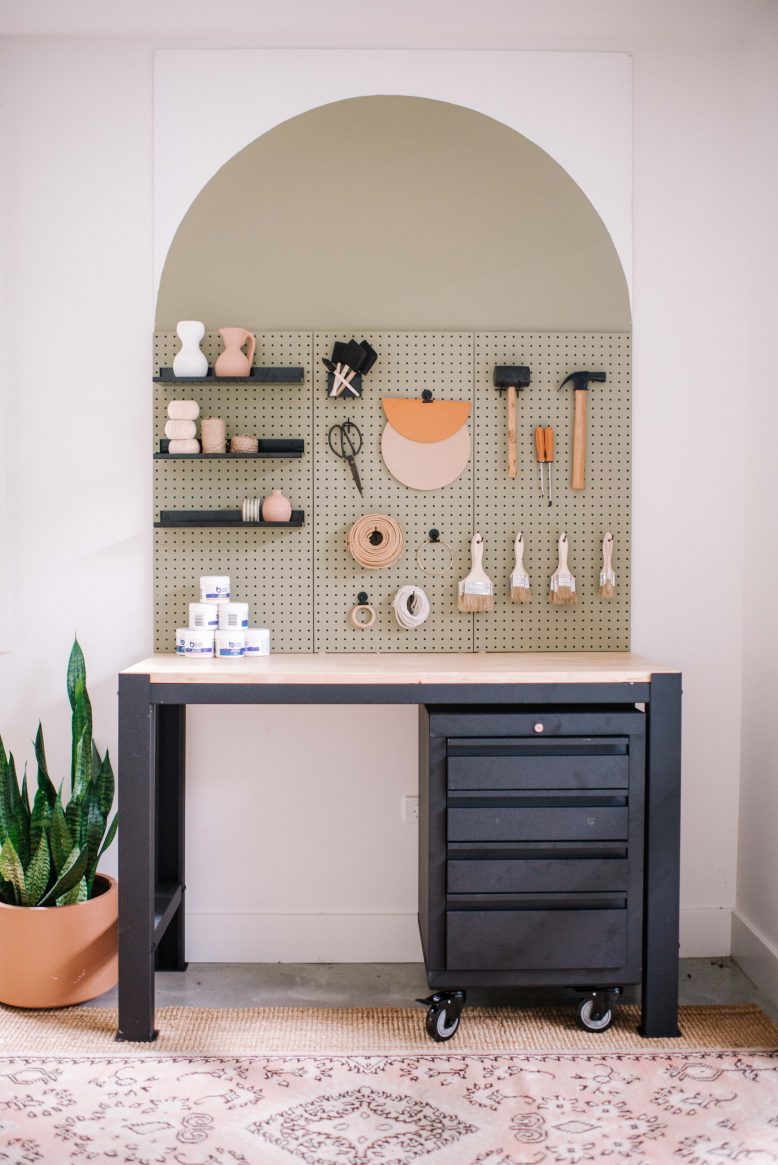
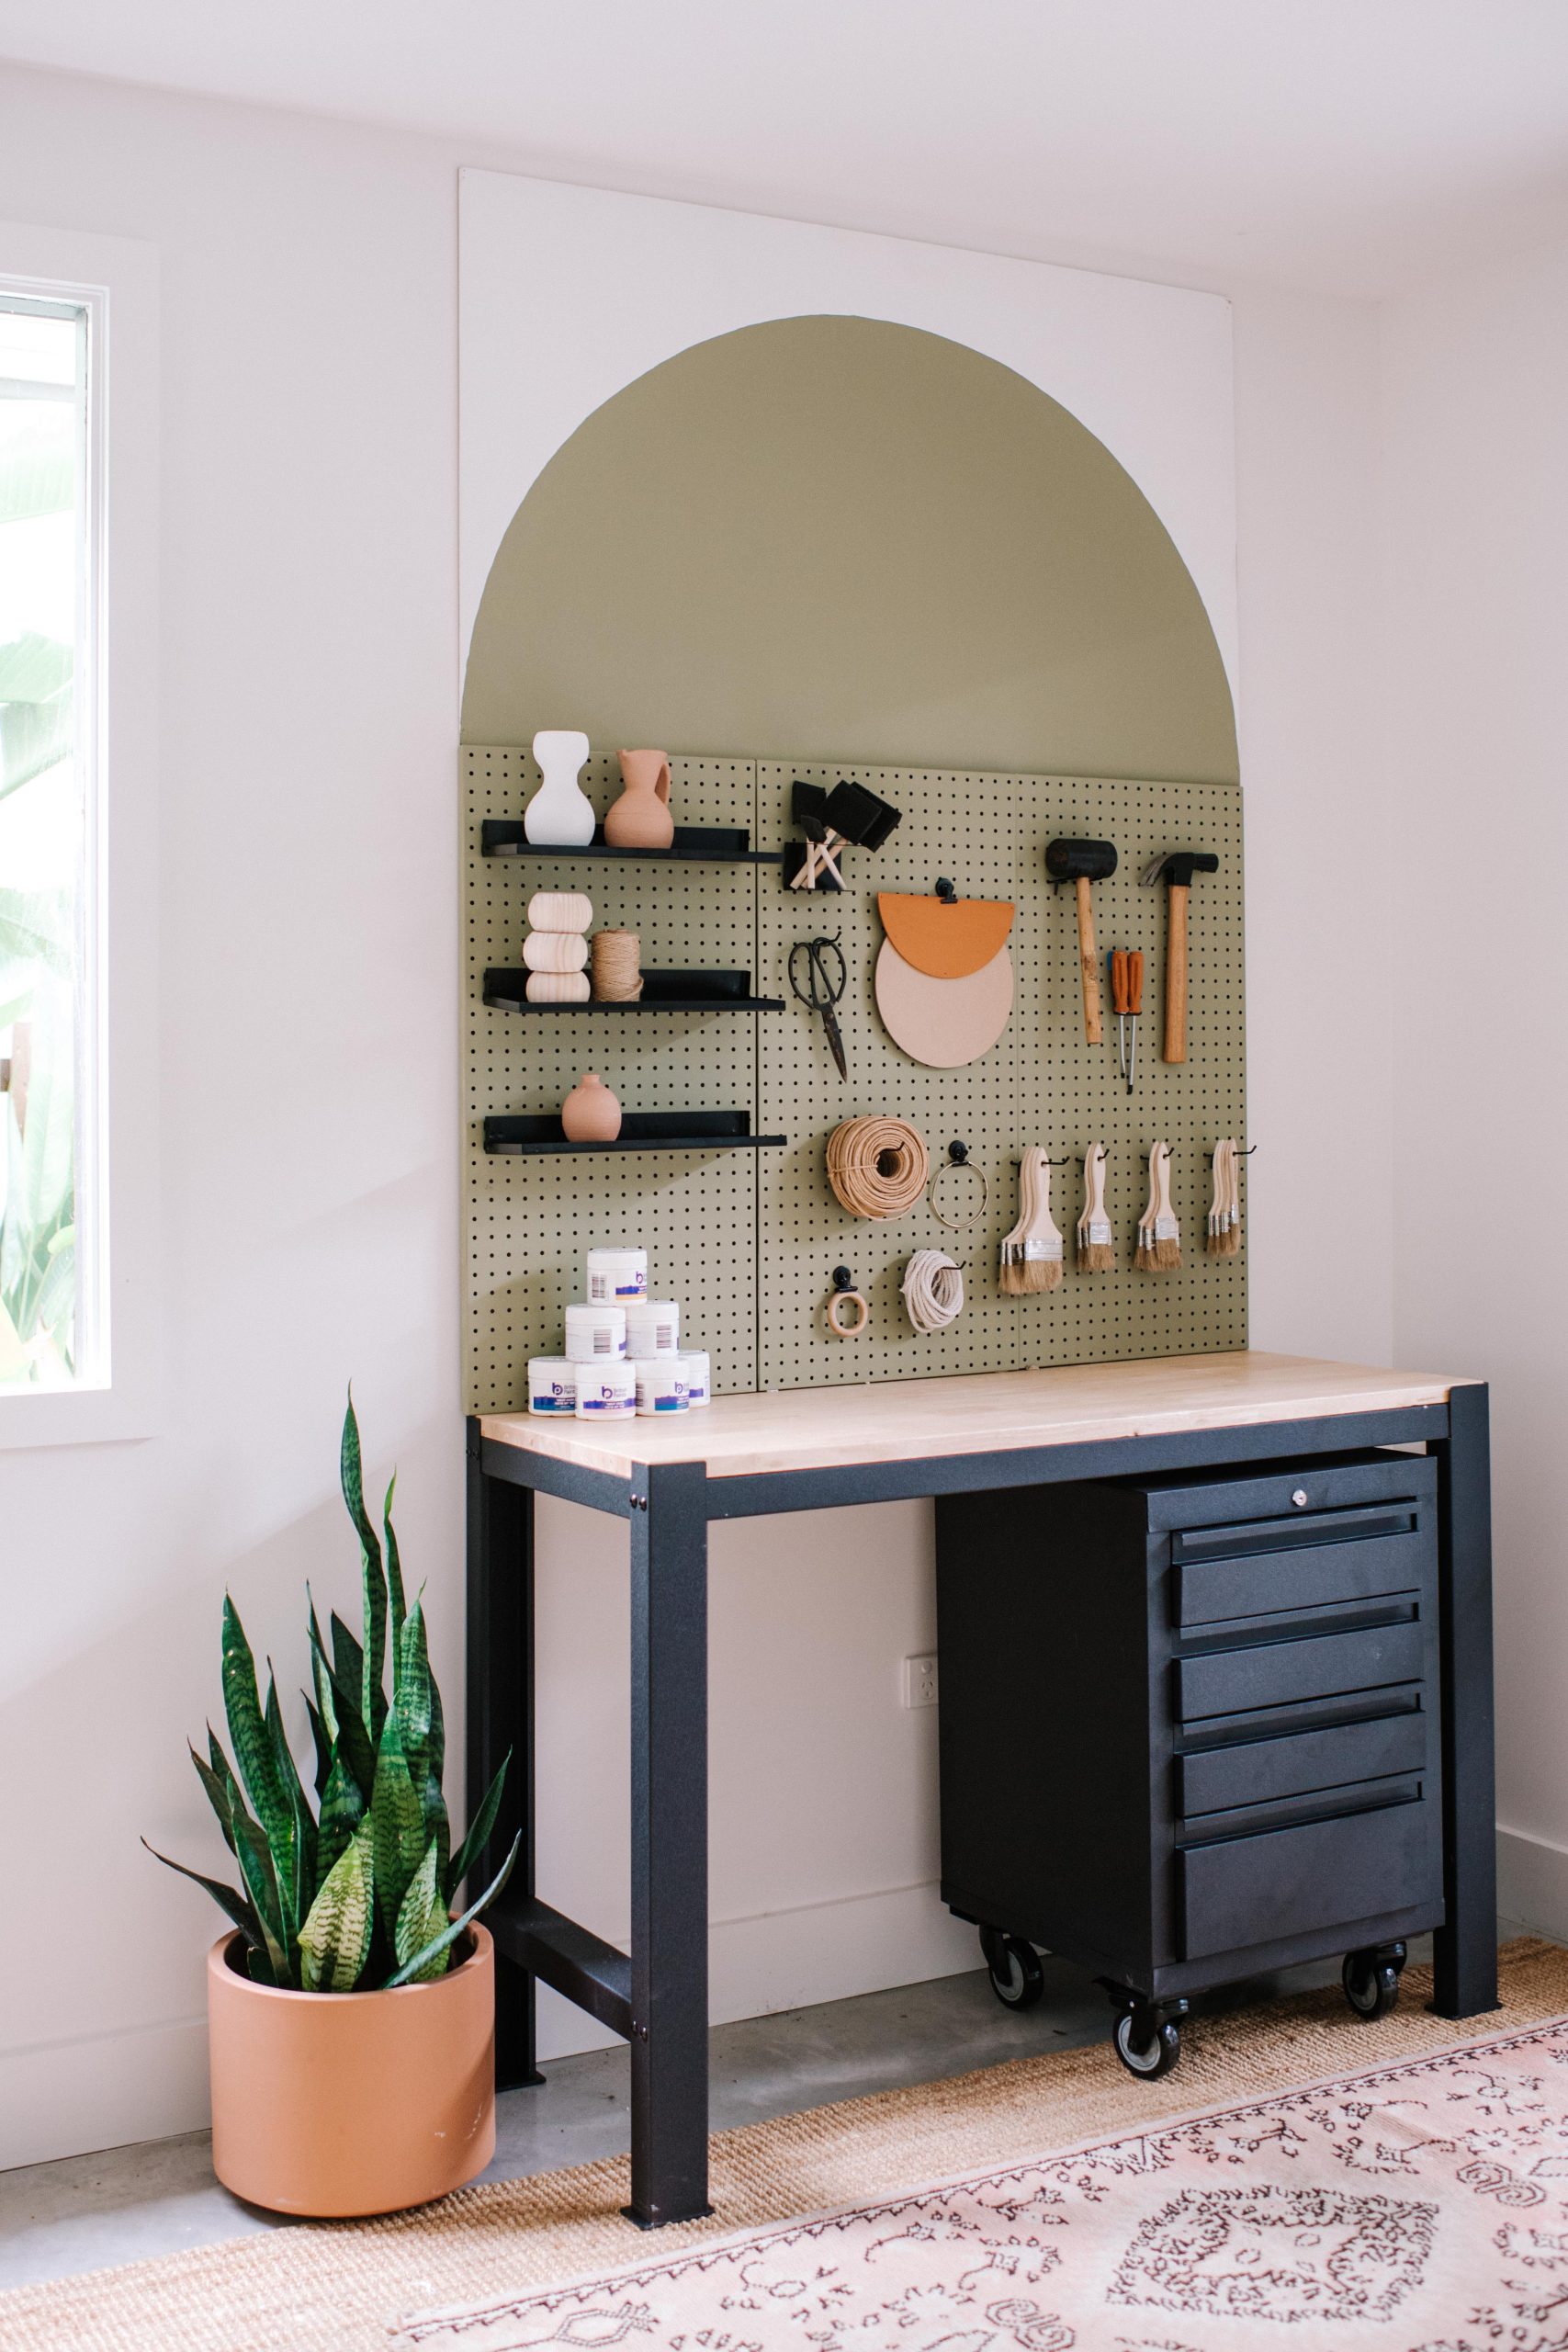
Recently I created a temporary painted arch on MDF board above my new work bench as I wanted the flexibility to move it around the space. It was so easy to make that I thought this would be a fun and affordable way for renters to decorate.
This concept can be tailored to different sizes. You could create a bedhead similar to this one, a shelf backdrop or wall feature like this one!
You Need
- Paint (I used British Paints ‘Wollemi Pine’ for this arch)
- Thin MDF board or plywood (cut to the size you need)
- Painters tape
- Paint brushes
- A piece of string
- A nail or thumbtack
- A hammer
- 3M Picture Hanging Strips
How To
- Decide the dimensions of your arch. Find the bottom centre point and nail in the centrepoint.
- Trace the shape of the arch by using a nail, string and pencil. Keeping steady, draw the arch all the way around the top, finishing on the other side. You need to make sure the string is tight to keep the arch uniform. Once you are done, remove the nail and string.
- Once the pencil is done, it’s time to paint! Using a cutting in brush, draw the outline of the arch. I prefer to do this by hand and I promise it’s not as hard as it may seem. Take your time and it’s best not to rush it.
- Using a paint brush of roller, paint inside the arch.
- Do a second coat if required.
- Using 3M Picture Hanging Strips secure the board to the wall.


