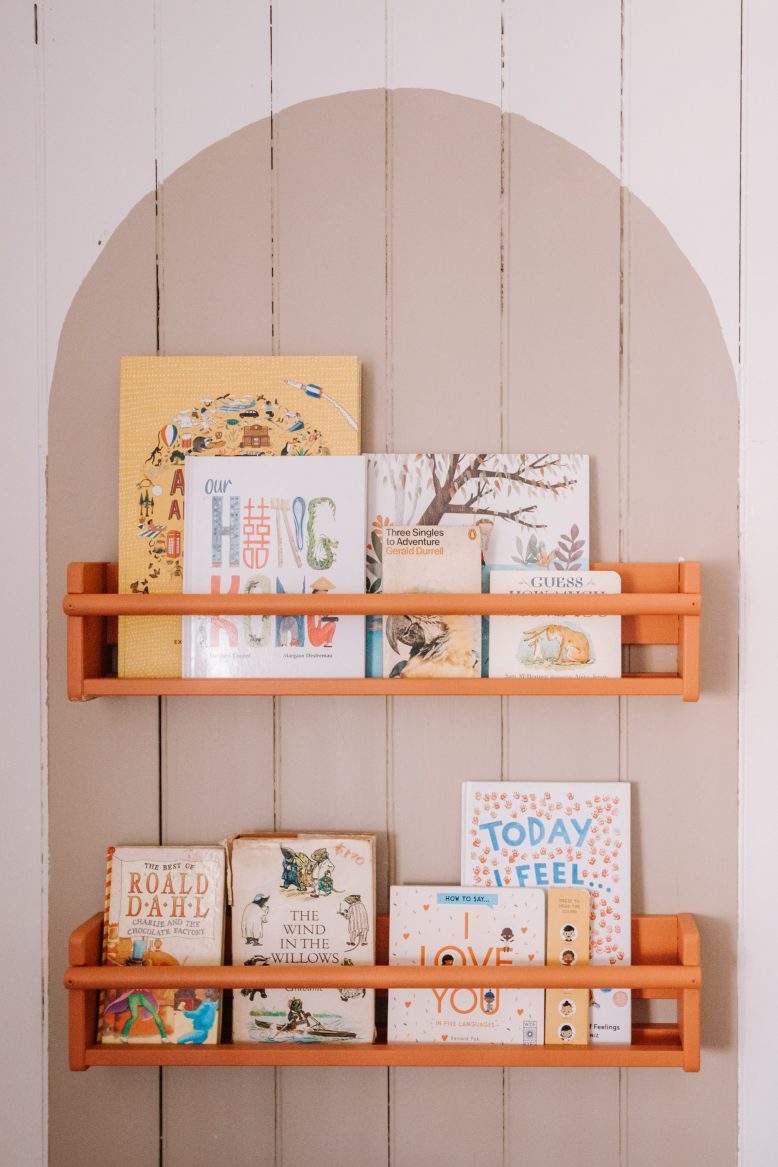
Paint is truly one of those things that can transform a space. Honestly, I am constantly surprised at how much of a difference just a little bit of paint can make (see: Our Painted Front Door). Like this painted arch!
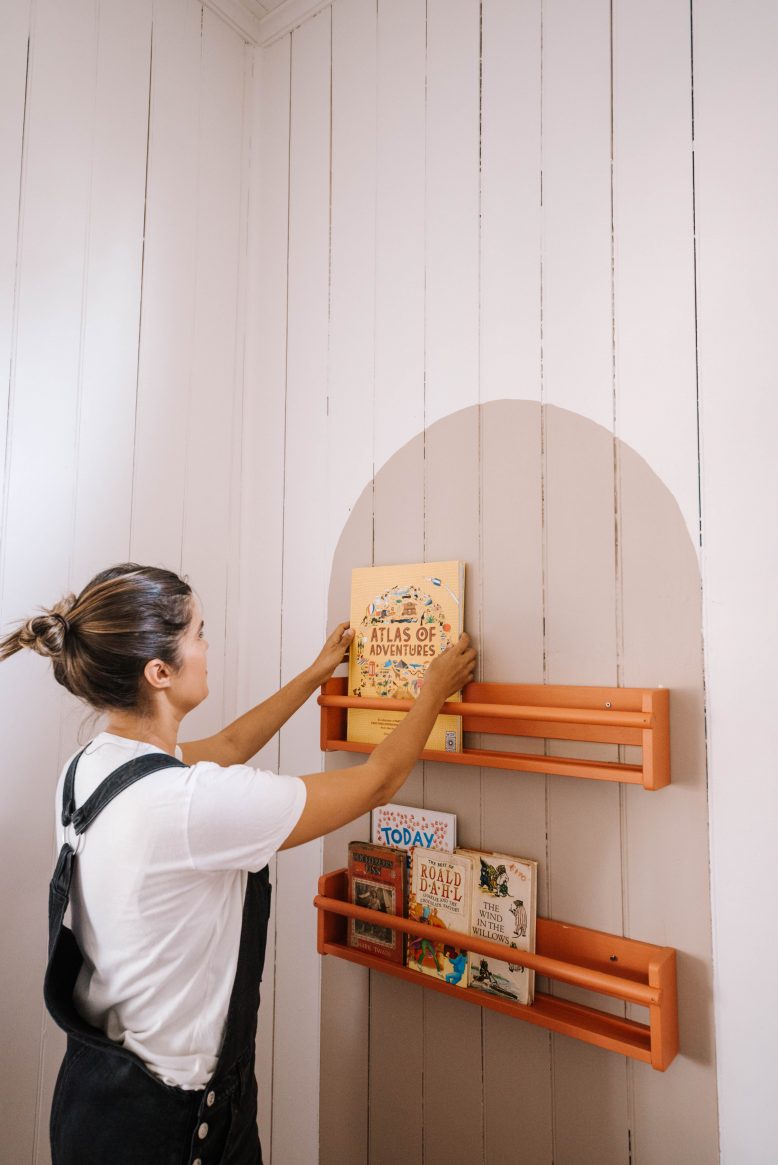
A while ago I decided I wanted to create a pretty reading nook for Frankie, a little zen space in her room that’s just her own. I wanted to make it really special, so set about using paint to do that. After lots of thinking, this space was born! Here’s how to make your own.
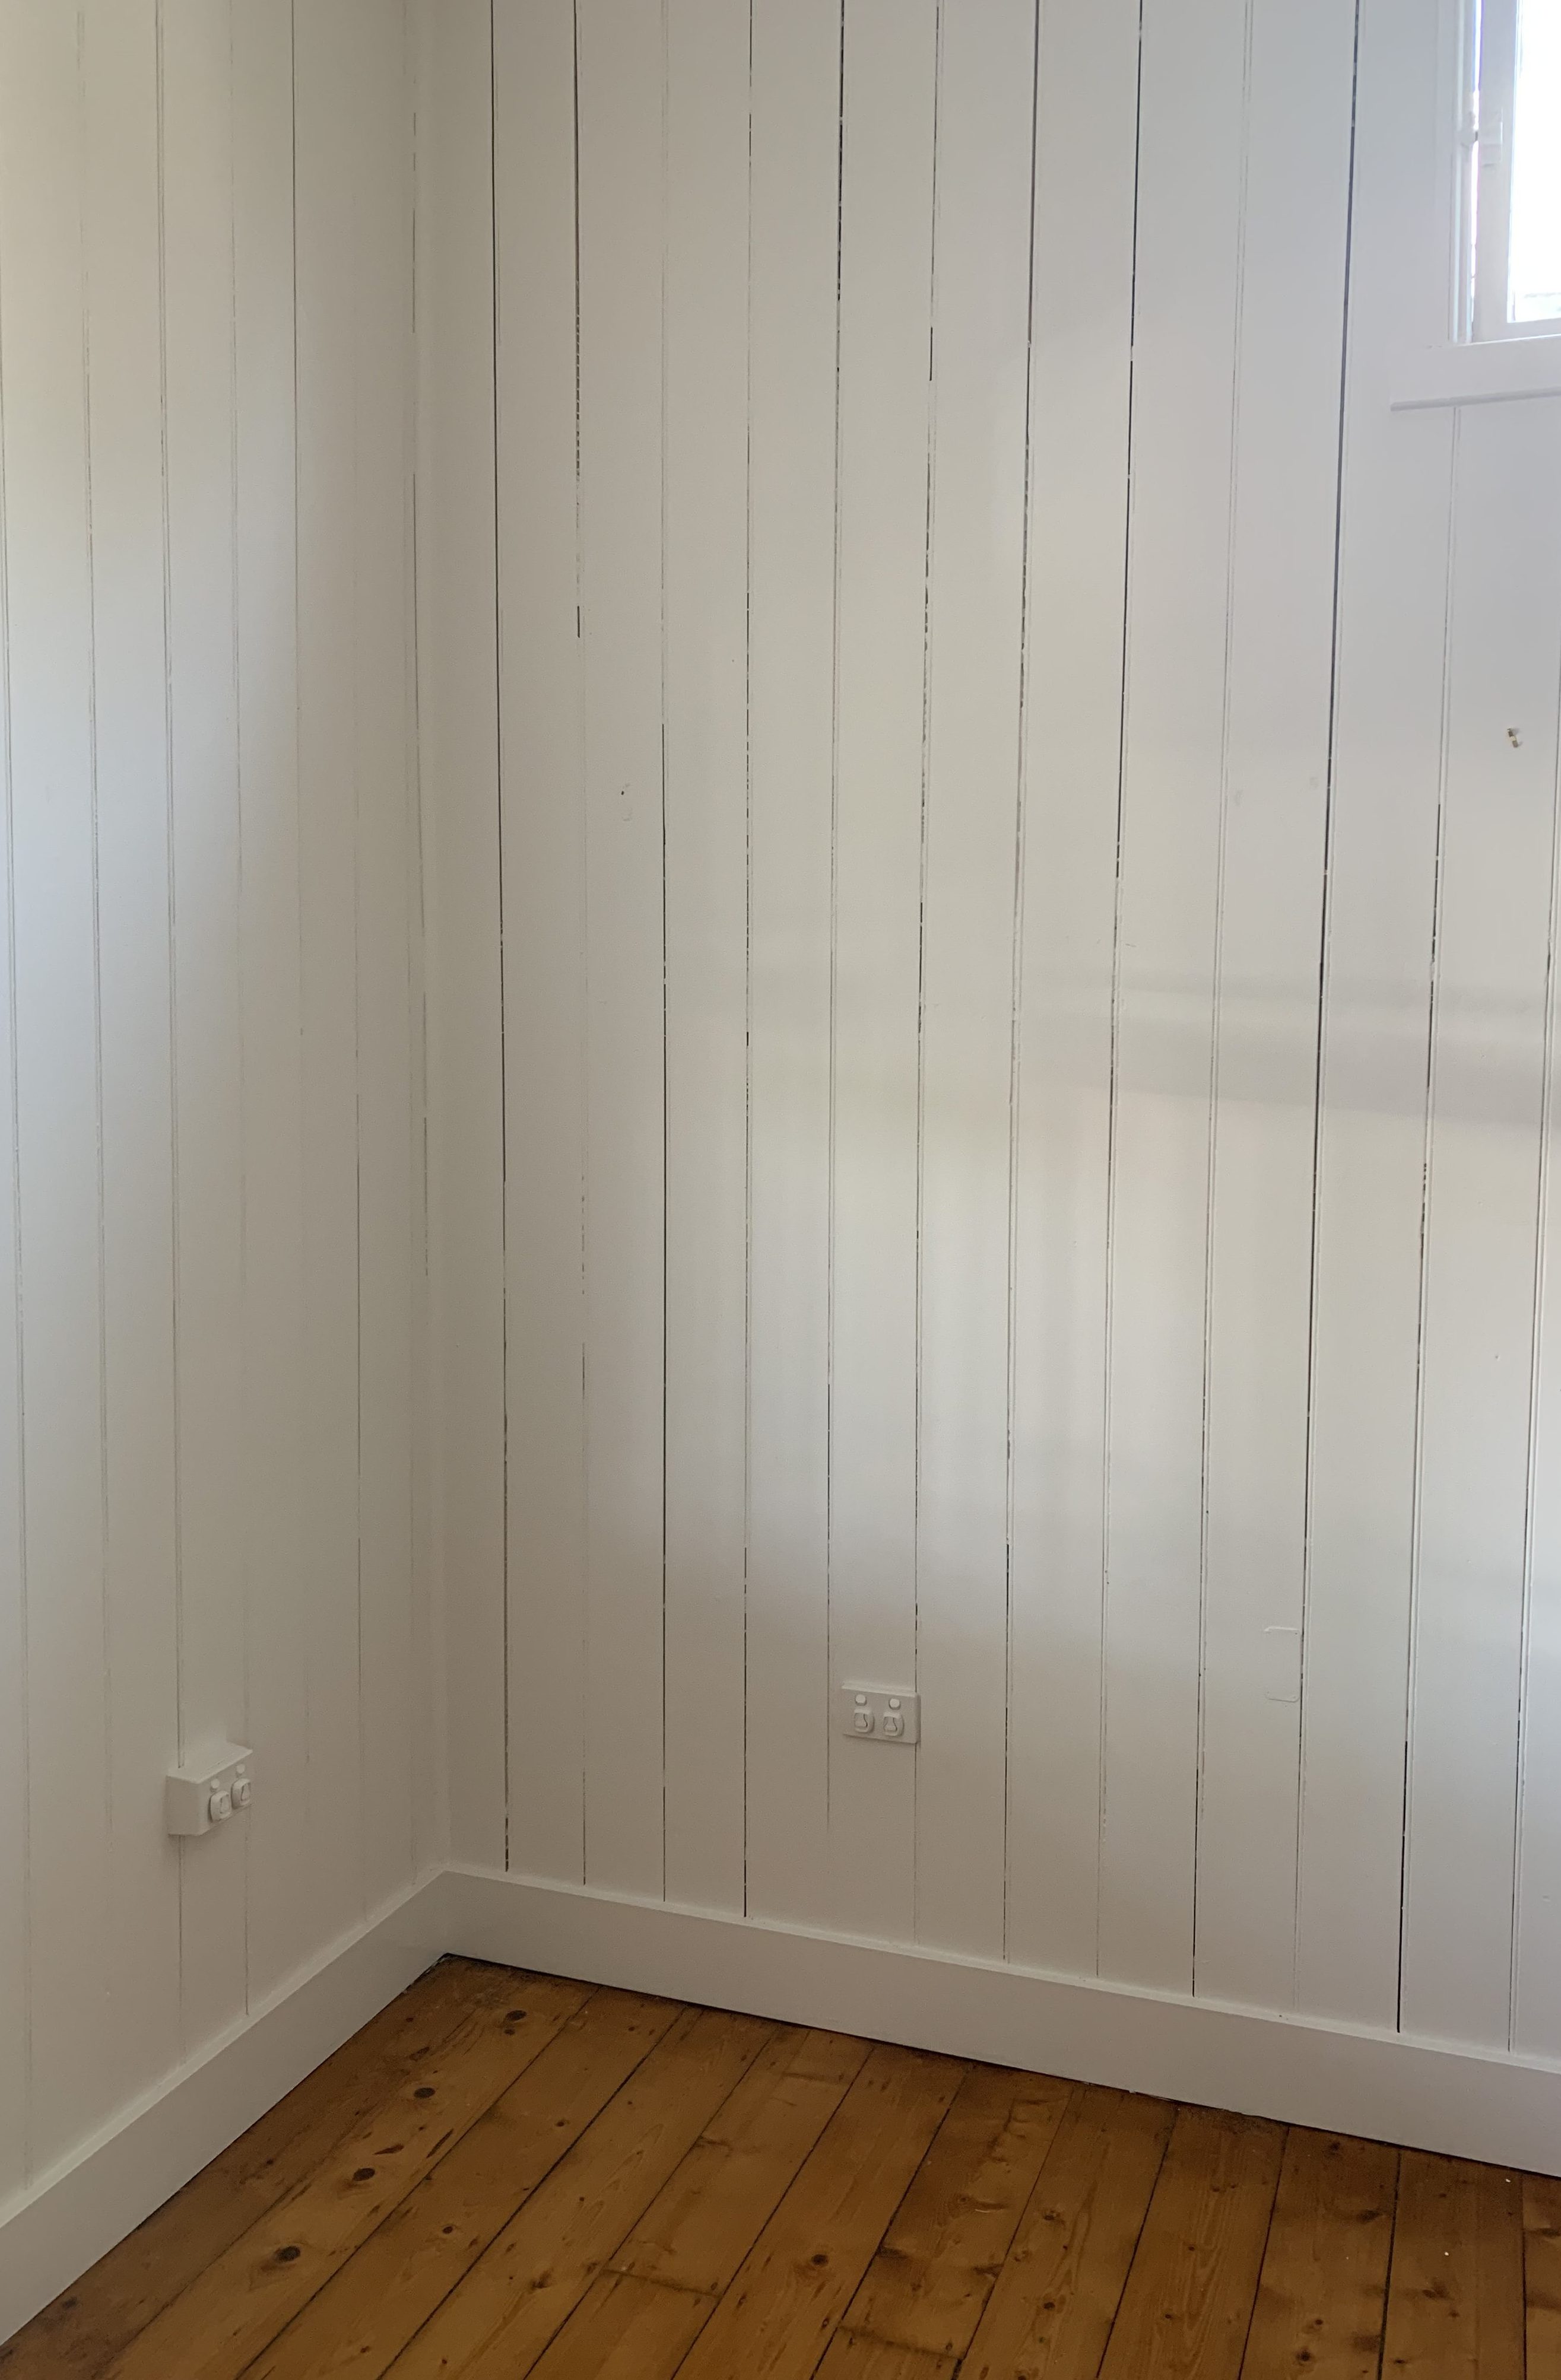
Before & After
- Before
- After
You need
- Paint. You only need a small tin for this project. I used Haymes Paint in Brown Blush and Comanche Dust.
- Painters tape. I used Scotch Blue.
- Paint Brushes
- 2 Ikea ‘Flisat’ wall shelves
- A piece of string
- A nail or thumbtack
- A hammer (if you are using a nail)
- A Drill and screws
Choosing Paint Colours
For this project I tested lots of different colours. I like to paint swatches on a board that’s been pre painted with the matching wall white, and then take them around the house to test for lighting and tone. This helped me to choose the right combination for her space.
How to
2
Then, decide the dimensions of your arch. I wanted mine to be just a little bit wider than the Ikea shelves, and reach down to the skirting board. I used the timber joins as a guide. If you are doing it on a flat wall, use a level to make sure the vertical lines are straight. I used painters tape on the straight edges to get a nice clean line. To make the arch at the top, I used a nail, string and a pencil. In line with where I wanted to start the bottom of the arch, I found the middle point and hammered in a nail.
3
I then took my string and tied it onto the nail, and then tied my pencil on the other end, exactly in line with the top of the straight edge.
4
Keeping steady, I drew the arch all the way around the top, finishing on the other side on top of the straight edge. You need to make sure the string is tight to keep the arch uniform. Once you are done, remove the nail and string.
5
Now, time to paint! I did the arch freehand, which may seem very daunting but actually, so long as you take your time and keep steady, it's not that hard. I promise!
6
You will probably want to do two coats, so once you have done the first one, wait for the paint to dry and then do another.
7
Whilst I was waiting for the wall to dry, I did two coats of paint on the Ikea wall shelves. I then removed the painters tape.
8
I then used a drill to attach the shelves to the wall. I had to measure carefully so that the shelves were a) level and b) centred on the arch.
I have another bookcase for Frankie, and I like to rotate our favourite in and out of these shelves. She loves picking books to read from the display! If you’re into painting other things, read this post here! And stay tuned for a series all about paint coming soon.


