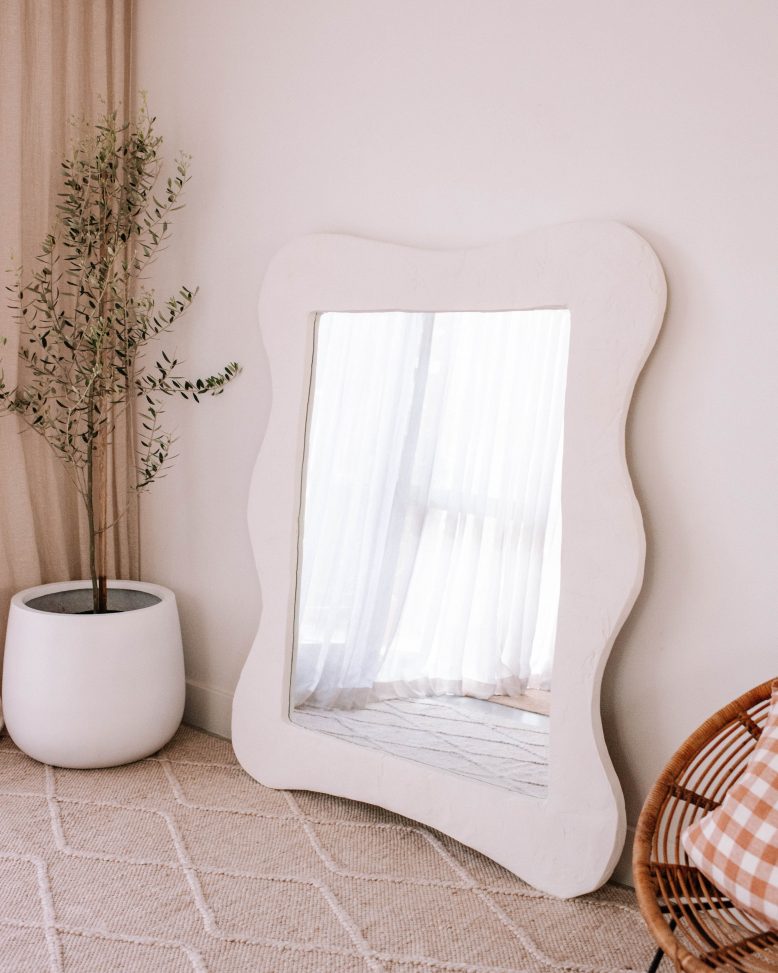
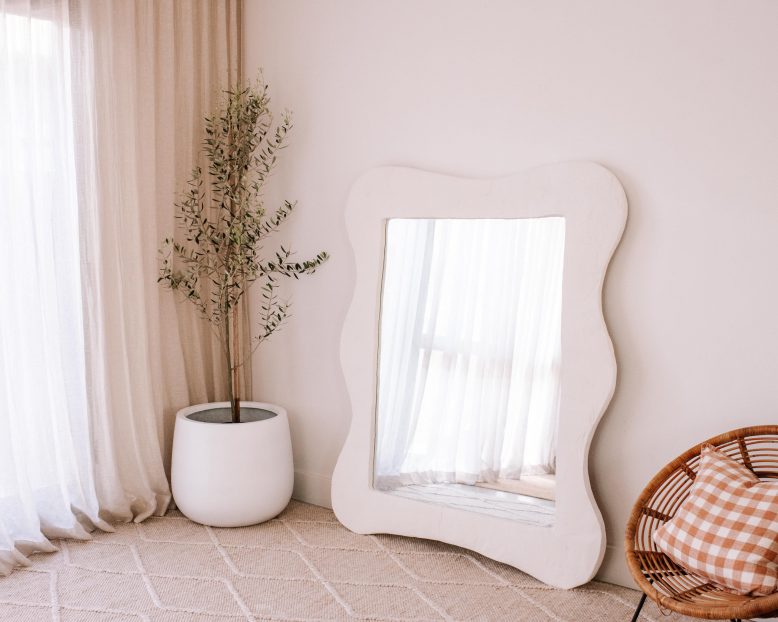
Welcome to the Mirror series! Where I take simple mirrors from Bunnings and give them a little zing thanks to some easy materials, creativity and elbow grease.
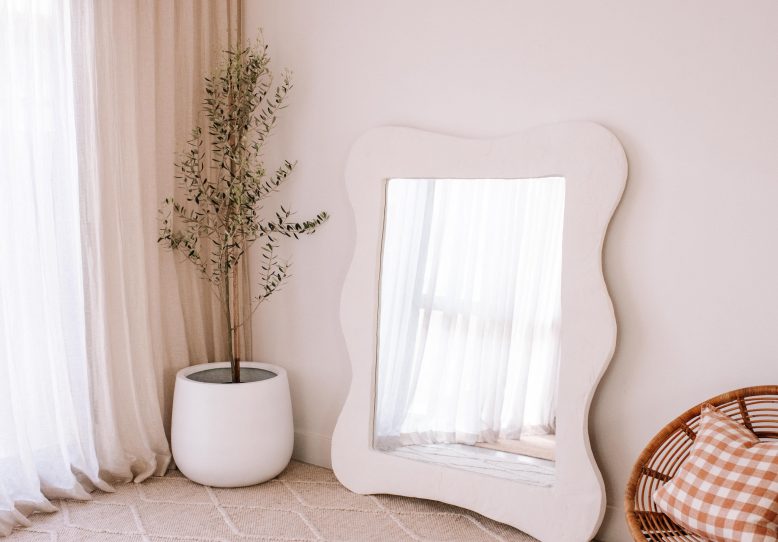
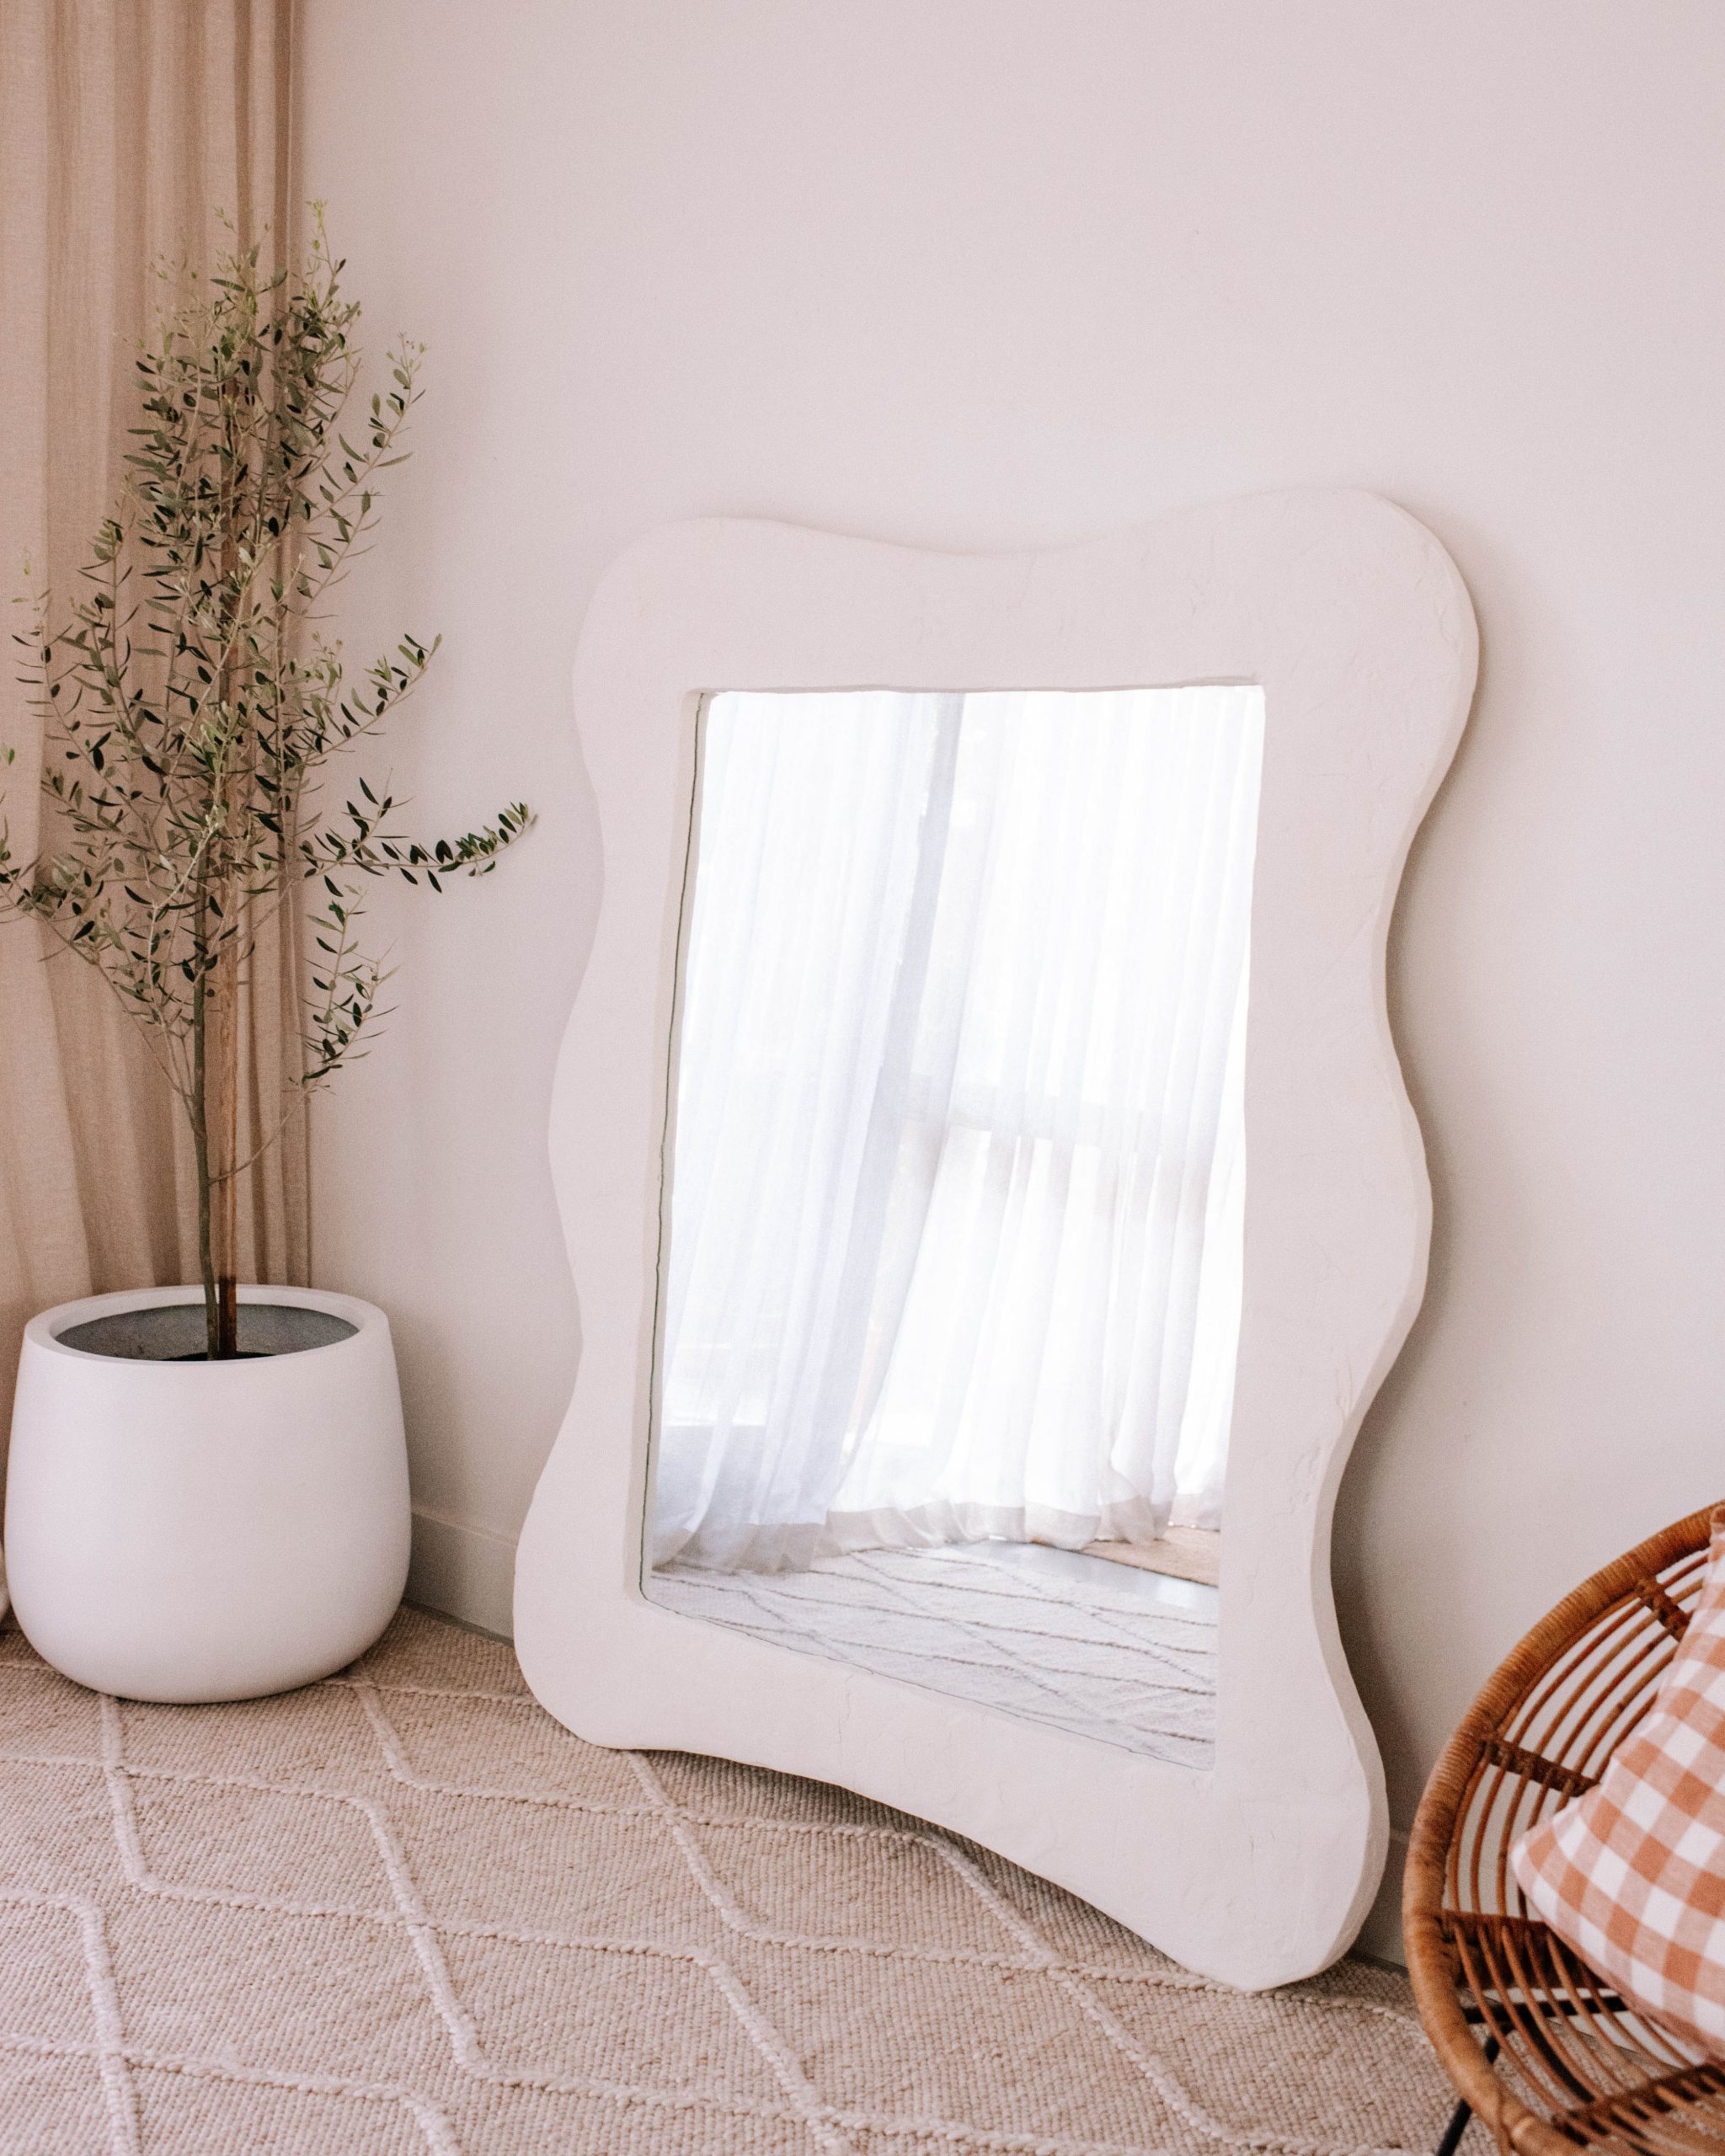
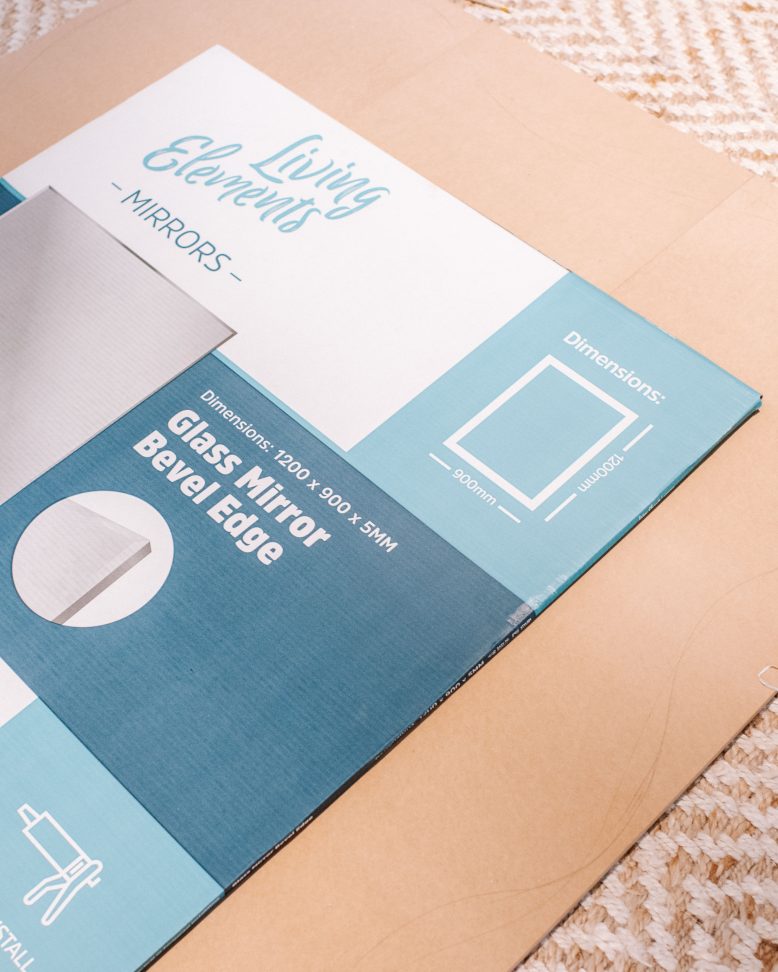
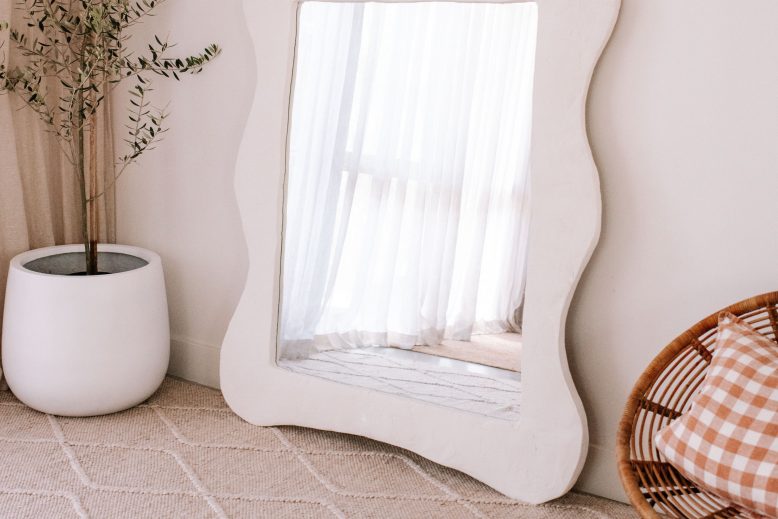
Floor length standing mirrors are such statement pieces, but they can often set you back thousands of dollars. So I recently gave myself a challenge to create a beautiful standing mirror for less than $200. I found this huge mirror from Bunnings for just $86 and I knew it had potential. I’ve loved the trend of wavy framed mirrors and I’ve made a few already (See my Wavy Mirror and Pond Shaped Mirror) but I wanted to try something on a much bigger scale. Keep reading to see exactly how I made a wavy standing mirror using expanding foam.
Materials you need
- Bunnings mirror
- 3 MDF pieces
- Gyprock Easy Flow Plaster
- Sharpie
- Large bowl (Or something round to trace around)
- Jigsaw (I have this one)
- Long pieces of wood
- Liquid nails
- Expanding foam
- Knife (I used an old kitchen knife)
- Plastic scraper
How to make a DIY Wavy Standing Mirror Using Expanding Foam
1
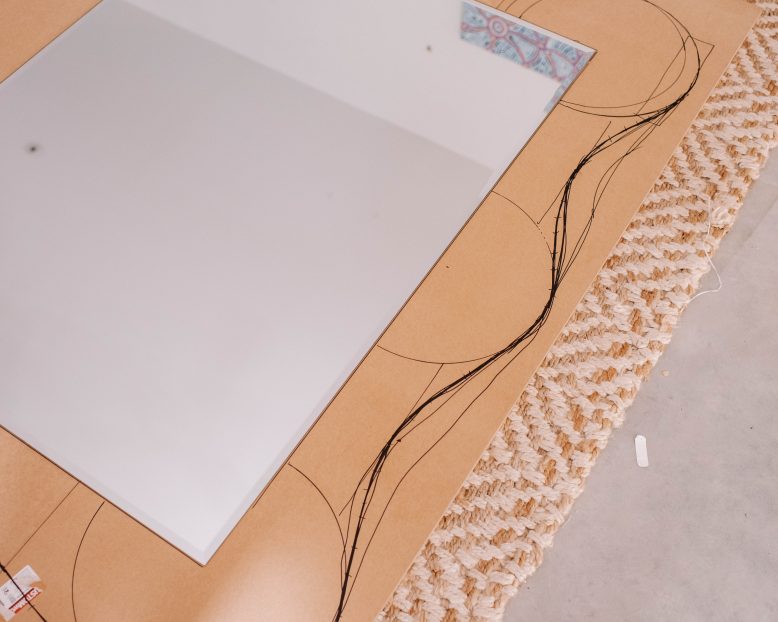
Lay out the 3 pieces of MDF next to each other and the mirror on top in the centre. This will give you an idea of how much space you have to work with and you can decide how big you want your wavy frame to be. I wanted to add some height overall to my mirror so I decided to keep a lot of the MDF space around the mirror. Trace a line around the mirror.
2
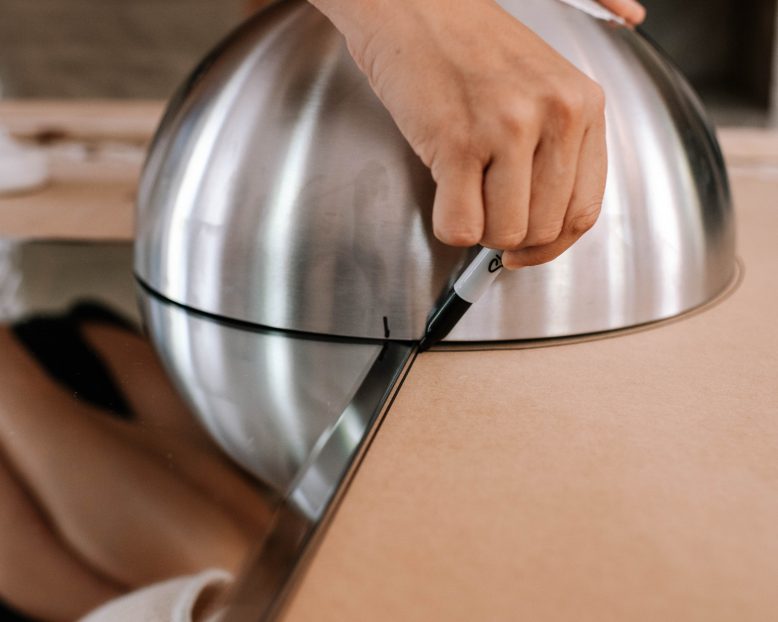
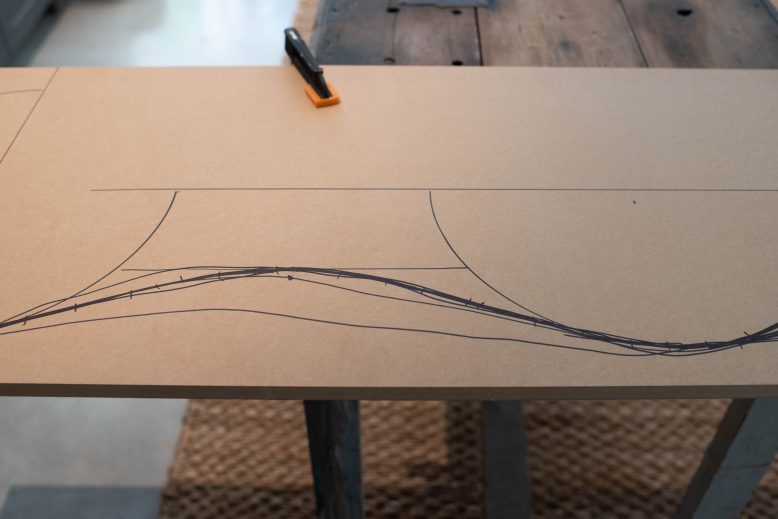
If you want to create a symmetrical wave like me, you will need to do a little more than just free hand draw the wave. I used a large bowl to create a round shape in each corner and in the middle of the long edge. I then used the same shape in the opposite direction to fill in the gaps.
3
At this point, its important to step back and check over all that you have a nice even wave. I had a few lines I had drawn in the wrong spot so I went back over with my sharpie to make one bold line. You don't want any confusion when you get to the cutting stage!
4
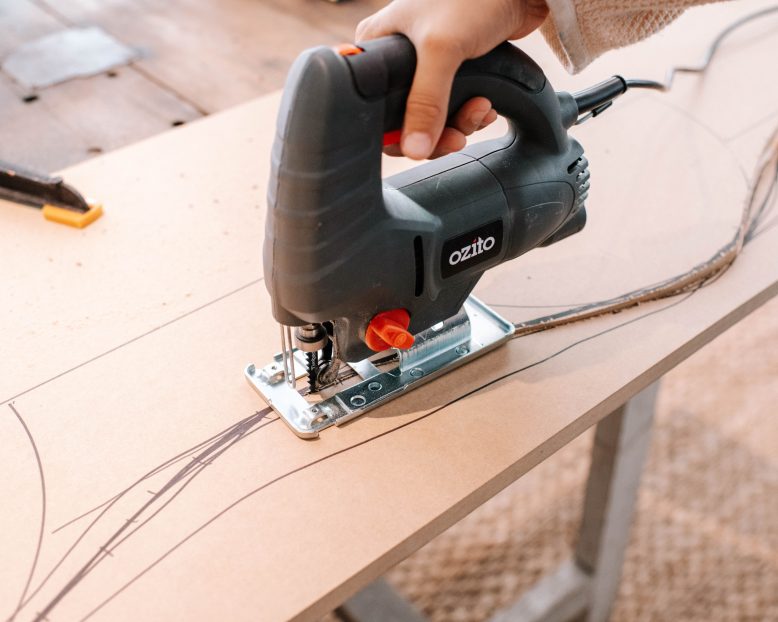
Take the piece of MDF and clamp it onto a bench before cutting along the line with a jigsaw. Do your best to cut smoothly, but if it's not prefect, don't stress too much because you'll be covering it with foam soon.
5
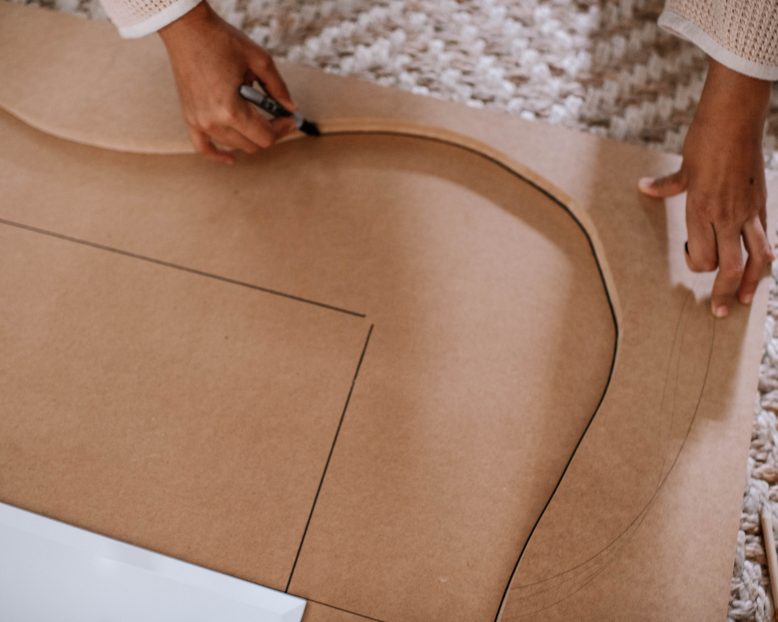
Use the scrap piece that you just cut off and trace the wave onto the other piece of MDF to ensure your wave is exactly symmetrical.
6
You can then finish cutting the MDF. My tips for this is clamping really tight and moving along the line very slowly.
7
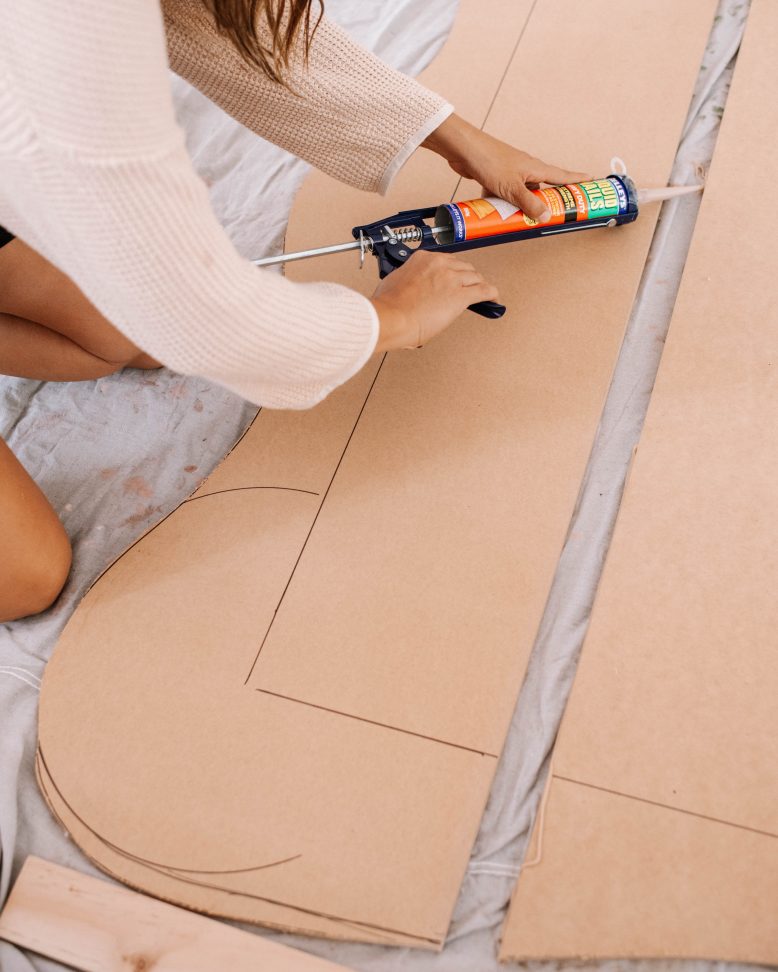
Once all your pieces are cut to shape, lay them back down and add a line of liquid nails along the inside edges to join them together.
8
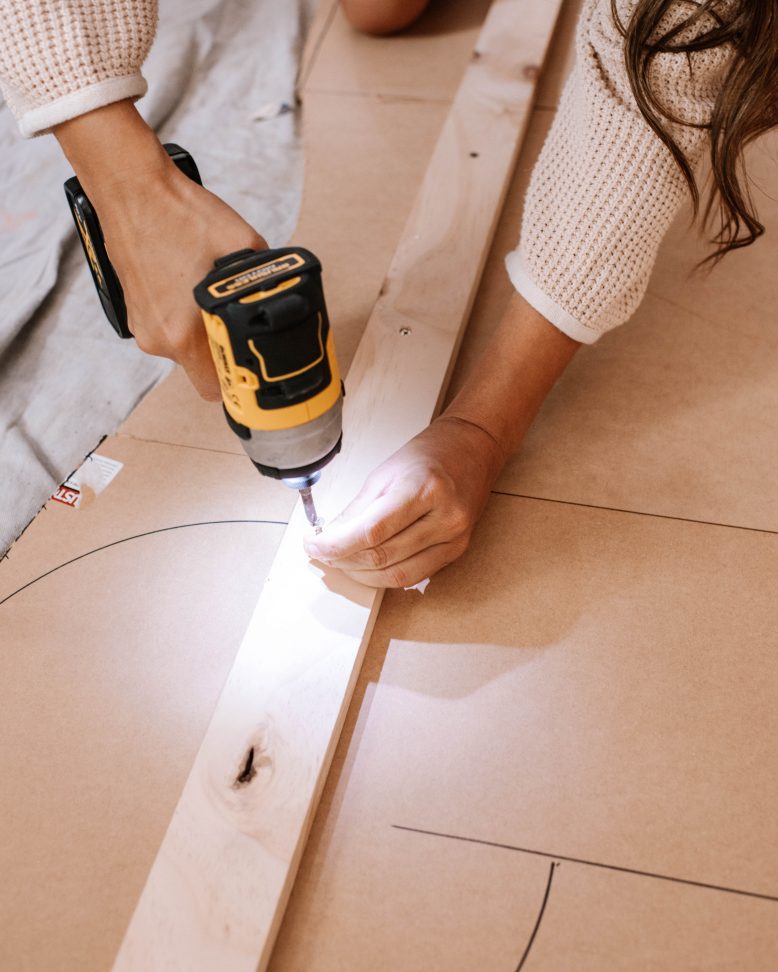
For added strength, take 3 pieces of wood and screw them into the back of the frame. I used 6 screws for each piece of wood, spacing them out so that there were two screws in each piece of MDF.
9
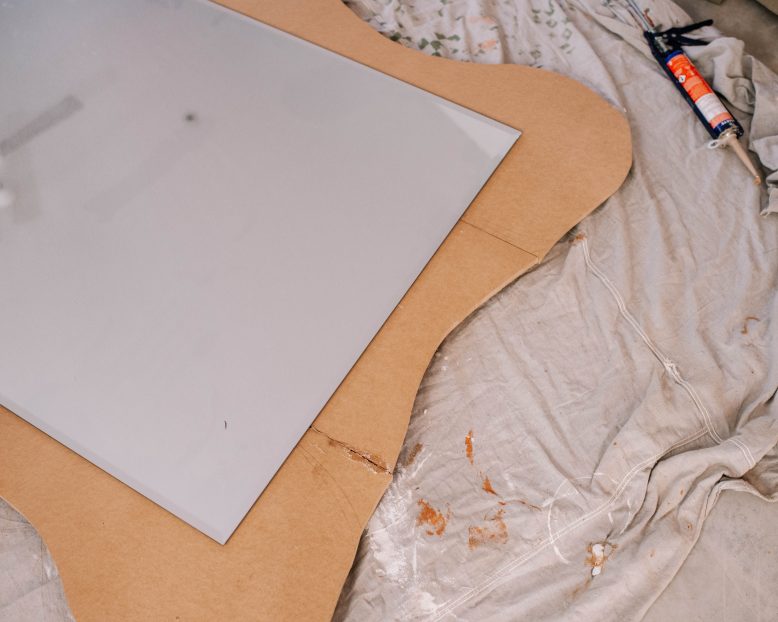
You can now flip the whole backing piece over and glue the mirror on, again using liquid nails. Leave the glue to dry just enough that the mirror won't slide if you accidentally lean on it during the next step.
10
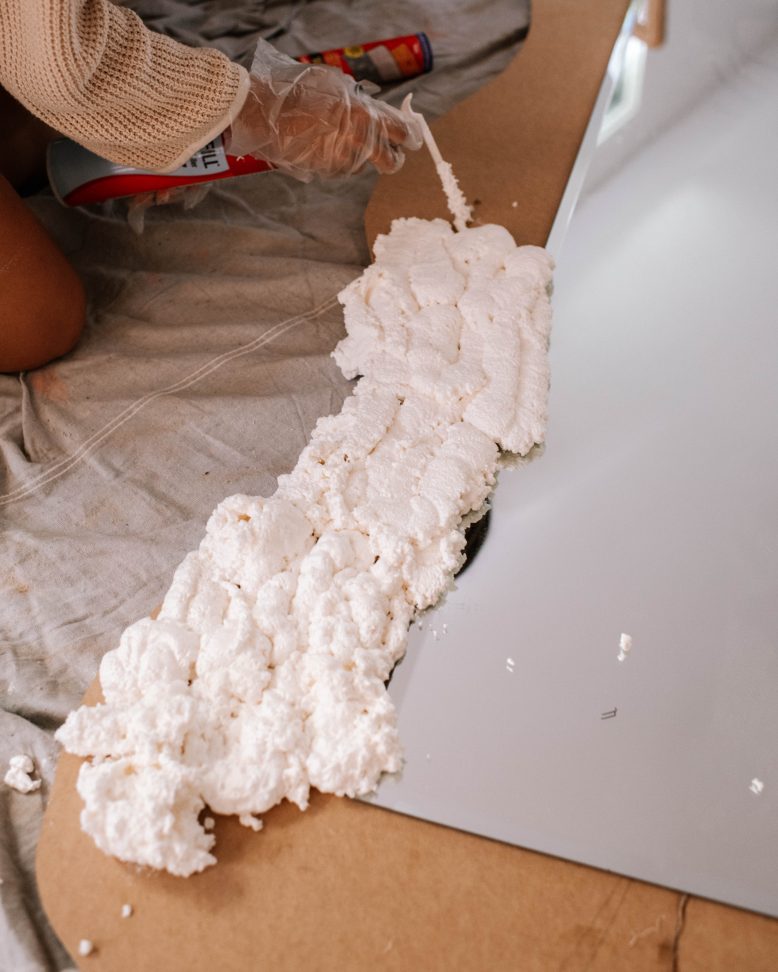
Ok now it's time for the expanding foam and yes, this is fun! Hold the can upside down and gently spray an even layer of foam, covering the whole MDF base. Make sure the foam covers the edge of the mirror as well and the wavy edge of the MDF. The further I went, the smoother and more controlled my spraying was. The more even the foam application, the better because it means less waste when shaping the foam.
11
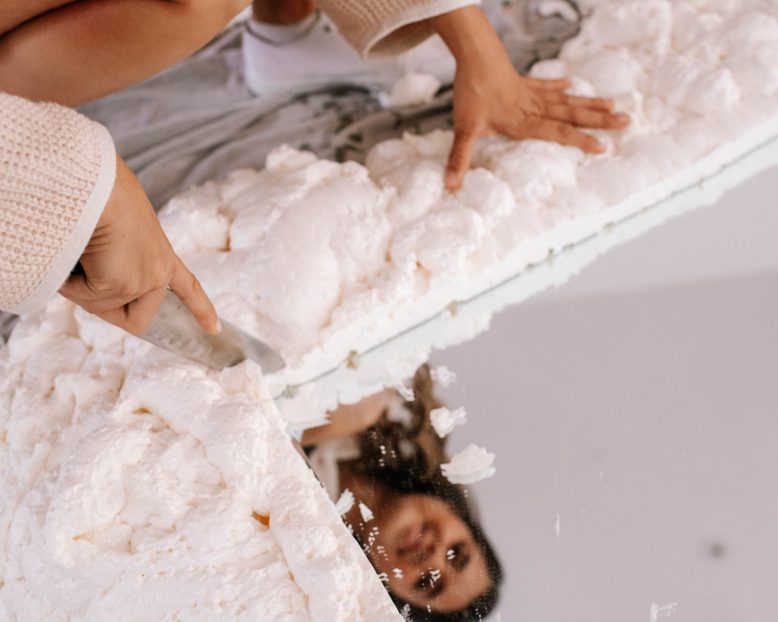
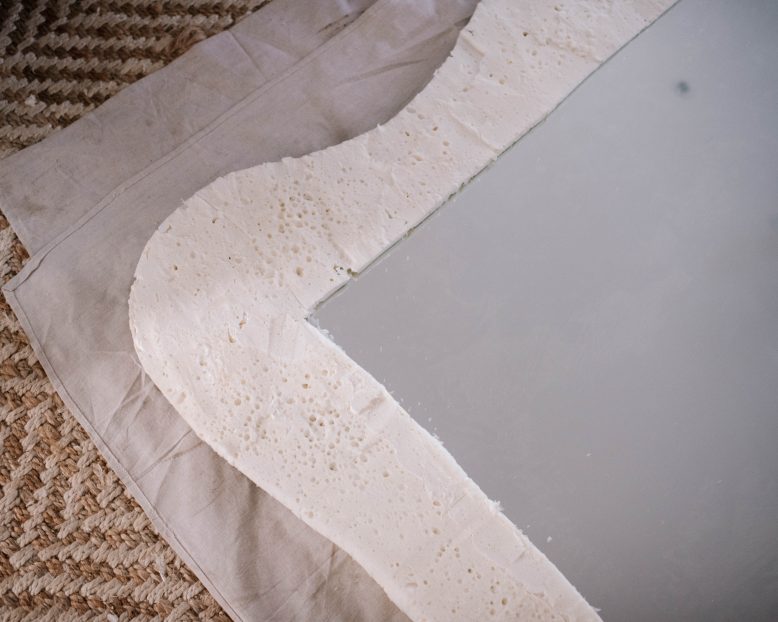
Once the foam is set hard (I left mine overnight), its time to carve. This is another satisfying step. I began by creating a nice sharp line around the inside of the frame and then smoothed out the wave around the edges. From there I started to shape the rest of the foam. Lay the knife flat and gently cut pieces off until there is an even surface. If you have sprayed your foam on really evenly, you won't have too much to cut off. But if your foam is really bumpy or has gaps, you will have a little more work to do to even it out.
12
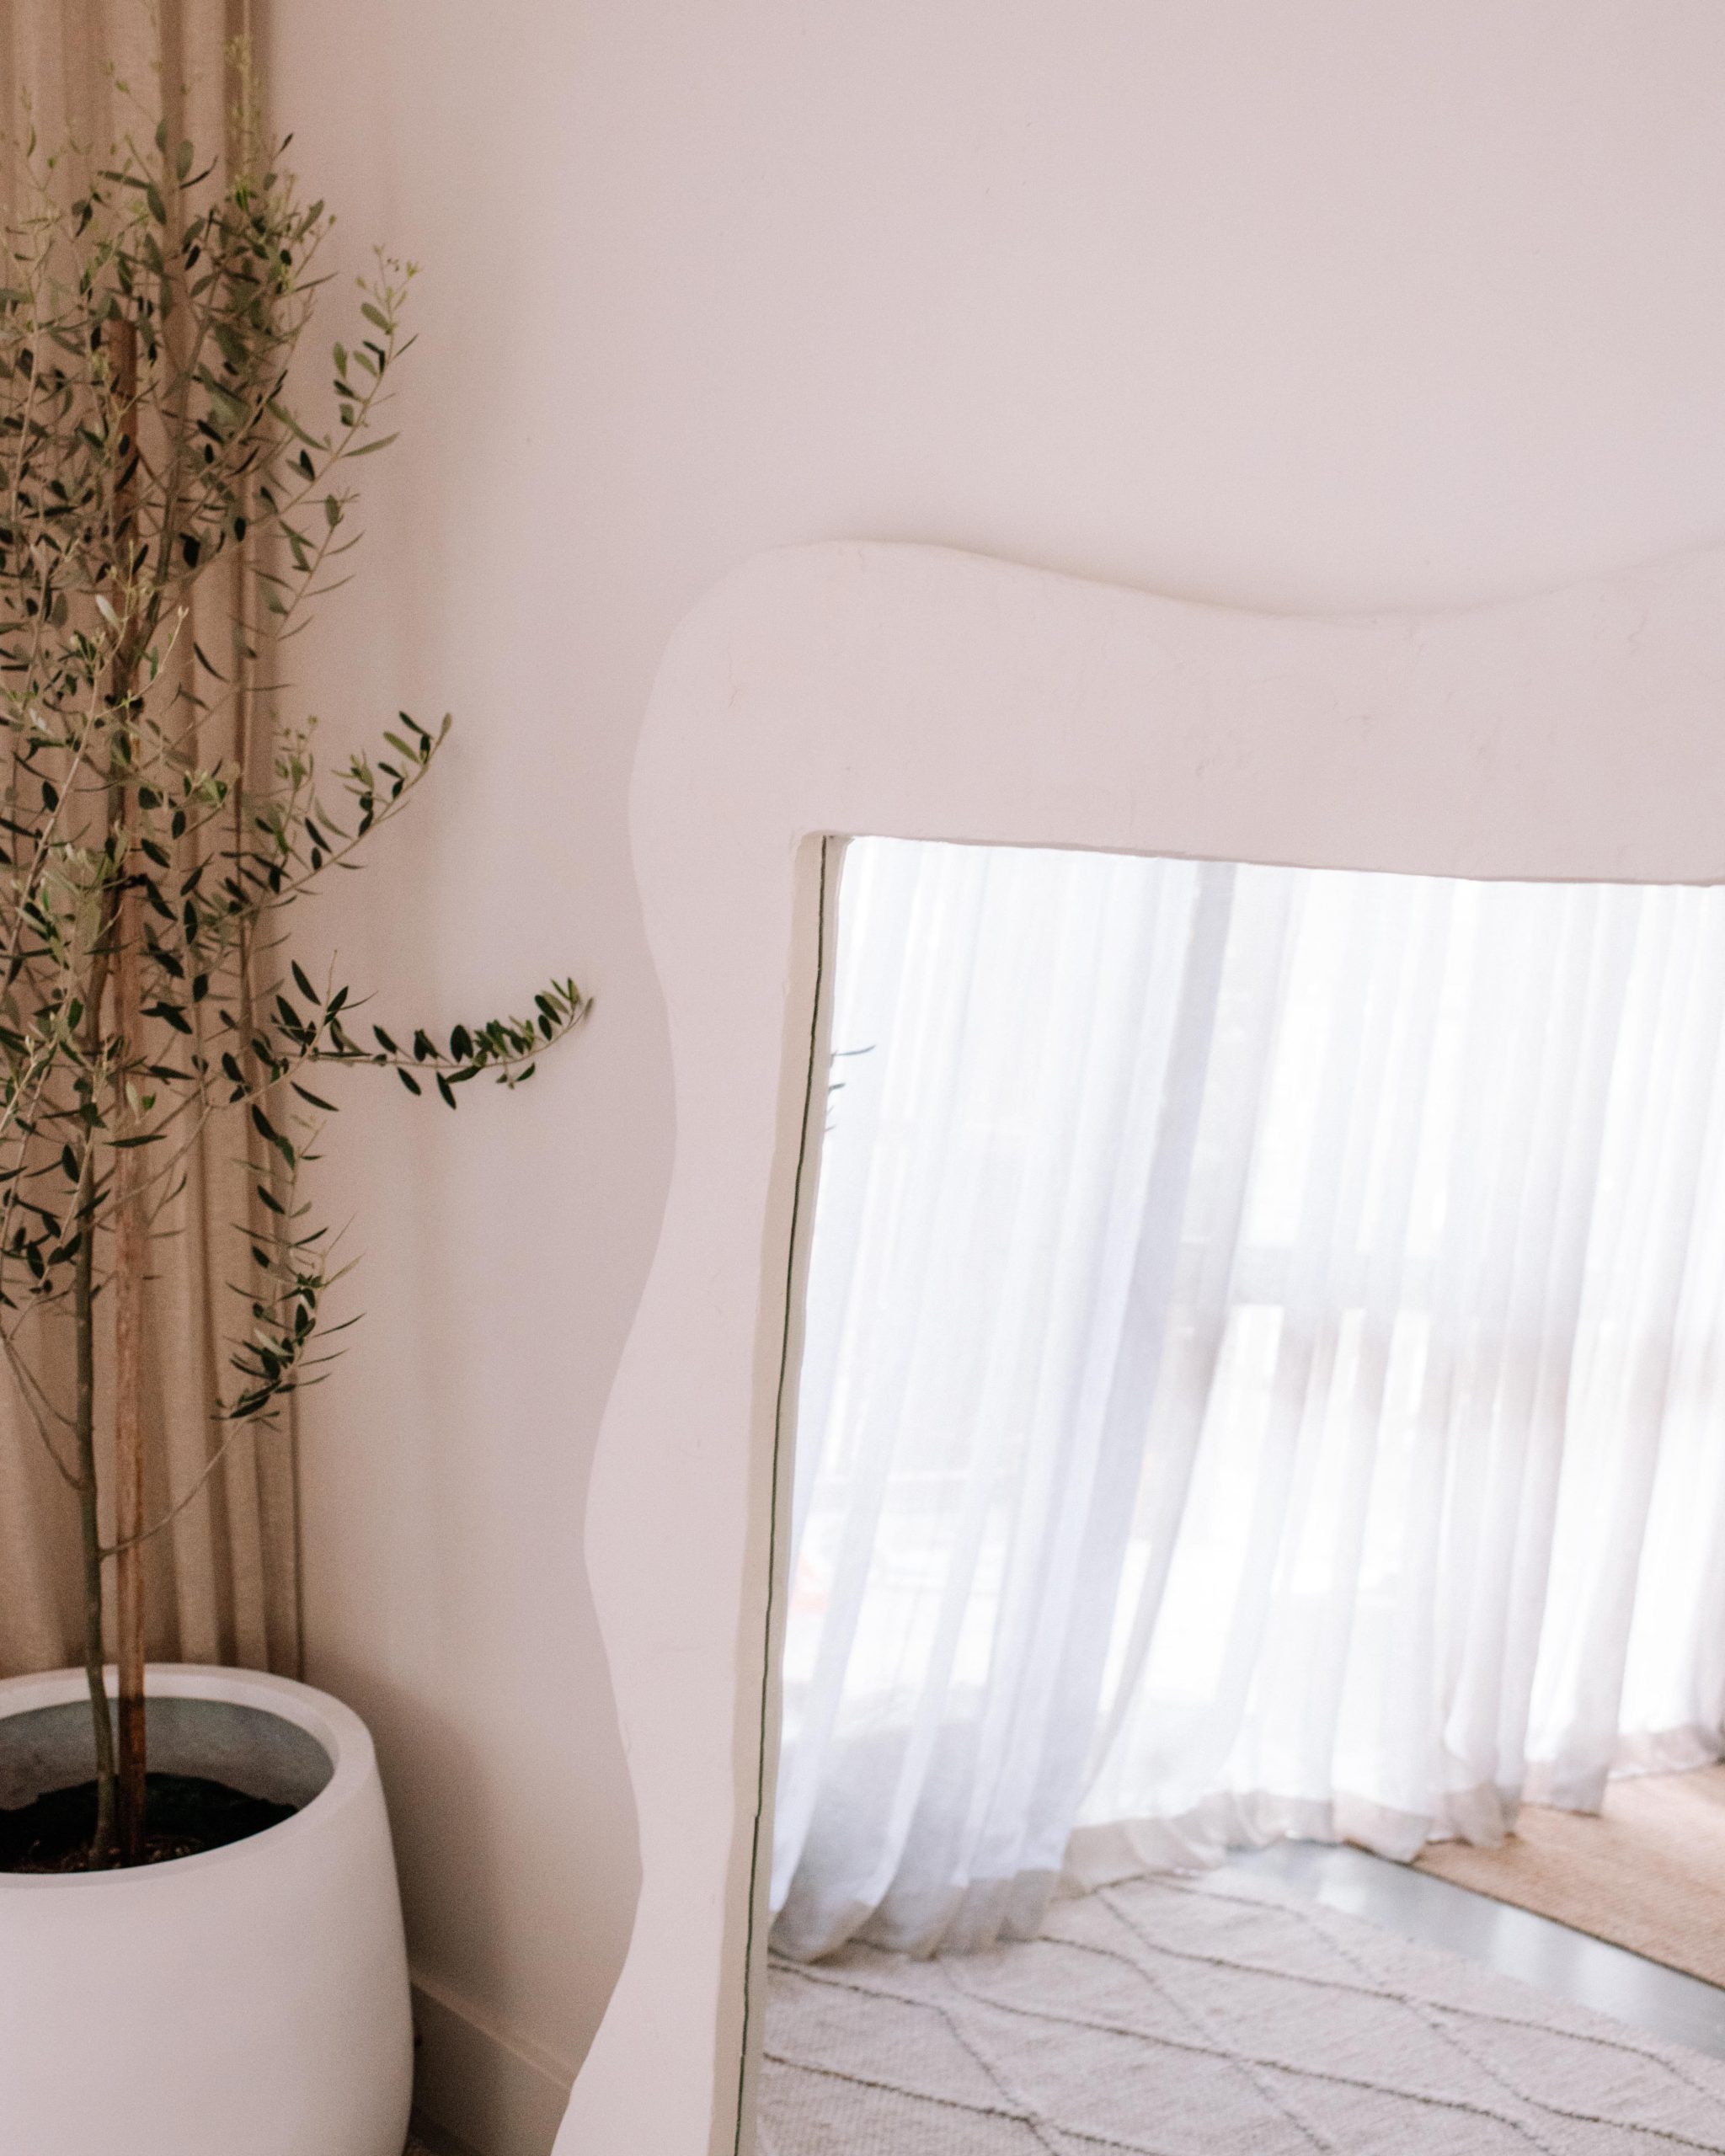
By this you'll start to get an idea of what it's going to look like. And all you have to do to finish it off if smooth on a layer of easy coat join compound. As always with joint compound, it's up to you if you want to leave it really textural and rustic or if you want to sand it down smooth. I sanded any rough edges but still left a nice amount of texture.
This post was done in collaboration with Bunnings


