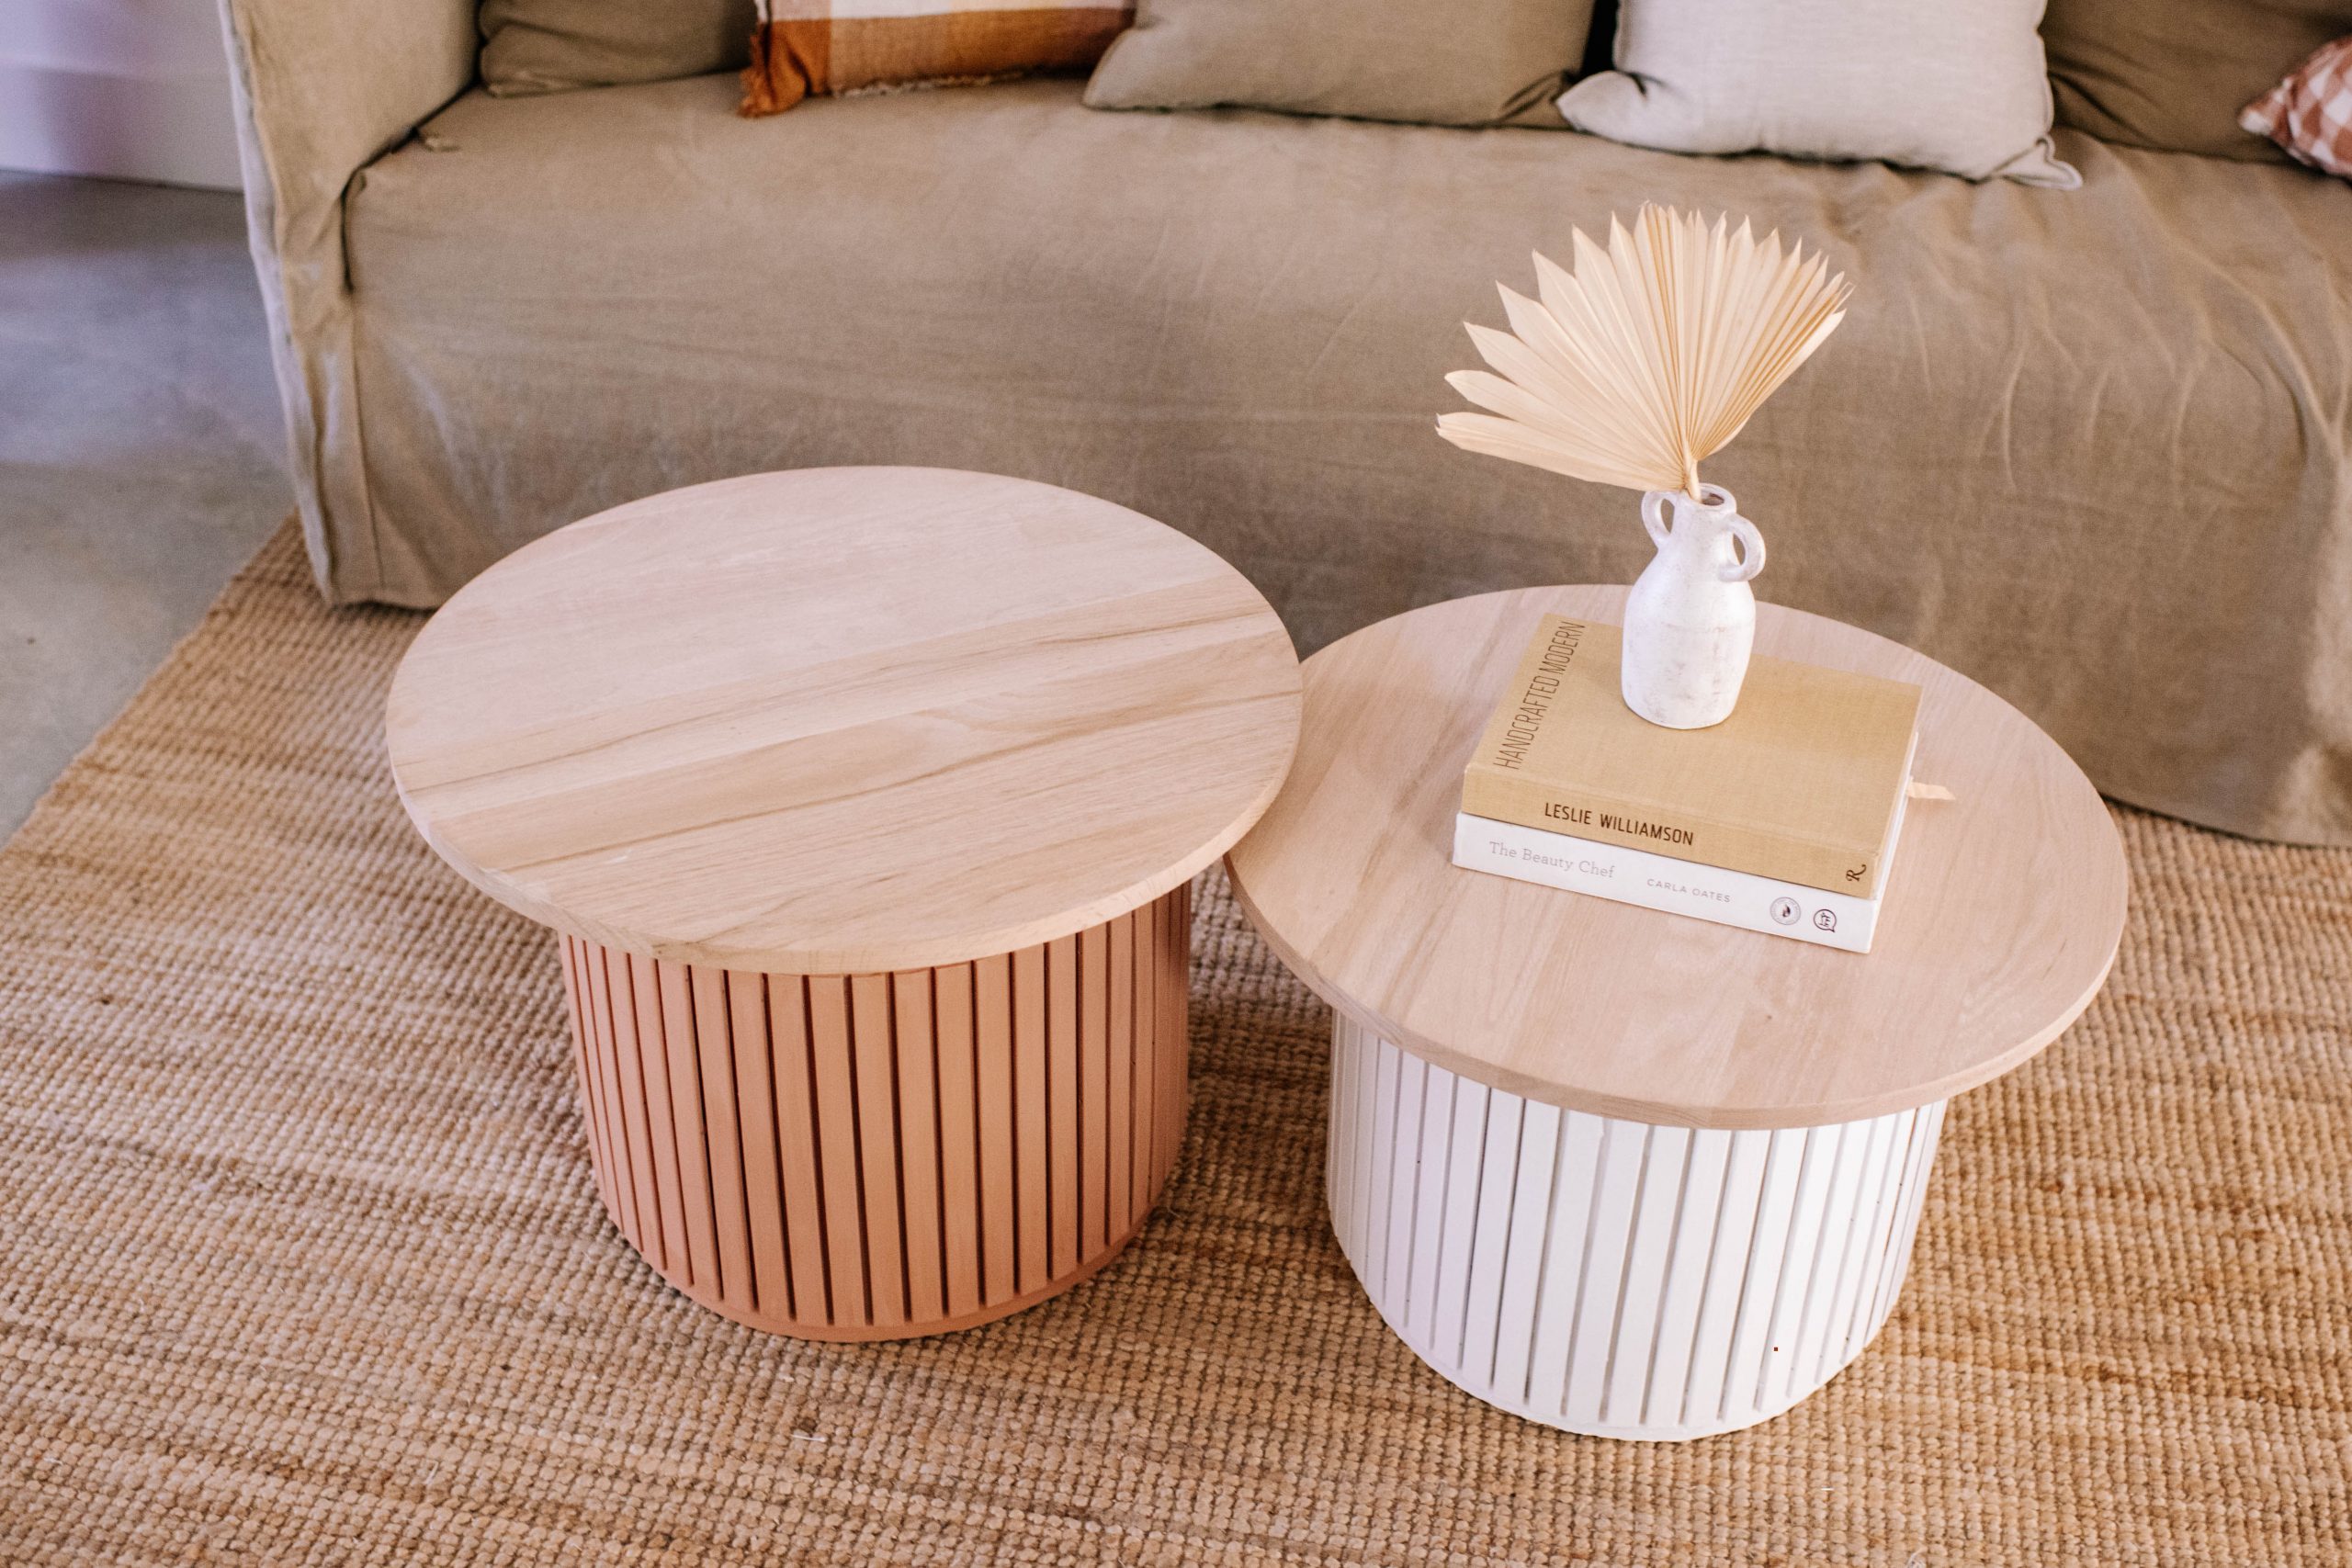
When I made a tiled table recently using a big old cardboard tube, a few of you asked how to make a fluted coffee table. And so I had to give it a go!
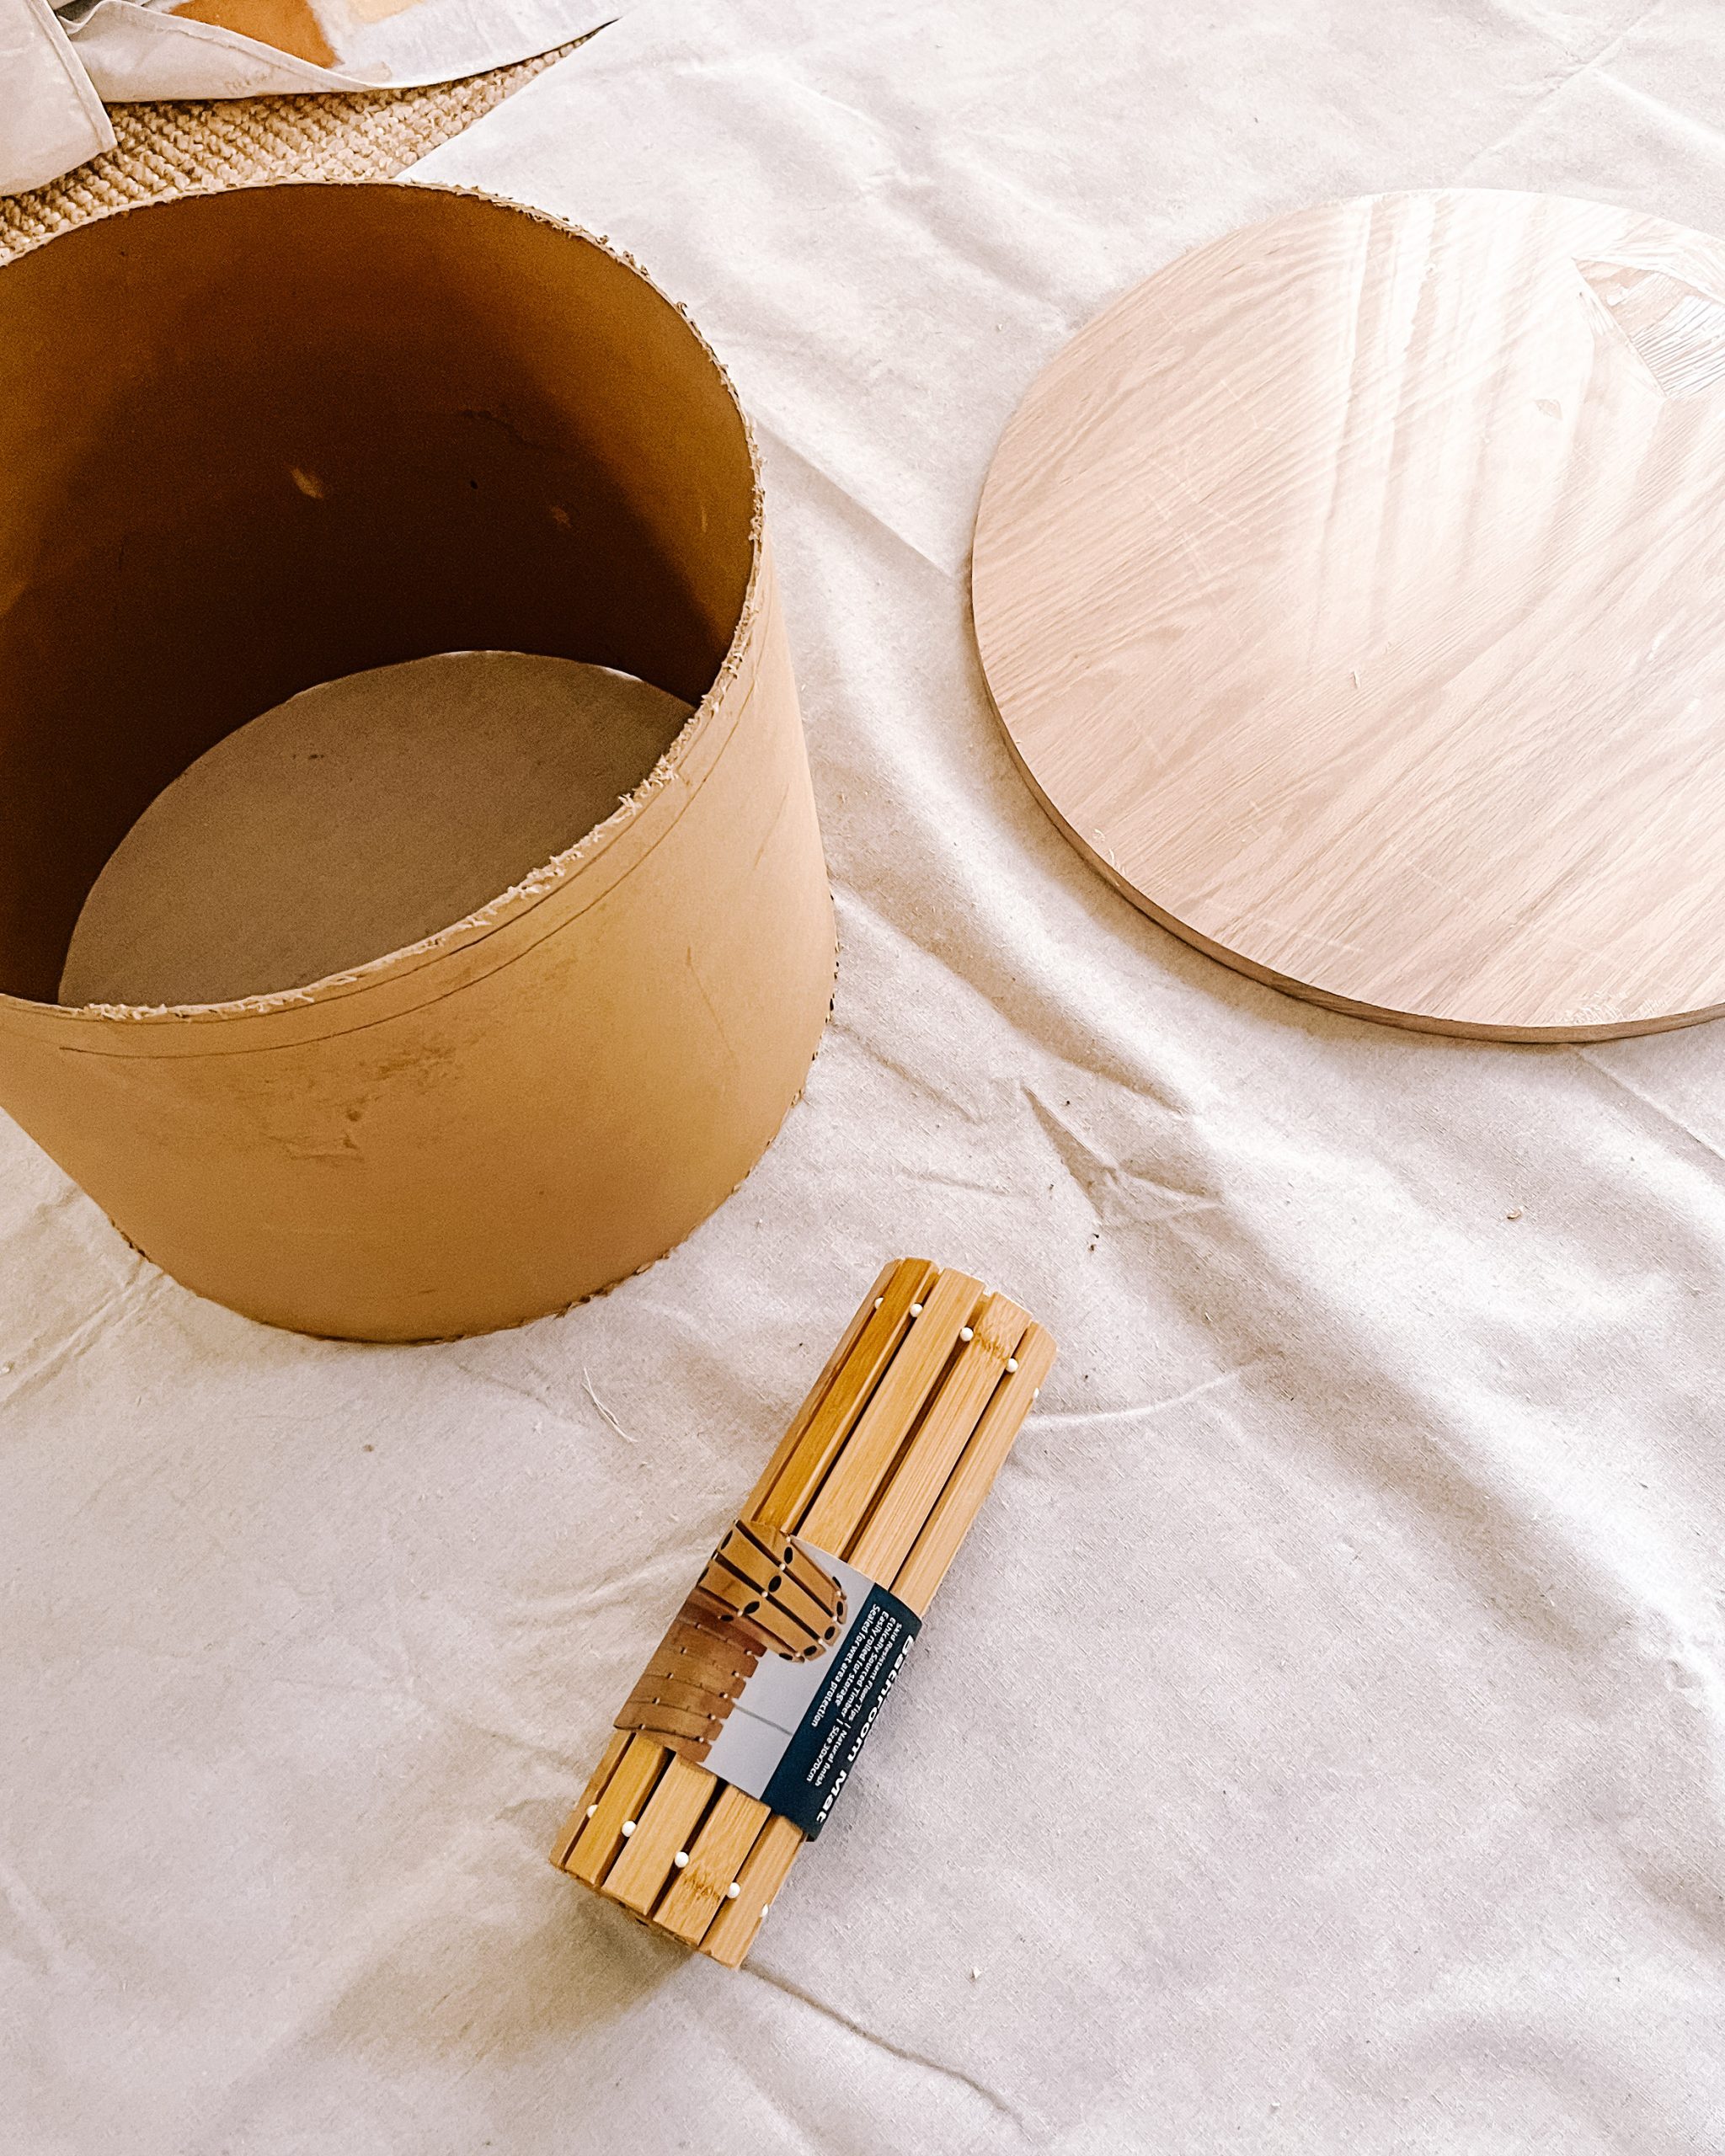
I considered using dowel but wanted to try something a *bit* different, and when I remembered I’d picked up some slatted bamboo bathroom mats from the aisles of Bunnings a while ago, I knew this had to be this week’s aisle upcycle.
MATERIALS YOU NEED
- Barelli 30 x 70cm Non-Slip Bamboo Bath Mat
- Selleys 420g Liquid Nails Fast Grab Strong Adhesive
- Specrite 600mm 18mm Round Timber Panel Red Oak FJ Laminated
- Paint
- Large Cardboard Tube
- Painters Tape
HOW TO MAKE A FLUTED COFFEE TABLE
1
First, I began with measuring the bamboo mats against the cardboard tube and then cutting it to length (you can also use a sharp knife for this part).
2
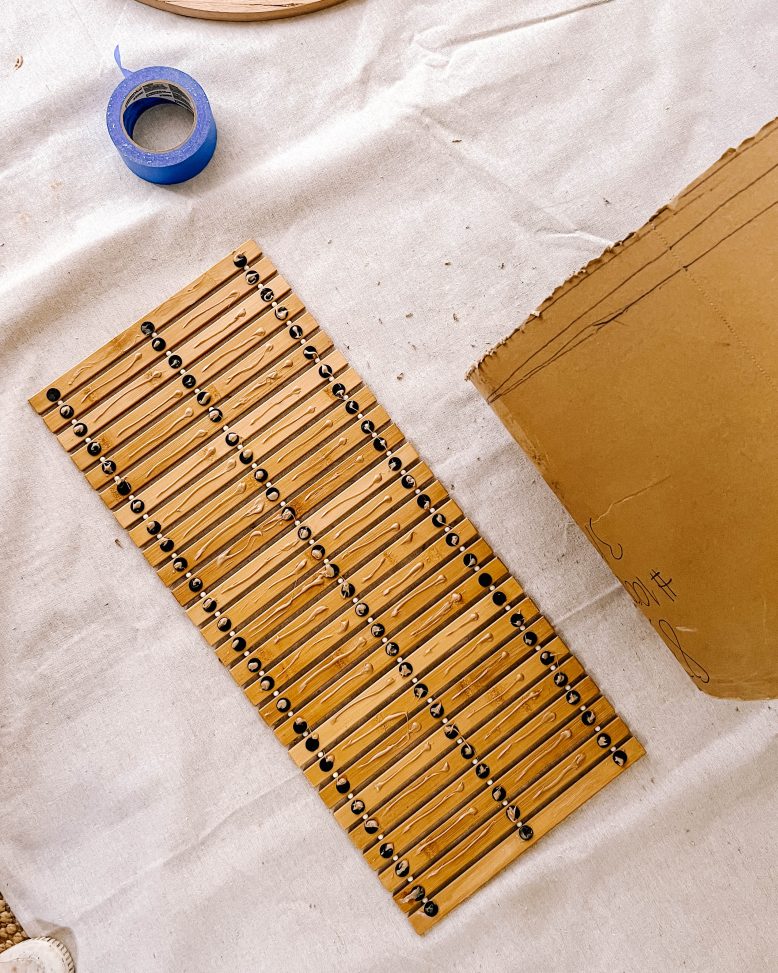
I debated cutting the bamboo mats and then sticking each piece on separately, but I opted for sticking it all on at once (aka the lazy way). I also realised this would give me perfect gaps which would be hard to do when sticking them on individually.
3
Once I applied the liquid nails and carefully draped the bamboo mat over the cardboard tube, I used painters tape to secure the mat in place while it dried.
4
Once the liquid nails fully dried, I used a pair of scissors to carefully remove the beads and string which left perfectly spaced gaps.This part is totally optional, but I preferred the way it looked without the beading.
5
I then painted the entire piece, be sure to use a paint brush to get in between each of the bamboo slats. You could definitely leave the bamboo unpainted and use a non-wood top like marble or just a simple white! Alternately, you could paint the tube and the slatting separately, but I felt that the glue would stick better this way than onto paint.
6
Once the paint dried, I attached the timber top by using my usual method of cutting an MDF circle to match the inside of the tube. I then screwed that piece in along the top edge of the tube (you won't be able to see the screws once the top is on). Then, I simply attached the wooden top from the inside!
Voila!
And there you have it, this project is such a win! Even better, it’s a third of the price compared to using half dowel (approx $150 vs $50) and less than half as expensive as using pine slats ($110 vs $50).
Get inspired and decorate your space with more simple upcycle projects!
This project is in collaboration with Bunnings.


