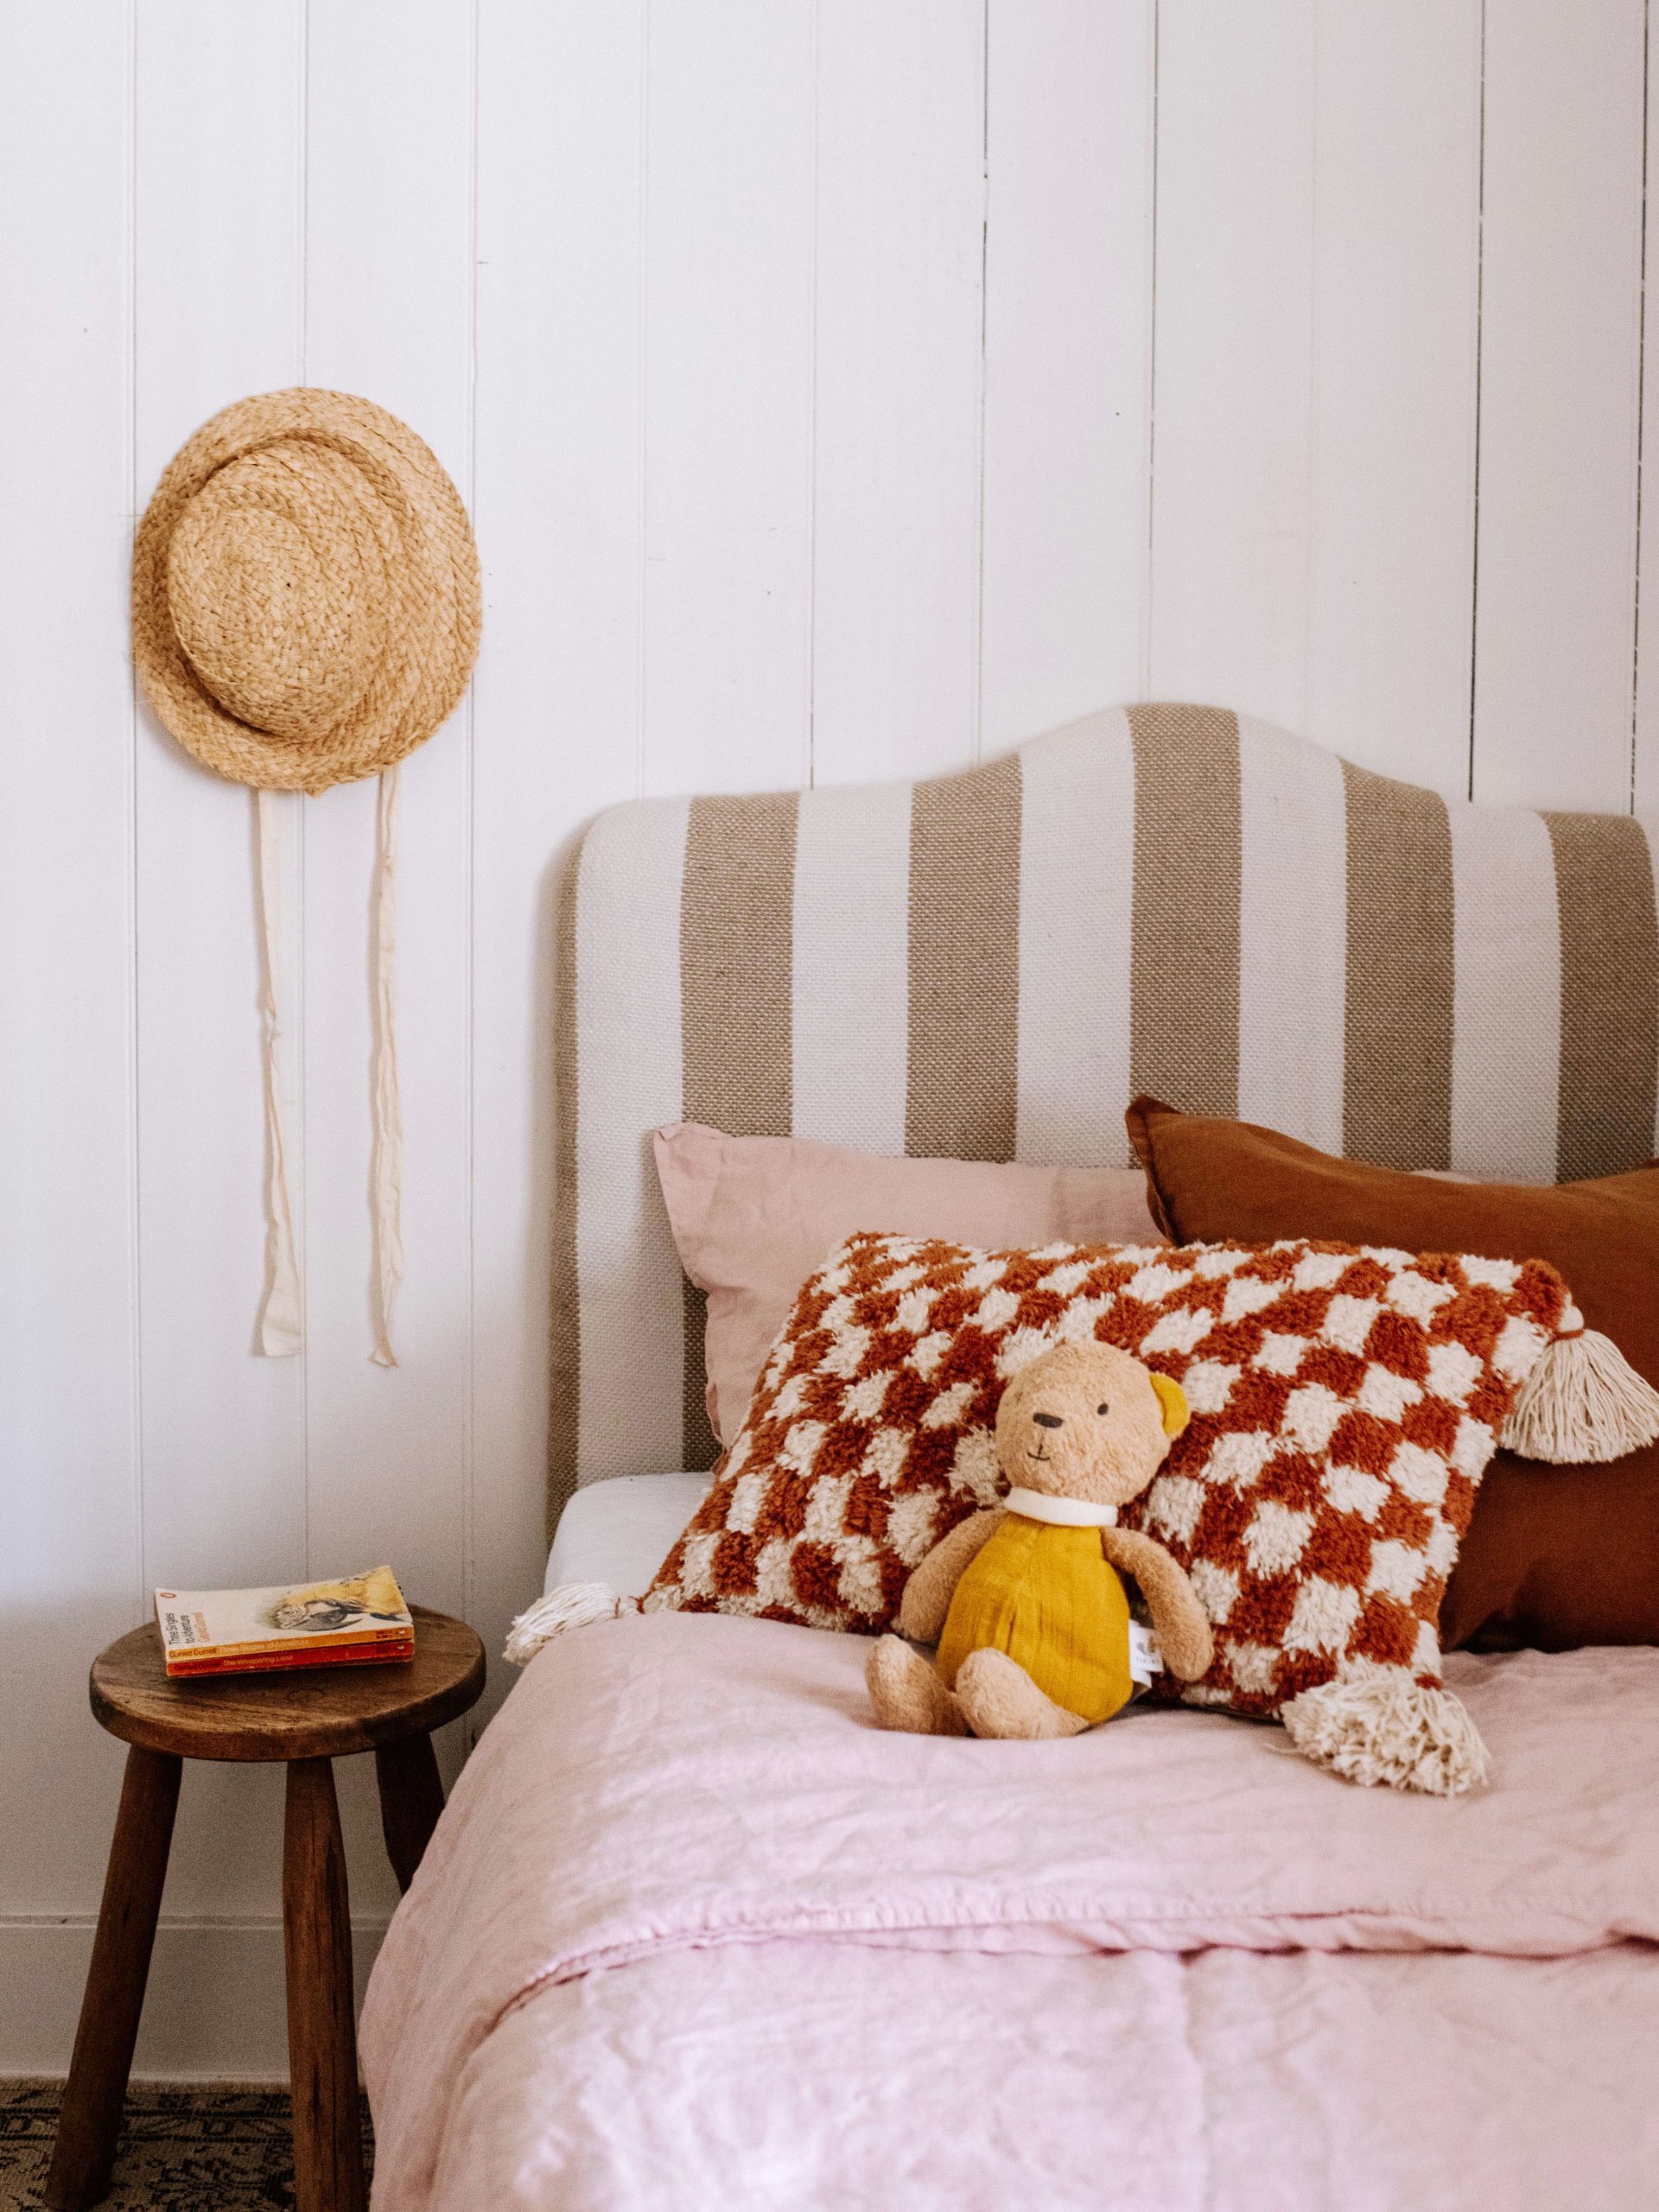
Trash to treasure, I couldn’t be happier!
When I saw a bright pink kids headboard sitting on the side of the road, initially it was a NO from me, but then I remembered I’d wanted to make a little bed for my niece who has started staying over, and thought maybe I could rescue this piece. Read on to see how to make an upholstered kids headboard.
- Before
- After
Materials You Need
- Old Headboard or MDF to cut yourself
- Woven Outdoor Rug
- 2 x Marrakesh Bench Cushion
- Jigsaw
- Liquid Nails
- Staple Gun
For this project I used the bench cushions to hack the foam, as I fond it difficult to get inexpensive custom foam, but you can always buy foam from a craft store if you can find it at an affordable price.
How To Make An Upholstered Kids Headboard
1
We all know I love a bit of pink, but that hot pink diamond...Thingy? It had to go. Once I had taken it off using a drill to remove the screws in the back, I gave the entire headboard a good cleaning using hot soapy water.
2
Next I gave it a bit of a reshaping with my jigsaw and then removed any old, worn off bits from the bottom.
3
I removed the covered from the bench seats, and found that they had foam also batting, both of which I would could use. I then laid the wooden headboard down onto the foam piece and traced out the shape.
4
After tracing the shape, I simply used liquid nails to attach the foam directly onto the headboard.
5
After the liquid nails had dried, I secured the foam batting around the foam side of the headboard and stapled it at the back so it was taut around the front of the foam. Because the baiting was in strips, I used a spray adhesive to attach the edges.
6
The rug I used for the upholstering part of this project was actually really big and could definitely be used for an adults headboard. But because I was upcycling a children's headboard, there was so much excess fabric that I needed to trim it a bit.
7
Once I had the rug trimmed to a more manageable size, I began stapling. When upholstering make sure to keep the fabric pulled as tight as you can, this will ensure you have a nice smooth finish. I'd suggest doing the top and bottom first and then finishing with the side. I also found it helpful to kneel on the headboard so that the foam would compress down allowing me to pull the fabric even tighter! You'll also need to keep checking to make sure the stripes are straight and centred at the front.
Also Using Batting
If you’ve wondered which DIY you should dip your toe into, honestly it should be this one, it’s so so easy!
Looking for other DIY projects for your home? Discover some of my favourites below!
This project was in collaboration with Bunnings.


