Anytime I visit my local Vinnies, I make a beeline to the glassware section. I’m always on the lookout for interesting shapes, colours and designs. Basically, anything that would display nicely on my shelves or kitchen counter and add that extra special something for a cocktail party.
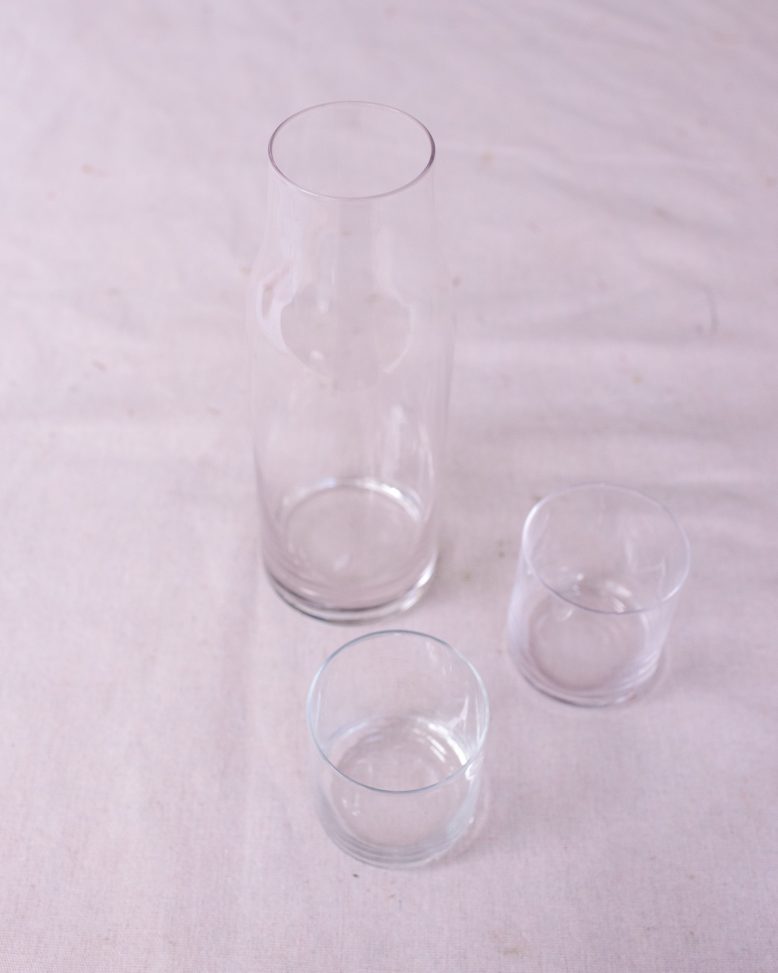
A few days ago I was struggling to find anything that really caught my eye. However, when I came across a simple water jug and set of glasses I decided to create my own upcycled glassware set. Using my Cricut Maker 3 machine and their new Smart Stencil Material (which worked so well for this upcycle!) I was able to turn what most would call a very ‘basic’ op shop find into a cute matching glassware set!
Cricut’s New Stencil Material
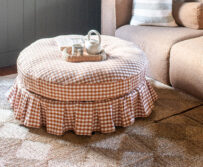
As soon as I first got my hands on the Cricut I knew it was the perfect machine to help me create amazing stencils. In fact, I used it to create this upcycled table which I love so much.So when I heard that Cricut was bringing out a new and improved Smart Stencil Material I was so excited and couldn’t wait to get my hands on it. As soon as I opened it up I could tell this was going to be an amazing material, with a firmness and adhesion that would make every stencil project a breeze. These upcycled glasses felt like the perfect project to use it on! Note that the etching cream doesn’t work on pyrex or other heat resistant glass, so I would opt for simple standard glasses when doing this project.
Materials You Need
- Cricut Maker 3 Machine (or the Cricut Explore 3!)
- Cricut Smart Stencil Material (available at Harvey Norman now, and coming soon to Officeworks and JB Hi-Fi)
- Cricut Scraper
- Cricut Standard Grip Mat
- Precision Tools
- Clear Glassware
- Armour Etch
- Disposable Gloves
Etching On Glass
In this project I’ll be etching on glass using etching cream. Etching cream is a fast acting compound that lets you create permanent etched designs on windows, mirrors, or in this case, household glassware! Cool right? The result is dishwasher and food safe, which is pretty amazing! This was my first experience with etching cream (I used Armour Etch) and I found it very simple to use, however, I would highly recommend wearing gloves whilst using it as well as eye protection and a mask. That’s because it can cause burns if not handled properly.
Creating My Design
For this project I used the canvas in the Design Space app, and simply searched in the image library for a checker pattern. I used ‘Chess Board #MBD5D0BE’. I then measured the circumference of the carafe and glasses and made designs that would fit perfectly by duplicating the image and attaching it together. You can access my design here (Cricut have a new profile function so I’ll be adding most of my projects to that!). Note that you will need to measure your glasses and resize the design to fit. Use the slice button to remove any sections you don’t need.
How To Make Upcycle Checkered Glassware
1
I started by giving the glasses and carafe a good clean with warm soapy water toremove any dirt or dust that may have built up over time. Make sure you don’tuse a glass cleaner that advertises fingerprint resistant. This type of cleaner willleave a filmy residue on your glass and will work against the Armour Etch.
2
Once I was happy with my design in Cricut Design Space, I simply pressed Make It and the app guided me through the process of cutting the design out.
3
The best thing about the Smart Stencil Material is that you don’t have to use a mat, so I simply cut the right amount using the cutting and then inserted the material into the Maker 3 Machine.
4
Once the design had been cut, I weeded the design using my weeding tool by removing all the negative space.
5
I then took some transfer tape and pressed it onto the checker pattern, carefully pushing it down with the scraping tool. I actually cut the checker pattern and applied it in sections, as I found this was the easiest way to keep it straight.
6
To transfer the pattern into the glass, I took the transfer tape that held the checker design and pressed it down on the glass carefully, making sure to check the design was straight. I used the scraping tool to remove any bubbles and make sure the design was adhering to the glass.
7
For the carafe, you will need to slightly change the design as you go up to the top of the bottle (depending on your bottle) as the circumference will most likely get smaller. I found that going in smaller sections of stencil here is the best way to go.
8
I then removed the transfer tape by folding it back on itself carefully and pulling it away. If any small squares came away with the transfer tape I used the scraping tool to press them back down. However I noticed that this new stencil material worked so well I rarely had to do this.To transfer the next section, I made sure to check that the pattern was matching up and no gaps were being left in the design.
9
After I finished transferring the squares onto the glass I carefully covered the outside of the piece with the Armour Etch using a paintbrush.
10
I let the Armour Etch sit for about 10 minutes before gently rinsing off any residue with warm water and then thoroughly cleaning with hot soapy water.
11
Using my Cricut precision tools, I carefully peeled off the Smart Stencil Film and then gave the glasses another very good clean in hot soapy water.
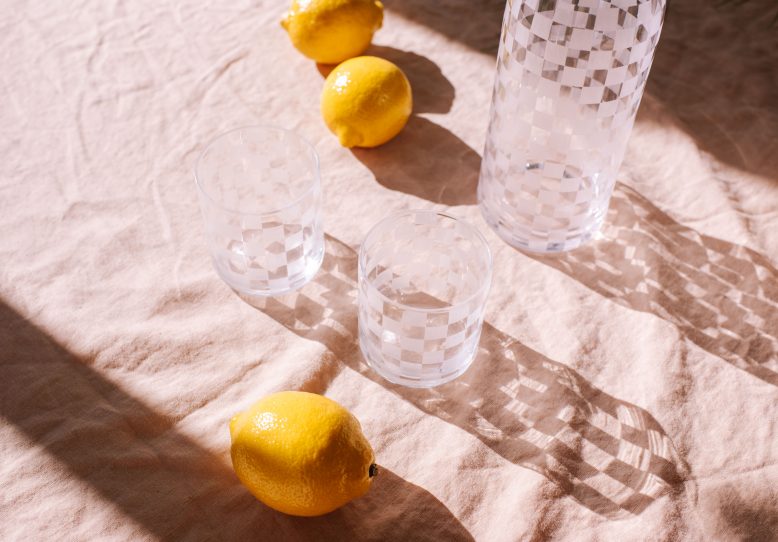
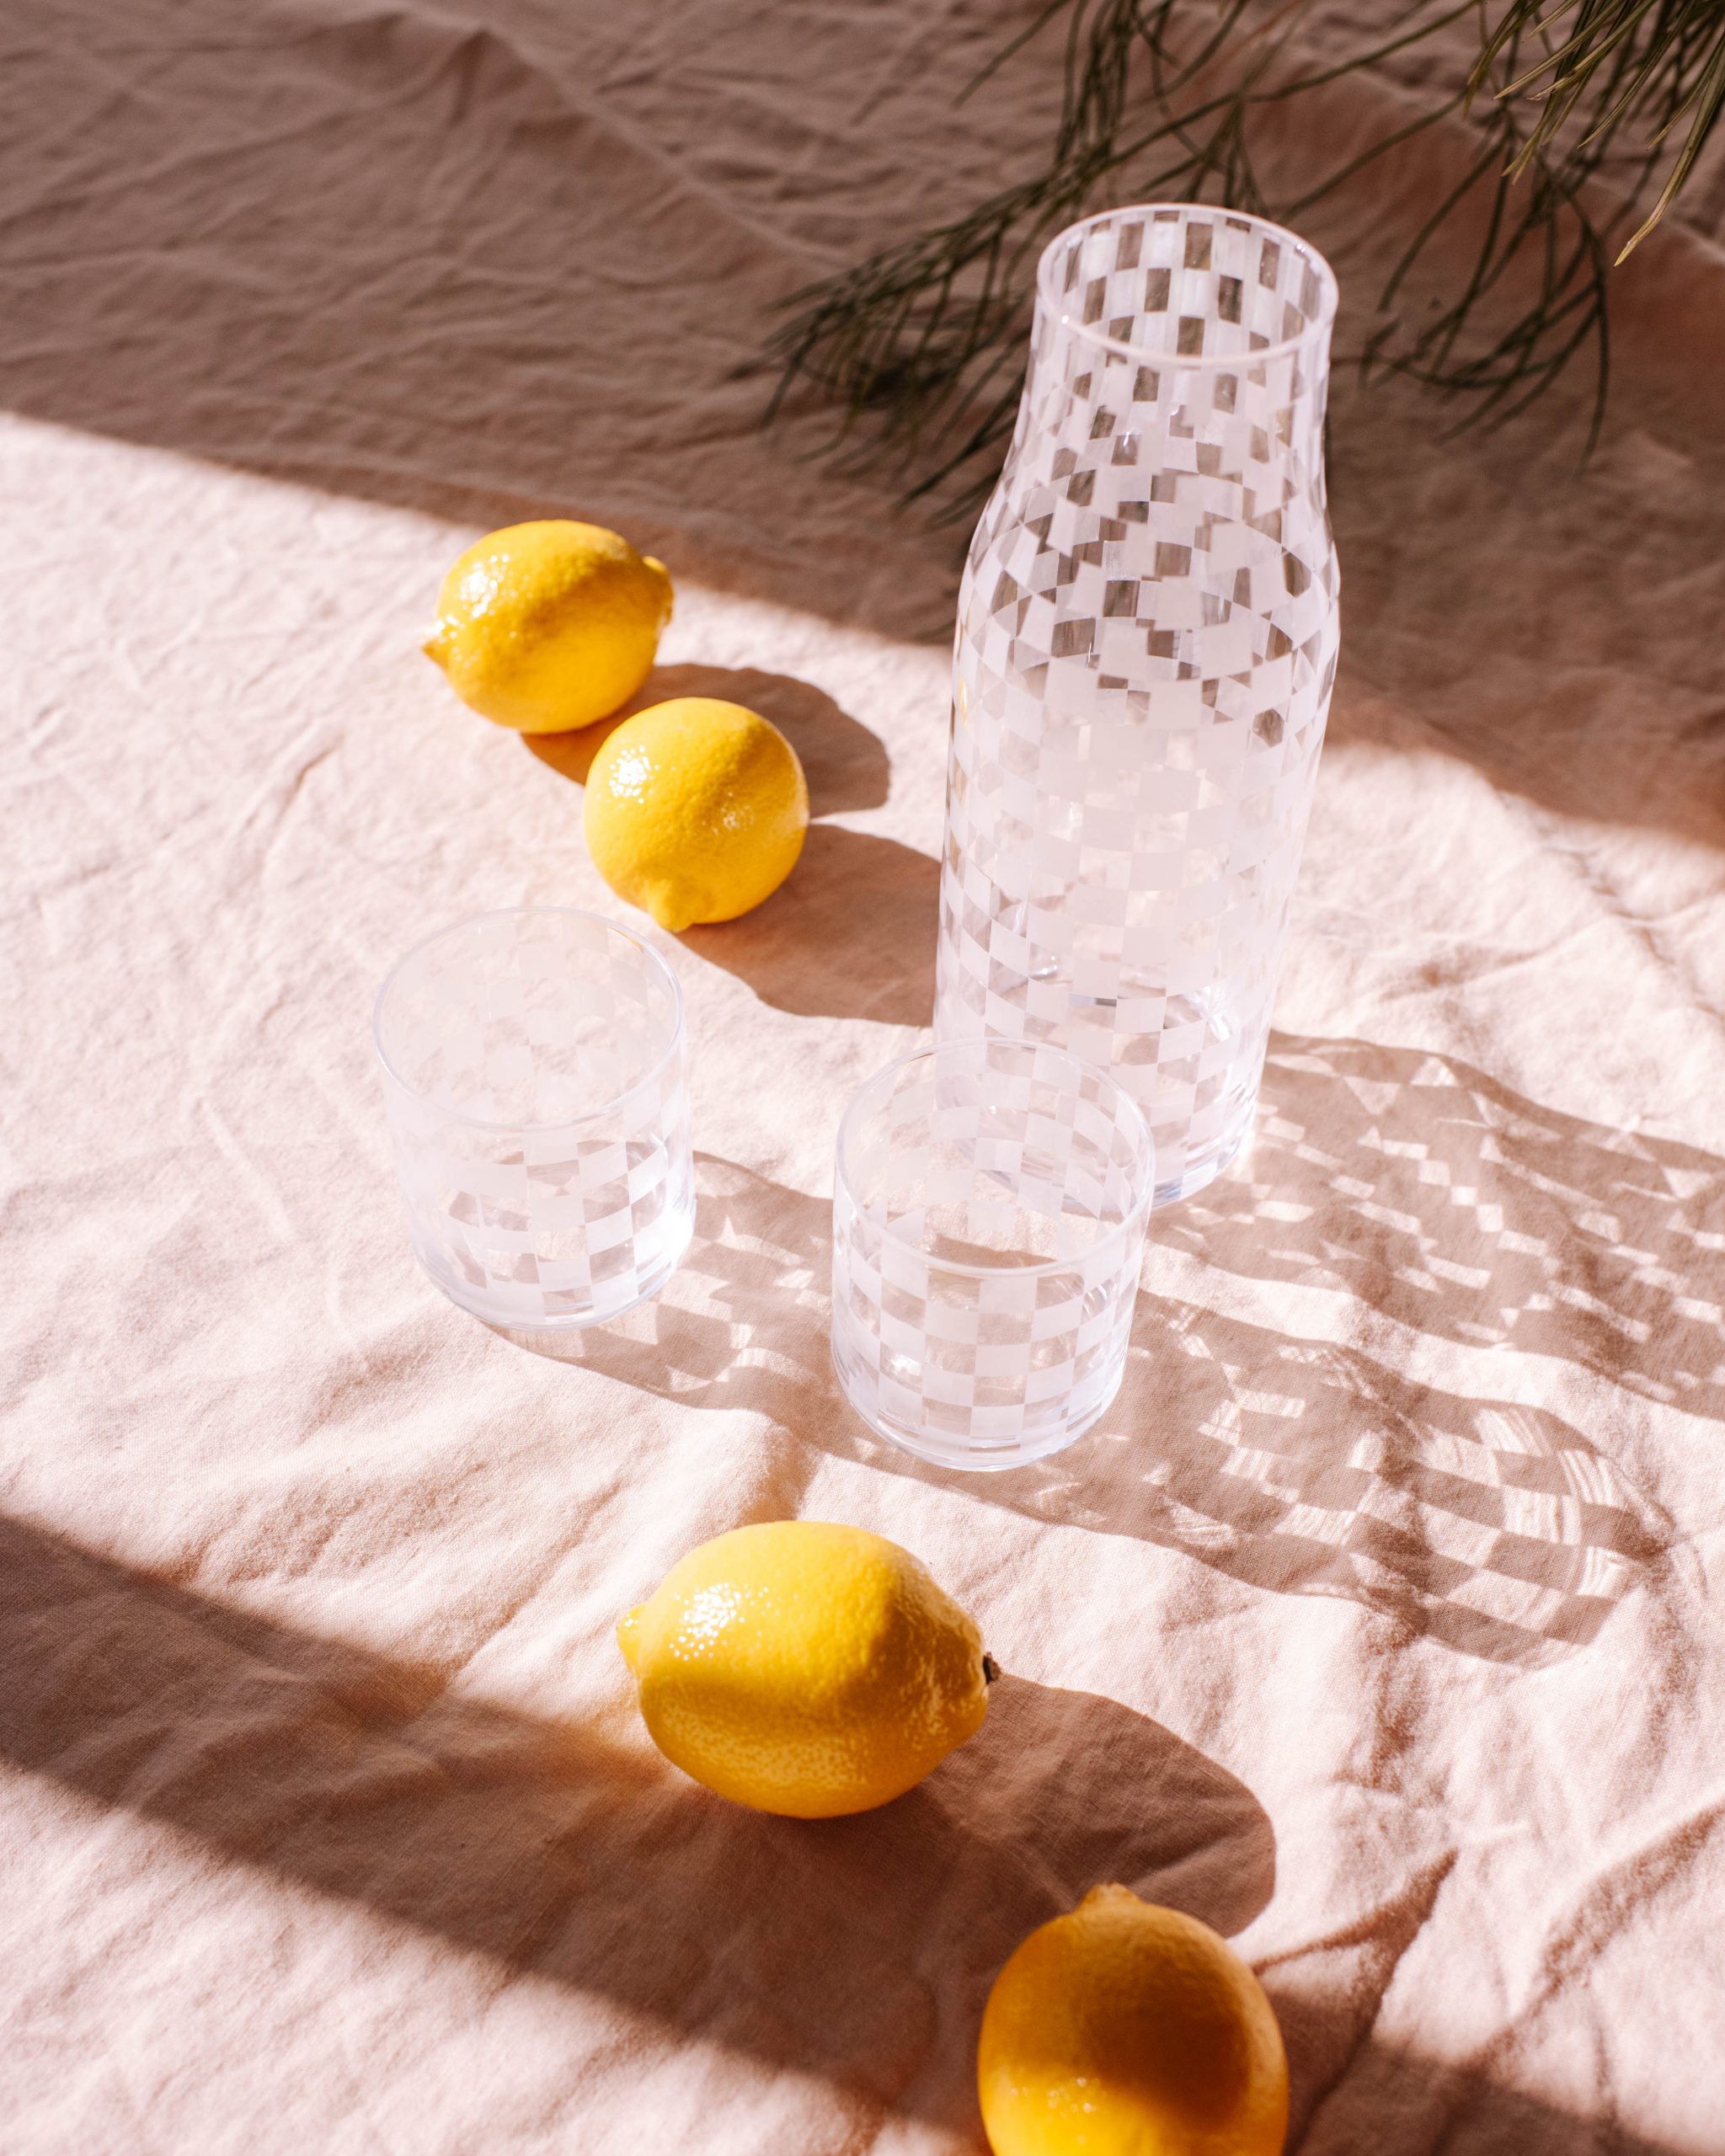
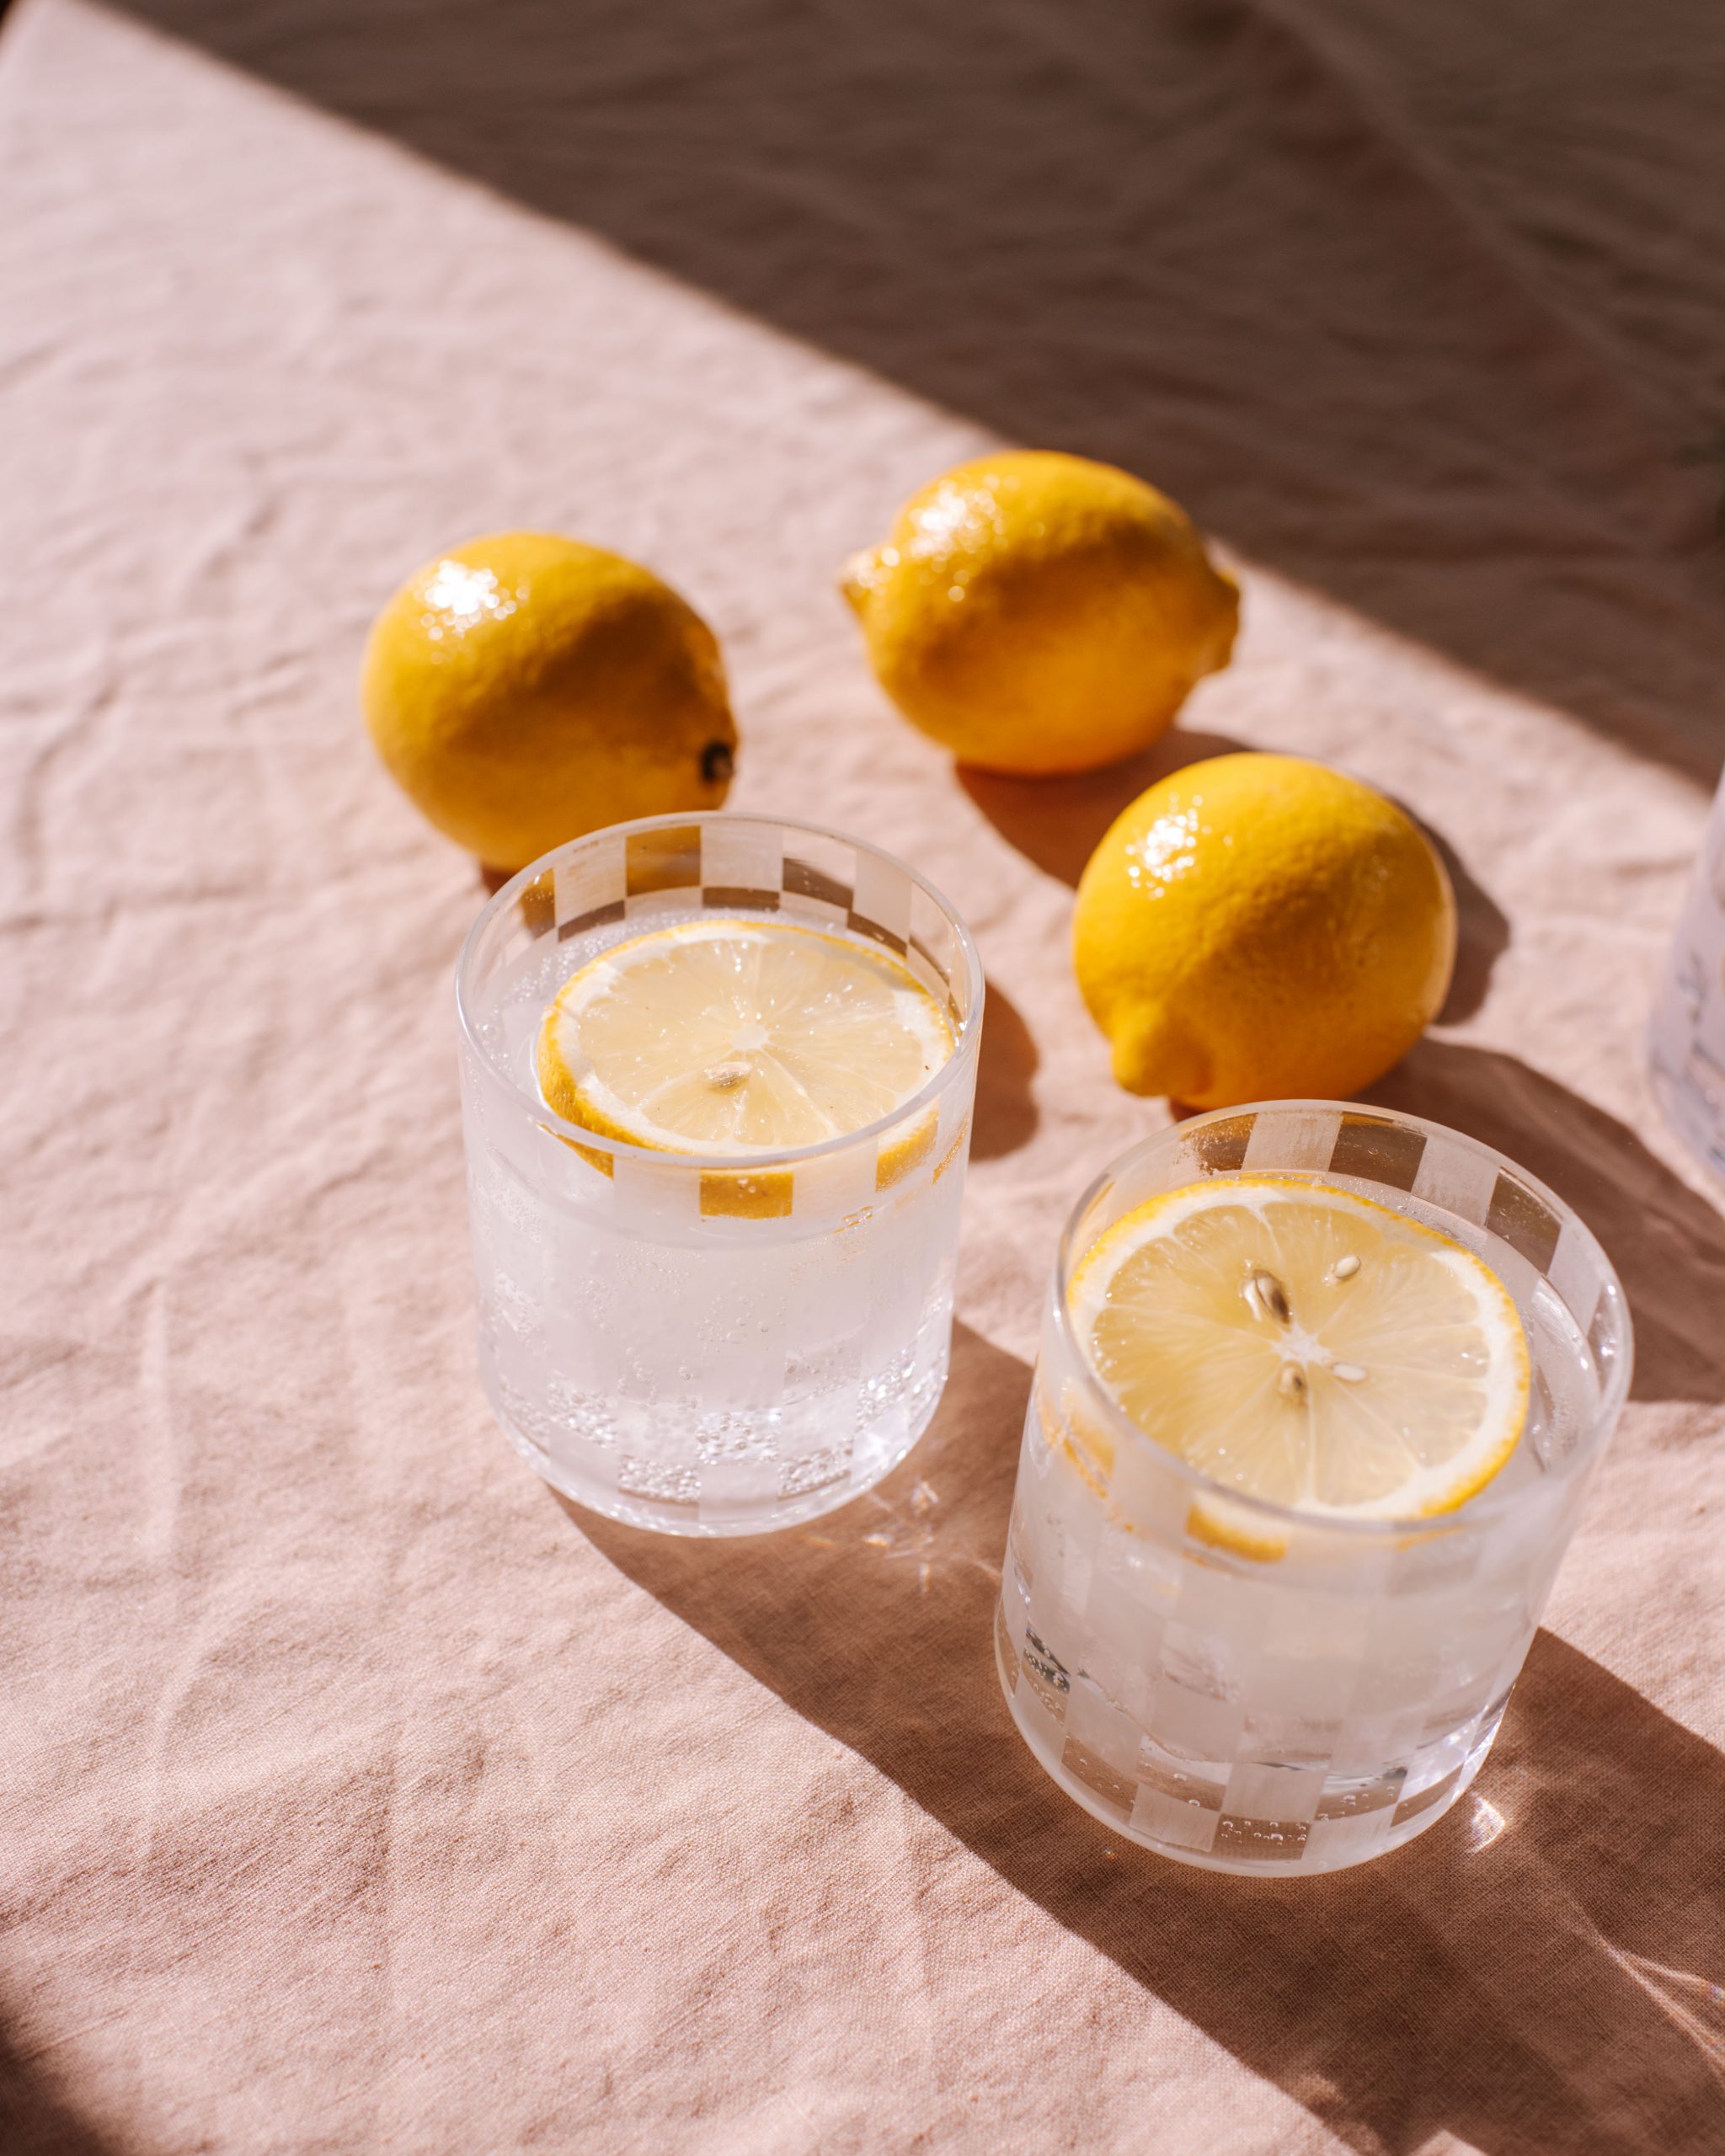
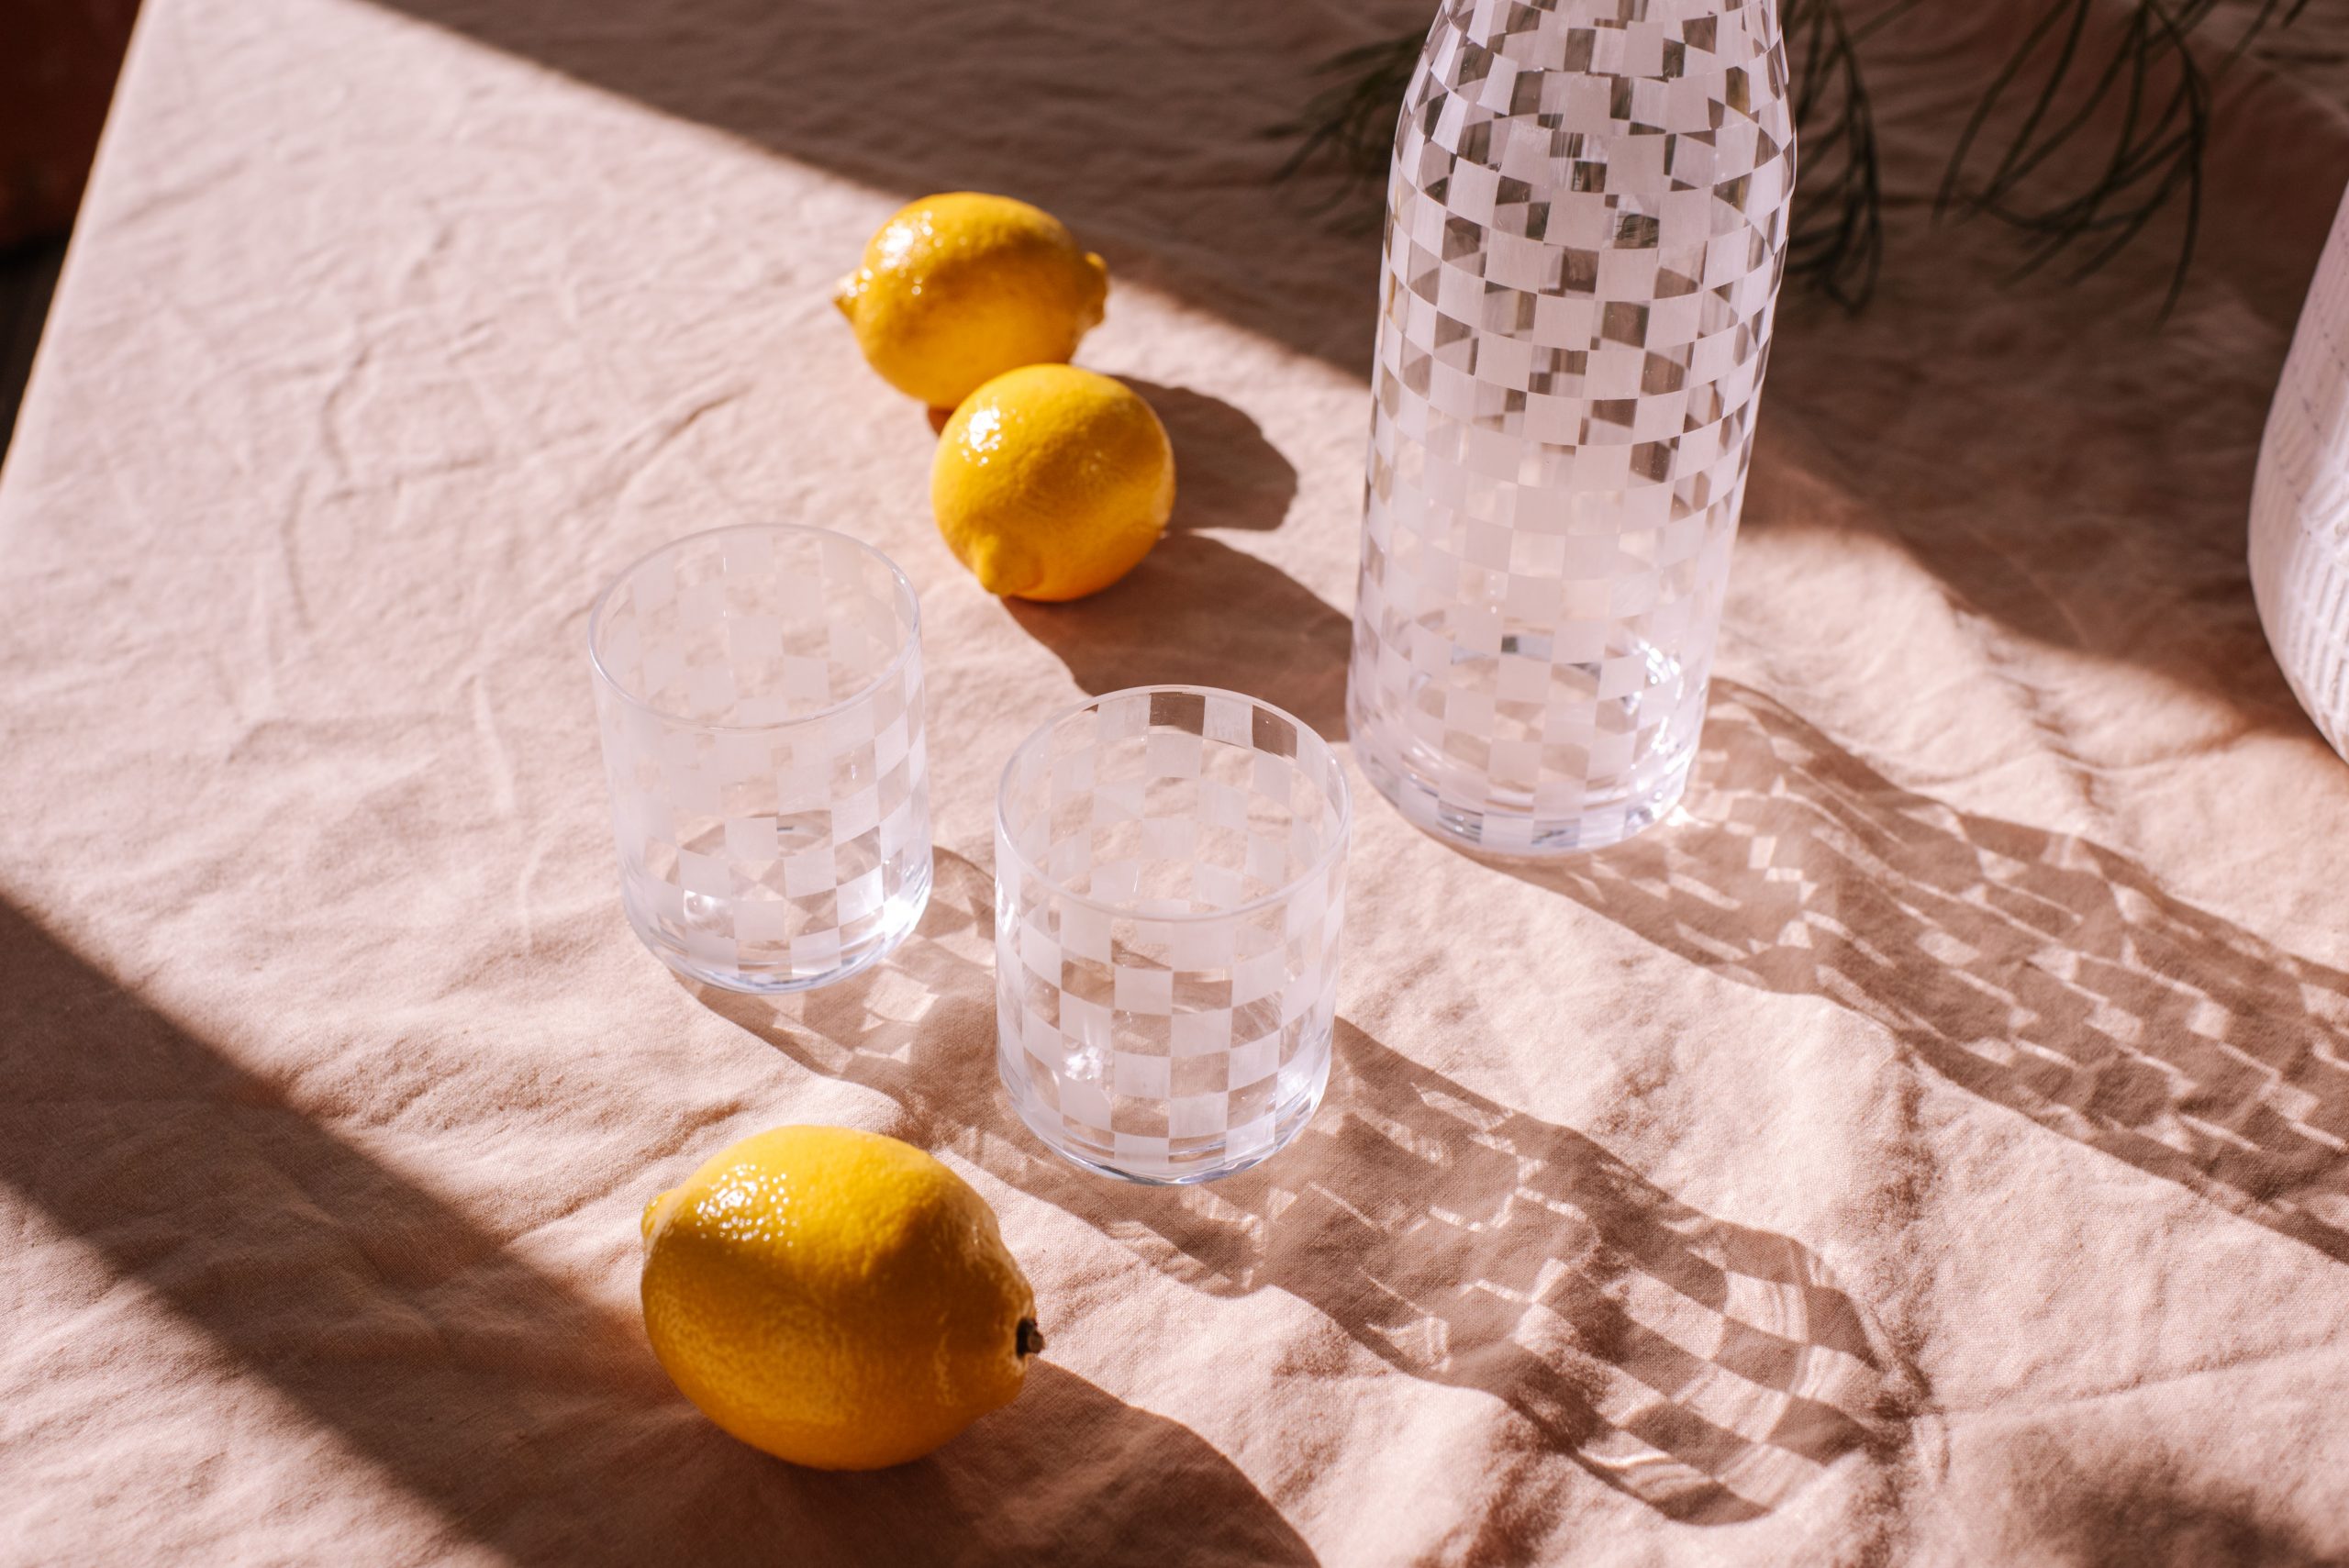
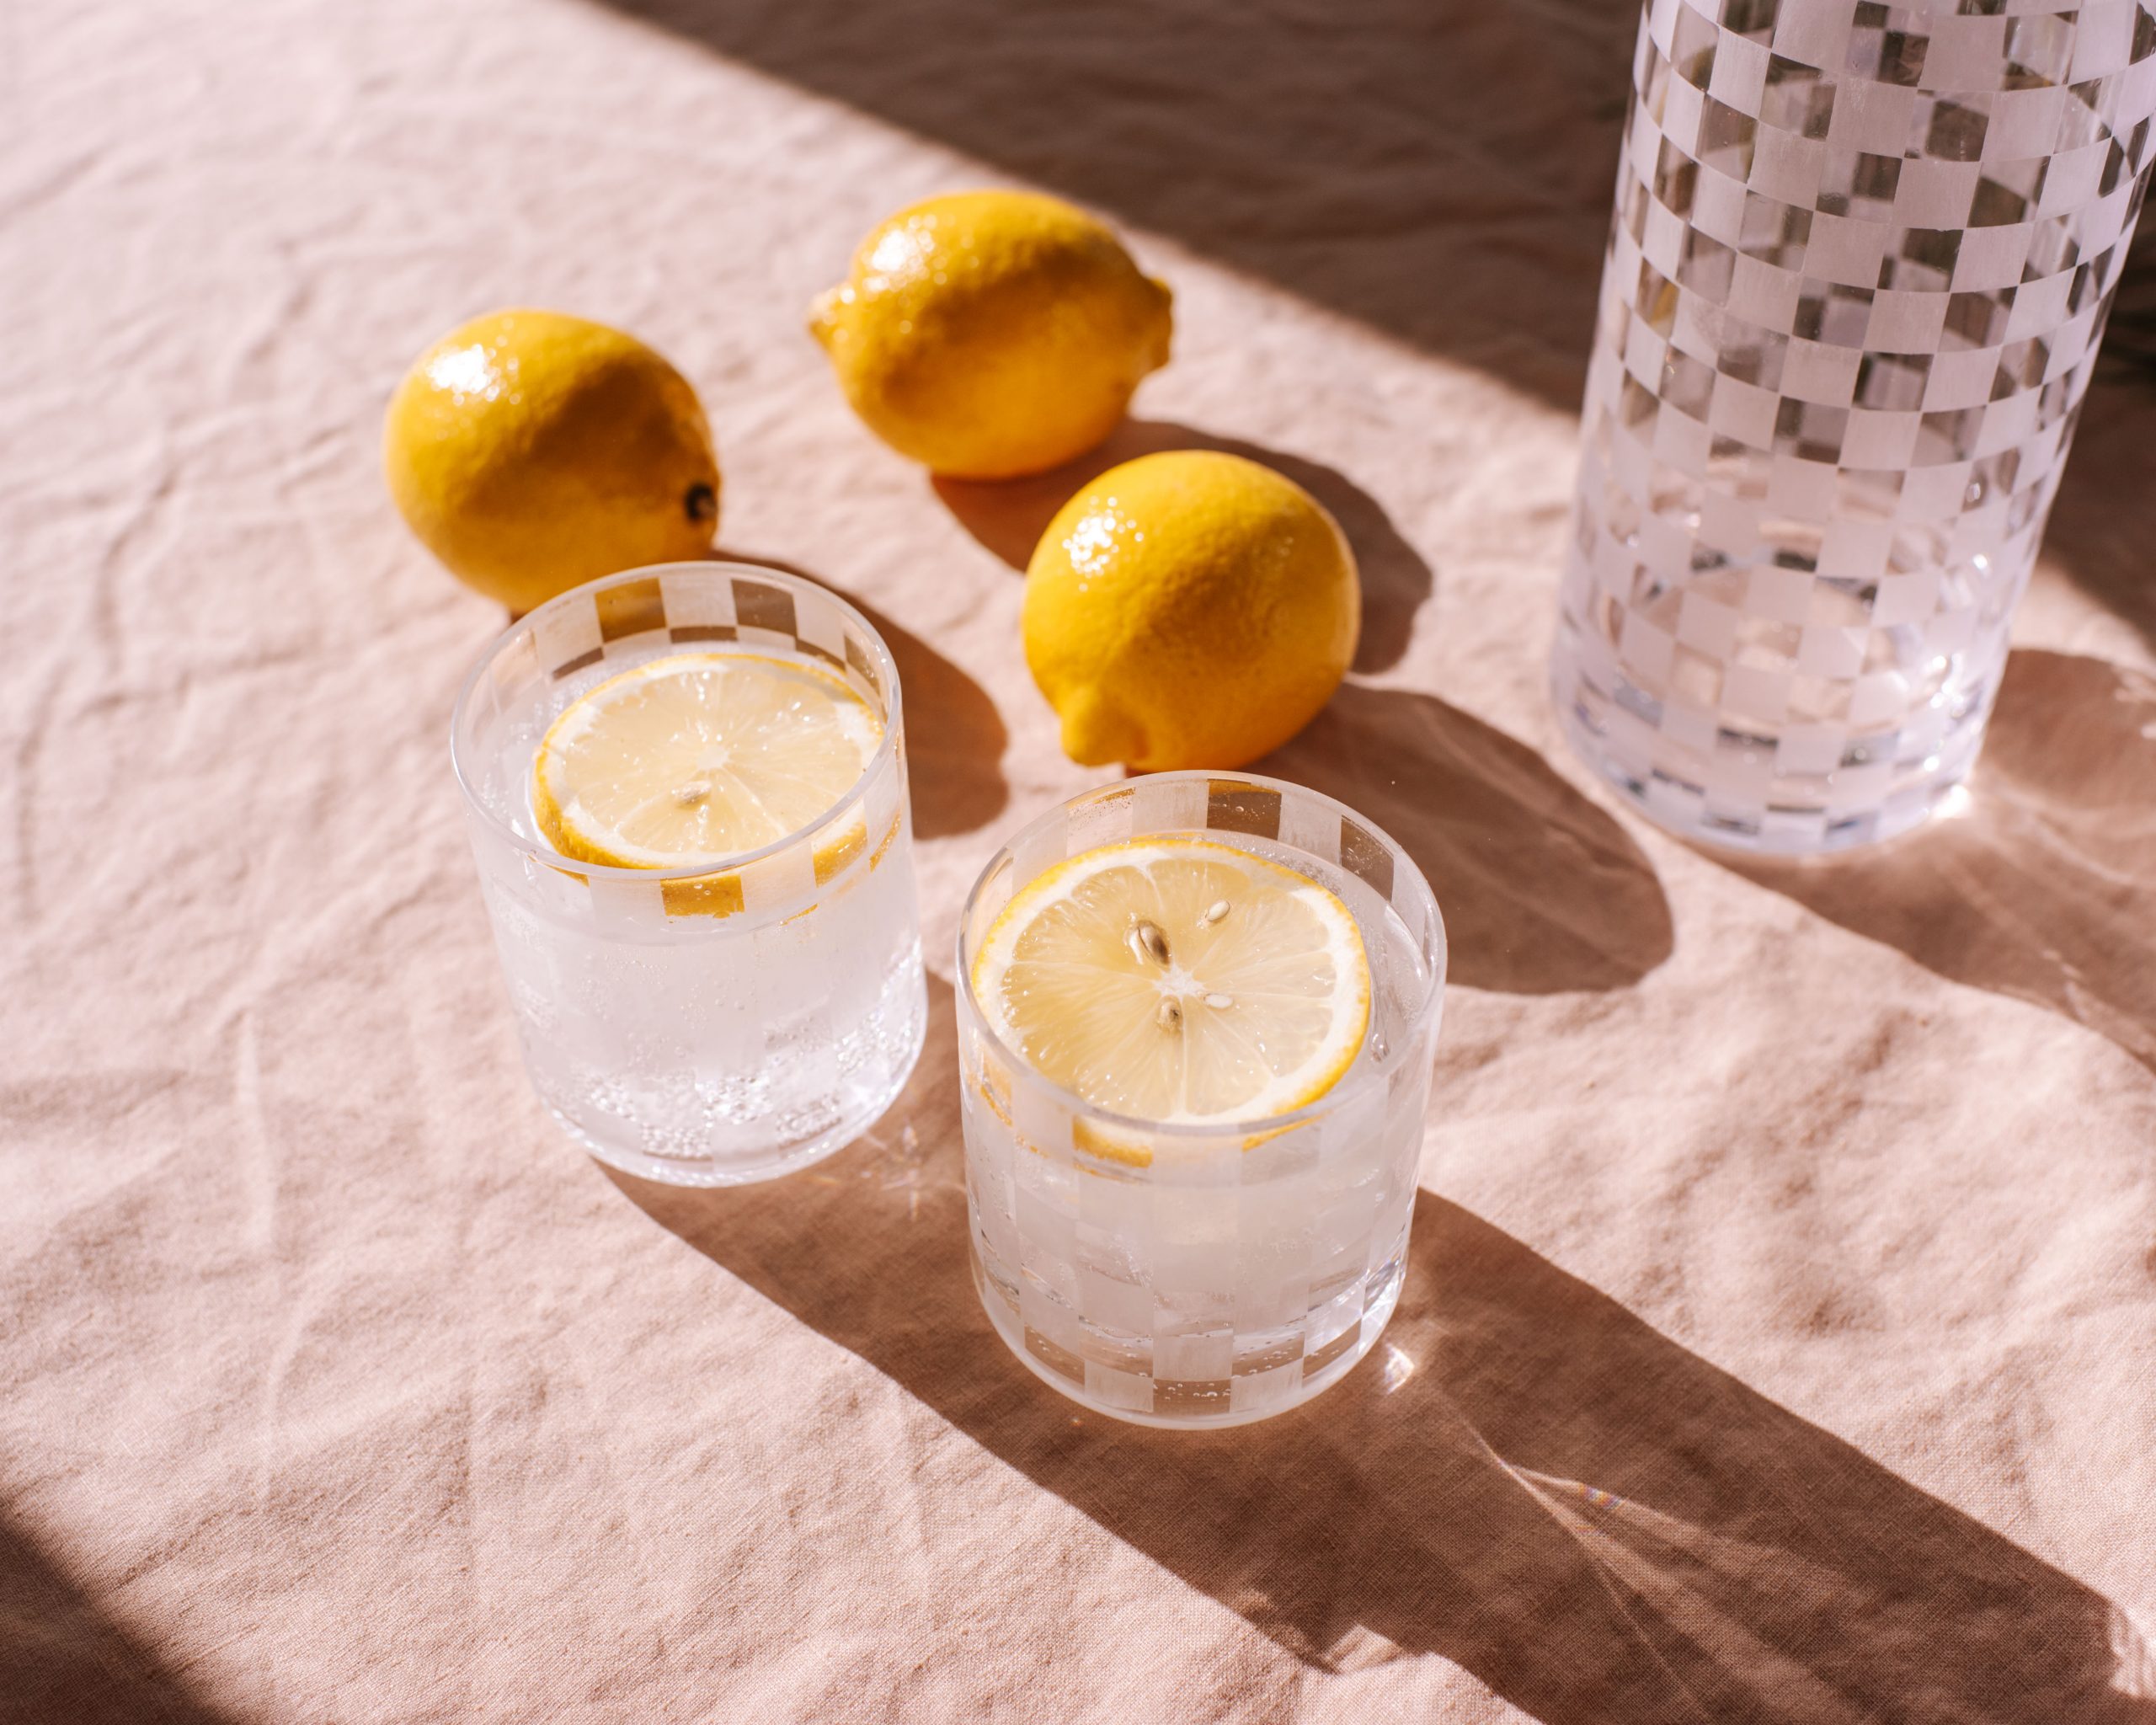
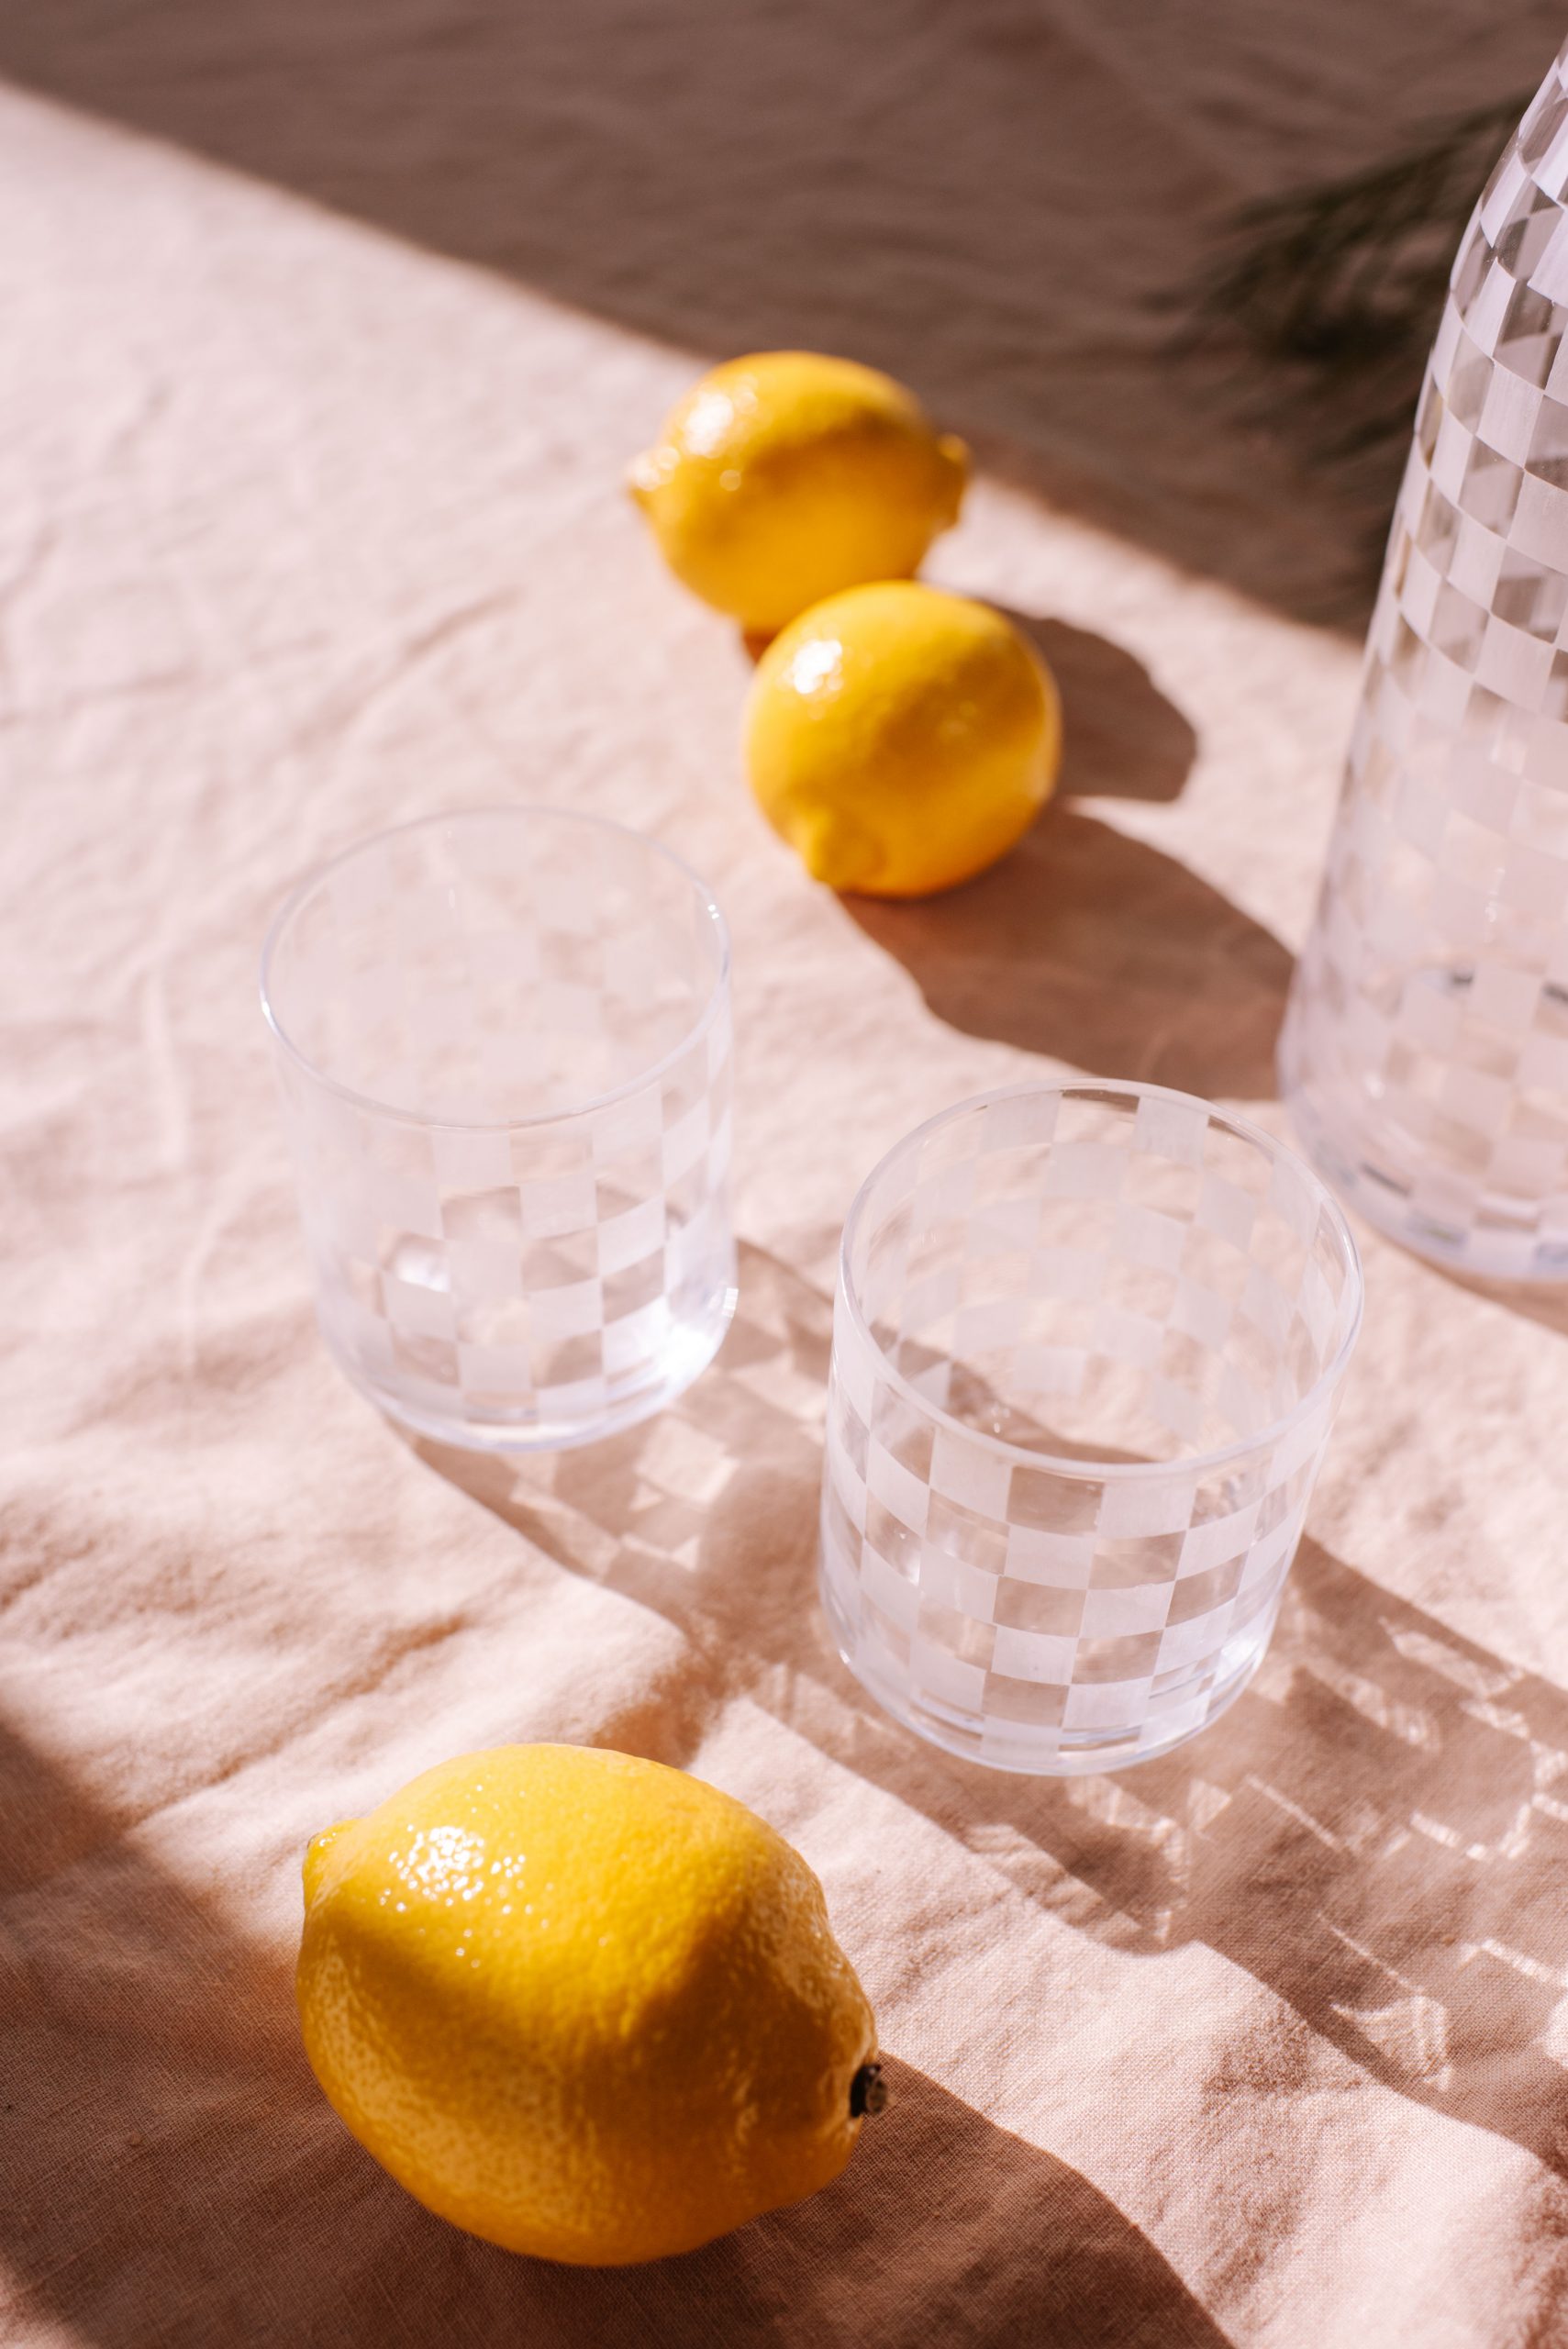
And there you have it, a cute checkered glassware and carafe set made using basic thrifted pieces! I loved how easy this project was thanks to the amazing new Smart Stencil Material and I can’t wait to experiment more with it!
Cricut Smart Stencil Material is available at Harvey Norman Australia now, and is coming soon to Officeworks and JB Hi-Fi.
Discover some of my other upcycling projects below!
This project is in collaboration with Cricut.


