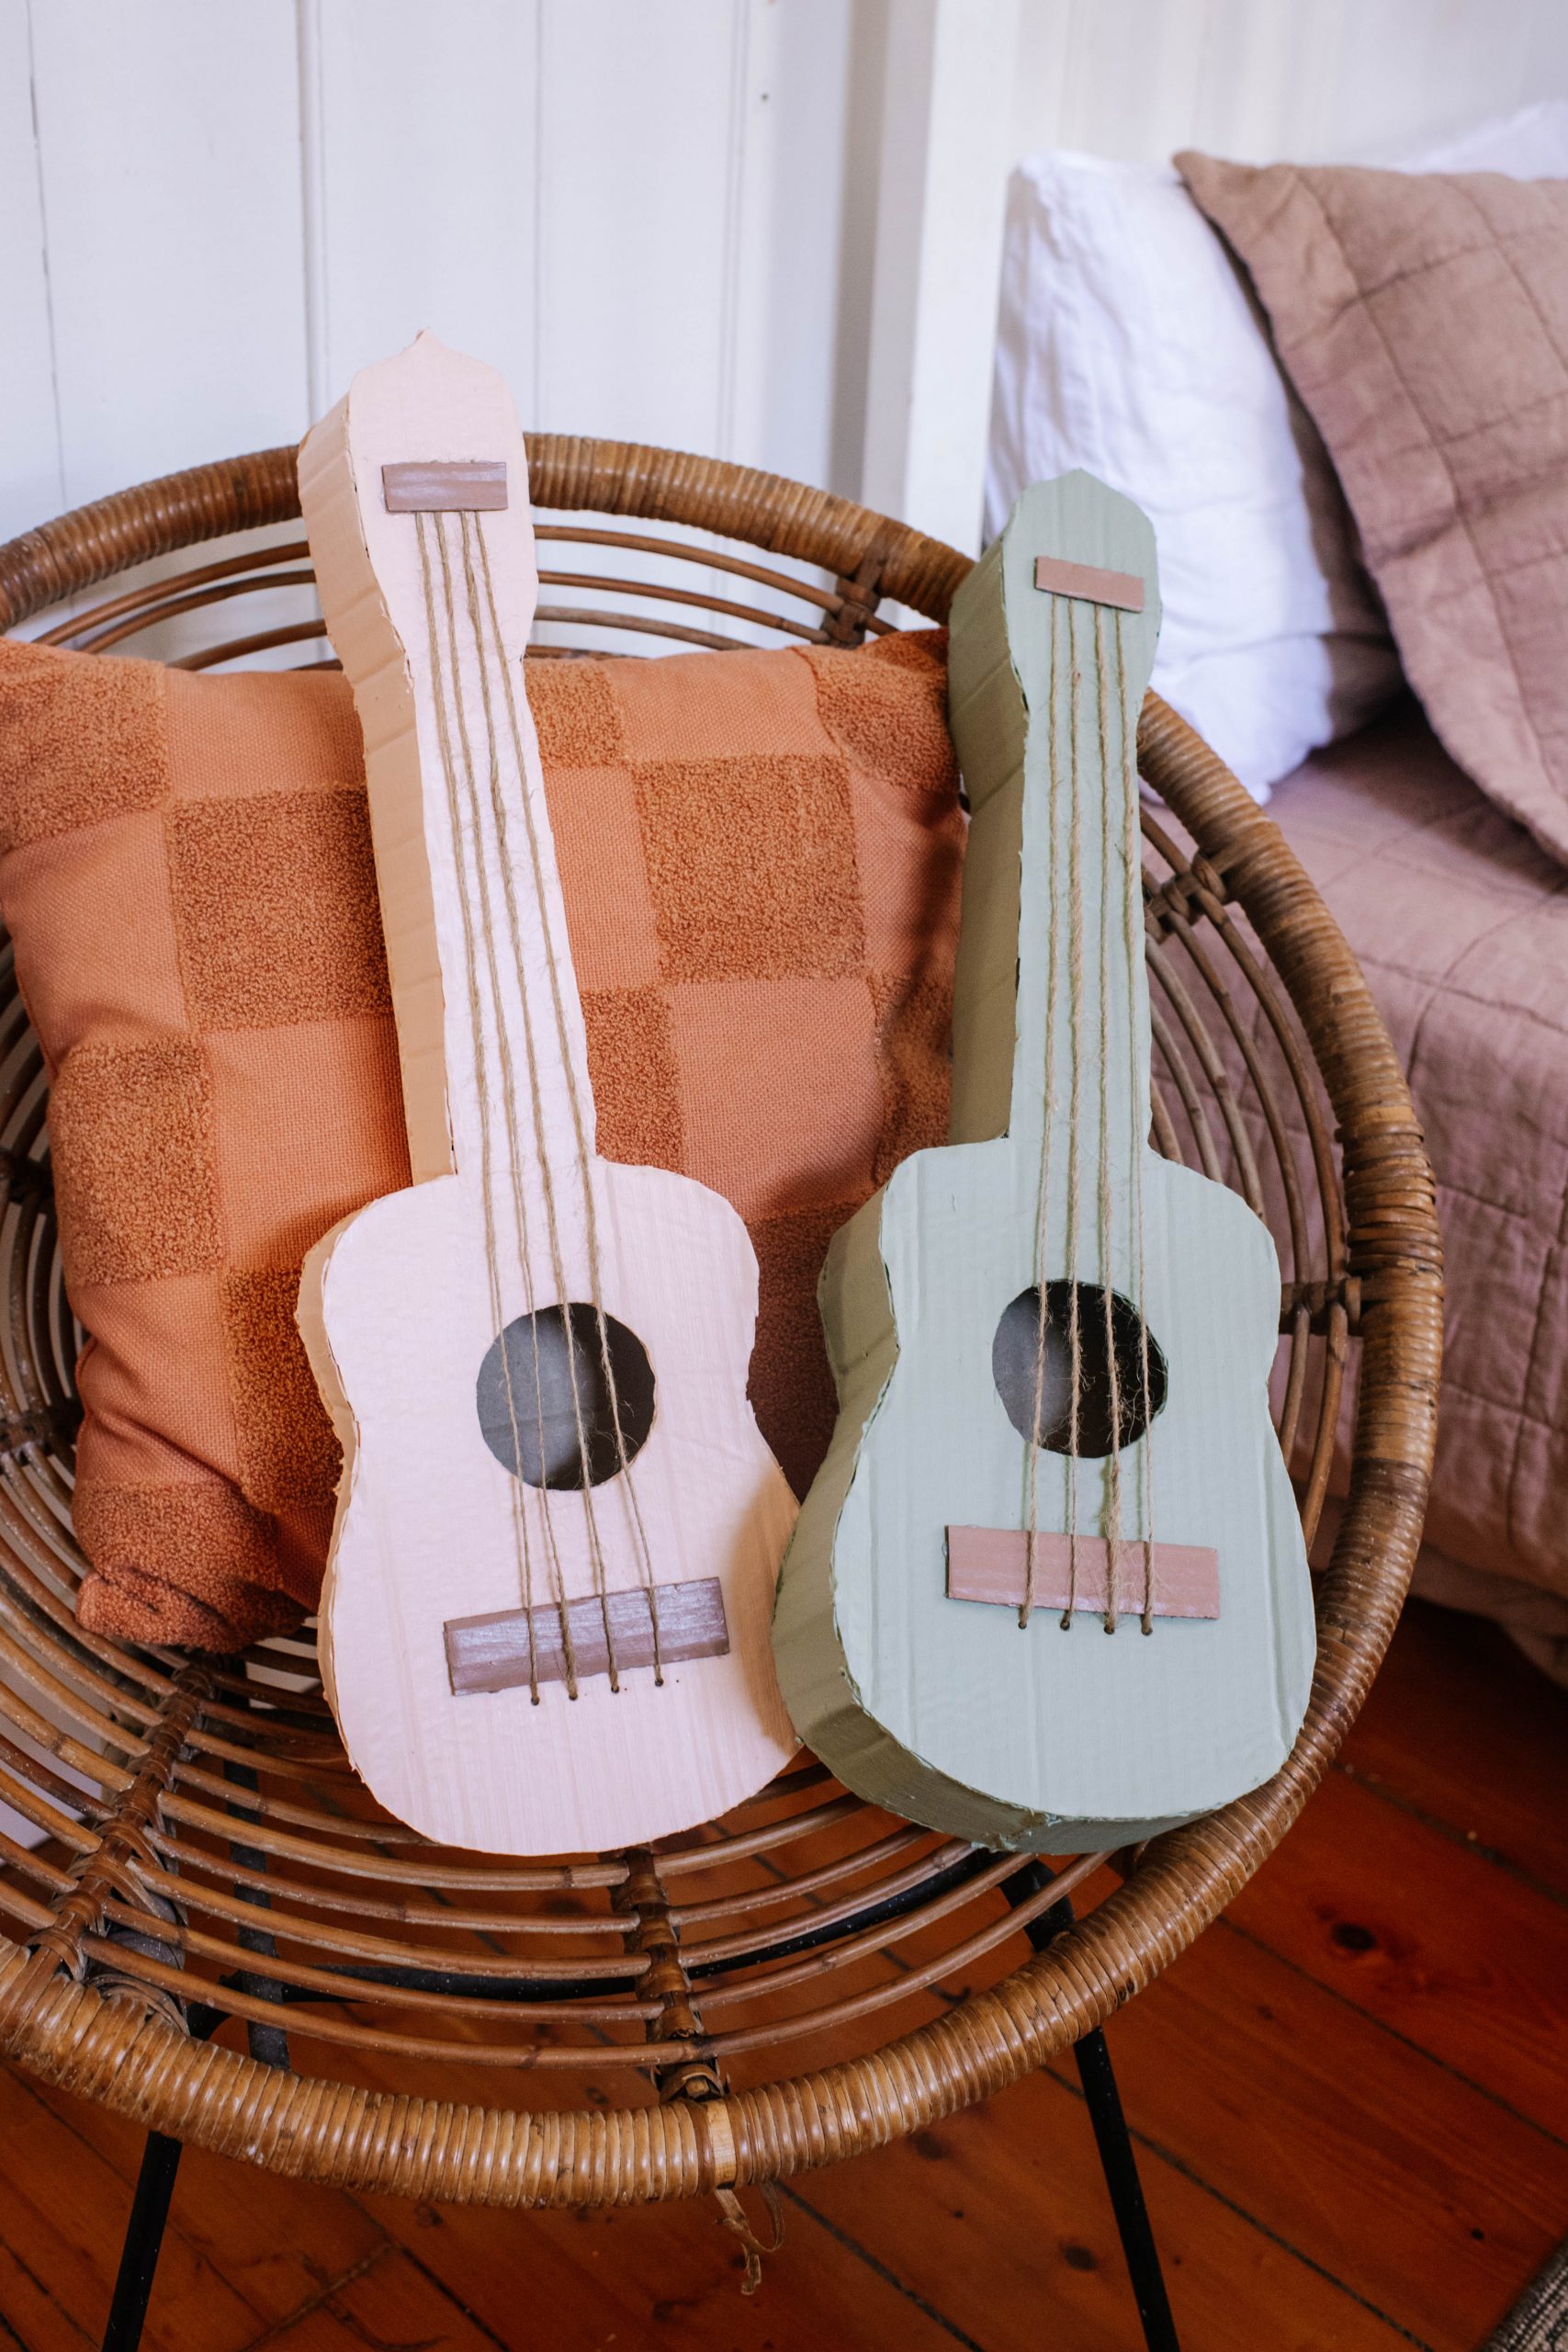
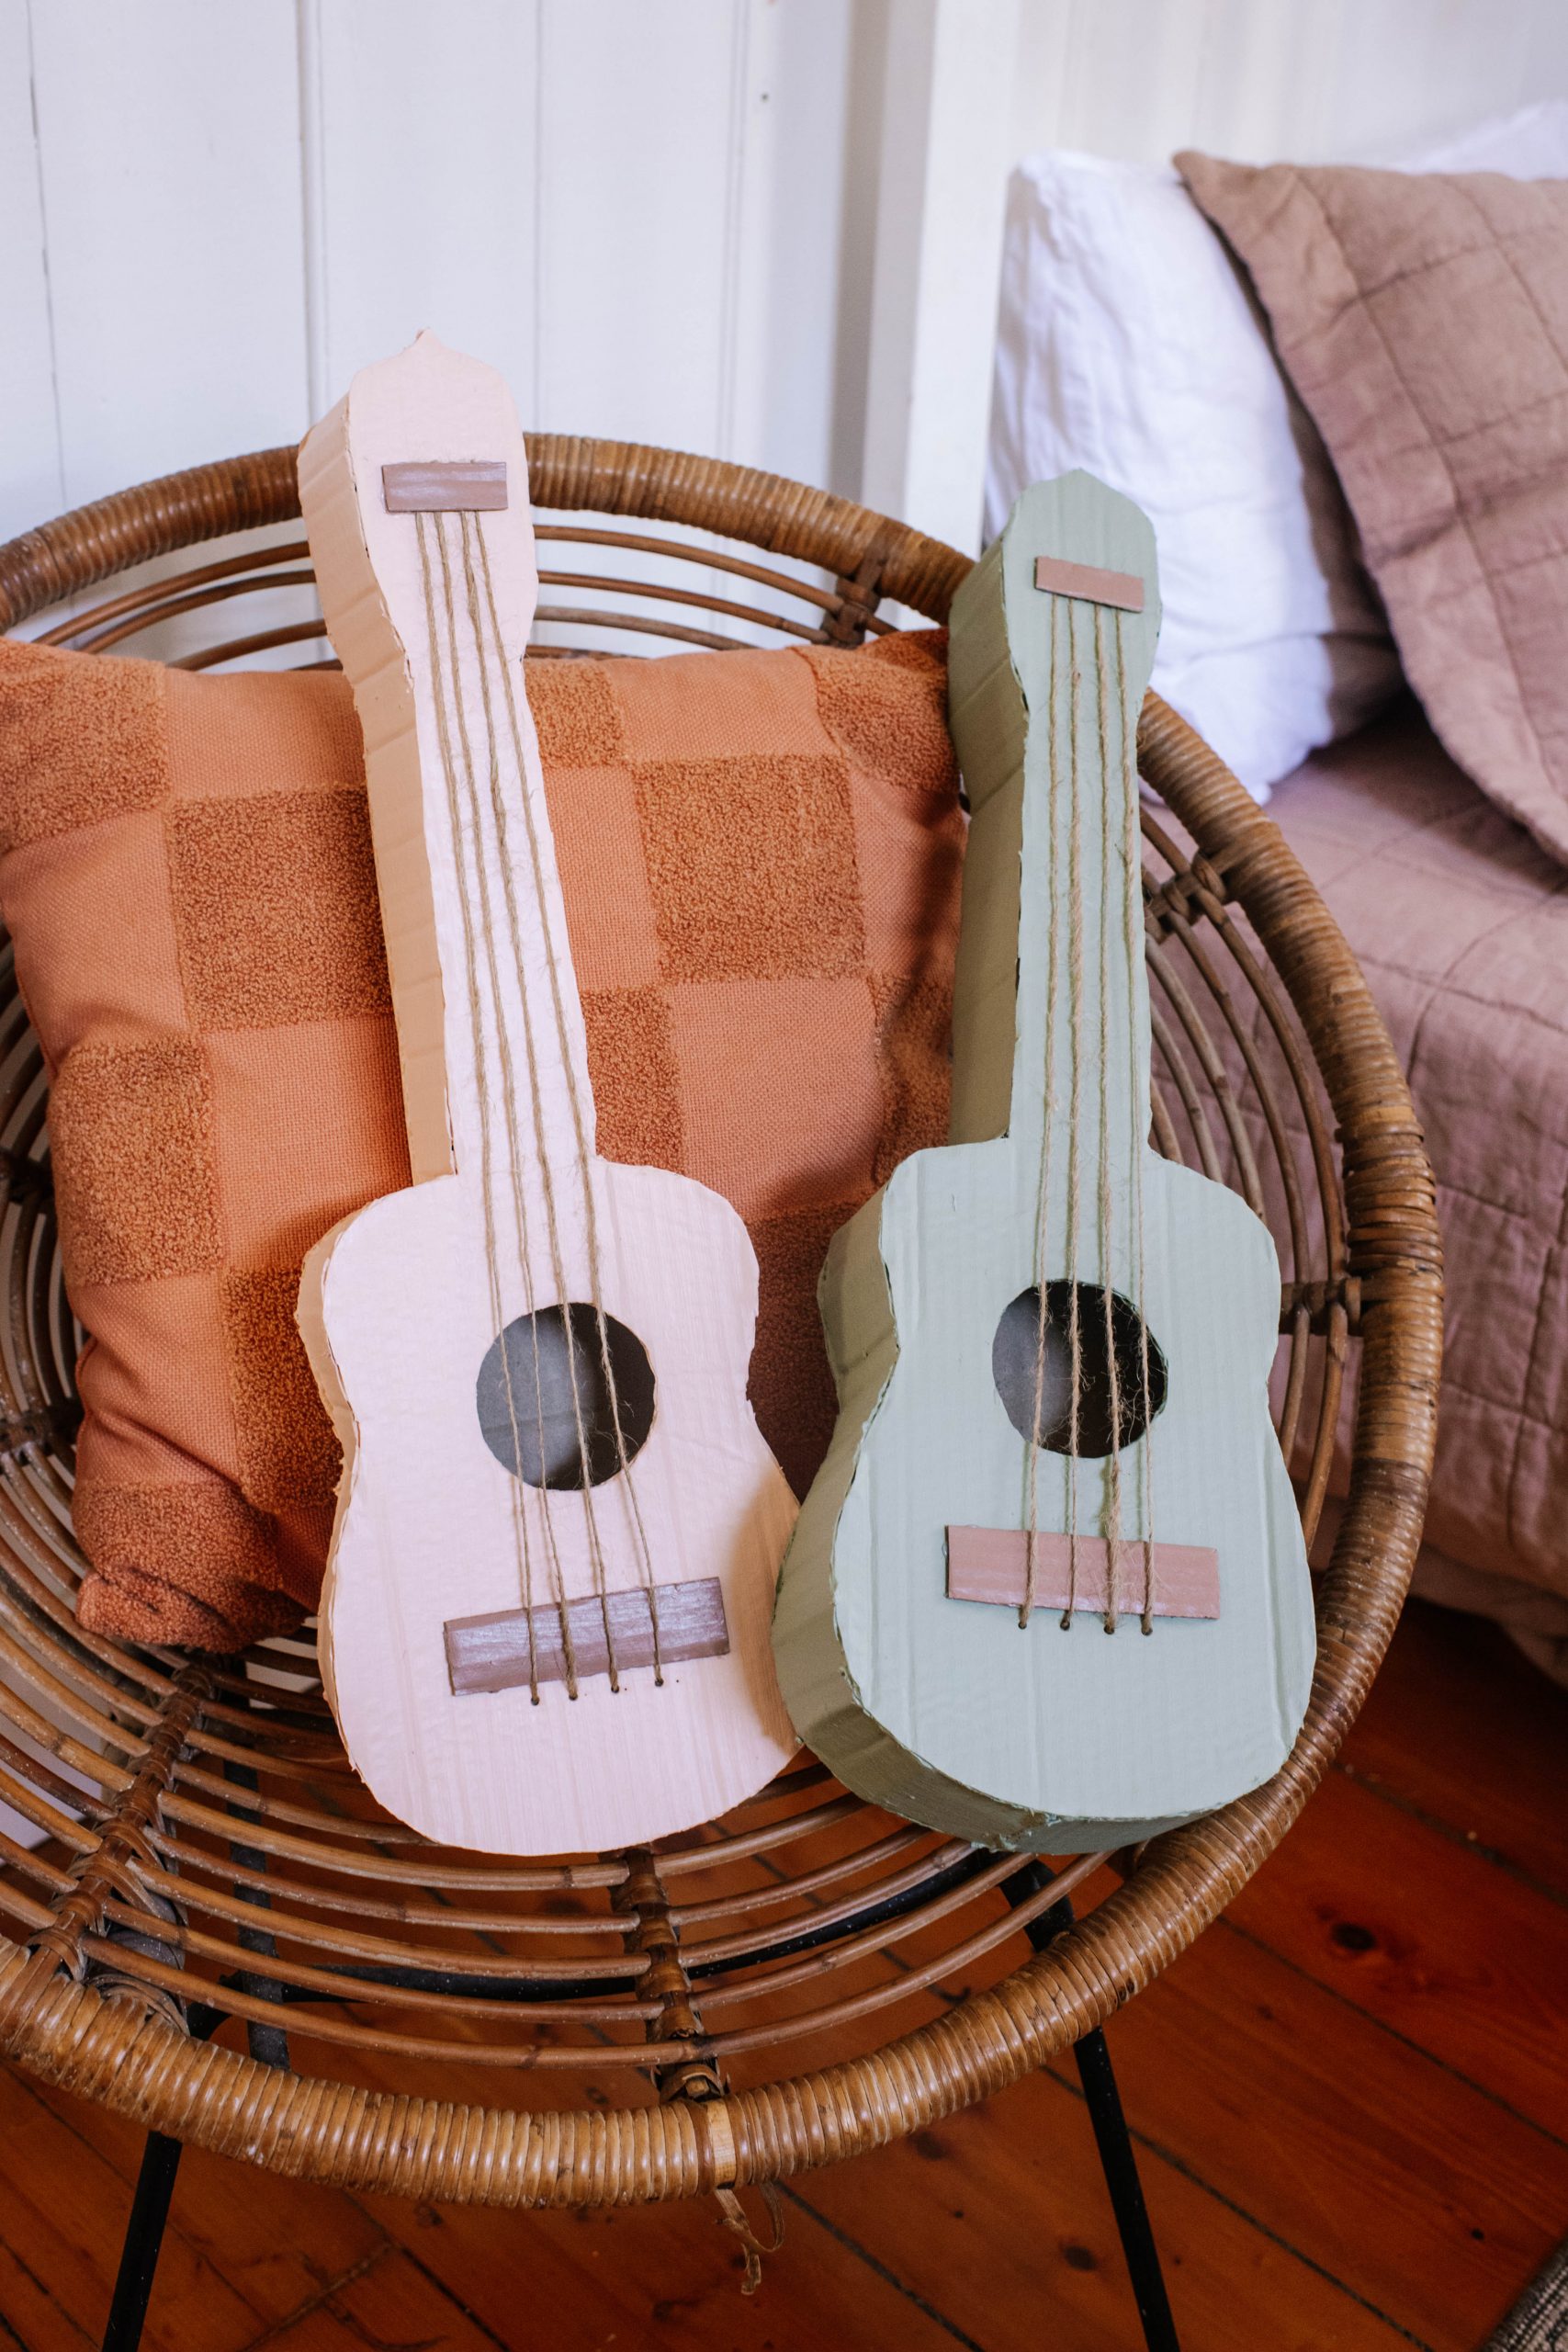
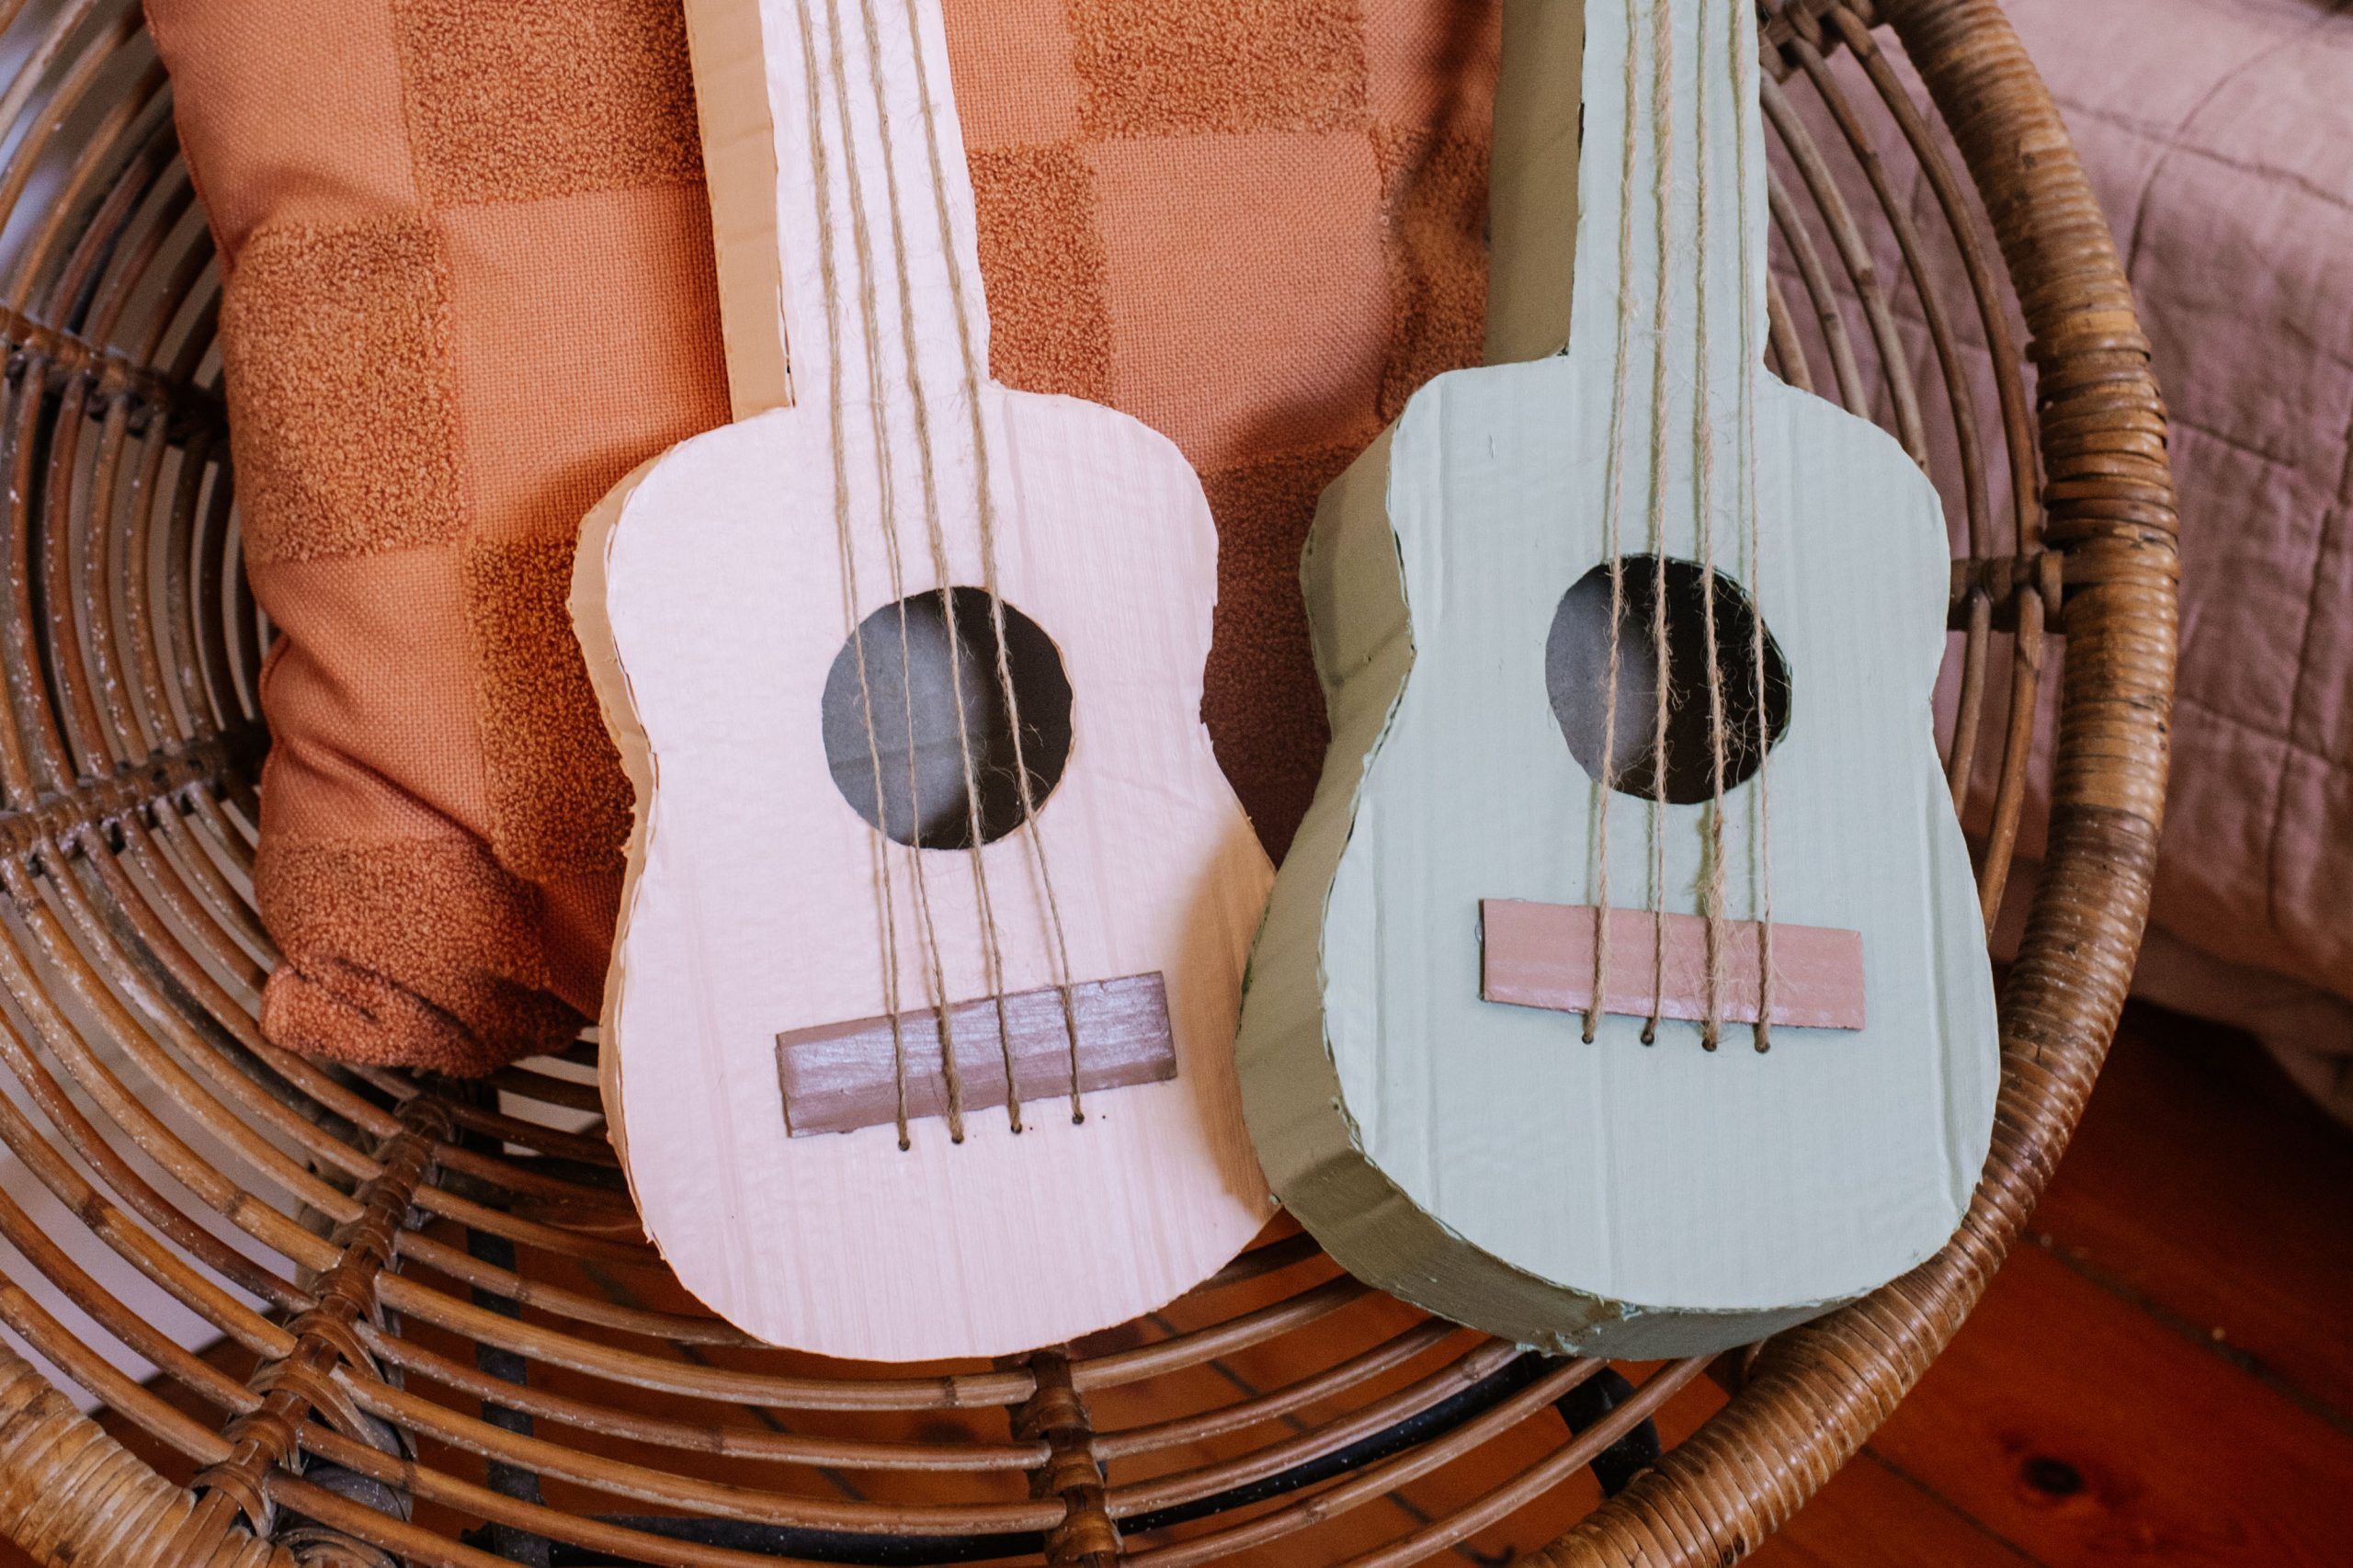
If there’s one thing I love, it’s taking something you would normally throw away, and turning it into something cute. I recently ordered a new quilt for Frankie’s bed from Sheridan and decided to use the packaging to make these adorable guitars for the girls to play with.
What you’ll need to make a kids cardboard guitar
- Cardboard
- Tape
- Pencil
- Scissors
- Precision knife
- Paint
- Twine
- Hot Glue Gun
How To Make a Kid’s Cardboard Guitar
1
The first thing to do is draw the shape of a little guitar on a piece of cardboard. You can also download and print one off and trace it out.
2
Next, cut it out using a pair of scissors to use as a template for the second piece.
3
After cutting out the second cardboard guitar shape, use a glass to trace a circle onto one of the cardboard guitar shapes to act as the soundhole.
5
We then cut 6 six strips of cardboard out and rolled each up to make a stubby tube shape, securing them each with tape.
6
Once all 6 pieces were taped, attach them using hot glue to the cardboard guitar shape without the soundhole. These will seperate the two guitar shapes to create the 3D effect.
7
I then measured, cut out and glued our 4 more longer strips of cardboard to use as the sides of the guitar. You will need to bend these pieces quite a bit to follow the curve of the guitar shape, to make this easier I rolled up each piece and unrolled it a few times to make it easier to work with.
8
Once the hot glue has dried, attach the top side of the guitar with hot glue and leave to dry.
10
While the paint is drying, cut out two small cardboard rectangles (one slightly longer than the other), painted them and measured 4 pieces of twine to use for the strings.
11
Once the paint has fully dried, hot glued the longer rectangle to the base of the guitar just above the soundhole.
13
Then, tie a little knot at the end of each piece of twine and thread the rest through these holes and up to the top of the guitar neck.
14
To secure the twine, hot glue the shorter cardboard rectangle to the end of the guitar arm with the twine underneath.
Voila!
This was such an easy craft to do and kept the girls entertained for hours!
Need more kids craft ideas? Try these ones!


