I’ve honestly been waiting so long to share my love of crafting with Frankie, up until this point she really didn’t have any interest.
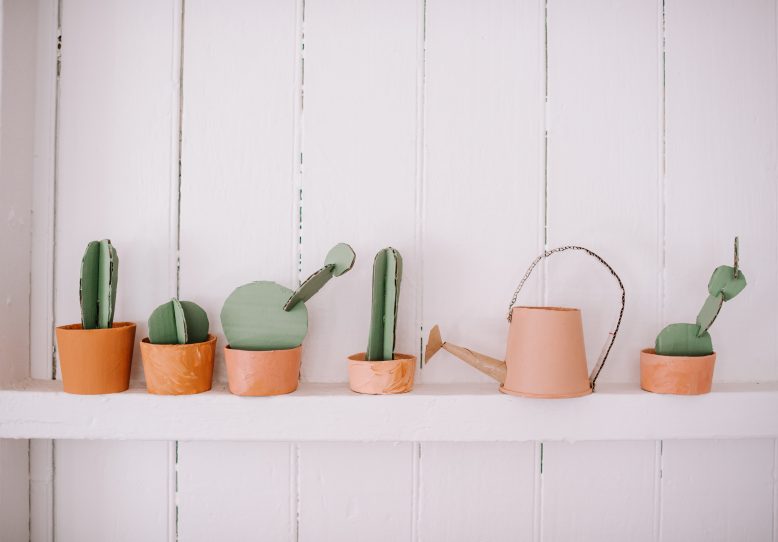
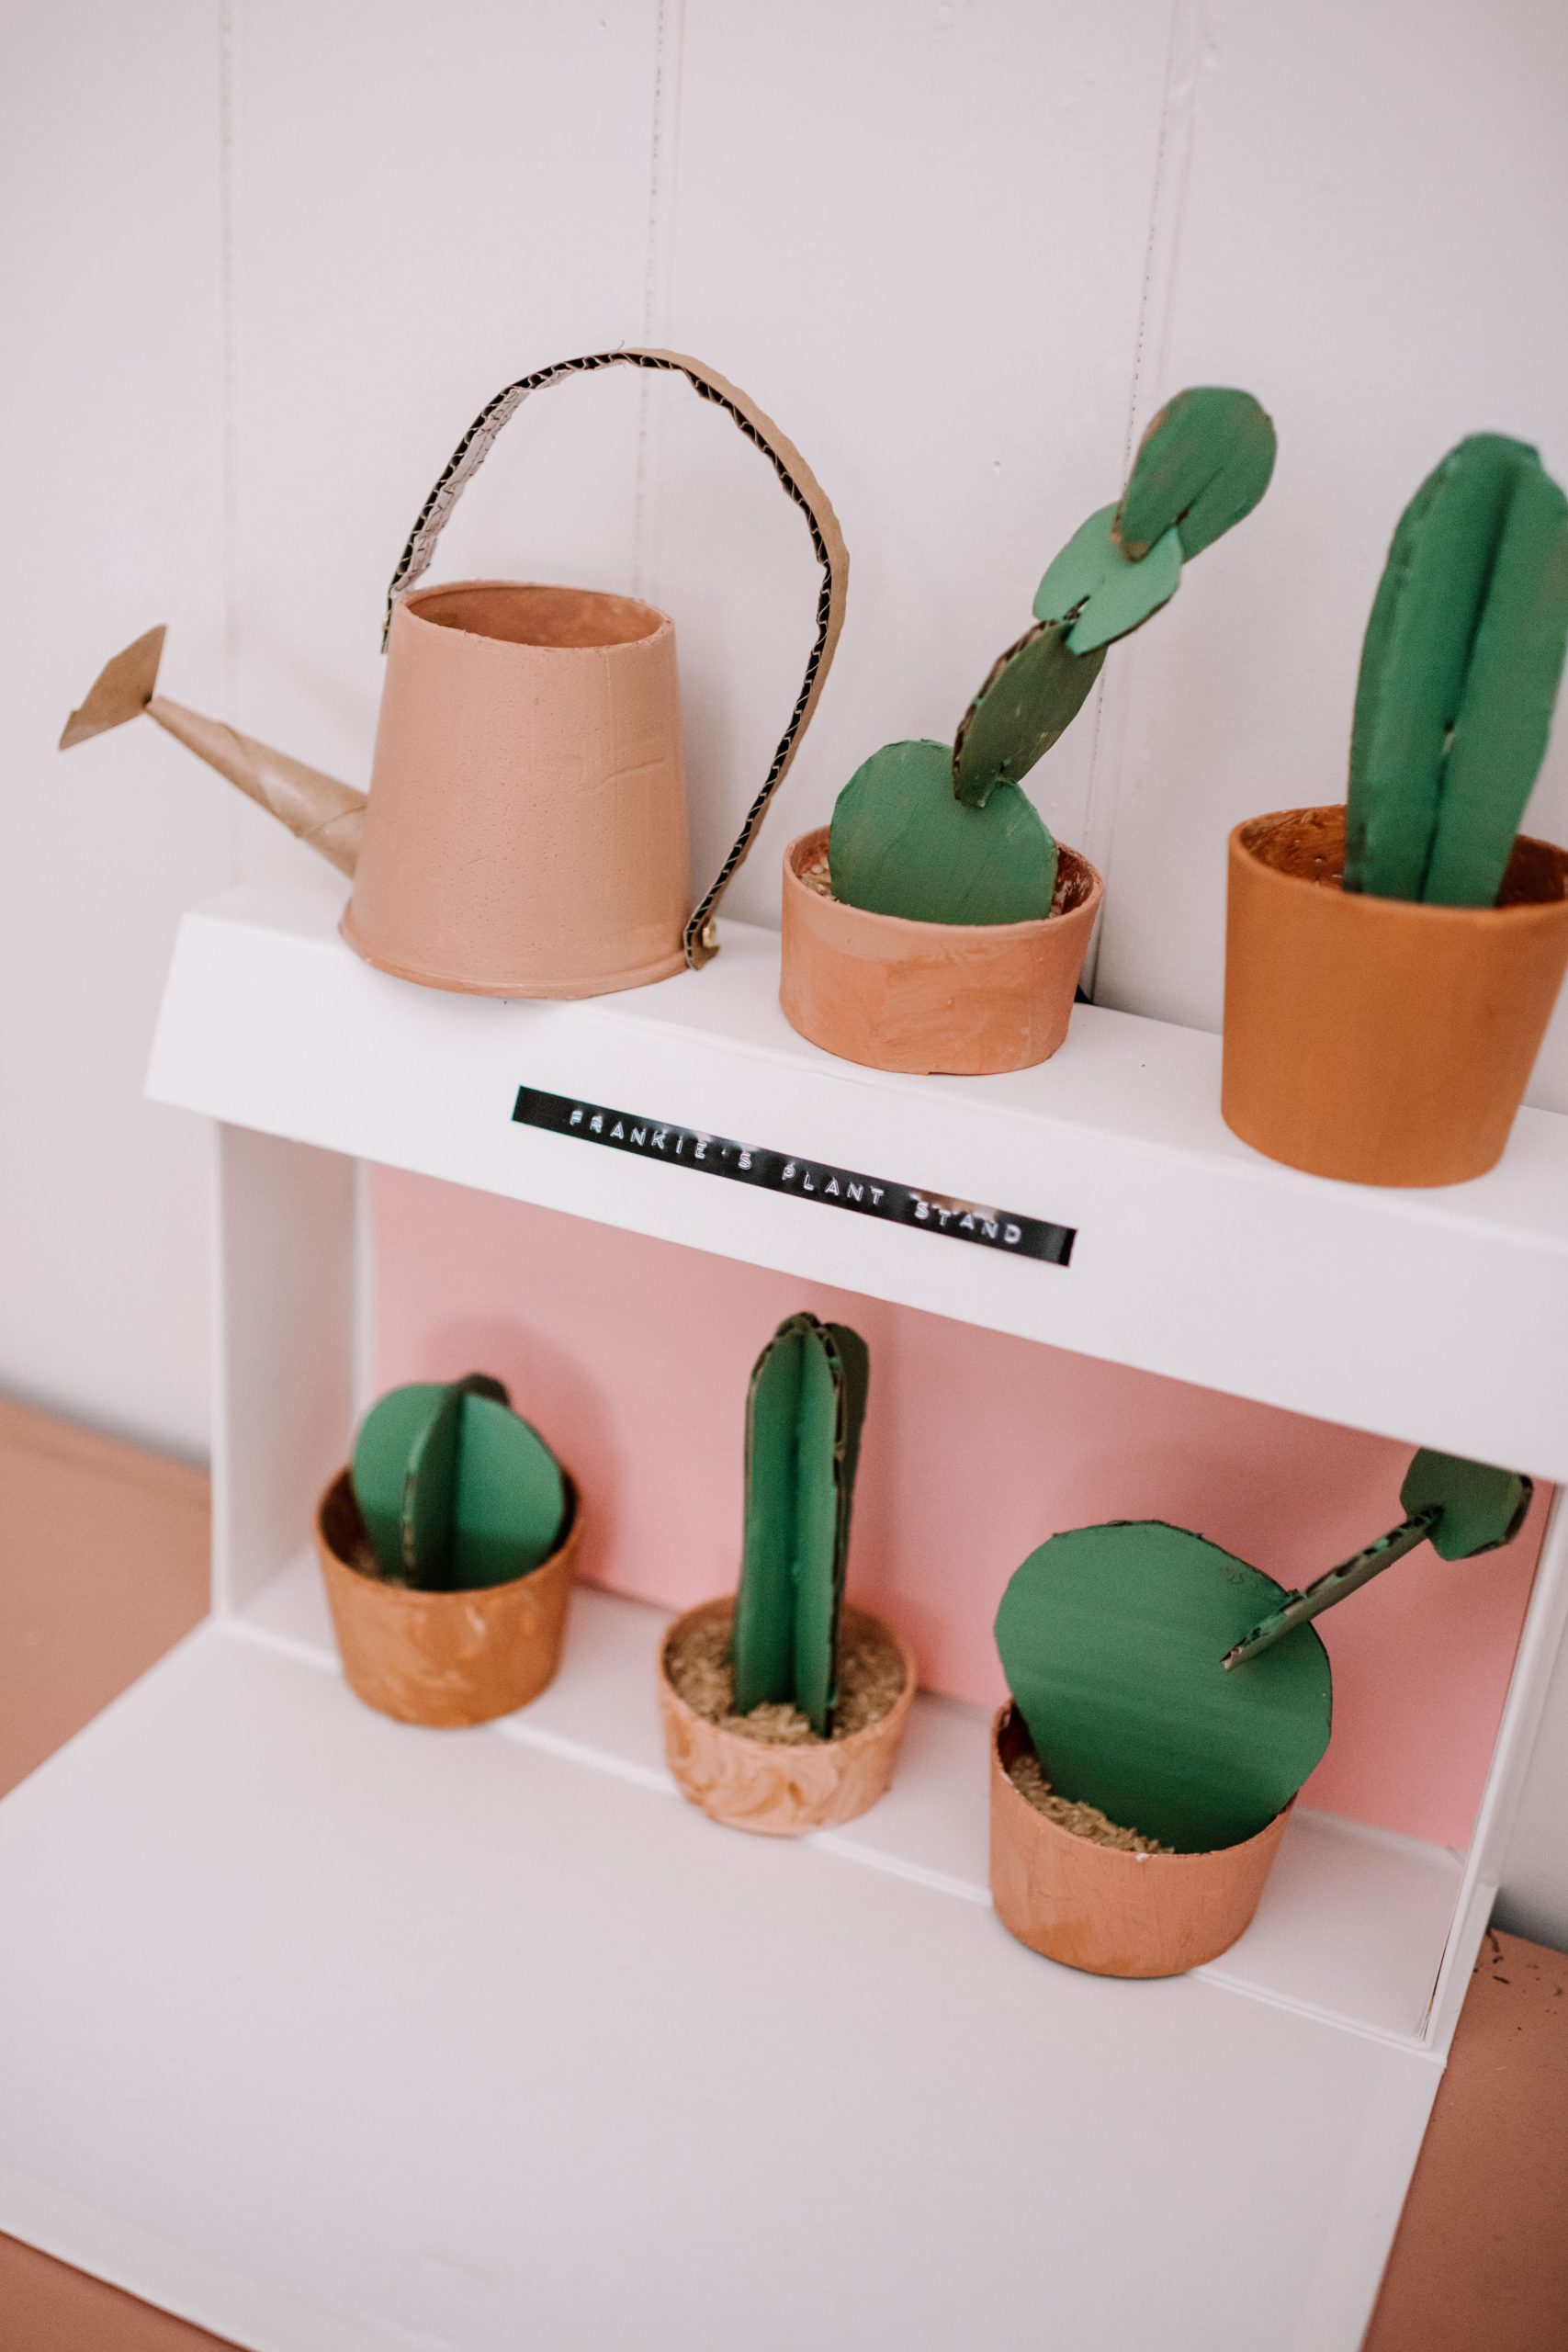
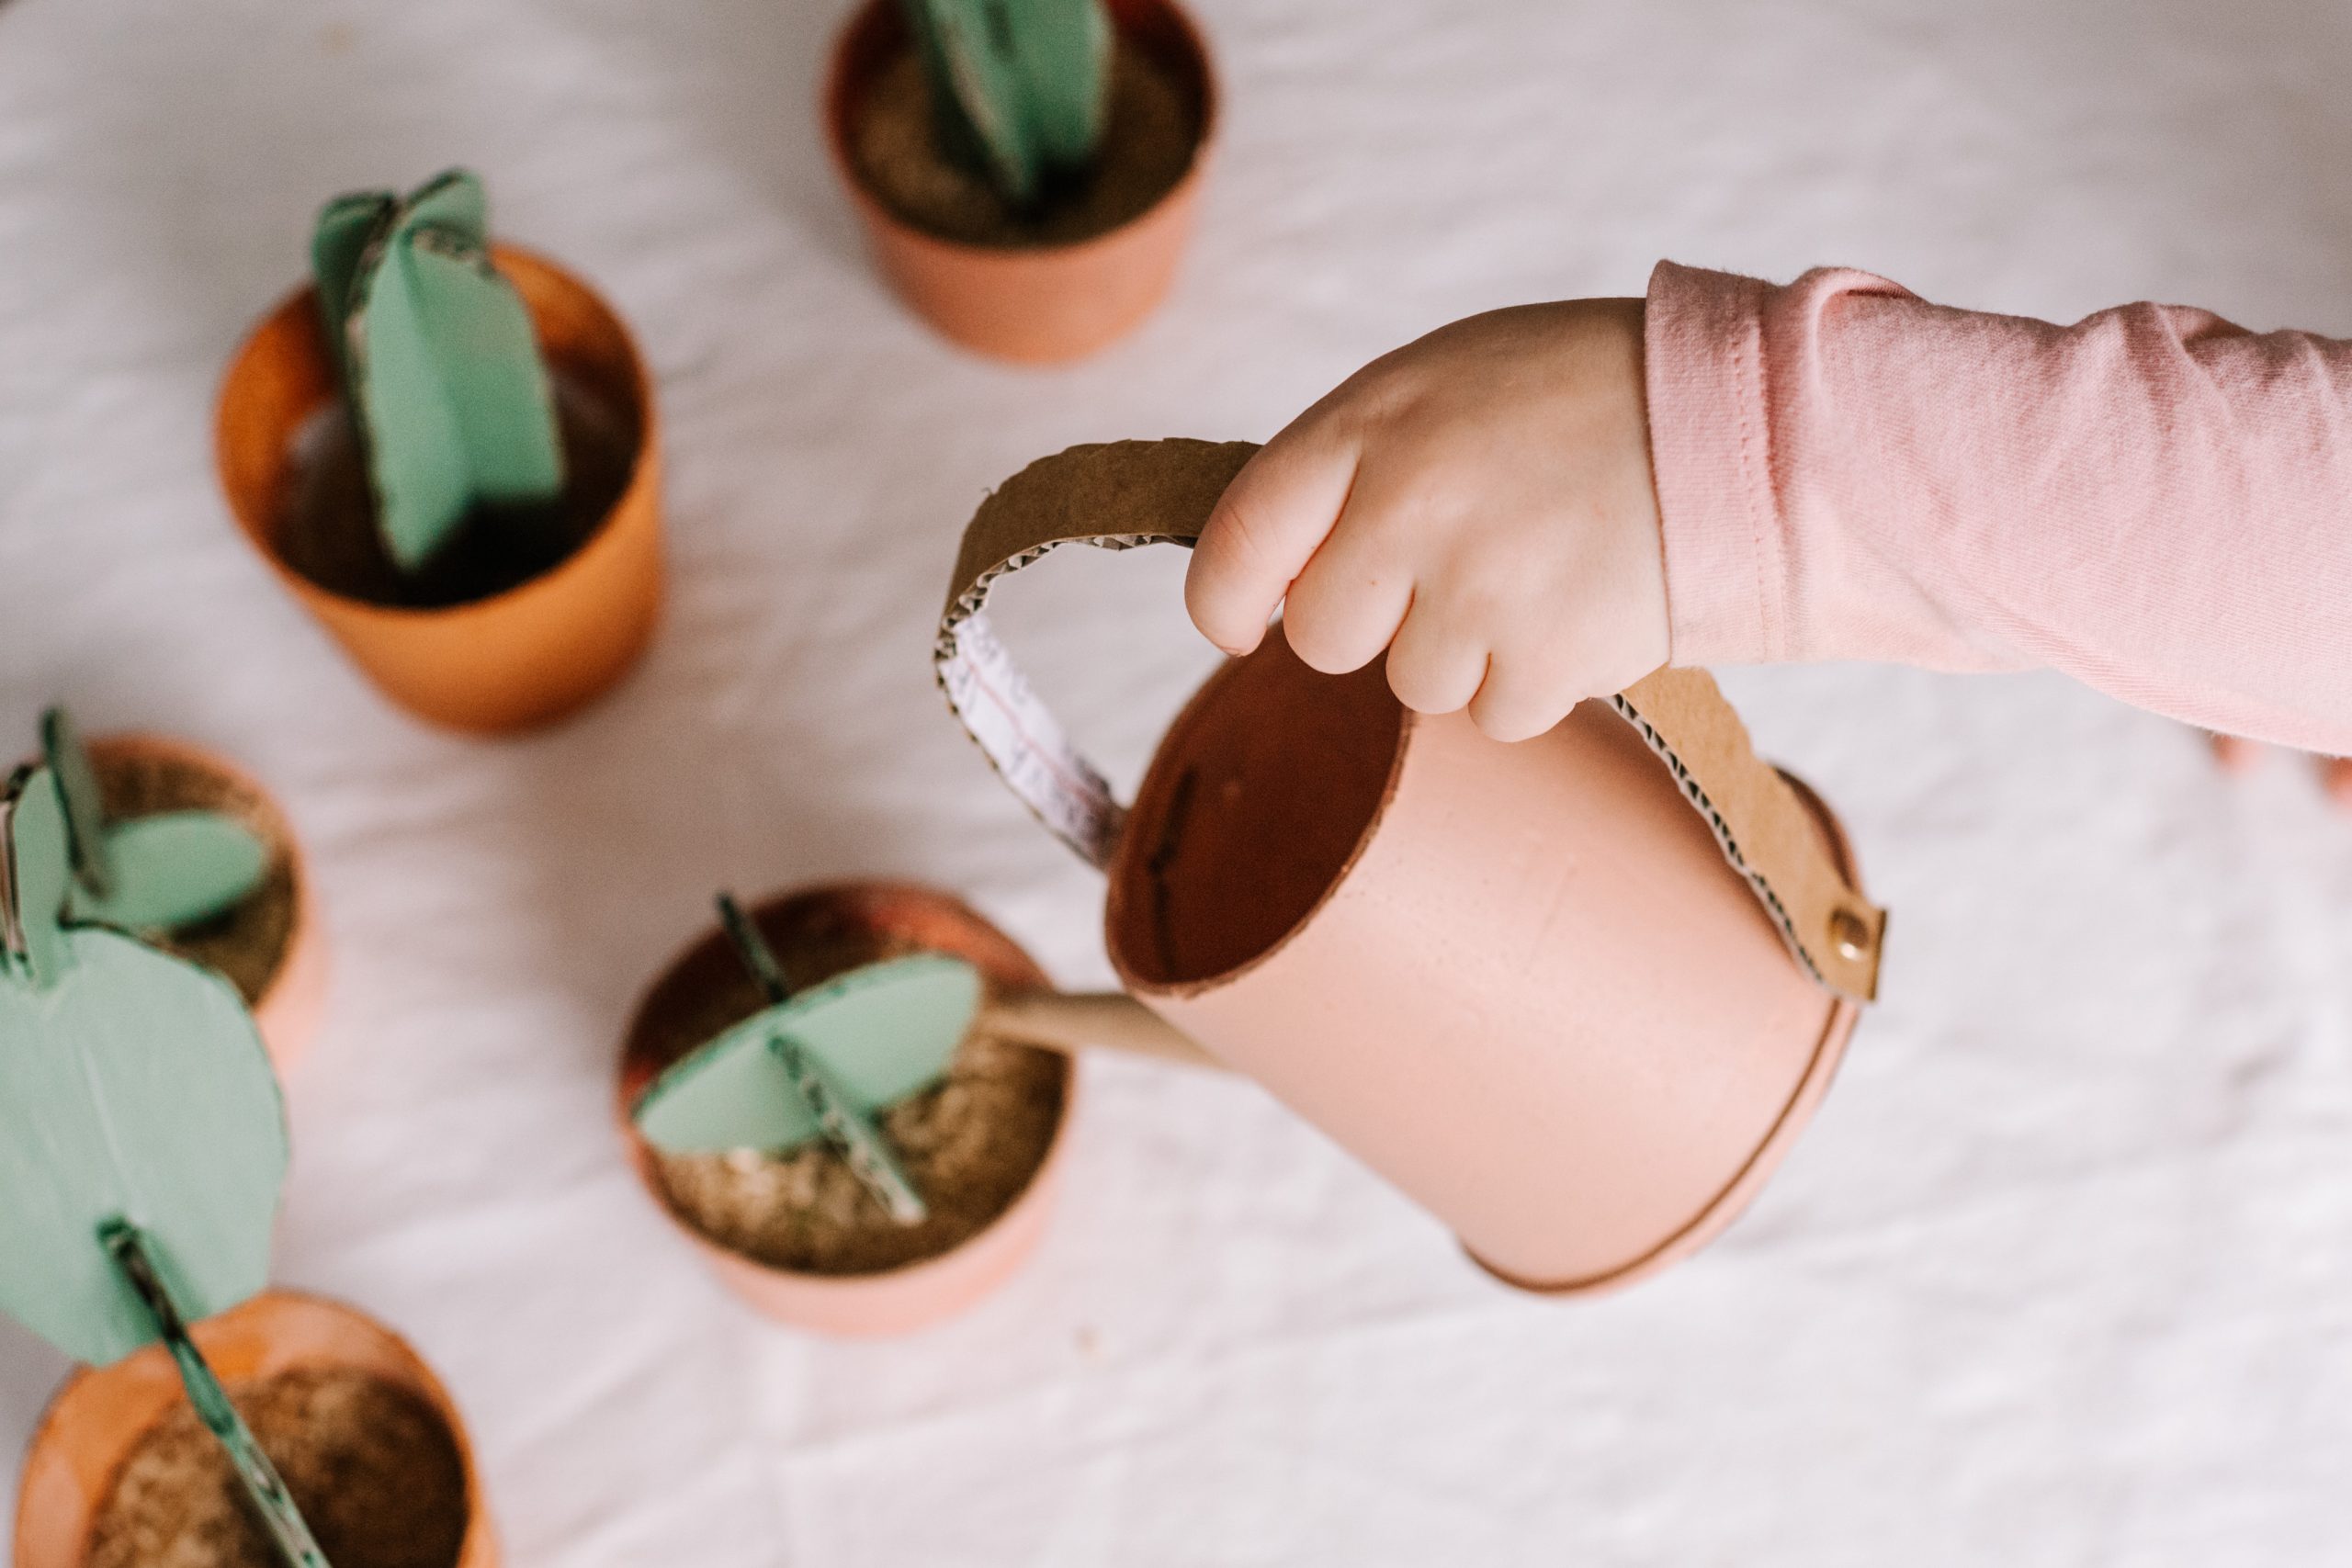
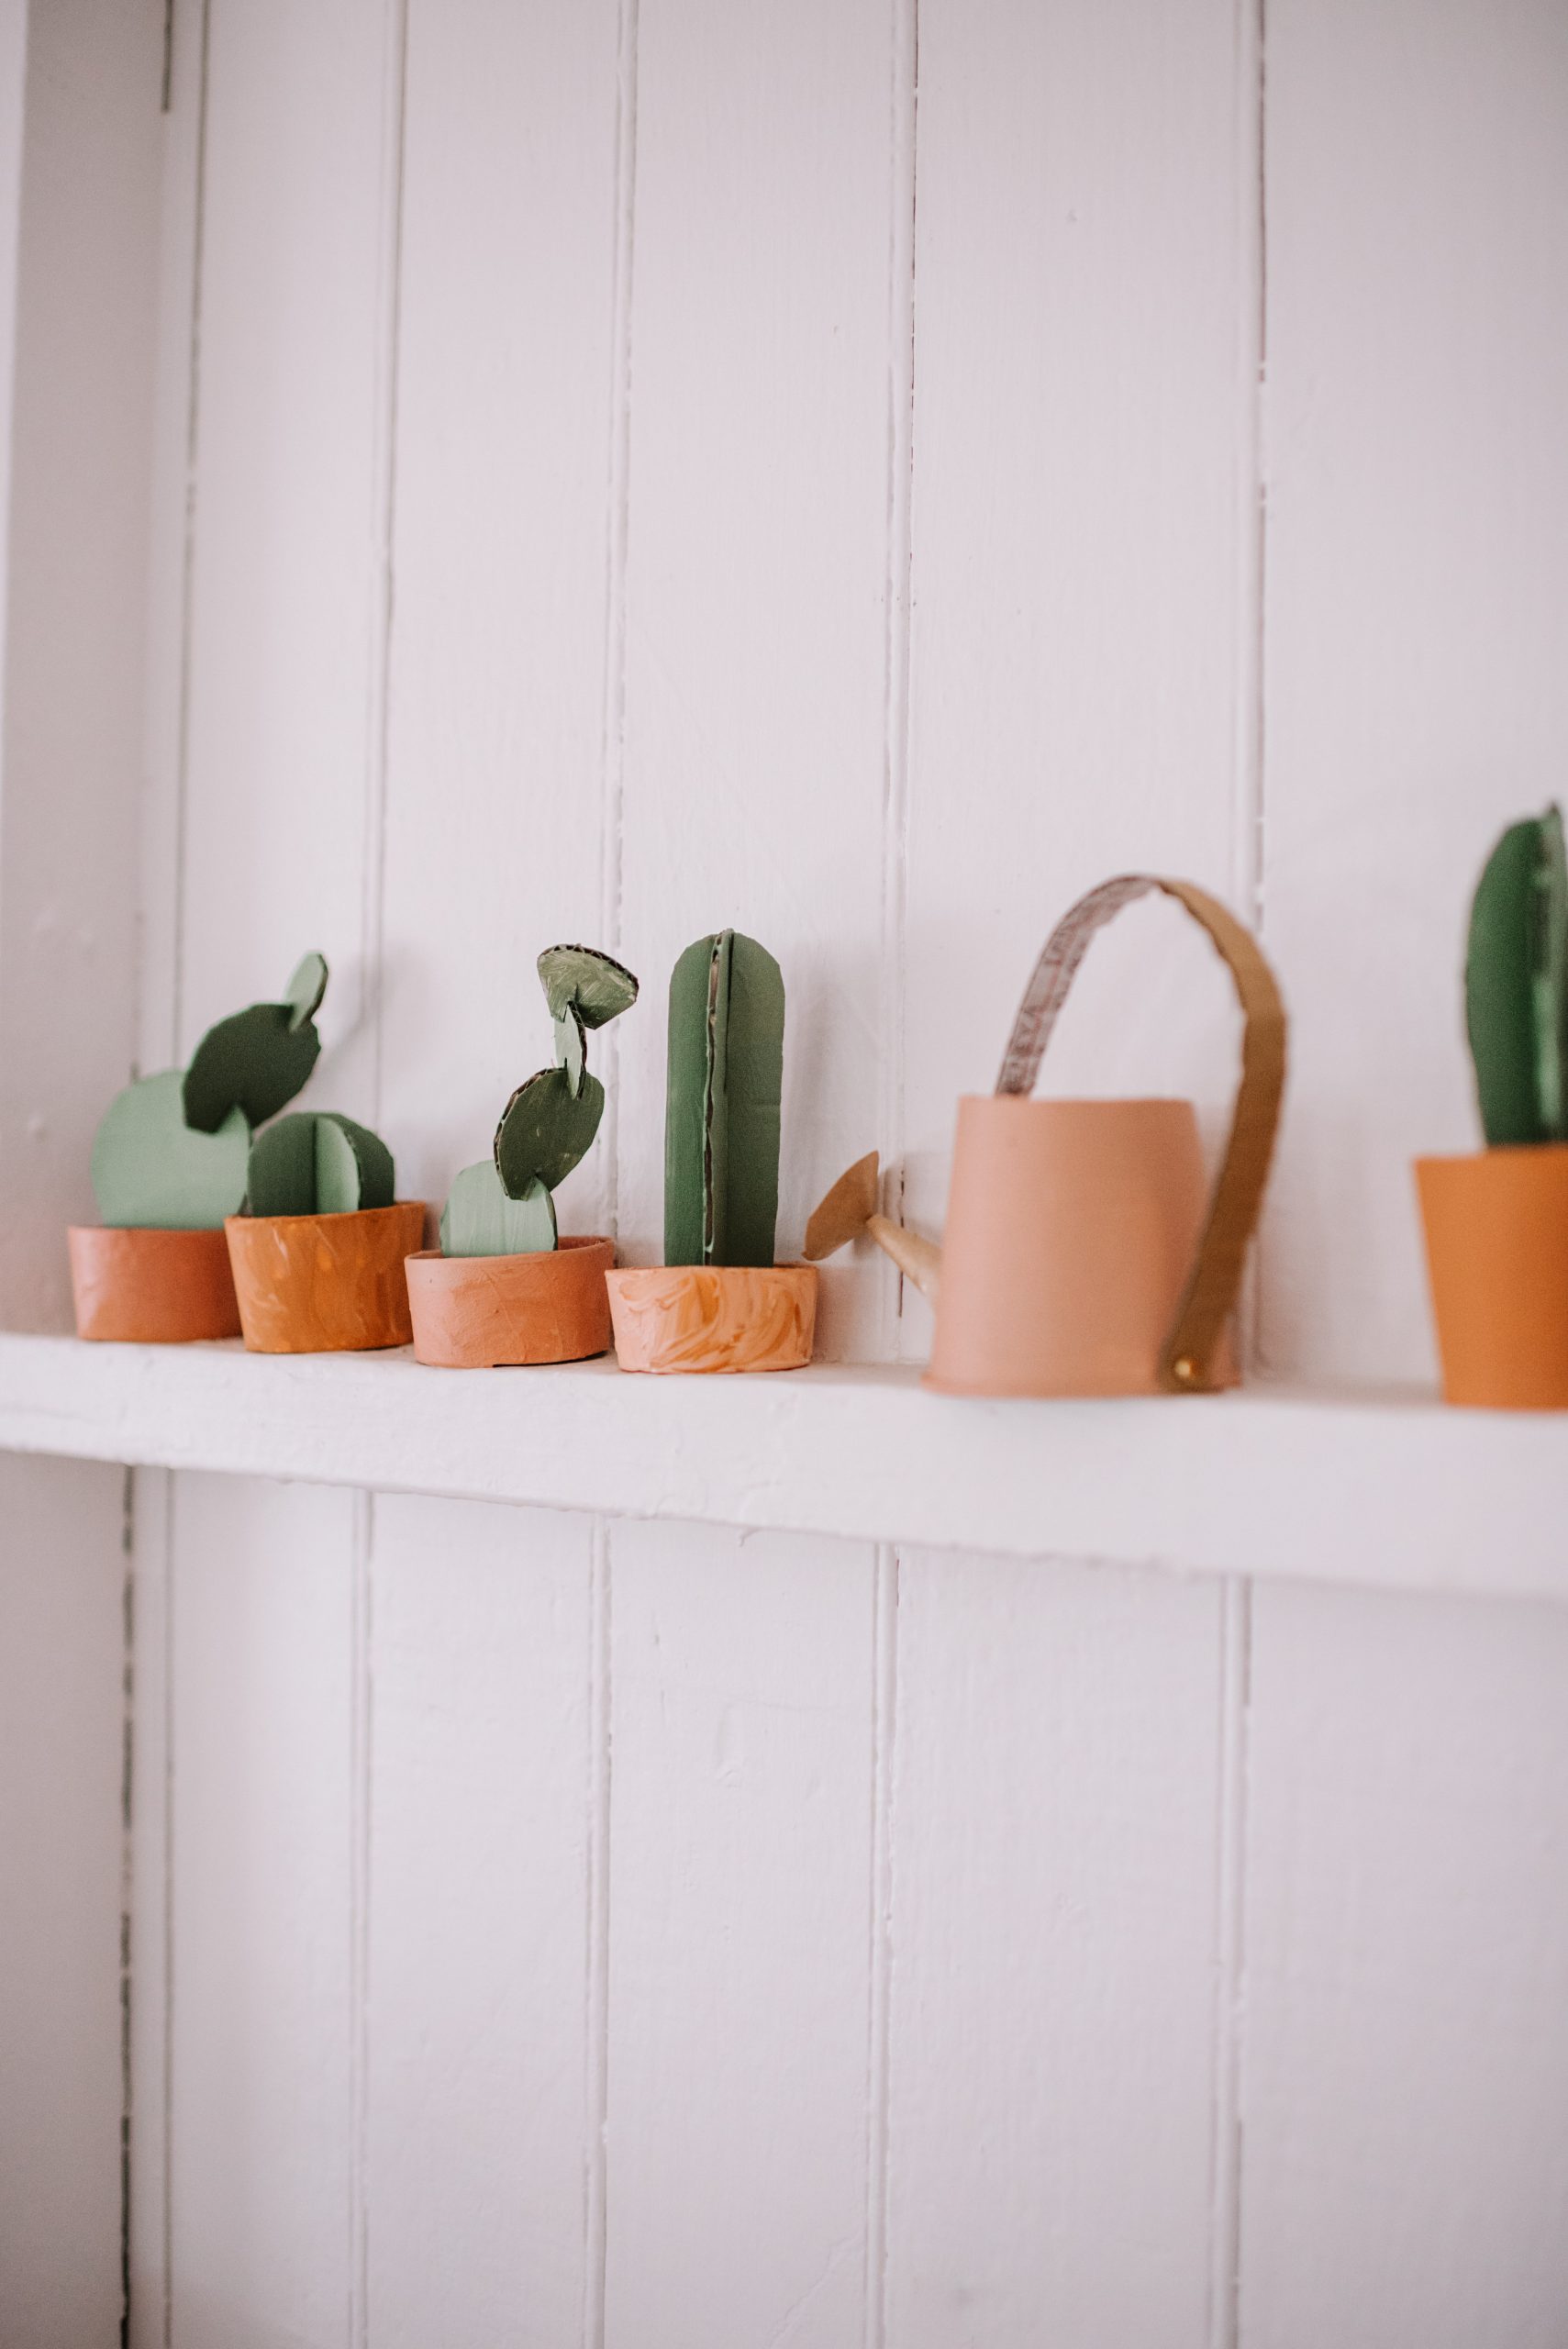
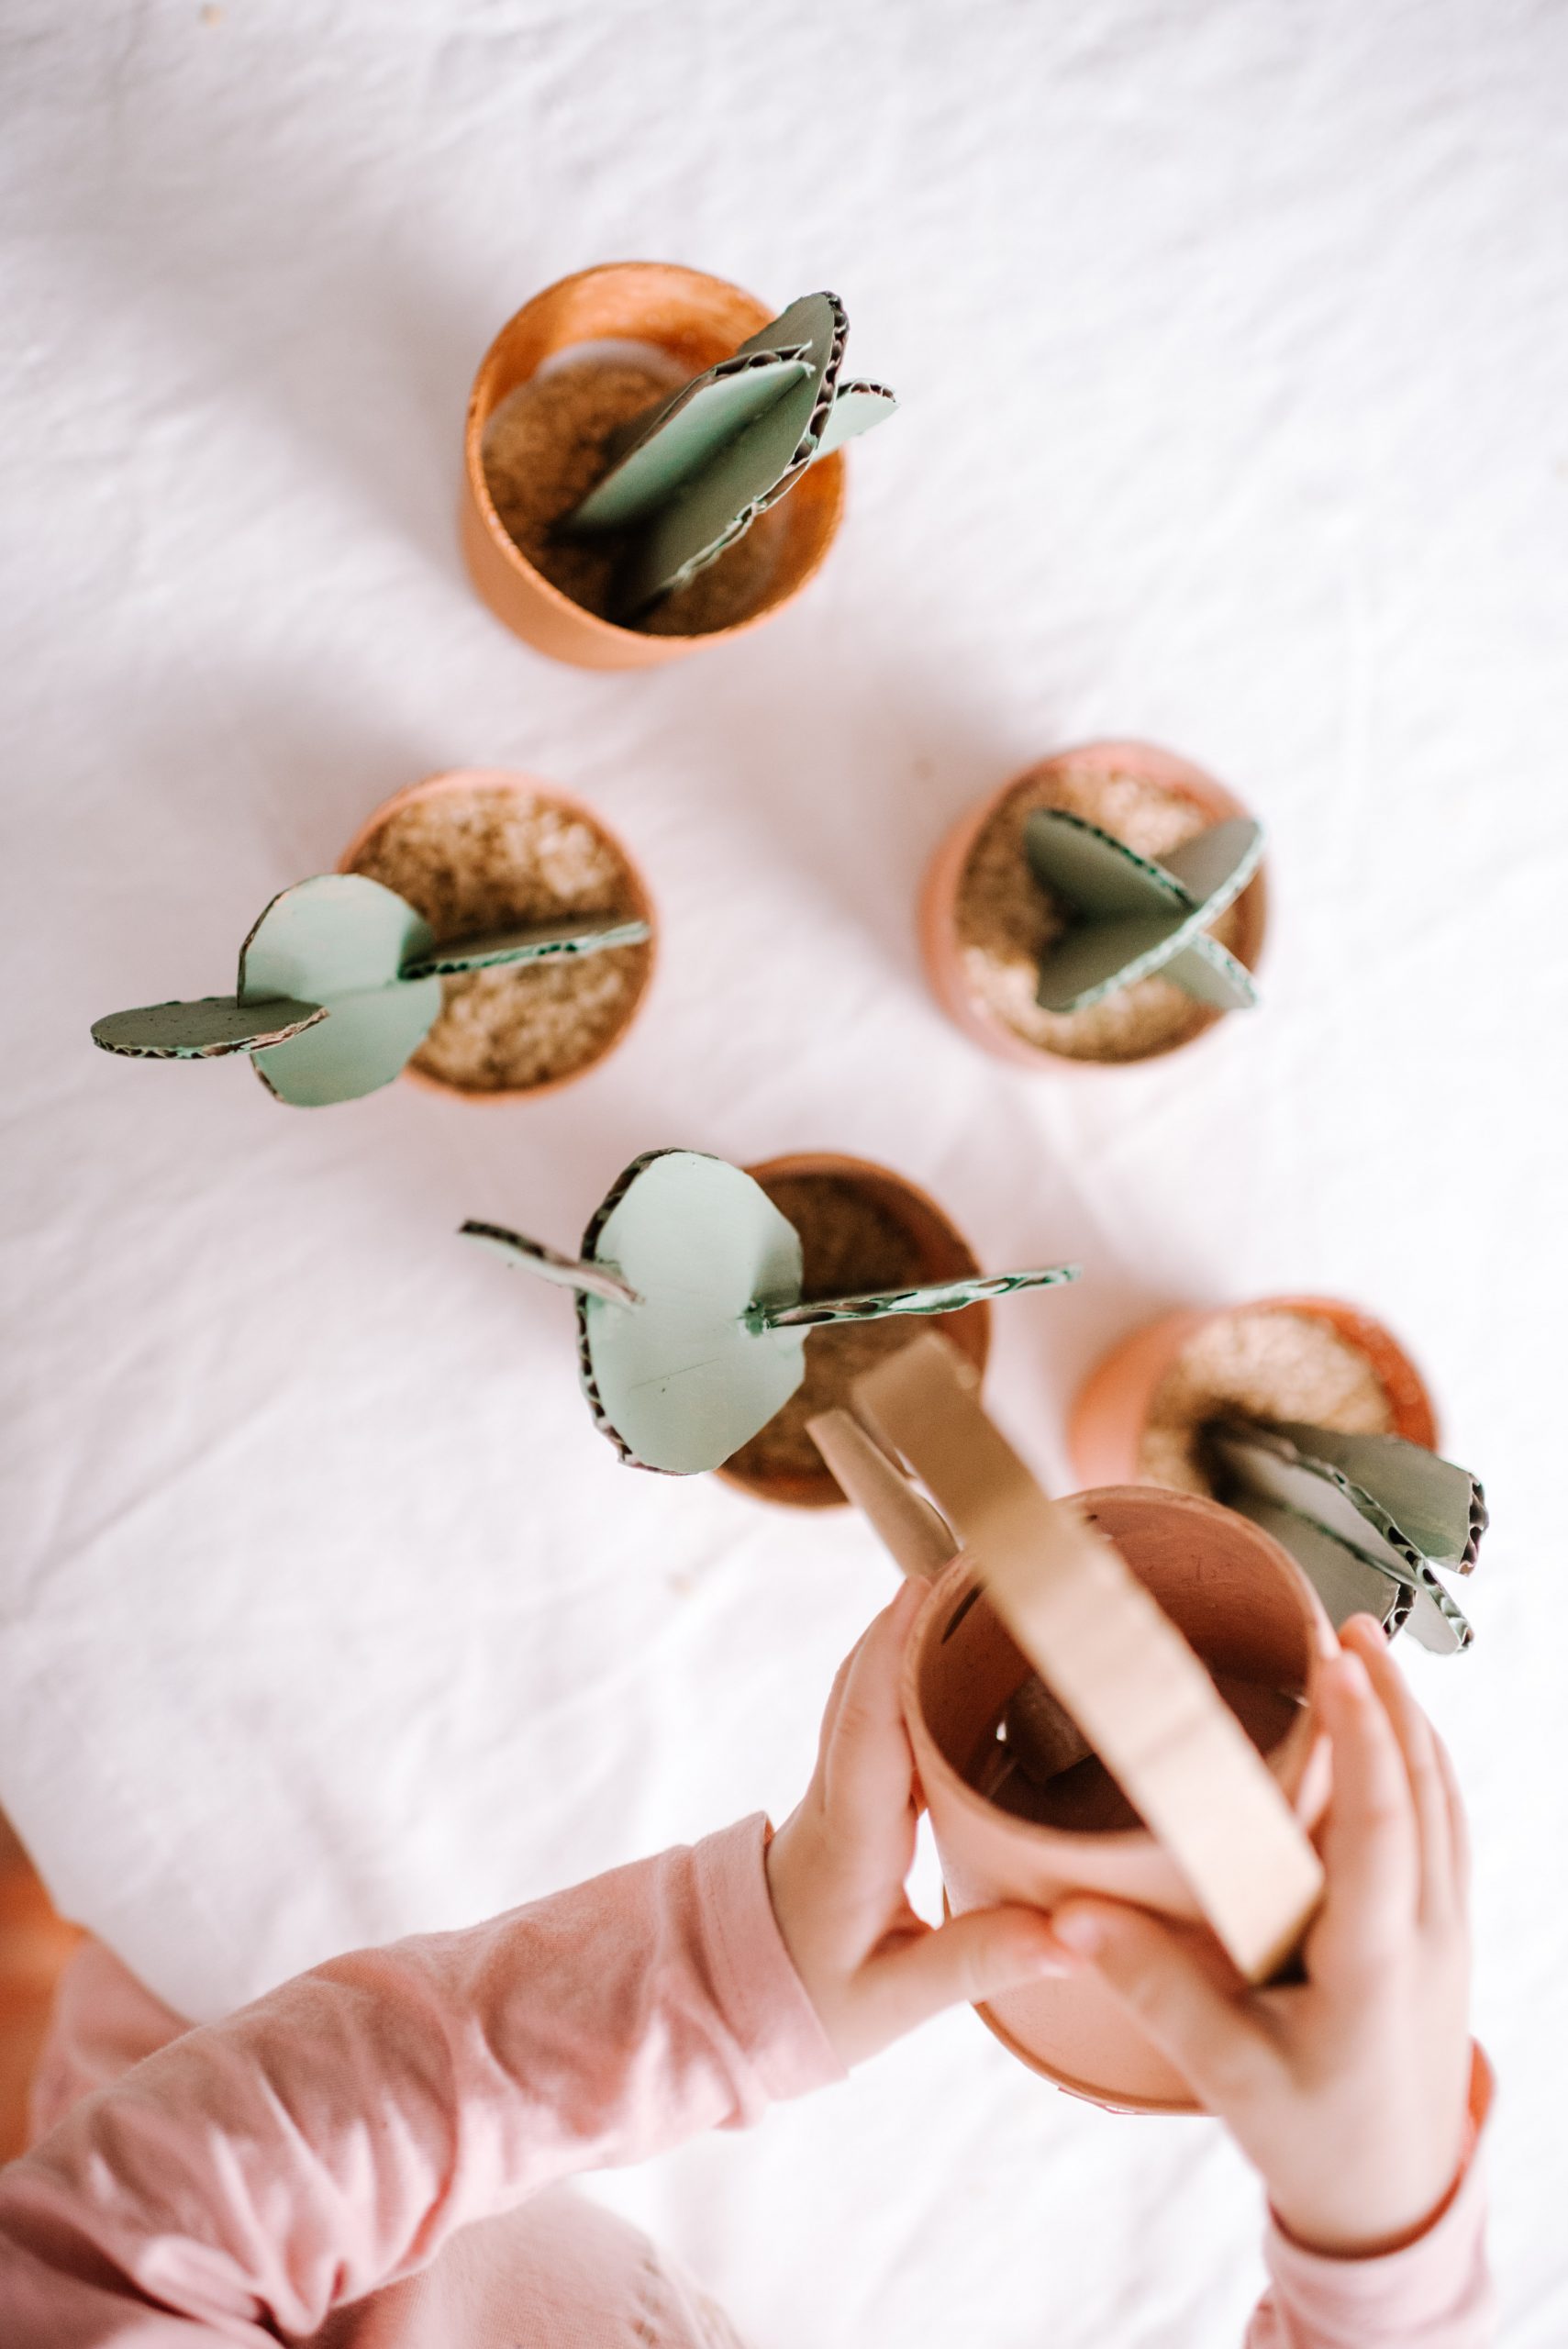
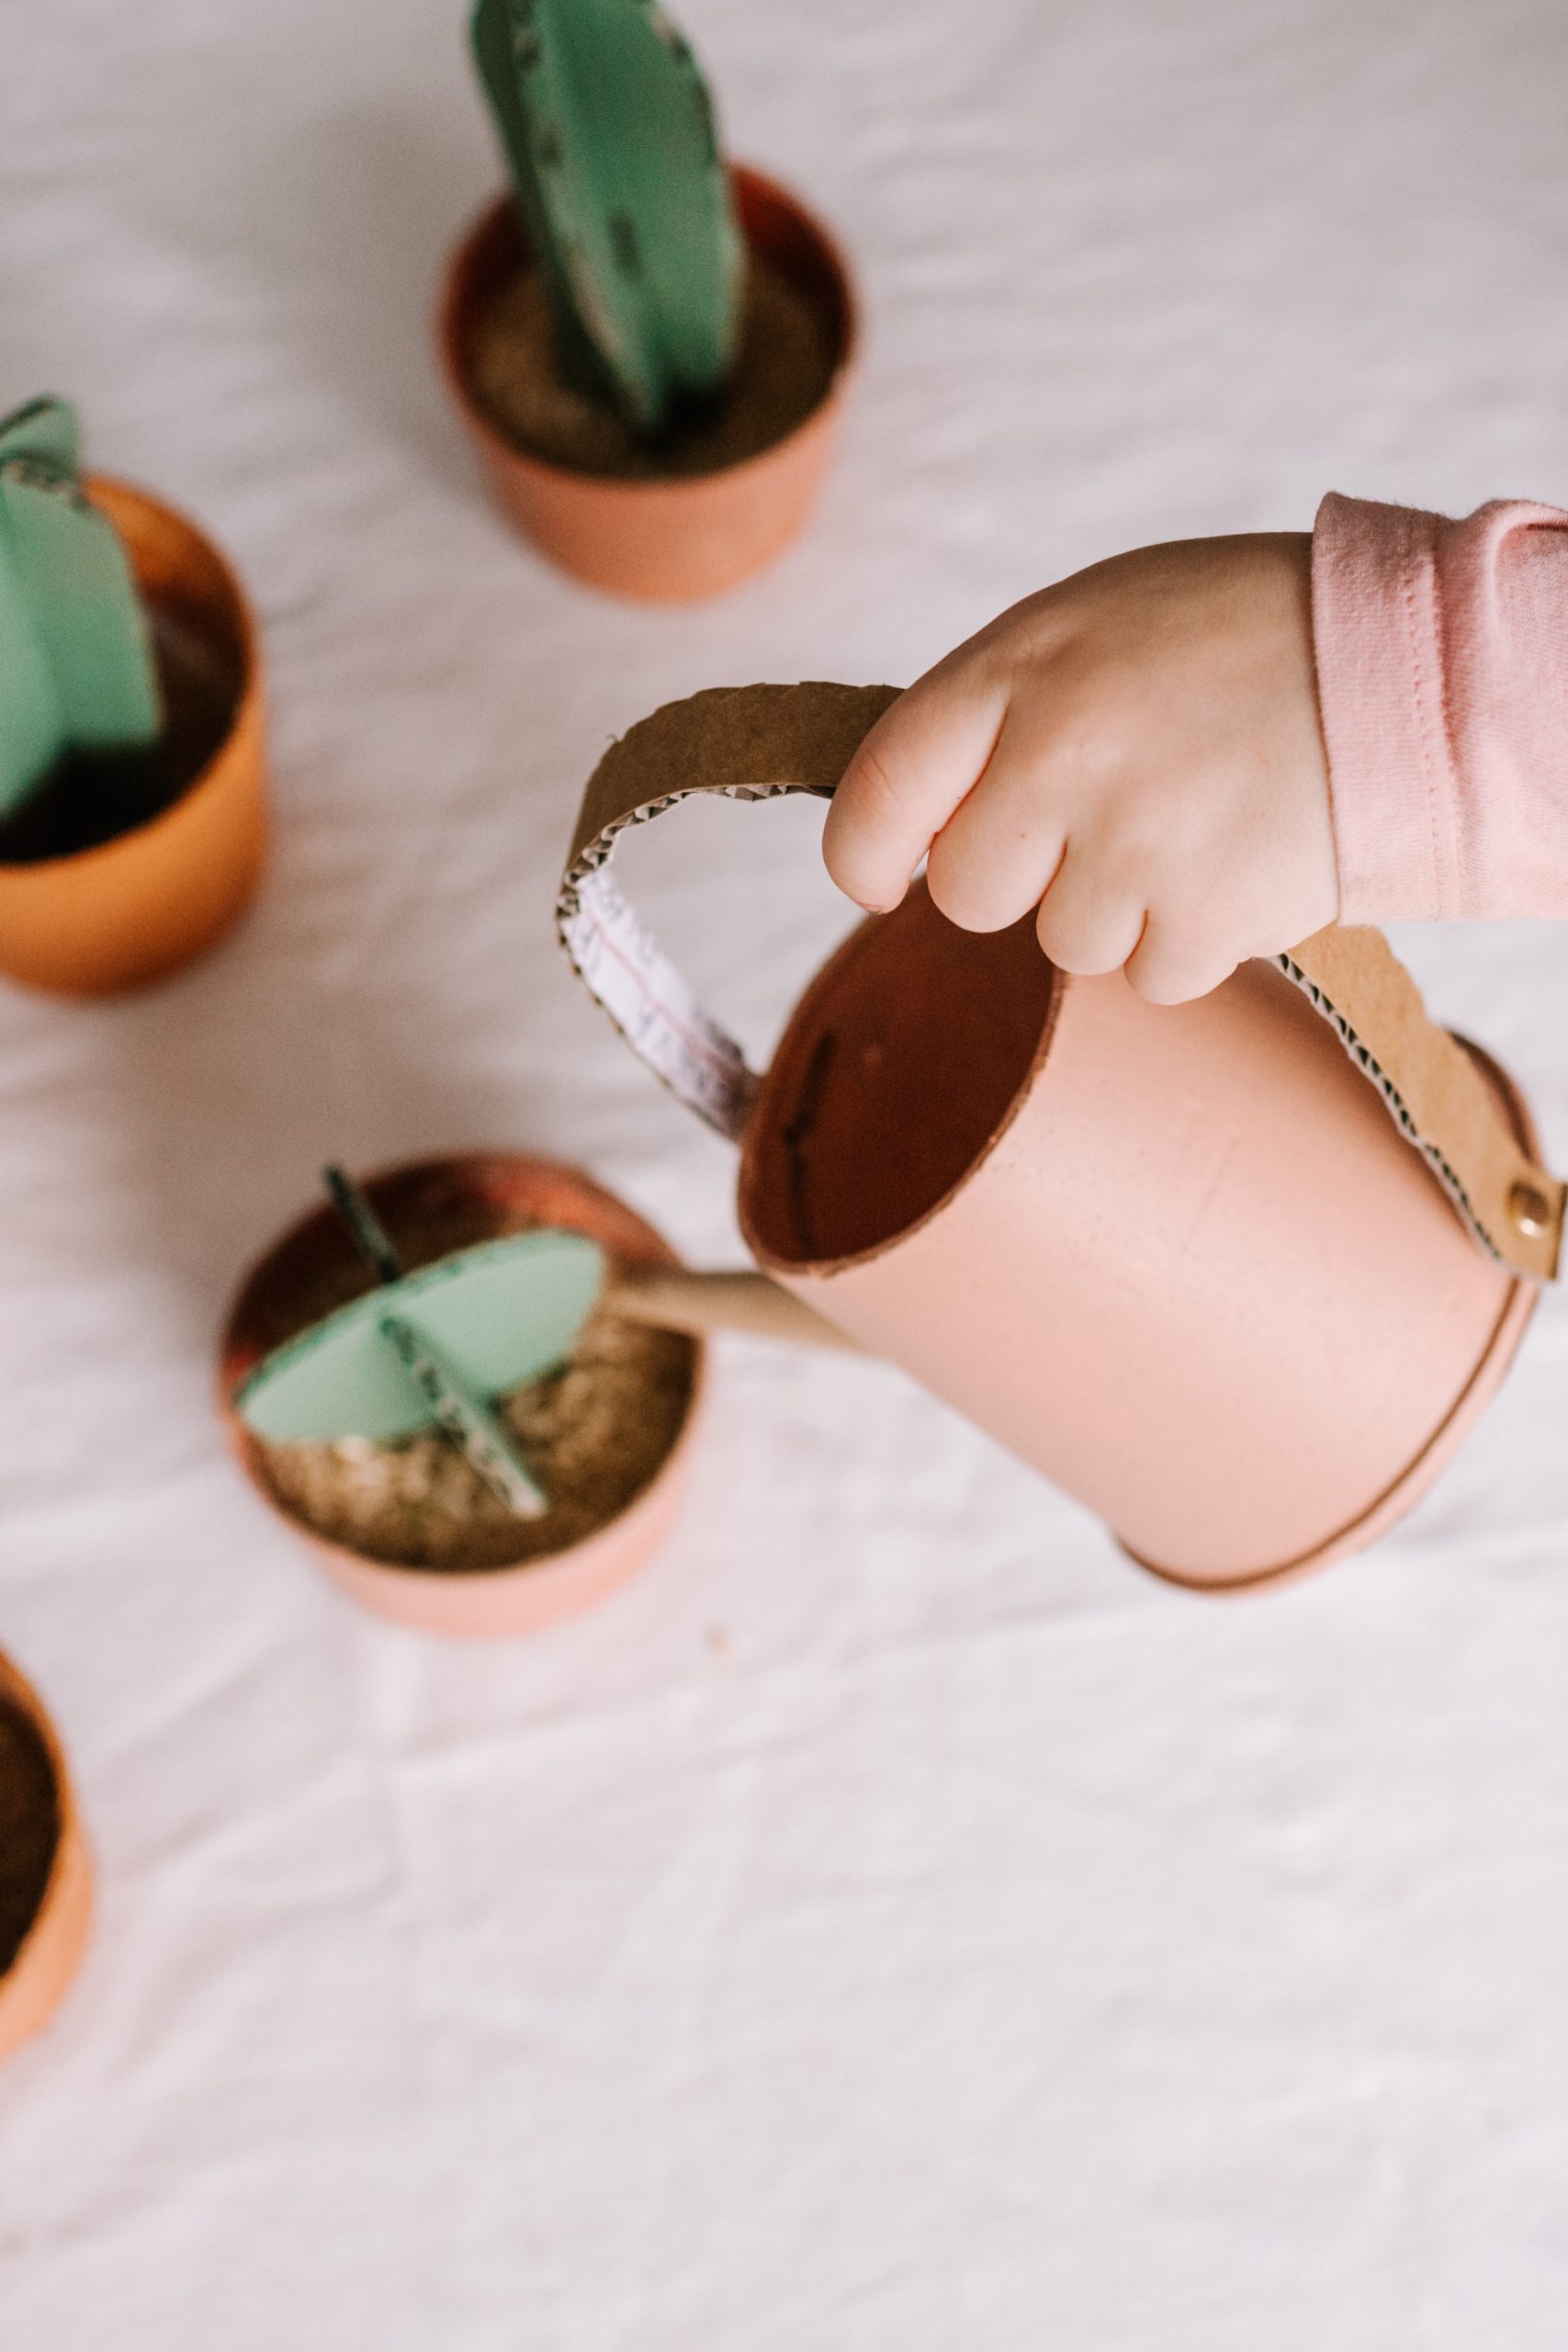
But in the last few months I’ve noticed her interest growing, which means I can finally start using some of the materials I’ve been hoarding for kids crafting! Does anyone else love to keep things in the off chance you or your child *might* want to use them one day? Well, at our house, that day has finally come. We recently made this cacti garden and watering can, and it was surprisingly fun… Admittedly these things can be a bit of a challenge with a two year old! Obviously she mainly painted the cups and cardboard that I cut out for her, but she was visibly excited about the result so I’m hoping it encourages her to do more with me. Read on for the tutorial!
Materials
- Large polystyrene or cardboard cups (We used Fantastic Noodle Cups)
- Cardboard
- Paper
- Acrylic paint
- Scissors
- Paper fasteners
- Rice or gravel
For the cacti shapes, I simply cut them by eye, but we’ve created this cacti printable for you. Print it to A4 paper and then trace the shapes into your cardboard.
For the plants
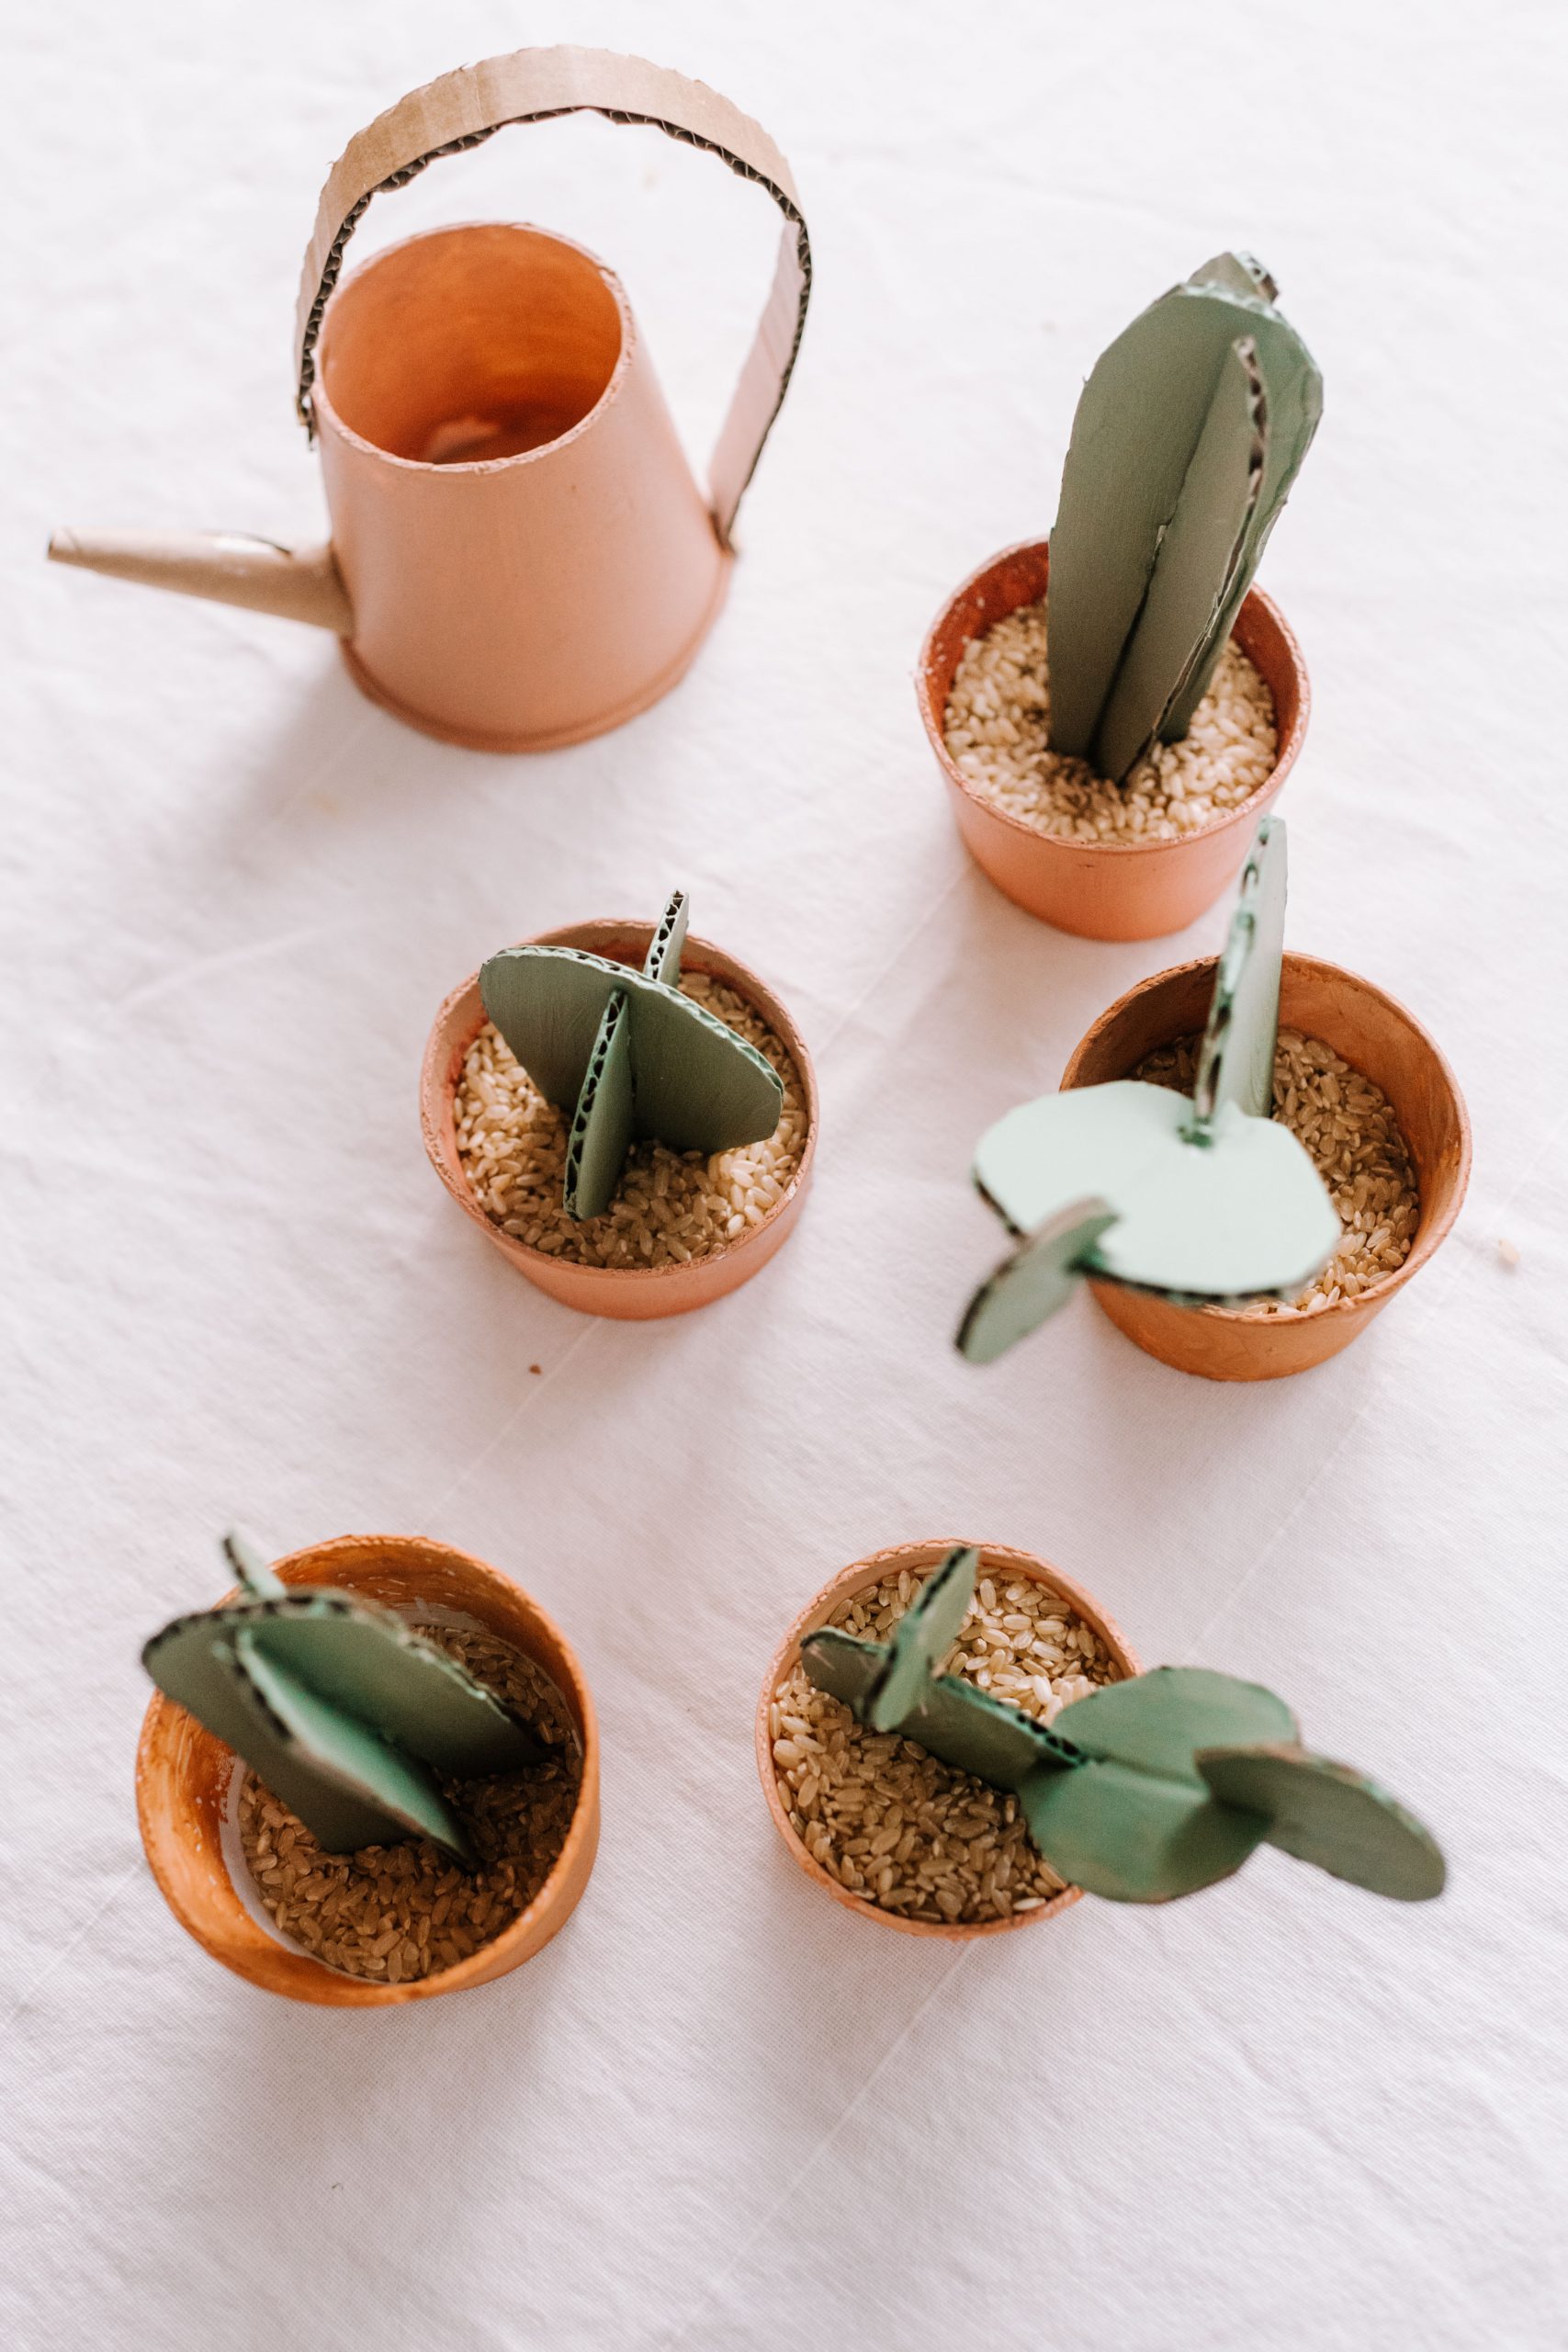
- Cut your cups into planter height and then paint them. Let them dry.
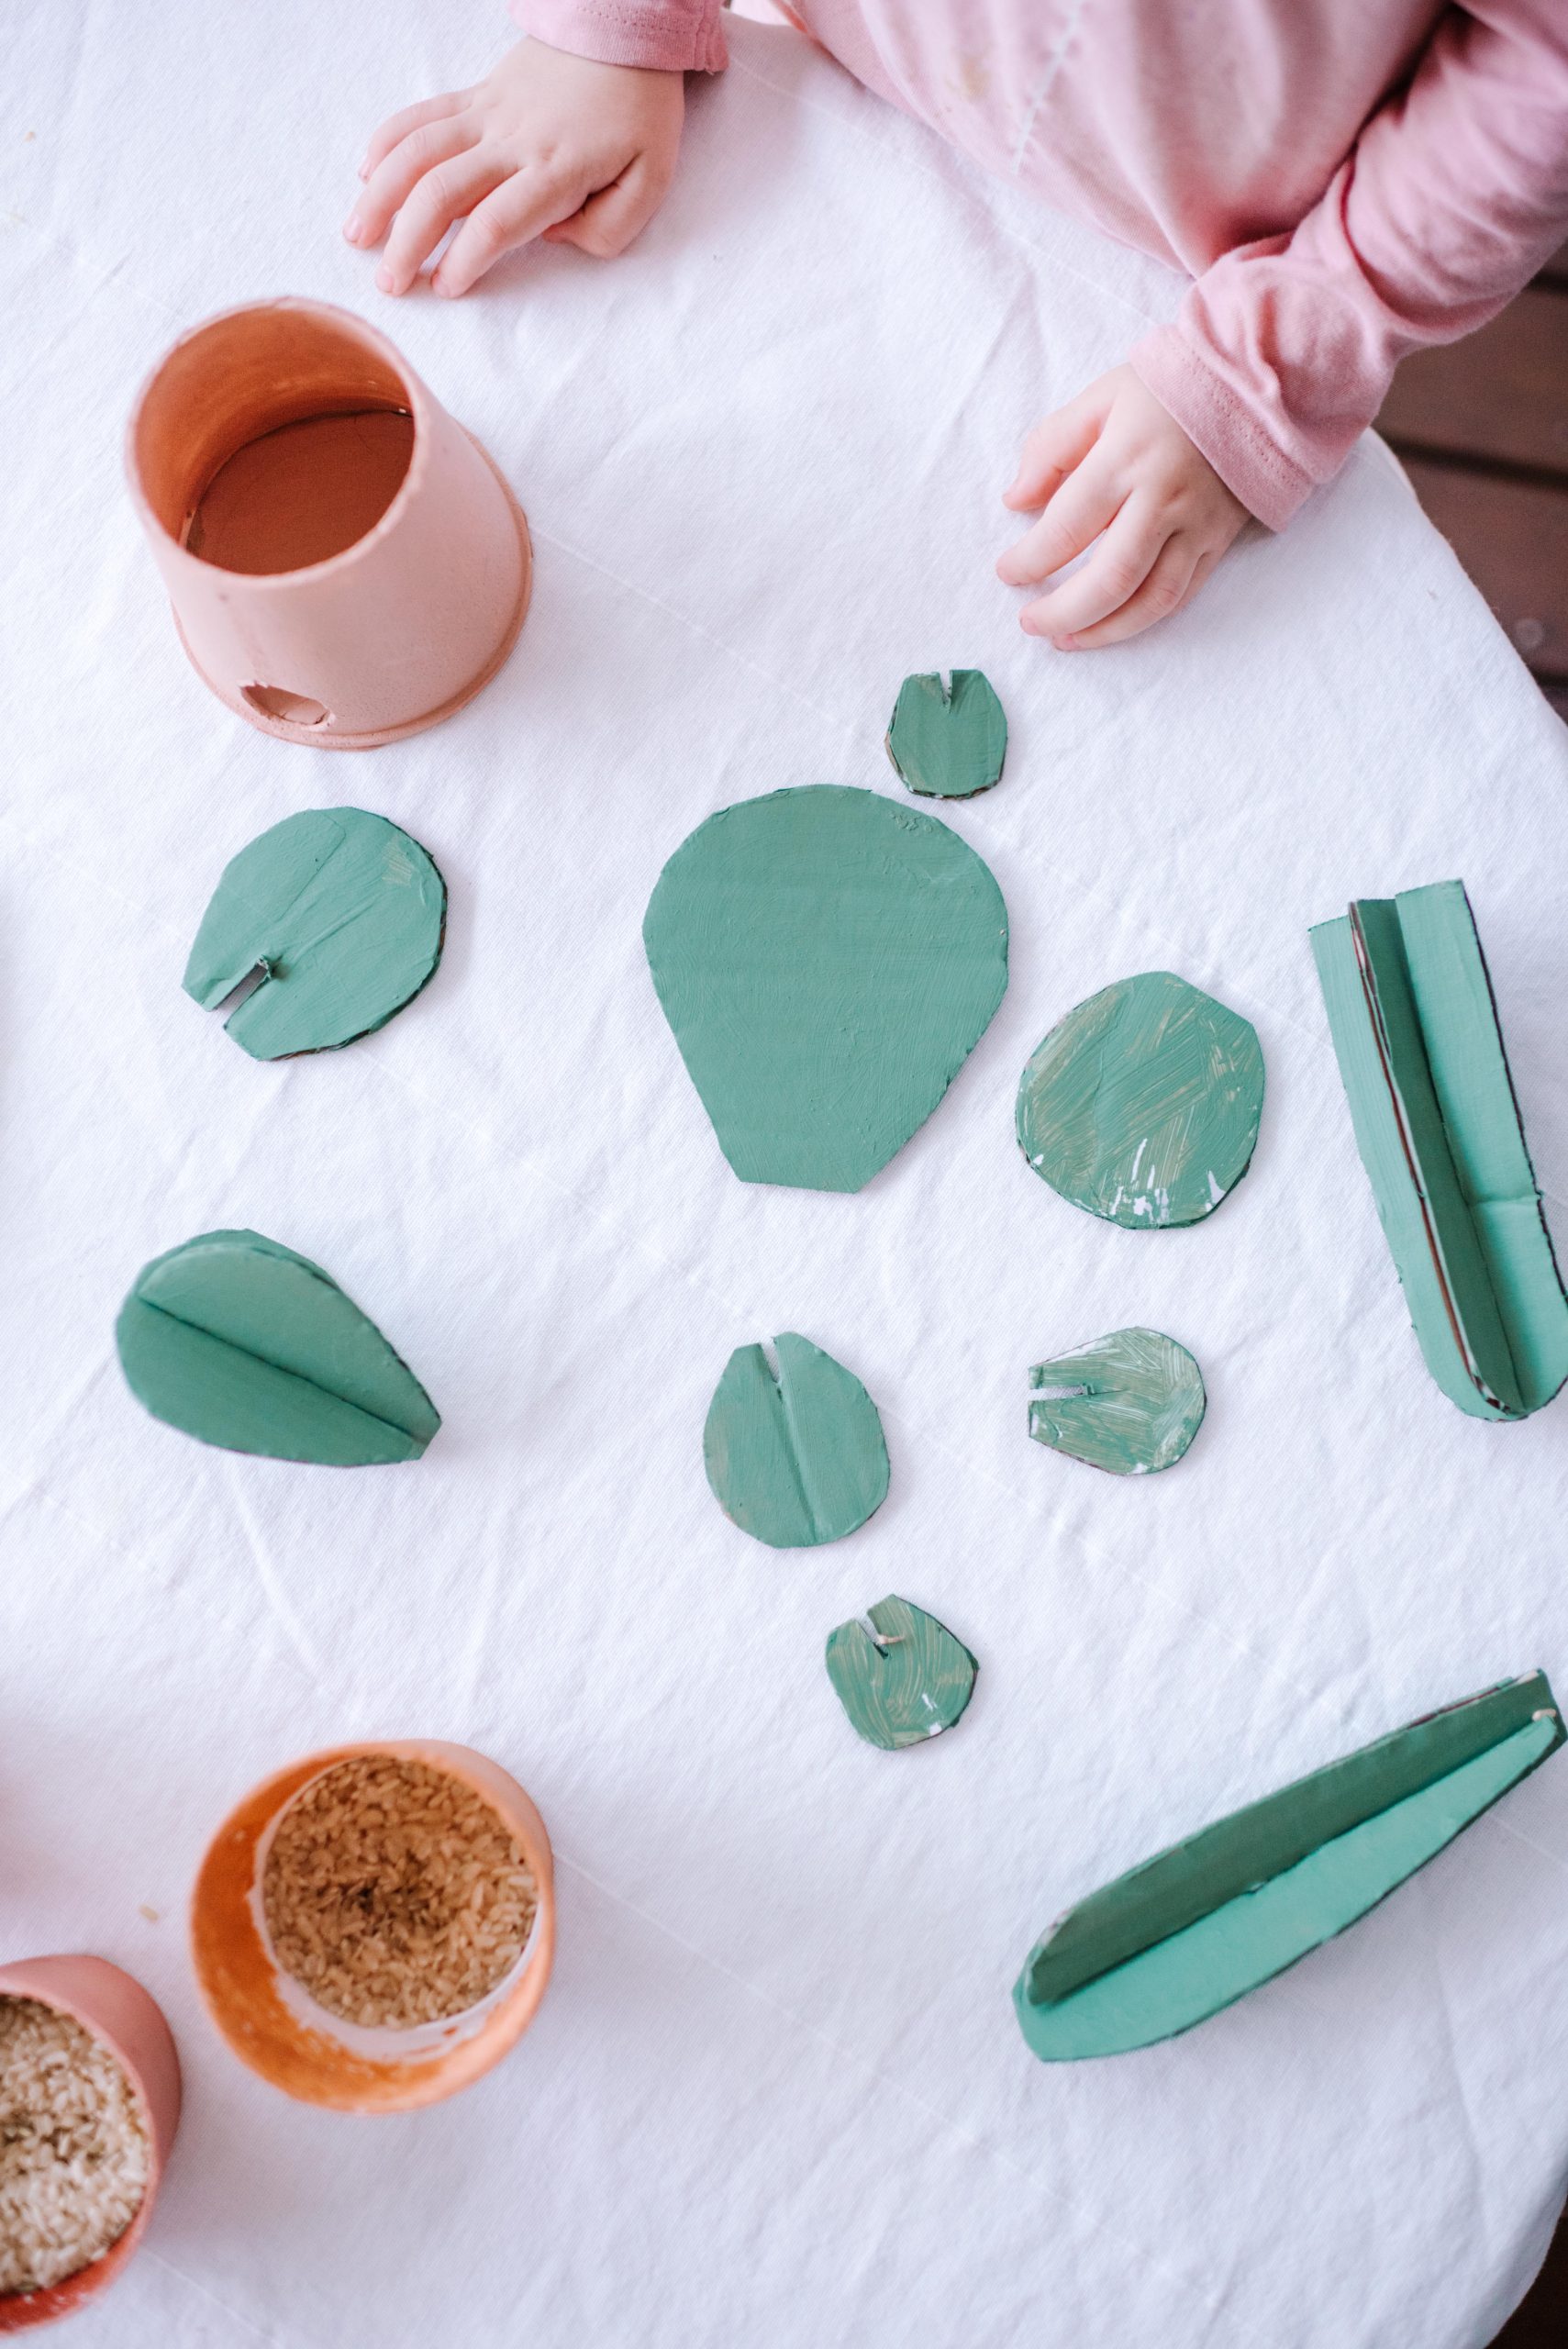
- Meanwhile, make the cacti shapes out of cardboard. To do this, either draw the shapes by hand or use the printable linked above in the materials.
- Cut out the cacti parts, making sure to cut the notches, and then paint them. Let them dry.
- Once the cacti and planters are dry it’s time to assemble! Fit the cacti parts together into 3D shapes using the notches, then add some rice to the bottom of the planters. Push the cacti into the rice so they stand up. You can also hot glue them down to the bottom of the planter.
For the watering can
- Cut the bottom (closed end) off the large cup and turn it upside down.
- Cut a piece of cardboard the same size as the large opening of the cup, and then tape it onto the bottom. Paint the body of the watering can and let it dry.
- Roll up a piece of paper or cardboard to create a spout. Cut a hole in the body of the watering can the same size as the spout and then attach it to the watering can by taping it inside.
- Cut a 30cm (12in) thin piece of cardboard for the handle. Use the fasteners to attach handle ends to the watering can.


