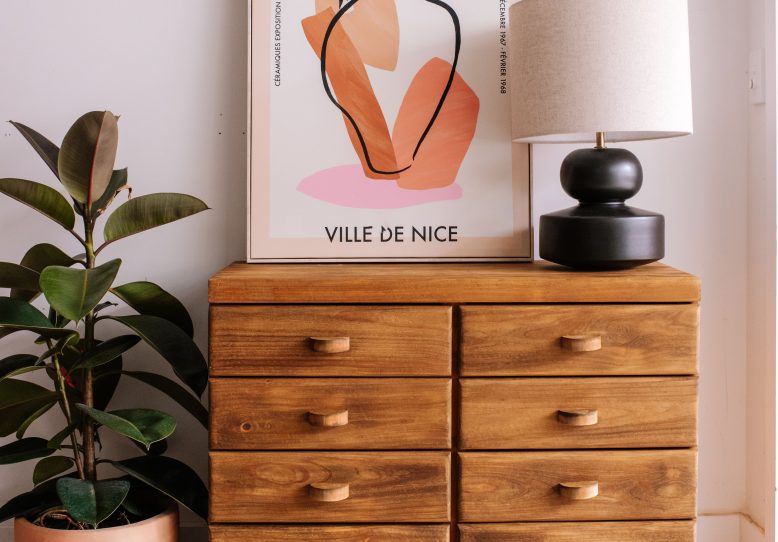
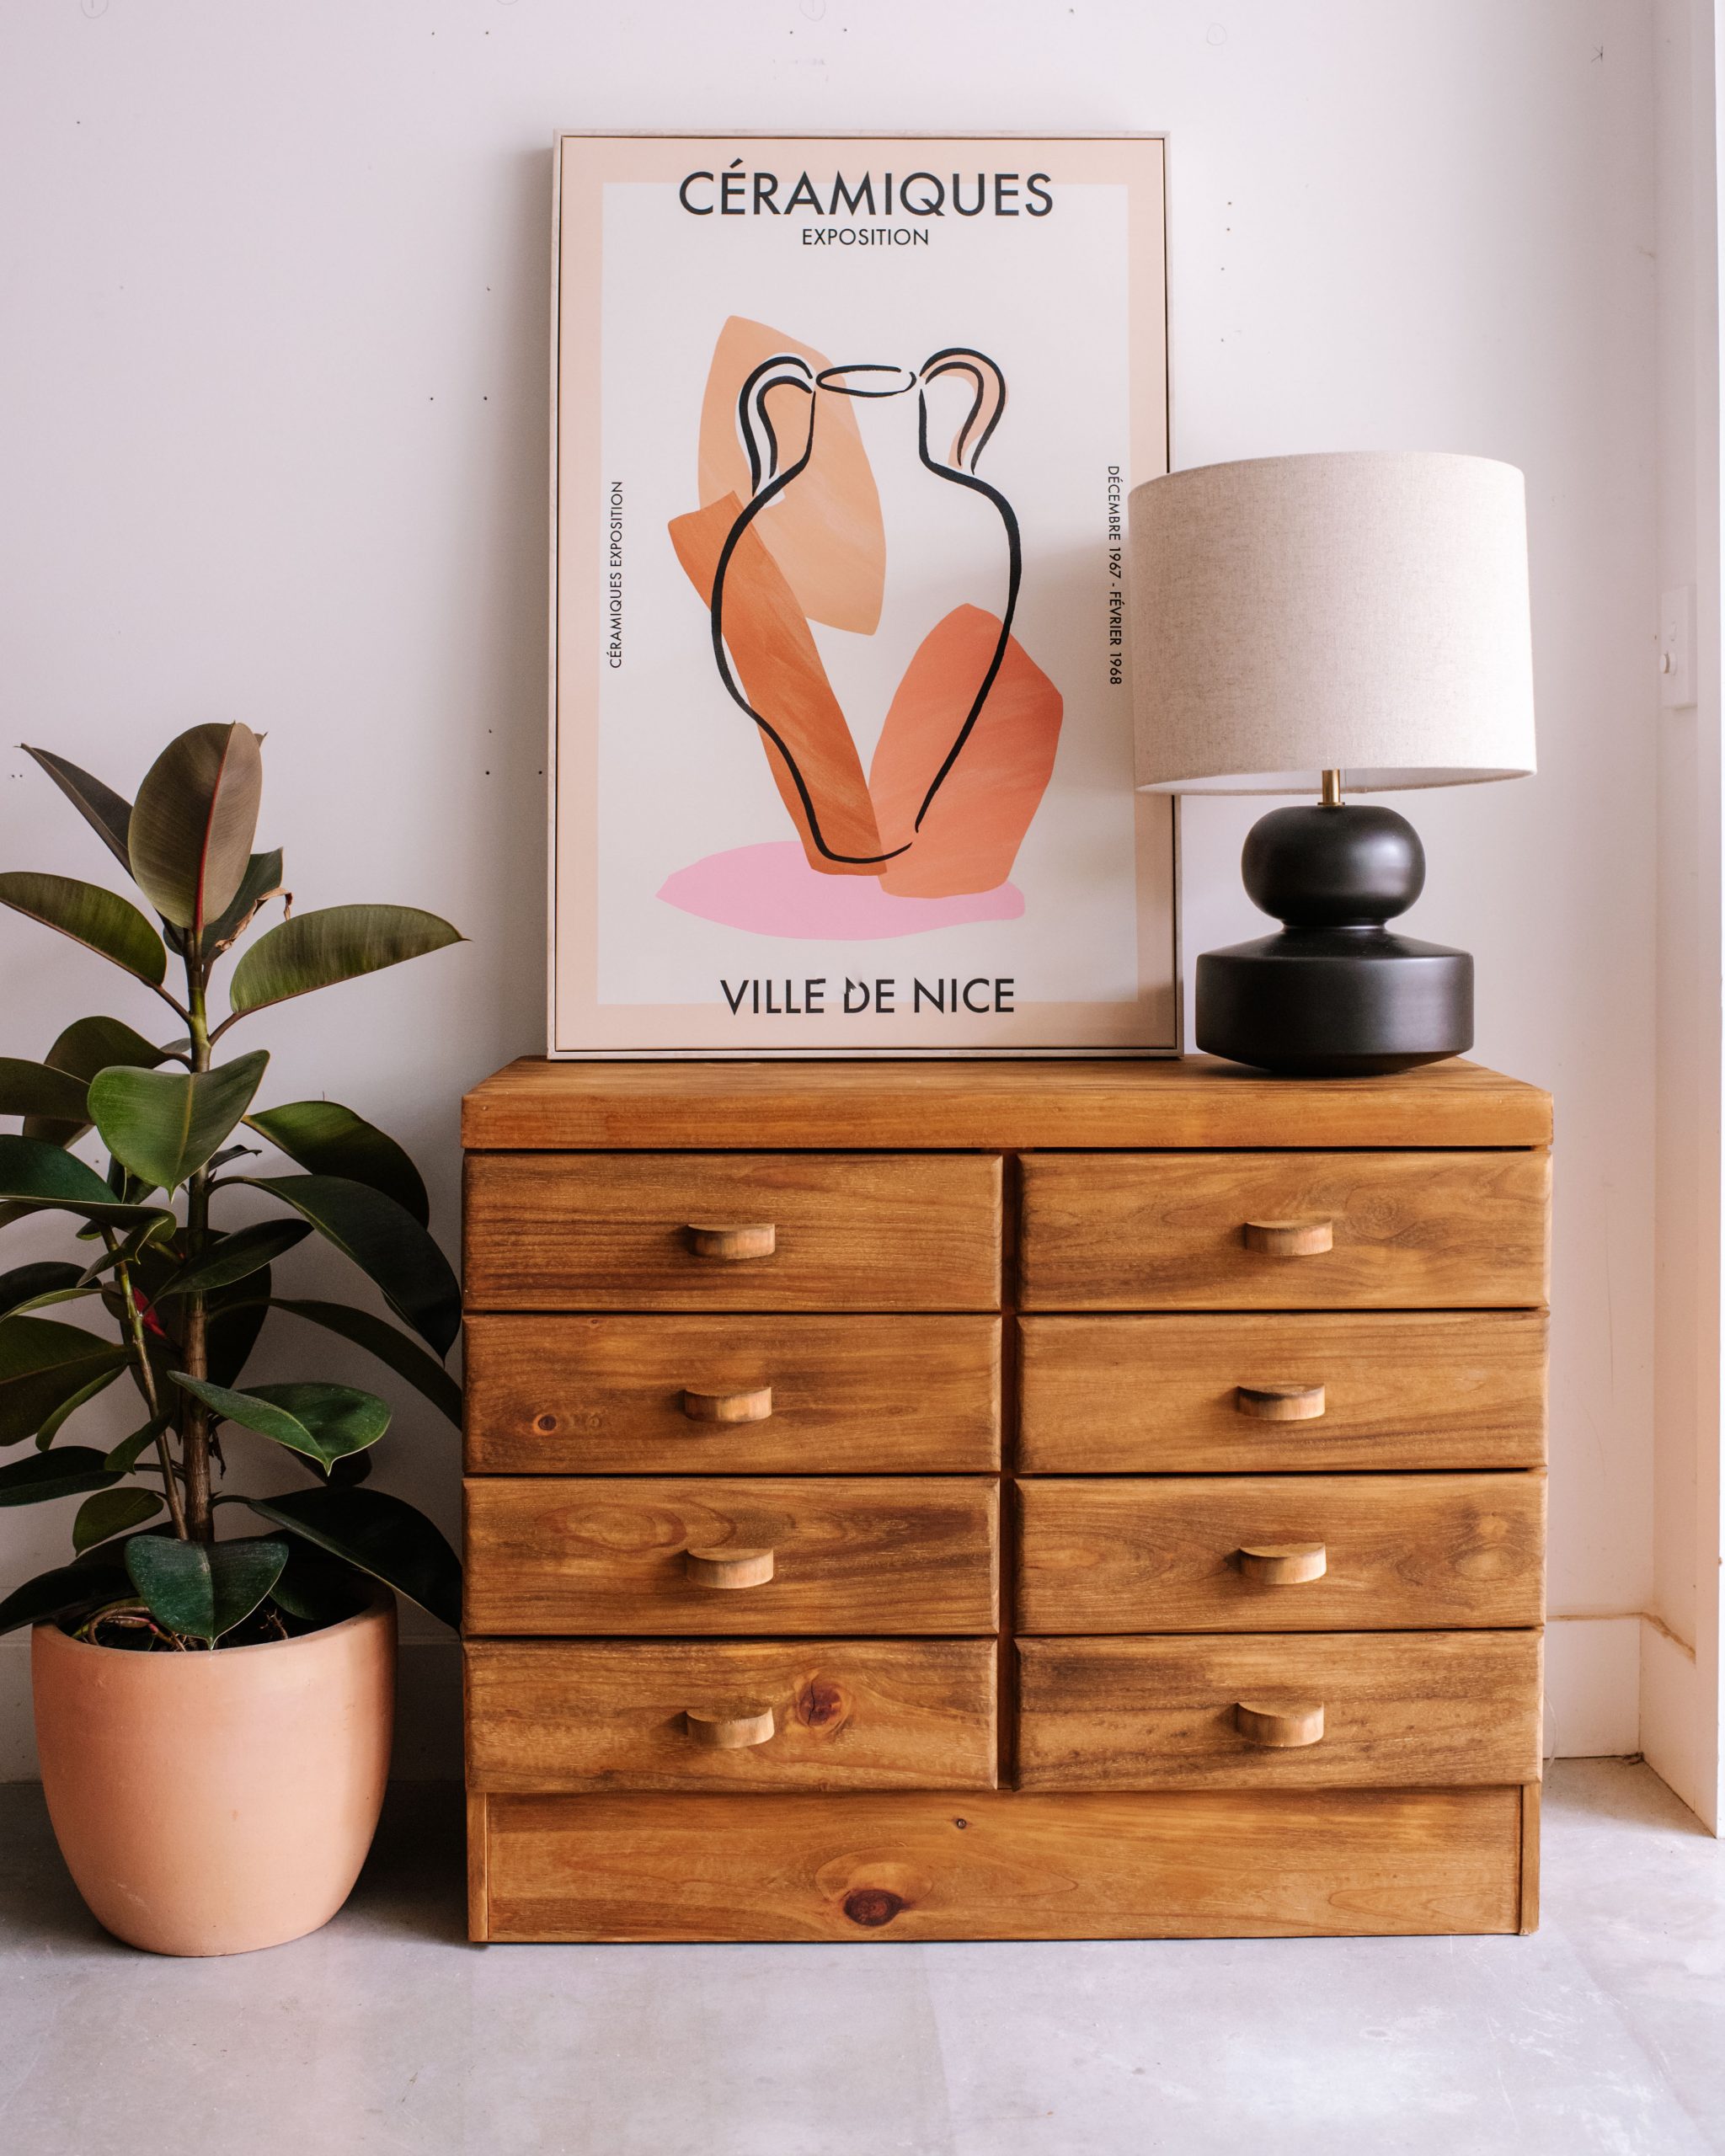
This project was such a rollercoaster and really proved that you never know where you’ll end up when you start a DIY.
I found this basic chest of drawers at a Brisbane City Council Treasure Trove for $10, and knew that a simple (and cheap!) pine piece like this was the perfect foundation for a good upcycle.
The upcycling possibilities seemed endless with this piece and I was feeling really inspired to try something a little different. I knew I wanted to modernise it somehow and found sawing off the top sides, removing the trim and sanding it down really helped me figure out the style I wanted to go with.
The inspiration I initially started with came from these unique 3D shaped drawers in a brutalist style. The profile of my chest of drawers was a little different so I wasn’t too sure how it would look.
Before & After
I began by cutting out multiple different wooden shapes and came up with 4 different options.
1. Random: circles, triangles and rectangles. This pattern isn’t that easy to perfect but a lot of people I asked were into it when I first showed it.
2. Blocks: different sized rectangular pieces of wood laid out flat, and some placed on the narrow edge to create more height.
3. Triangles: a mix of triangles and blocks laid together in a pattern.
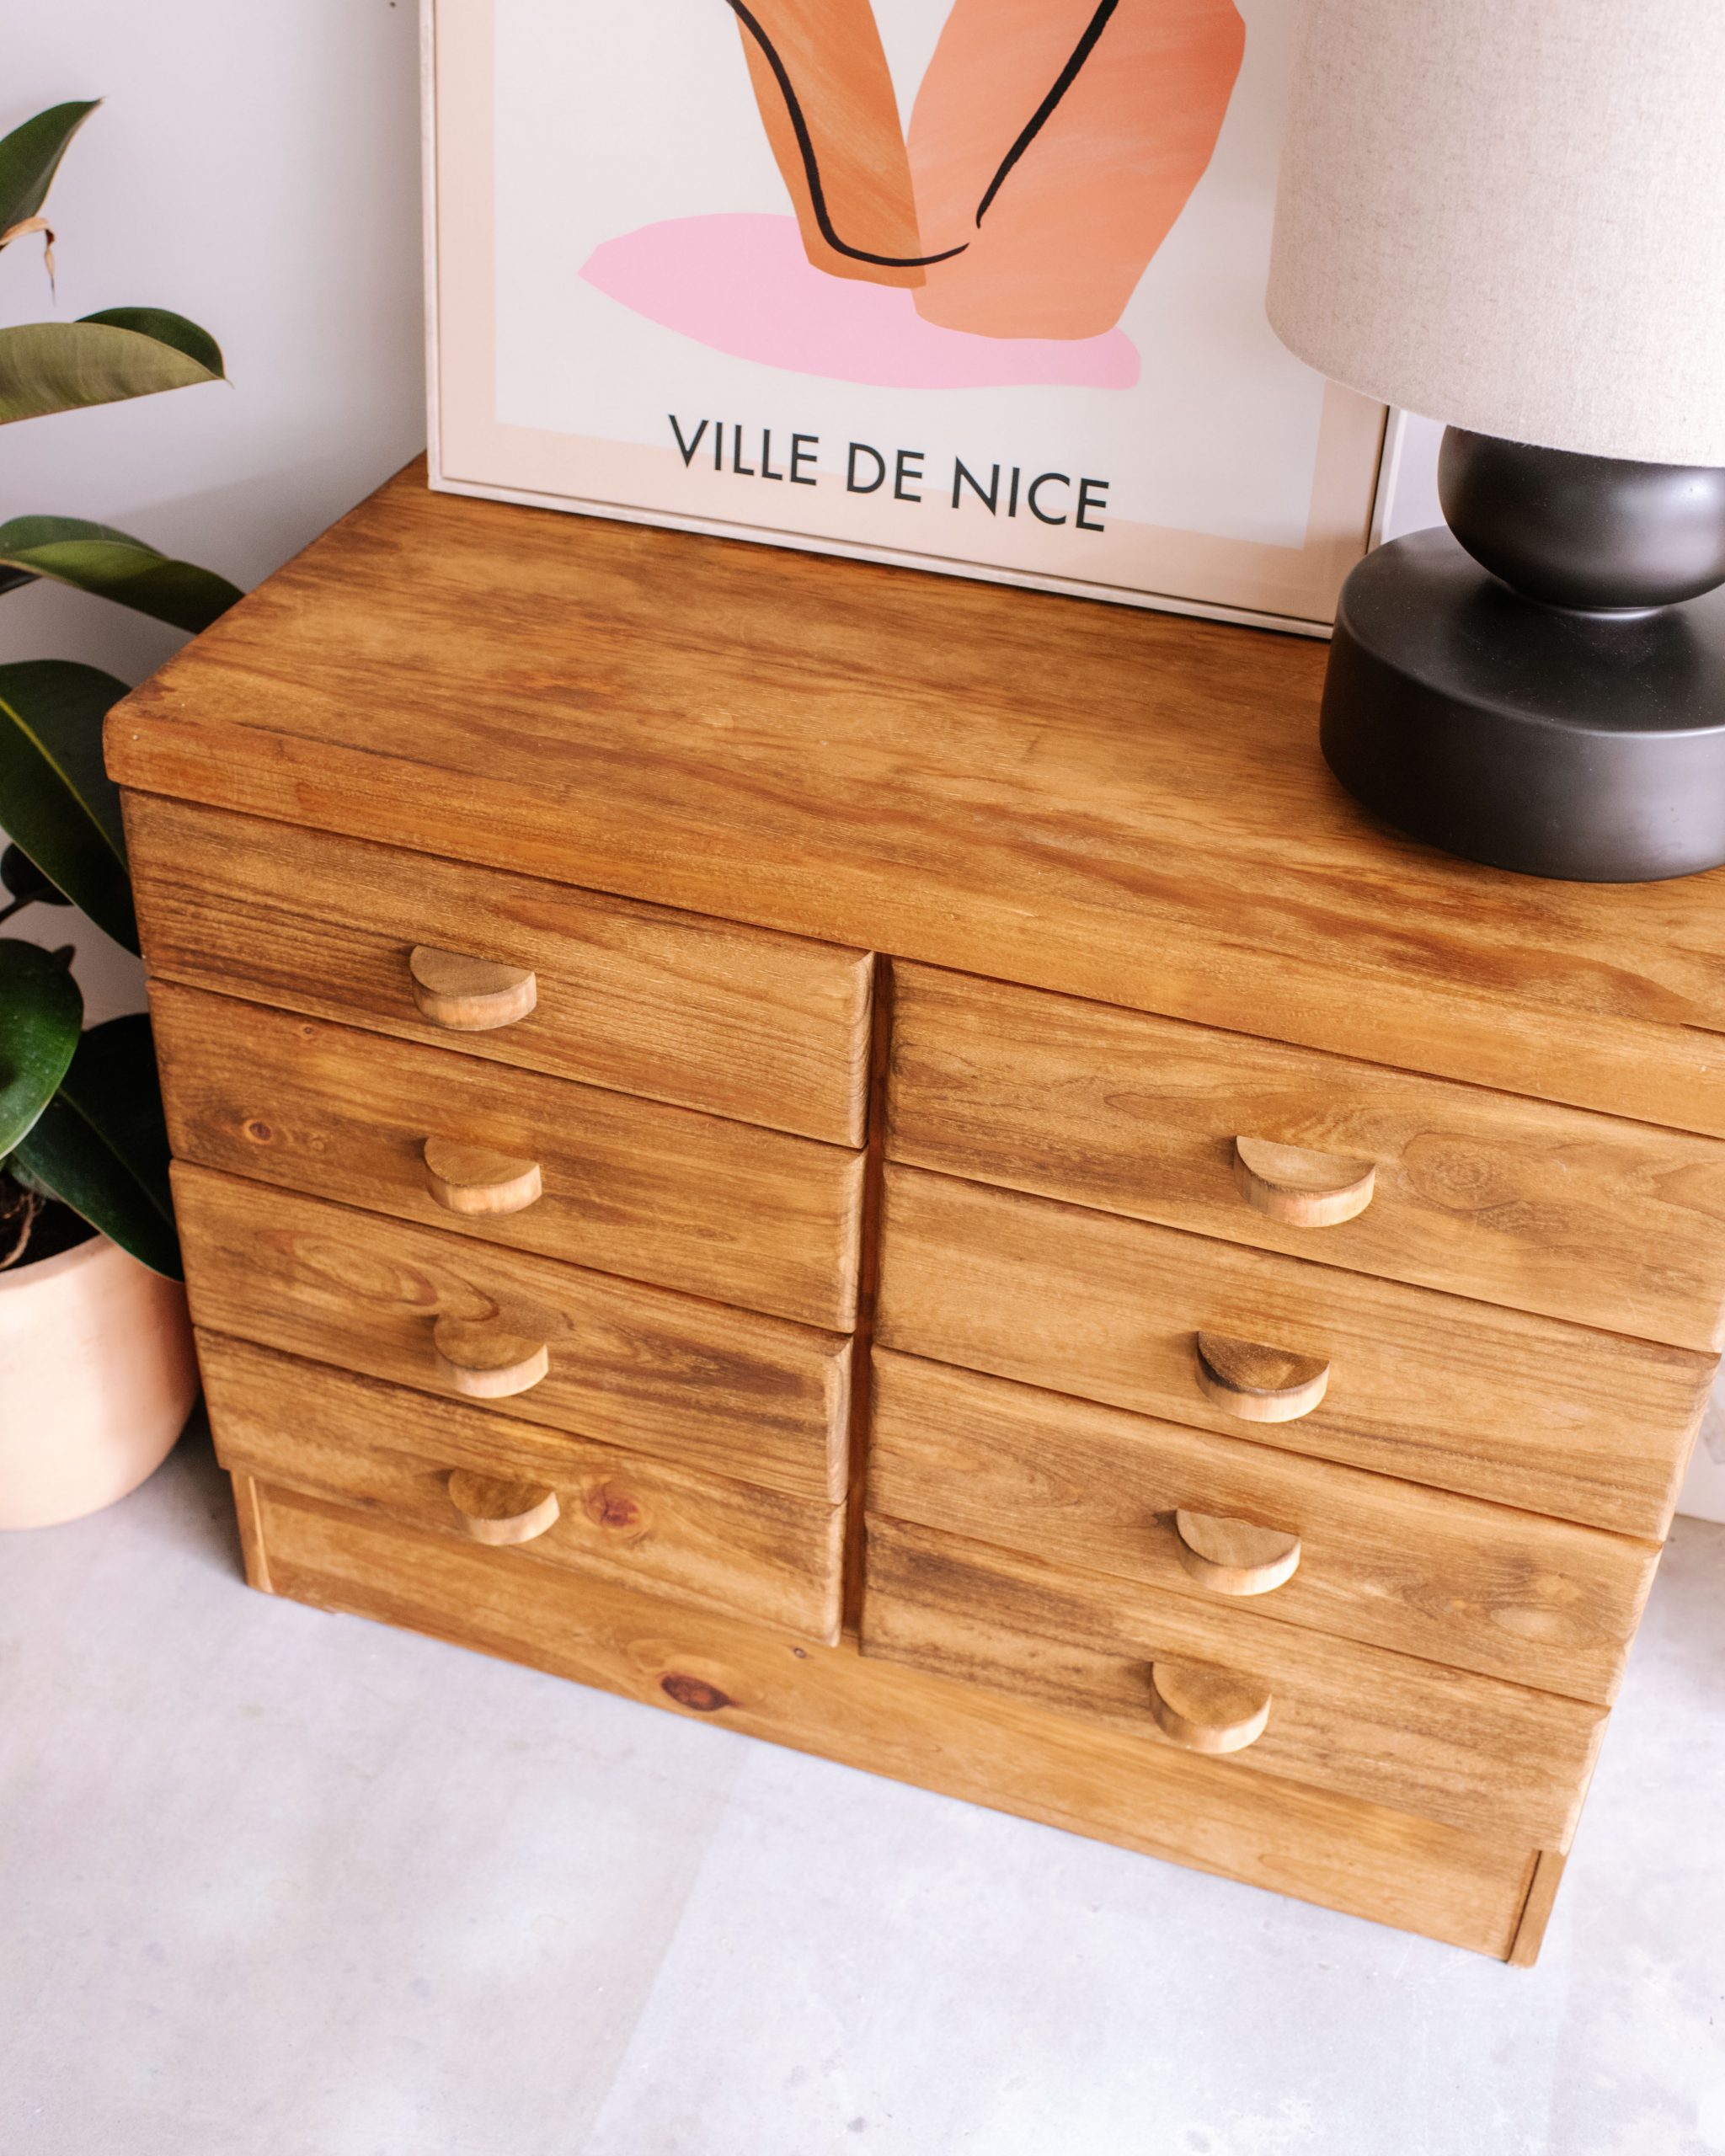
4. Half circle handles: this was a last minute experiment, and a very simple and easy idea!
I ended up loving the fourth choice, and although it was the furtherest option away from my initial idea, I really loved the simple design and decided it had to be that one. I still really like the idea of the brutalist inspired wooden pieces, but I think I’m going to find another piece that’s better proportions for that!
Materials You’ll Need:
- Secondhand chest of drawers
- Sander ( I used my Ozito Random Orbital Sander)
- Orbital Sandpaper
- Wood Stain (I used this one)
- Paint Brush (For staining)
- Rag (To wipe of stain)
- Drill
- Screws
- Wood used for circles
- What did you use to cut the circles?
How To Make An Upcycled Mid Century Modern Inspired Chest Of Drawers
- I began by removing the handles and giving the entire piece a good sand down using a rough grit sandpaper to remove the orange varnish. I then sanded it with a finer grit to smooth it down.
- I wanted to modernise the shape of this piece and ended up removing the trim from the sides and cutting off the overlapping front piece to make it flush along the sides. This changed it so much!
- Afterwards I stained the entire piece with my favourite Old Baltic Printproof stain from Feast Watson. Because I wanted extra coverage, I used a paintbrush to apply the stain and then wiped it with a rag to encourage the colour to sink in.
- While the stain was drying I cut out the half circles I planned to use for the handles and stained those as well.
- Once the stain on both the drawers and handles were dry I marked the centre of the handles and drilled a pilot hole.
- Then I simply screwed the handle onto the drawer using the original hole that was on the drawer. This made it really easy!
I’m so glad I went with the simpler handle option! I’m still so keen to try something like the original inspo, but this was just too cute to pass up.
Check out another one of my upcycle projects below.


