This year I’ve felt so inspired by wood and all the different things you can do to it, it’s just such a beautiful material to work with!
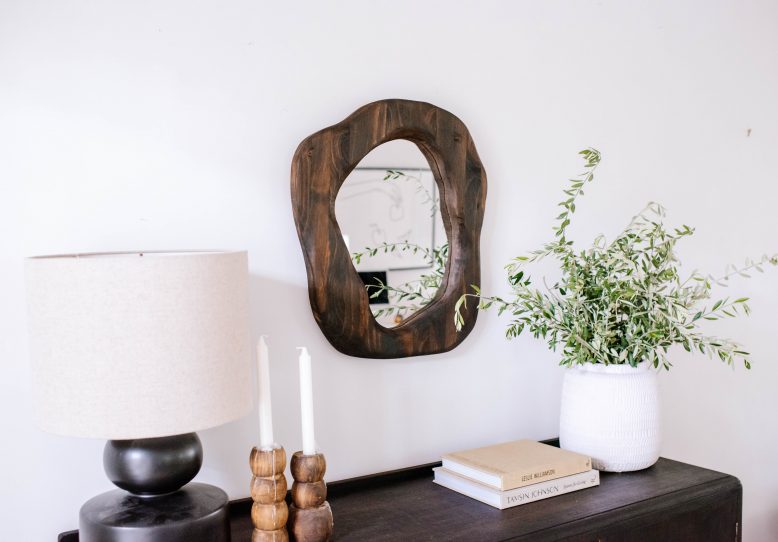
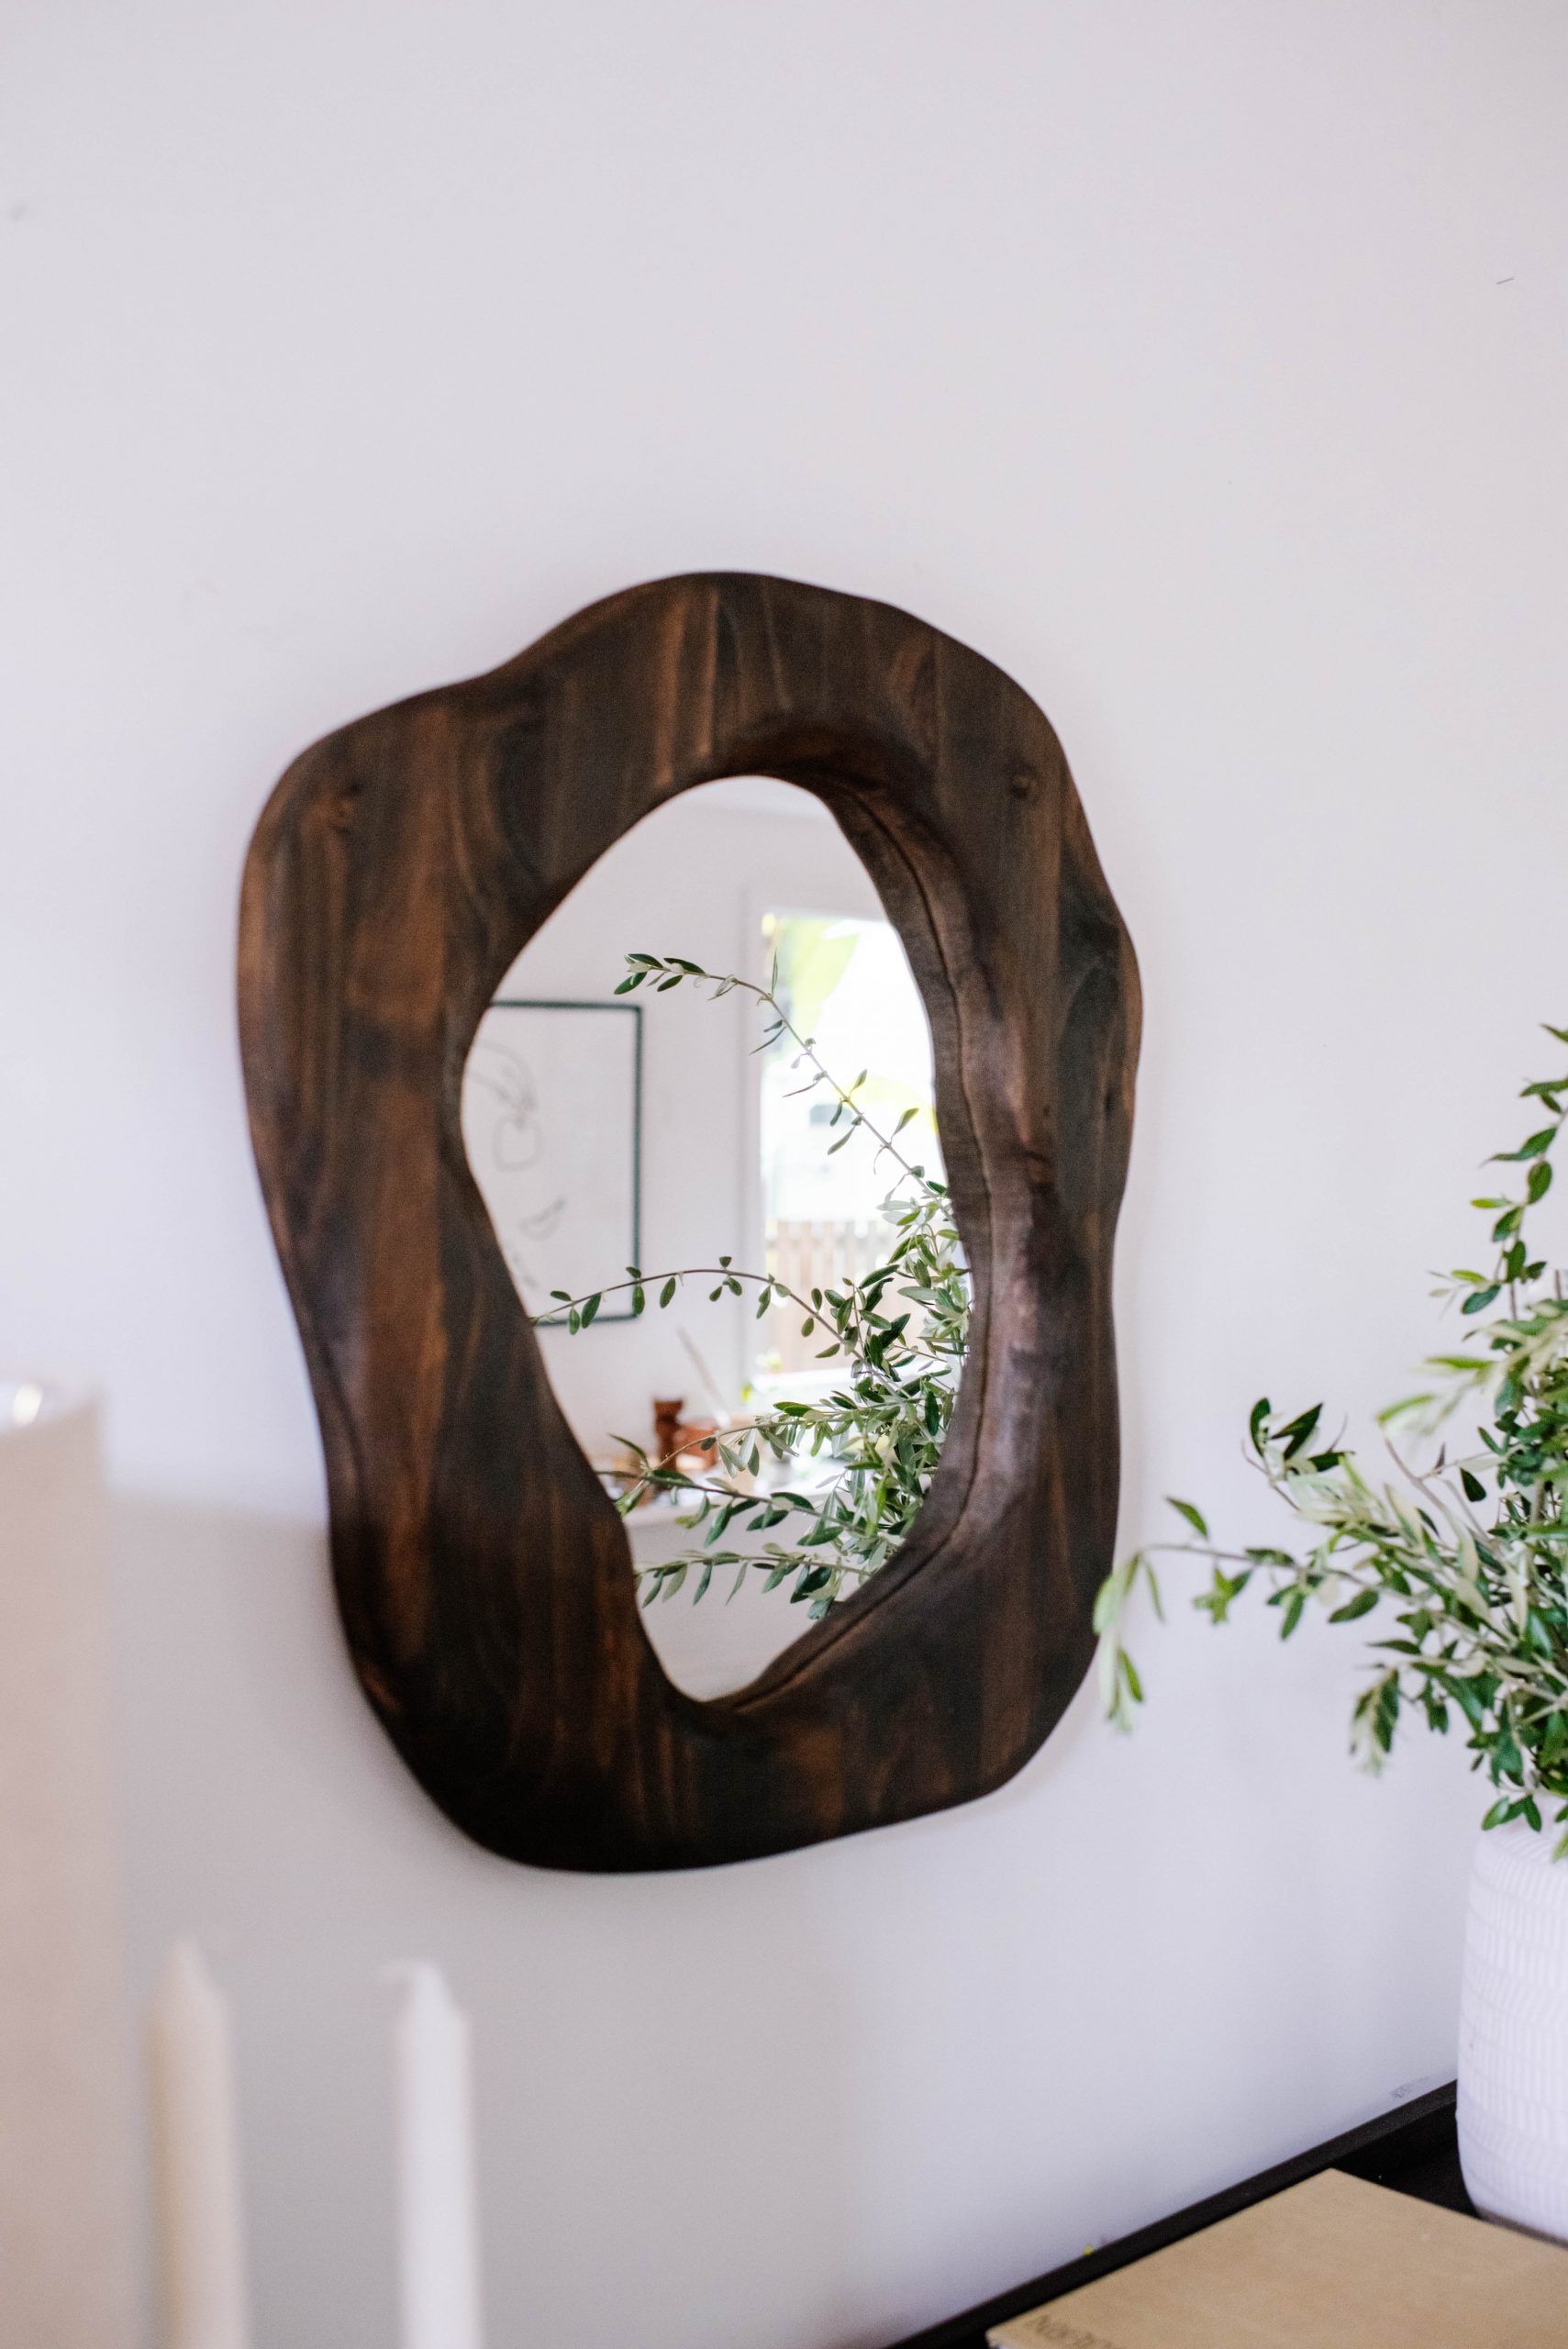
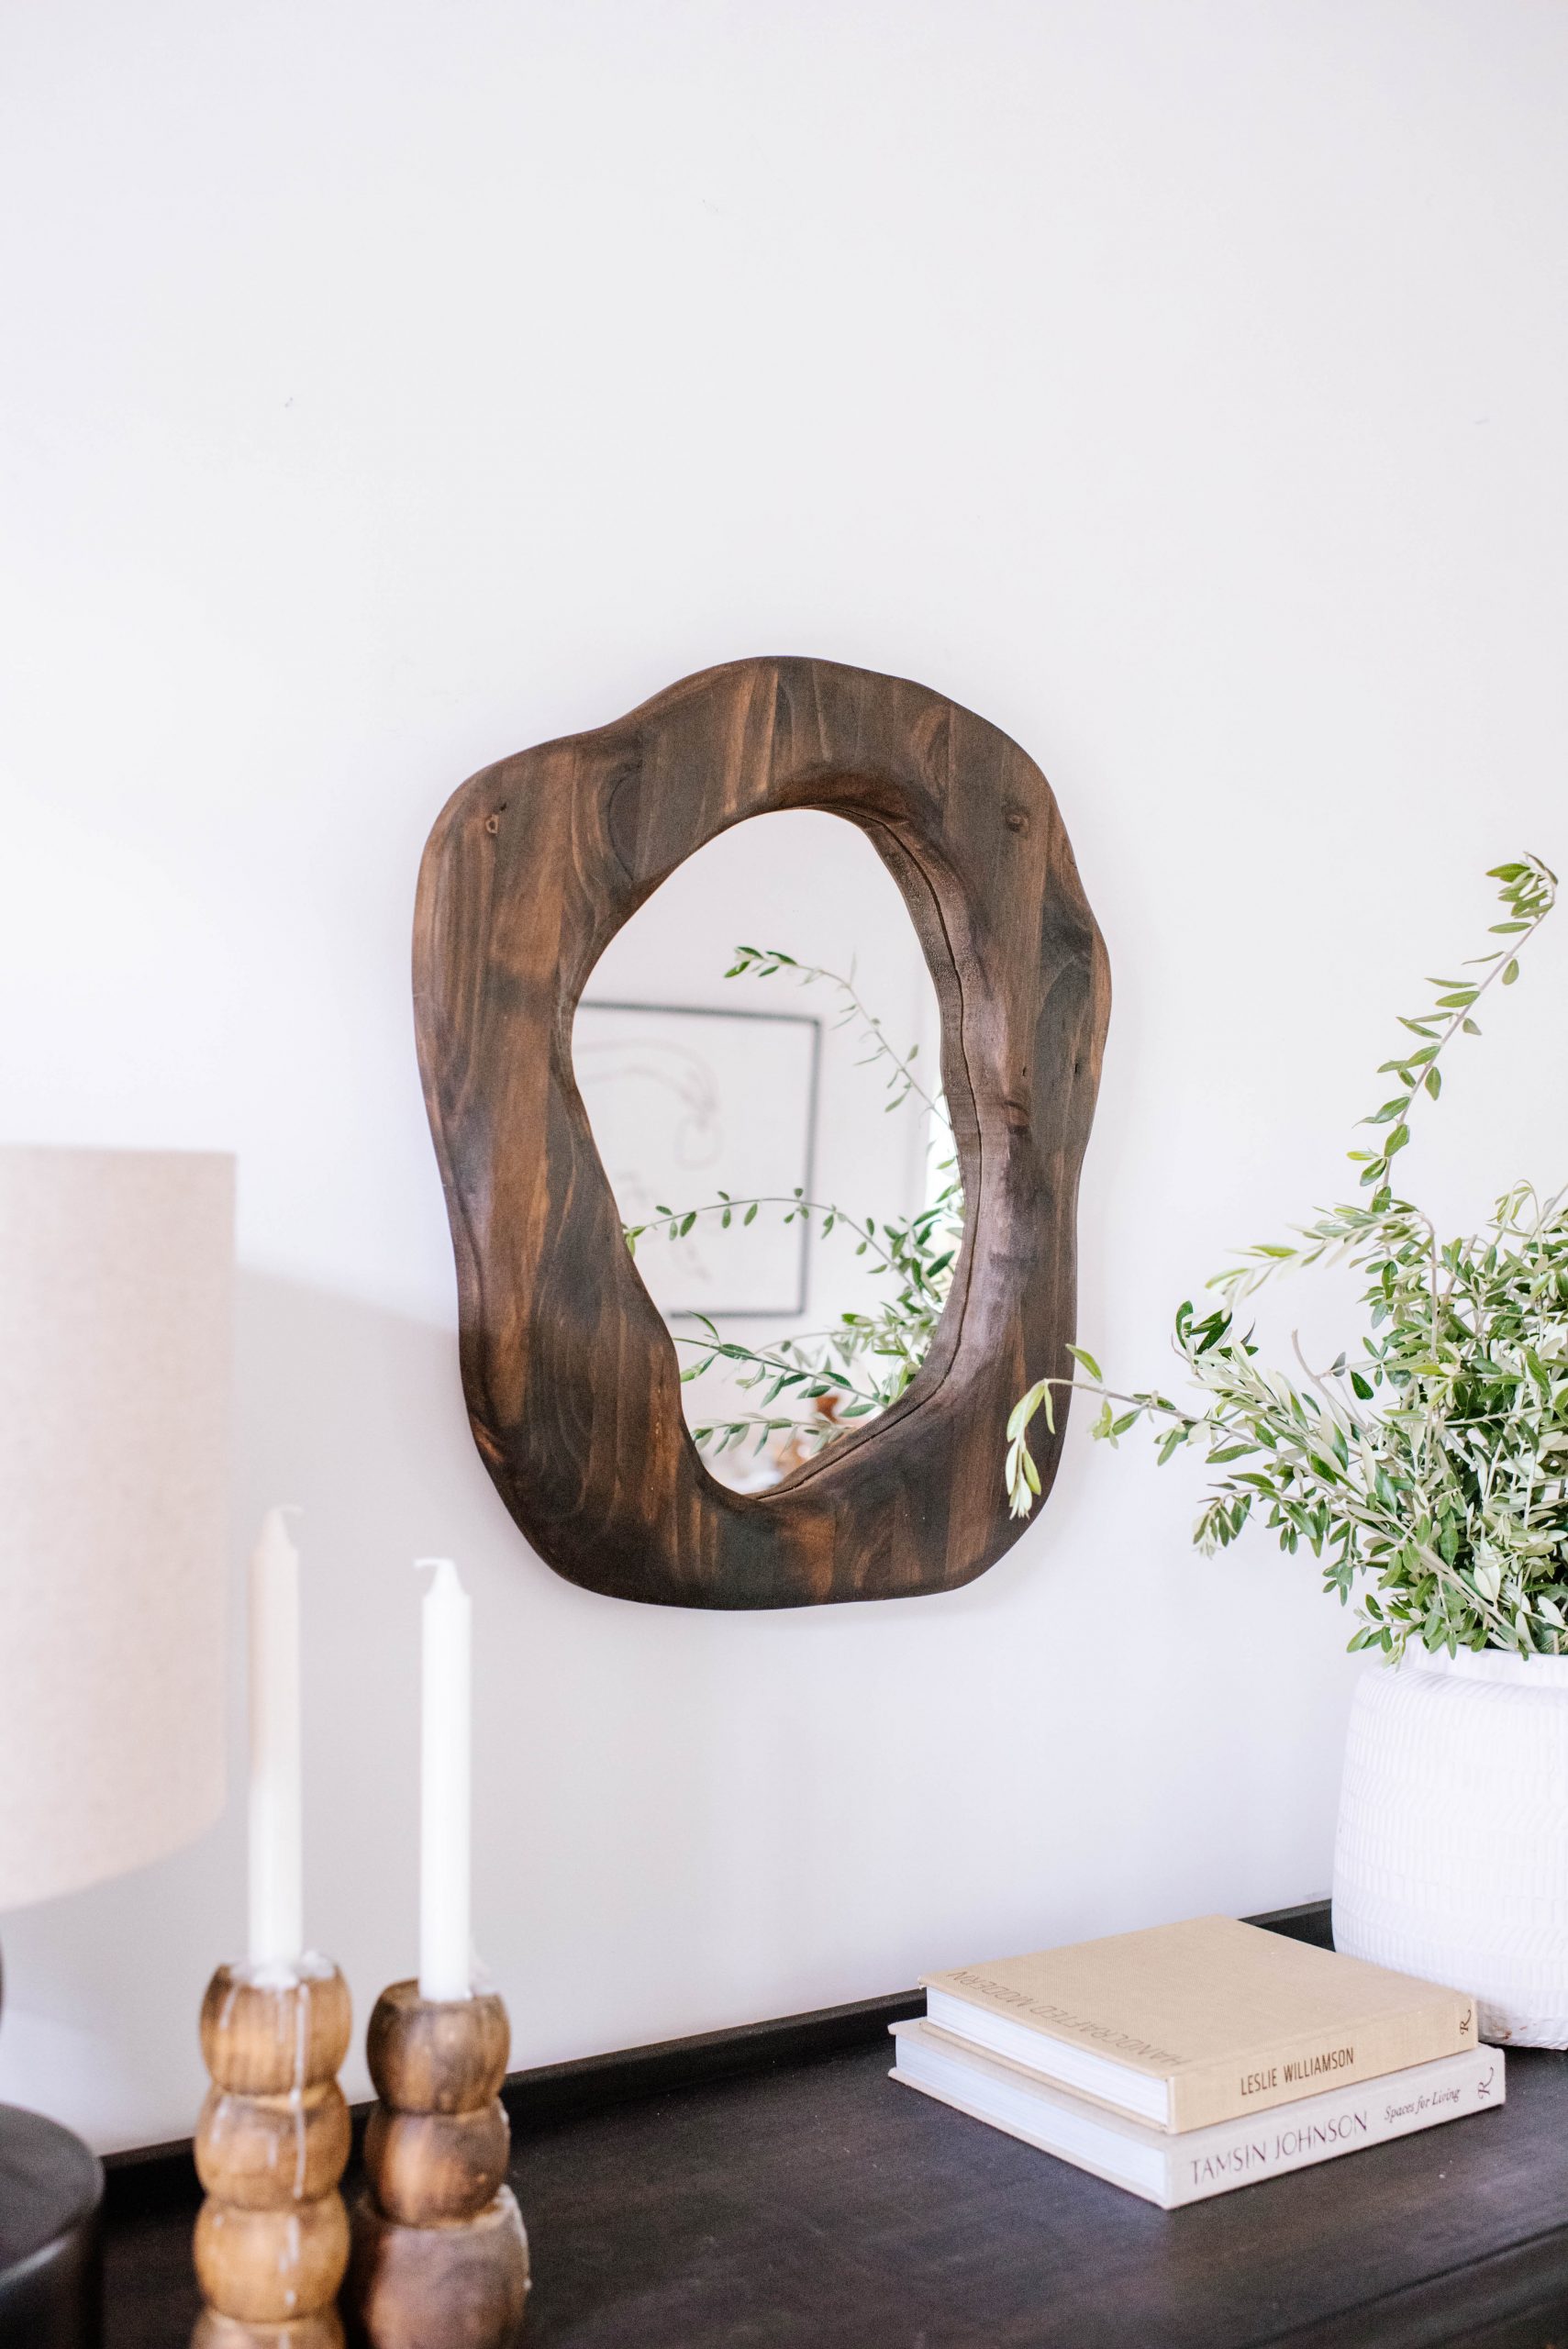
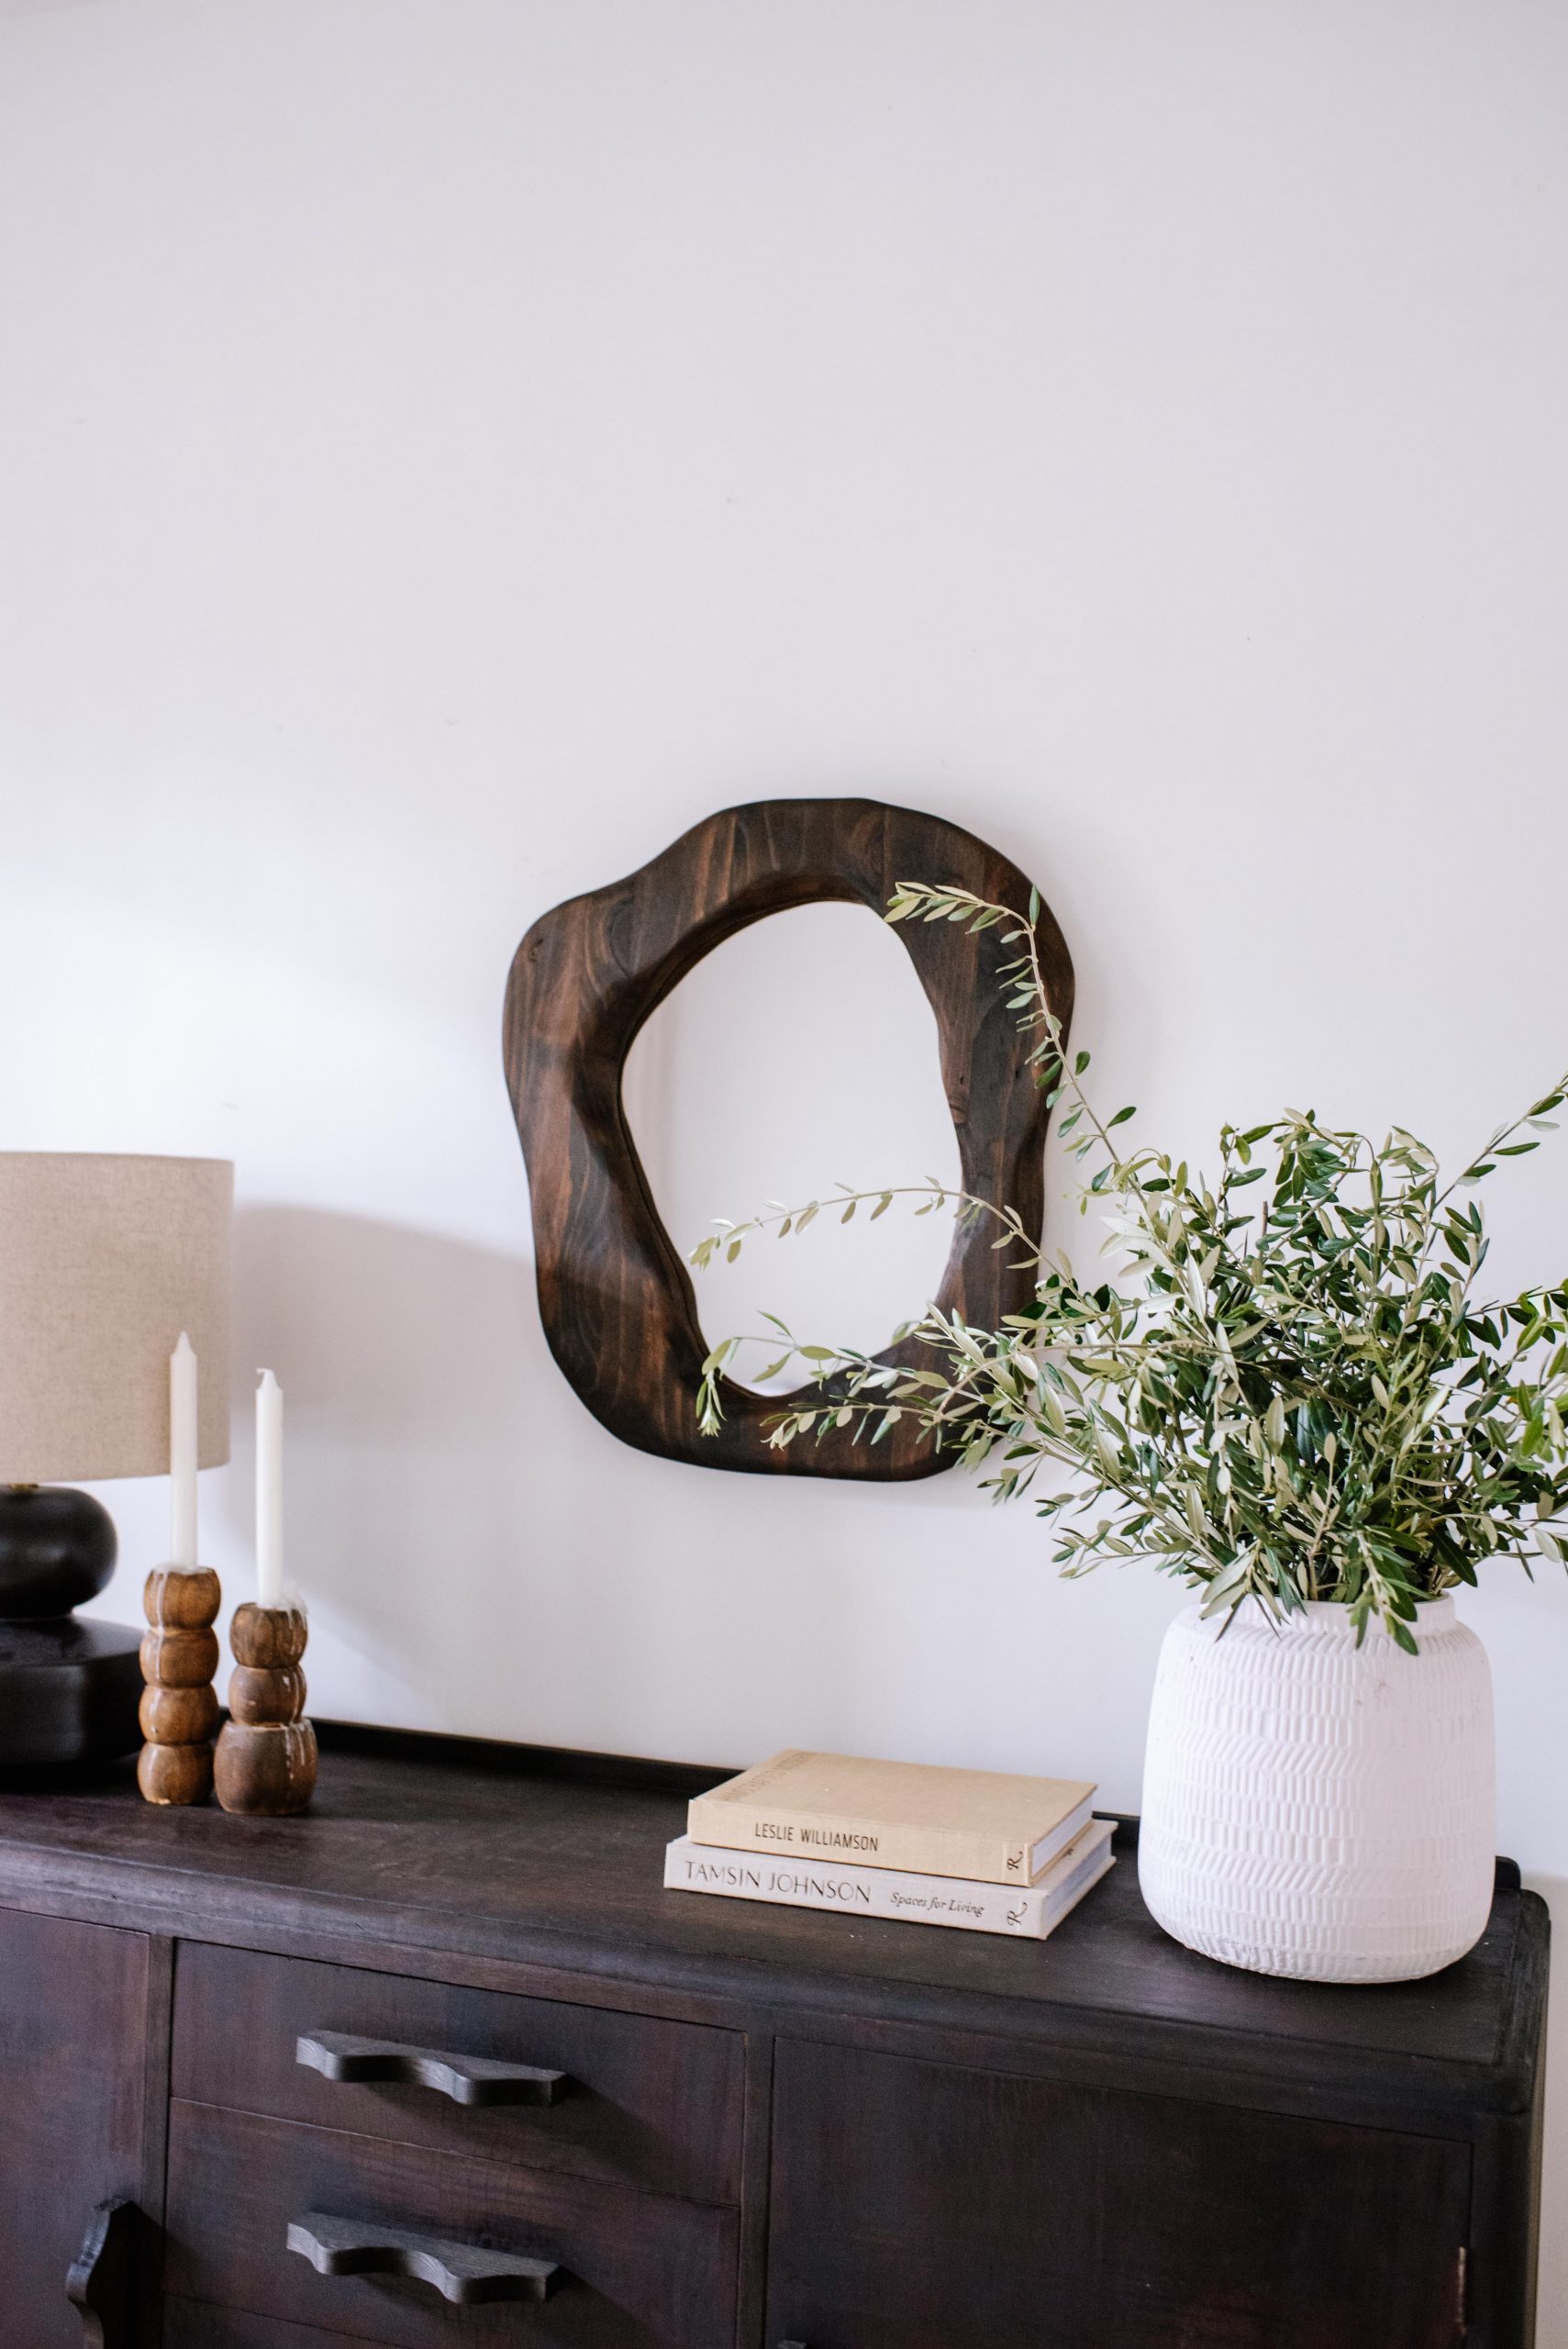
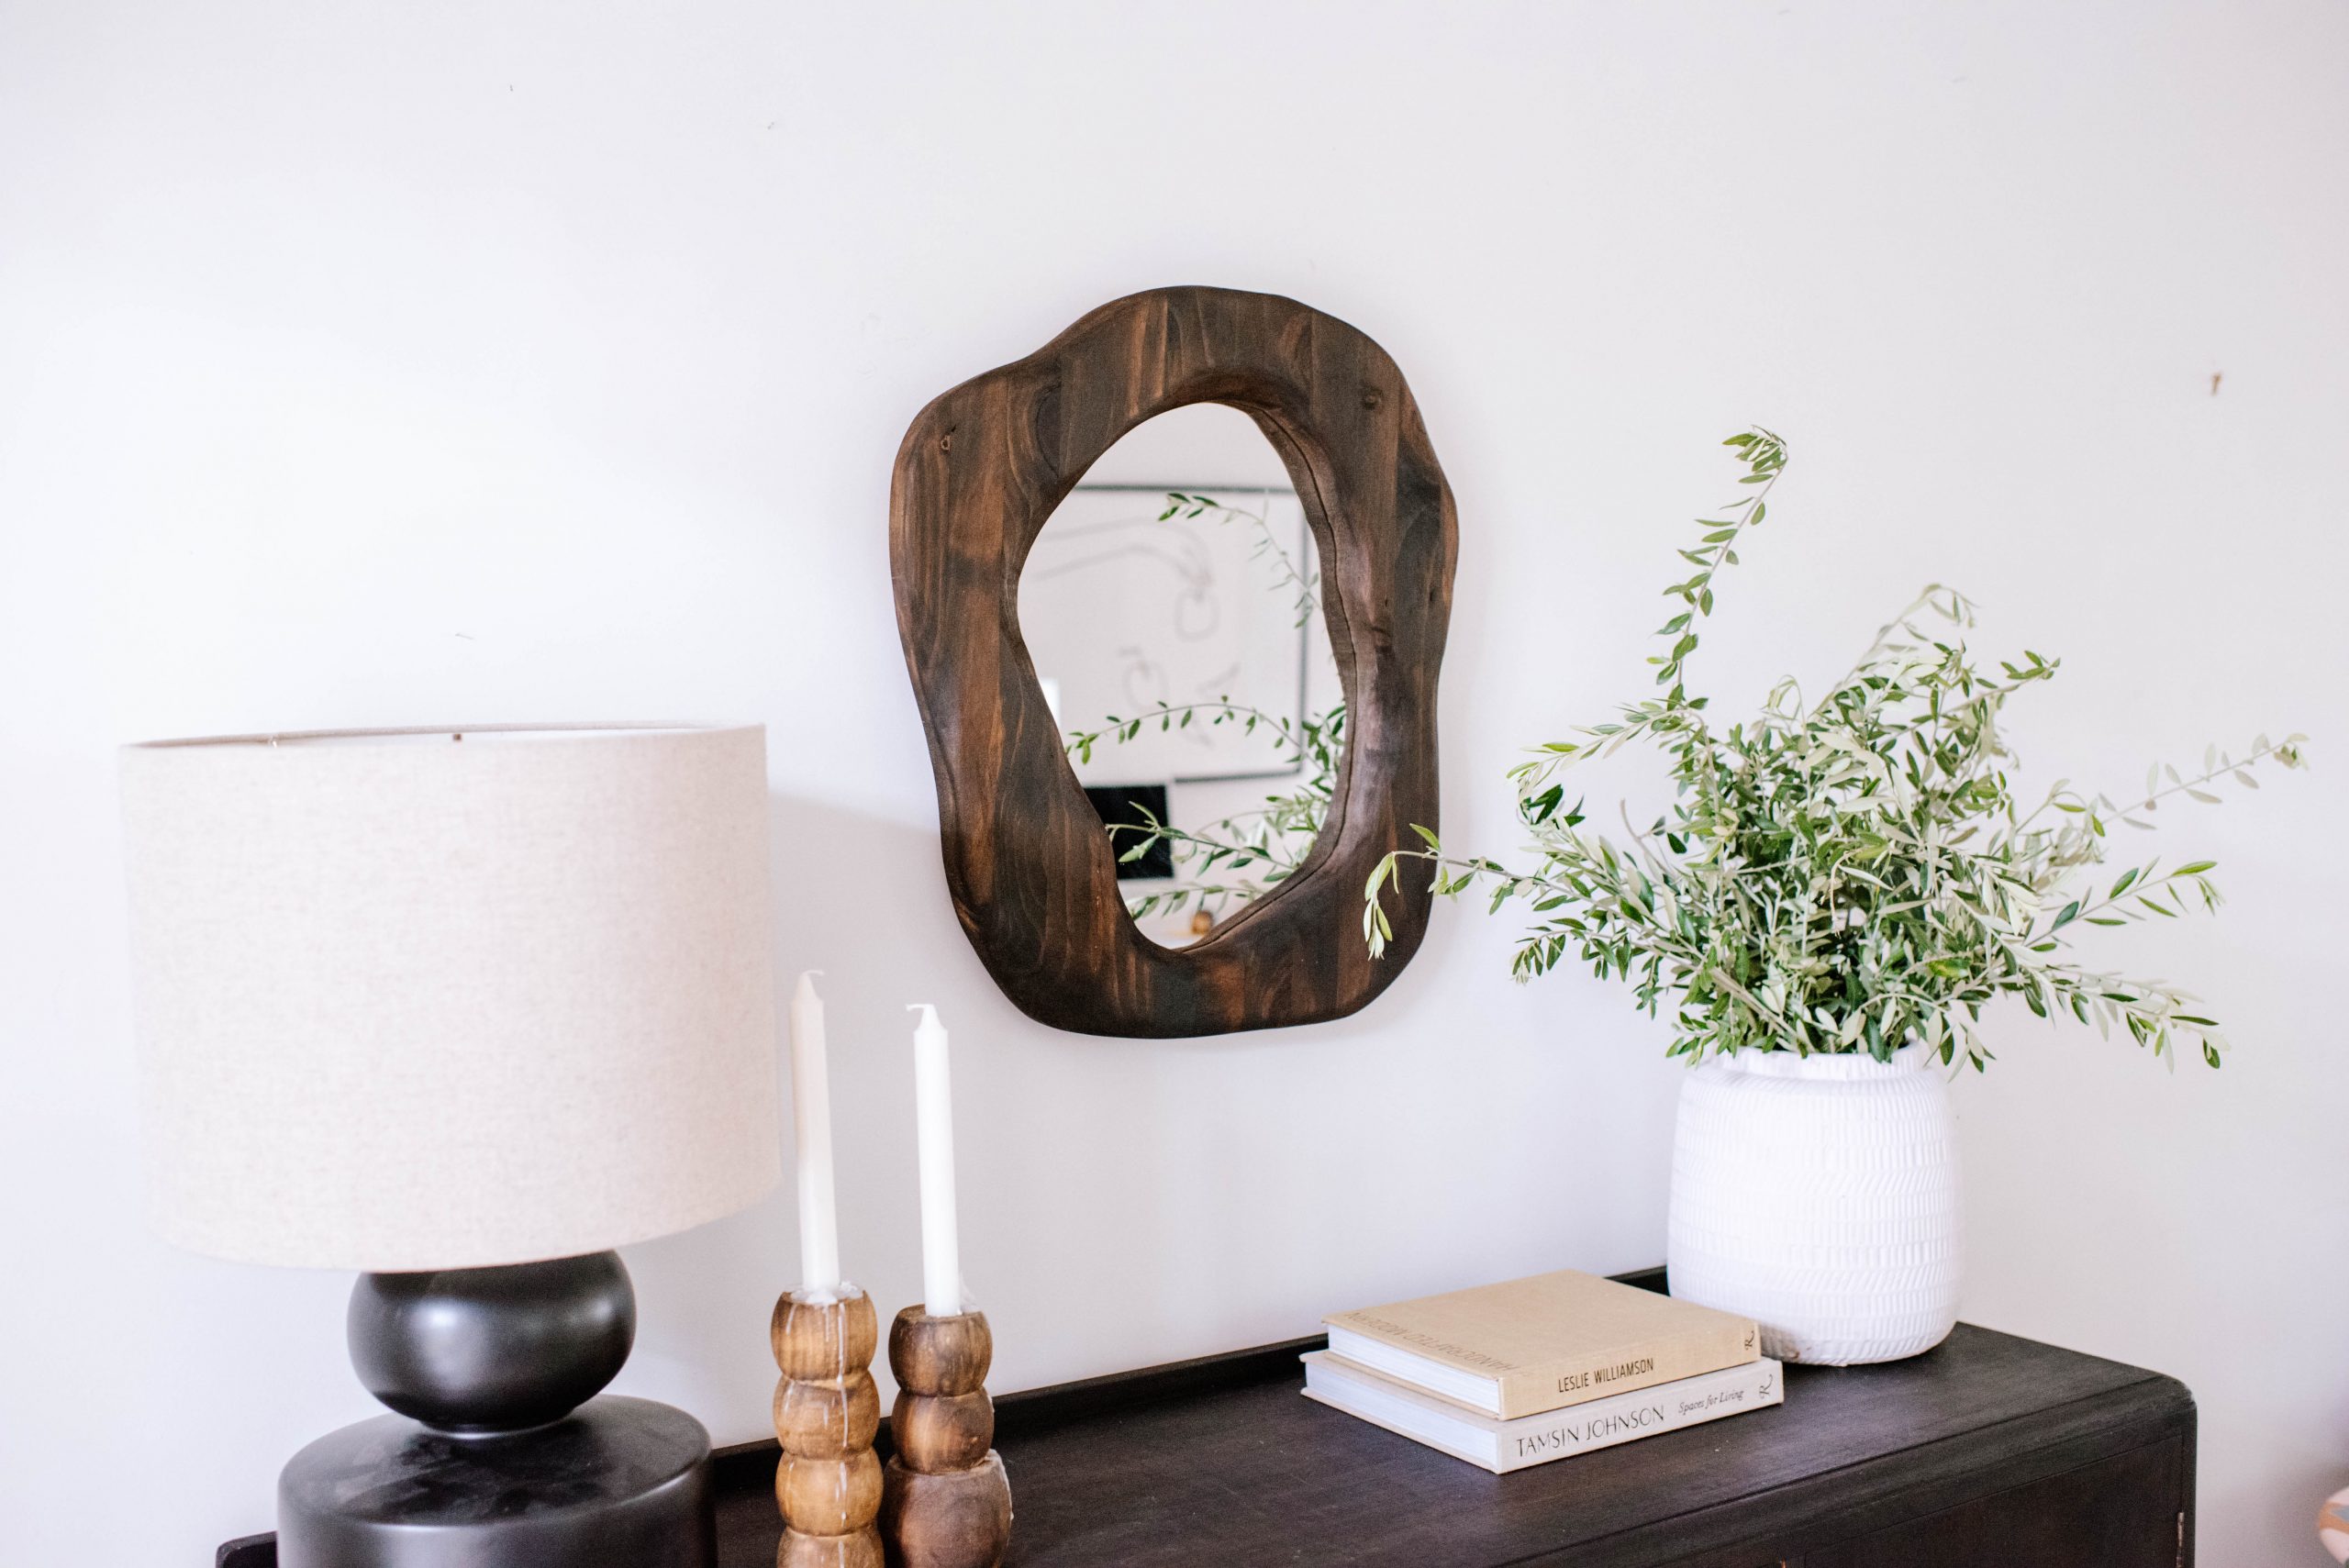
I’ve been seeing beautiful organic shaped mirrors around and really wanted to try one for myself. Last year I did a fun Mirror Series, and when I saw these organic shapes I wanted to add this project to my list. In this project, I love that once again it was completely transformed by the use of amazing Feast Watson Prooftint stain. Such a winner!
Materials you’ll need to make an organic shaped wooden mirror
- Mirror (without frame)
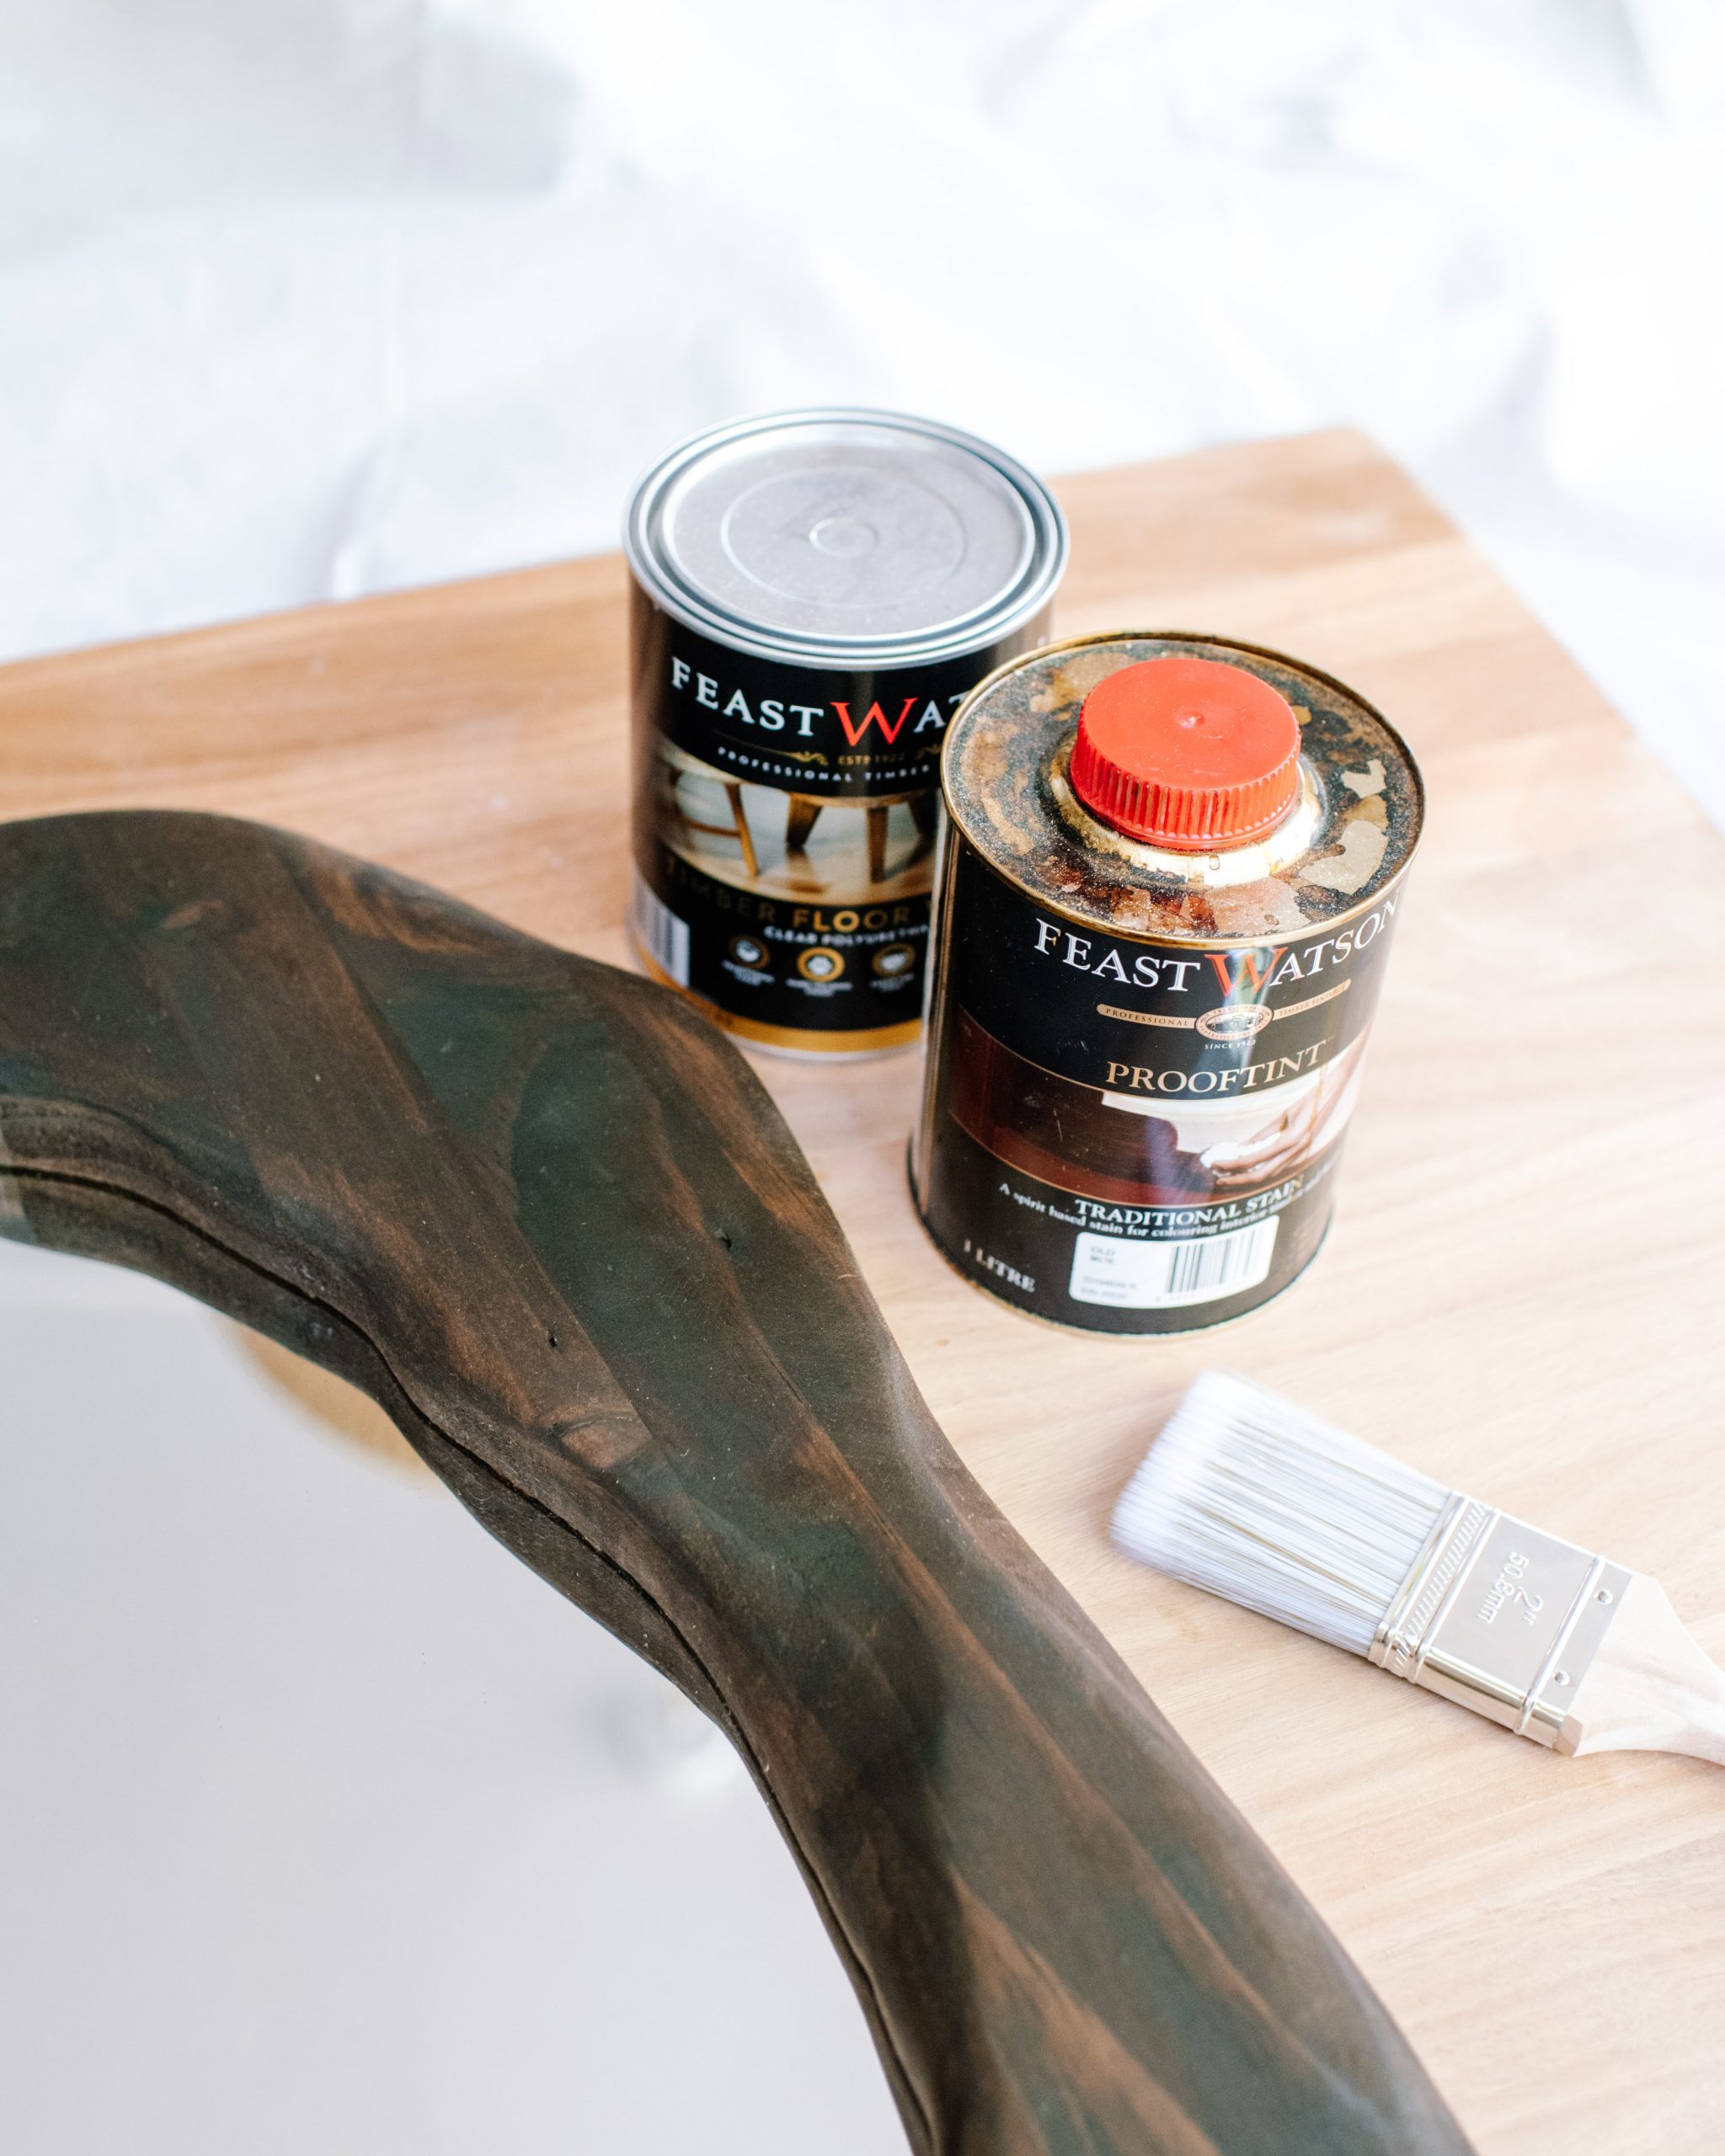
- Stain (I used this one)
- Timber floor wax (I used this one)
- Thick timber panel (mine was about 3cm thick)
- Sander (I ended up using both a detailed sander and orbital sander, but you don’t need to use both)
- Drill
- Jigsaw
- Clamps
- Safety glasses
- Glass cutter
- Thick safety gloves
- Screws
- Nail gun
- Rope
How To make an organic shaped wooden mirror
- I began by cutting my mirror down to roughly the size of my timber piece which was about 65cm long and wide. Make sure to do this carefully and wear your thick work gloves!
- Then I drew the organic shape I wanted the mirror to be on a piece of paper and traced it onto the mirror using a washable marker. I used my glass cutter to then roughly cut this shape out (you wont be able to see it, so it’s okay if it’s not perfect!)
- After that, I traced that same shape roughly onto the timber piece and then used the shape to draw out a frame shape. again, don’t worry if it doesn’t look perfect, it’s meant to be an organic shape anyway.
- I then clamped the timber down to keep it steady and drilled a hole into one of the inside lines I drew to create a starting place for my jigsaw.
- After this, I inserted my jigsaw and cut the inside section out, followed by the outside so I was left with the frame of the mirror.
- From there I used both my detailed sander and orbital sander to sand away the frame and smooth it all out. I found both of these sanders to be really useful for different areas but you could definitely do it with just one.
- Next up was staining the piece. I used a brush and a rag to carefully apply one coat of the stain. I noticed that the heavily sanded wood soaked up a lot of colour, so that’s useful to keep in mind.
- Once the stain had cured, I used the timber floor wax to set and protect it.
- After the piece was dry I attached the mirror using 5 little rectangles of MDF I cut out and some screws. I placed the frame face down on the bench, placed the mirror over this so the traced shaped liked up with the frame and then screwed in the MDF rectangles.
- In order to hang the mirror I simply used a piece of rope and stapled gunned it to the back of the frame.
I think it looks so unique and I’m really happy with the way it turned out!\
Voila!
This post is in collaboration with Feast Watson


