If you’d like to learn how to make a leather bolster cushion, then you’ve come to the right place!
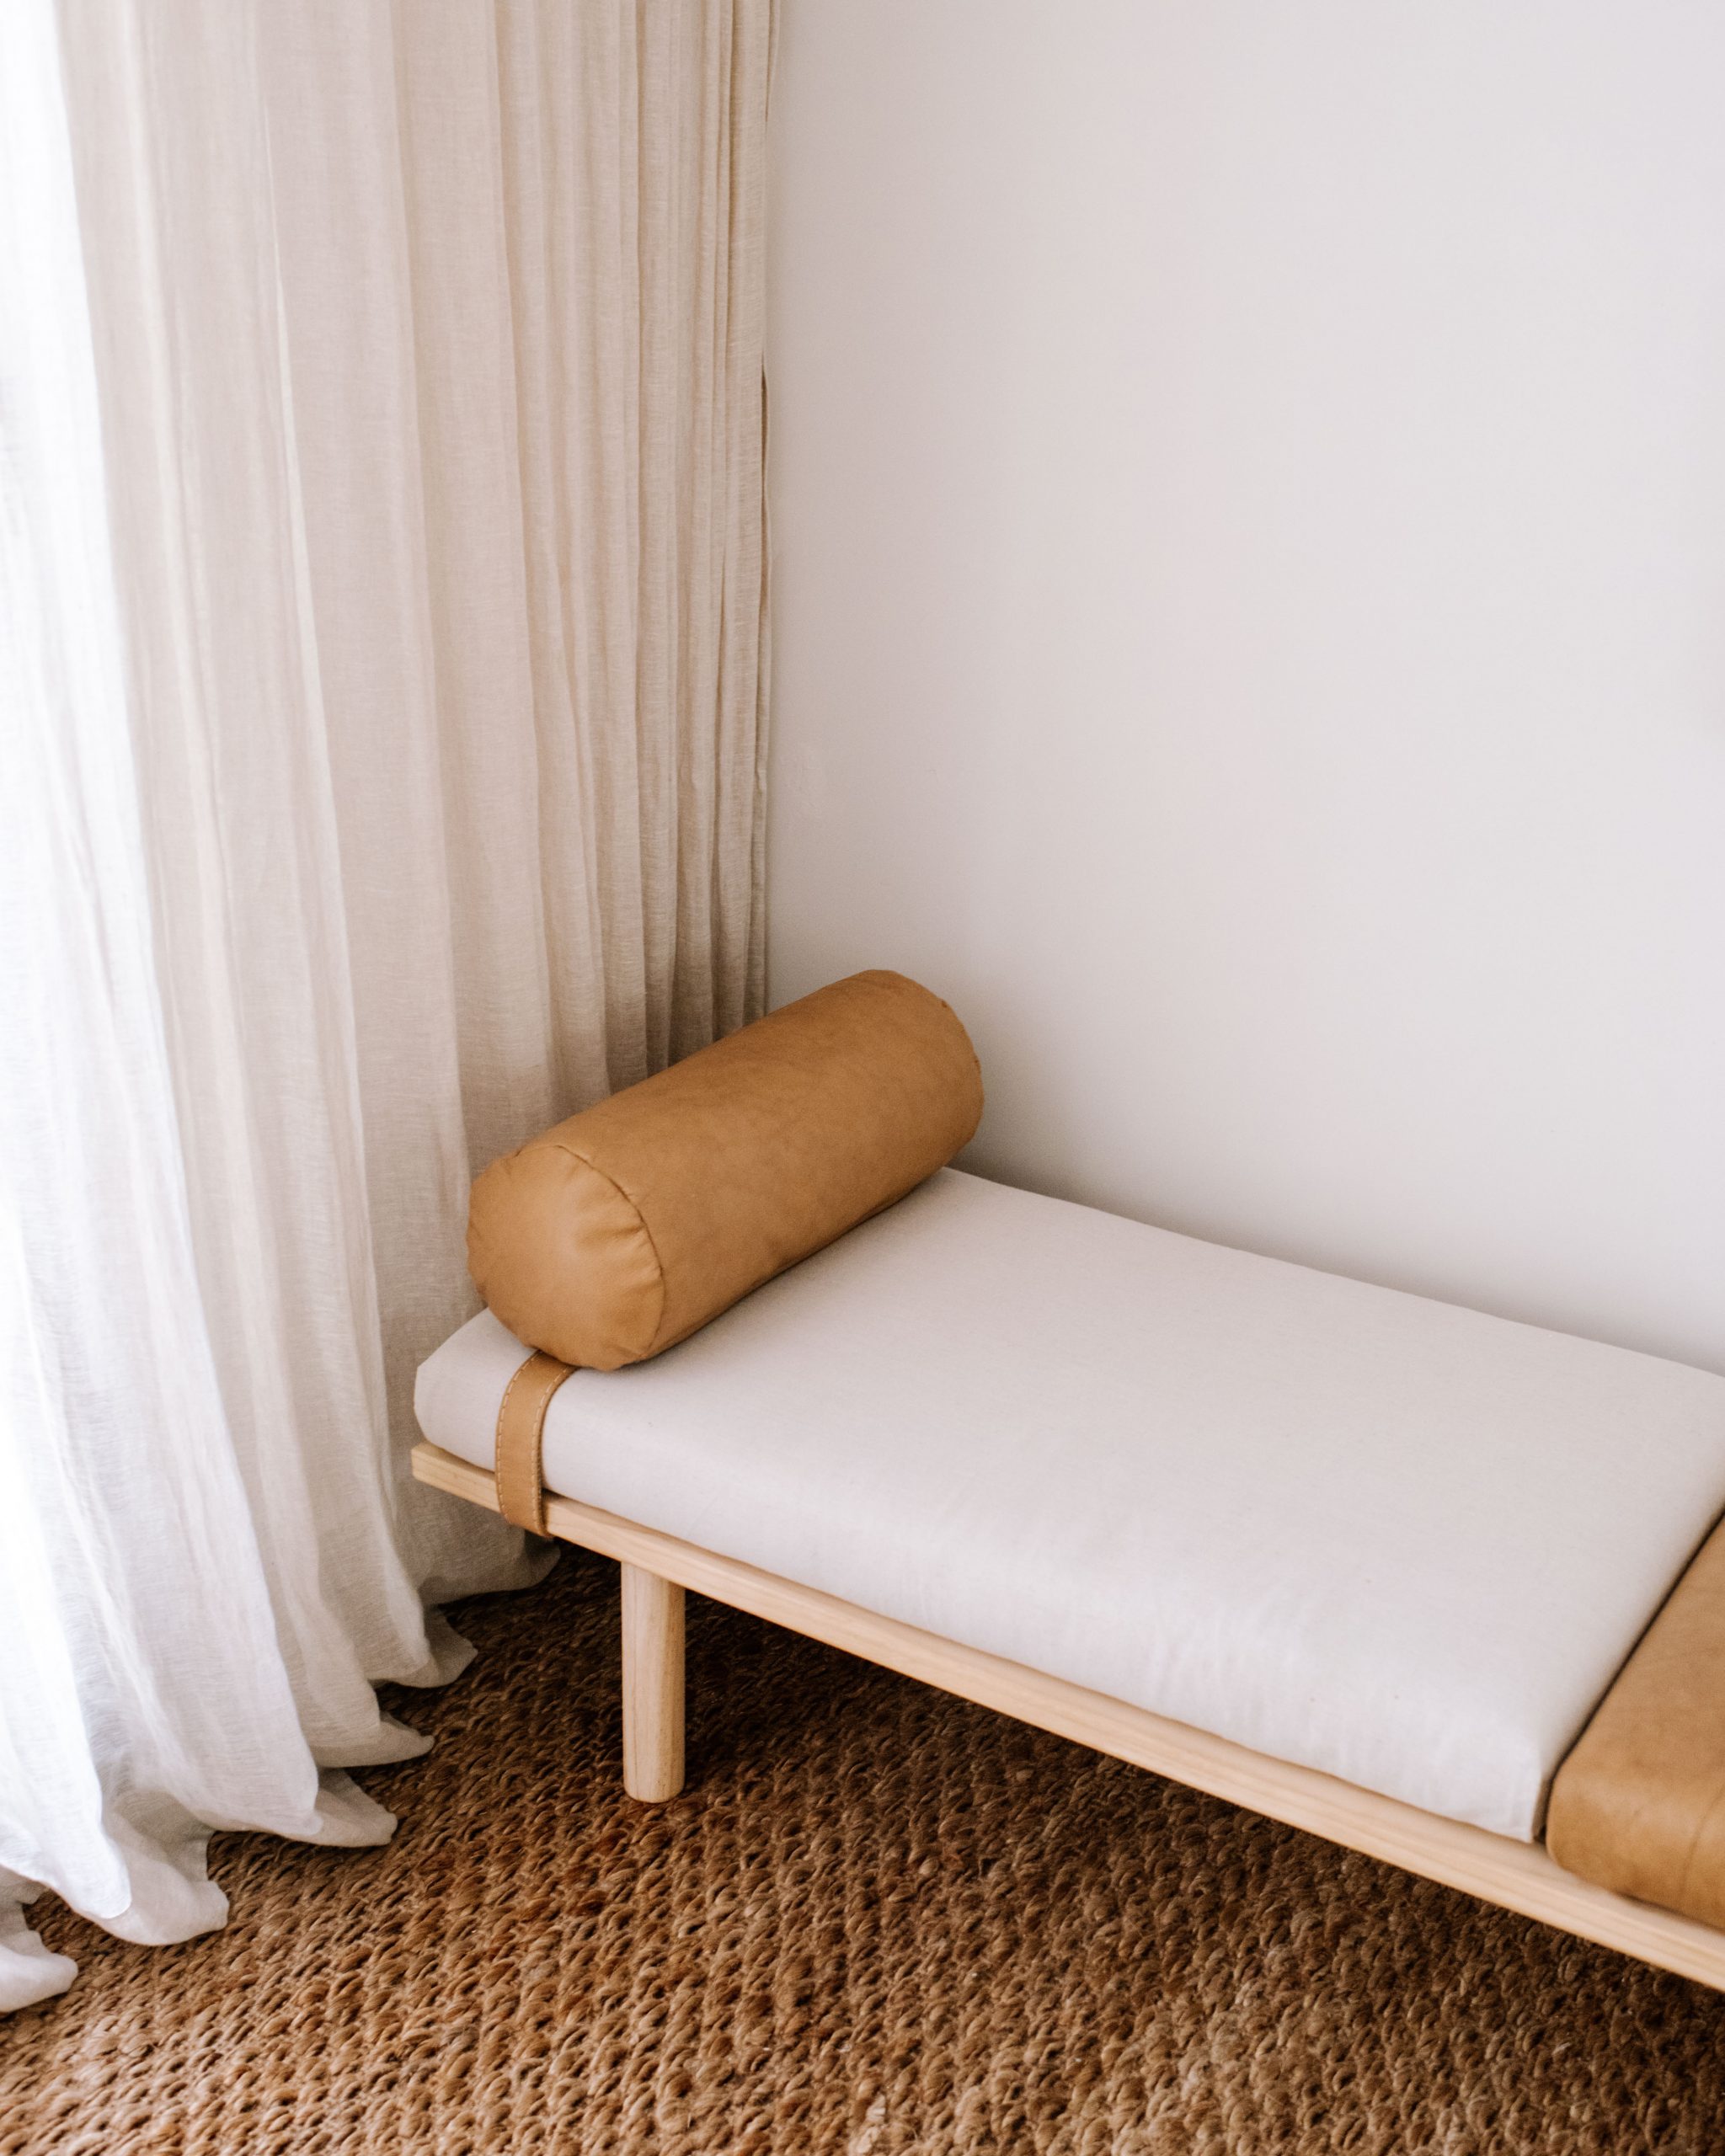
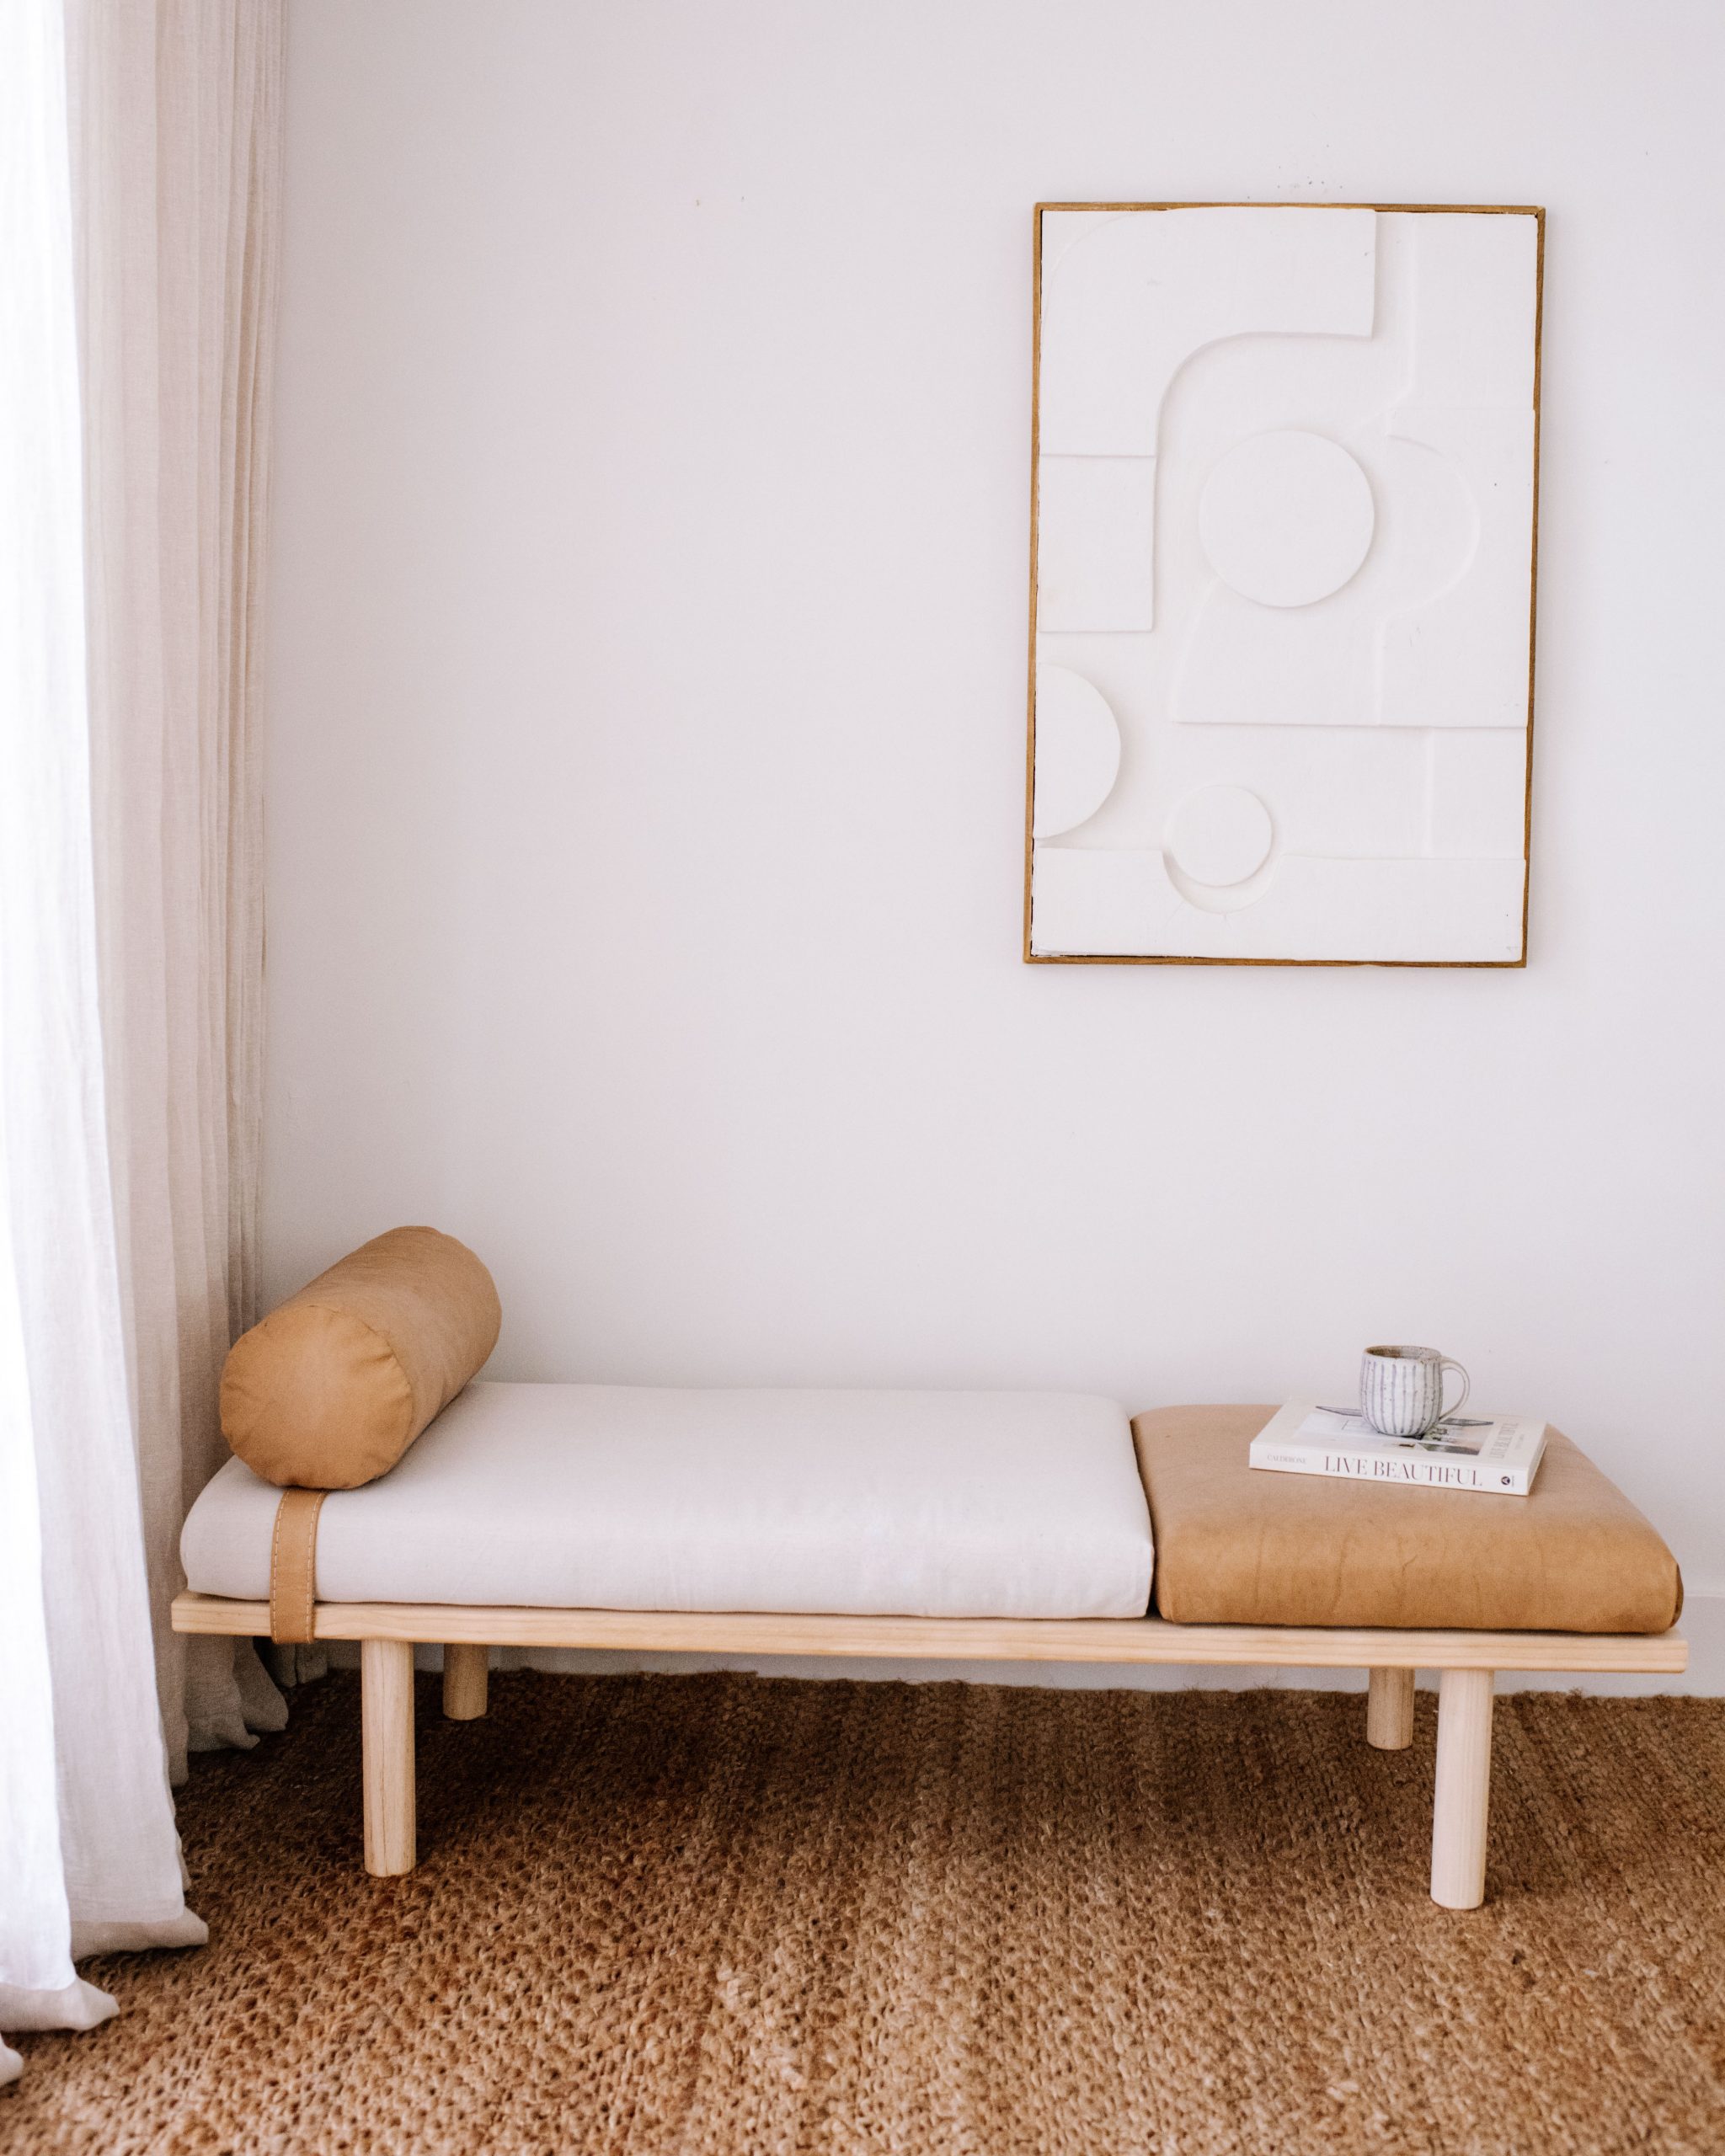
I sewed this bolster cushion to go with the day bed I made recently (which you can see here) using recycled leather from an old sofa. I know that it had to look really good because when you make a day bed out of old leather, it’s the details that count. Making a bolster cushion cover is a little more difficult than sewing a regular cushion case so I decided it was worth creating a blog post with the step by step process, just incase you’ve been wanting to make one of your own. If you’re looking to make a regular bolster cushion, you can see this tutorial.
Materials You’ll Need for Making a Leather Bolster Cushion
- Leather (I used the leather from this project)
- Sewing machine
- Bolster cushion insert
- Leather grade needle
- Scissors
- Fabric measuring tape
- Zipper
- Polyester thread
- Paper
- Sewing clips
- Leather sewing foot (if you have one)
Before We start
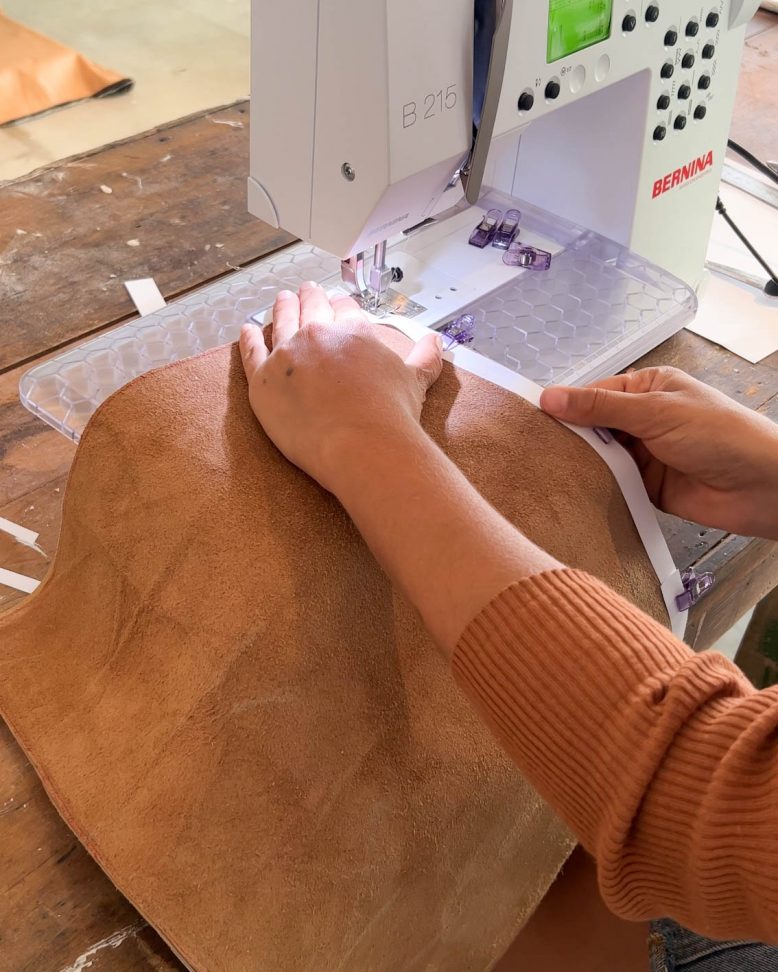
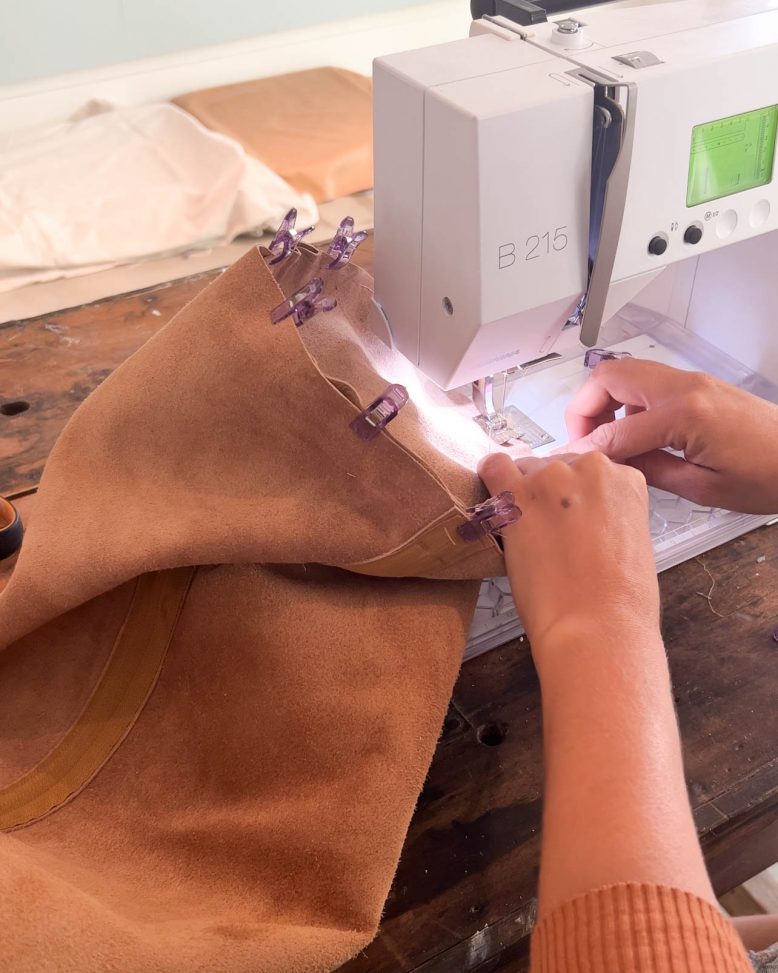
There are a couple of things to note about sewing with leather. You will need a leather foot on your machine to help the leather glide under the foot and not stick. If, like me, you don’t have one, I added a strip of paper along each seam to help create some slip which worked really well. You’ll also need to clip your leather together rather than pin it because once you put a hole in leather it doesn’t disappear like it would with normal fabric.
How To Make a Leather Bolster Cushion
1
To make the bolster start by measuring your cushion insert. Measure the length circumference of the tube part of the cushion as well as the diameter of the end circle. You'll use these measurements to form the pattern for your cushion cover.
2
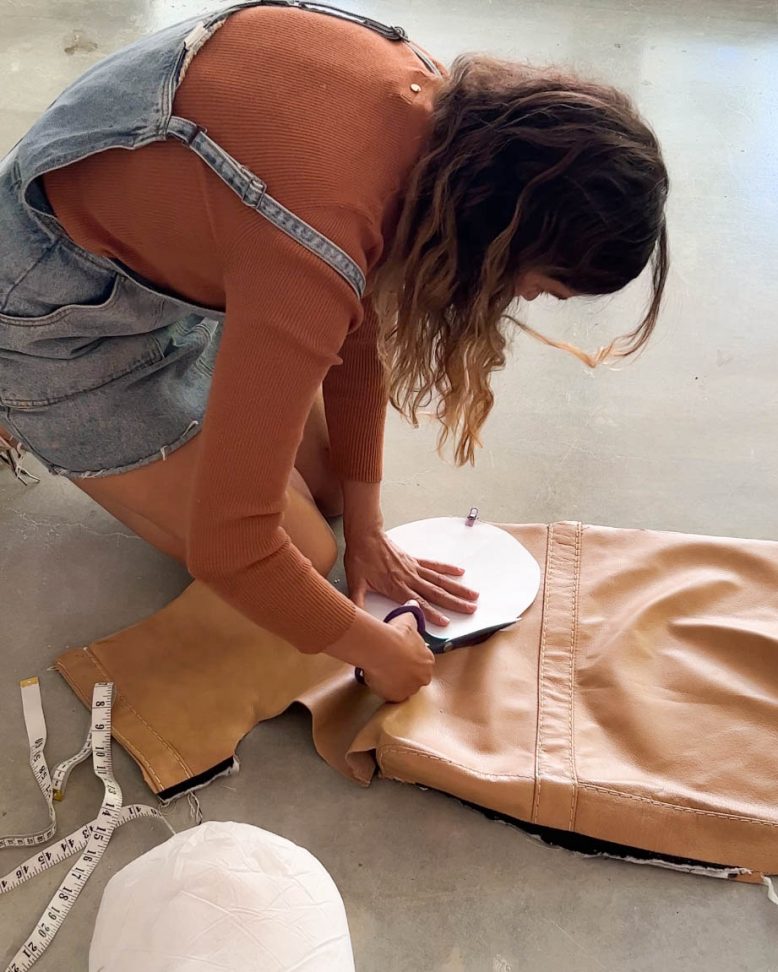
My cushion was 42cm in length with a circumference of 62cm and the diameter of the end was 21cm. Now you can add 1cm to each of these measurements to allow for seam allowance. I made a template to use to cut the circles. You should end up with one large rectangle and two circles.
3
I took the rectangle and sewed the short edges, right side together. This will create a tube. I then inserted a zipper. If this is too advanced, you can leave out the zip and simply hand sew the cushion closed at the end after putting the cushion insert in.
4
Now that you have your tube ready, you'll need to do a gathering stich around the outside of the two circle pieces and pull to create a slight gather. This should be just enough to make the edge of the circle sit up. Now clip the circle inside the end of the tube on both ends. If you find you have too much or too little fabric once you have clipped it together, you will need to adjust your gathering to make it fit. Then you can carefully sew the ends together. If you aren't using a zip, this is where you would leave an opening that you can sew up.
5
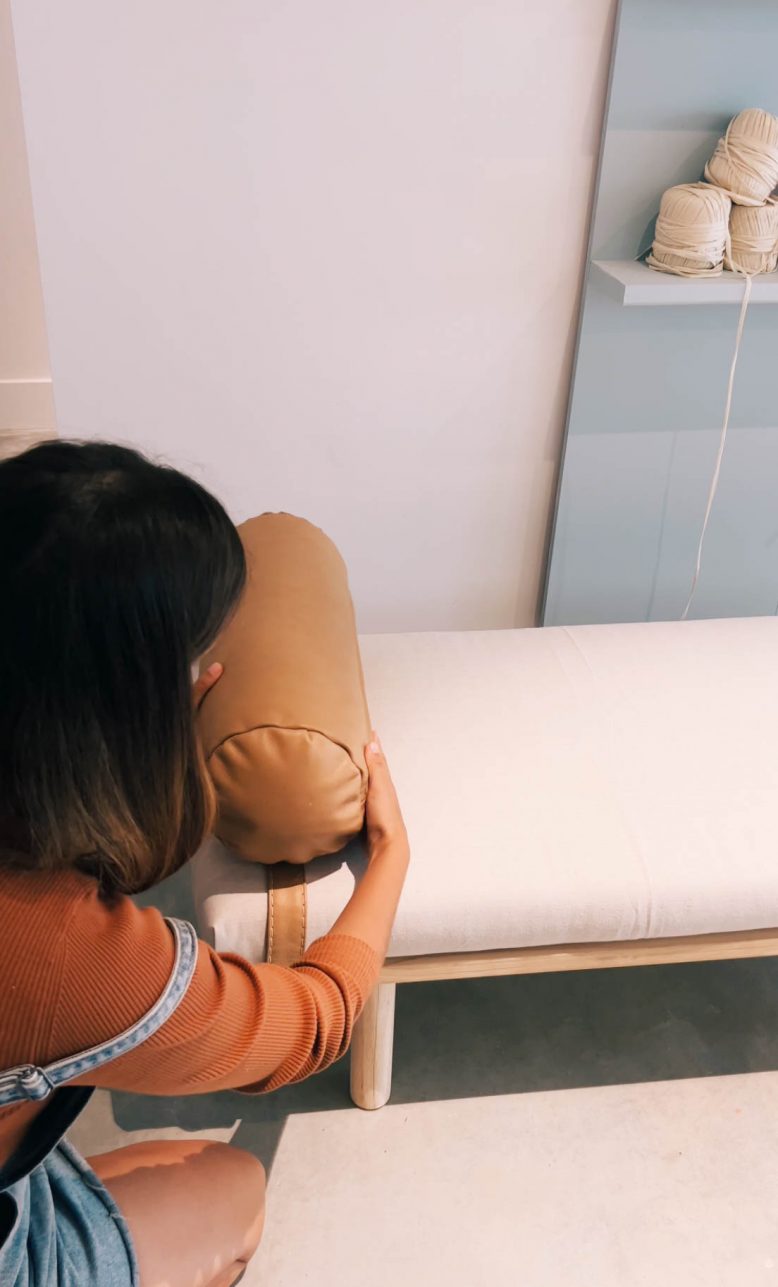
Turn your cushion cover out the right way and insert your cushion insert. If you would like to add a strap to your cushion to attach it to the bench seat this can be sewn into the ends of the cover as you go or it can be attached with velcro so it can be taken on and off.
If you would like to see another example of a bolster cover without a zip you can see my tutorial here.
This project is in collaboration with Bunnings.


