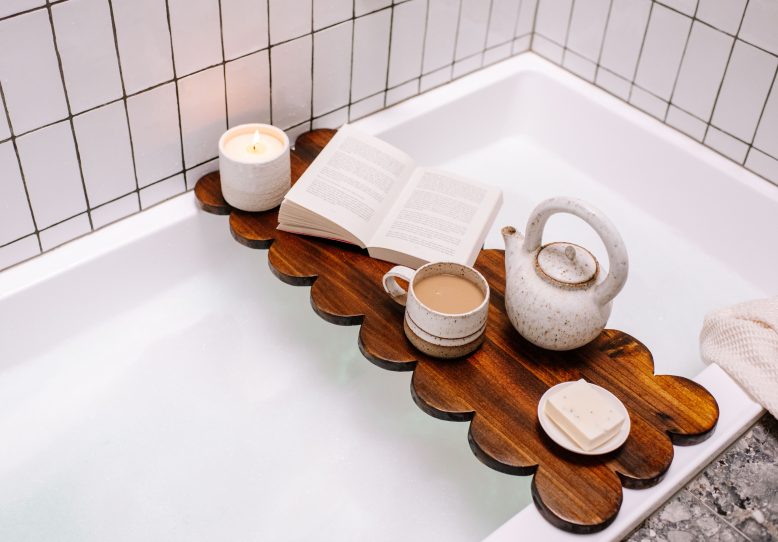
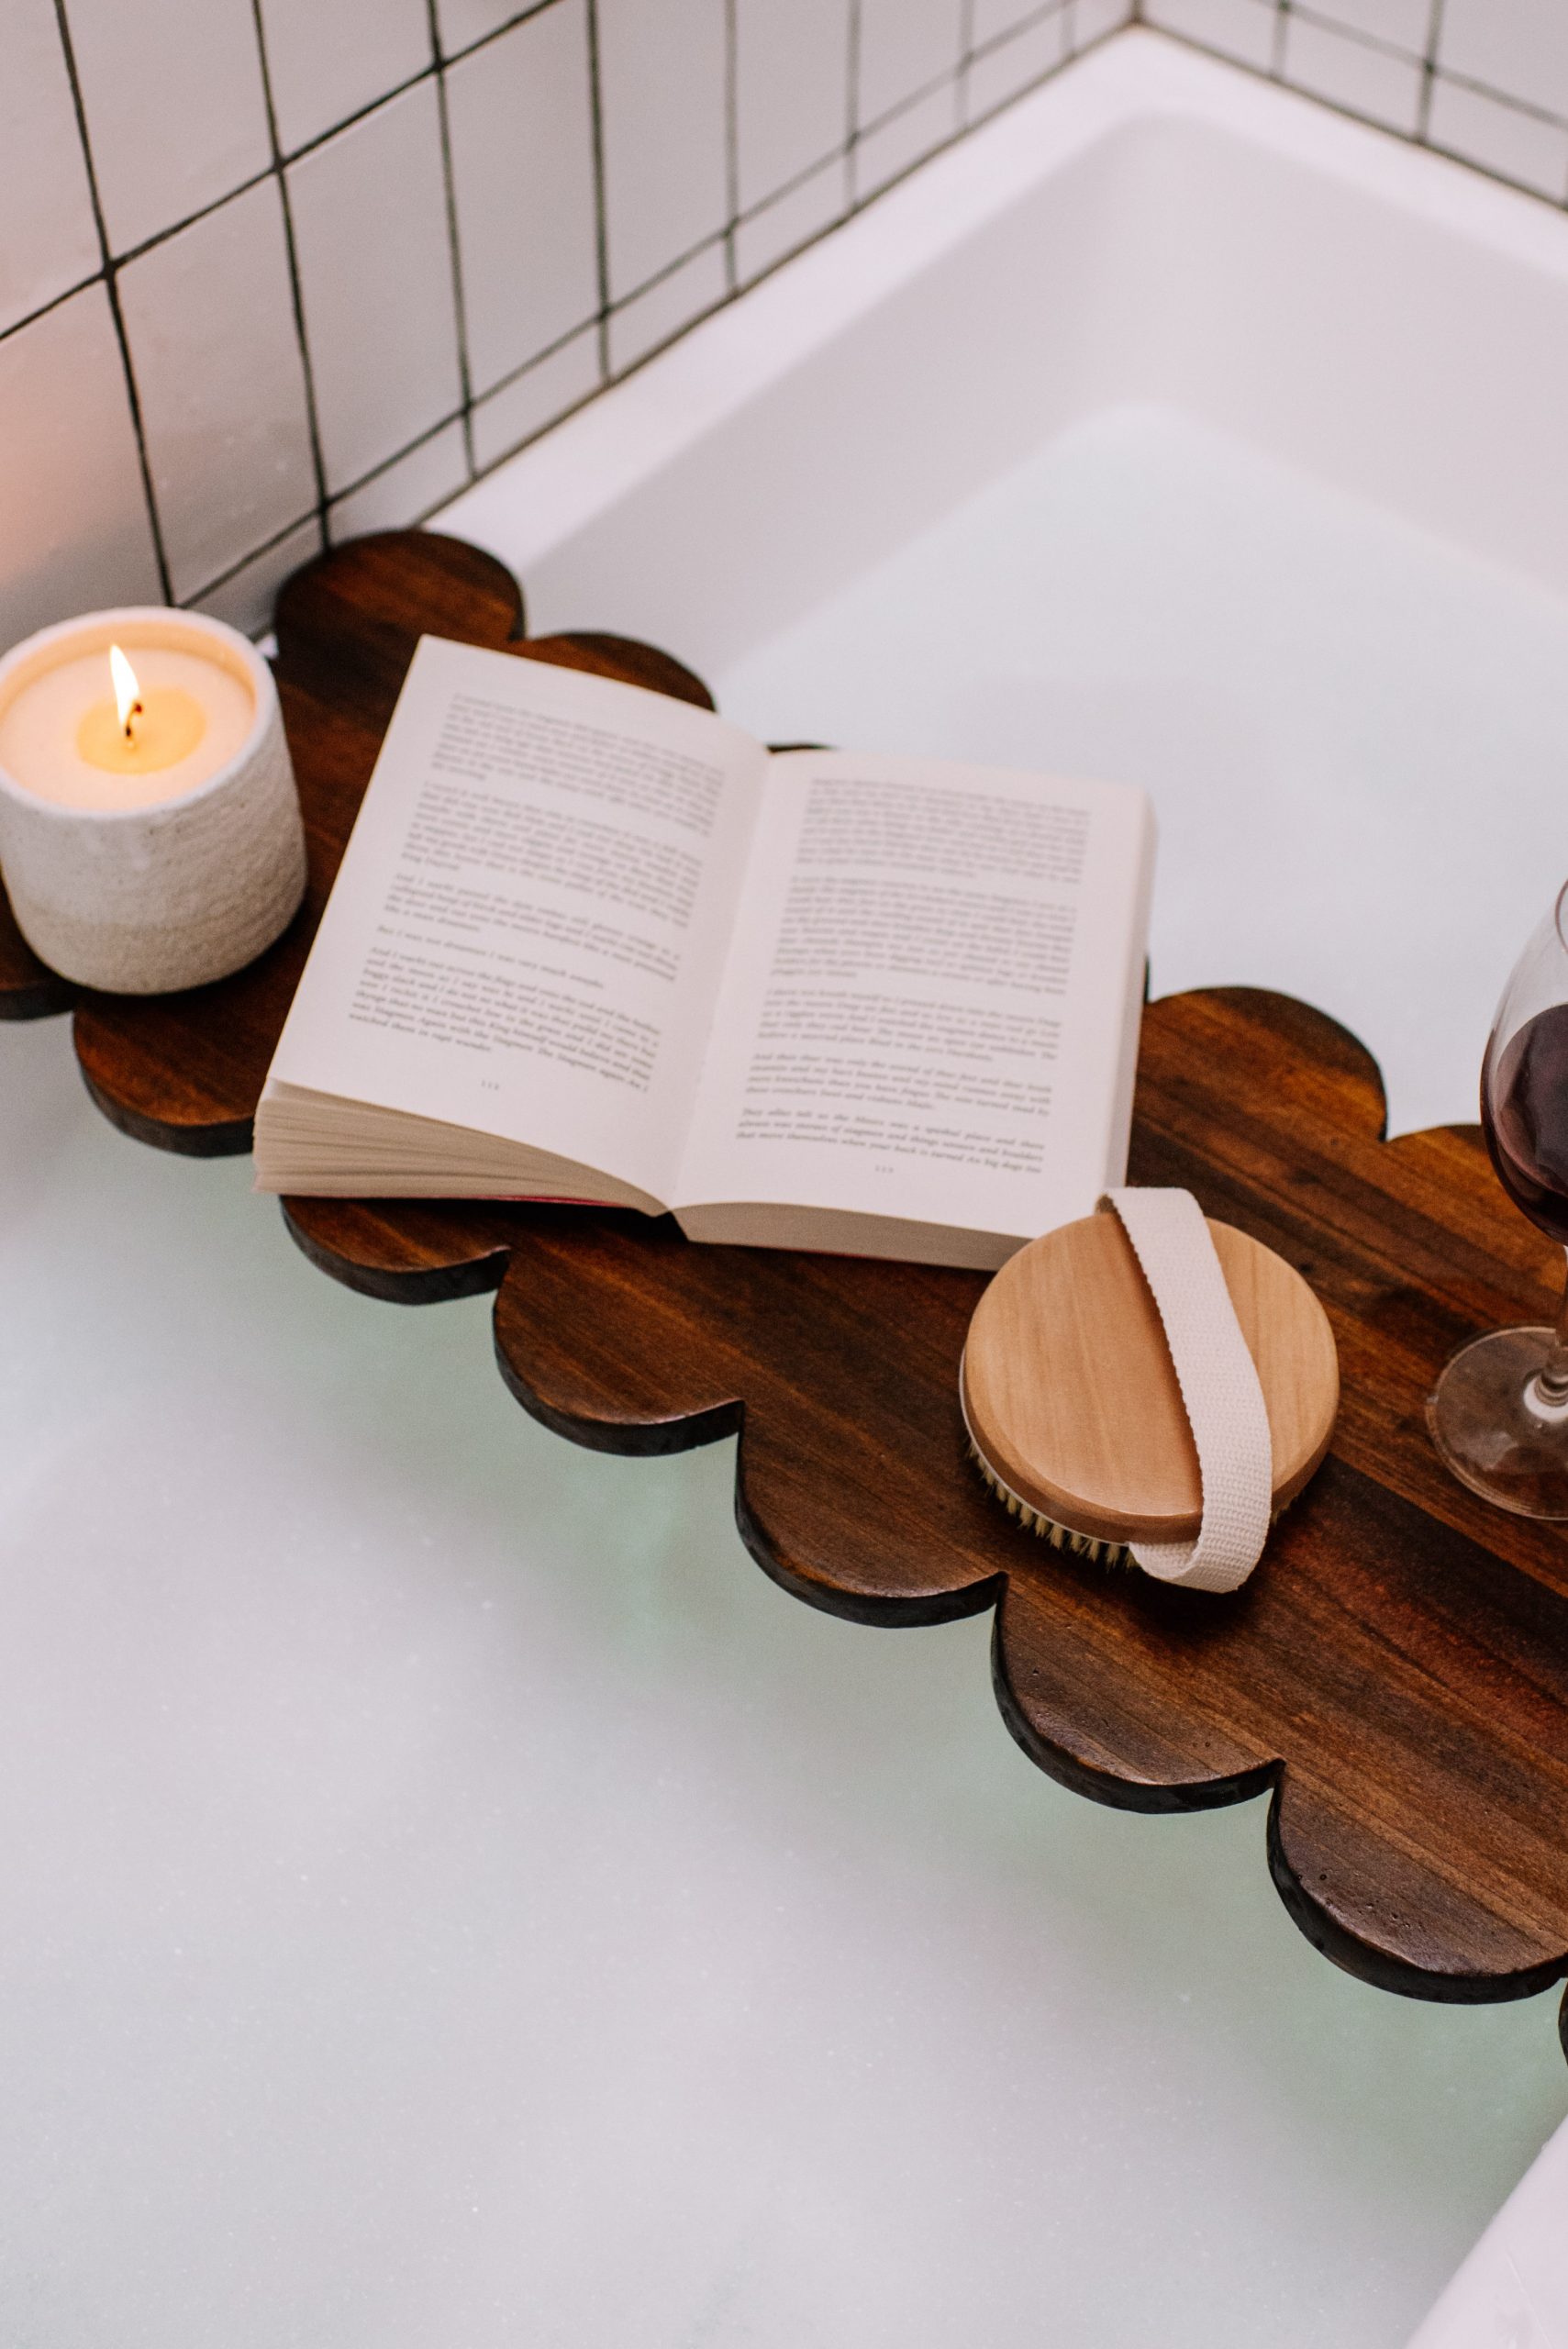
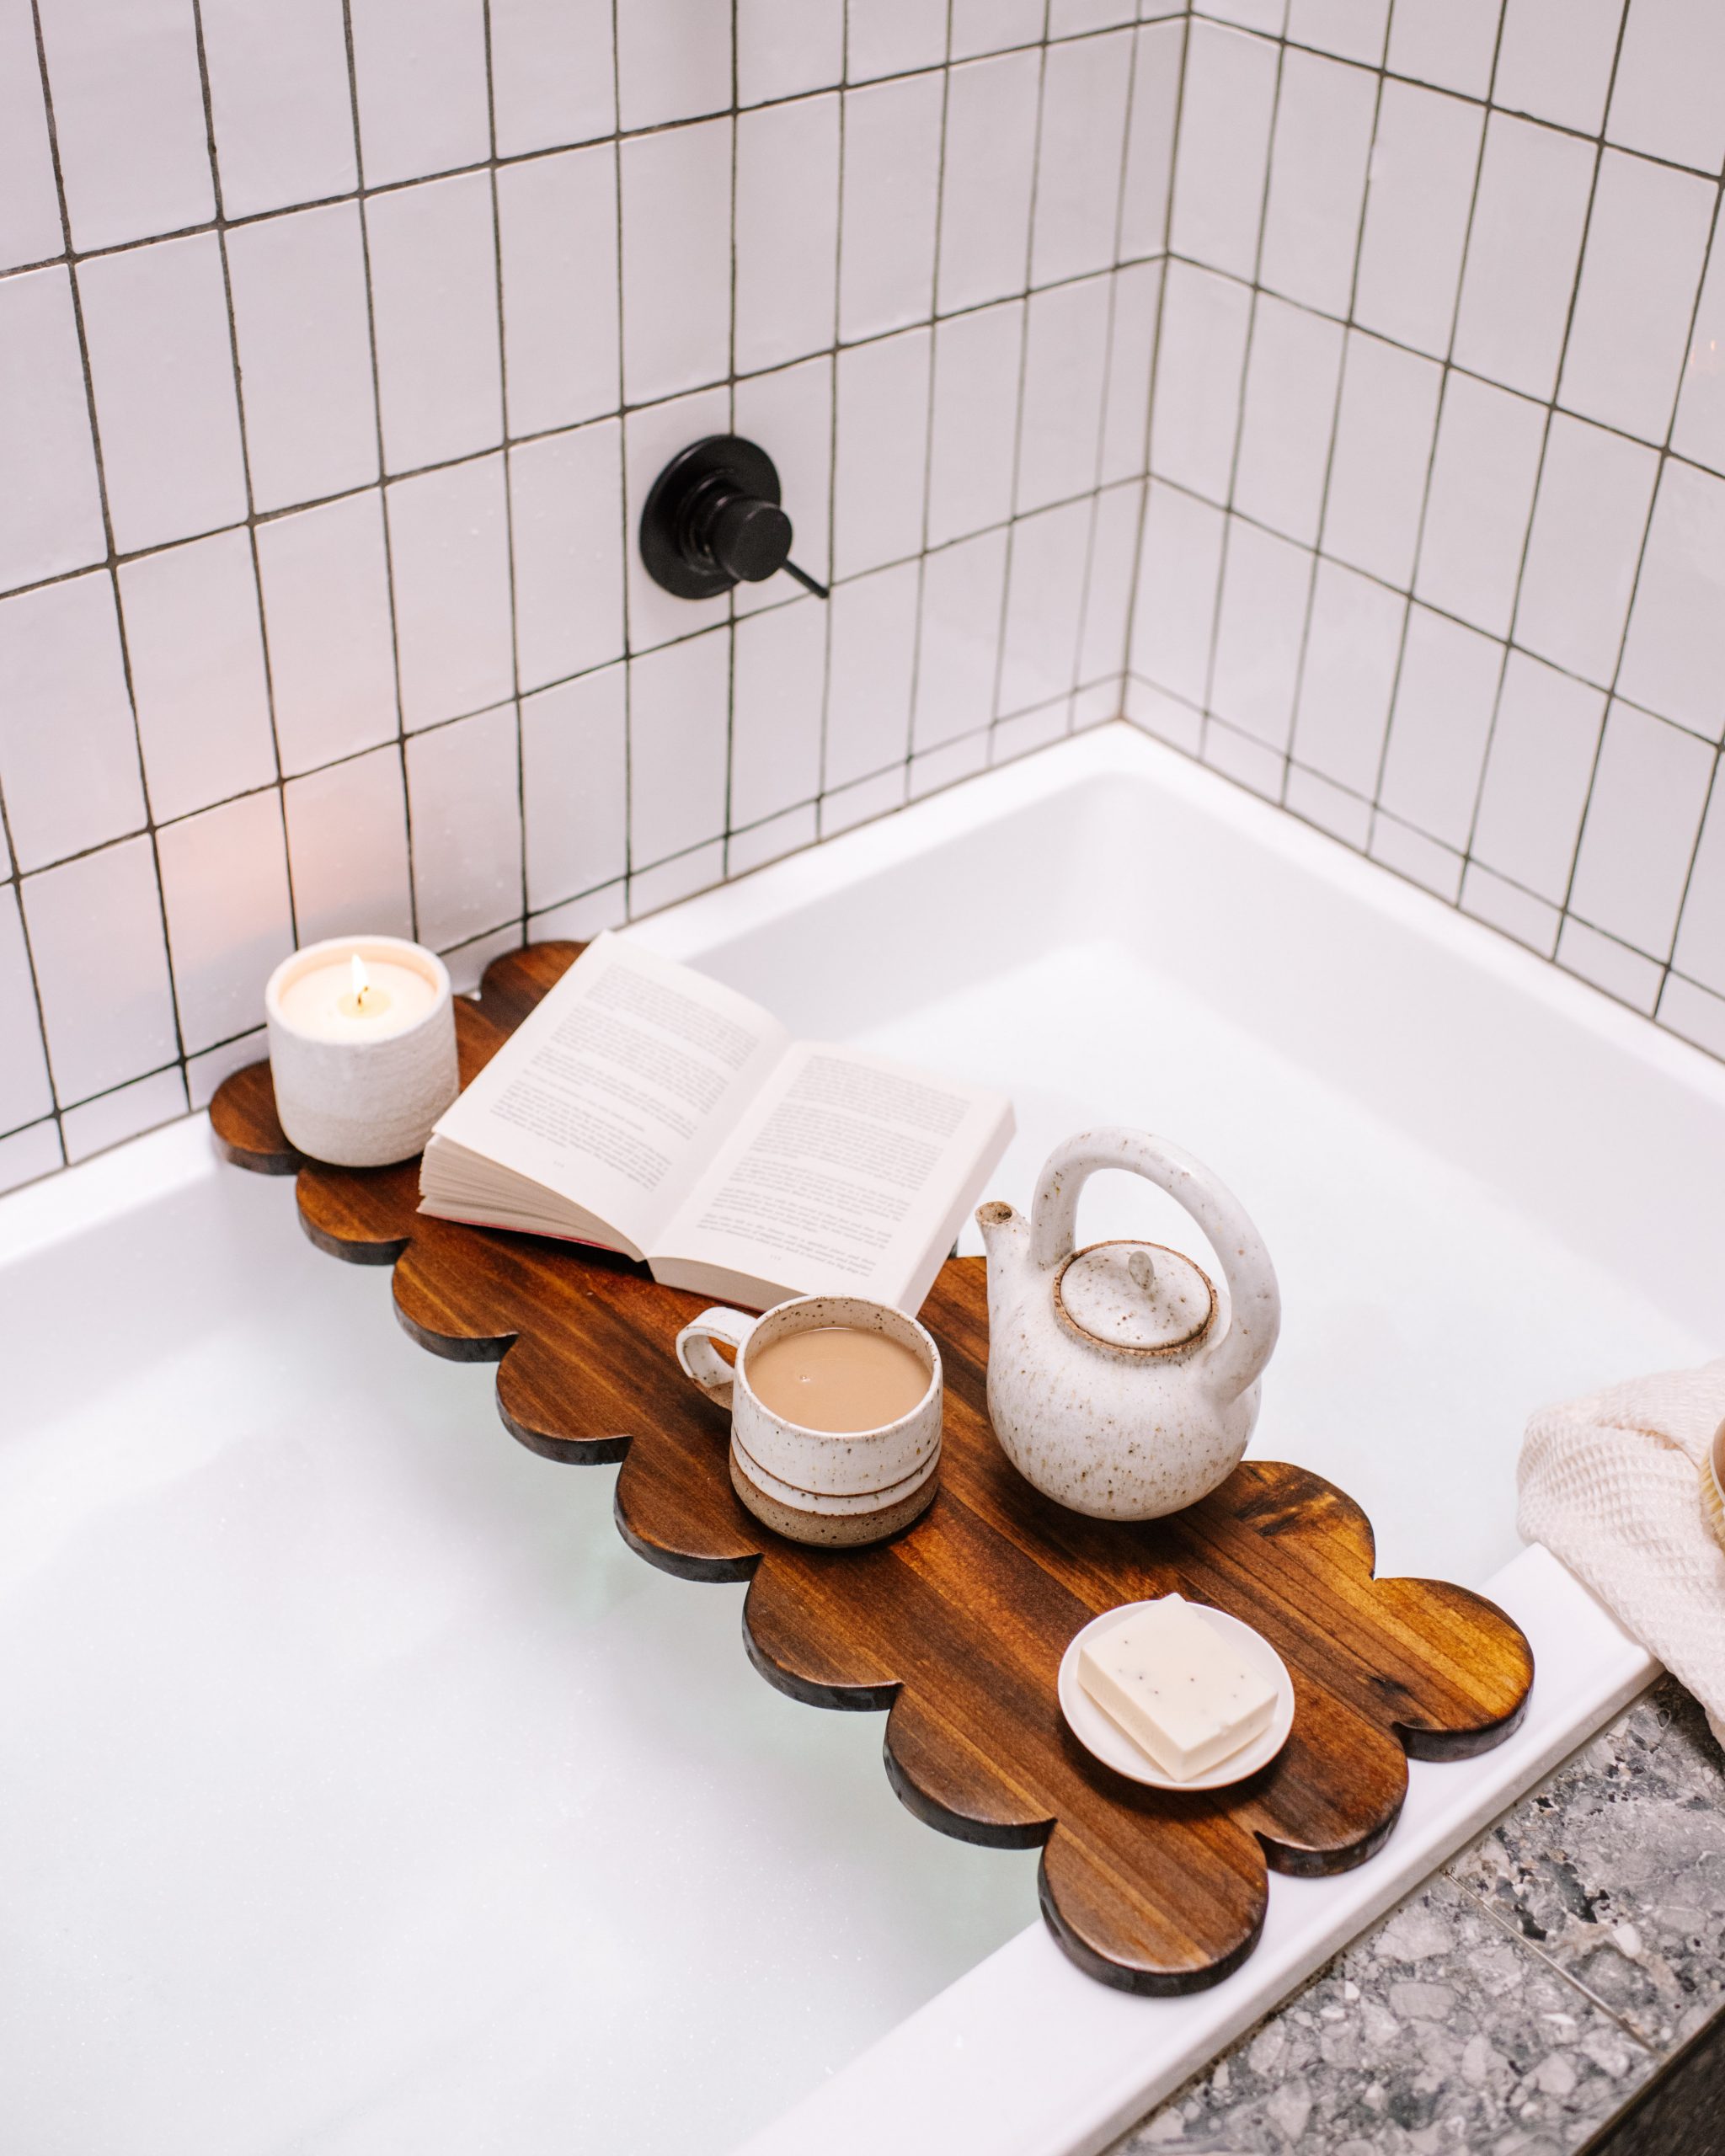
I’ve wanted to try my hand at making a bath tray for a while now, and with mother’s day around the corner this felt like the perfect time.
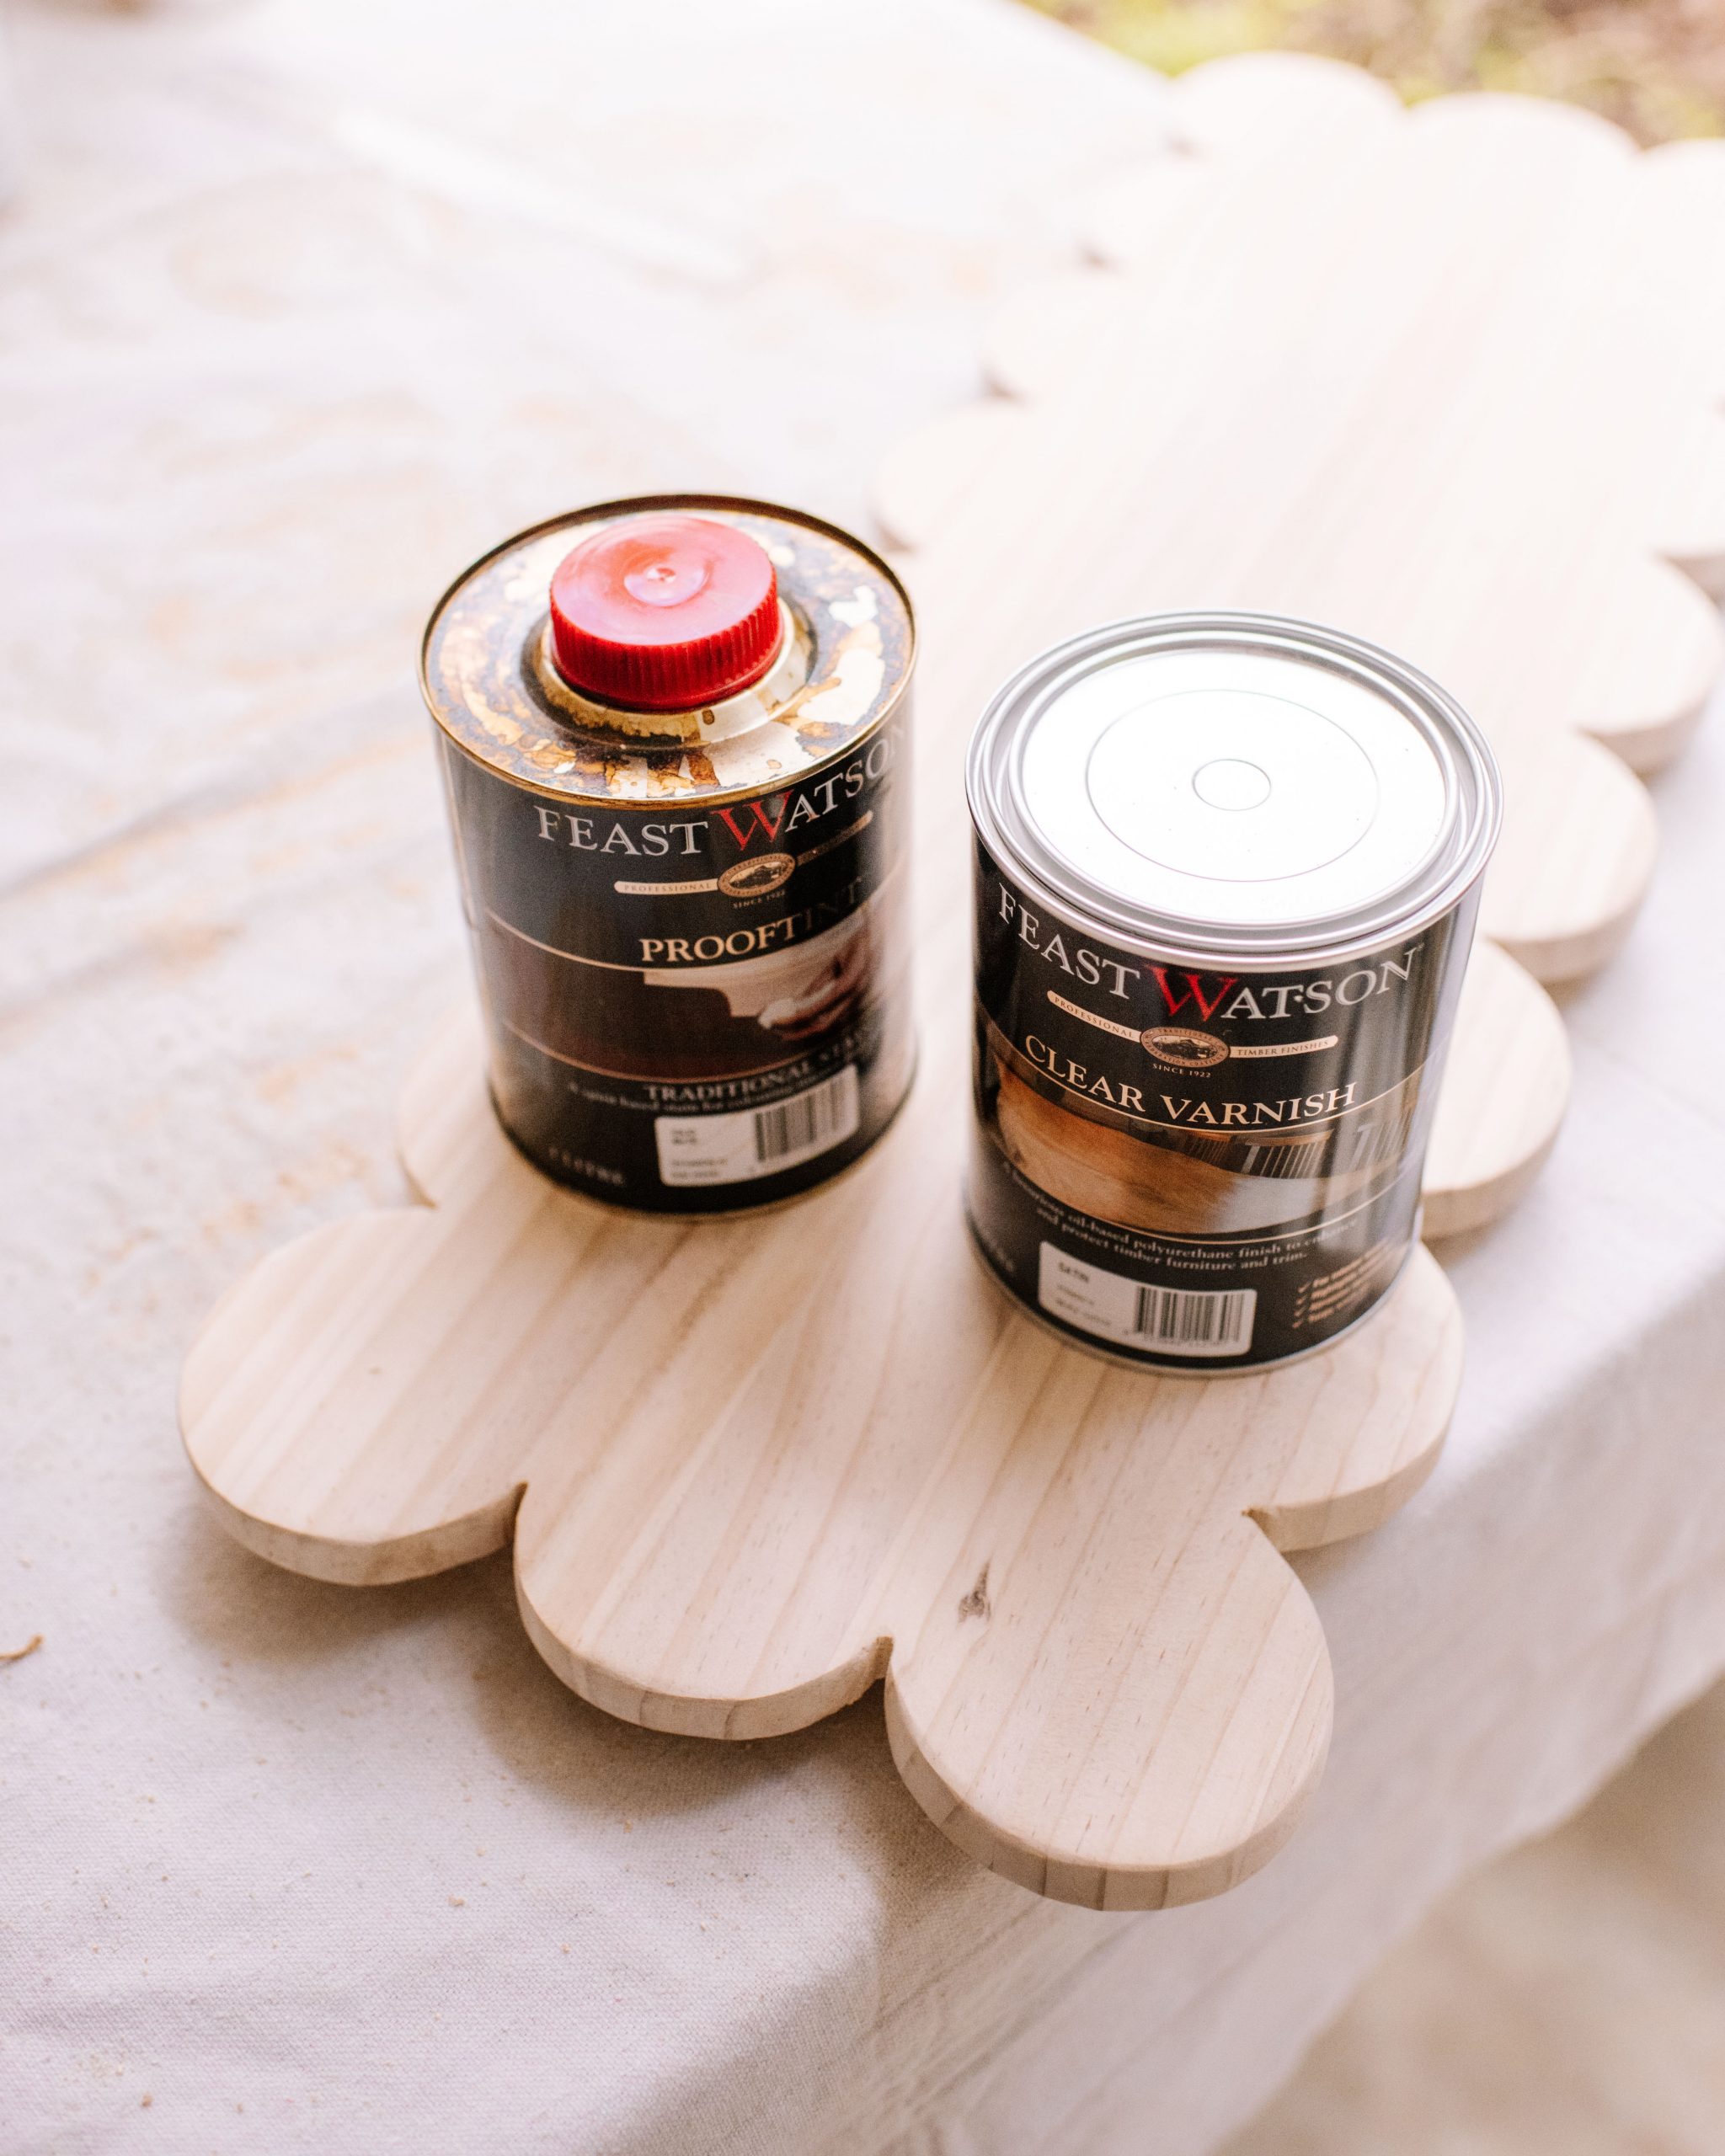
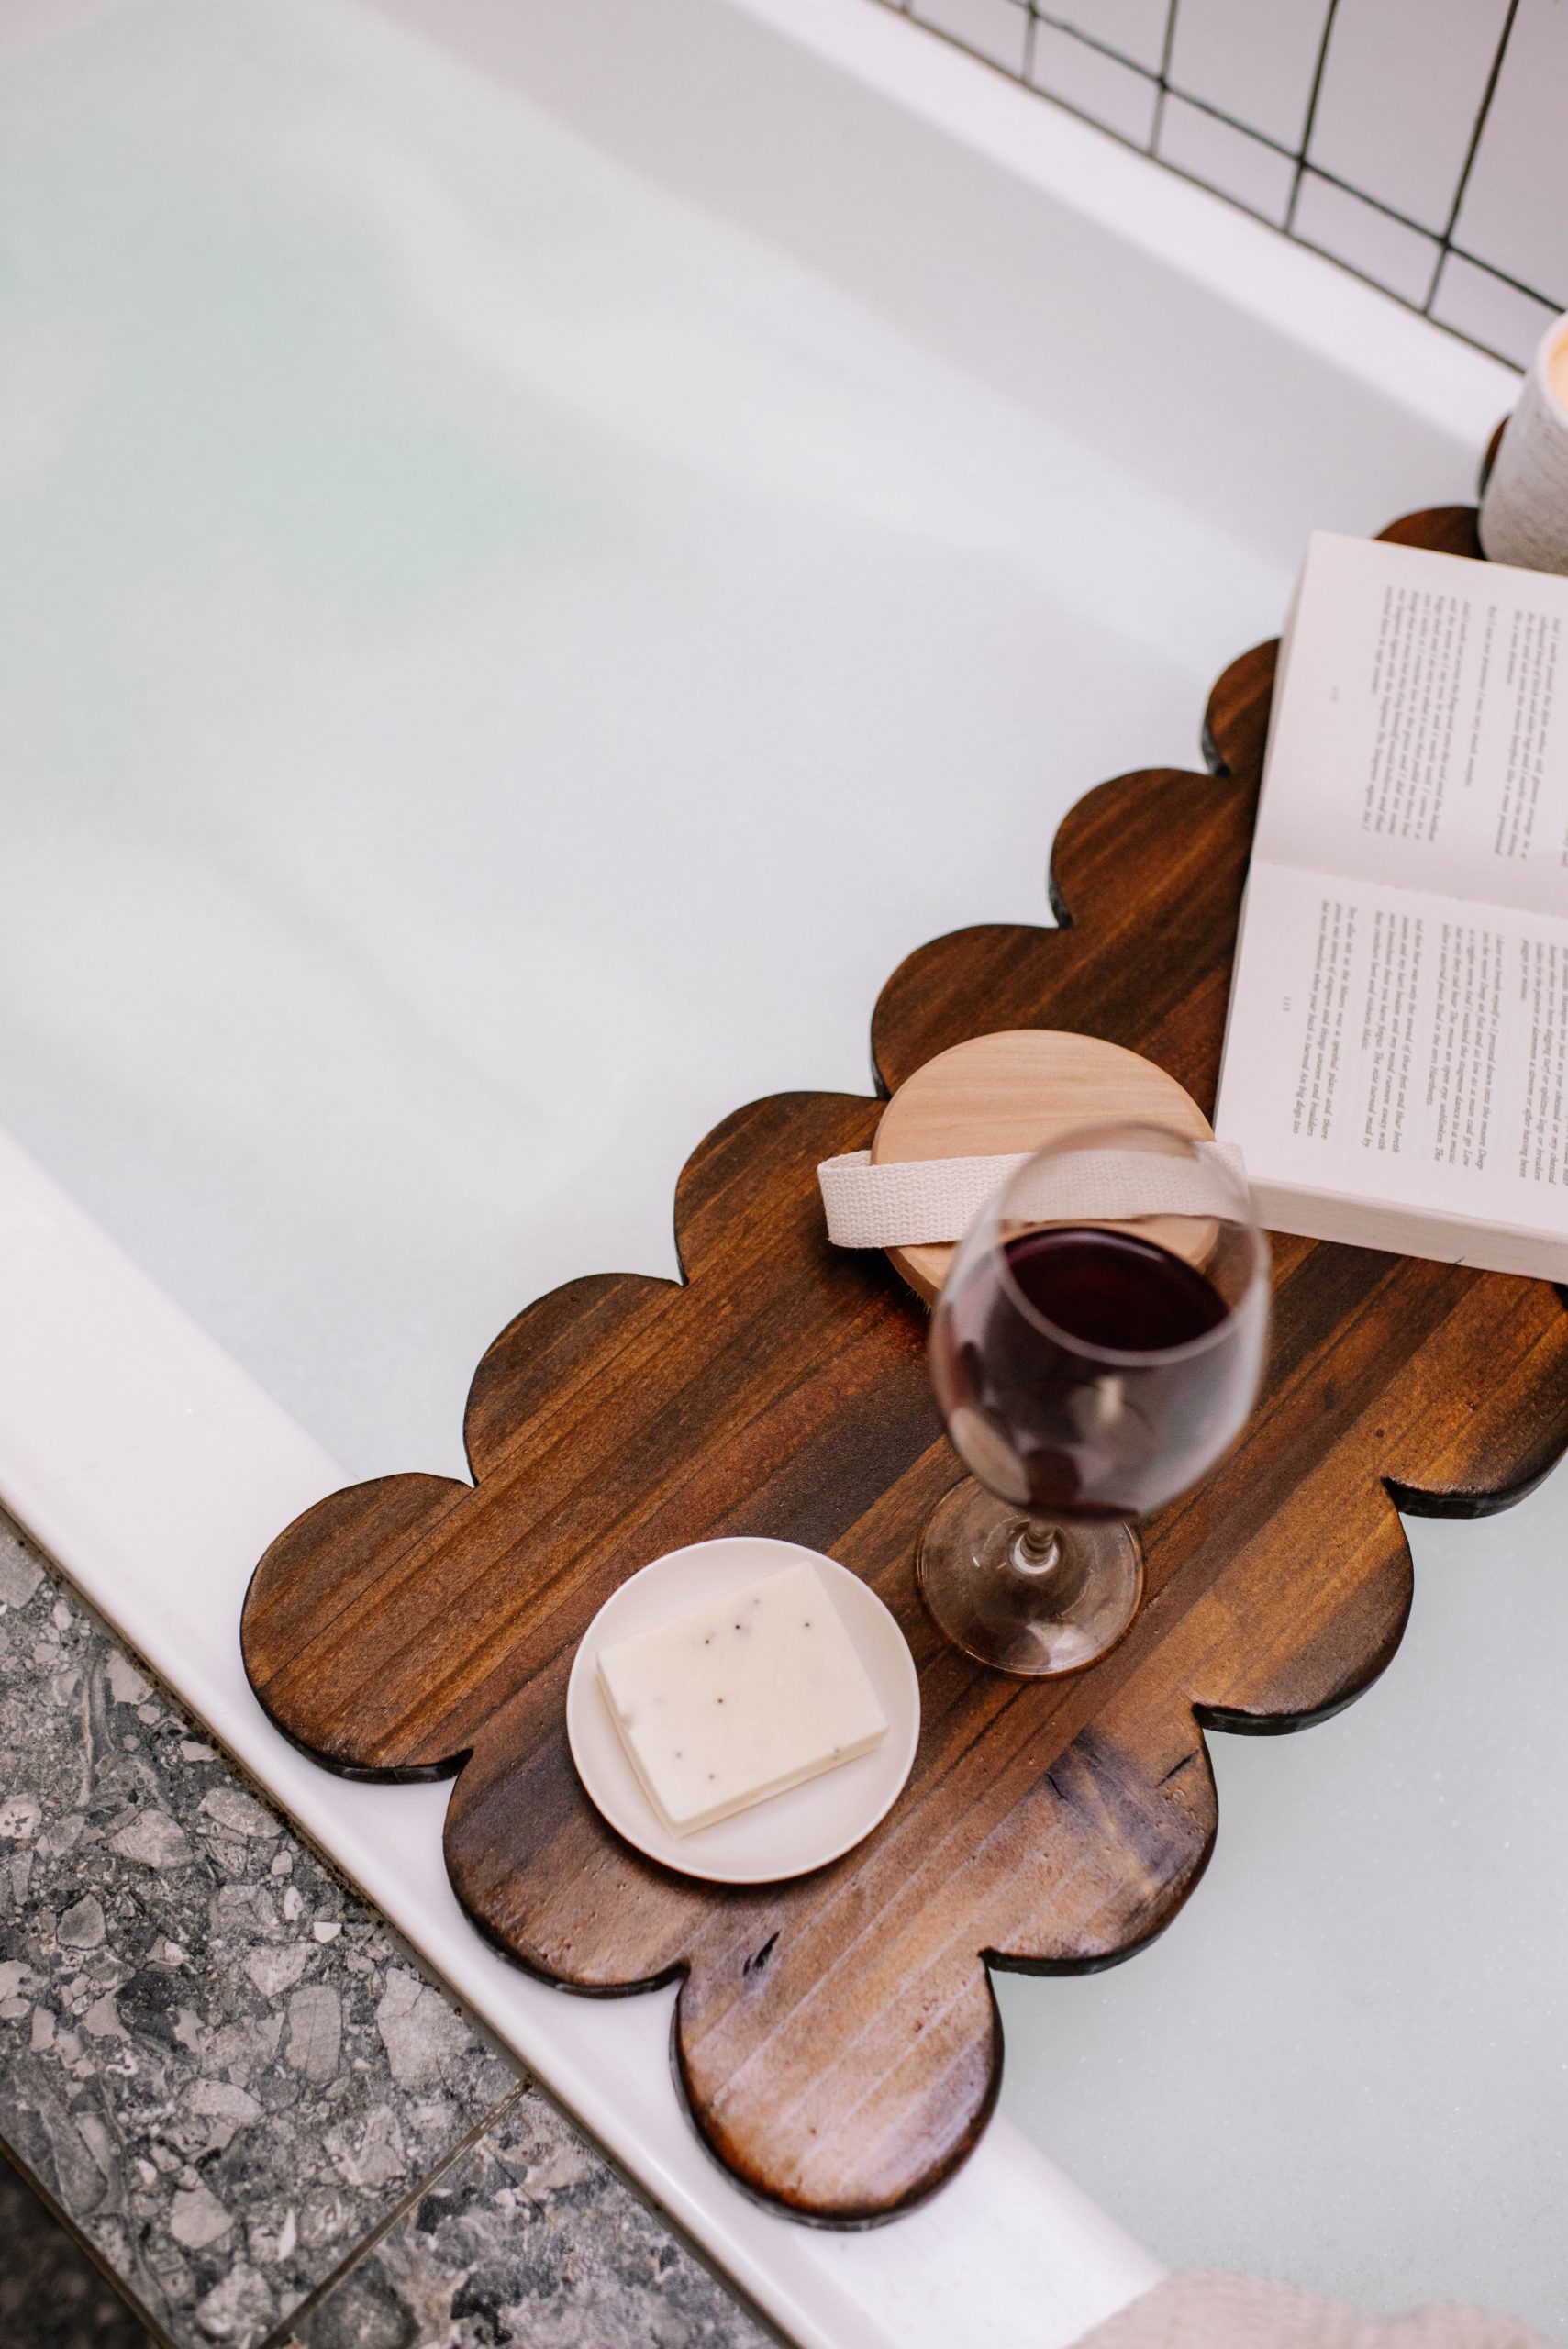
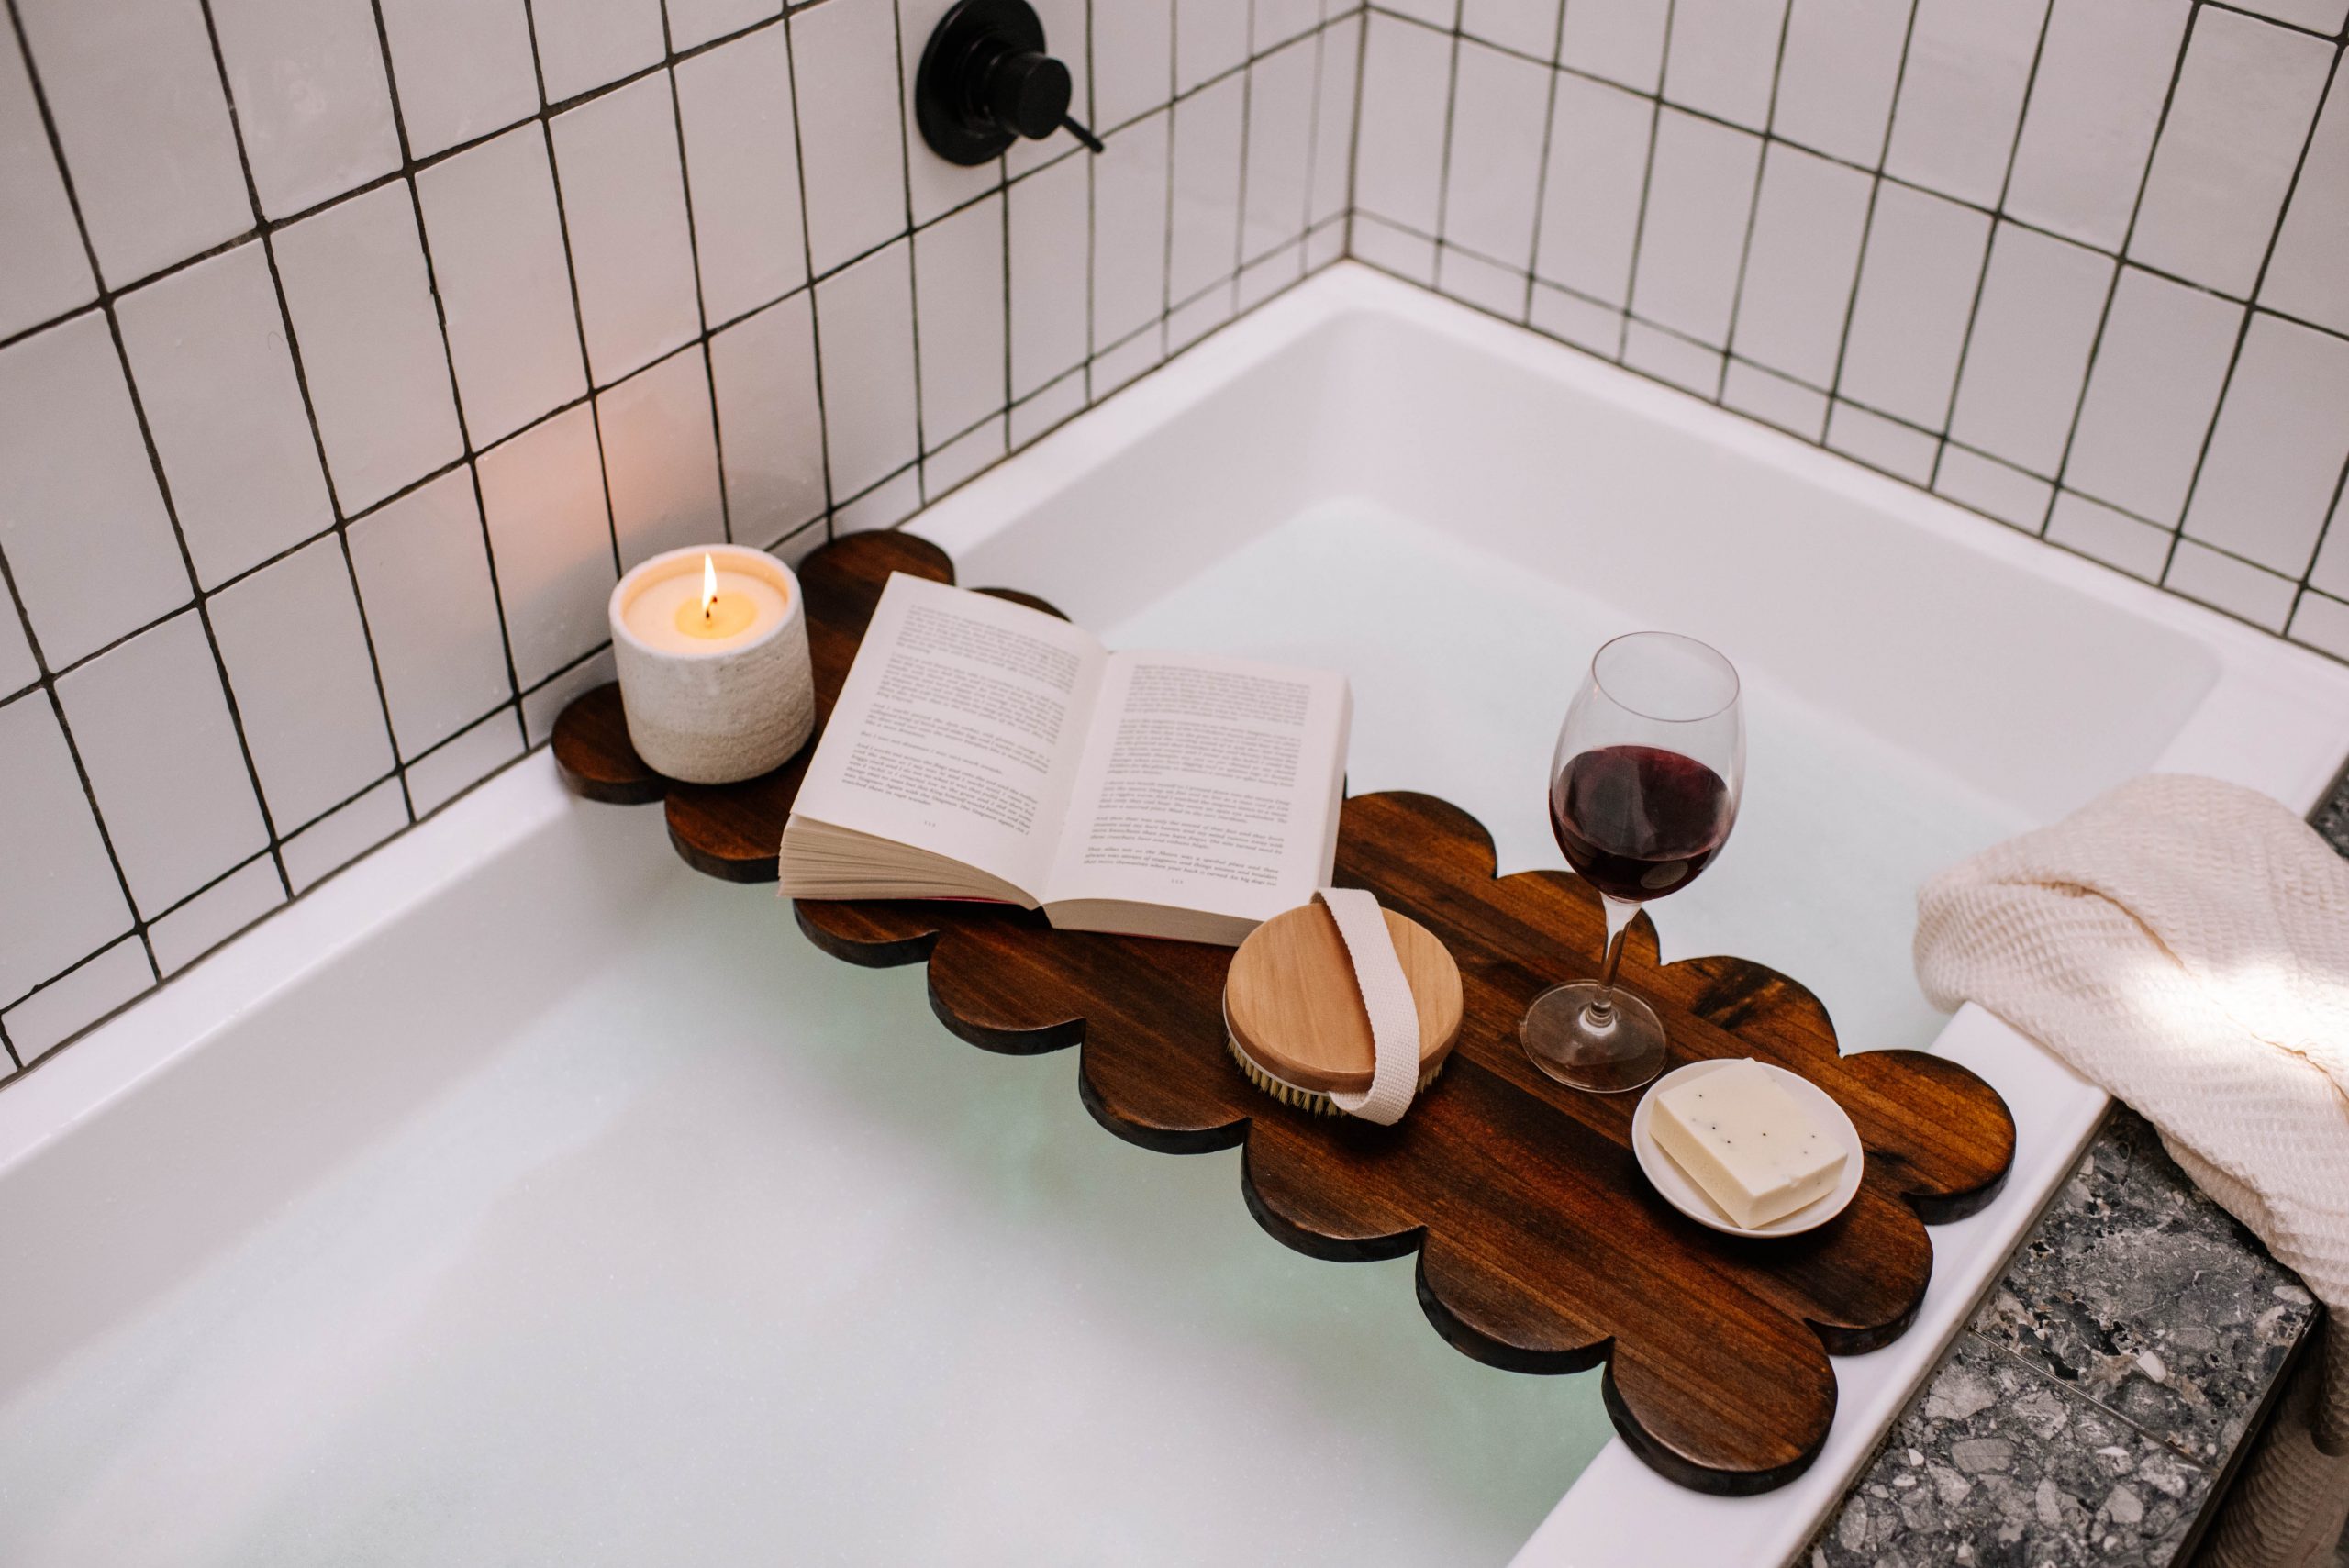
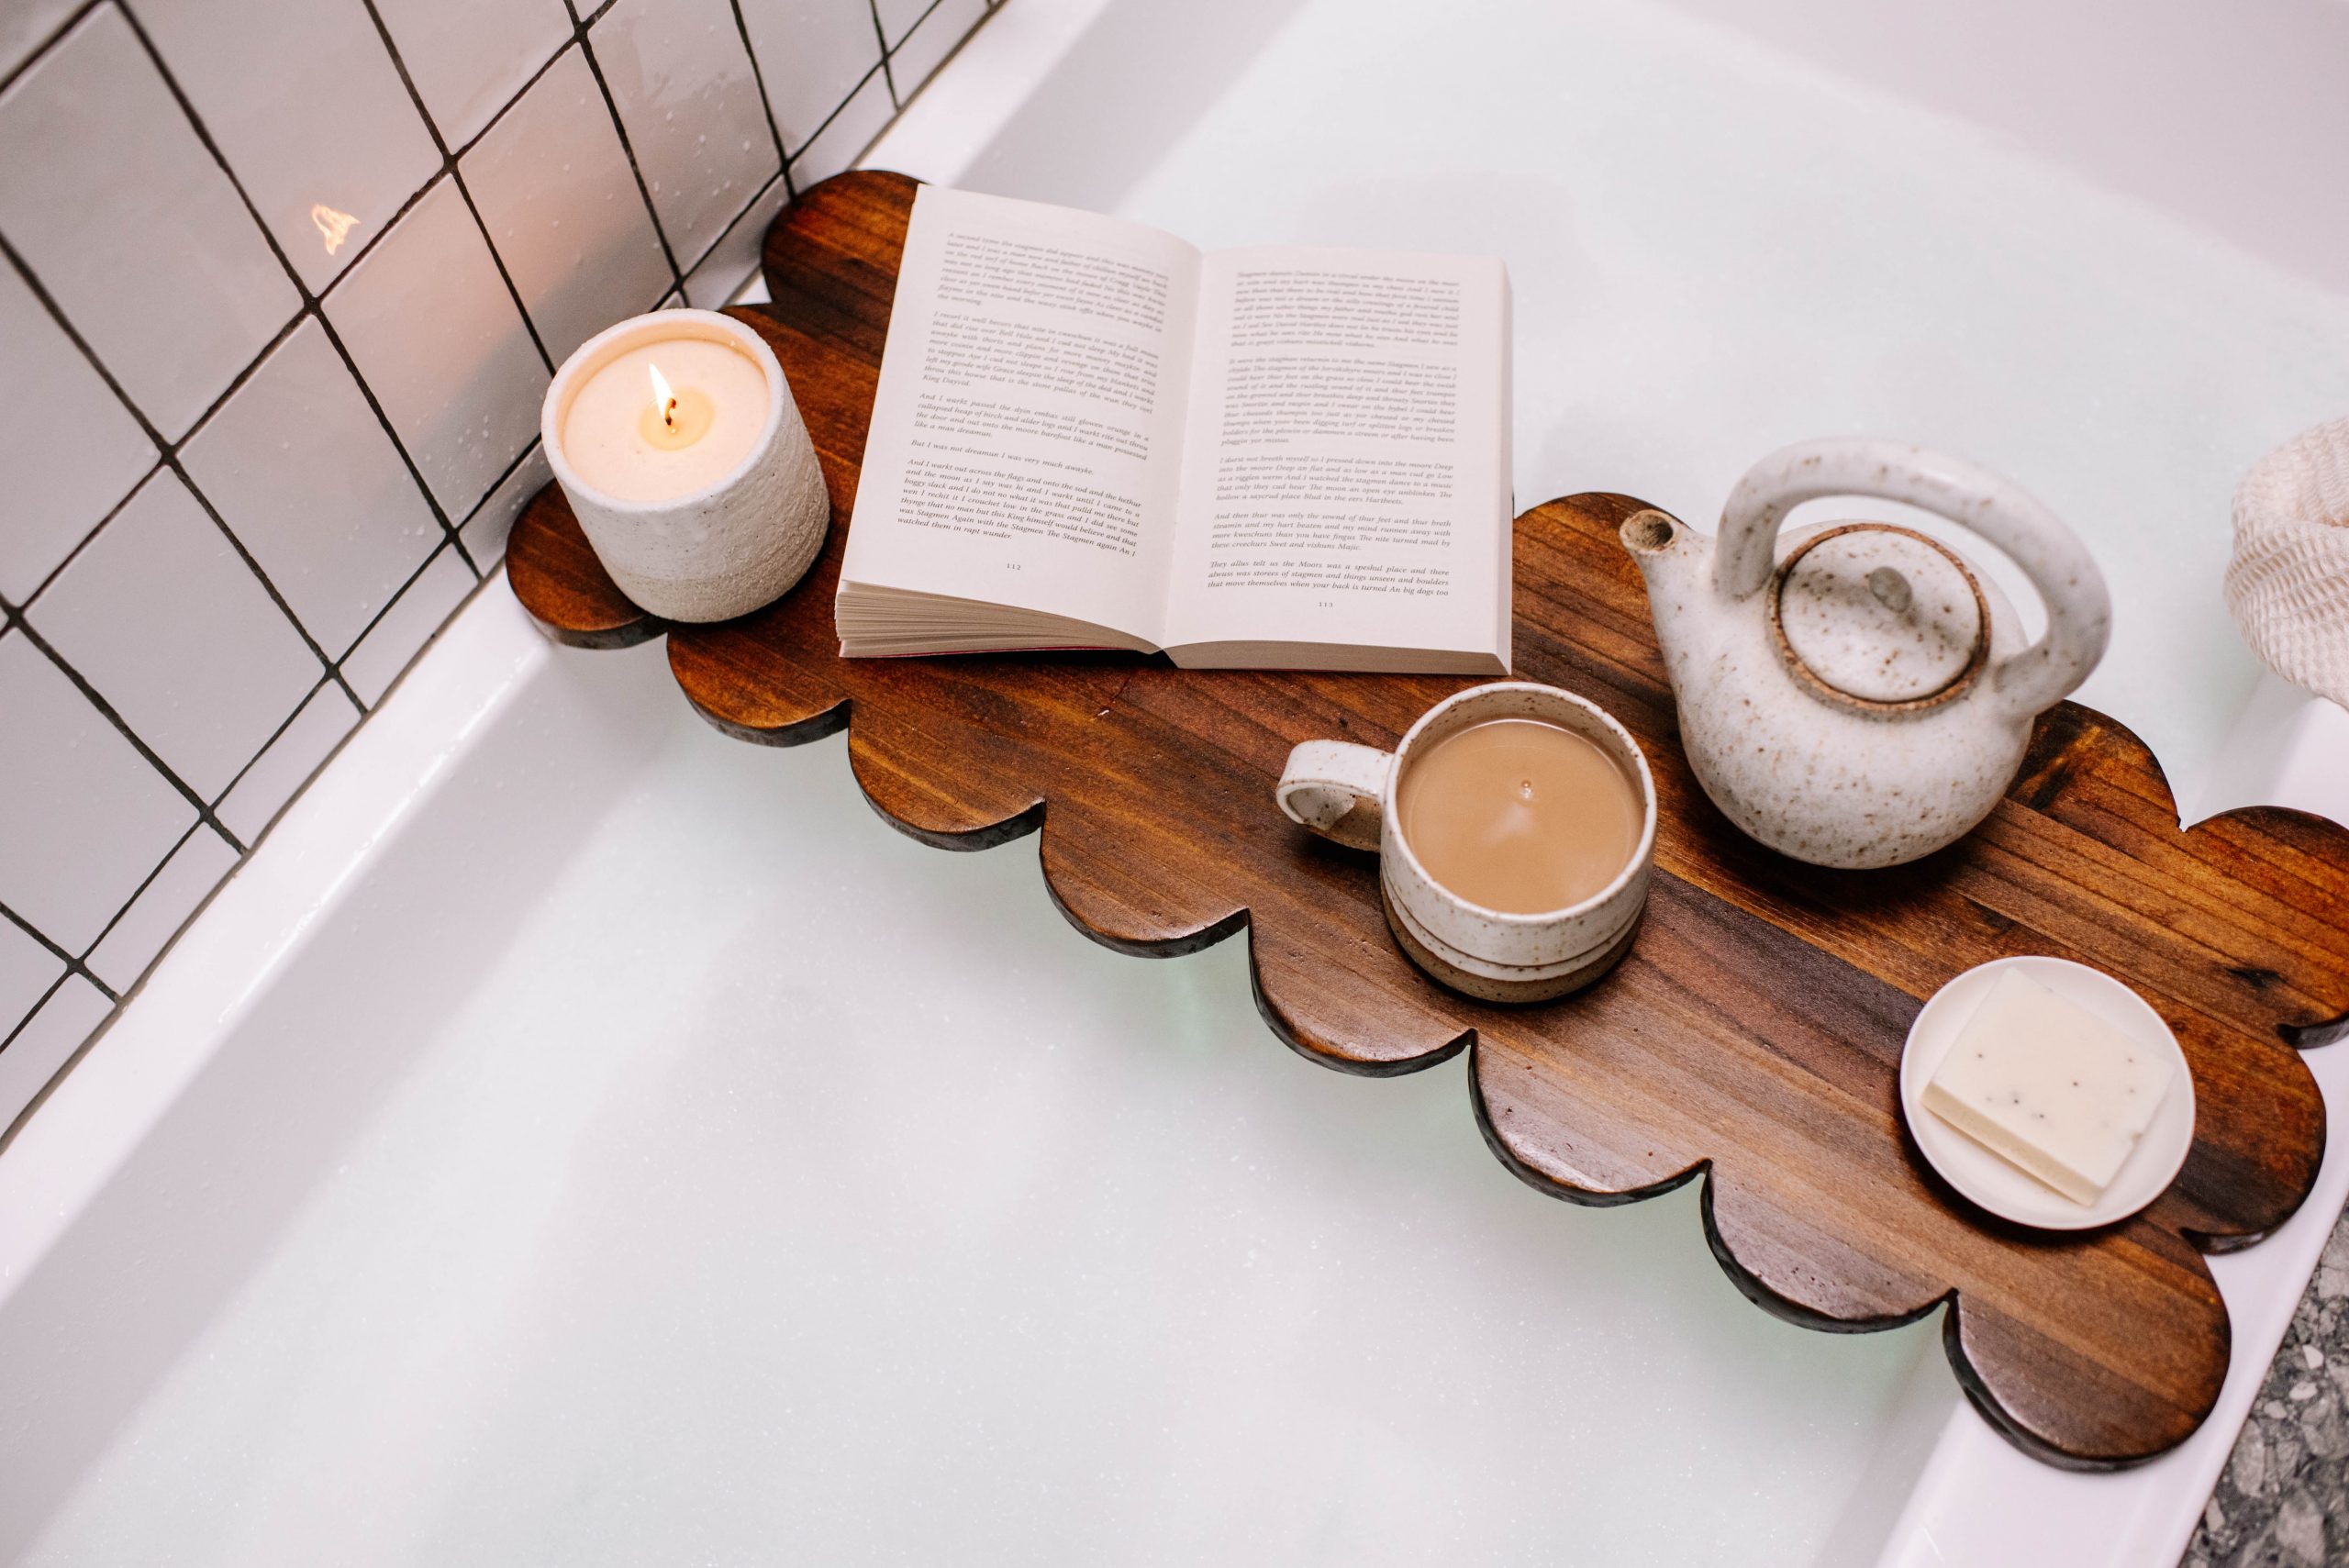
I thought adding the scalloped edges was a fun touch but you could easily do it without if you’re not feeling too confident in your jigsaw skills. I think the Feast Watson Prooftint stain I used (I missed Old Baltic and Oak) is what really makes this piece stand out, and to make sure it’s water resistant, I used three coats of their Varnish in Satin to finish it off. Add a bottle of wine, a little bubble bath and you’ve got the perfect gift, to myself haha!
Materials You’ll Need:
- Timber pine board (mine was about 75cm by 27cm)
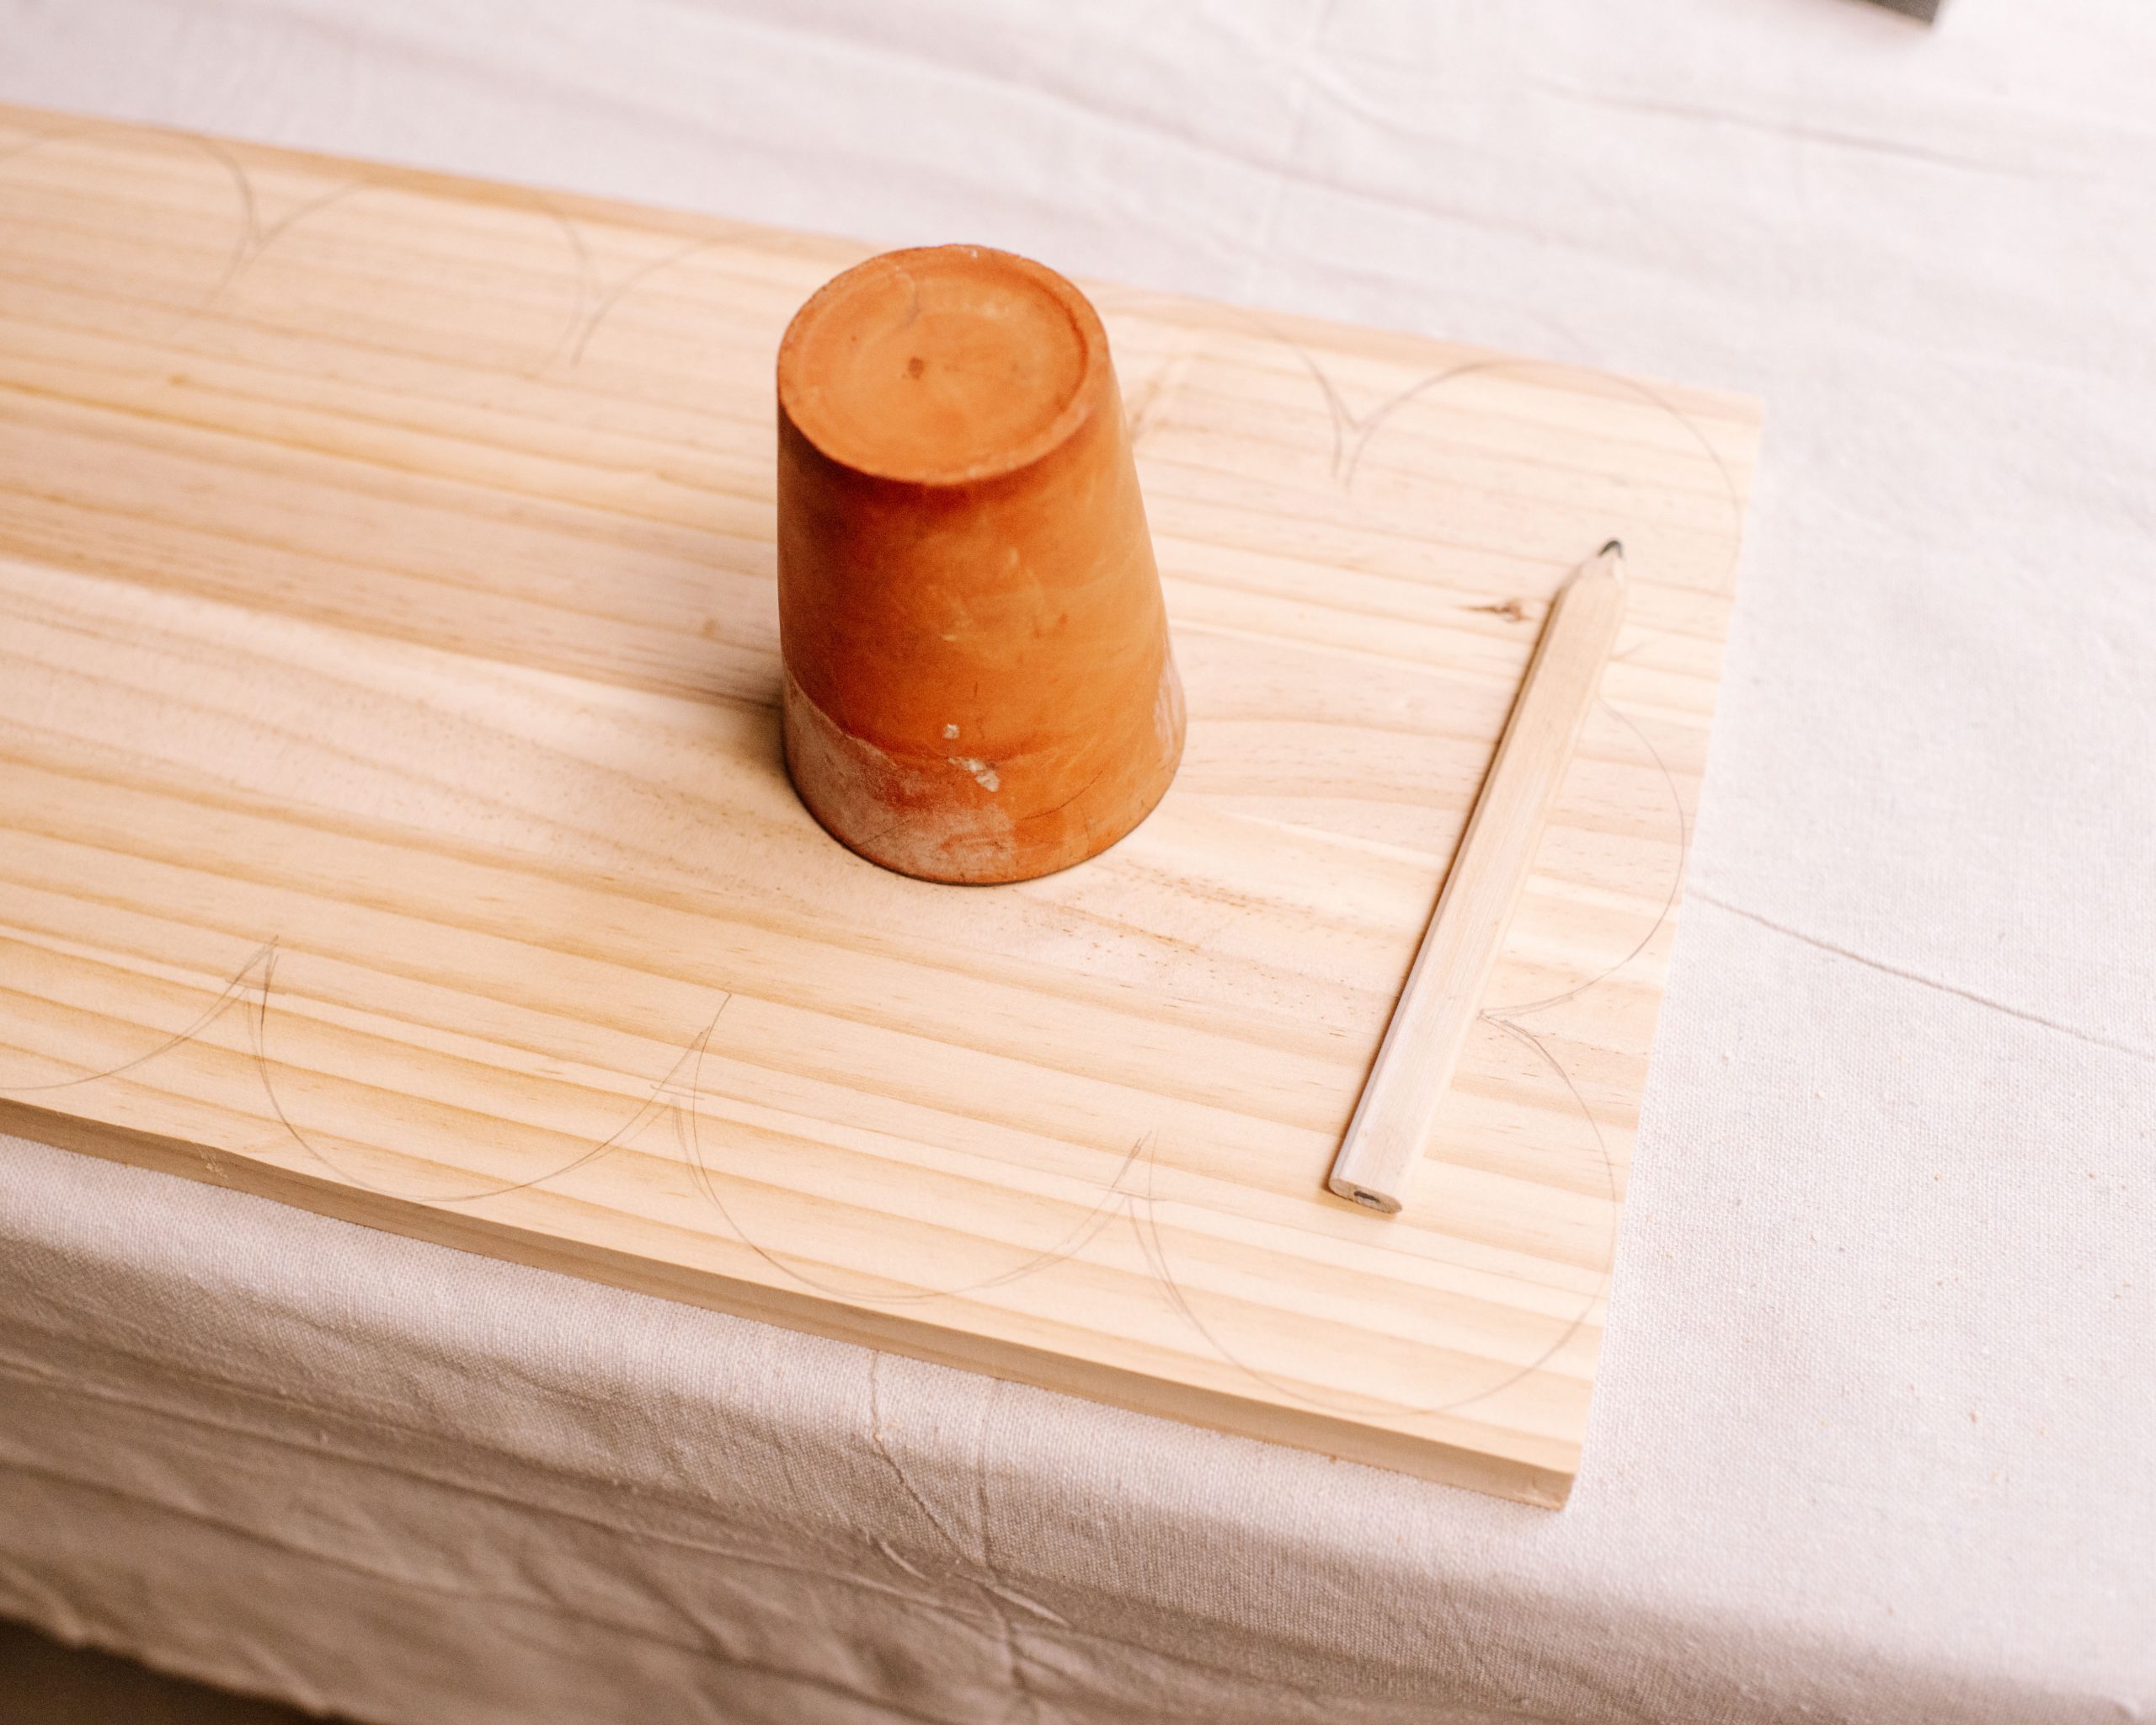
- Cup (to trace the scallops)
- Pencil
- Jigsaw
- Clamp
- Detail sander and sandpaper
- Feast Watson Prooftint Traditional Stain (I used a mix of Oak and Old Baltic)
- Feast Watson Clear Varnish (I used Satin)
- Tanning glove or old rag
- Drill
- 4 Screws
- 2 Smaller pieces of timber (4cm x 13cm)
How To Make a DIY Bath Tray:
- First I began by cutting a piece of timber to roughly the dimensions of the bath, you’ll need to check the size of your bath.
- I then started tracing the scalloped edge on my piece of timber using a cup and pencil. This will act as a guide for me while cutting it out.
- Then I clamped the timber to a secure surface (I did it on my outdoor work table) making sure half of it was sticking off the edge so I could safely begin cutting out the scallops. Once I finished one side I simple re-clamped the timber so I could finish the other side.
- Then I used my detail sander to smooth out the edges and remove and bumps.
- Then I cut out two smaller timber pieces and screwed them into the bottom of the bath tray to make it more stable once placed across the bath.
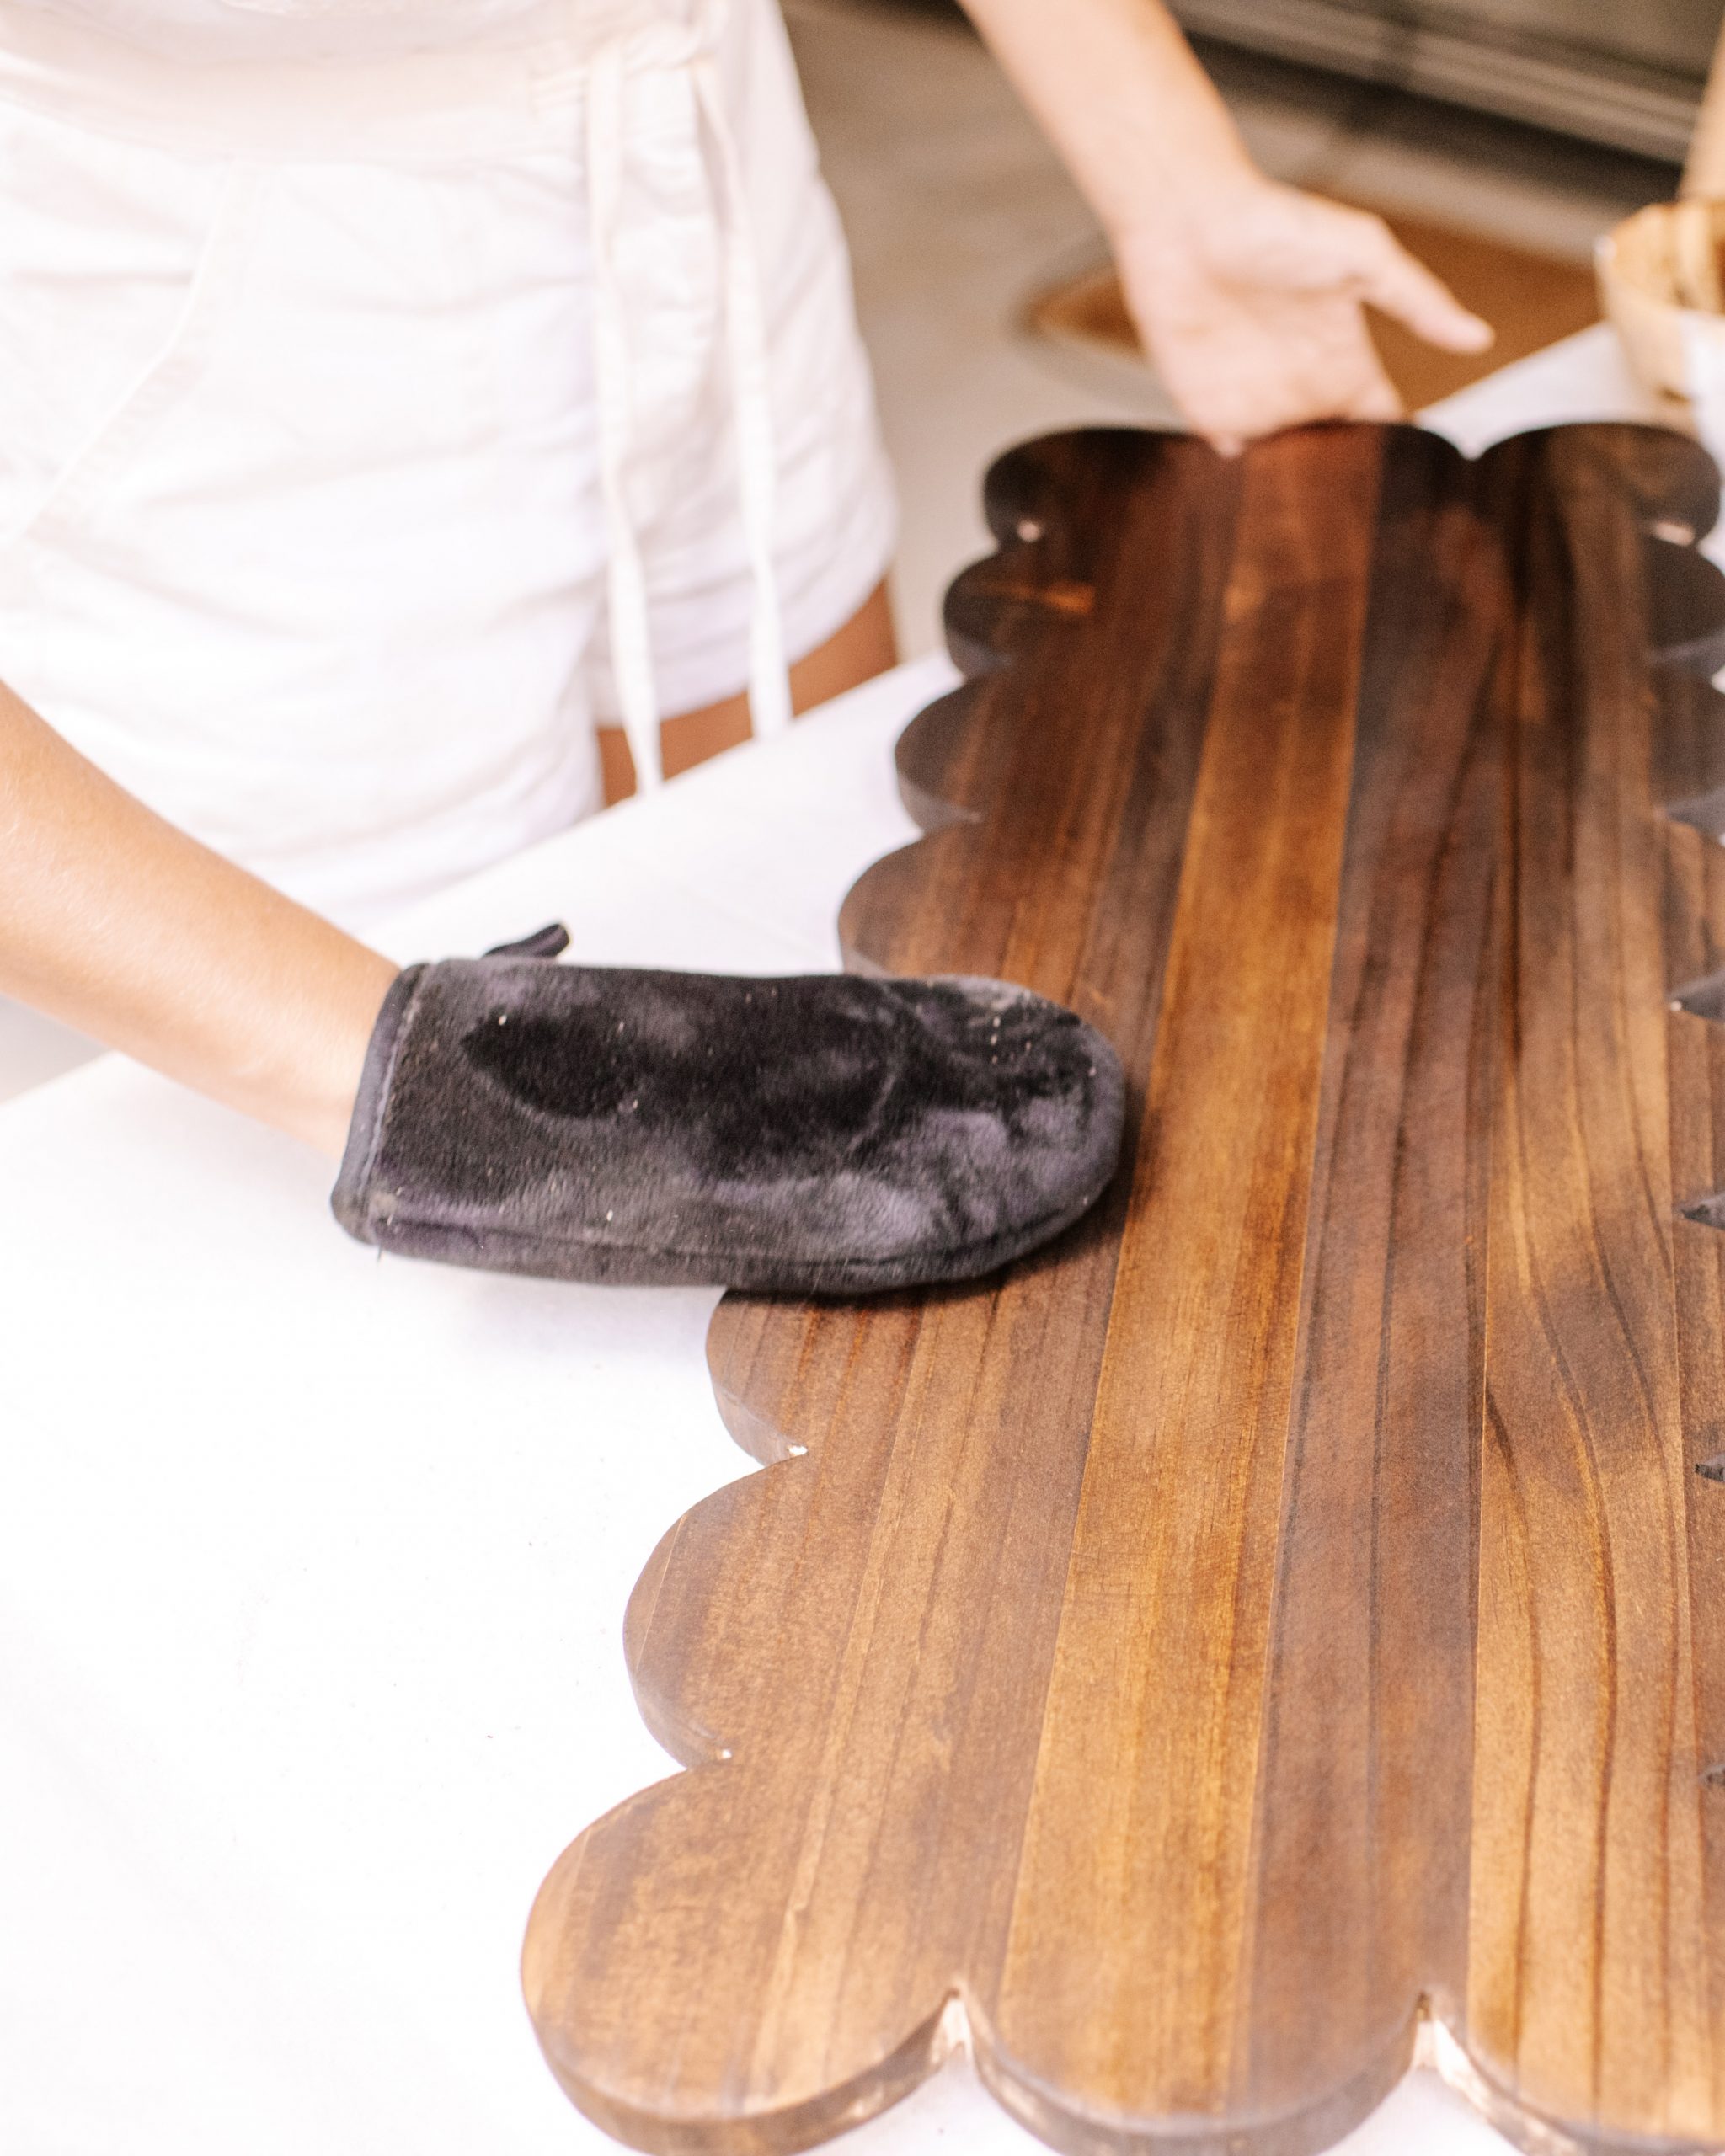
- After this I got out my Feast Watson stain and my new favourite staining tool – a tanning glove! This works perfectly to evenly spread the stain, but a regular rag would also work.
- Once the stain dried I applied three coats of Feast Watson’s varnish to make sure this piece would be water resistant.
- Finally I let the piece fully dry before testing it out.
I’m so happy with the way this turned out! I feel like this stain gave it some richness while the scallops still added a fun little touch!
If you’d like to find more fun staining projects like this one, check out some of my other favourites below!
How To Make An Organic Shaped Wooden Mirror
This post is in collaboration with Feast Watson


