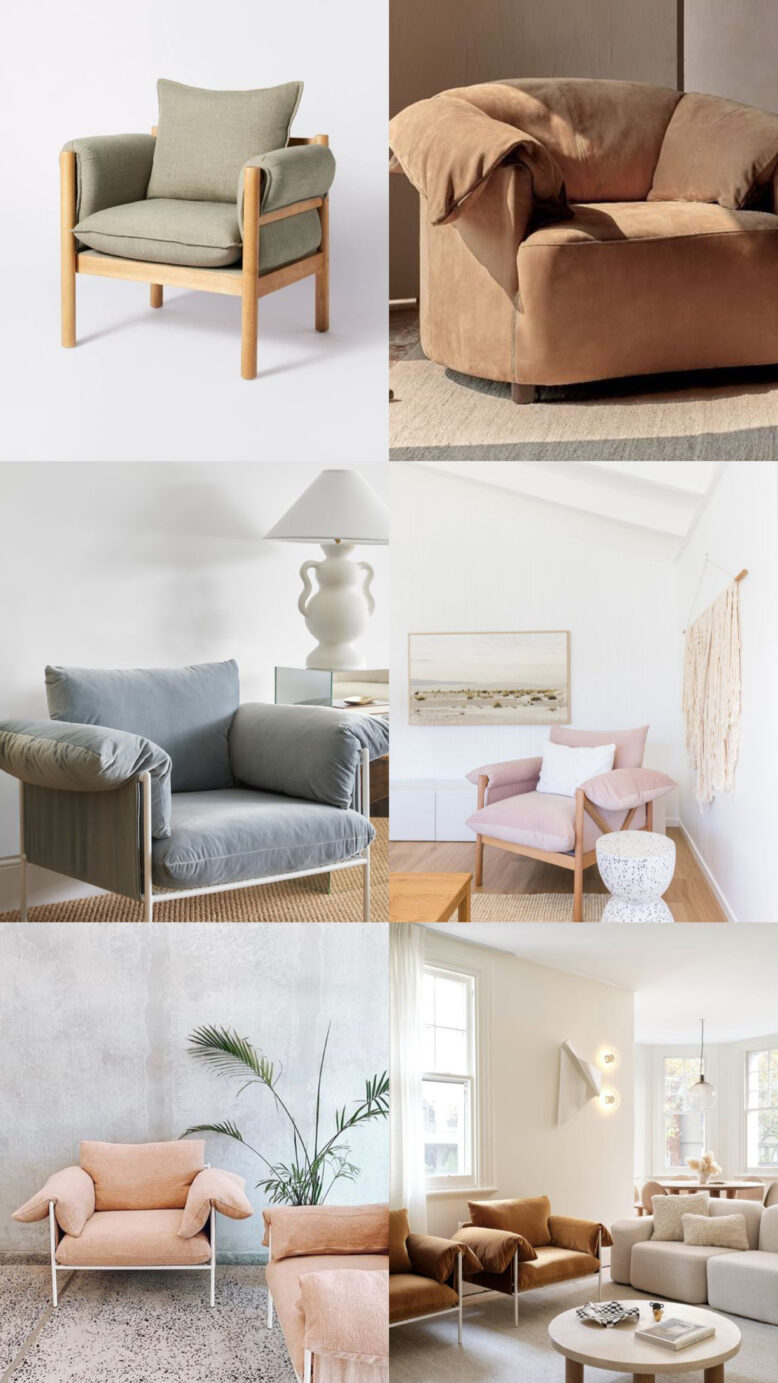
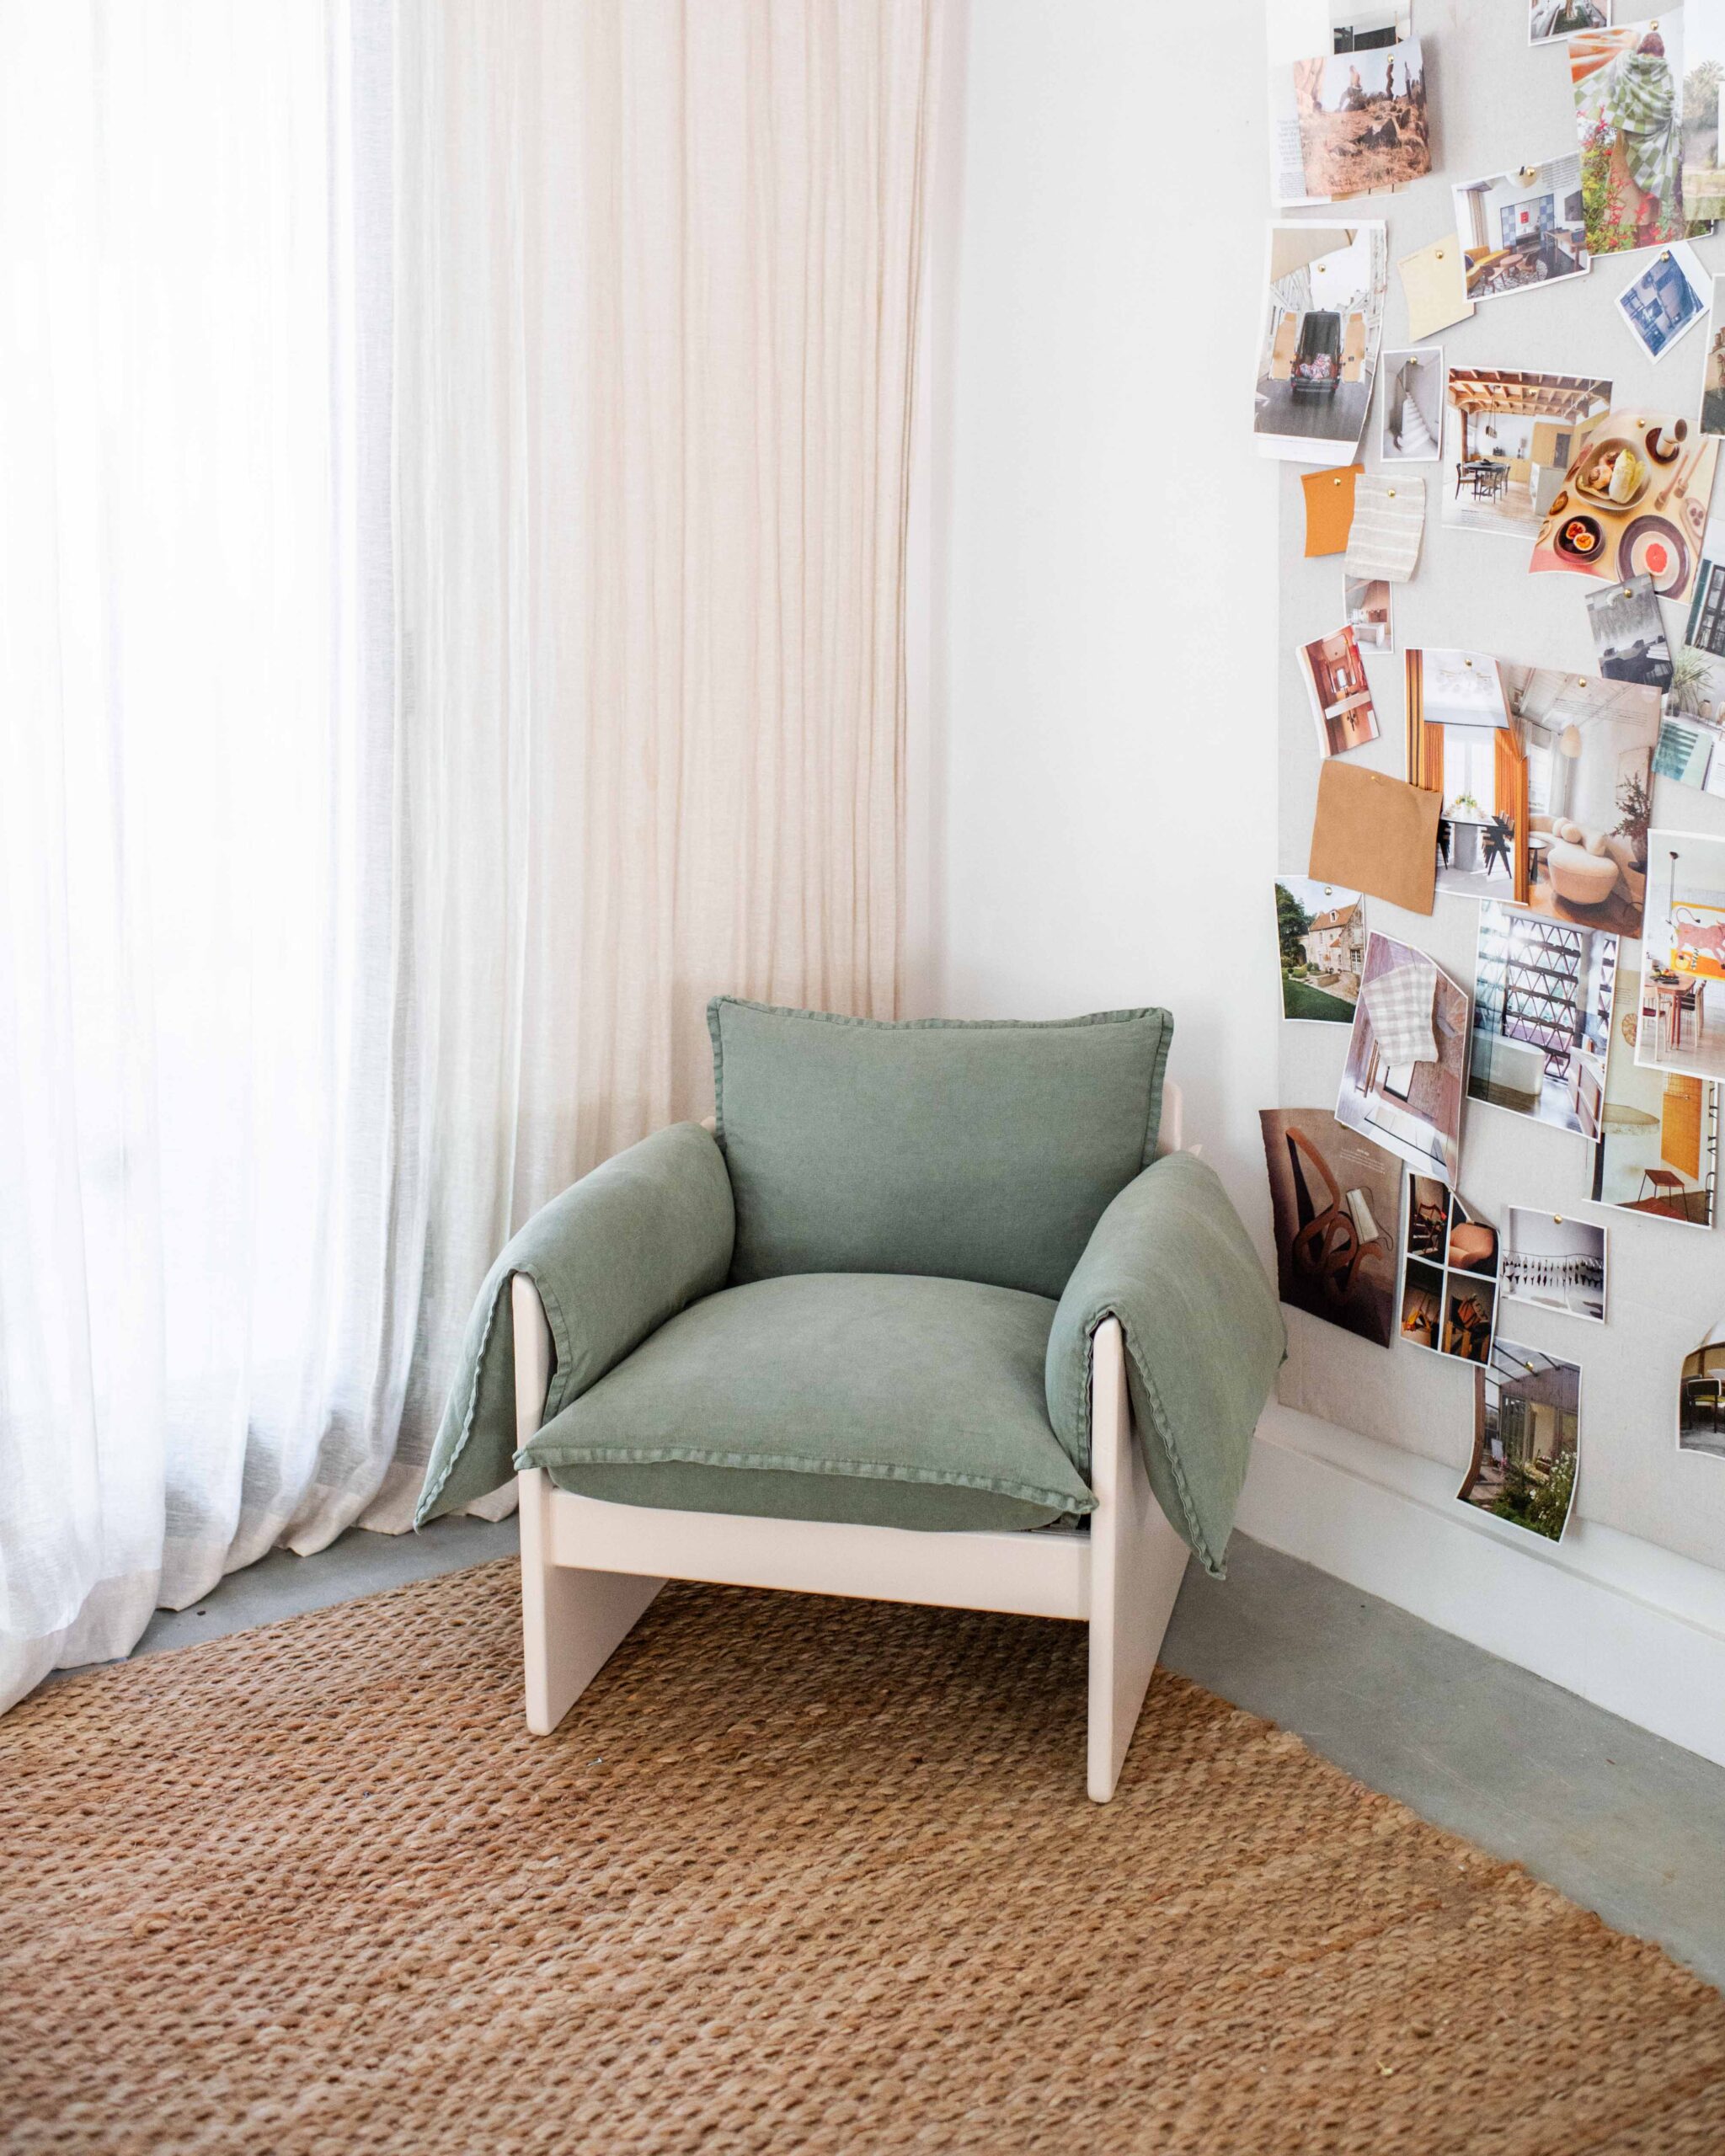
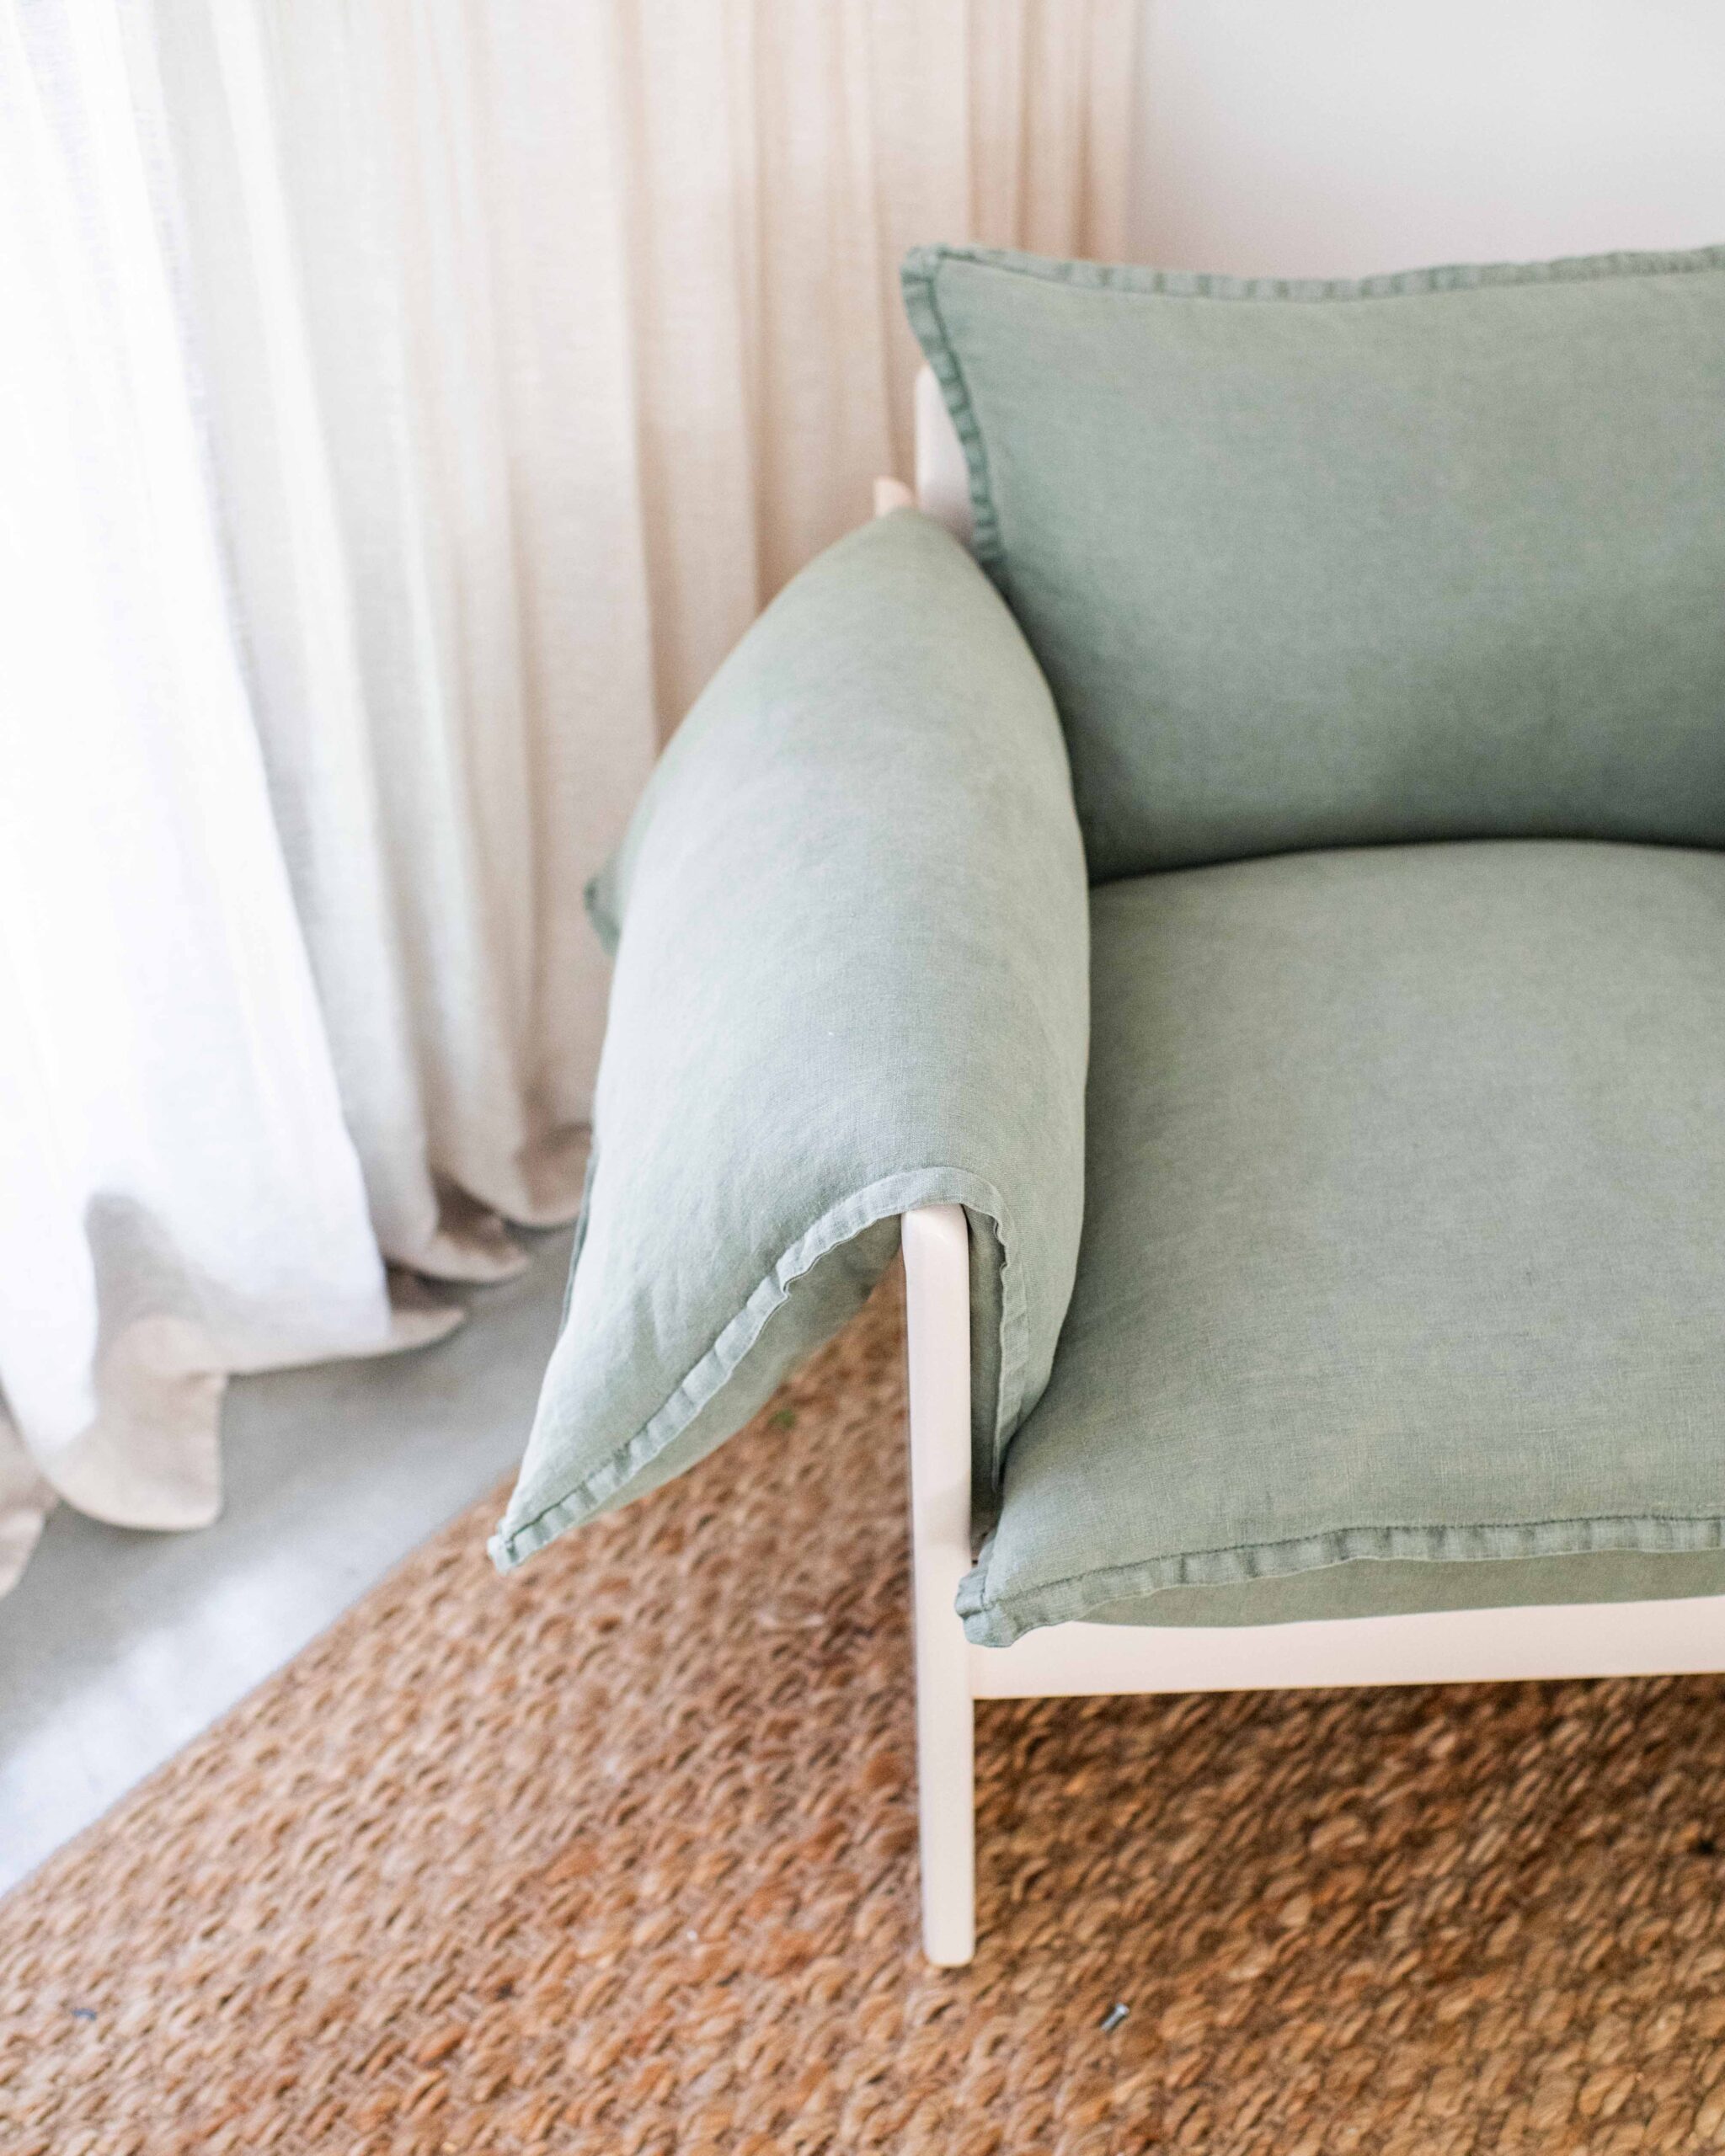
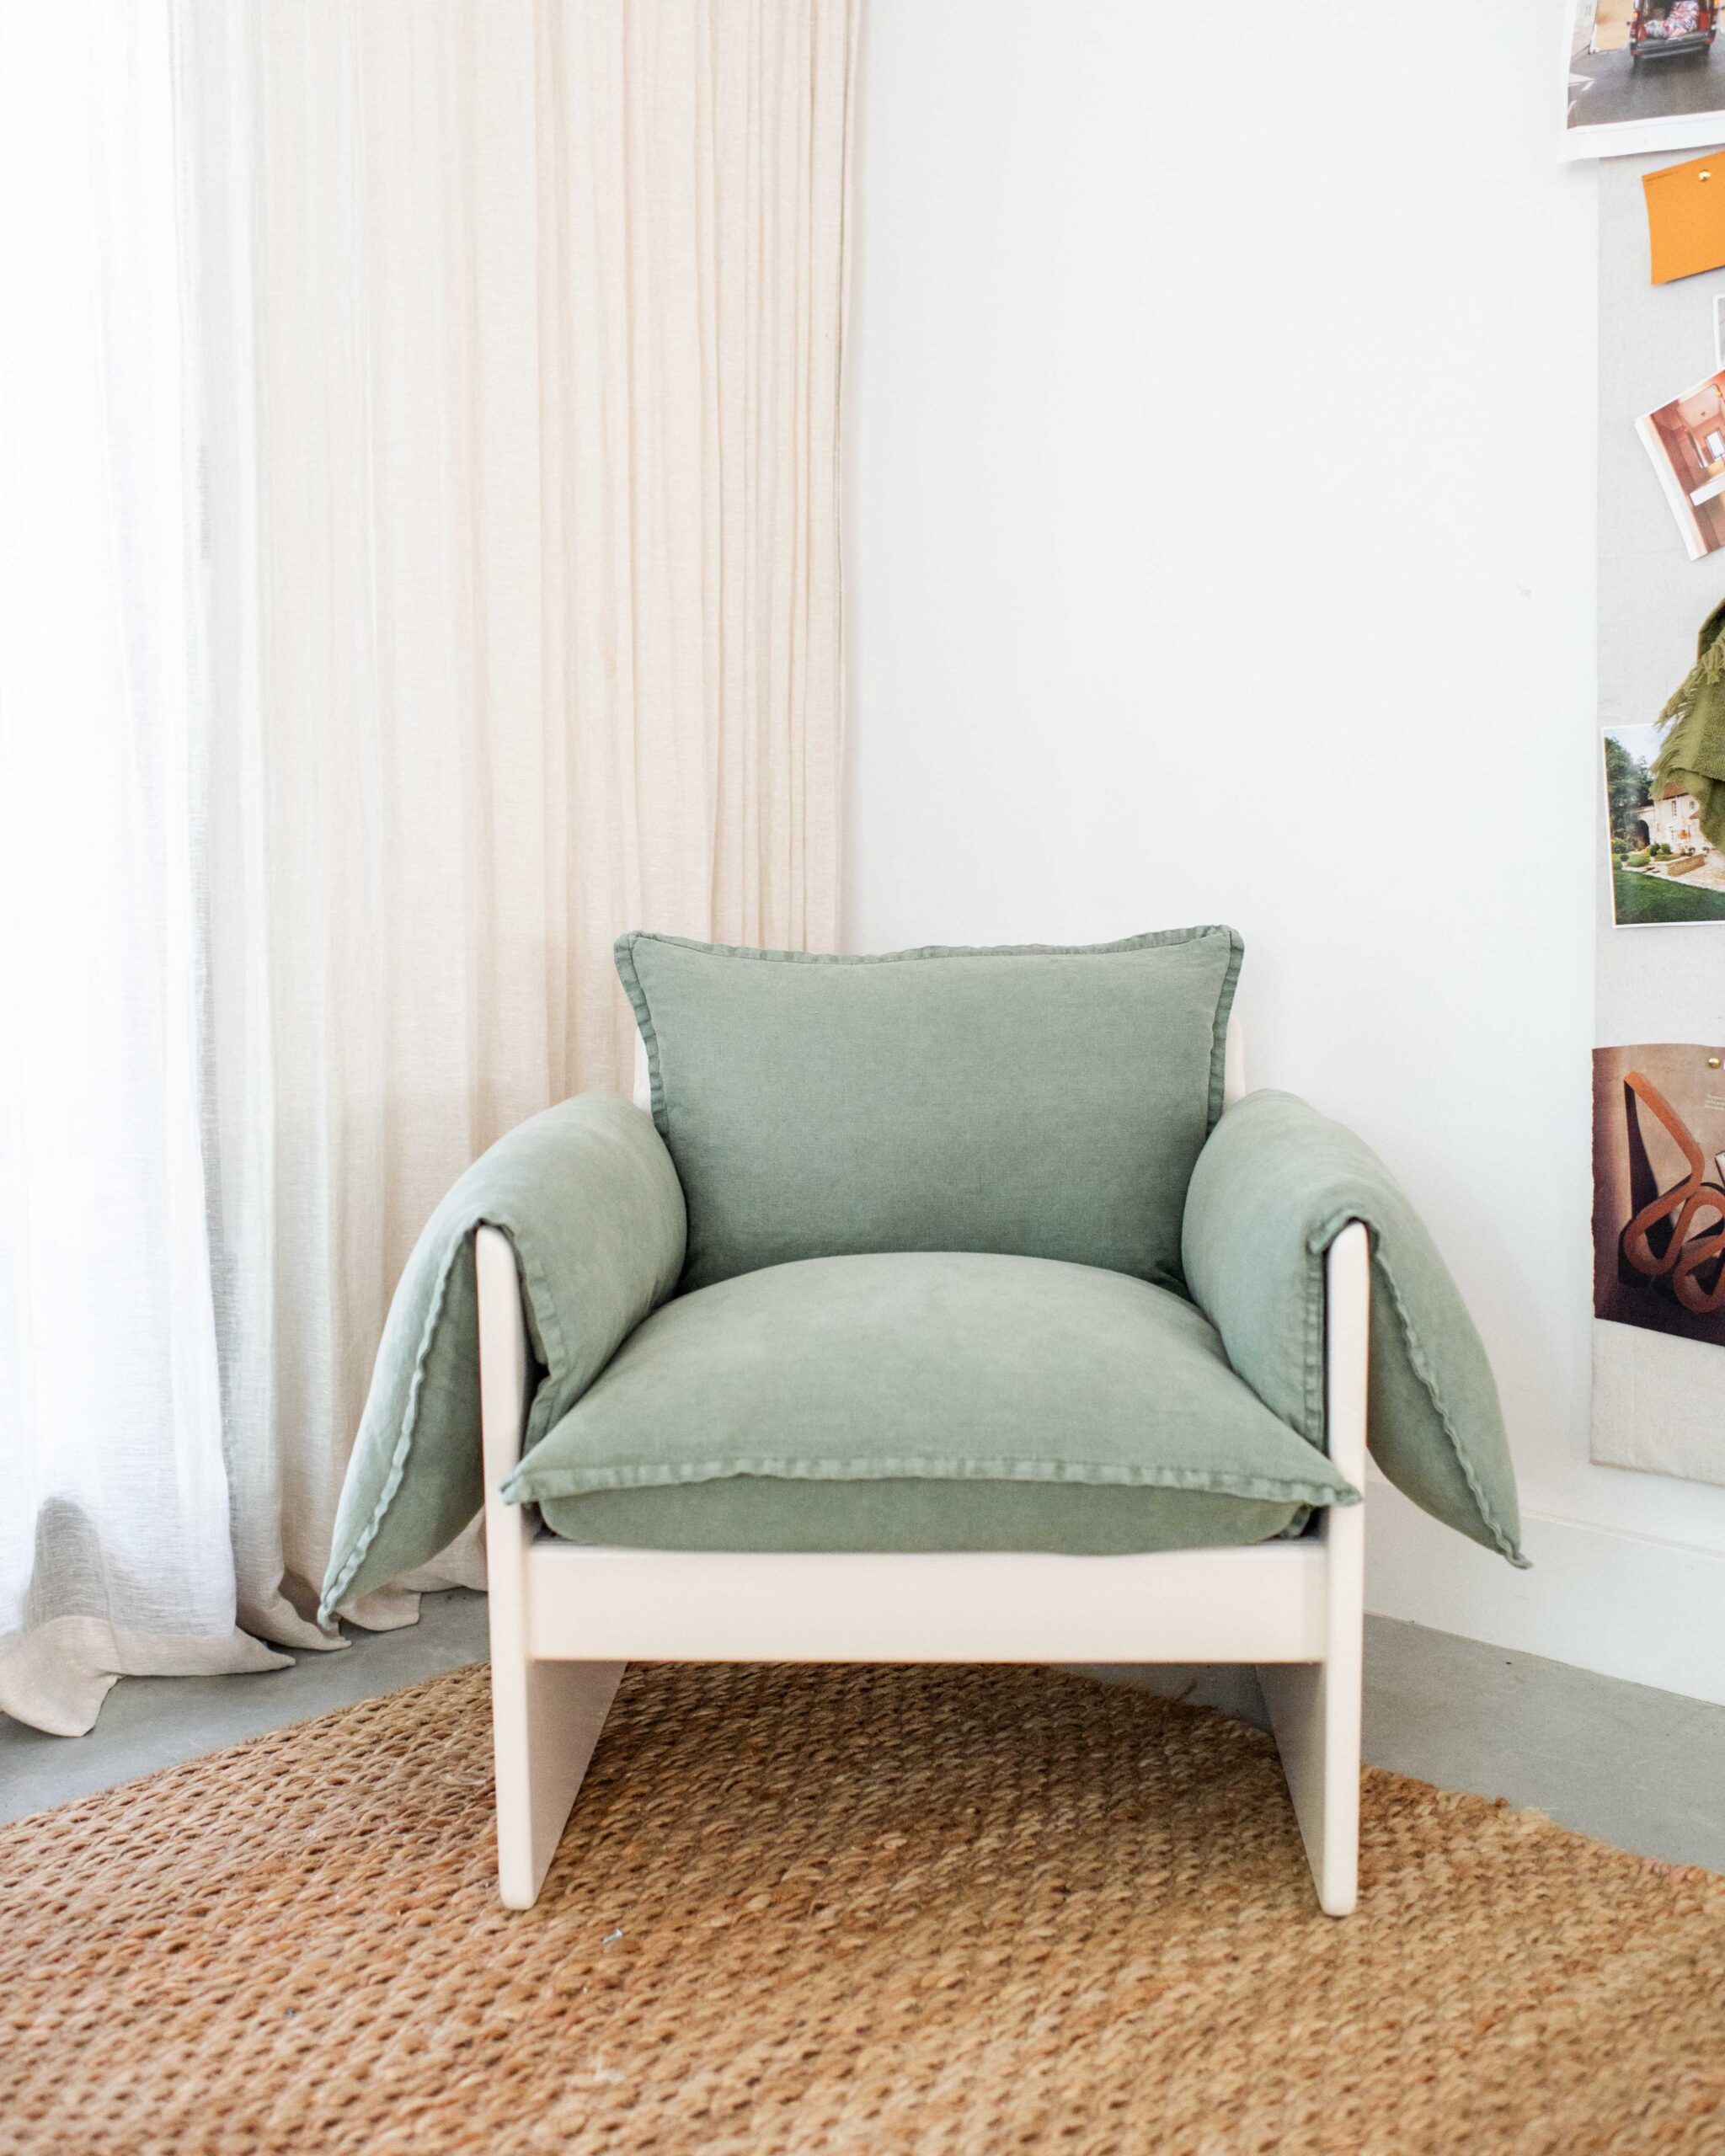
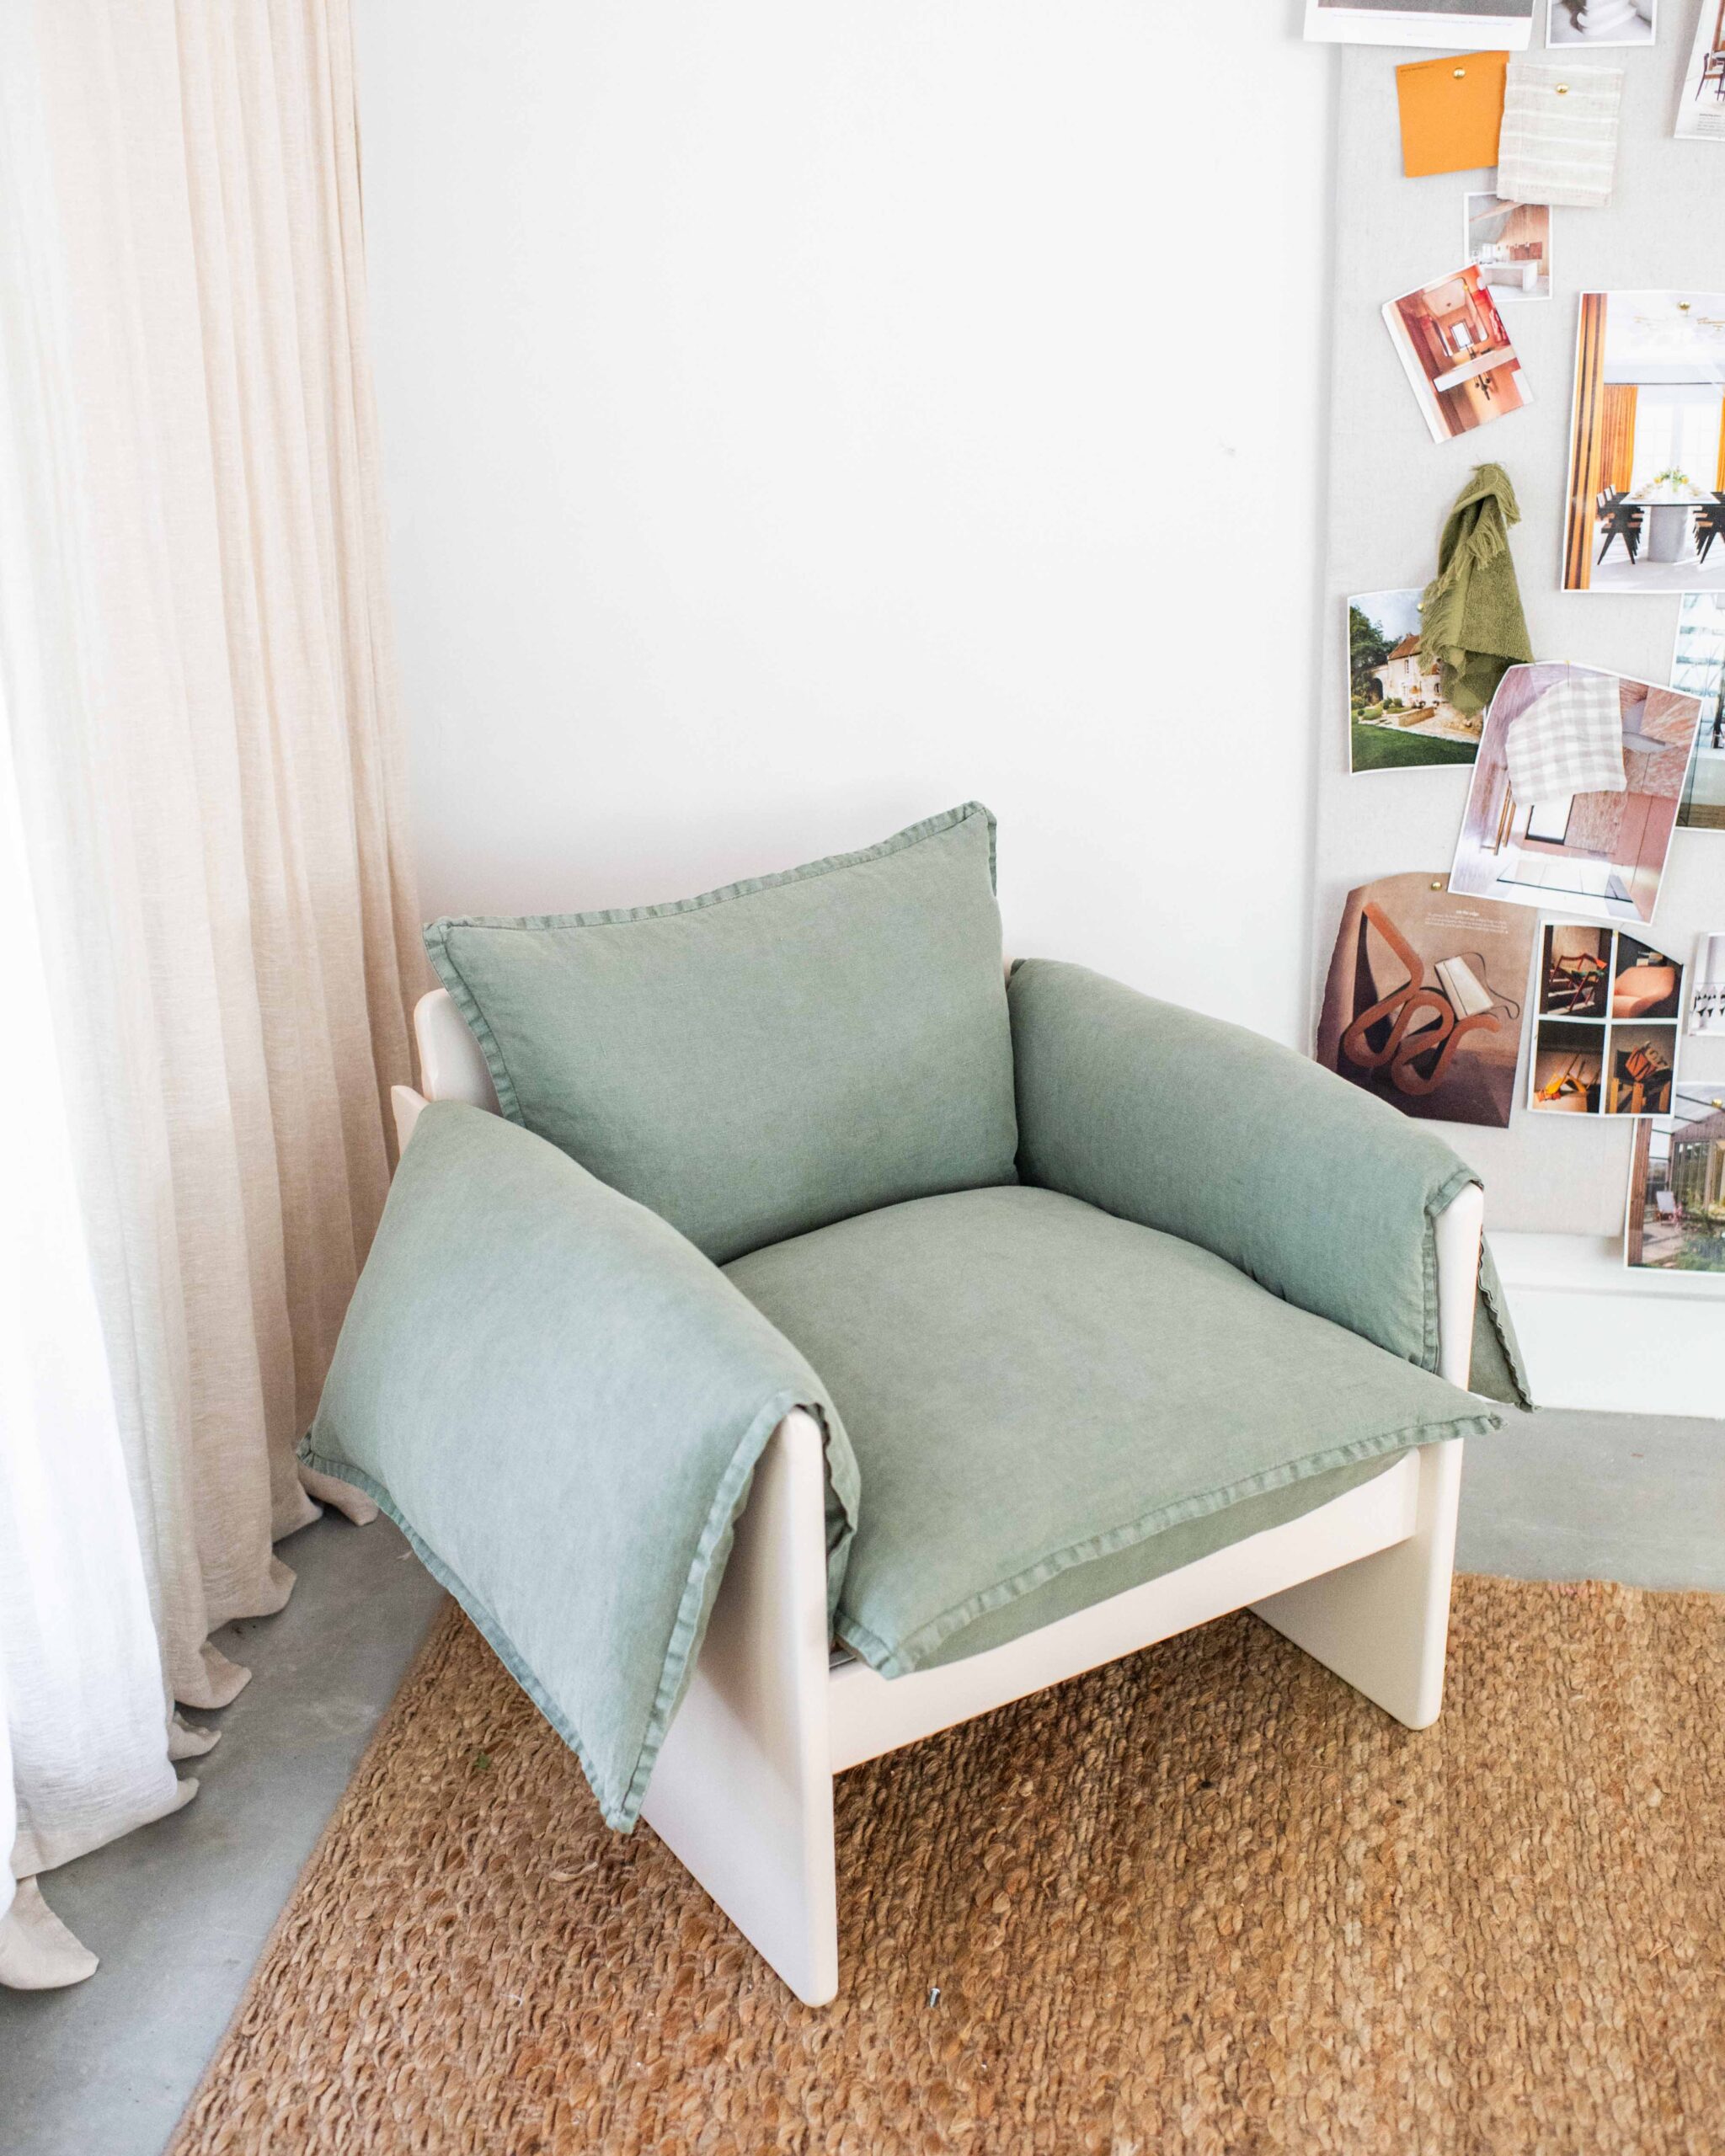
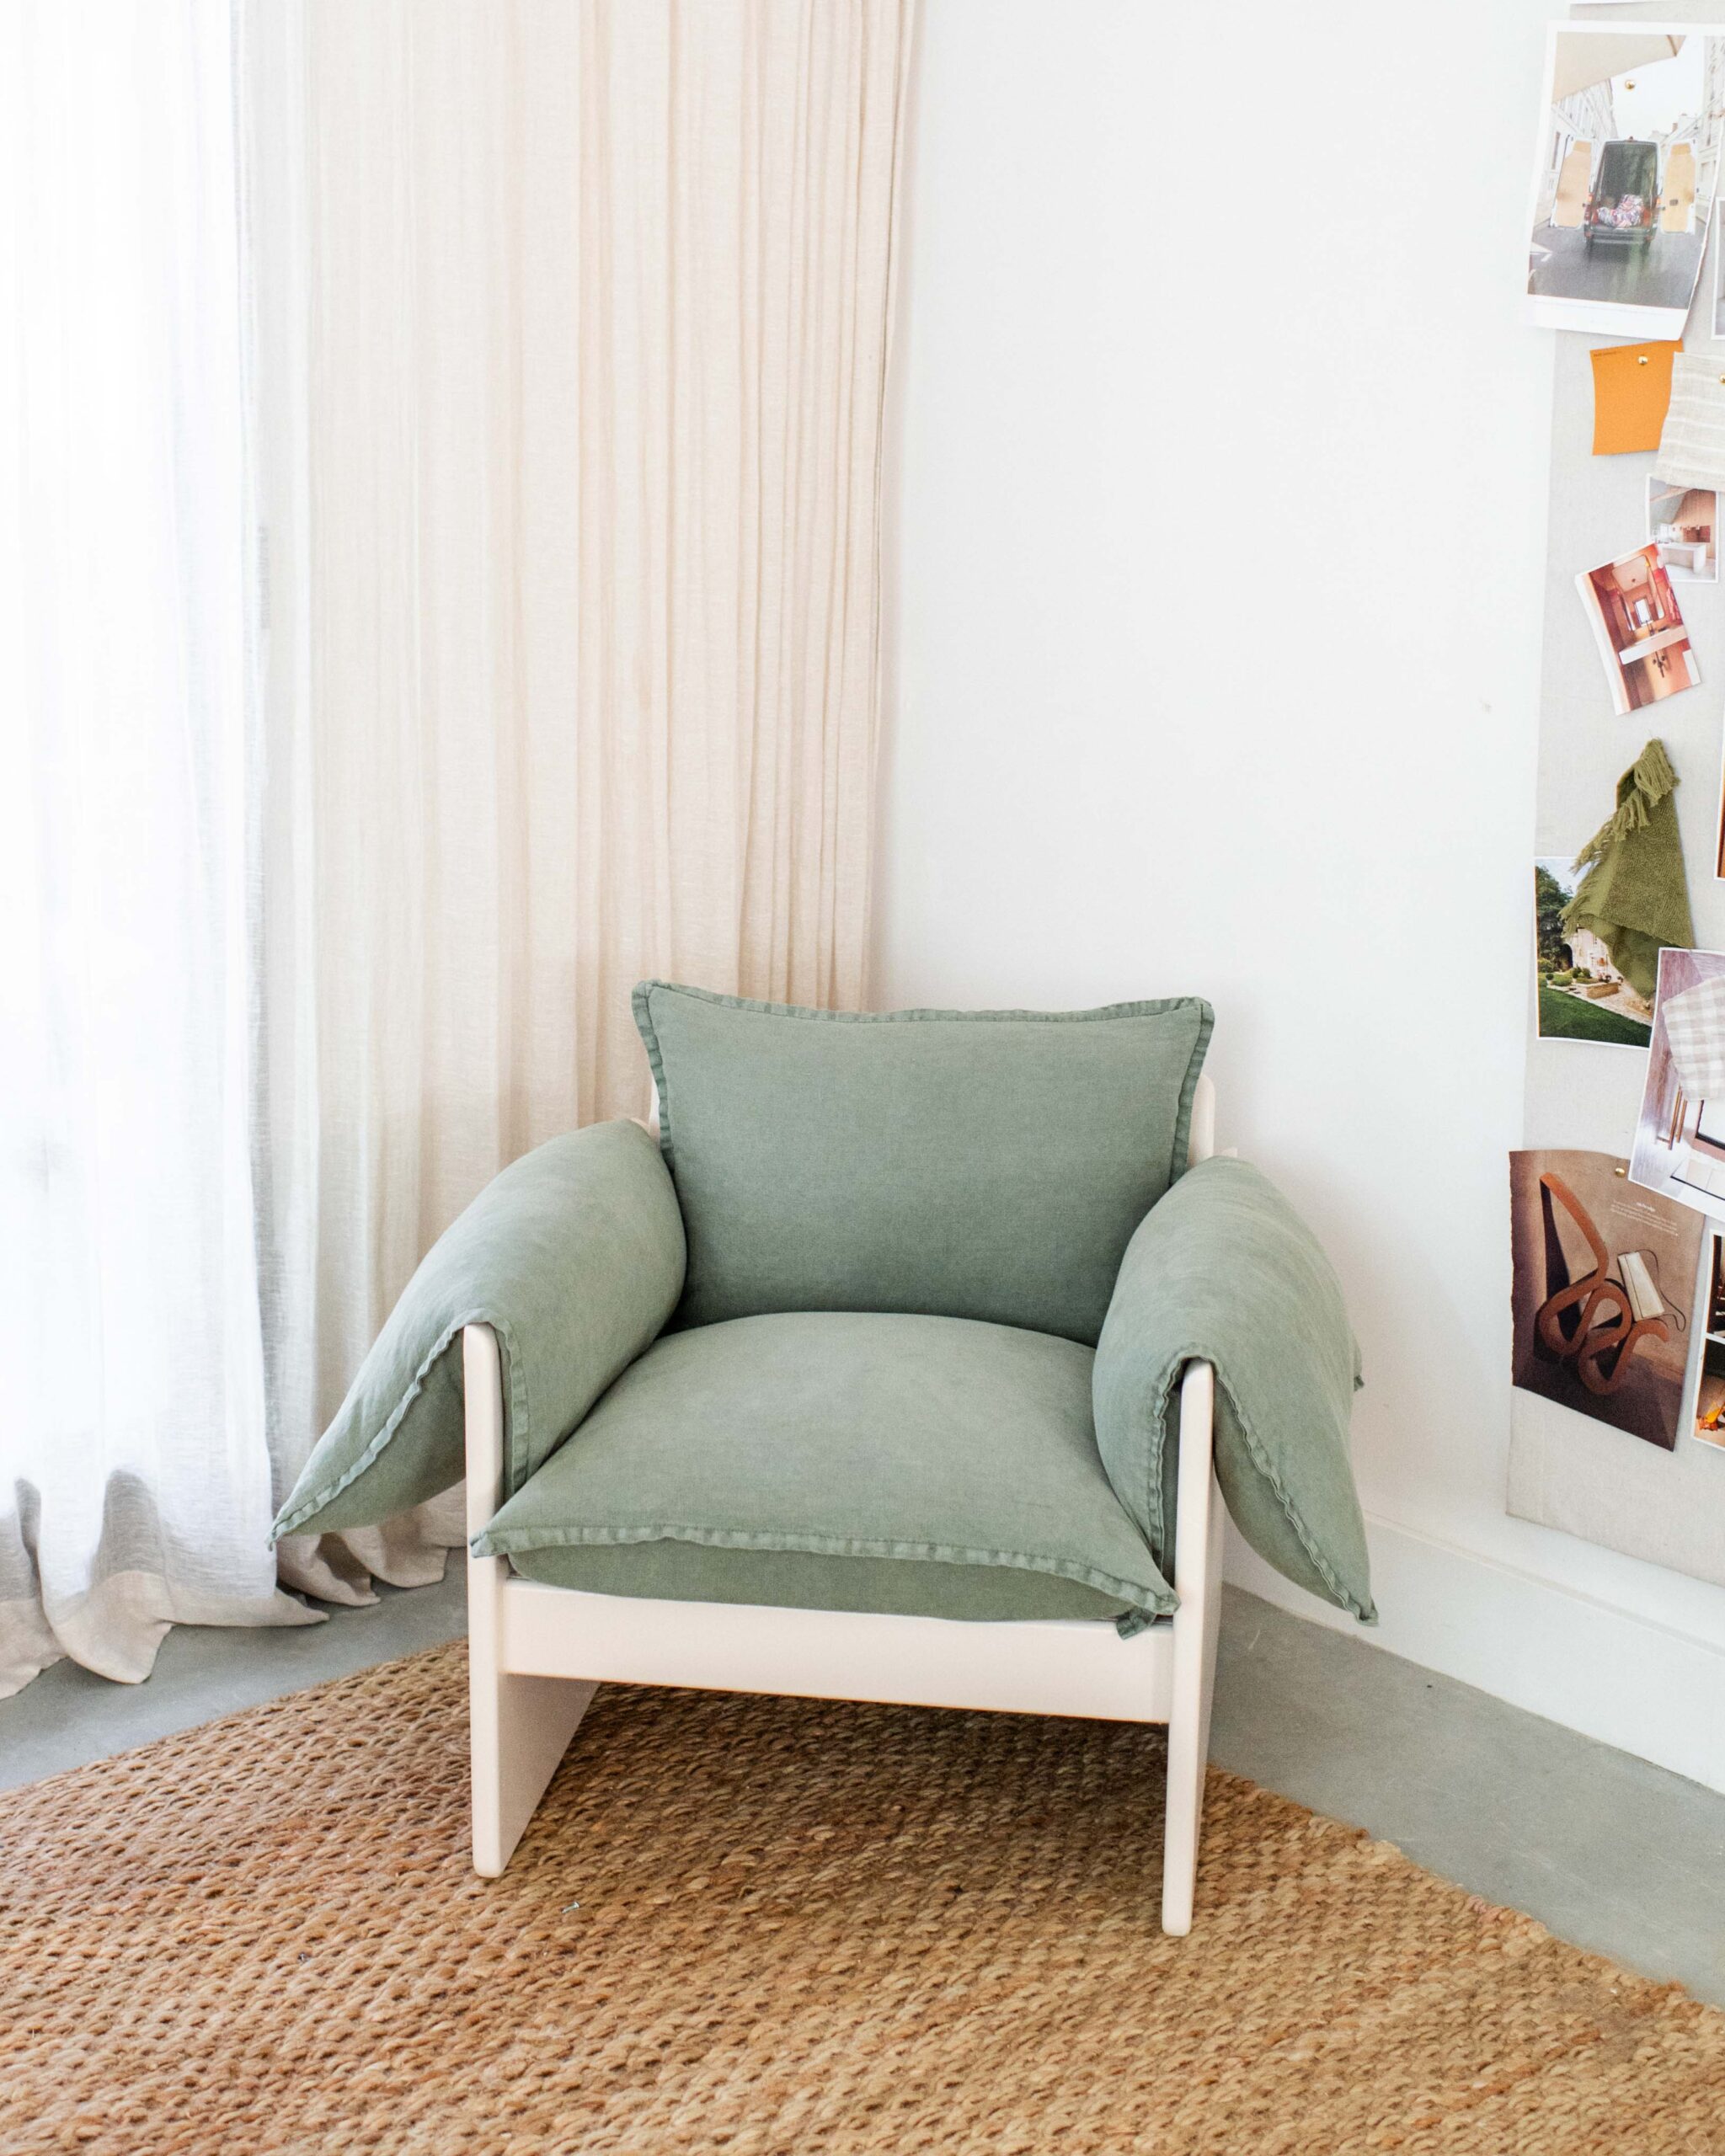
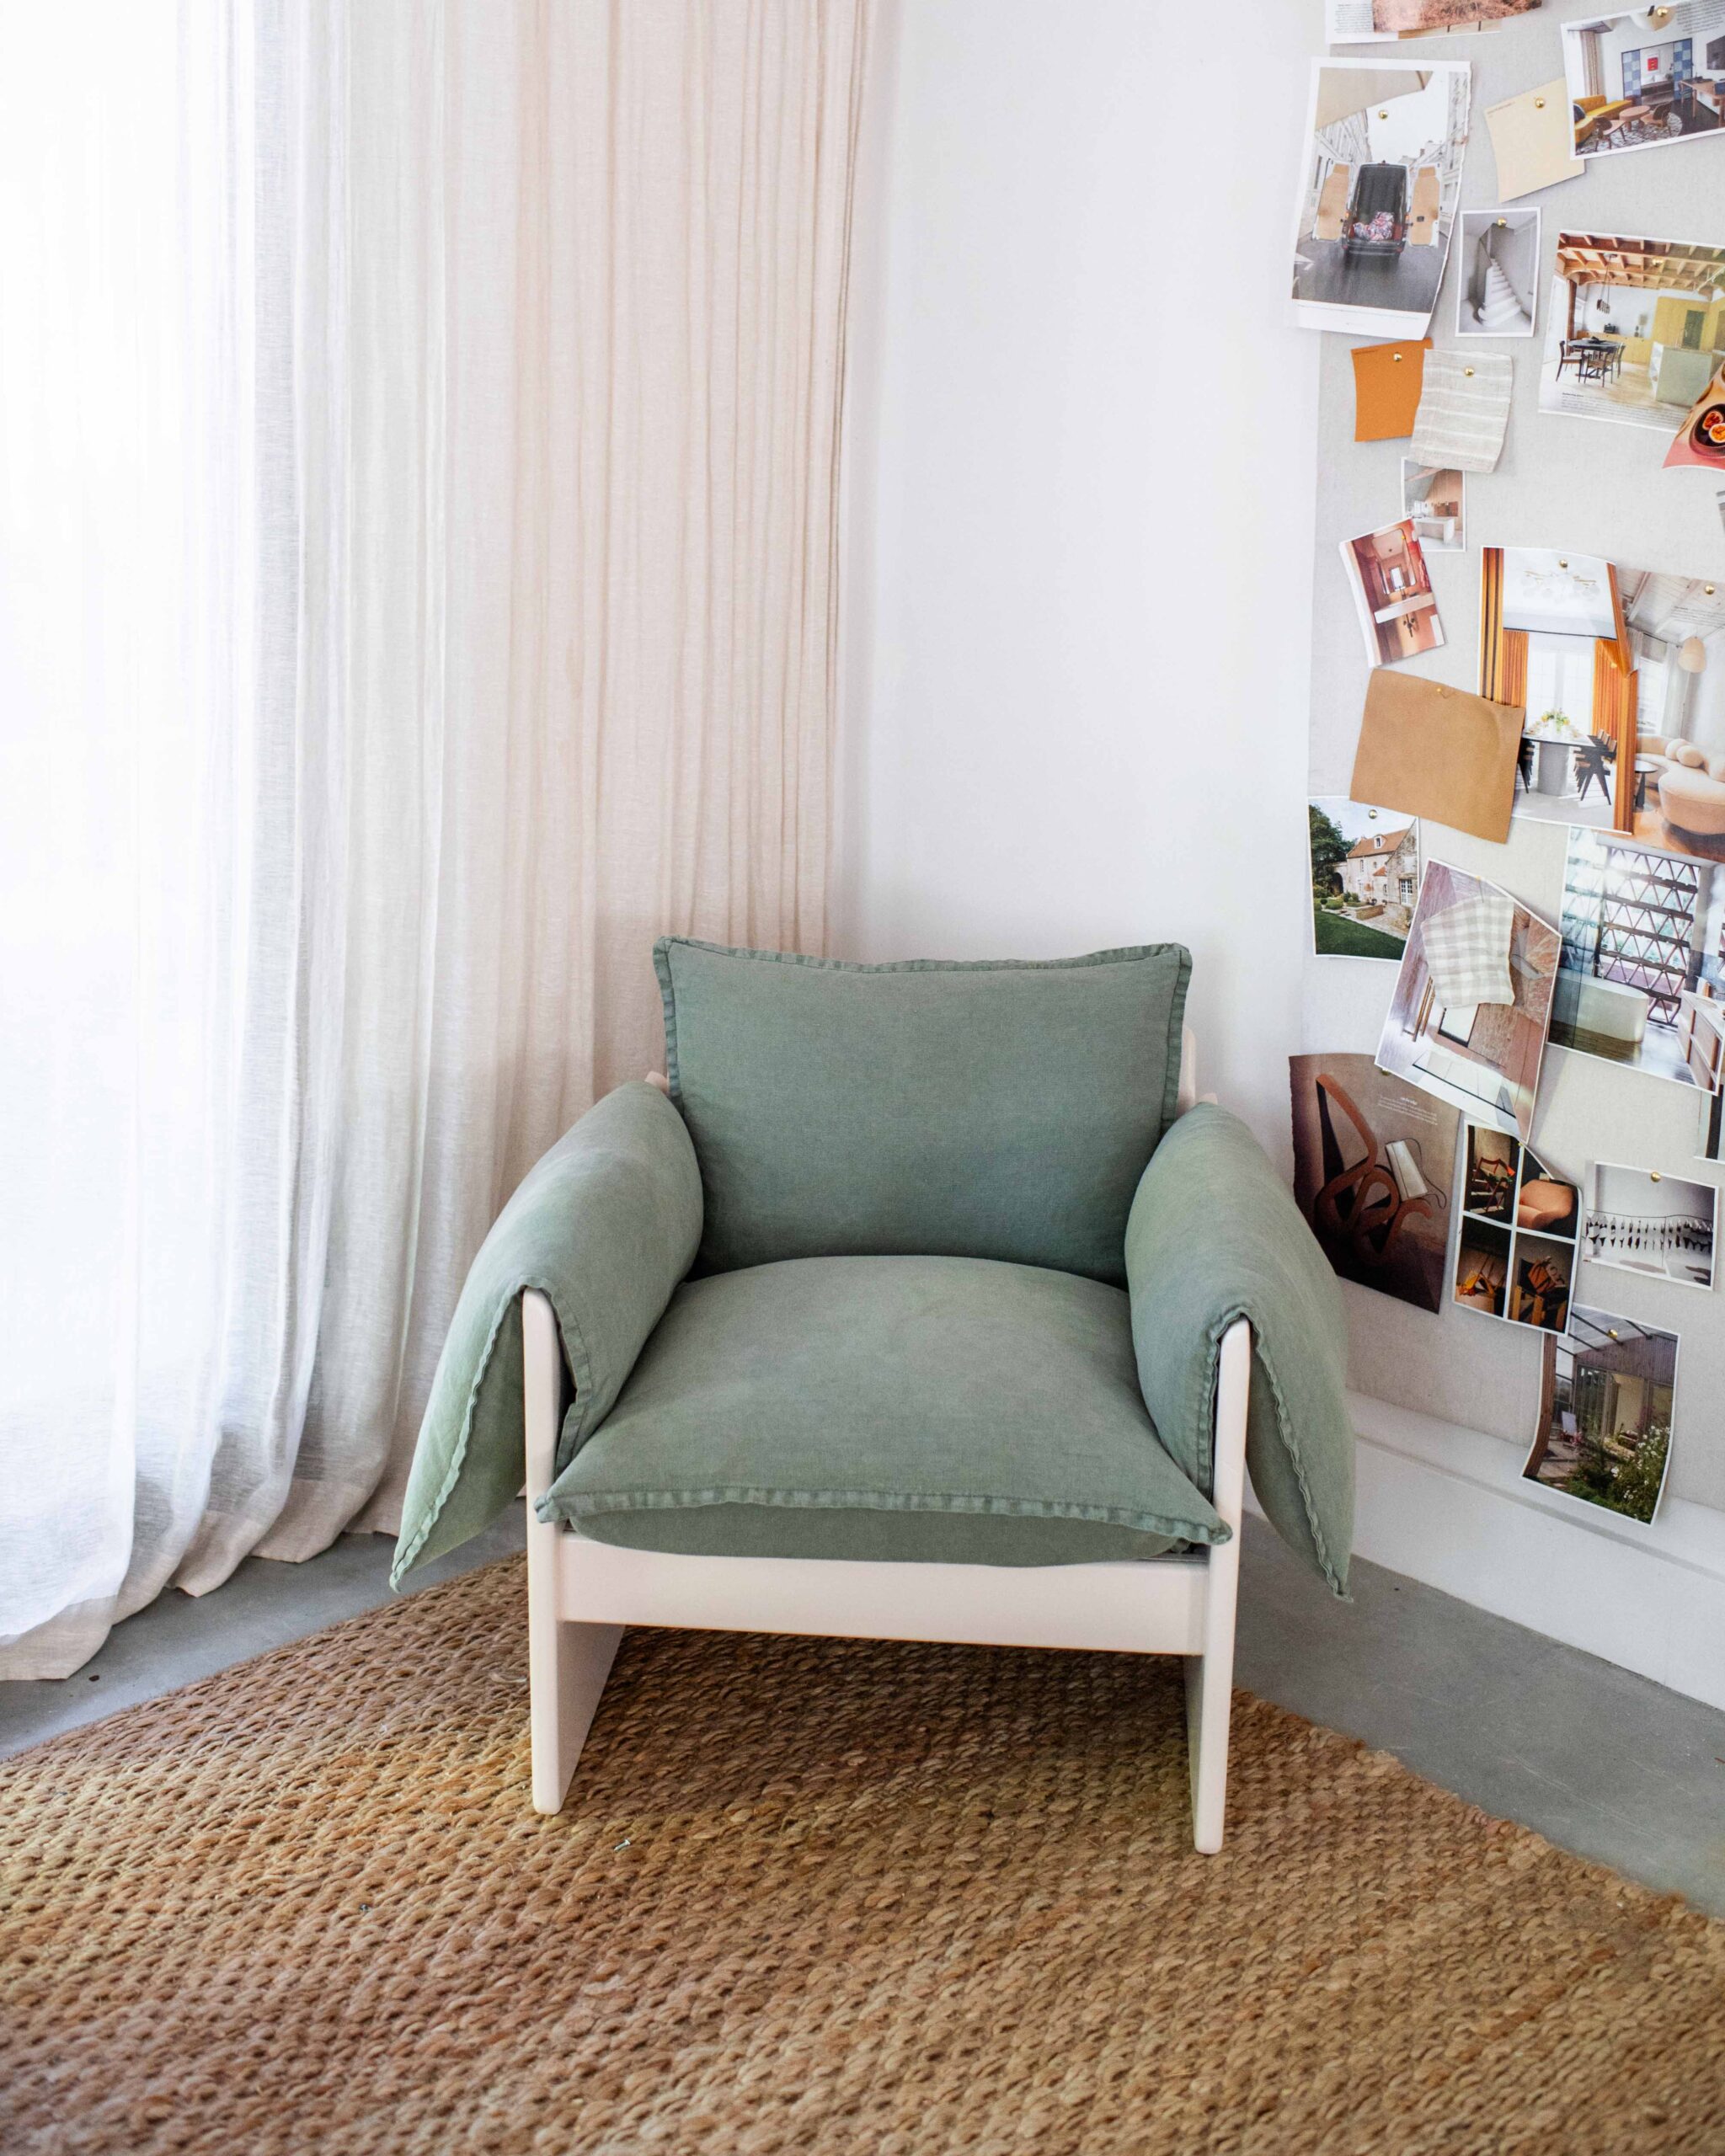
I’ve had my eye on a few designer chairs for a while and when I saw the frame of a chair in a second-hand store, I knew I could recreate the look with a coat of paint and some gorgeous cushions.
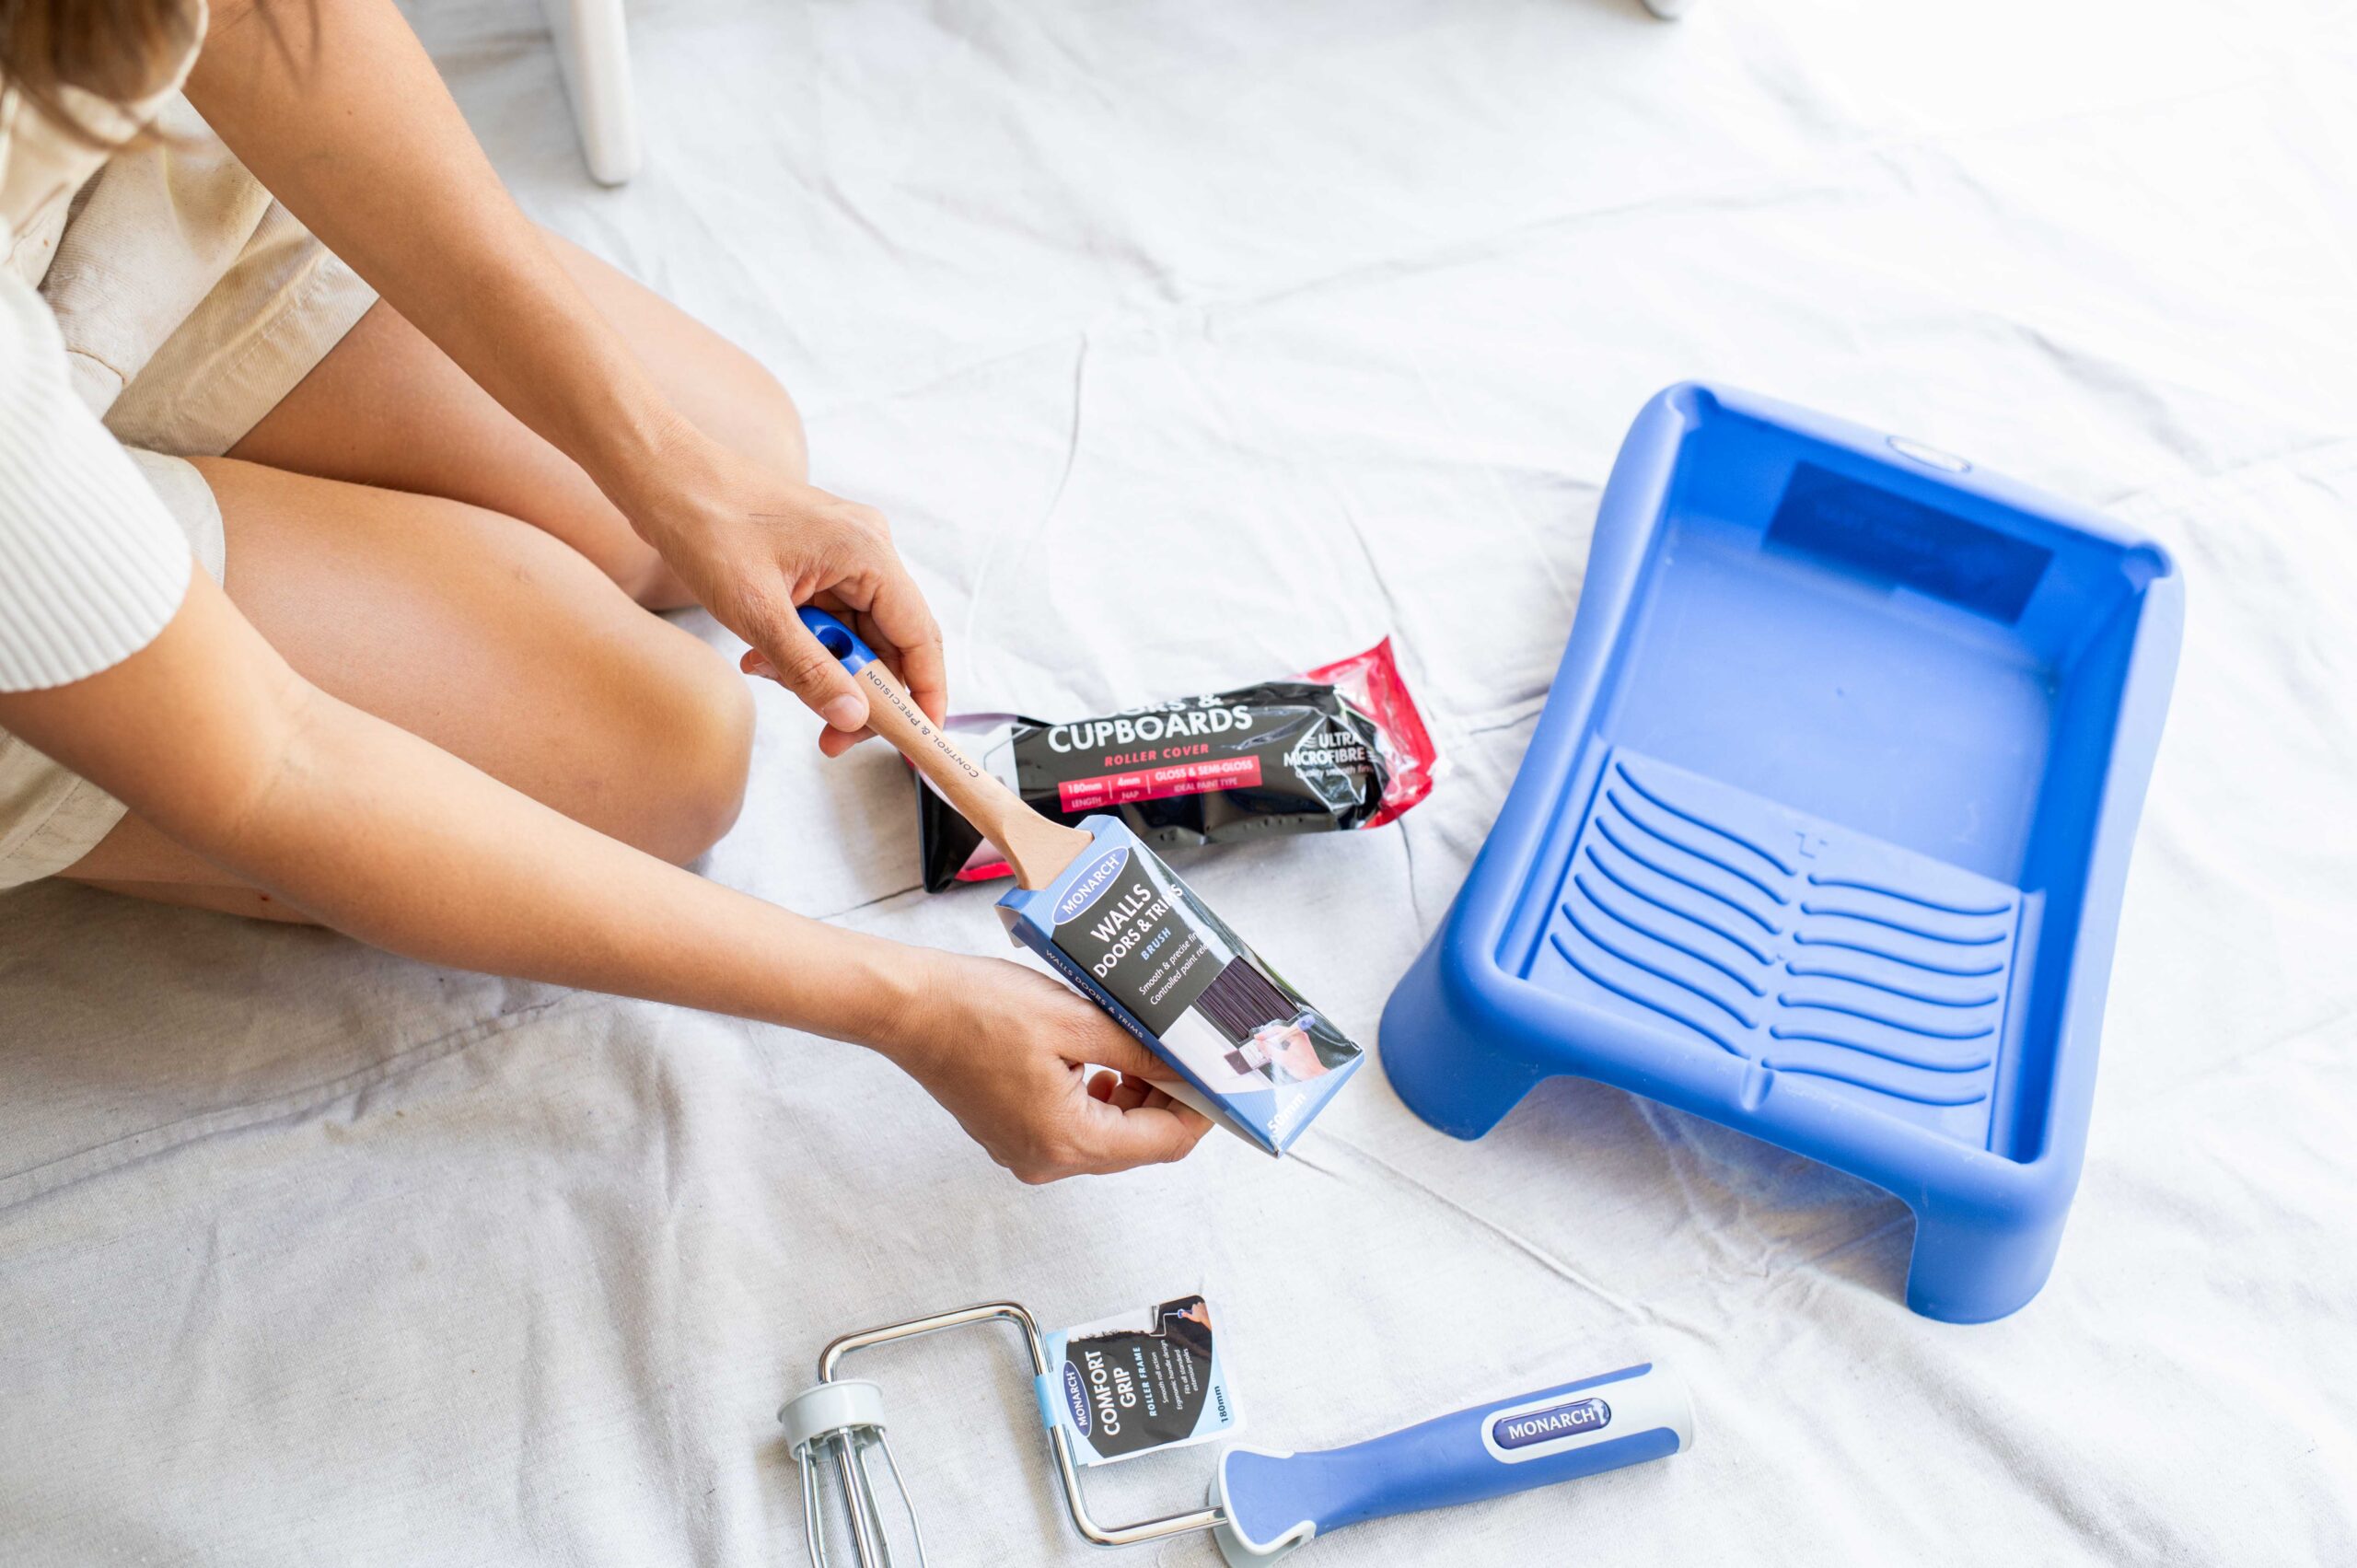
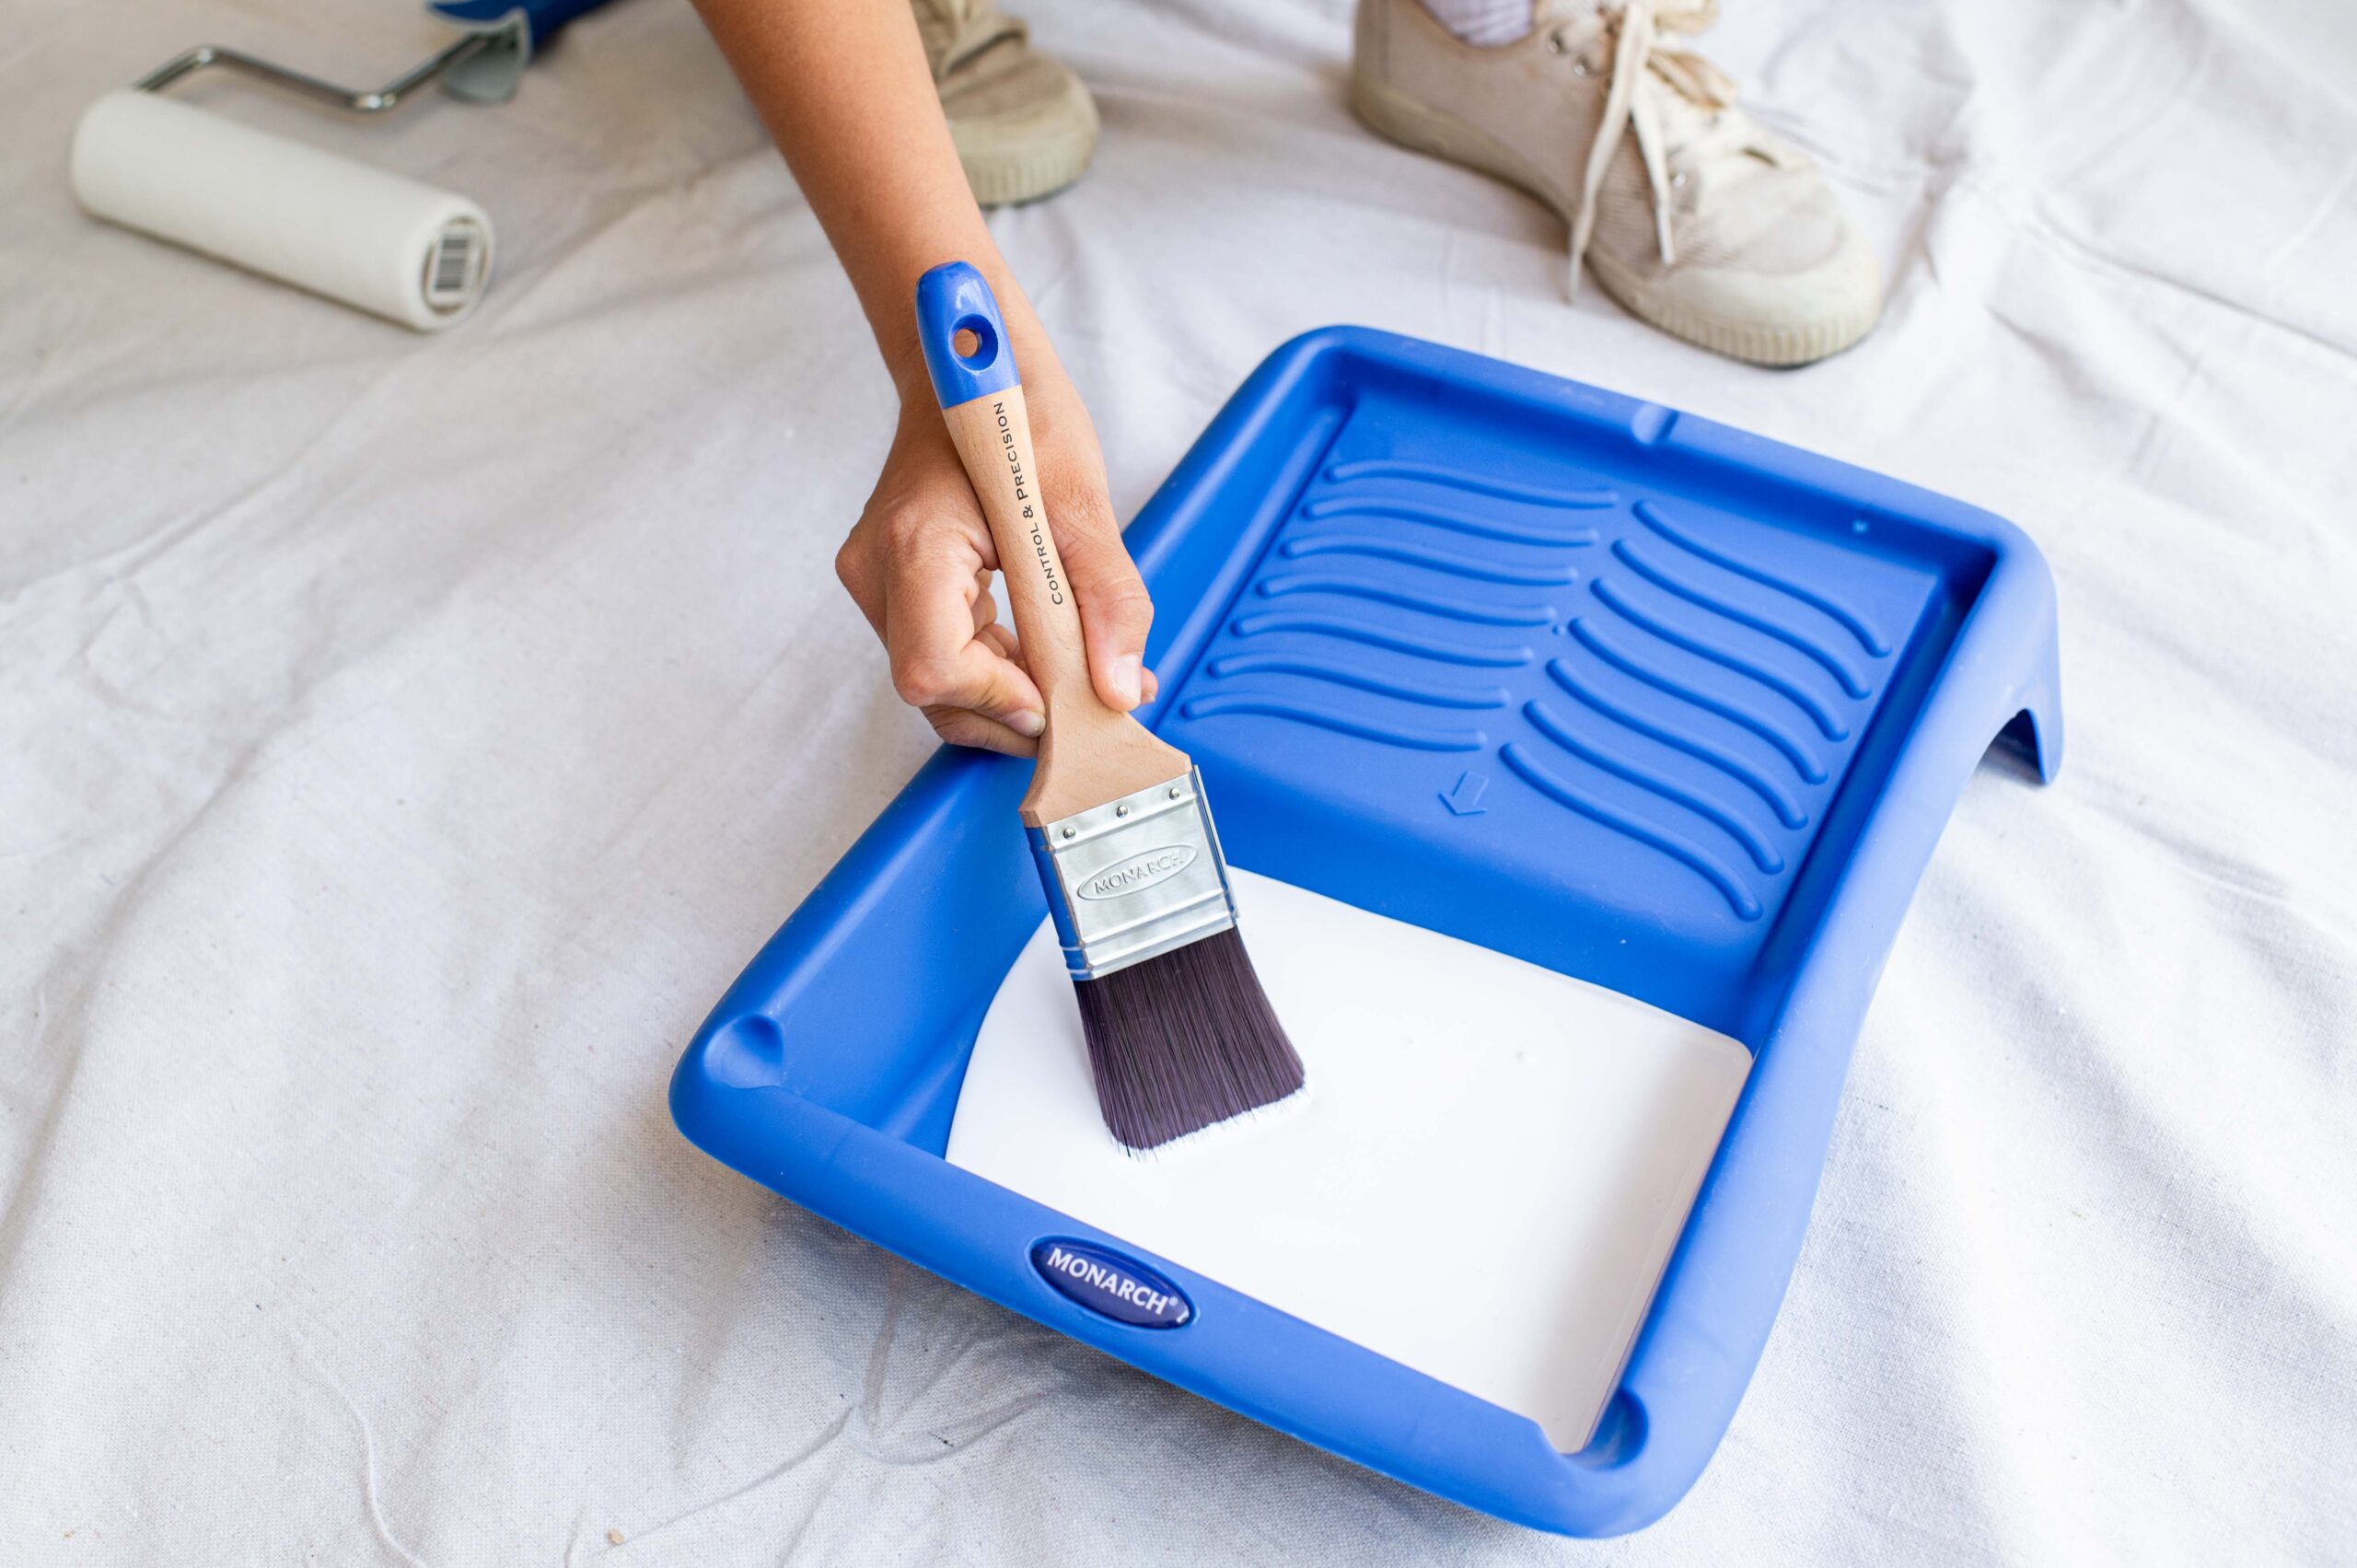
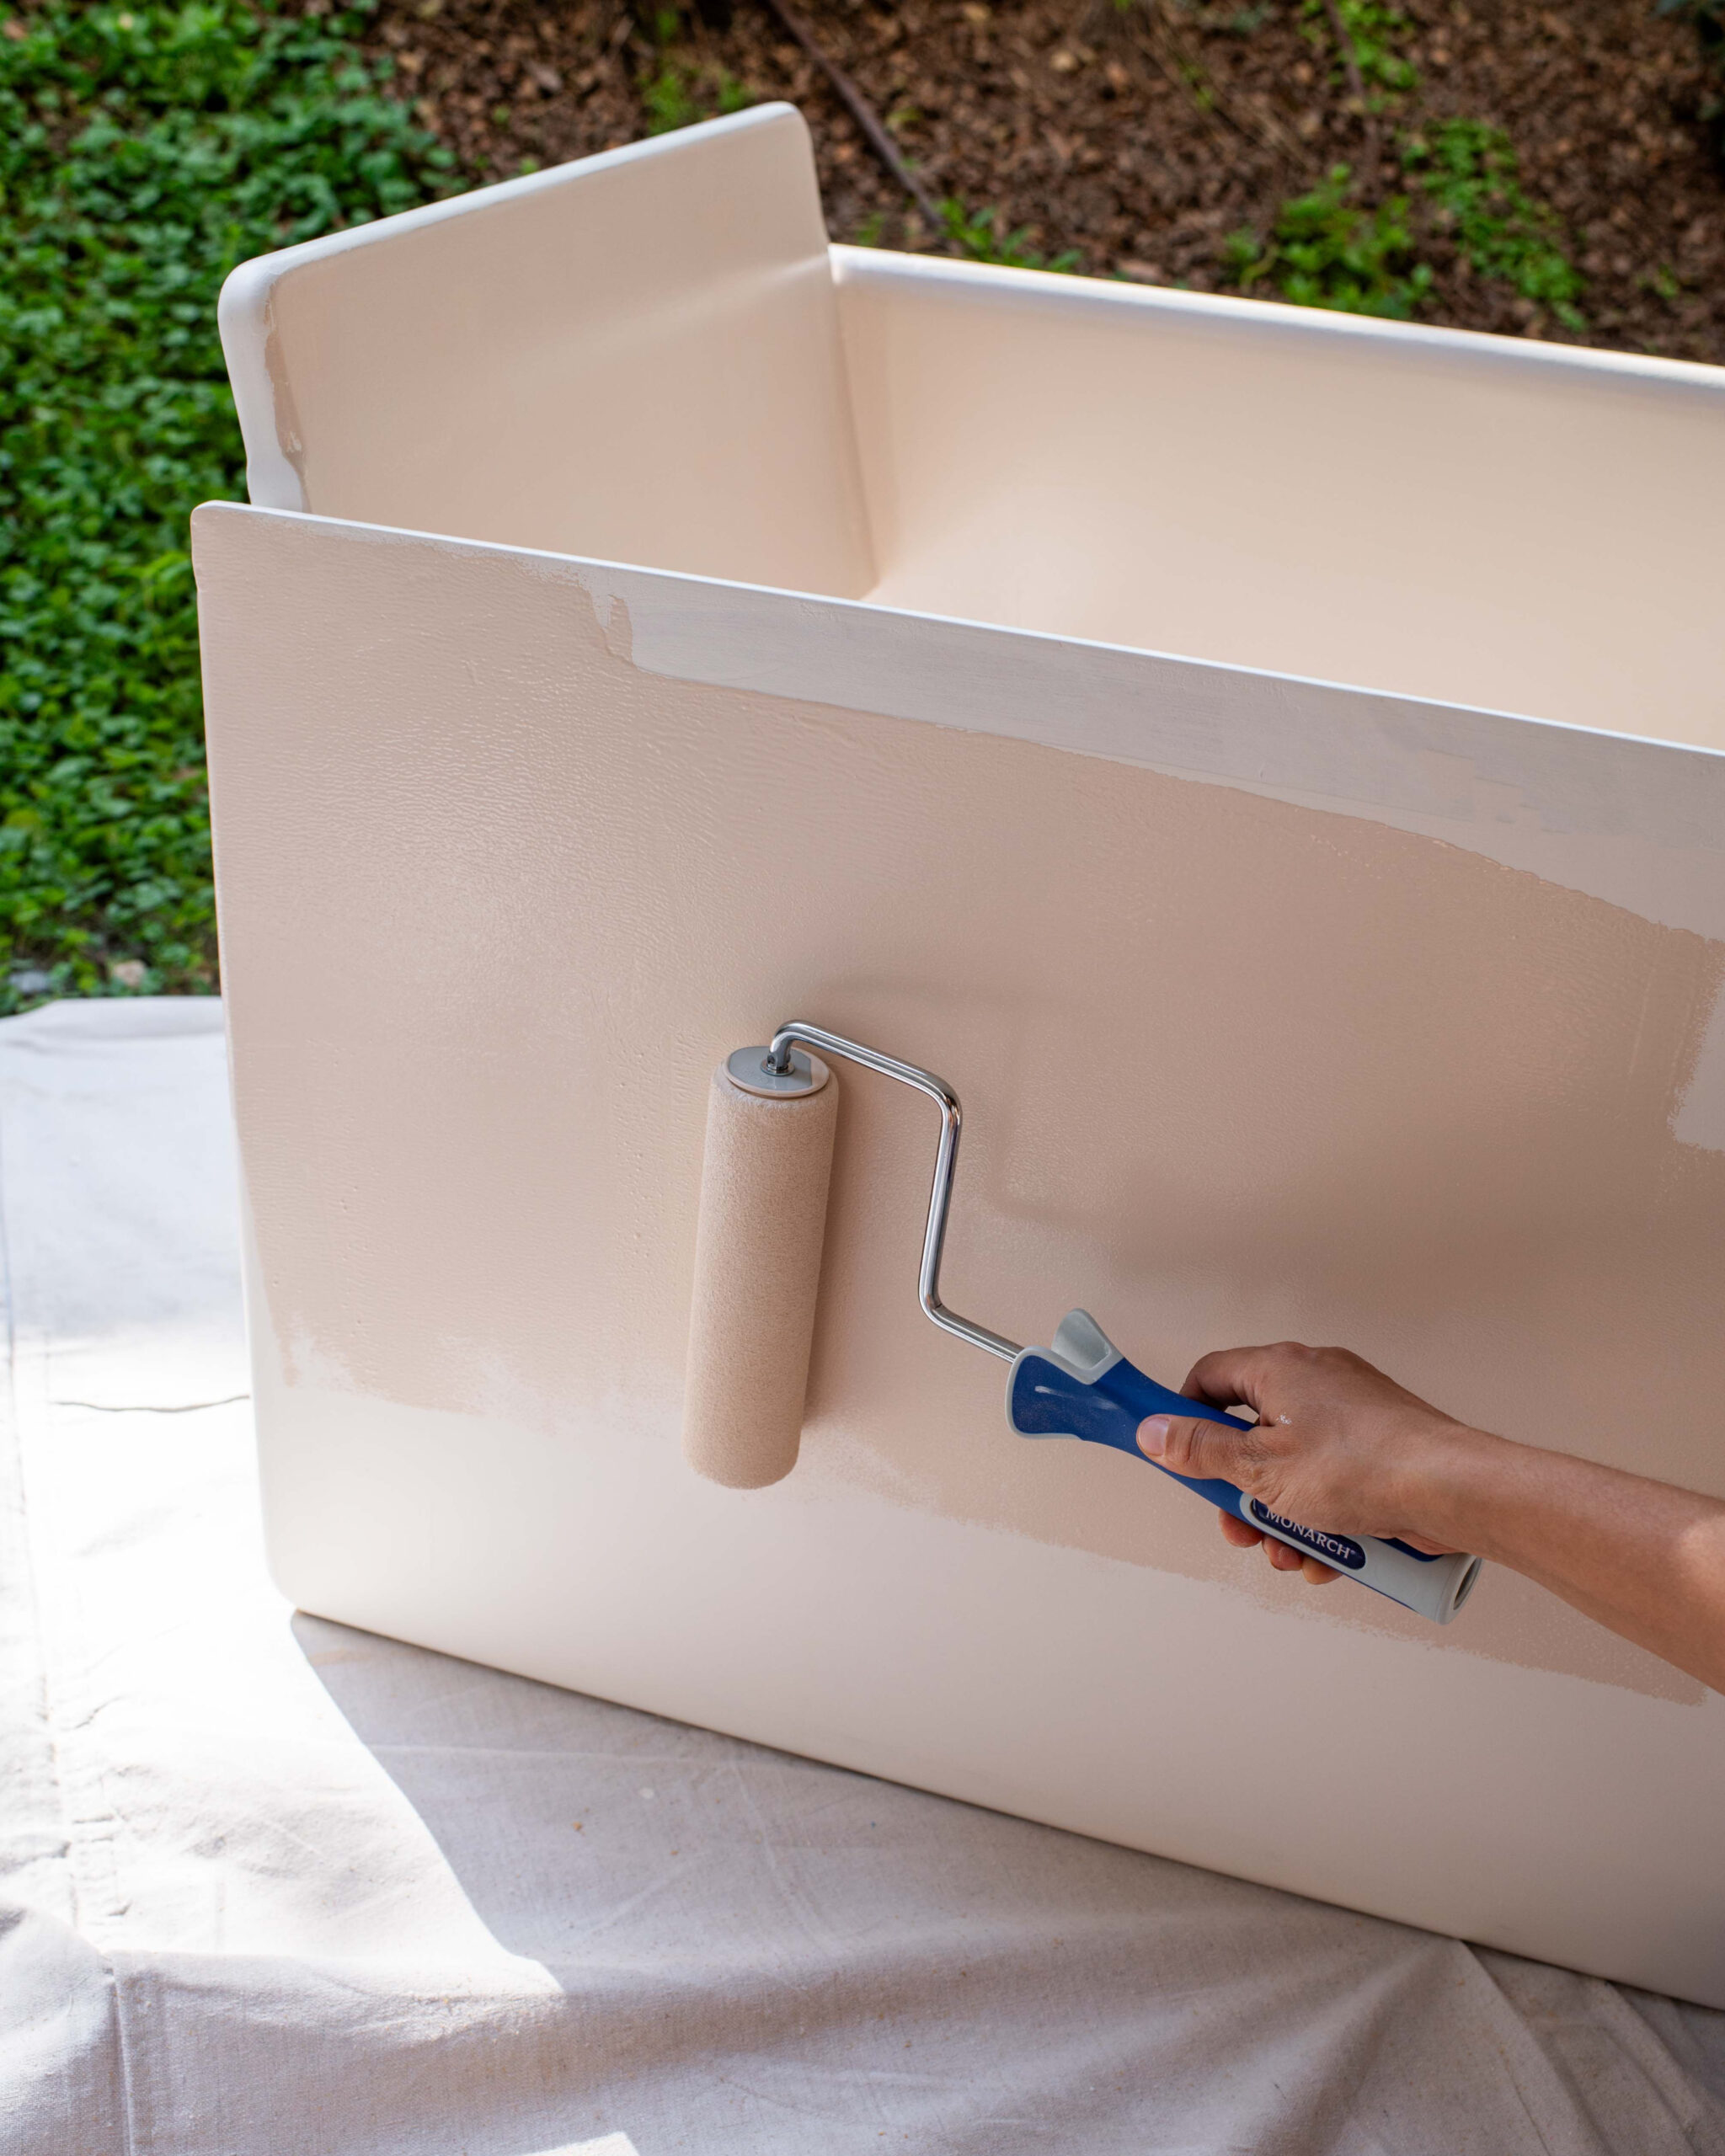
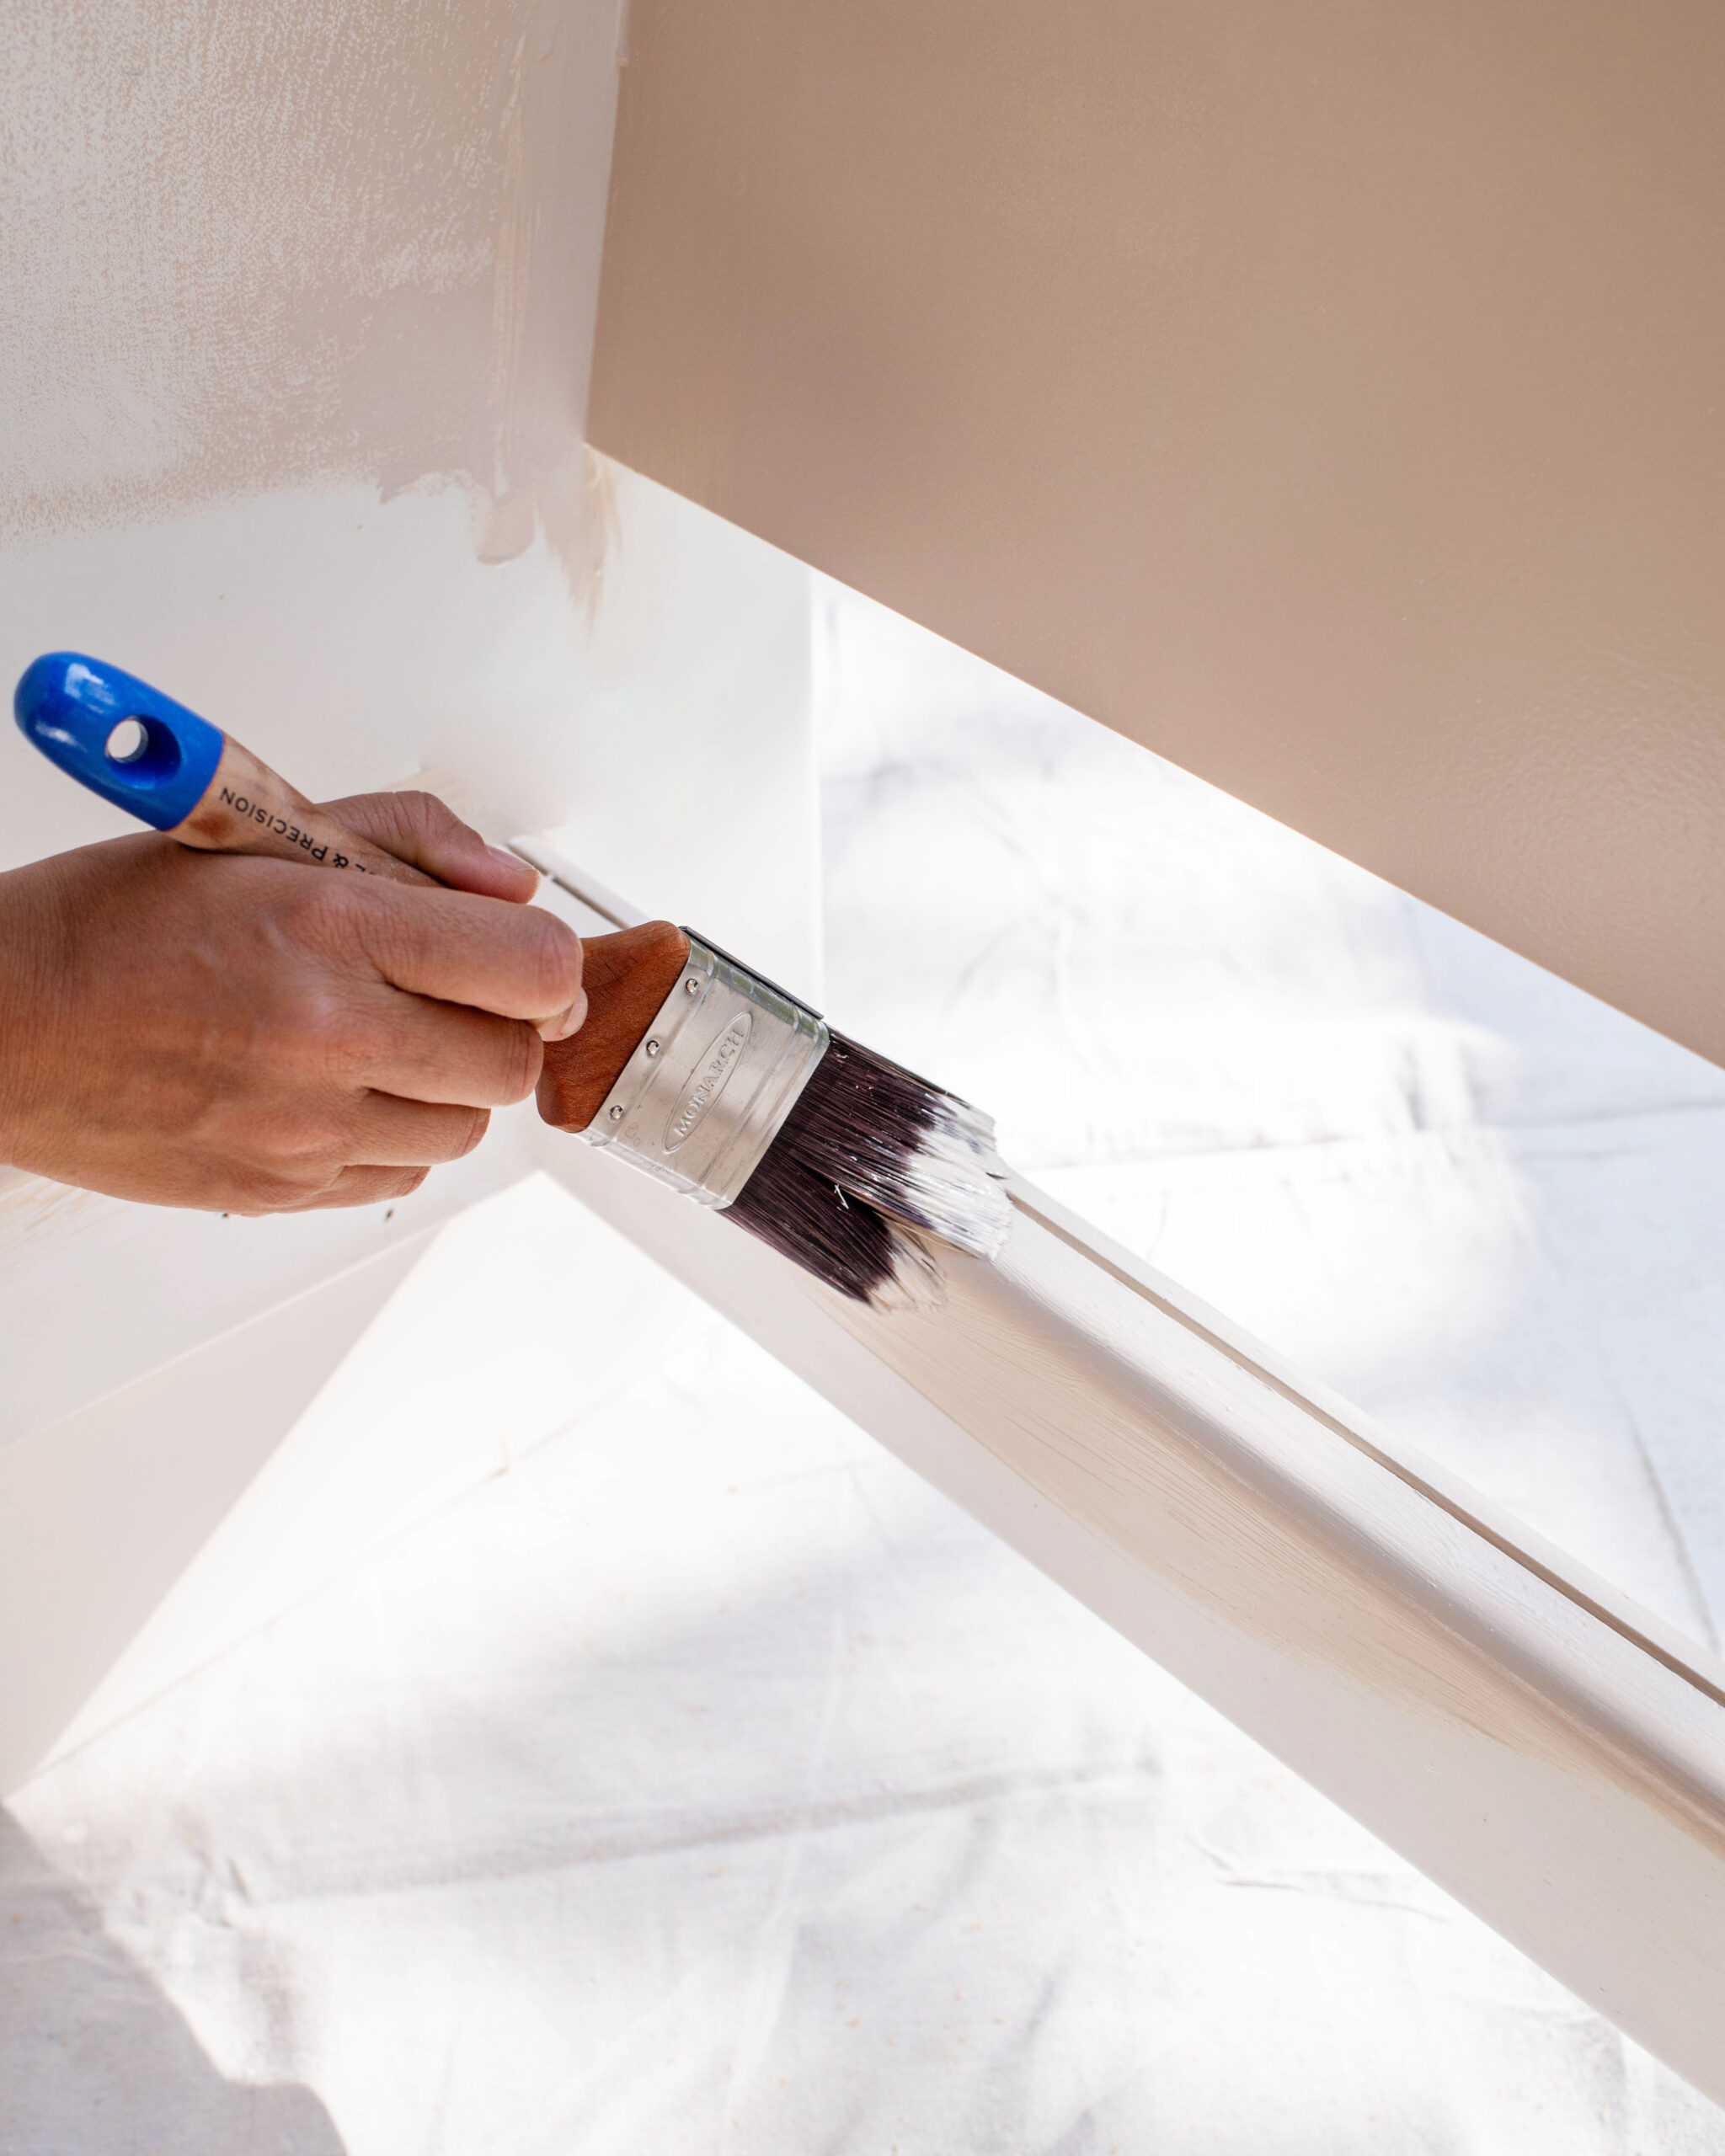
For a retro look like this it’s all about a smooth paint finish, and so I reached from my Monarch Painting paint brushes, rollers and accessories. Their Doors, Trims and Cupboards range are great for any DIY painting projects you’re planning as they’re super easy to use and give a flawless finish. Read on to see how I did it, and watch the video here.
Before & After
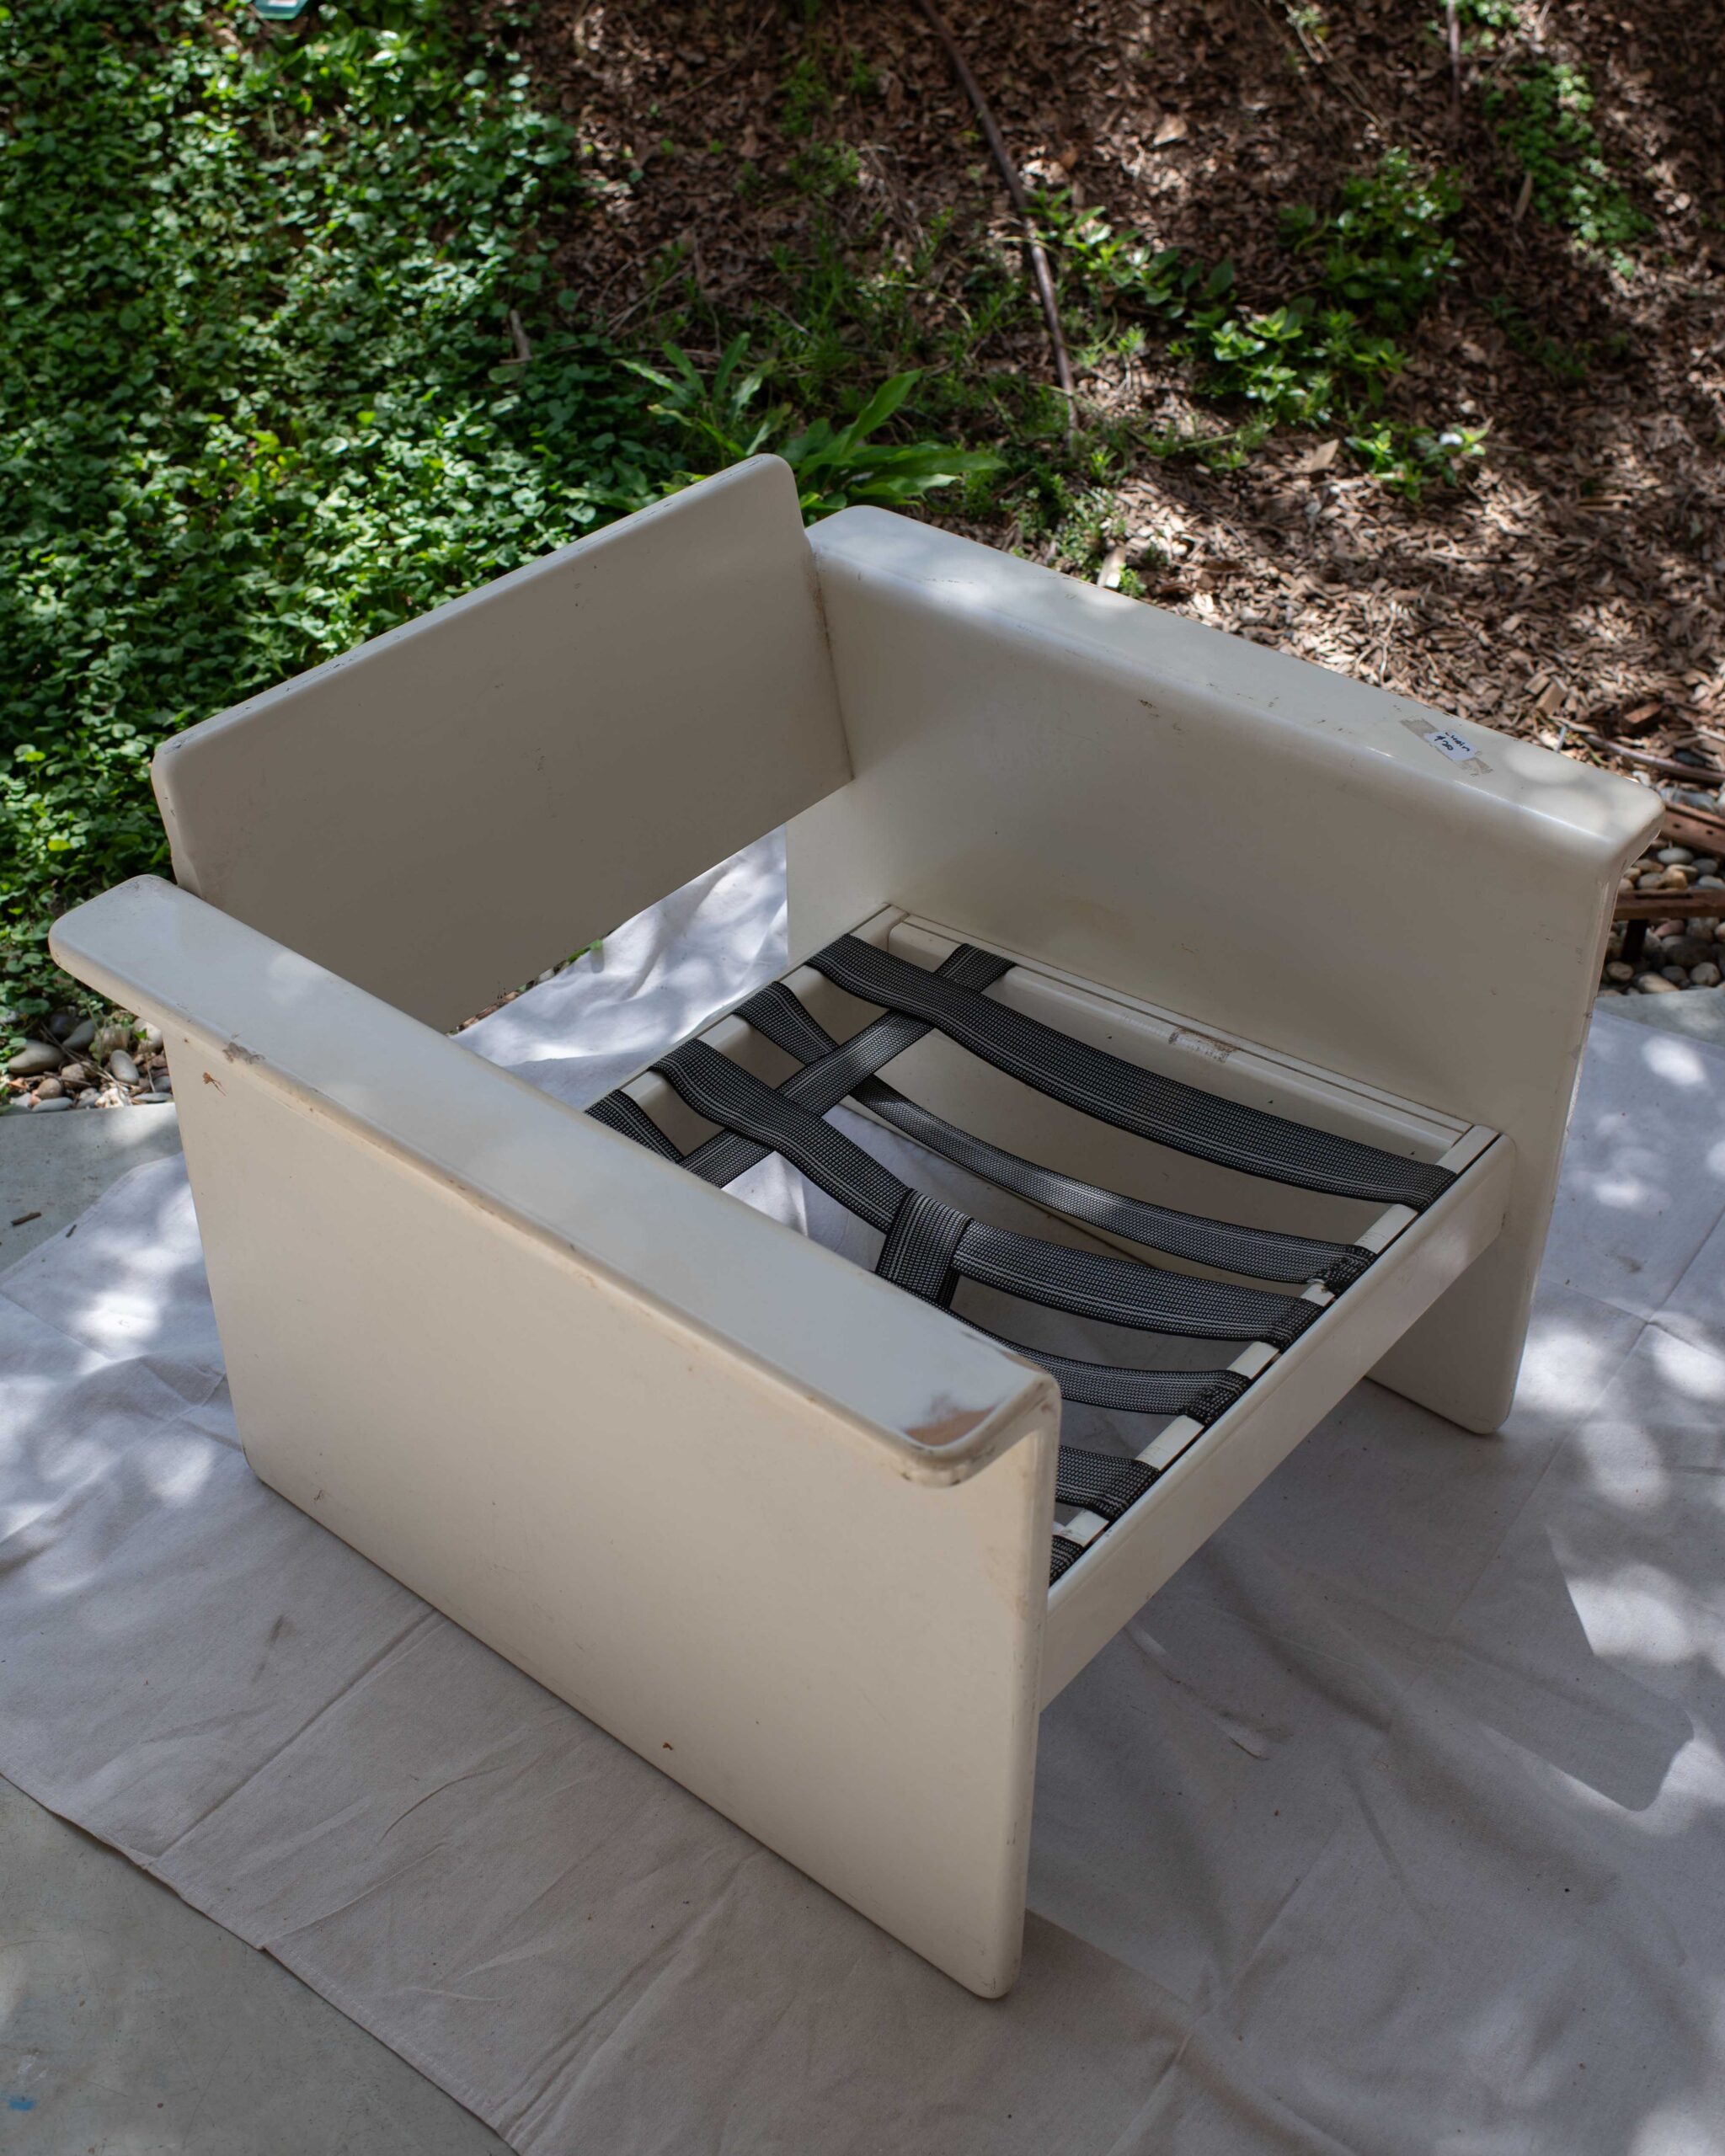
- Before
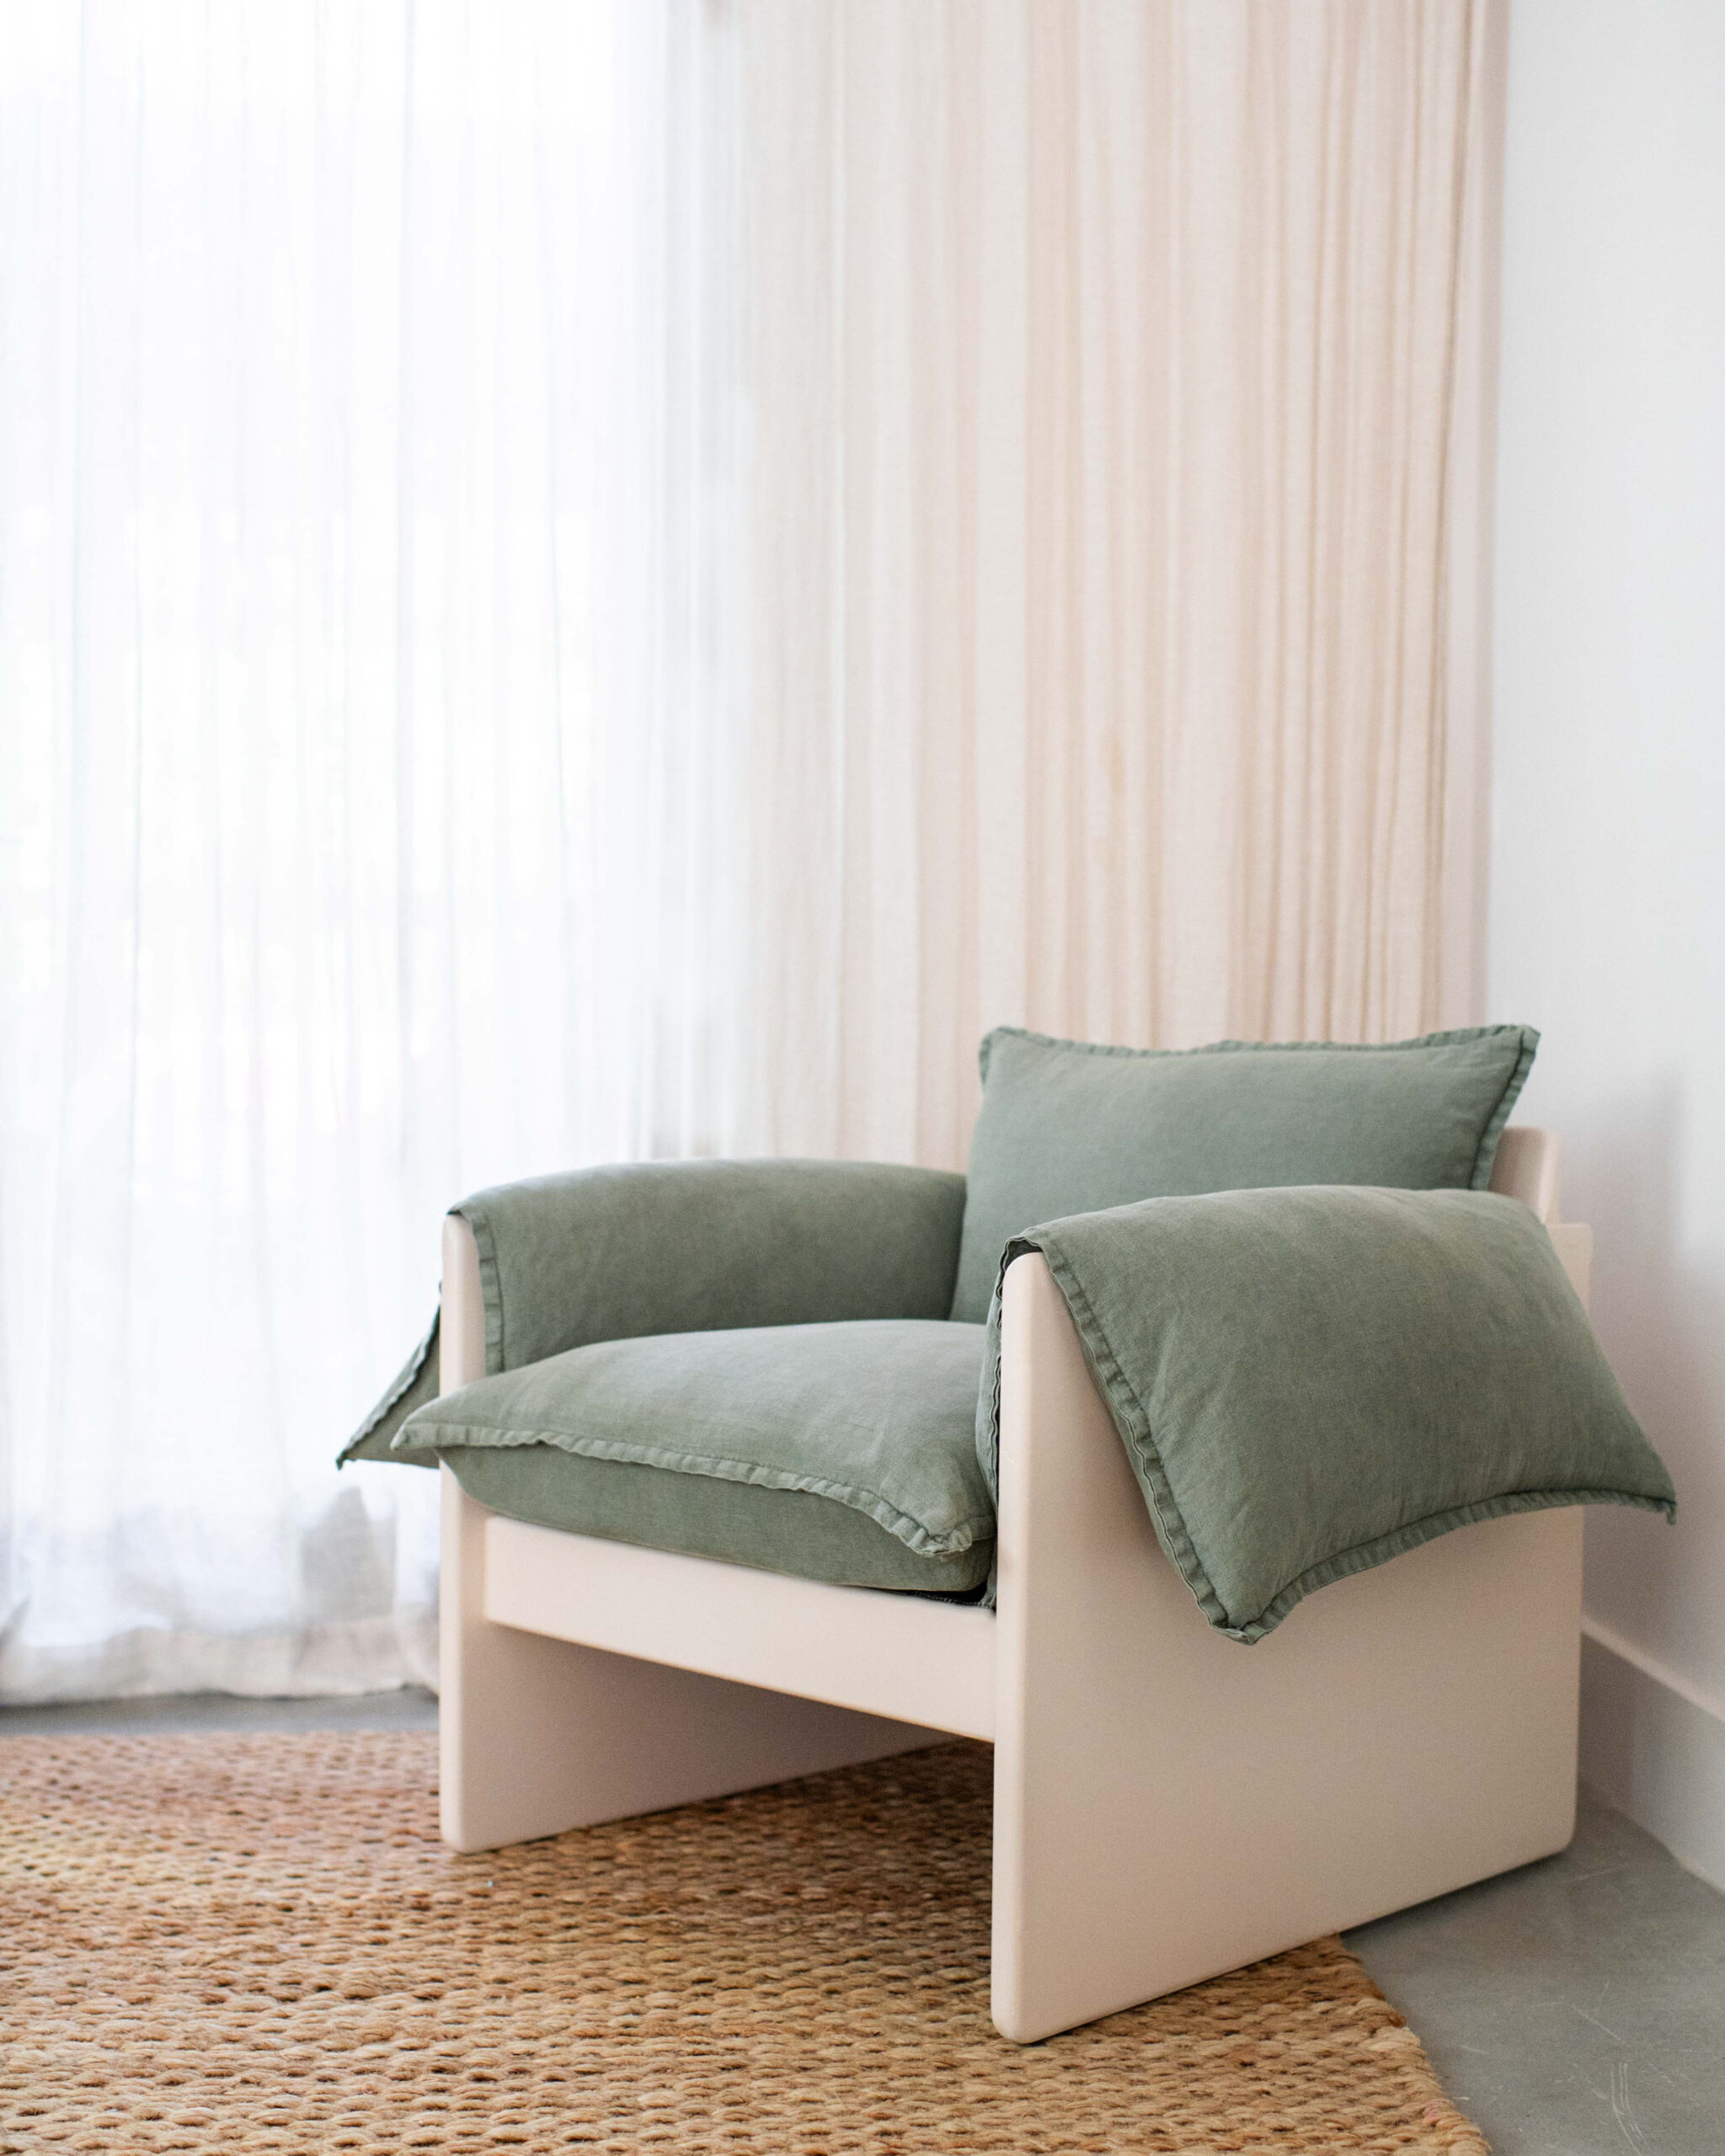
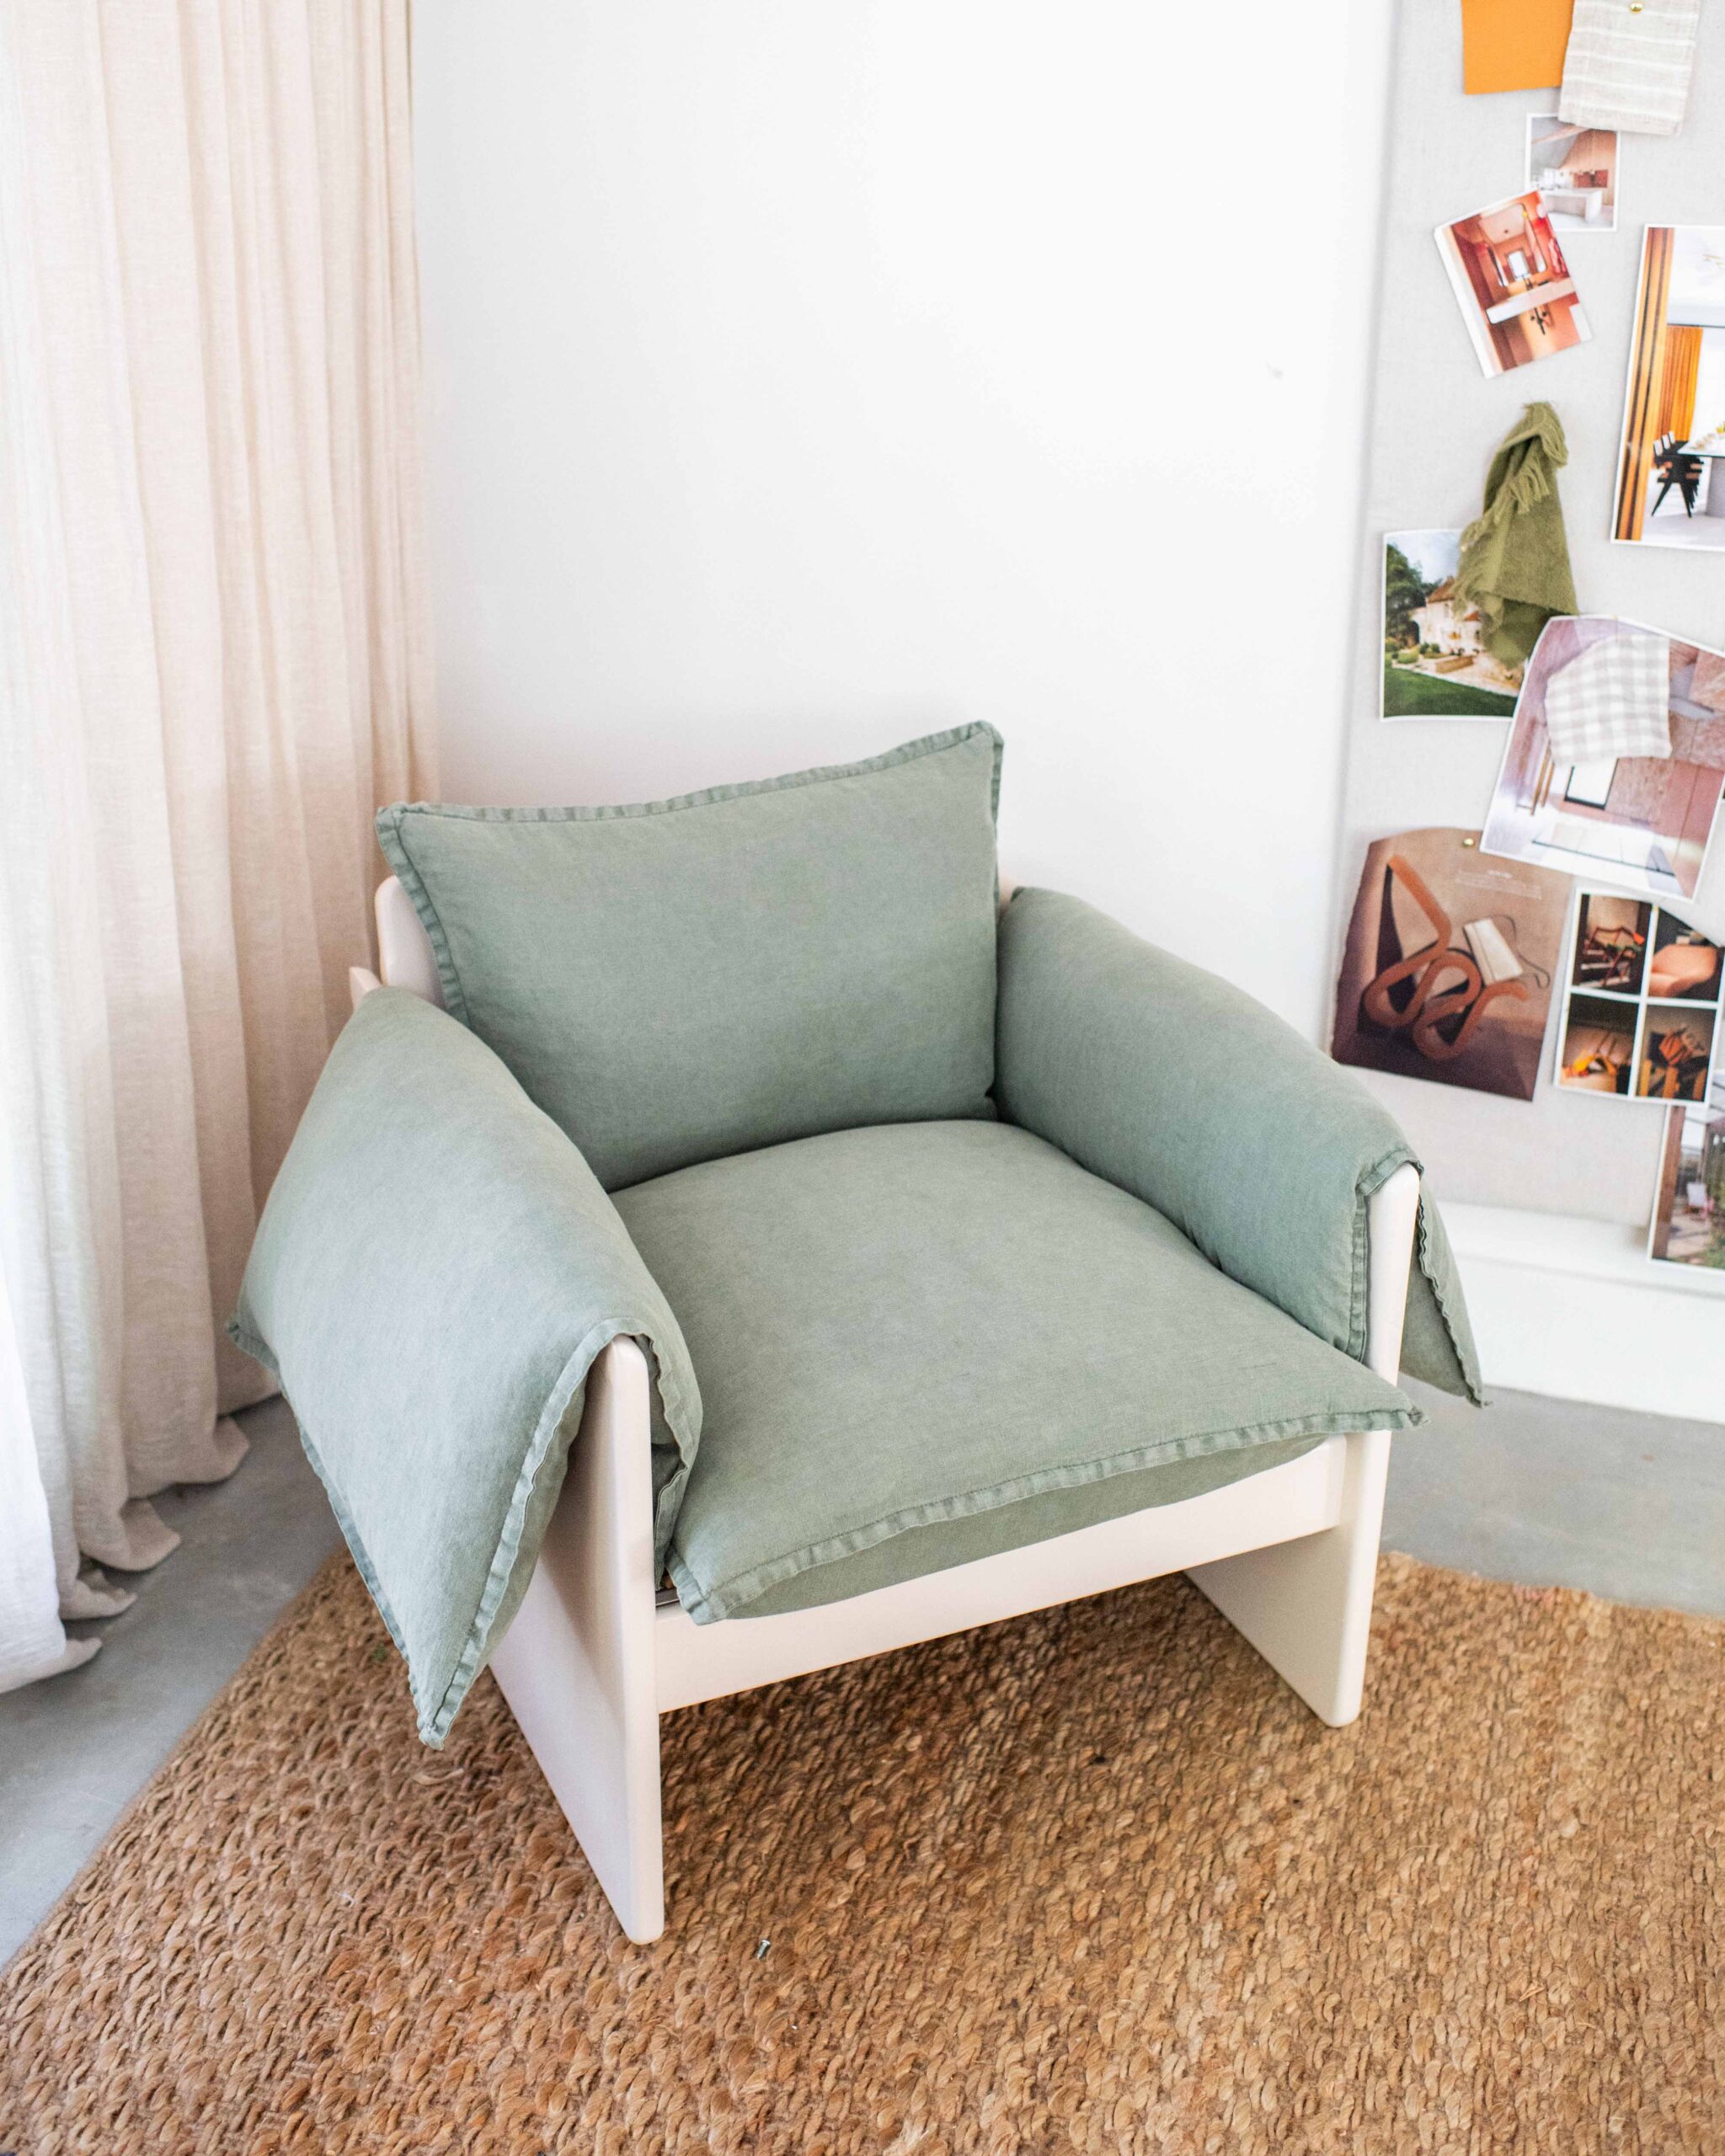
- After
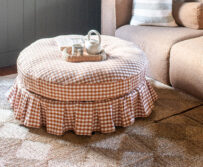
The Inspiration
Materials
- Large chair frame (it needs to have a wide base, this one was 6ocm (24 inches)
- Primer and paint
- Brushes and rollers (I used Monarch Painting‘s range for Doors, Trims & Cupboards)
- Cushions (I used 4 of these in 60cm x 60cm)
- A piece of firm foam the same size as the base of the chair
How to
- The first thing I did was remove the small sides of the arms of the chair using a circular saw, you could also use a jigsaw to do this. I also took off the webbed seating.
- Then I filled some gaps with filler and once that was dry sanded the whole chair down well, focusing on the areas where the arms had been removed.
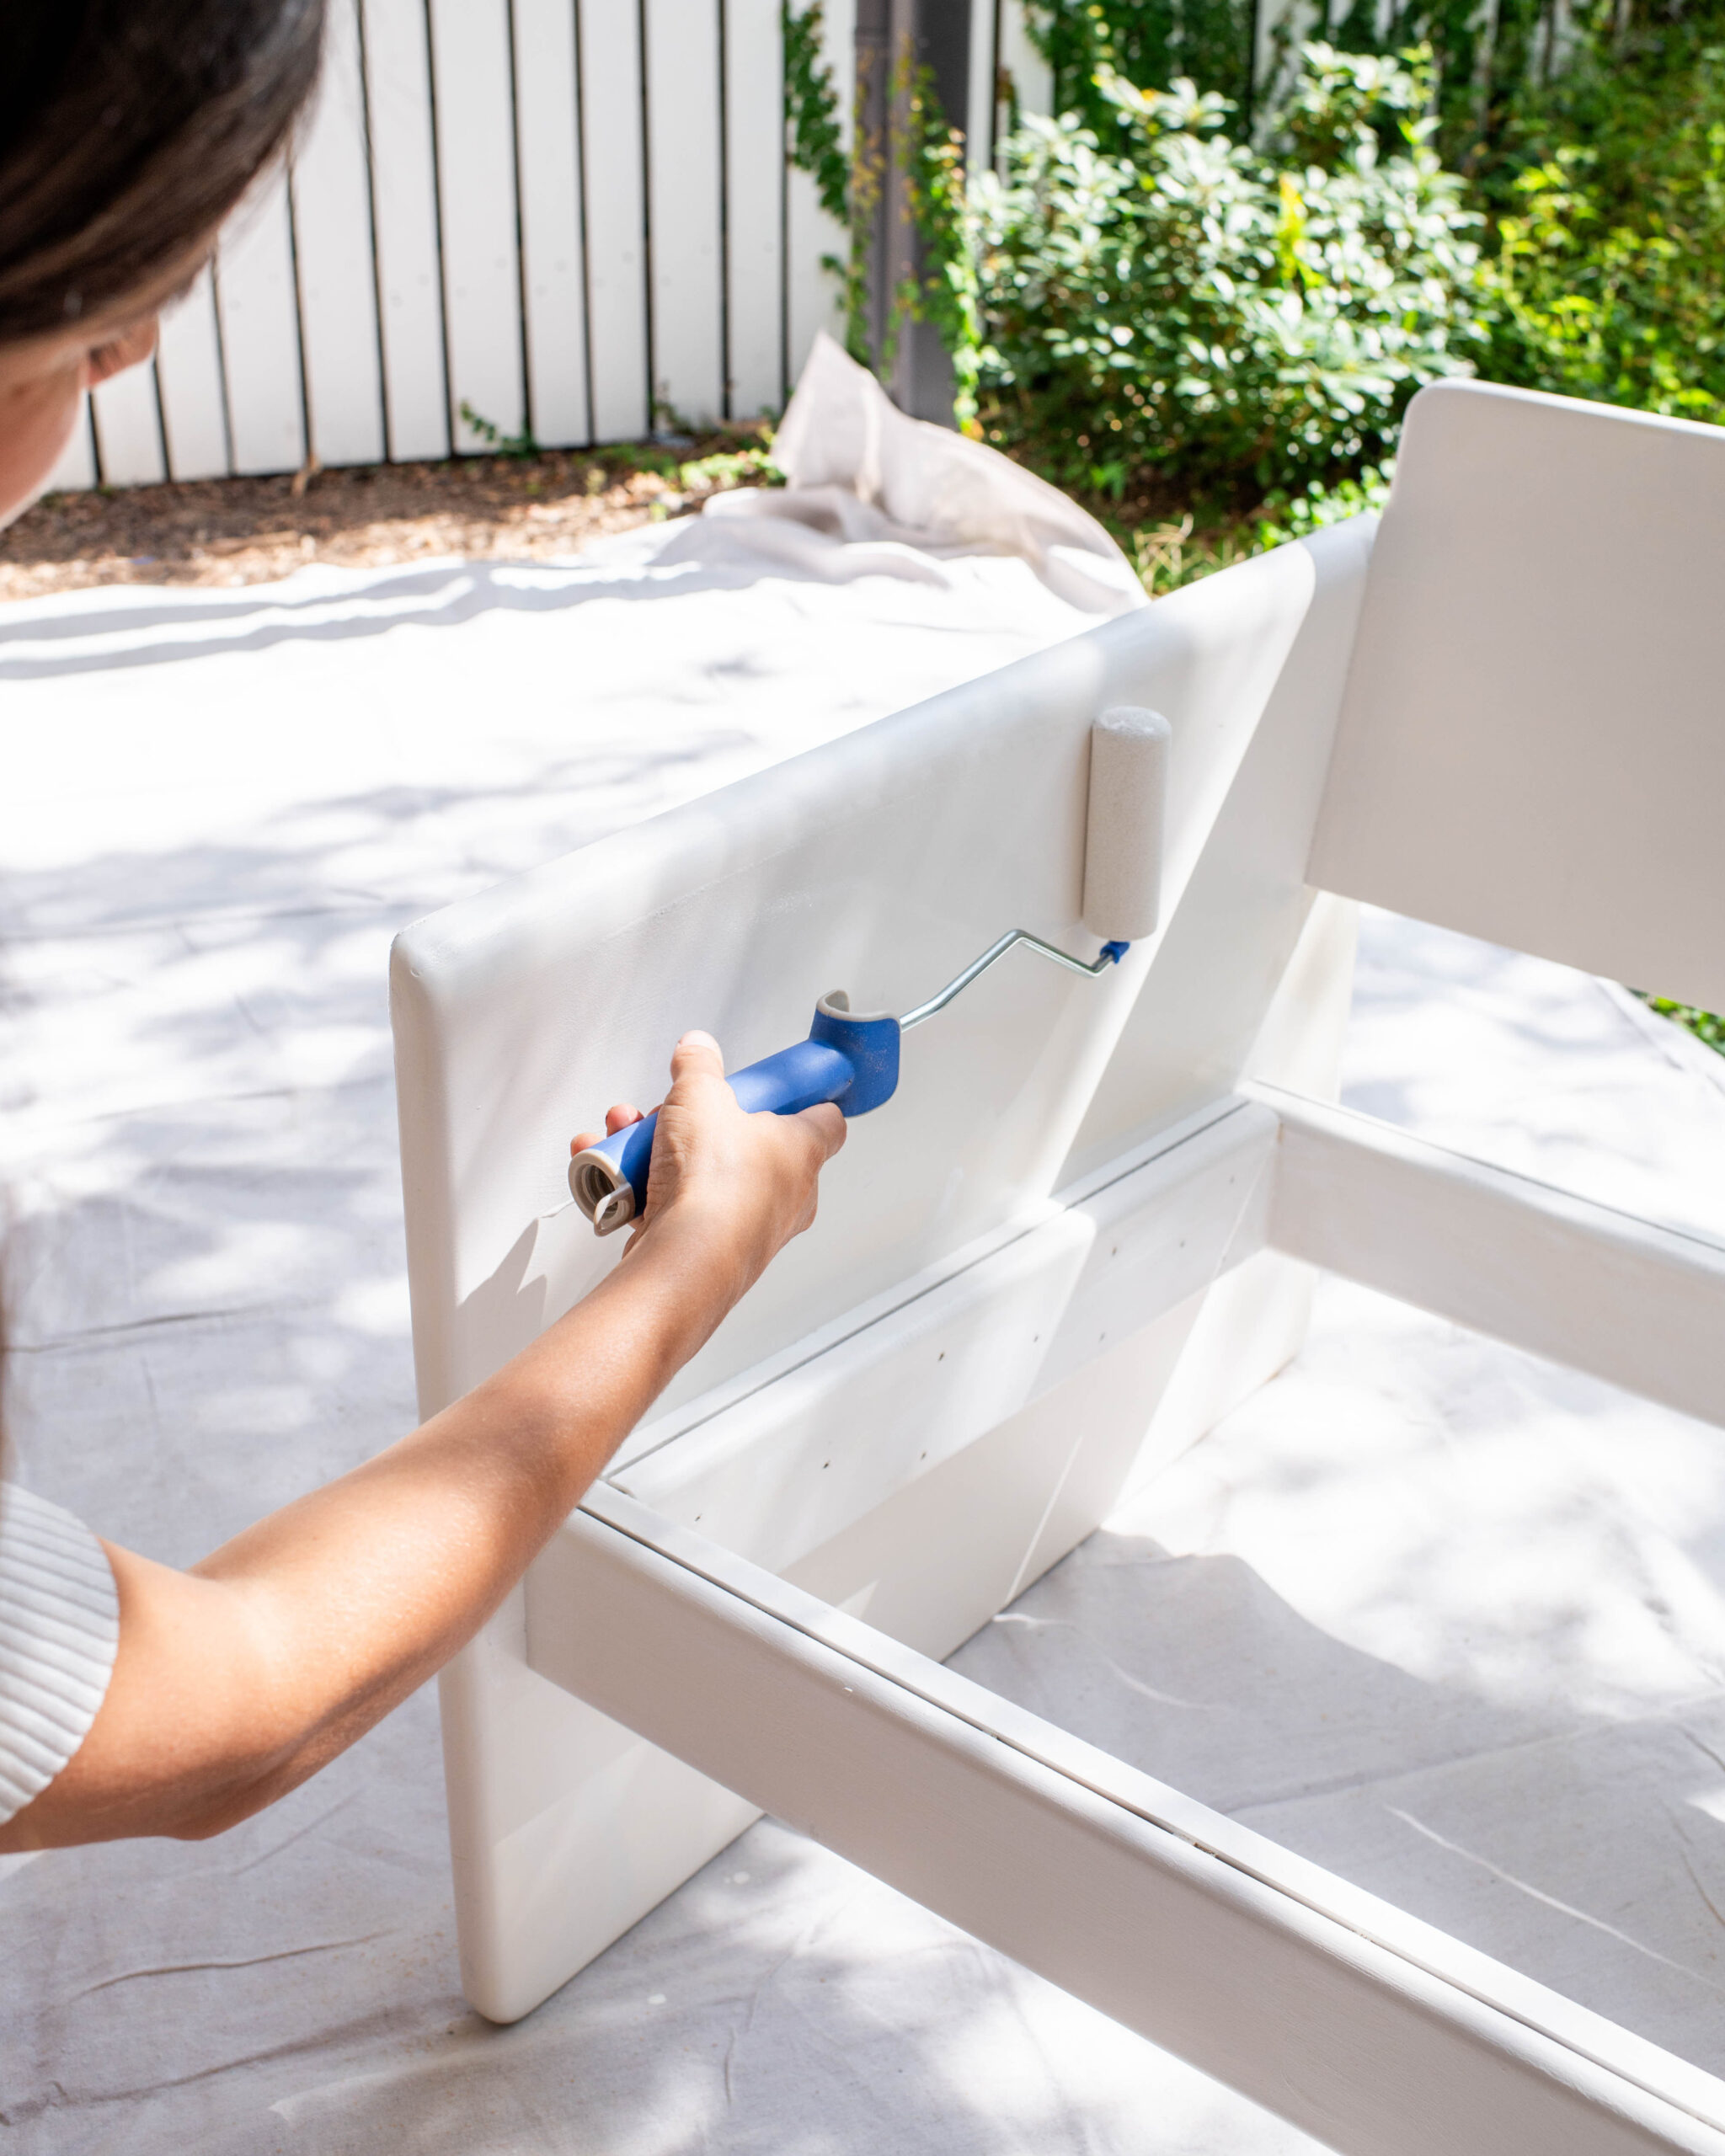
- I then painted the whole chair with primer.
- I then gave the whole chair a coat of Taupe paint in gloss.
- For the cushions, I removed some stuffing from the arm cushions so they had a better ‘flop’, and then added in the firm foam into the cushion that was for the base. I had to squeeze it in but it worked well.
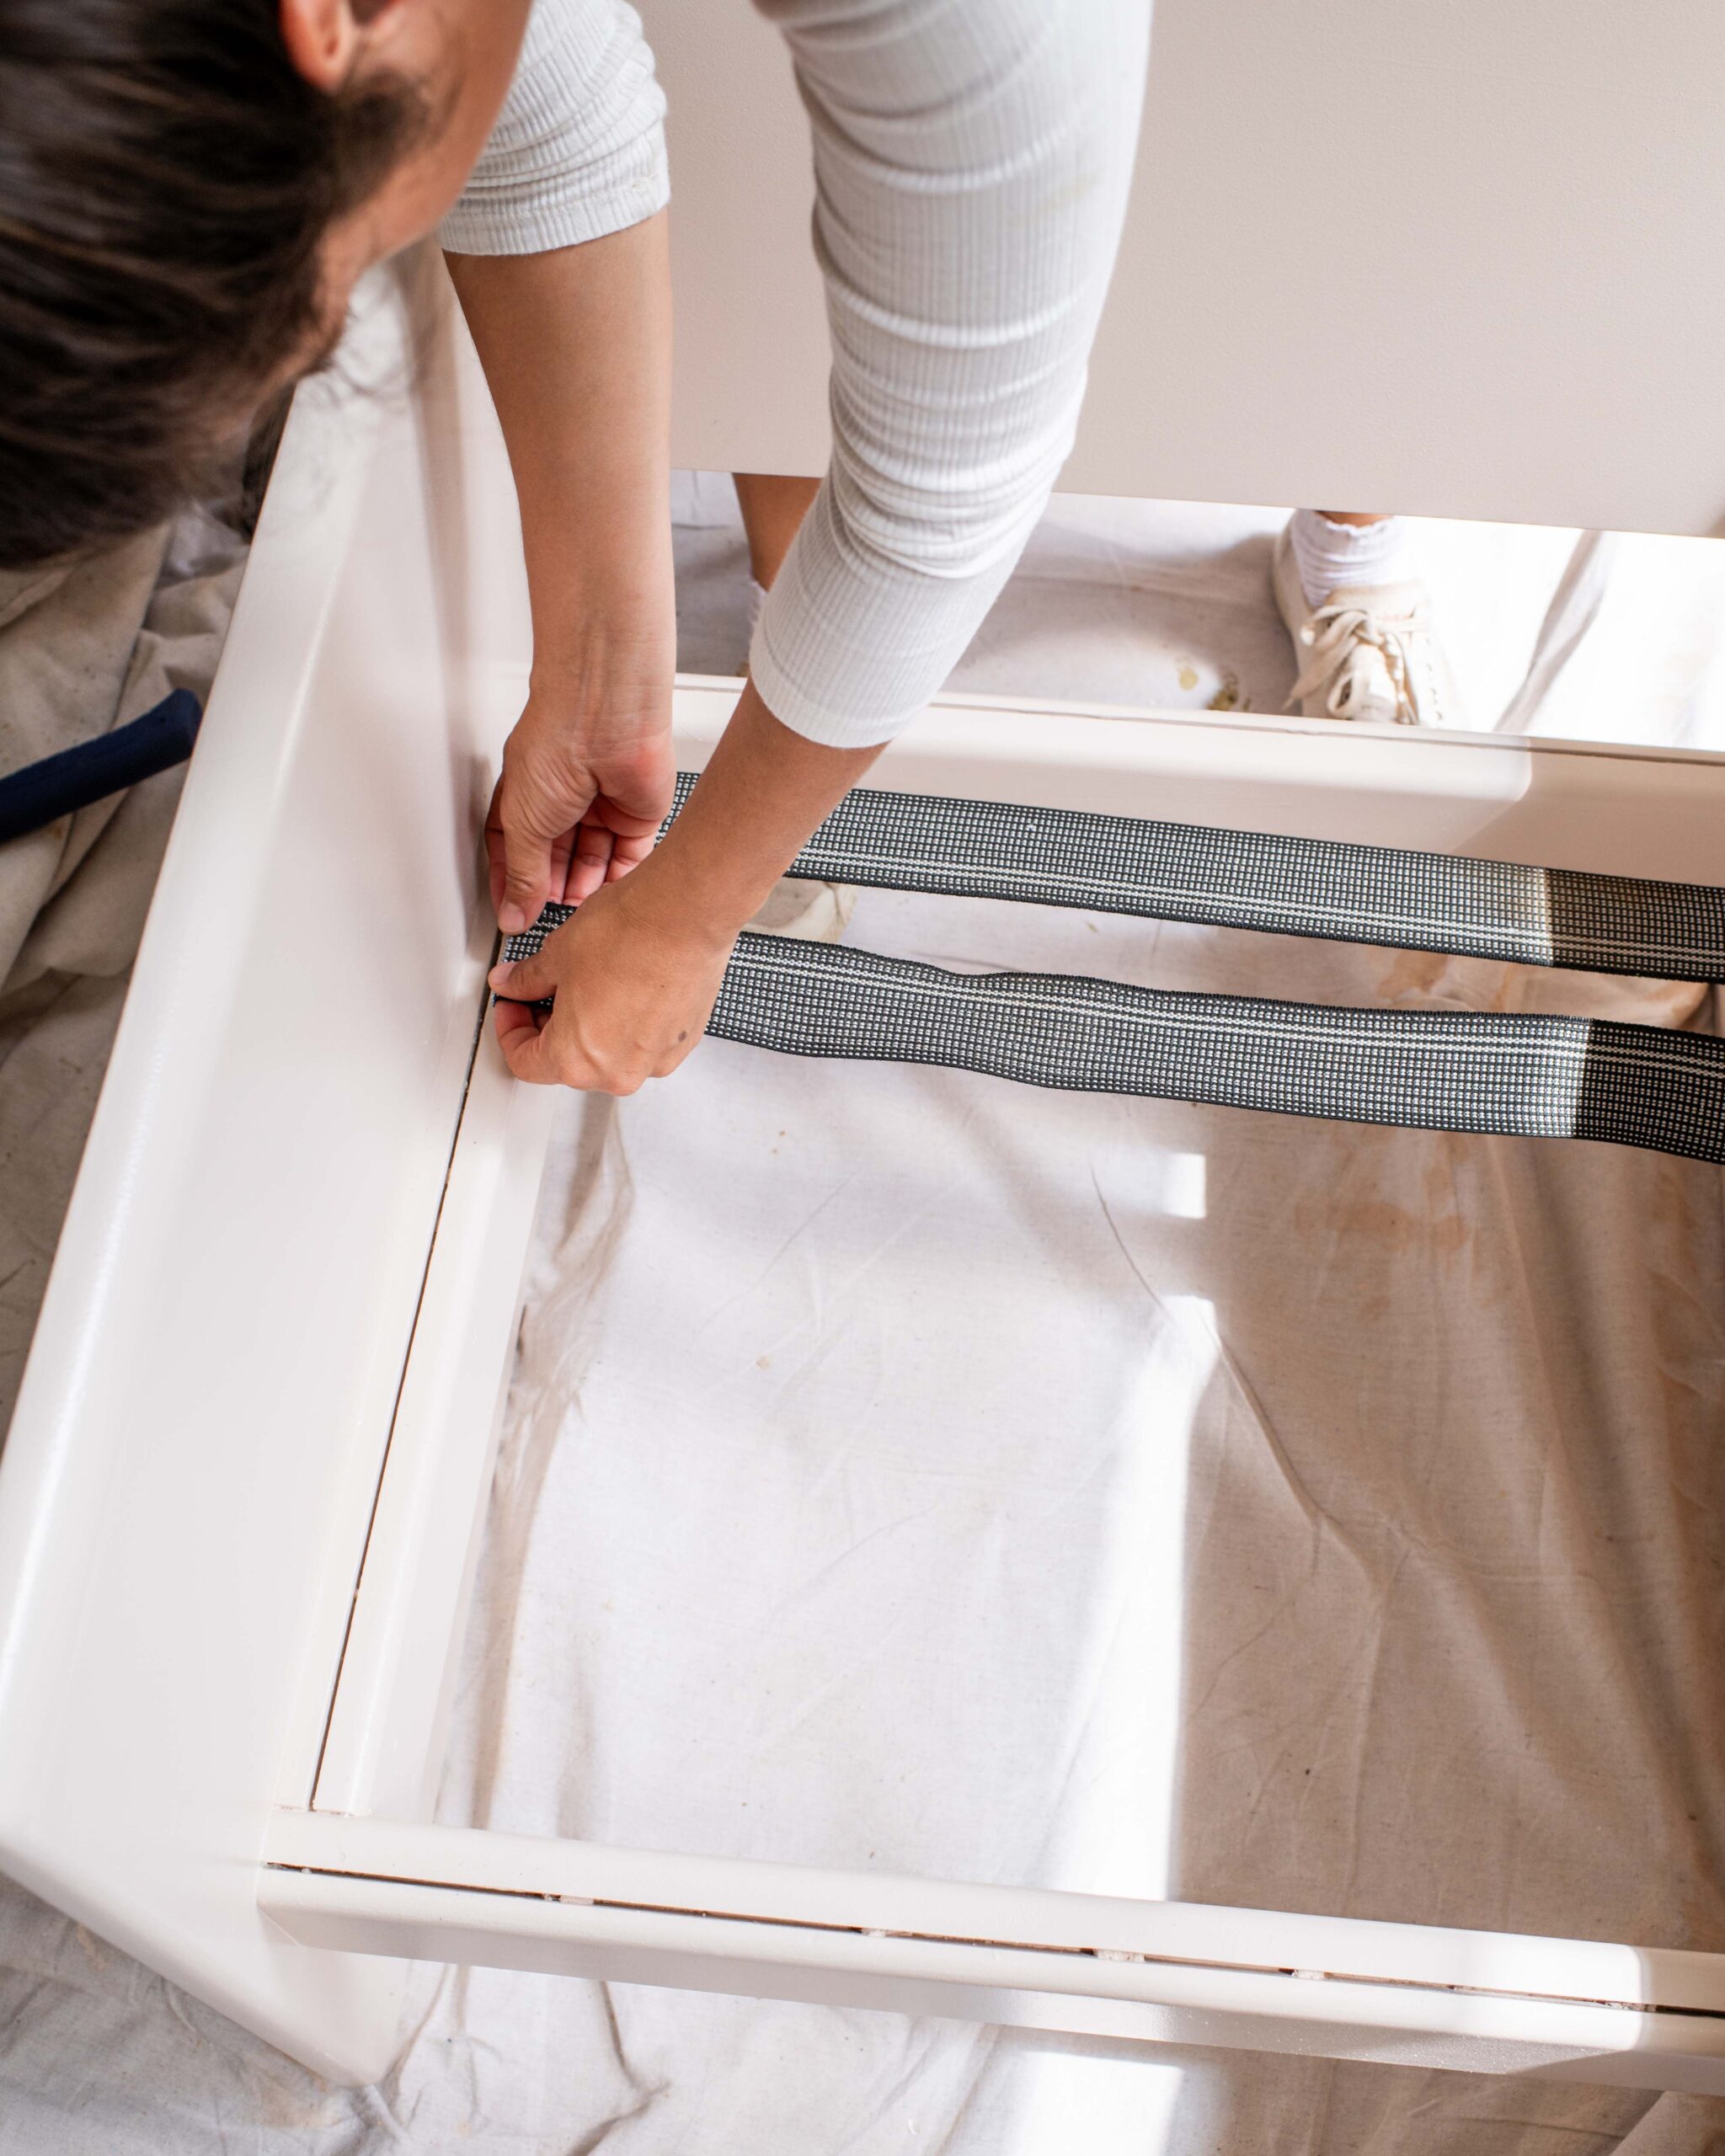
- To finish, I added the webbing back on (I had reinforced it in places where it had frayed) and then placed the cushions onto the chair.
Voila!


