I was so excited to hear about Cricut’s new Joy Xtra,a new machine with more functions, including making stickers!
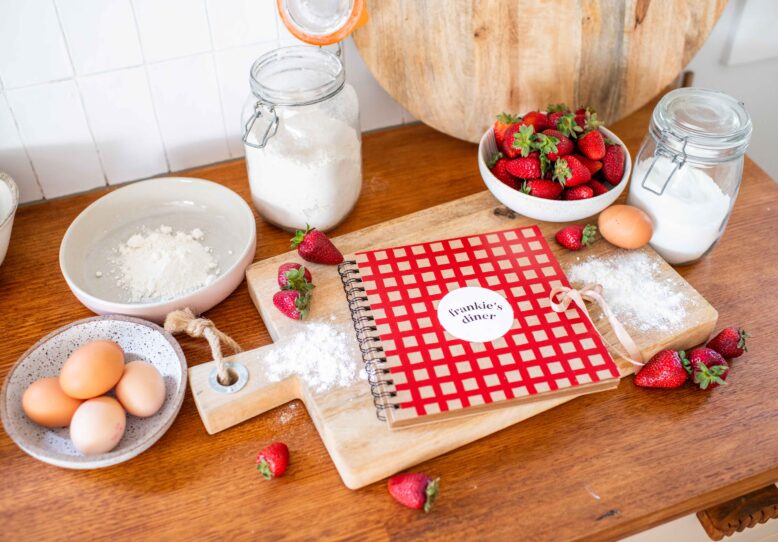
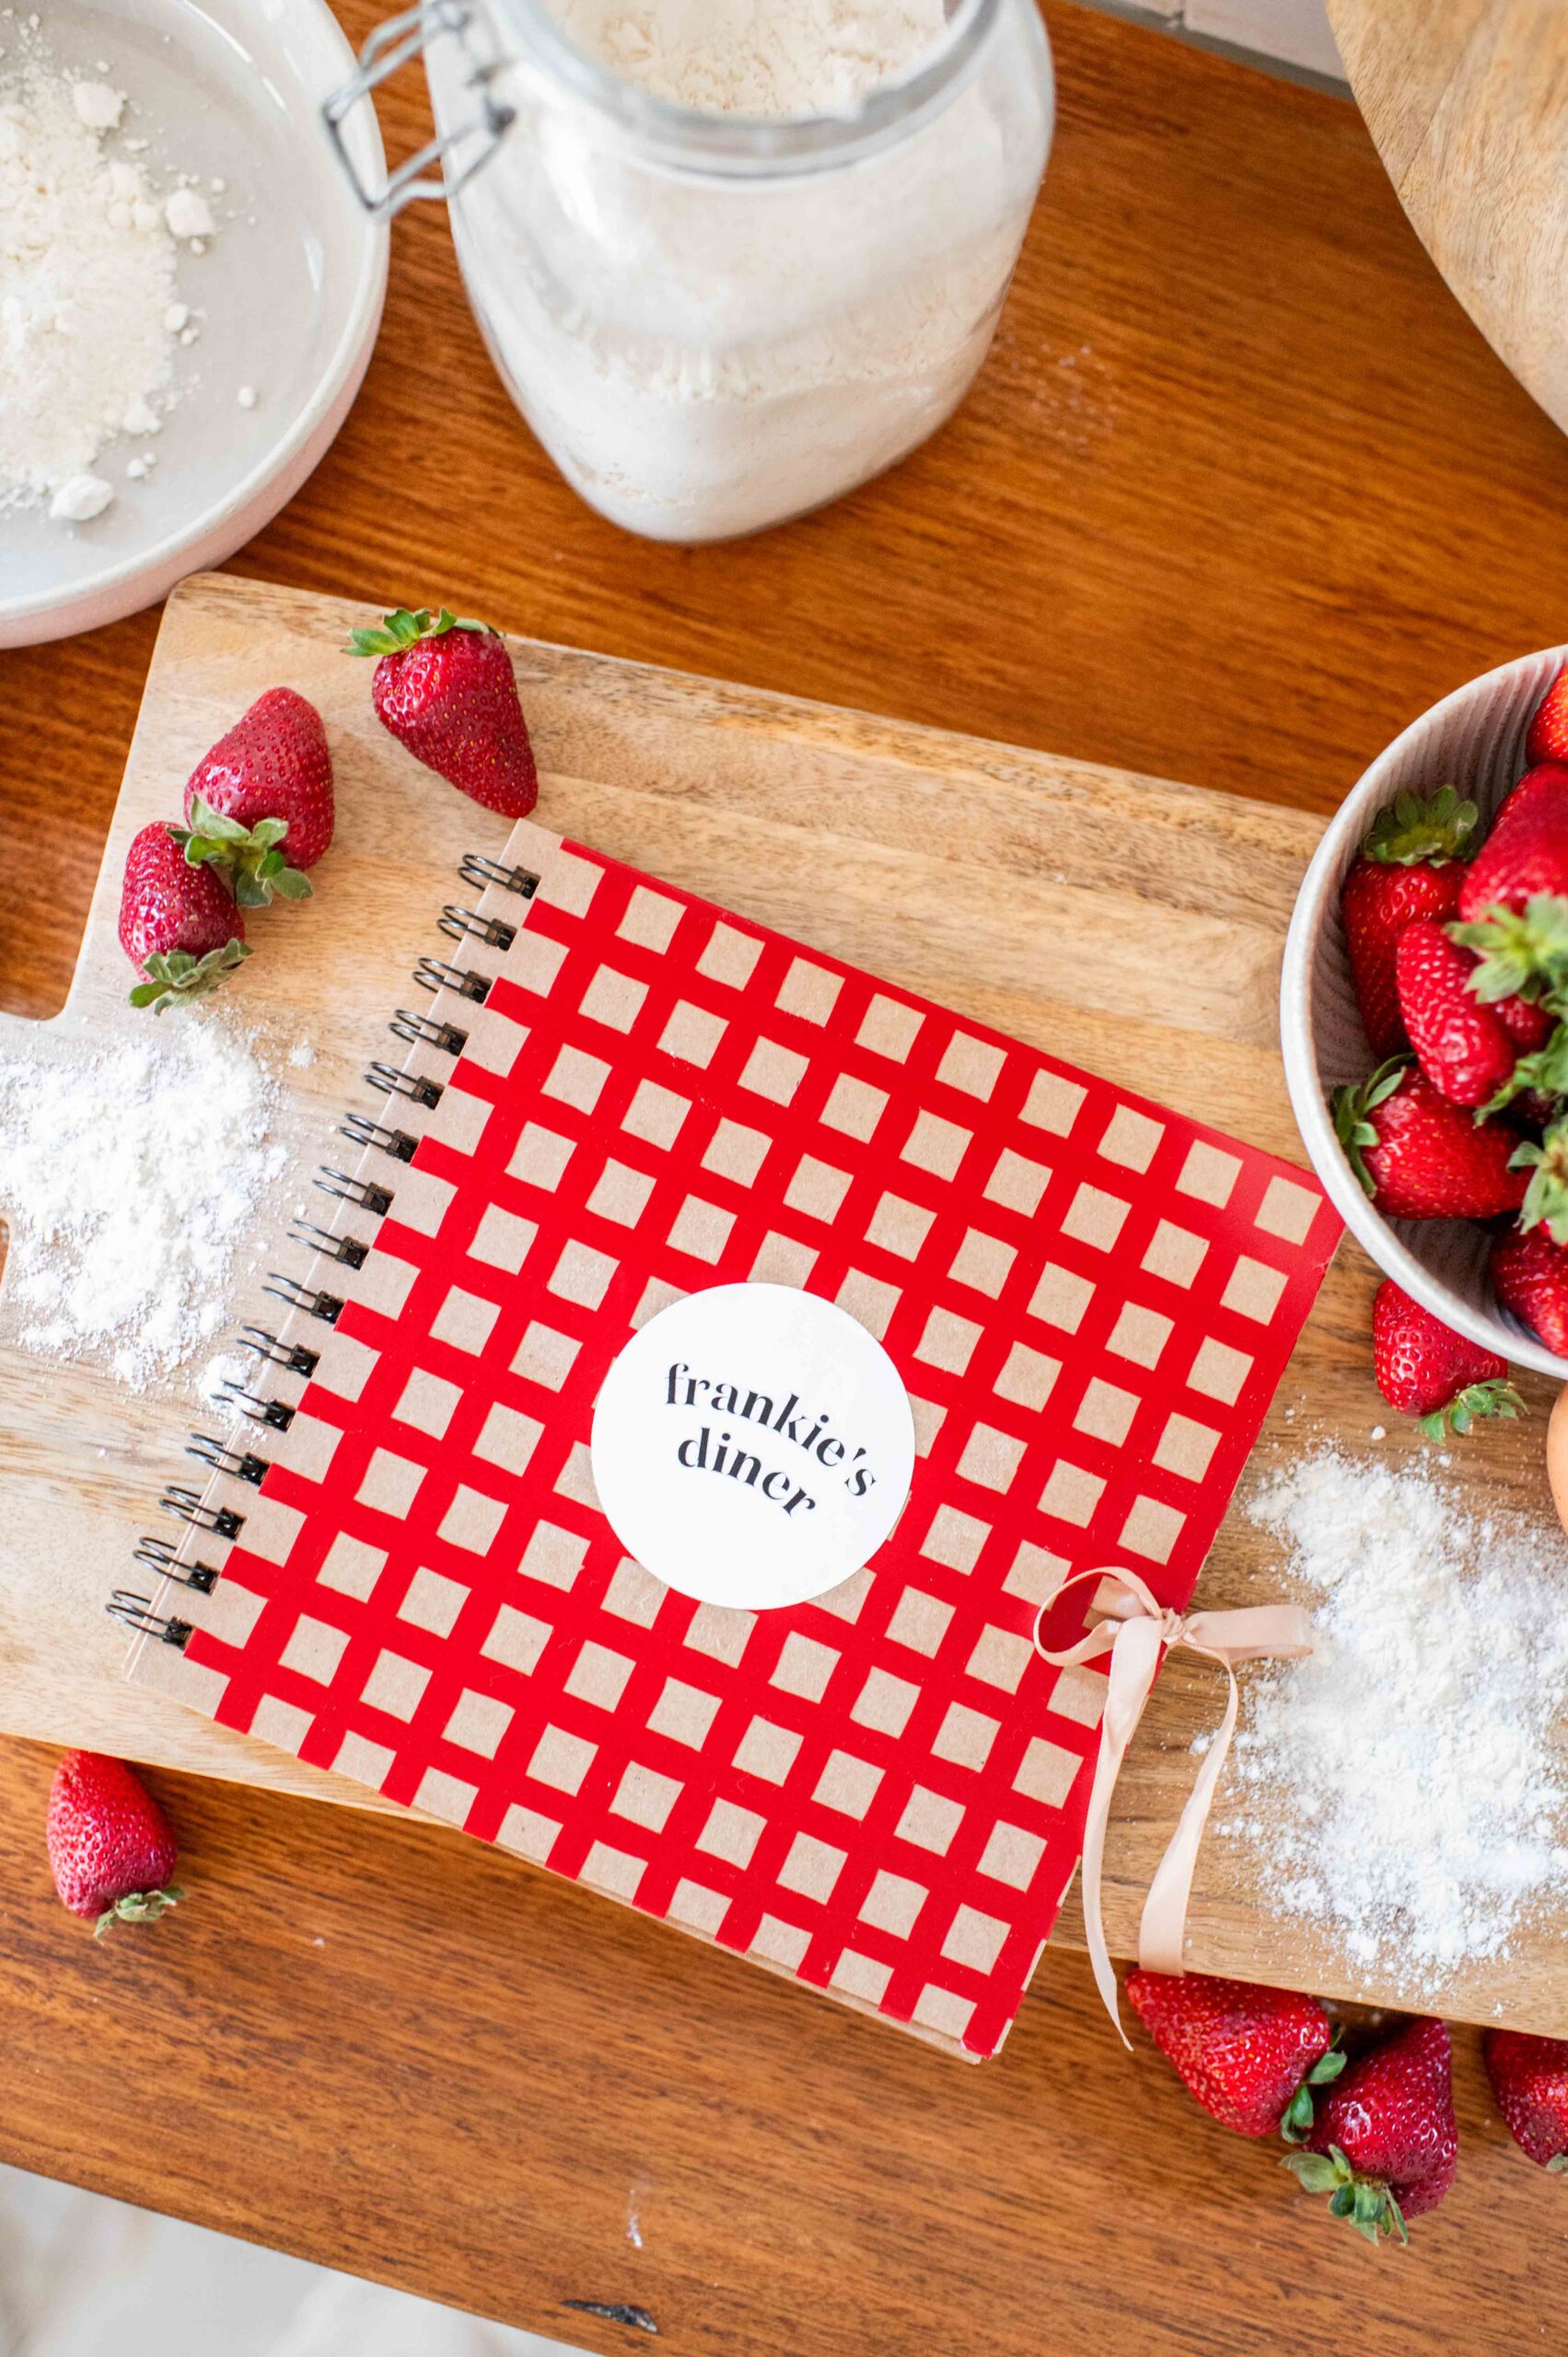
I’ve never made stickers before so have been looking for the perfect project to create some. Enter, a recipe scrapbook for the girls! Frankie in particular has been really getting into cooking, so I thought this could be a nice way of sharing it with her and getting her even more excited. I used the Joy Xtra to create a few different elements for this project and I love how it came together. Read on to see how.
About The Cricut Joy Xtra
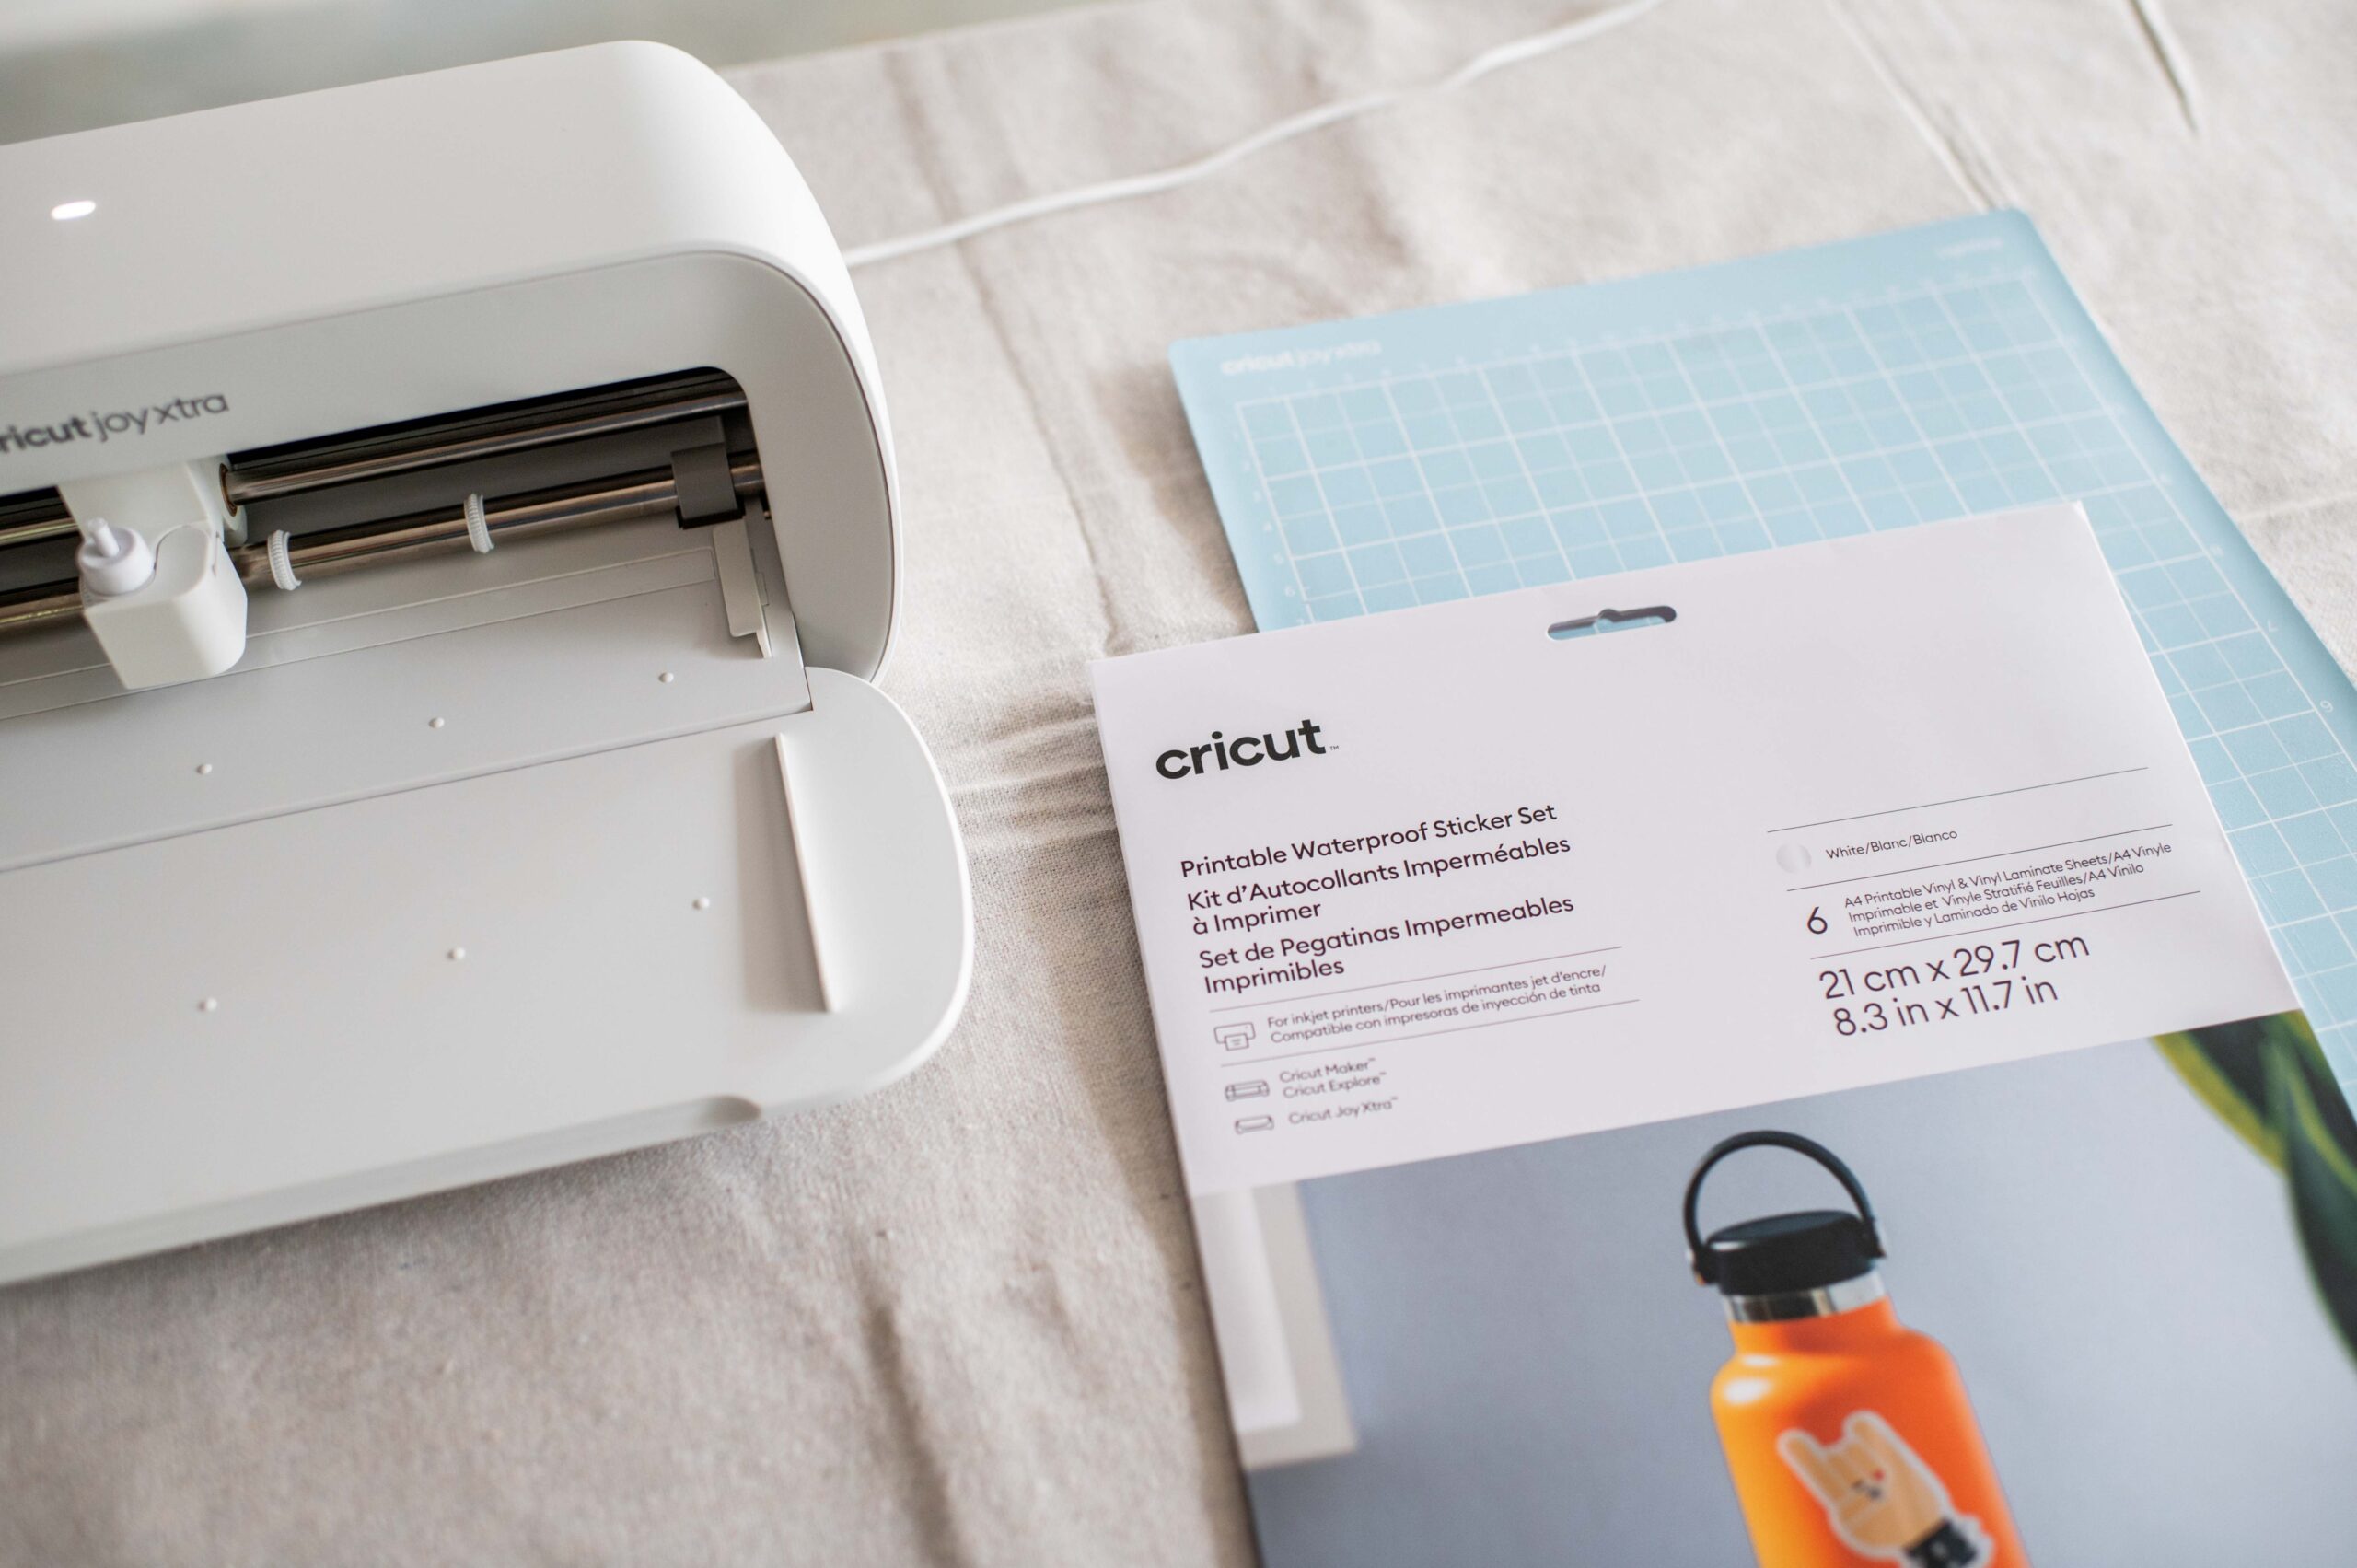
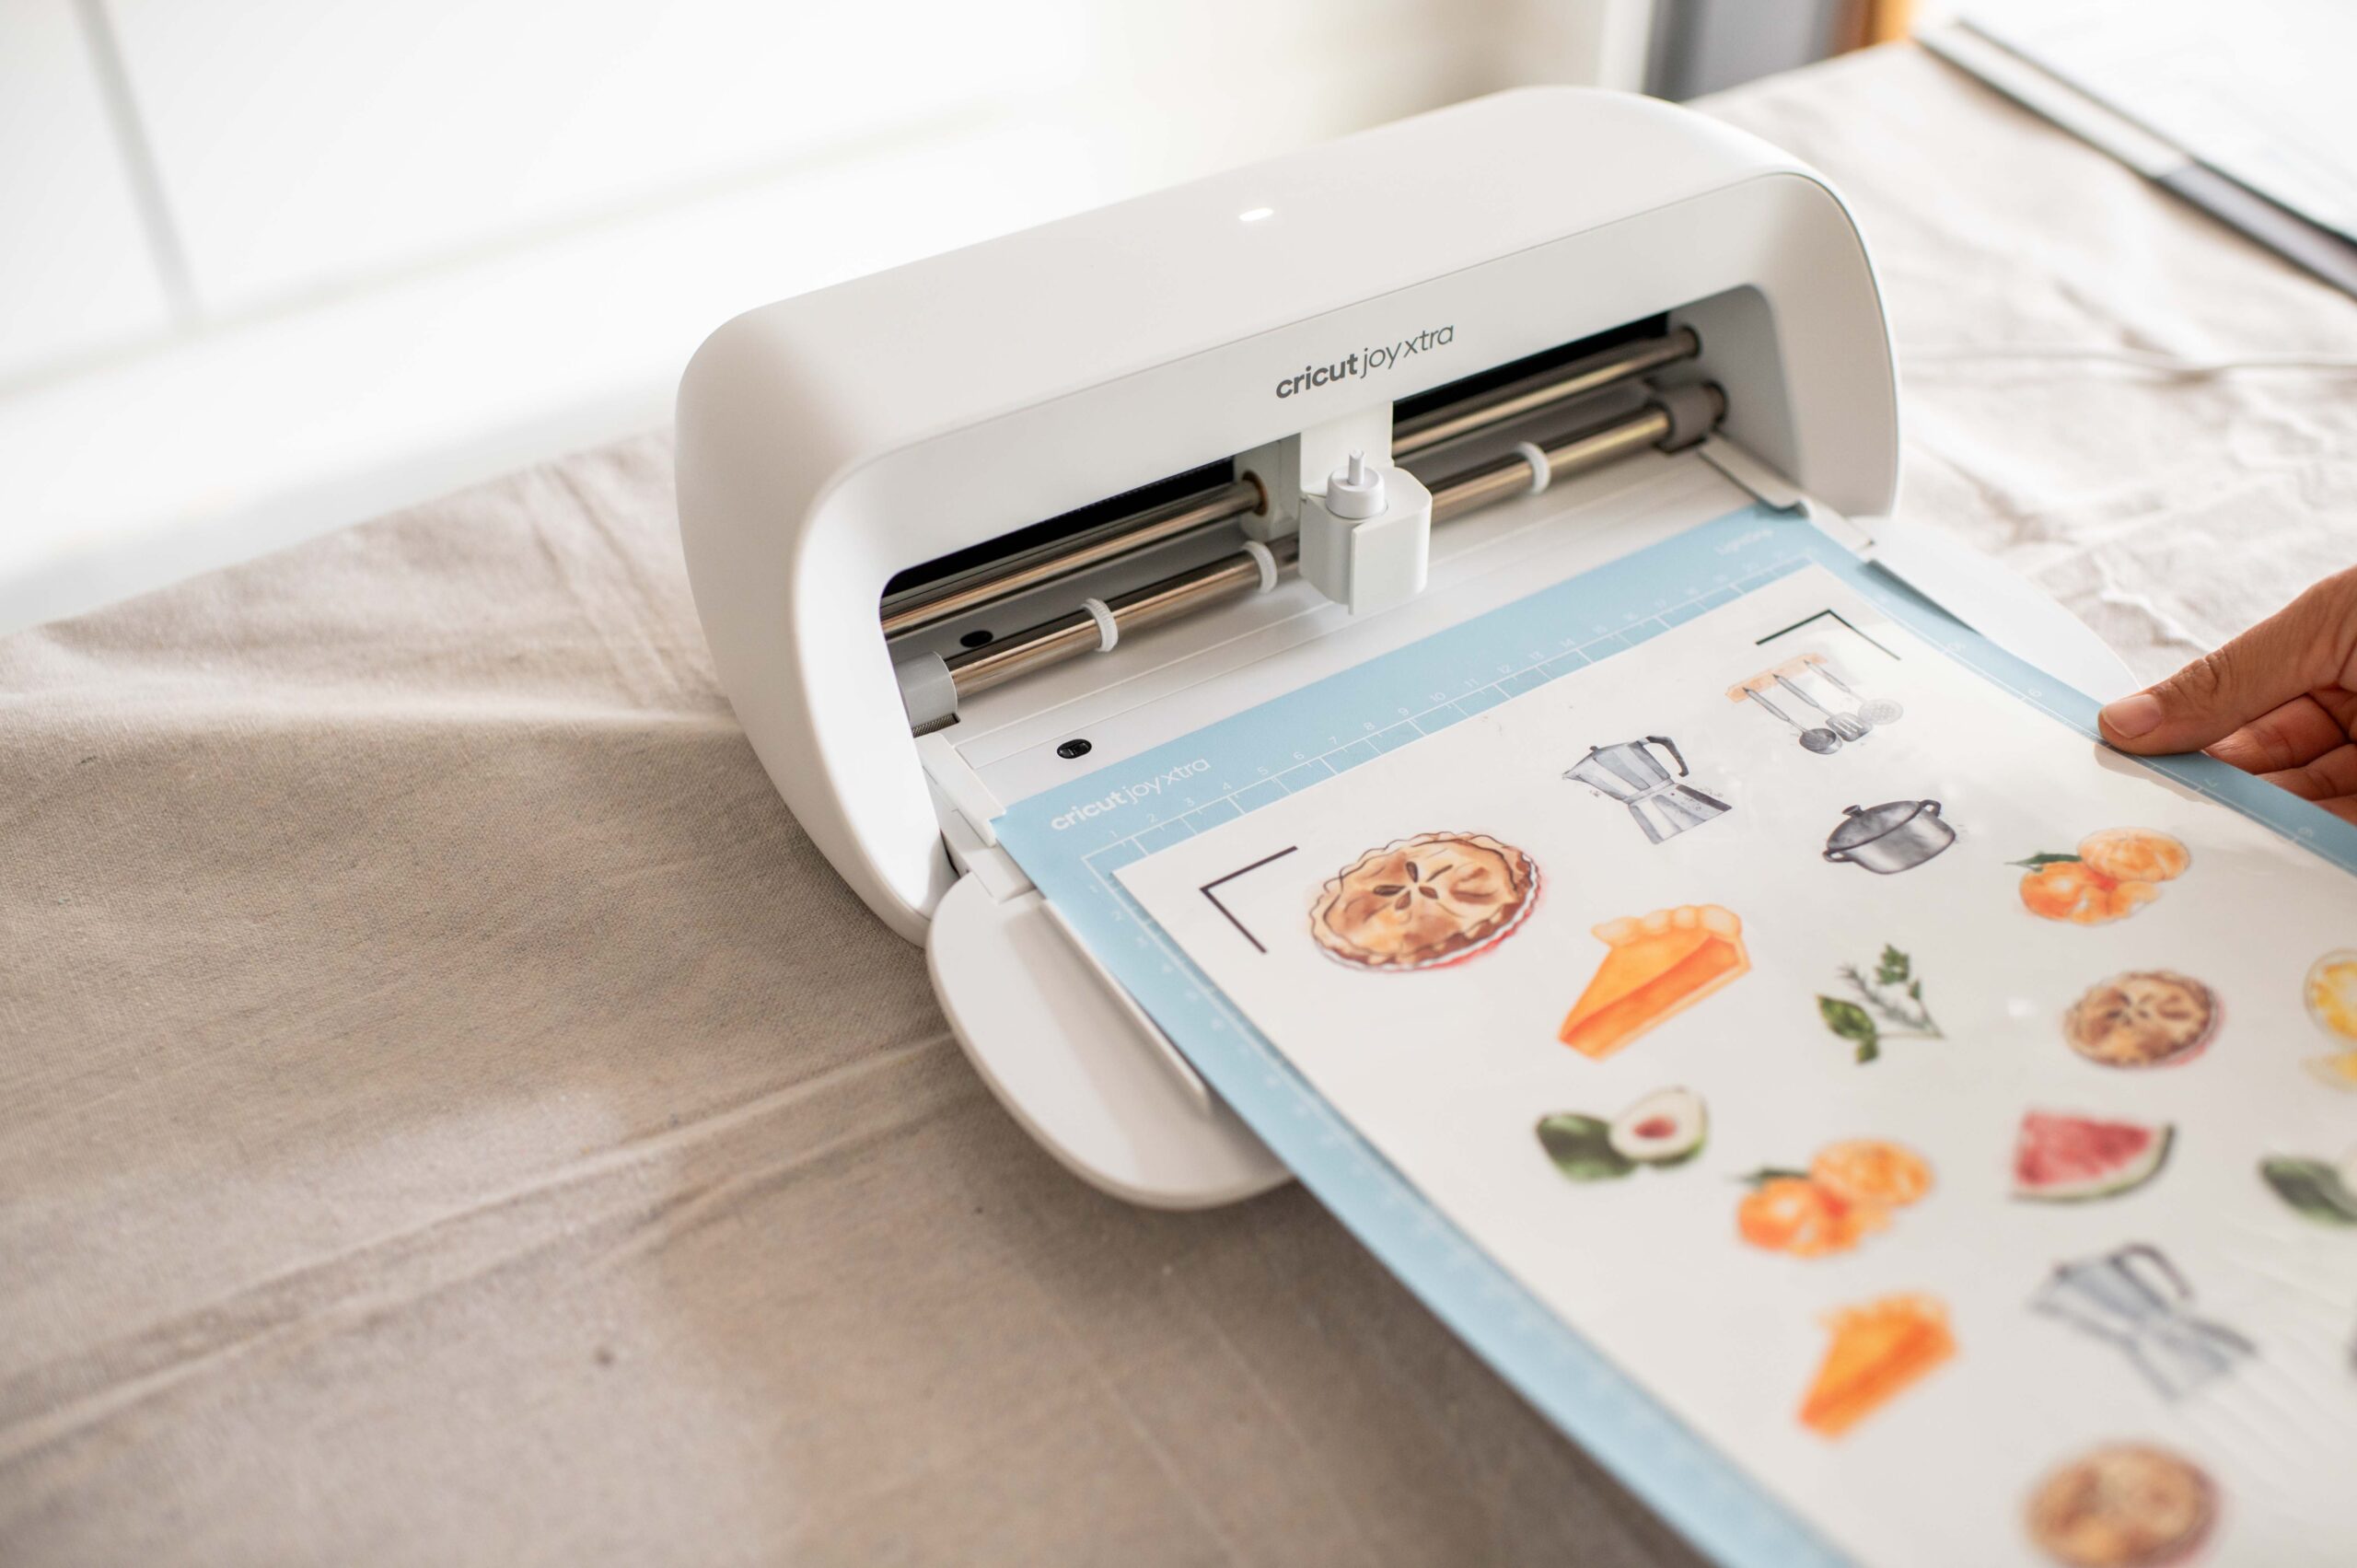
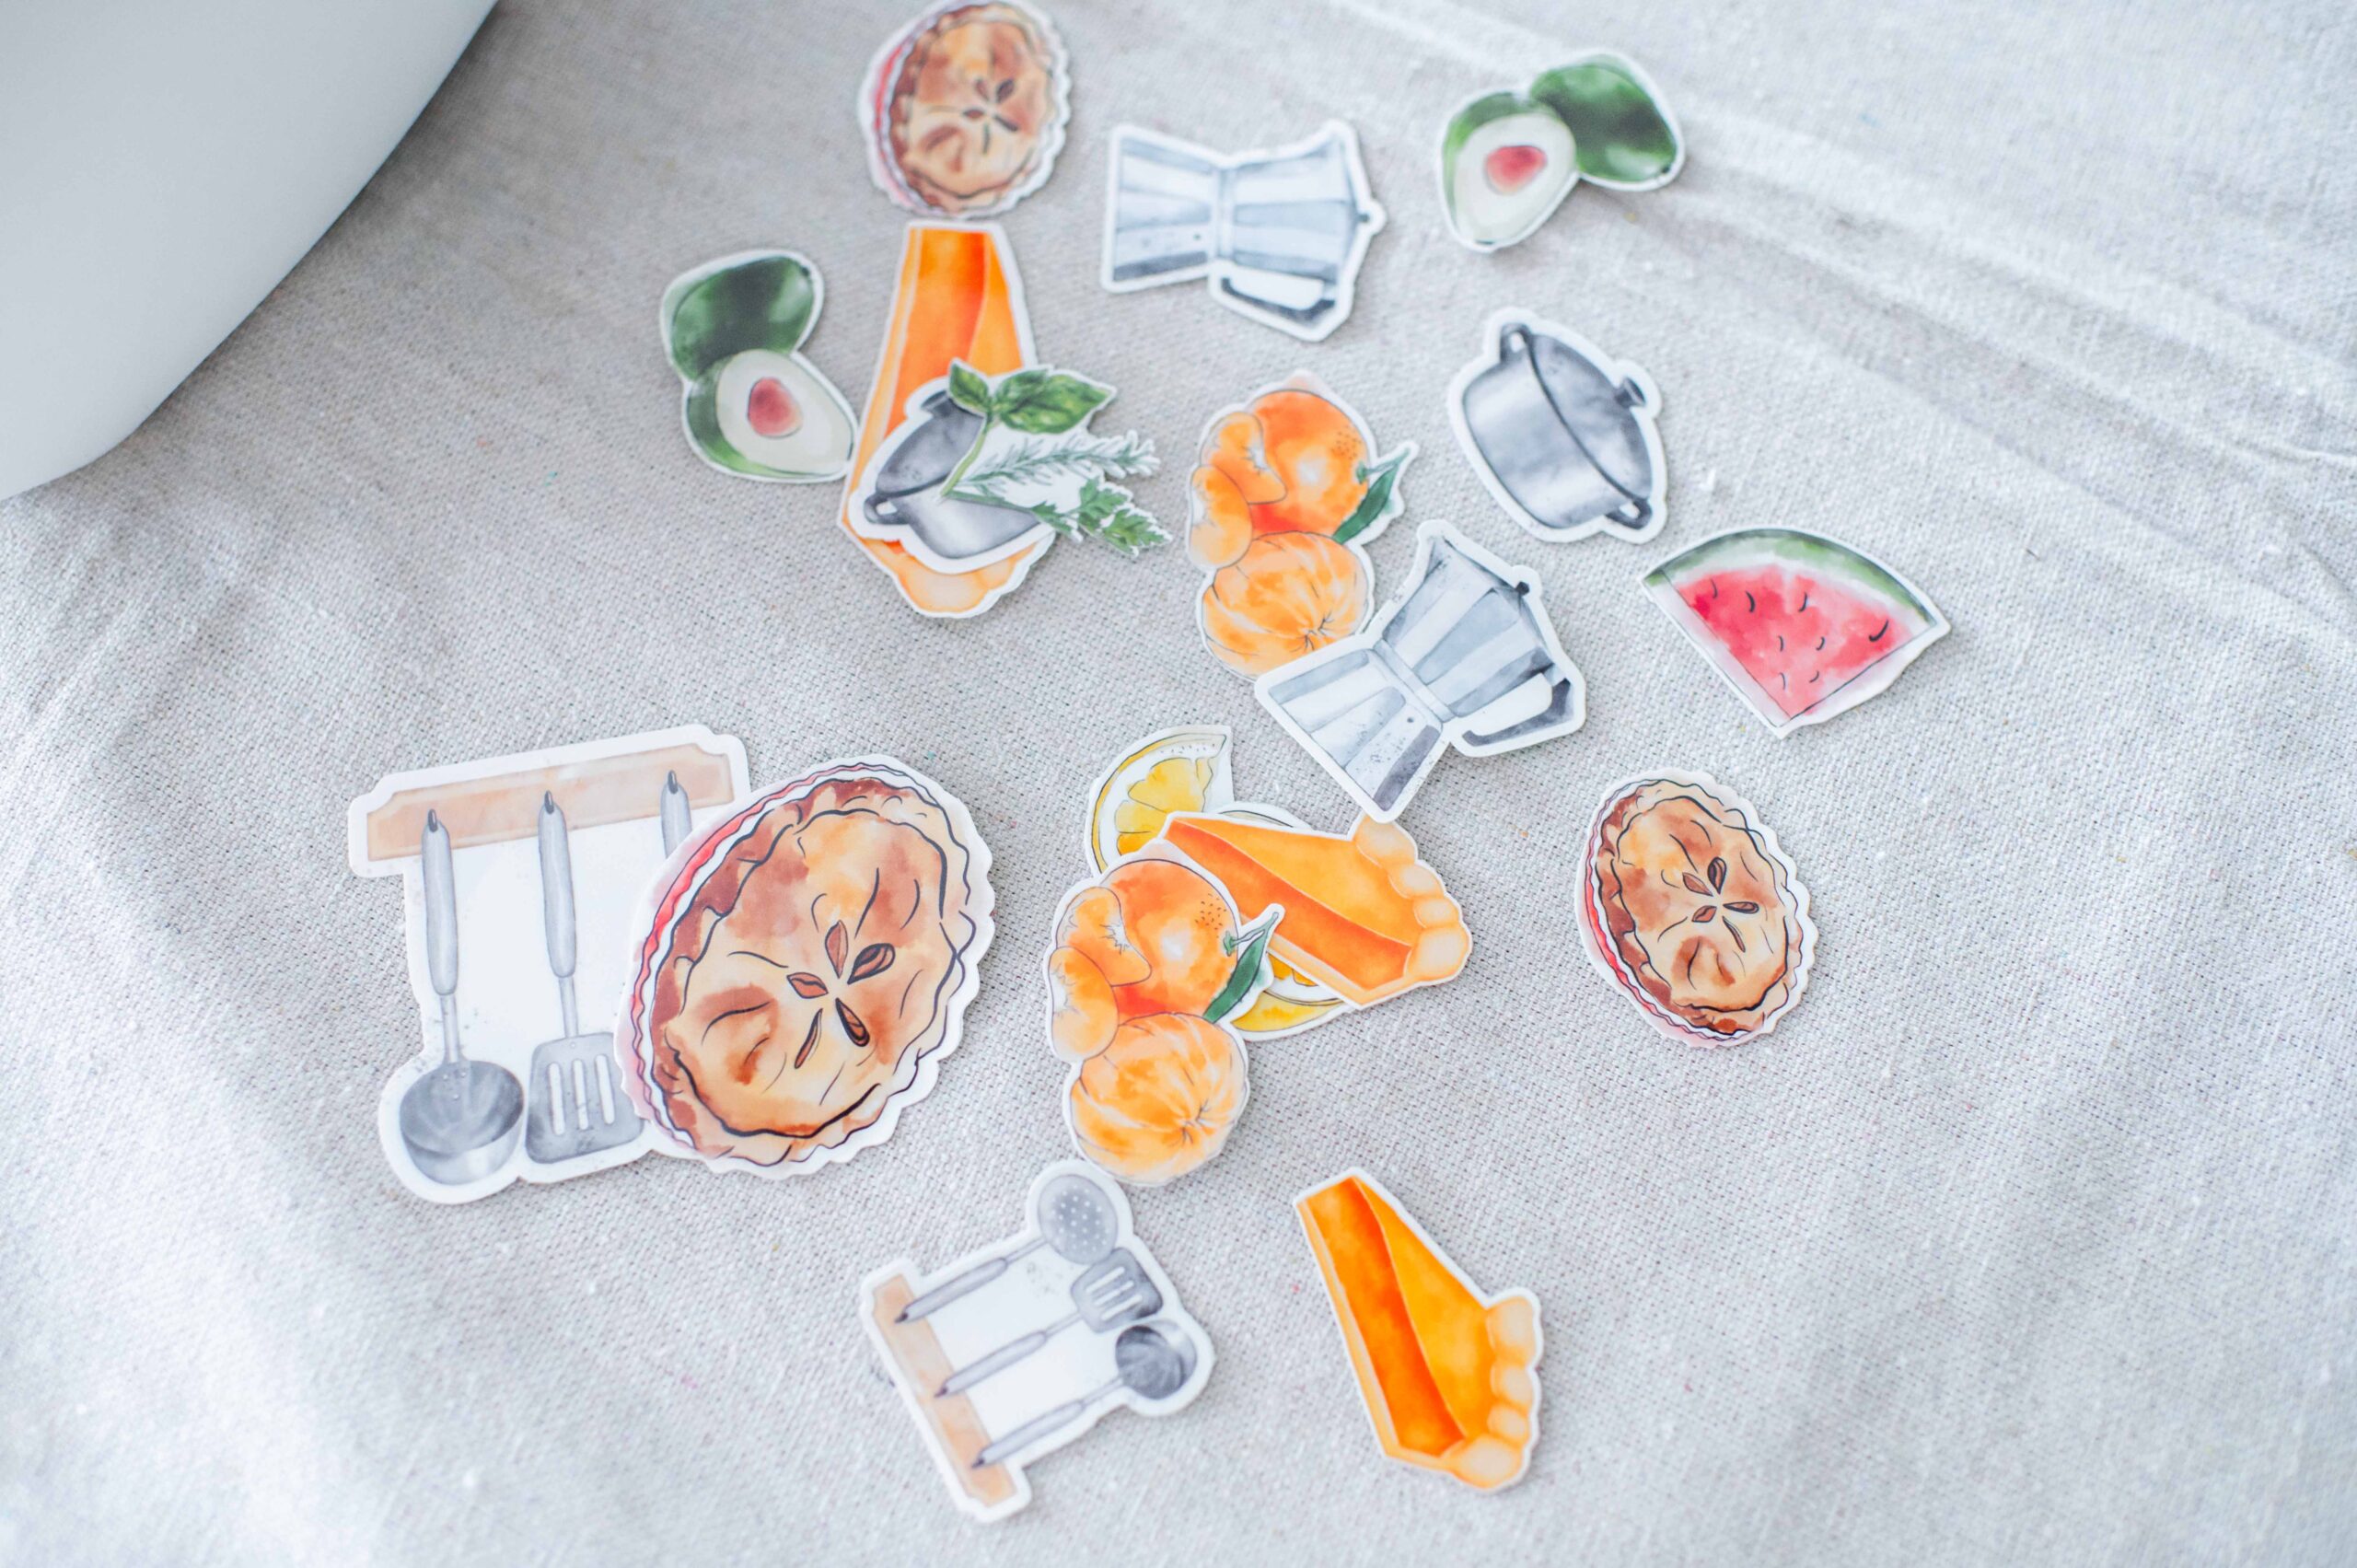
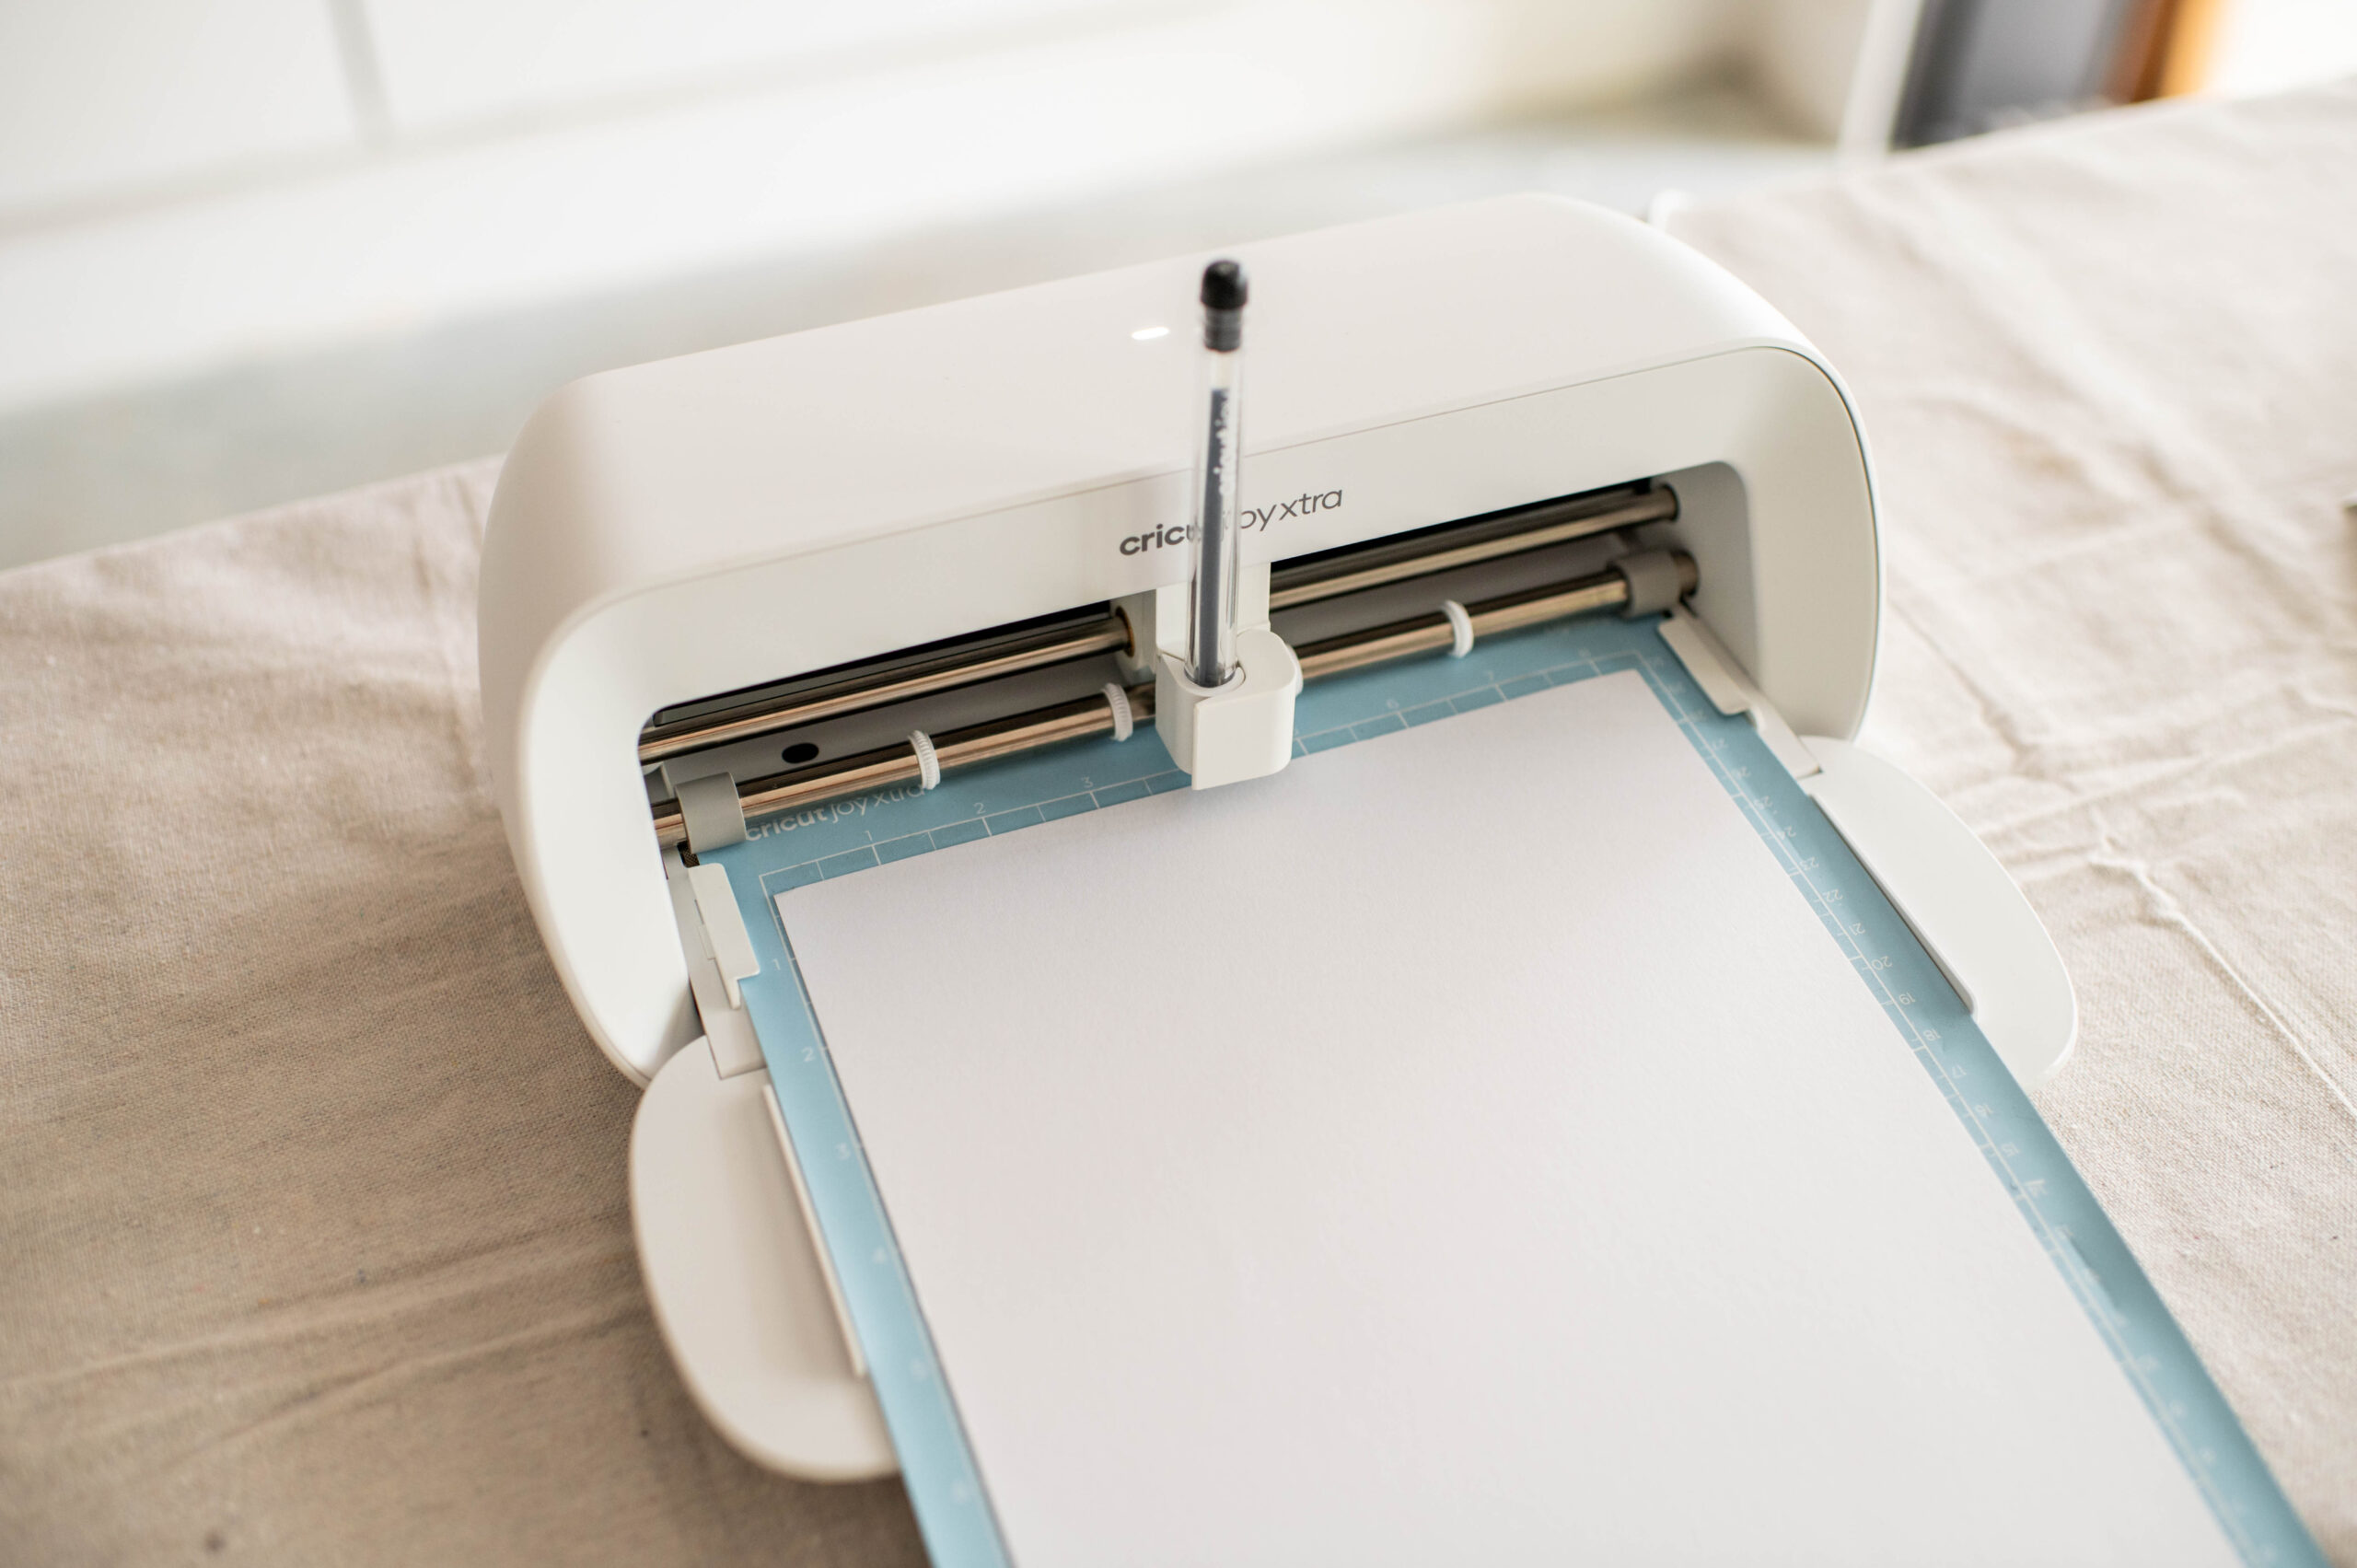
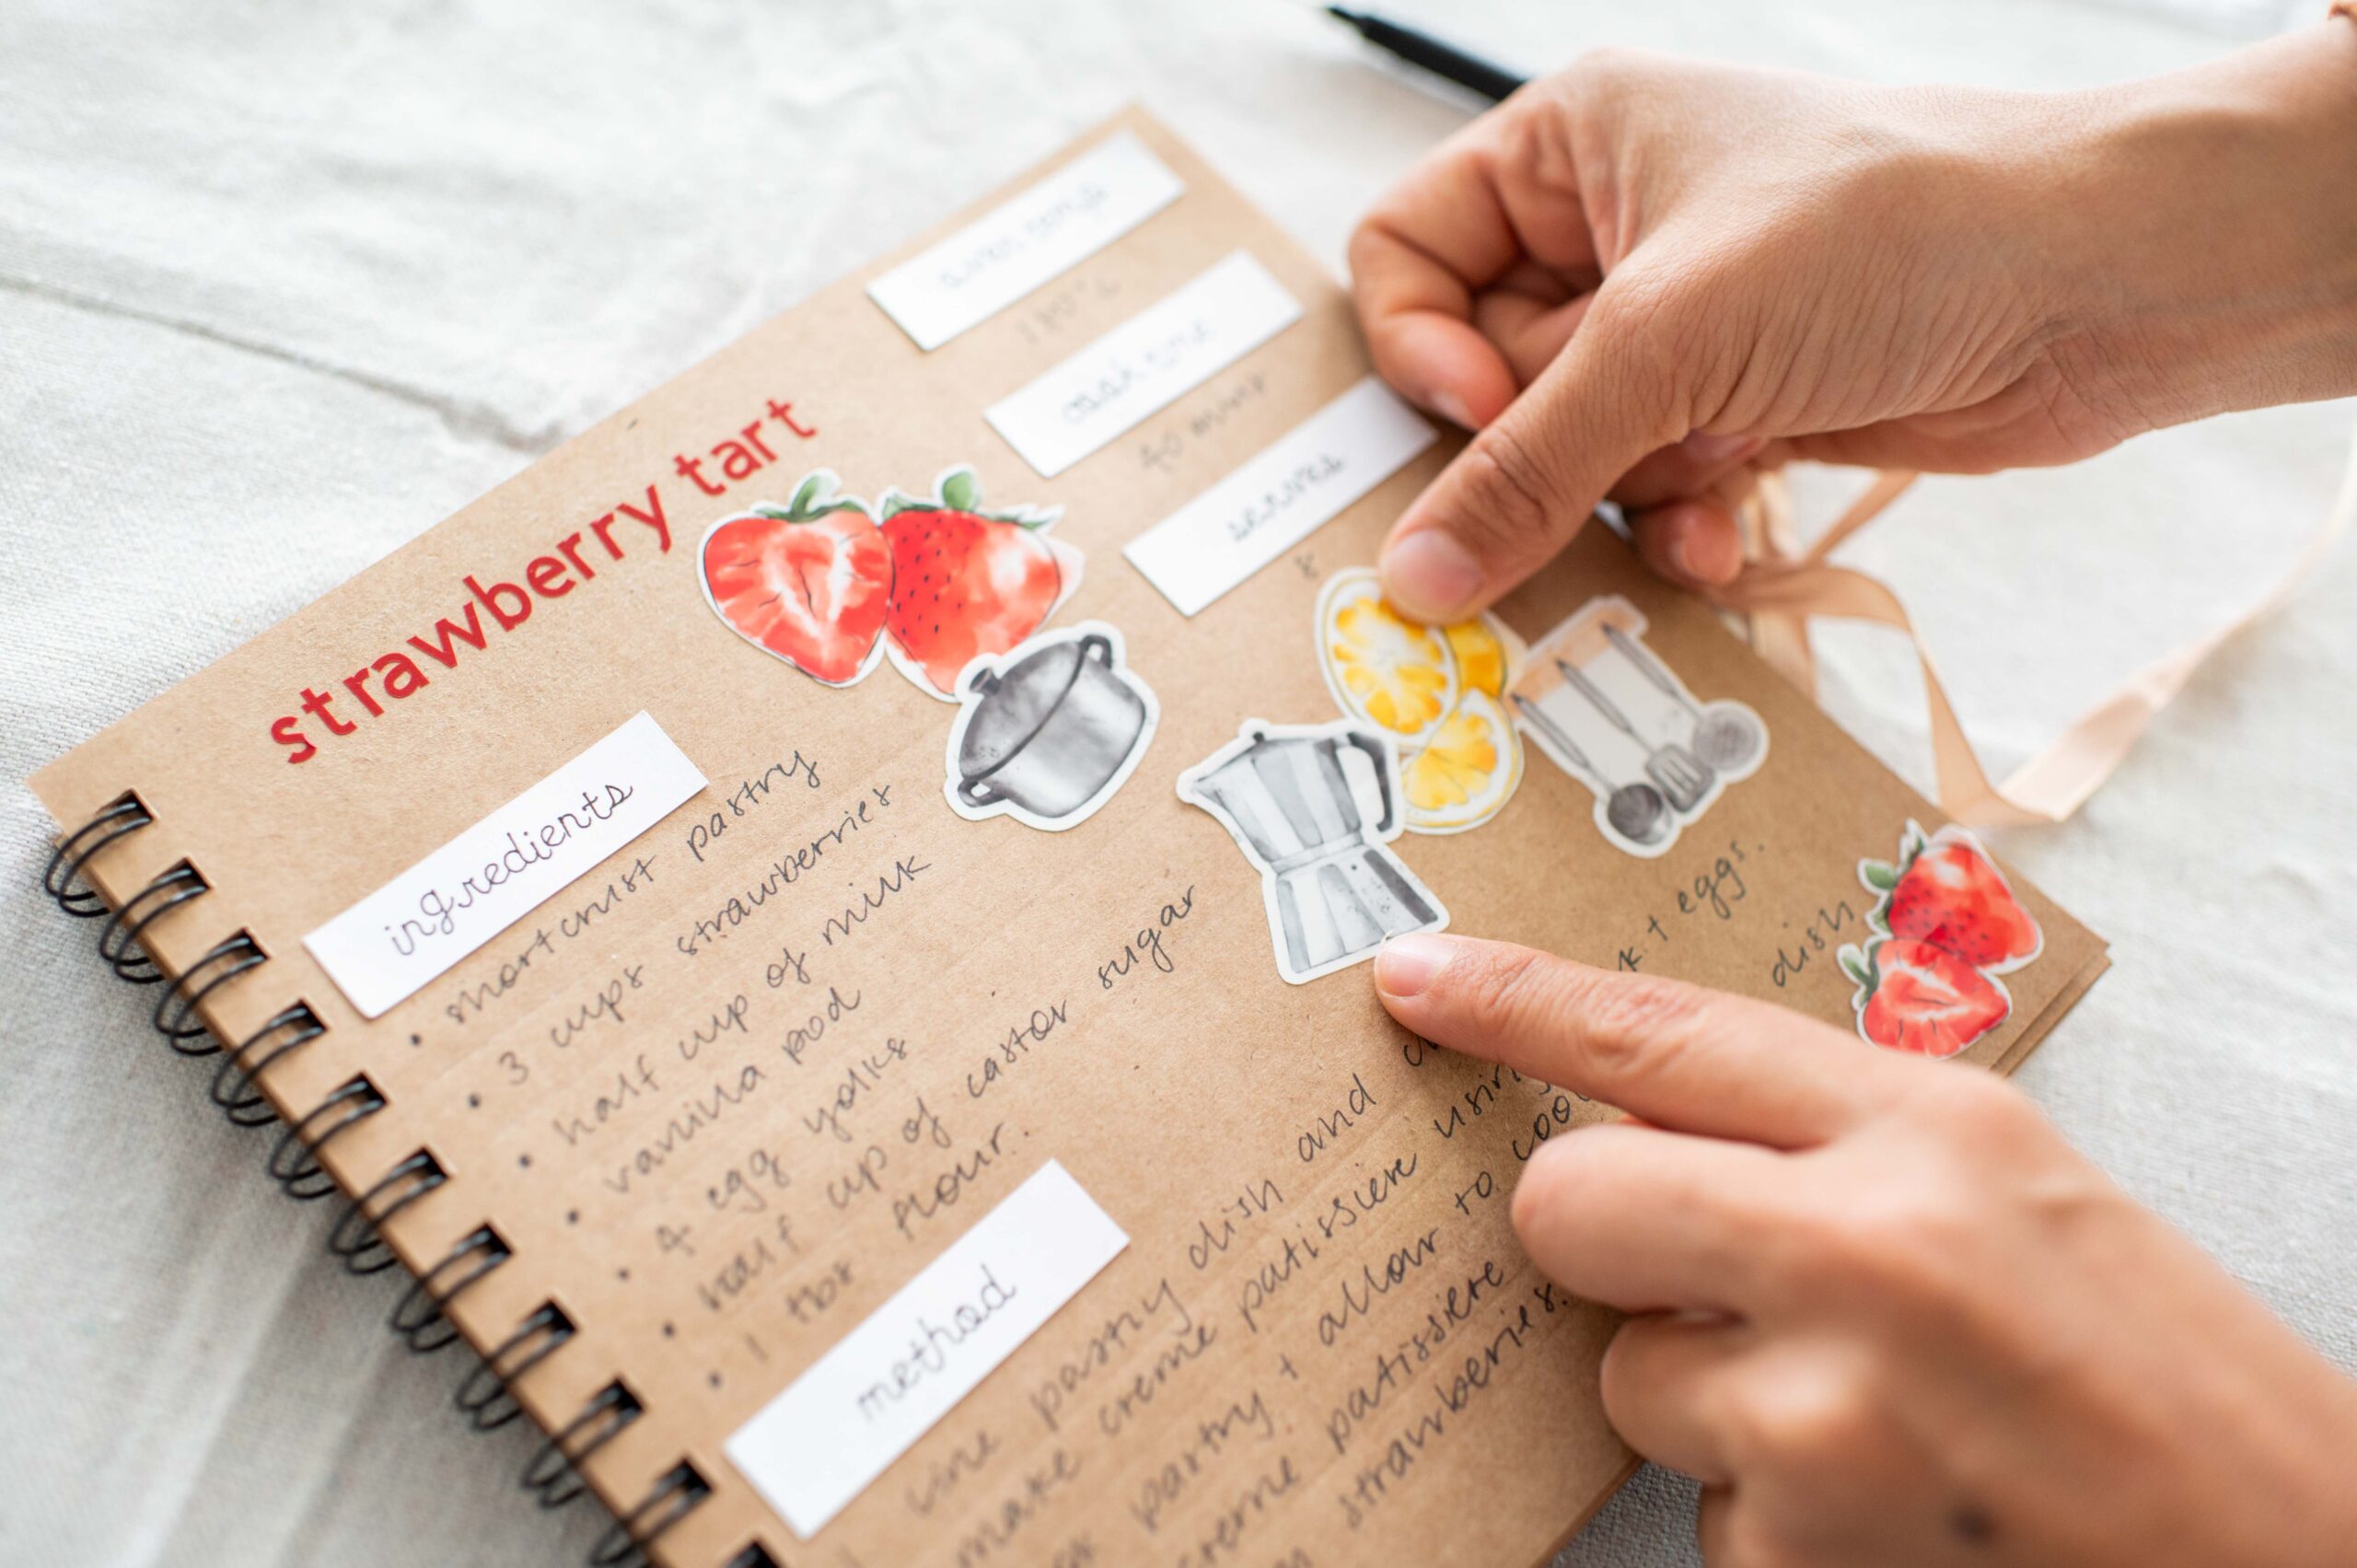
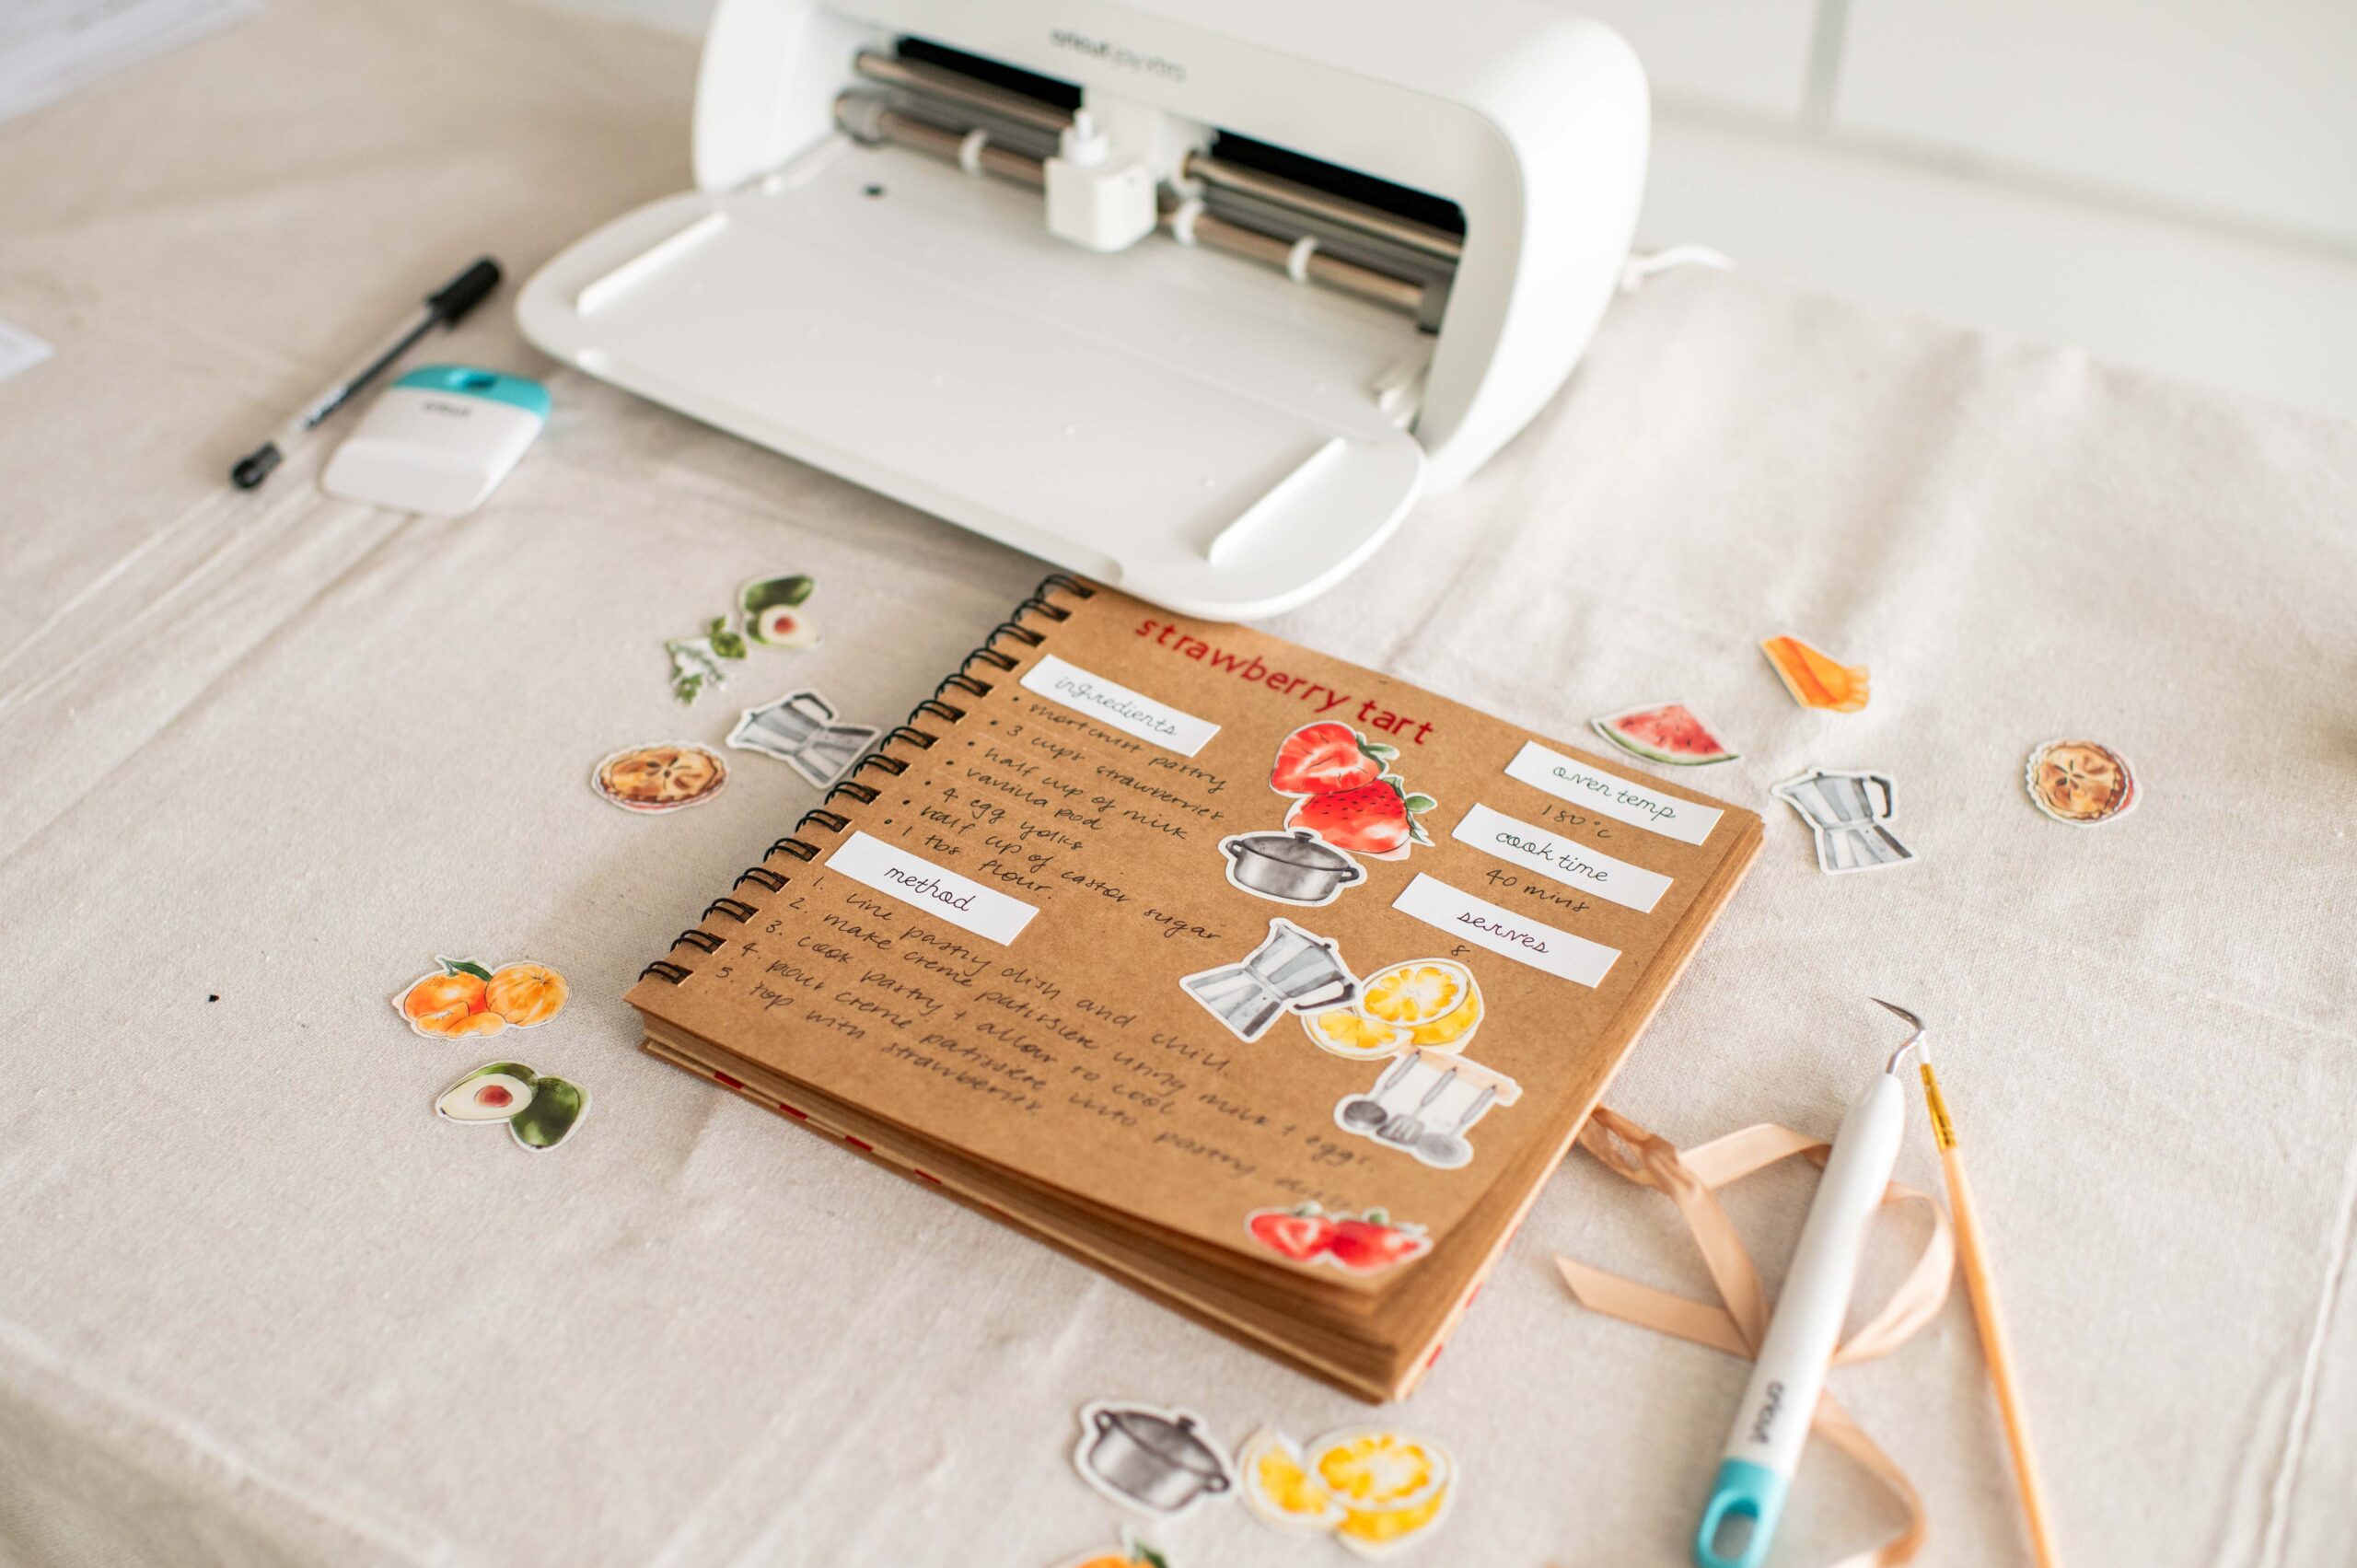
I was so excited to hear that Cricut had just release a new machine, similar to the Joy but with increased capabilities, making it a great compact machine for anyone looking to get into the world of Cricut. The Joy Xtra is the perfect size for this type of project, it’s compact and so easy to use, like the original Joy machine but it fits an A4 piece of paper in it which opens up a whole lot more options and sizes. Plus, the thing I was most excited to make for this project – stickers! And I think it goes without saying they were Frankie’s favourite part too. She already wants me to make her more.
Creating the Design
First begin by making your design in Cricut’s Design Space. This is where the magic happens and your imagination can create anything you want, which I love! I was able to find all the shapes and fonts I needed using the app, and simply put it together and mocked up the book. The watercolour images I used for the stickers were so perfect and easy to find in the app.
Making the Stickers
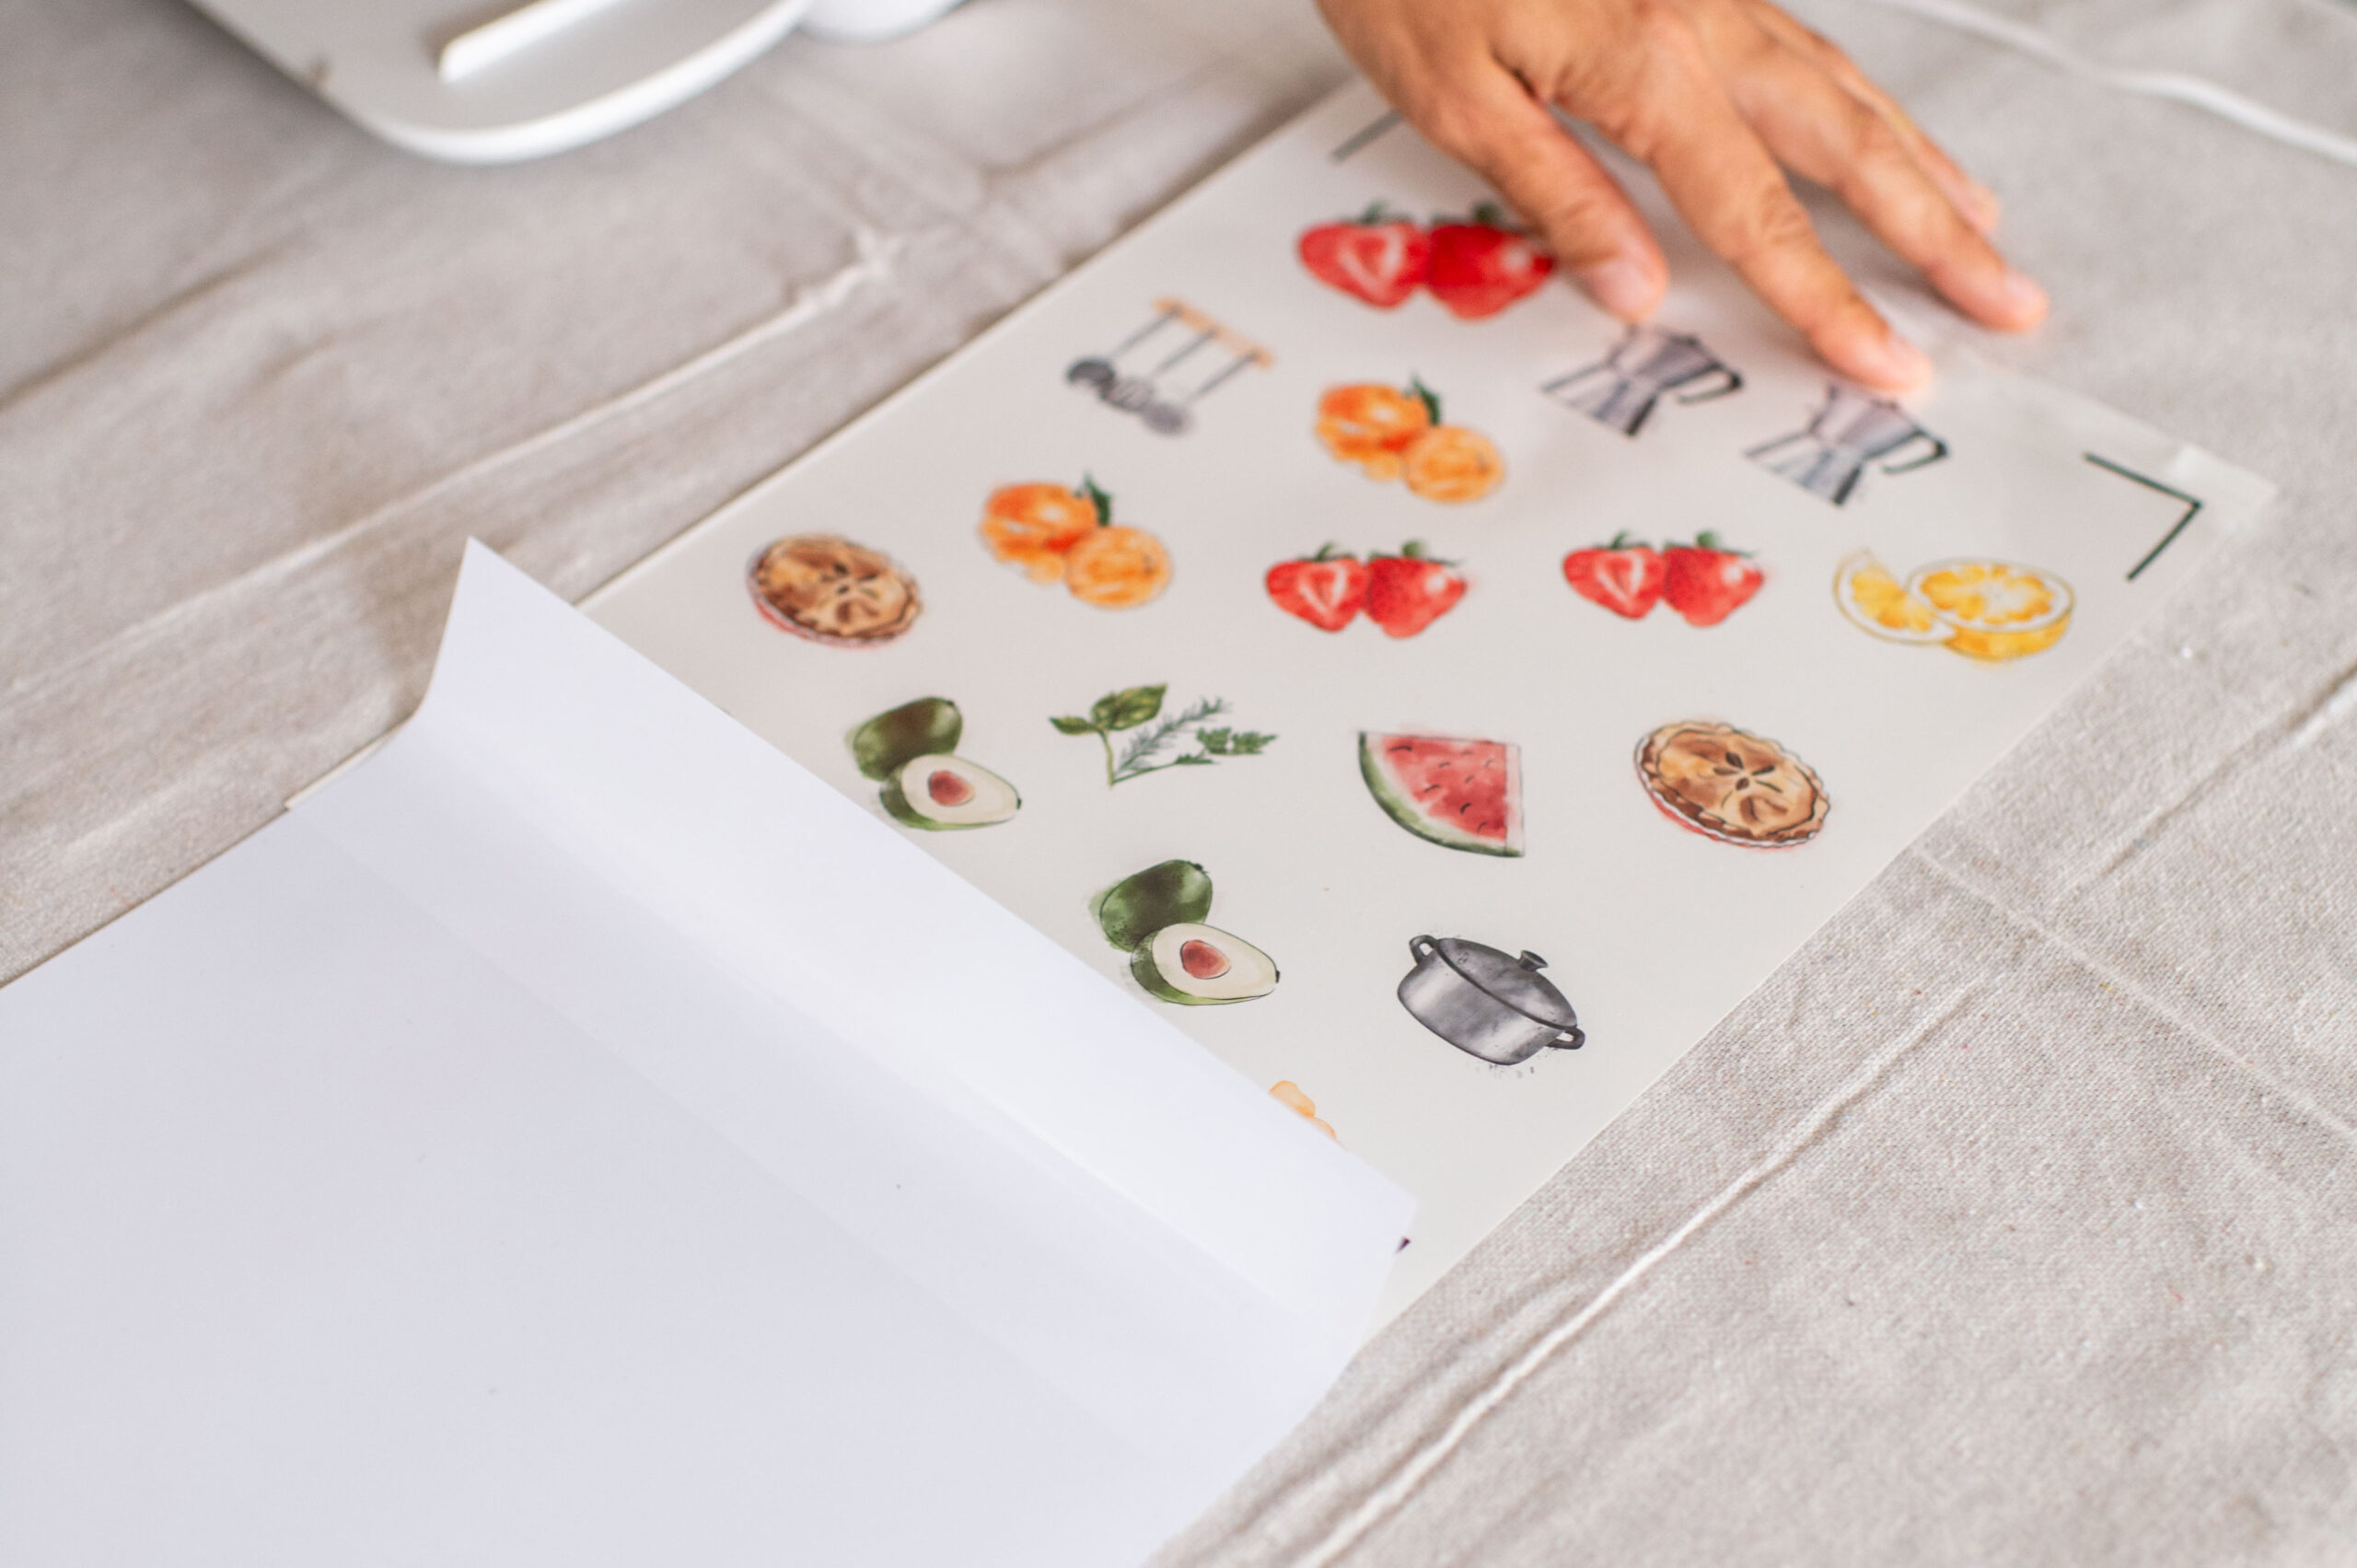
I was so excited to experiment with making stickers! I used these images from the Design Space app: #M2A9CBAAC #M2A9CBA8D#M4DB660B4 #M4F38991B #M2AB30818 #M2A9CBAAF #M2A9CBAD9.
You need:
- Cricut Joy Xtra
- Cricut Printable Waterproof Sticker Set
- Ink Jet printer
- Cricut Xtra machine mat
- Scraper tool
How to
- Once you have designed your stickers in the Design Space app, it’s time to print and then cut them out.
- If this is your first time using print then cut with your machine you will be prompted to calibrate, follow the steps and do not skip this part. Click calibrate and print the test sheet, add it to a cutting mat and run it through your machine. The machine will cut a series of lines and you will choose which cut is most precise. Now you can move on to printing the stickers.
- You may need to feed the sticker paper through the rear feeder.
- Print the stickers and let them dry for a few minutes.
- Place the sticker sheet onto a cutting mat.
- Apply the laminate. This is the top covering that comes in the sticker pack and makes your stickers waterproof.
- Tear off the top strip on the back and line it up with the top of the sticker sheet. Use the scraper tool to push it into place as you remove the backing.
- In Cricut Design Space choose the printable waterproof sticker paper, then load the mat into the machine.
- Unload the mat when the cut is complete. Remove the stickers from the paper and use!
Making The Book Cover
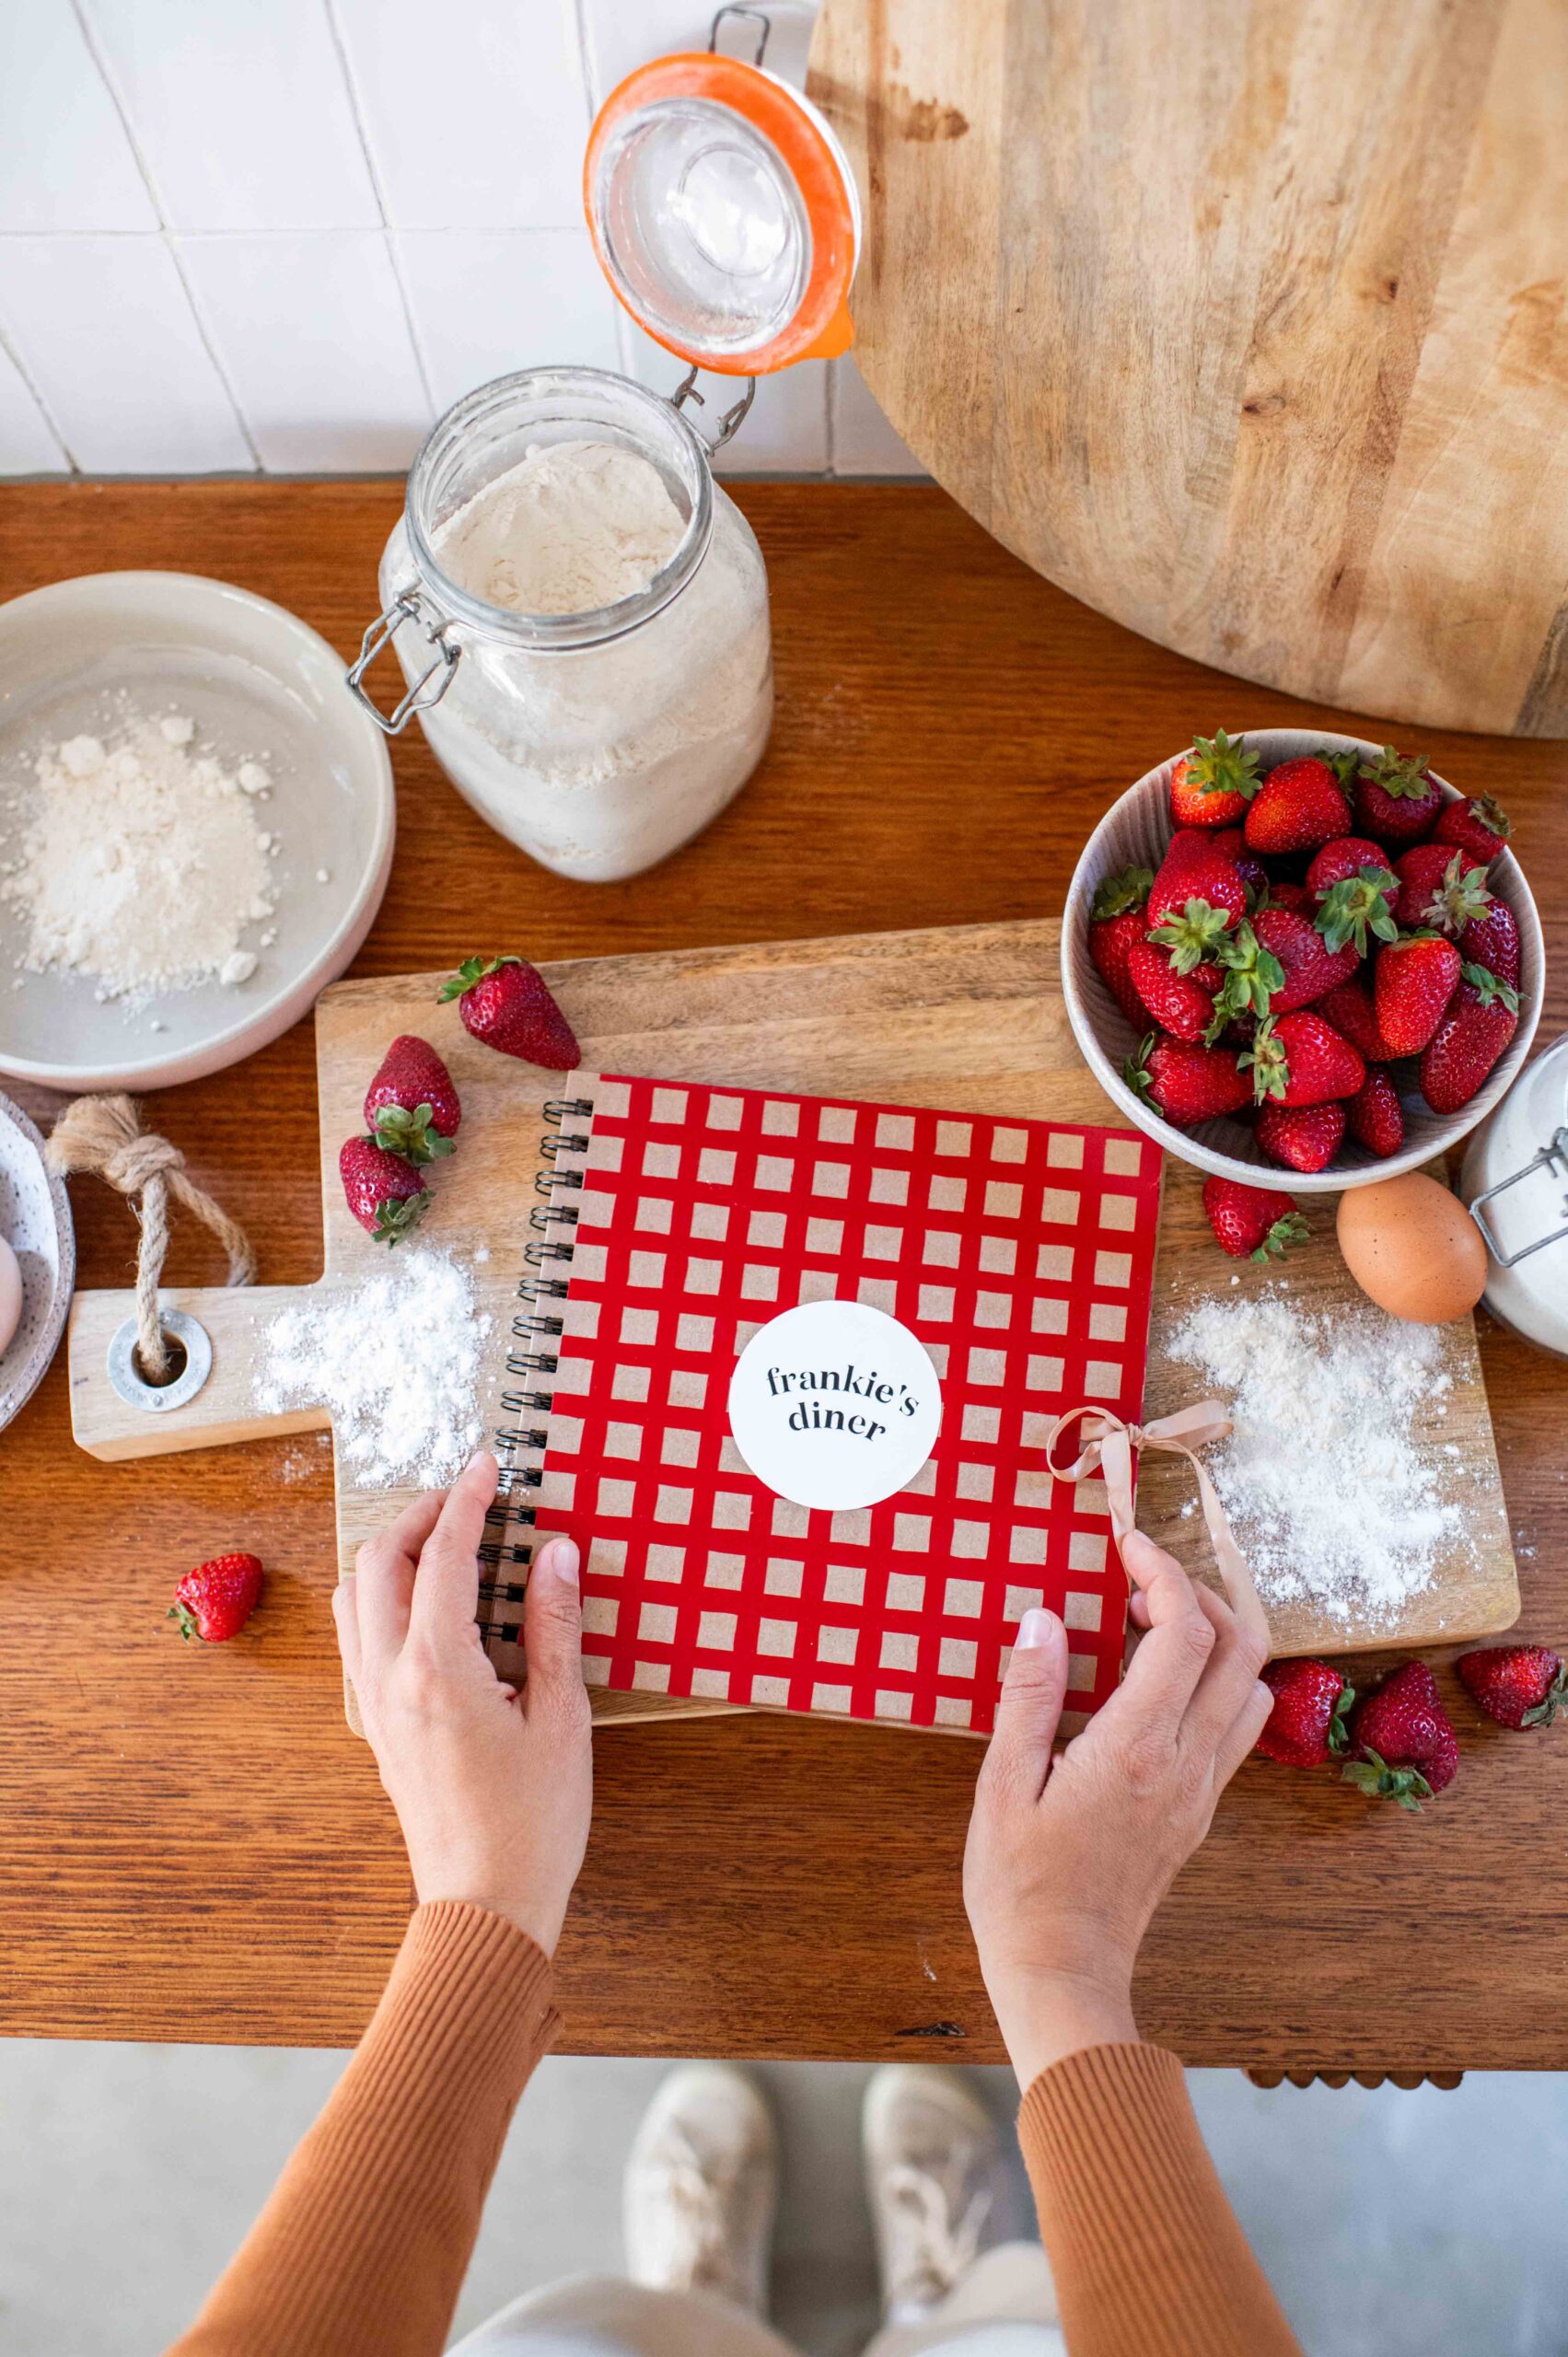
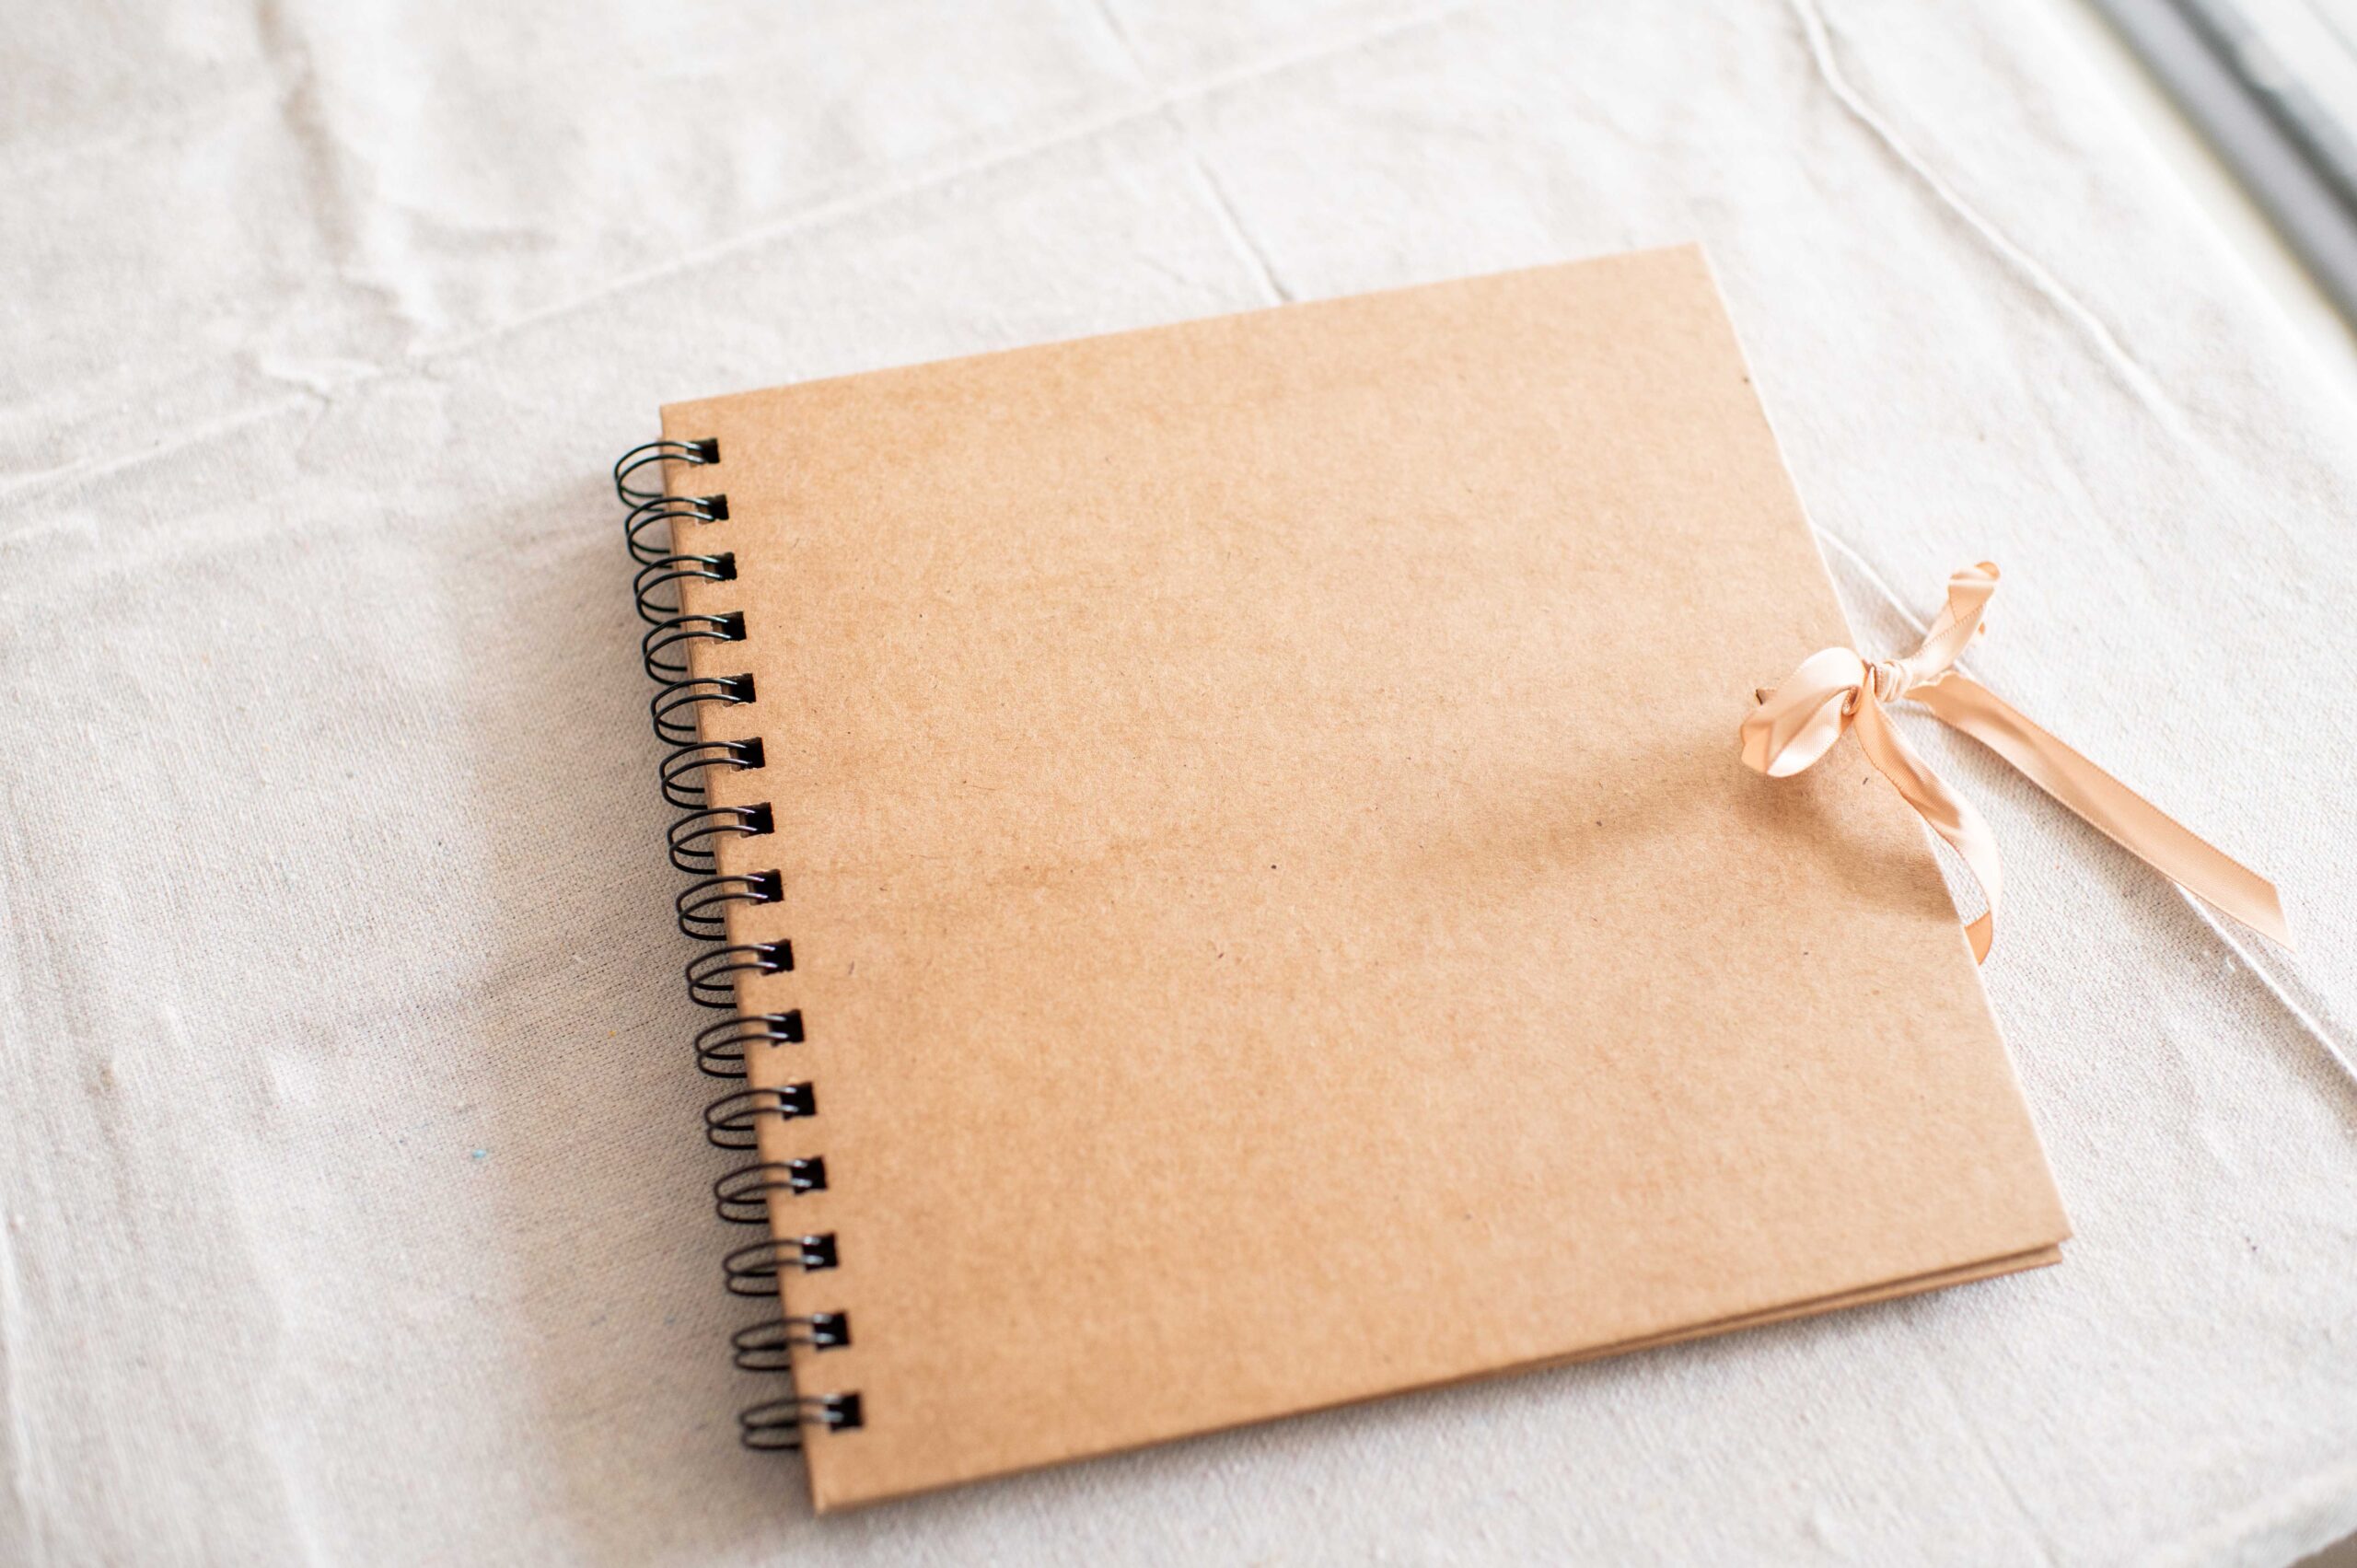
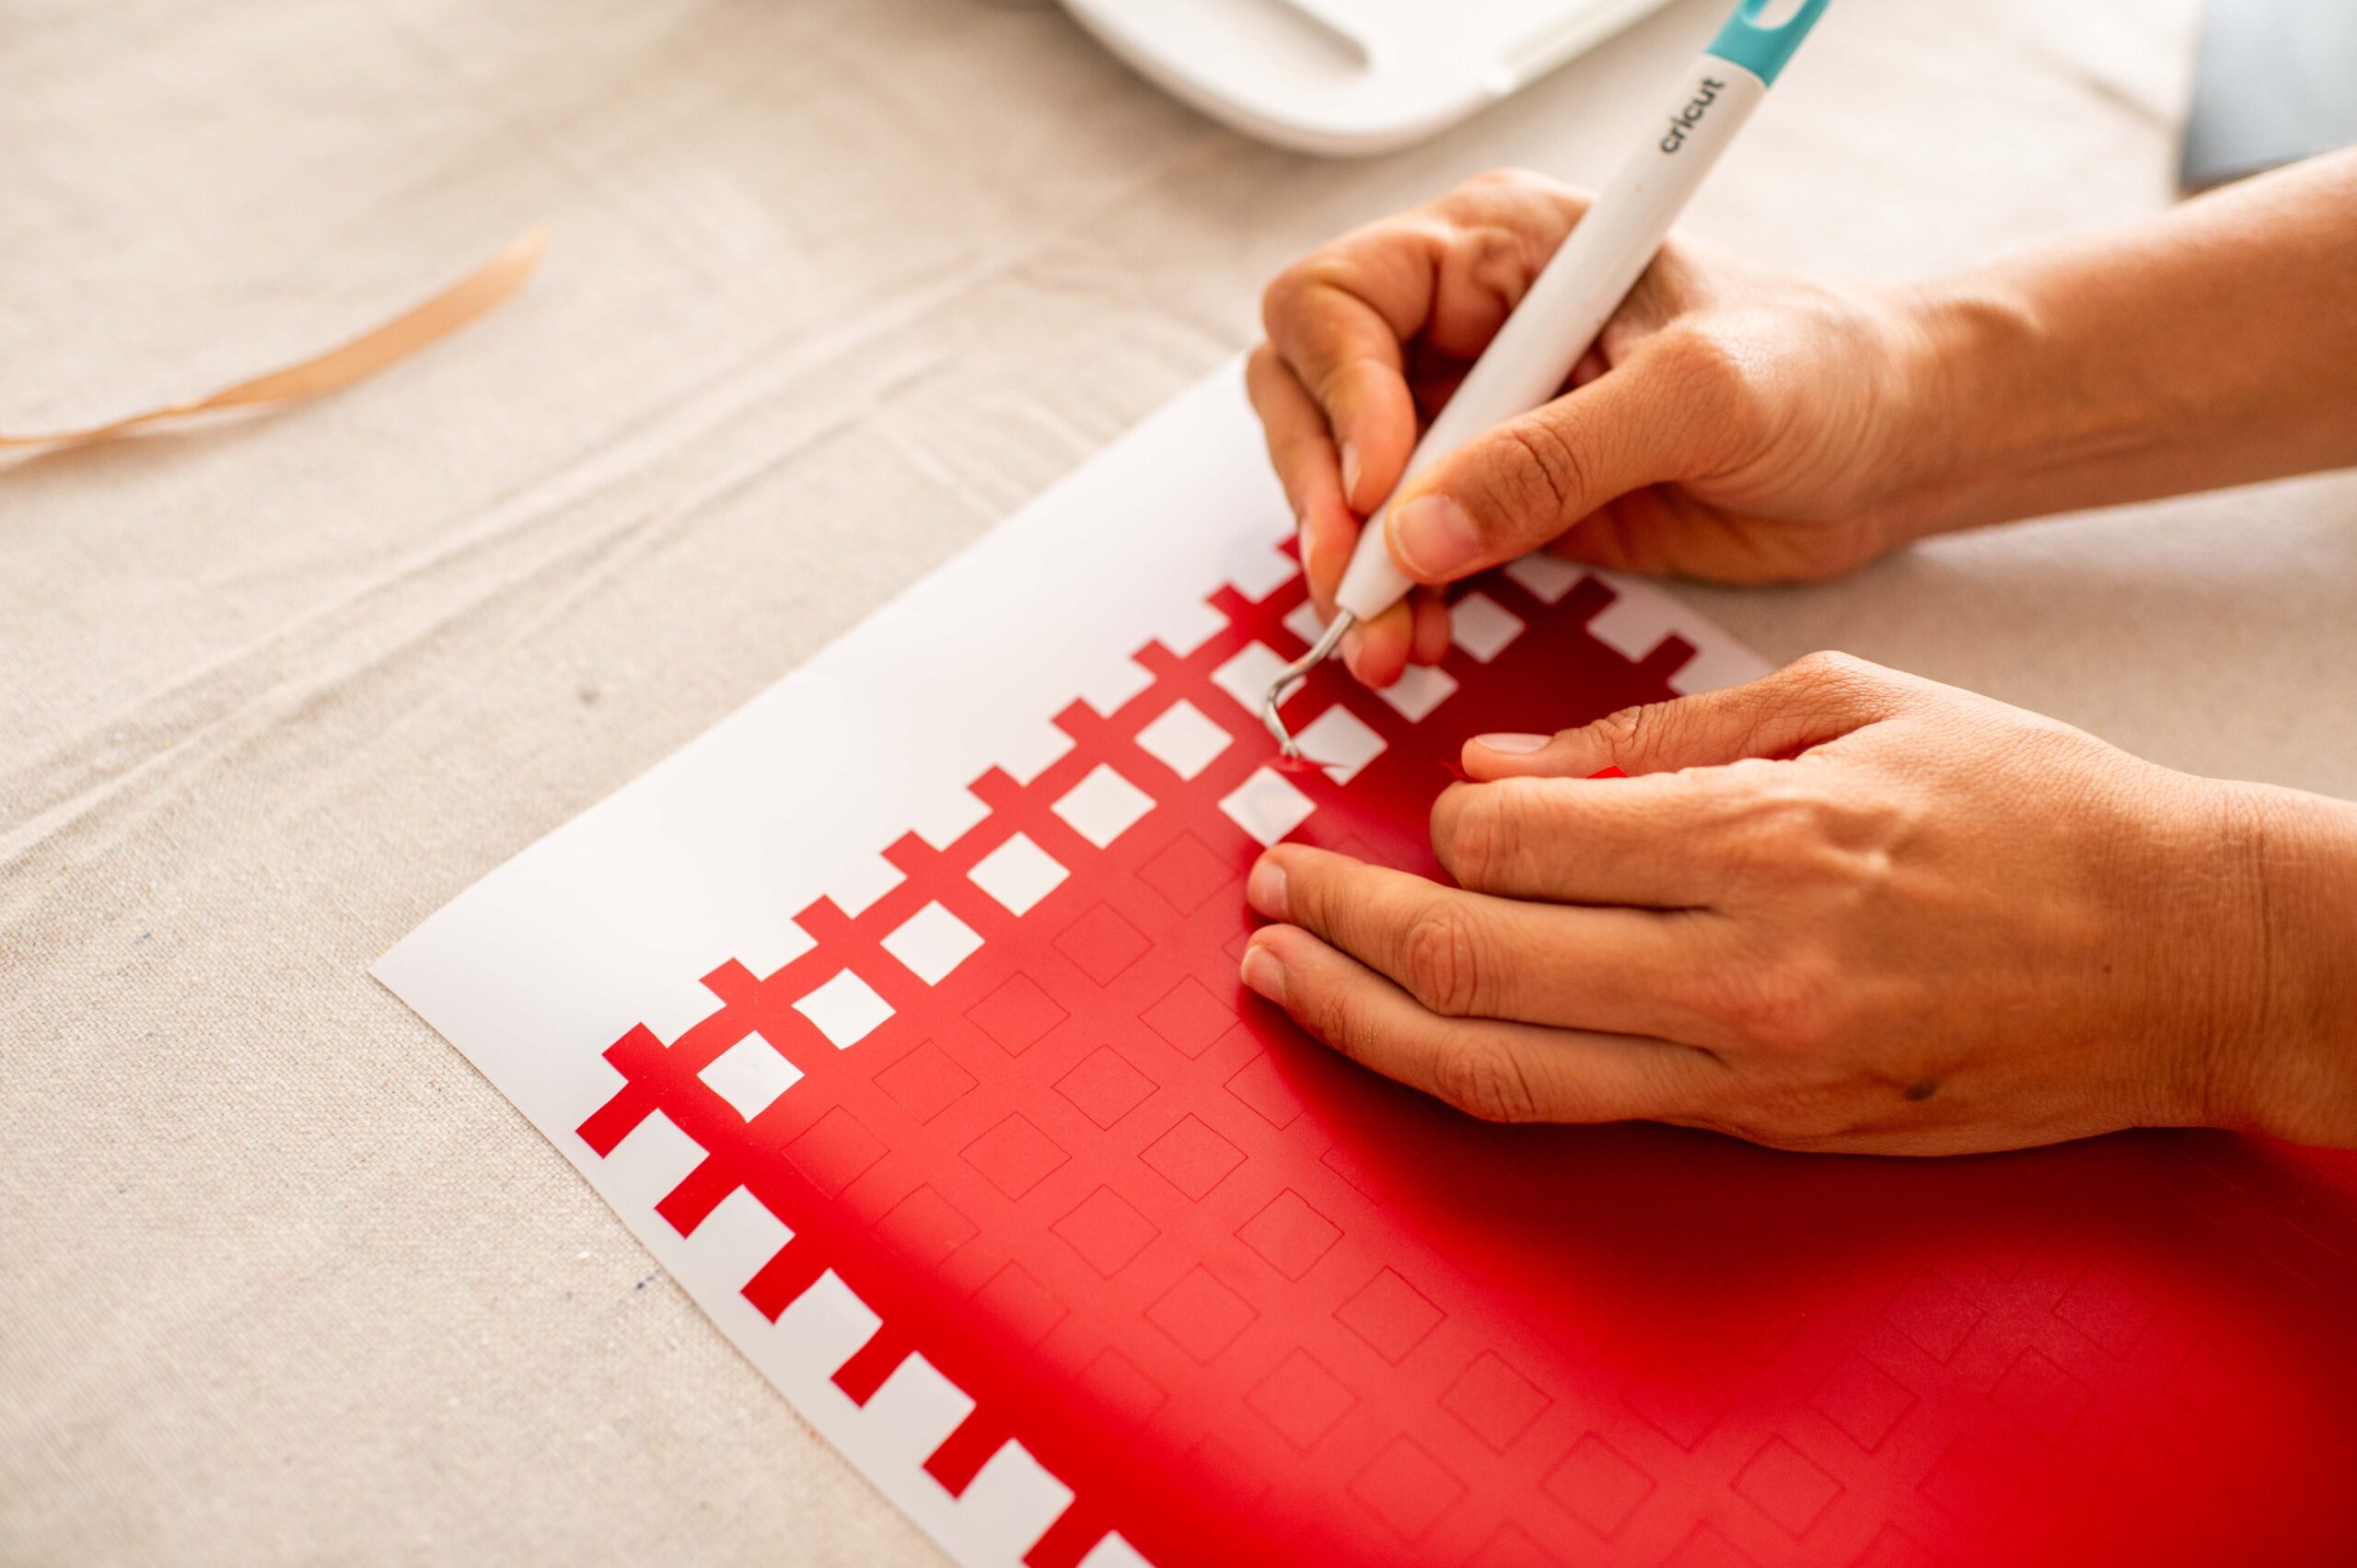
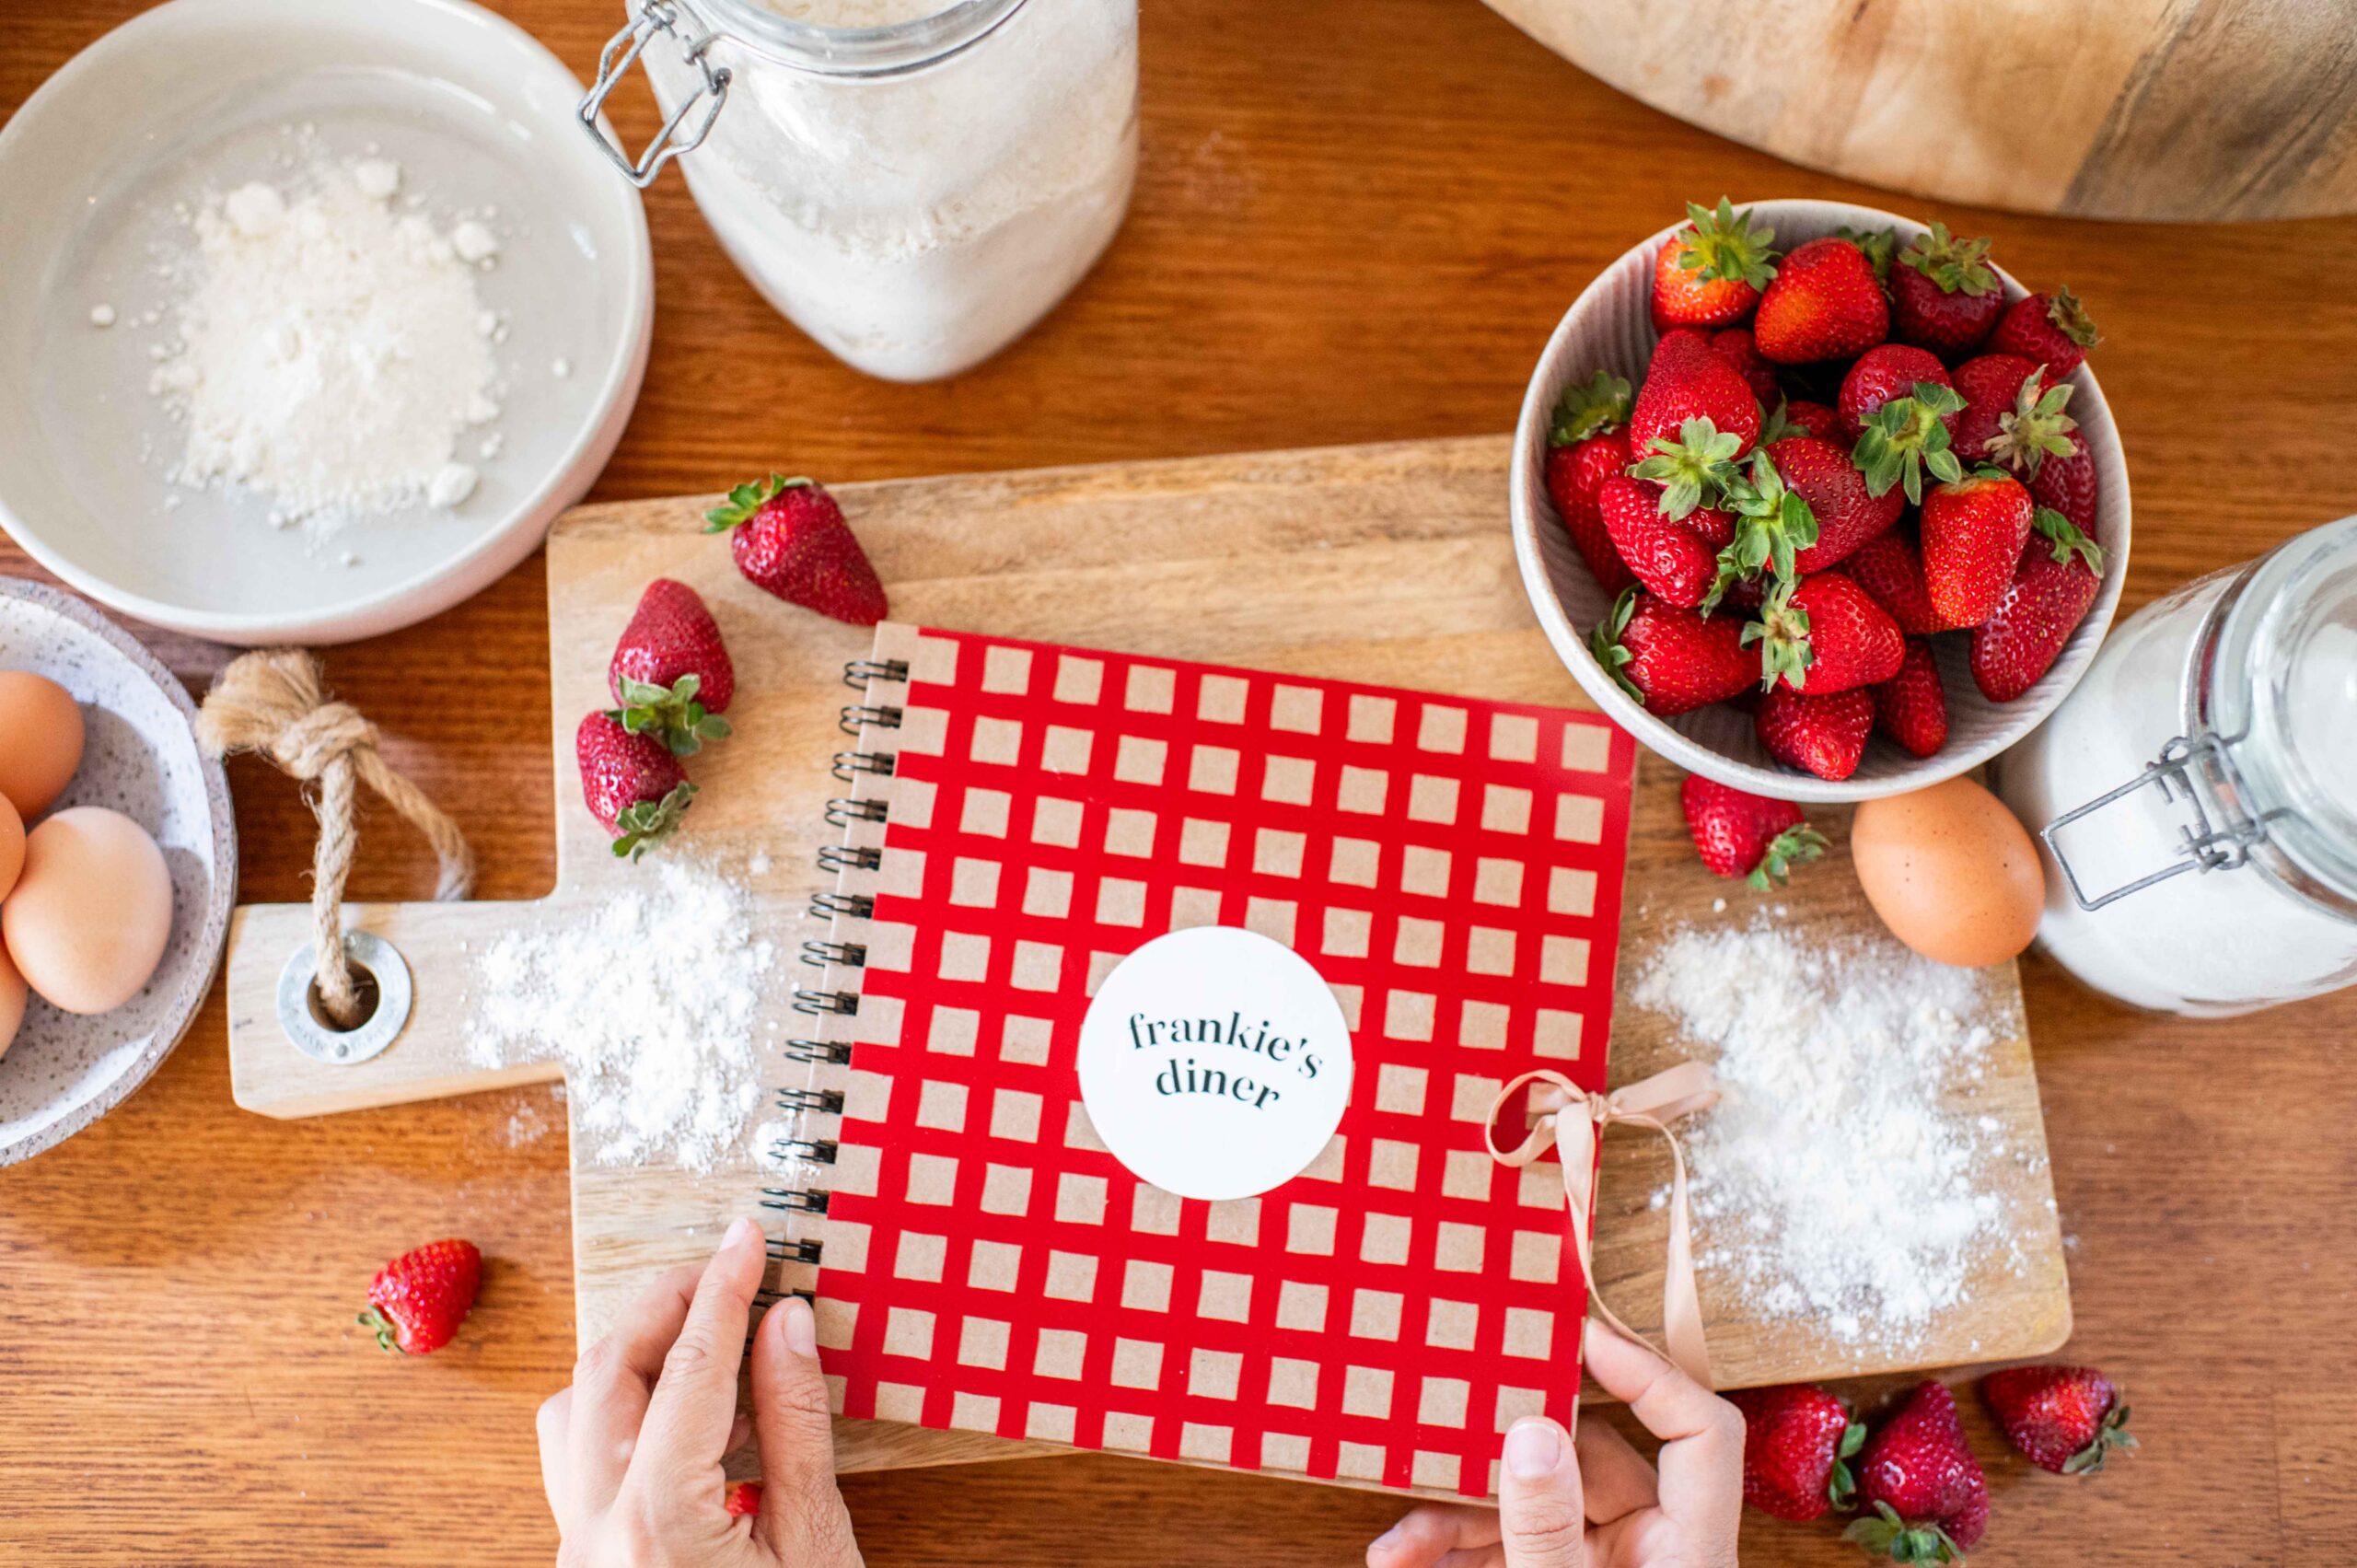
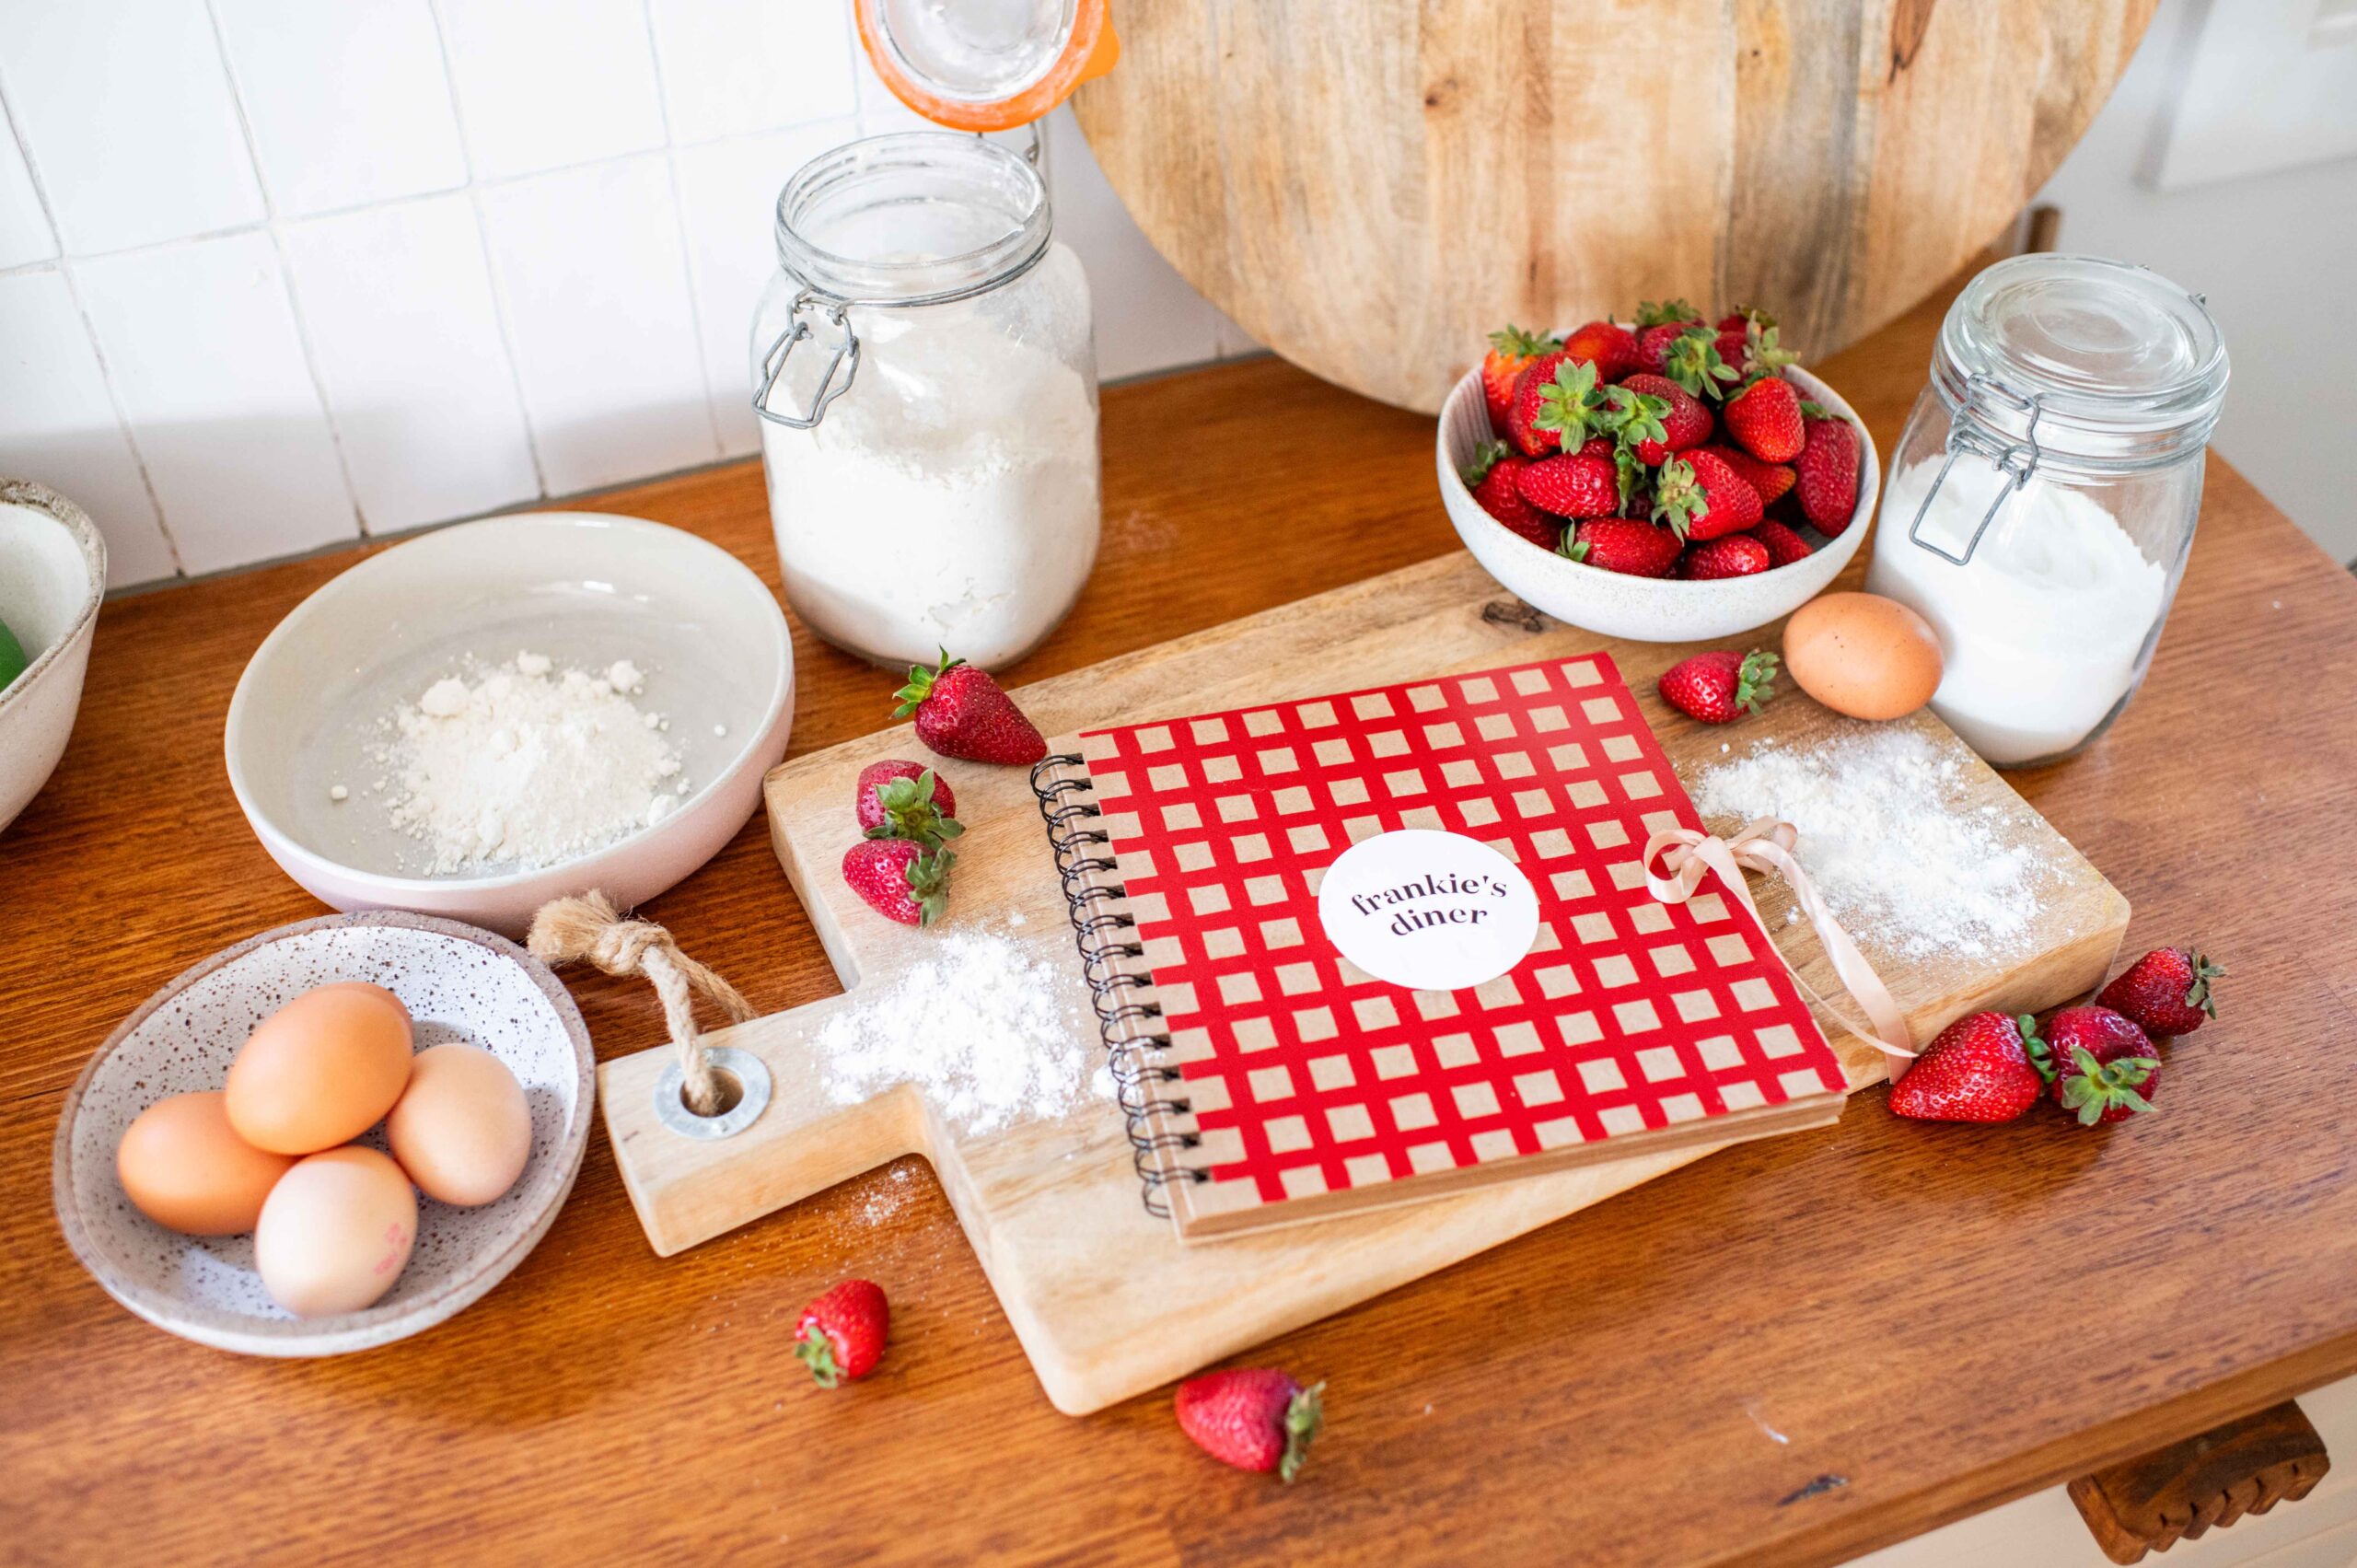
I wanted to give the cover of the recipe book a fun feel so I personalised it with a gingham inspired vinyl and a a little ‘Frankie’s Diner’ detail.
You’ll need:
- Cricut Joy Xtra
- Cricut Joy Xtra standard grip mat
- Cricut weeding tools
- Cricut Smart Vinyl in black, white and red
- Cricut Transfer Tape
- A blank book (I used this one)
How to:
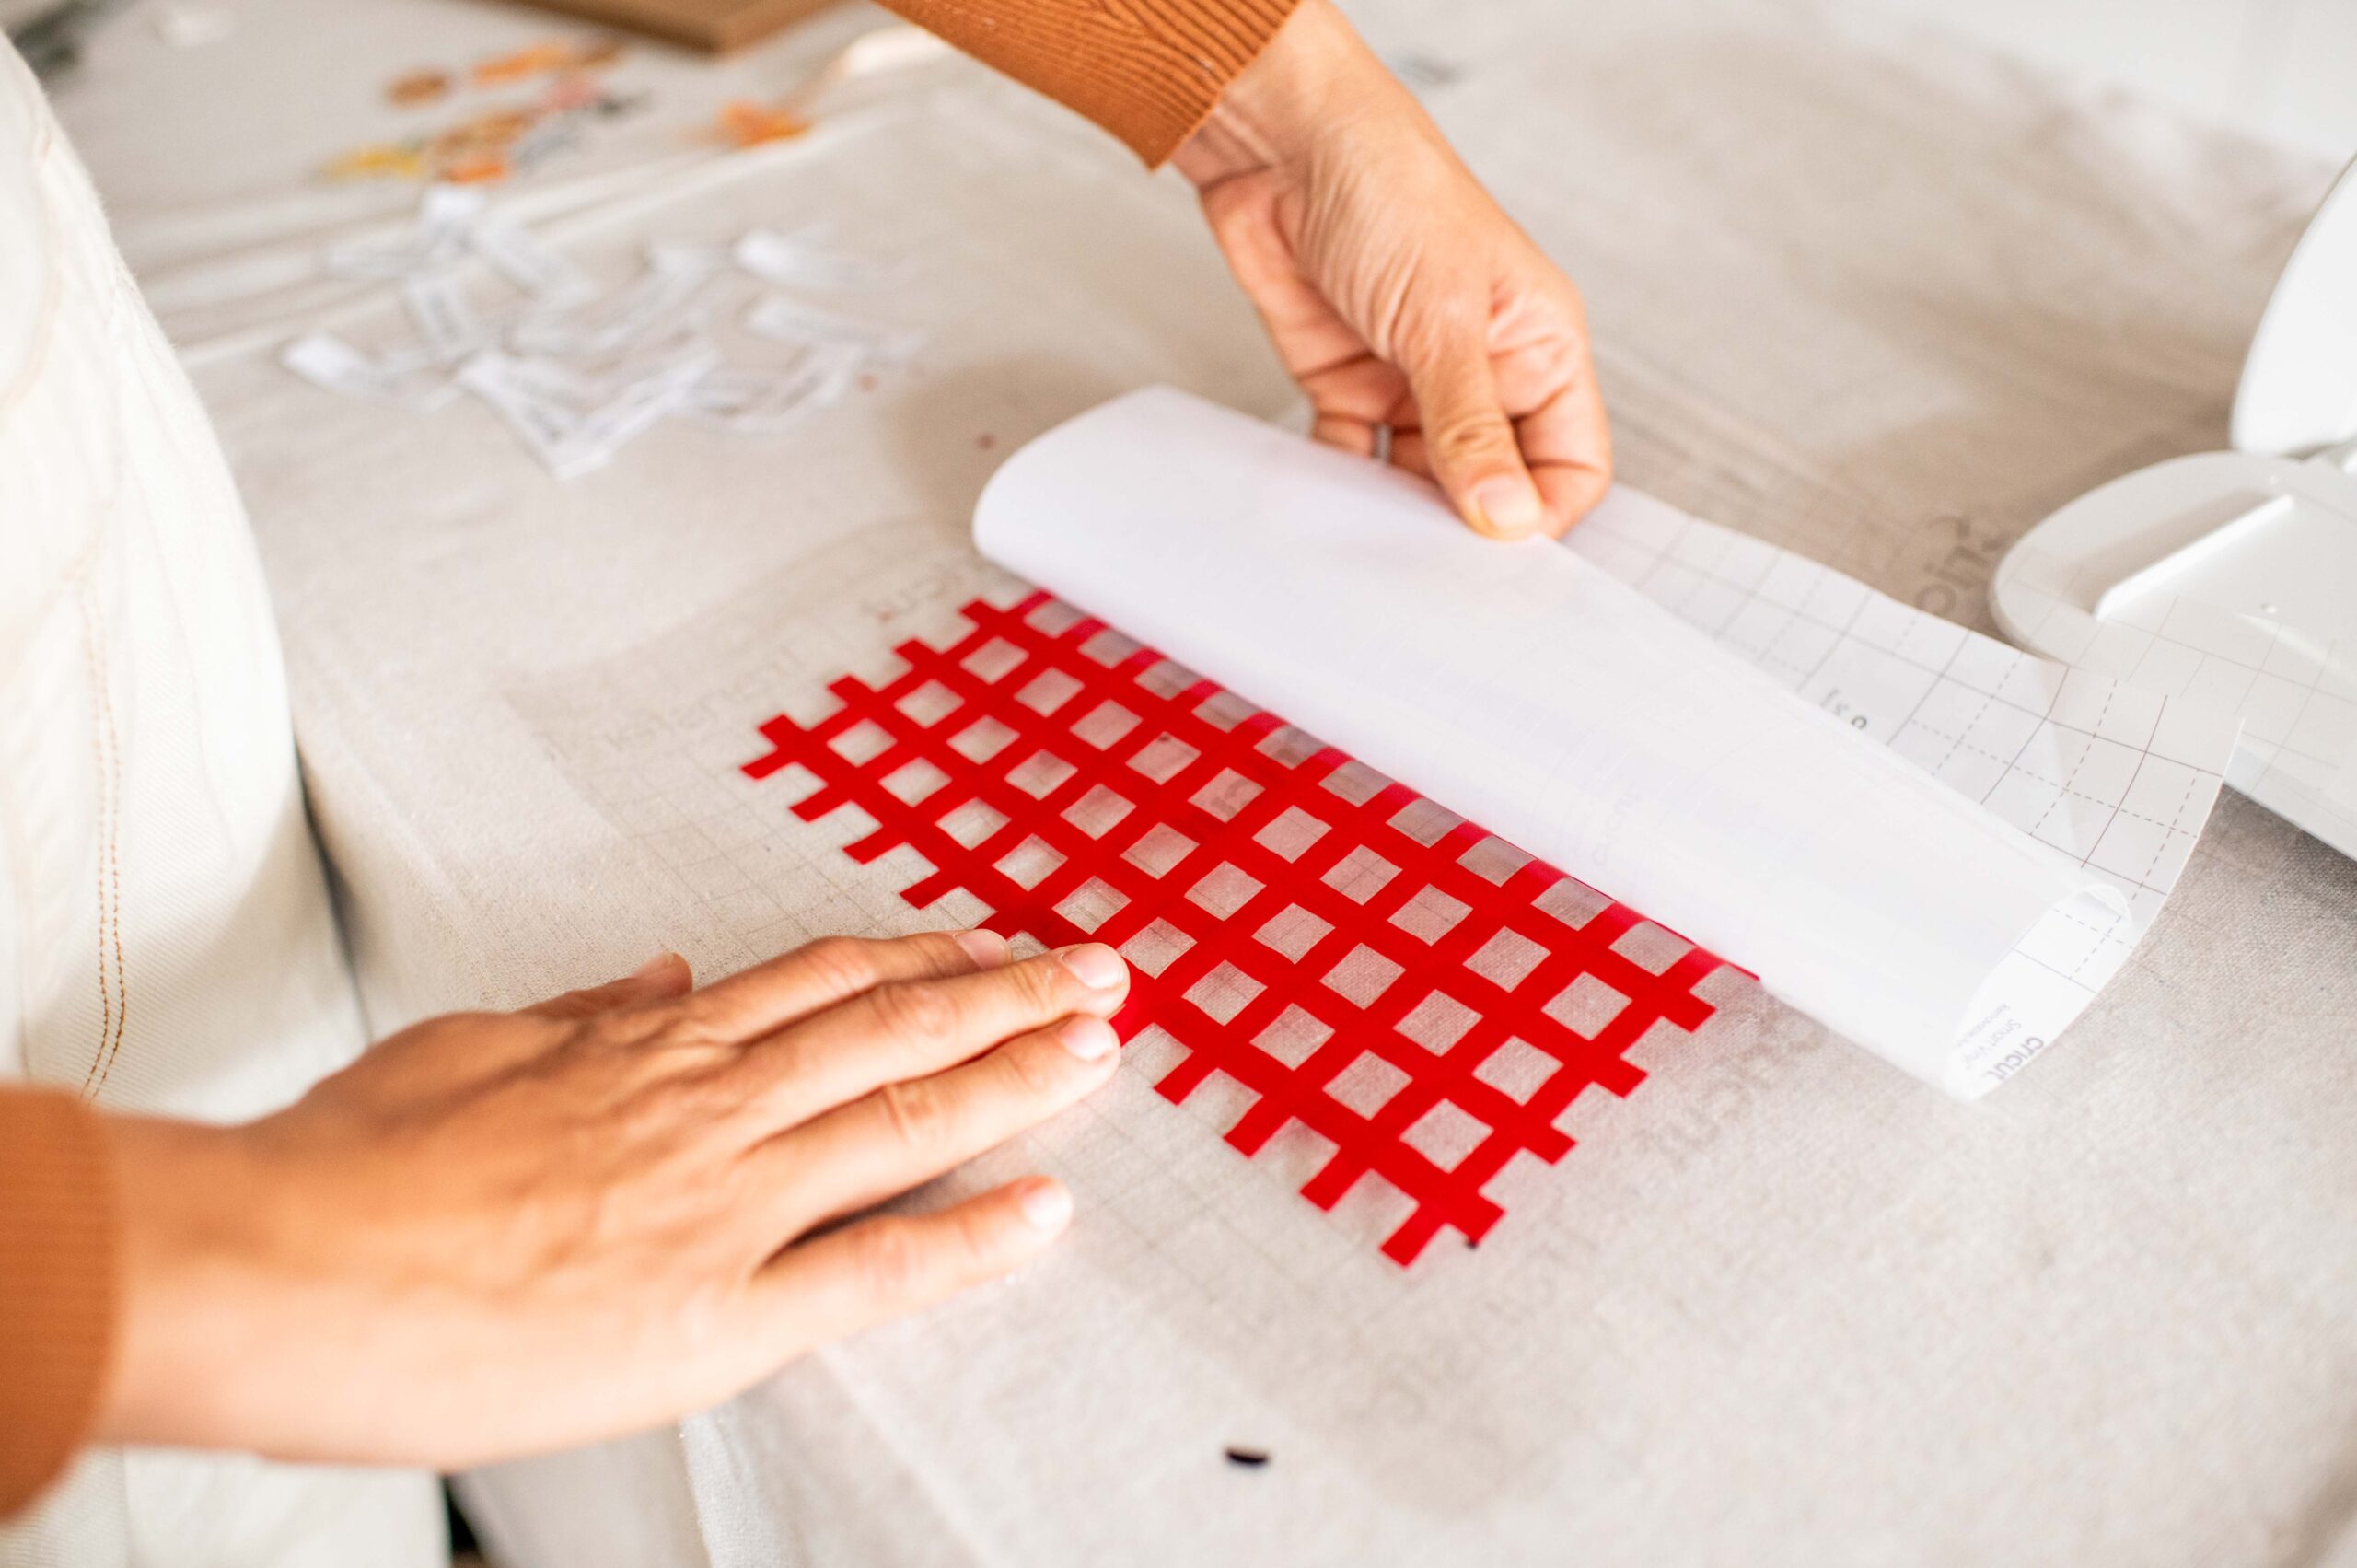
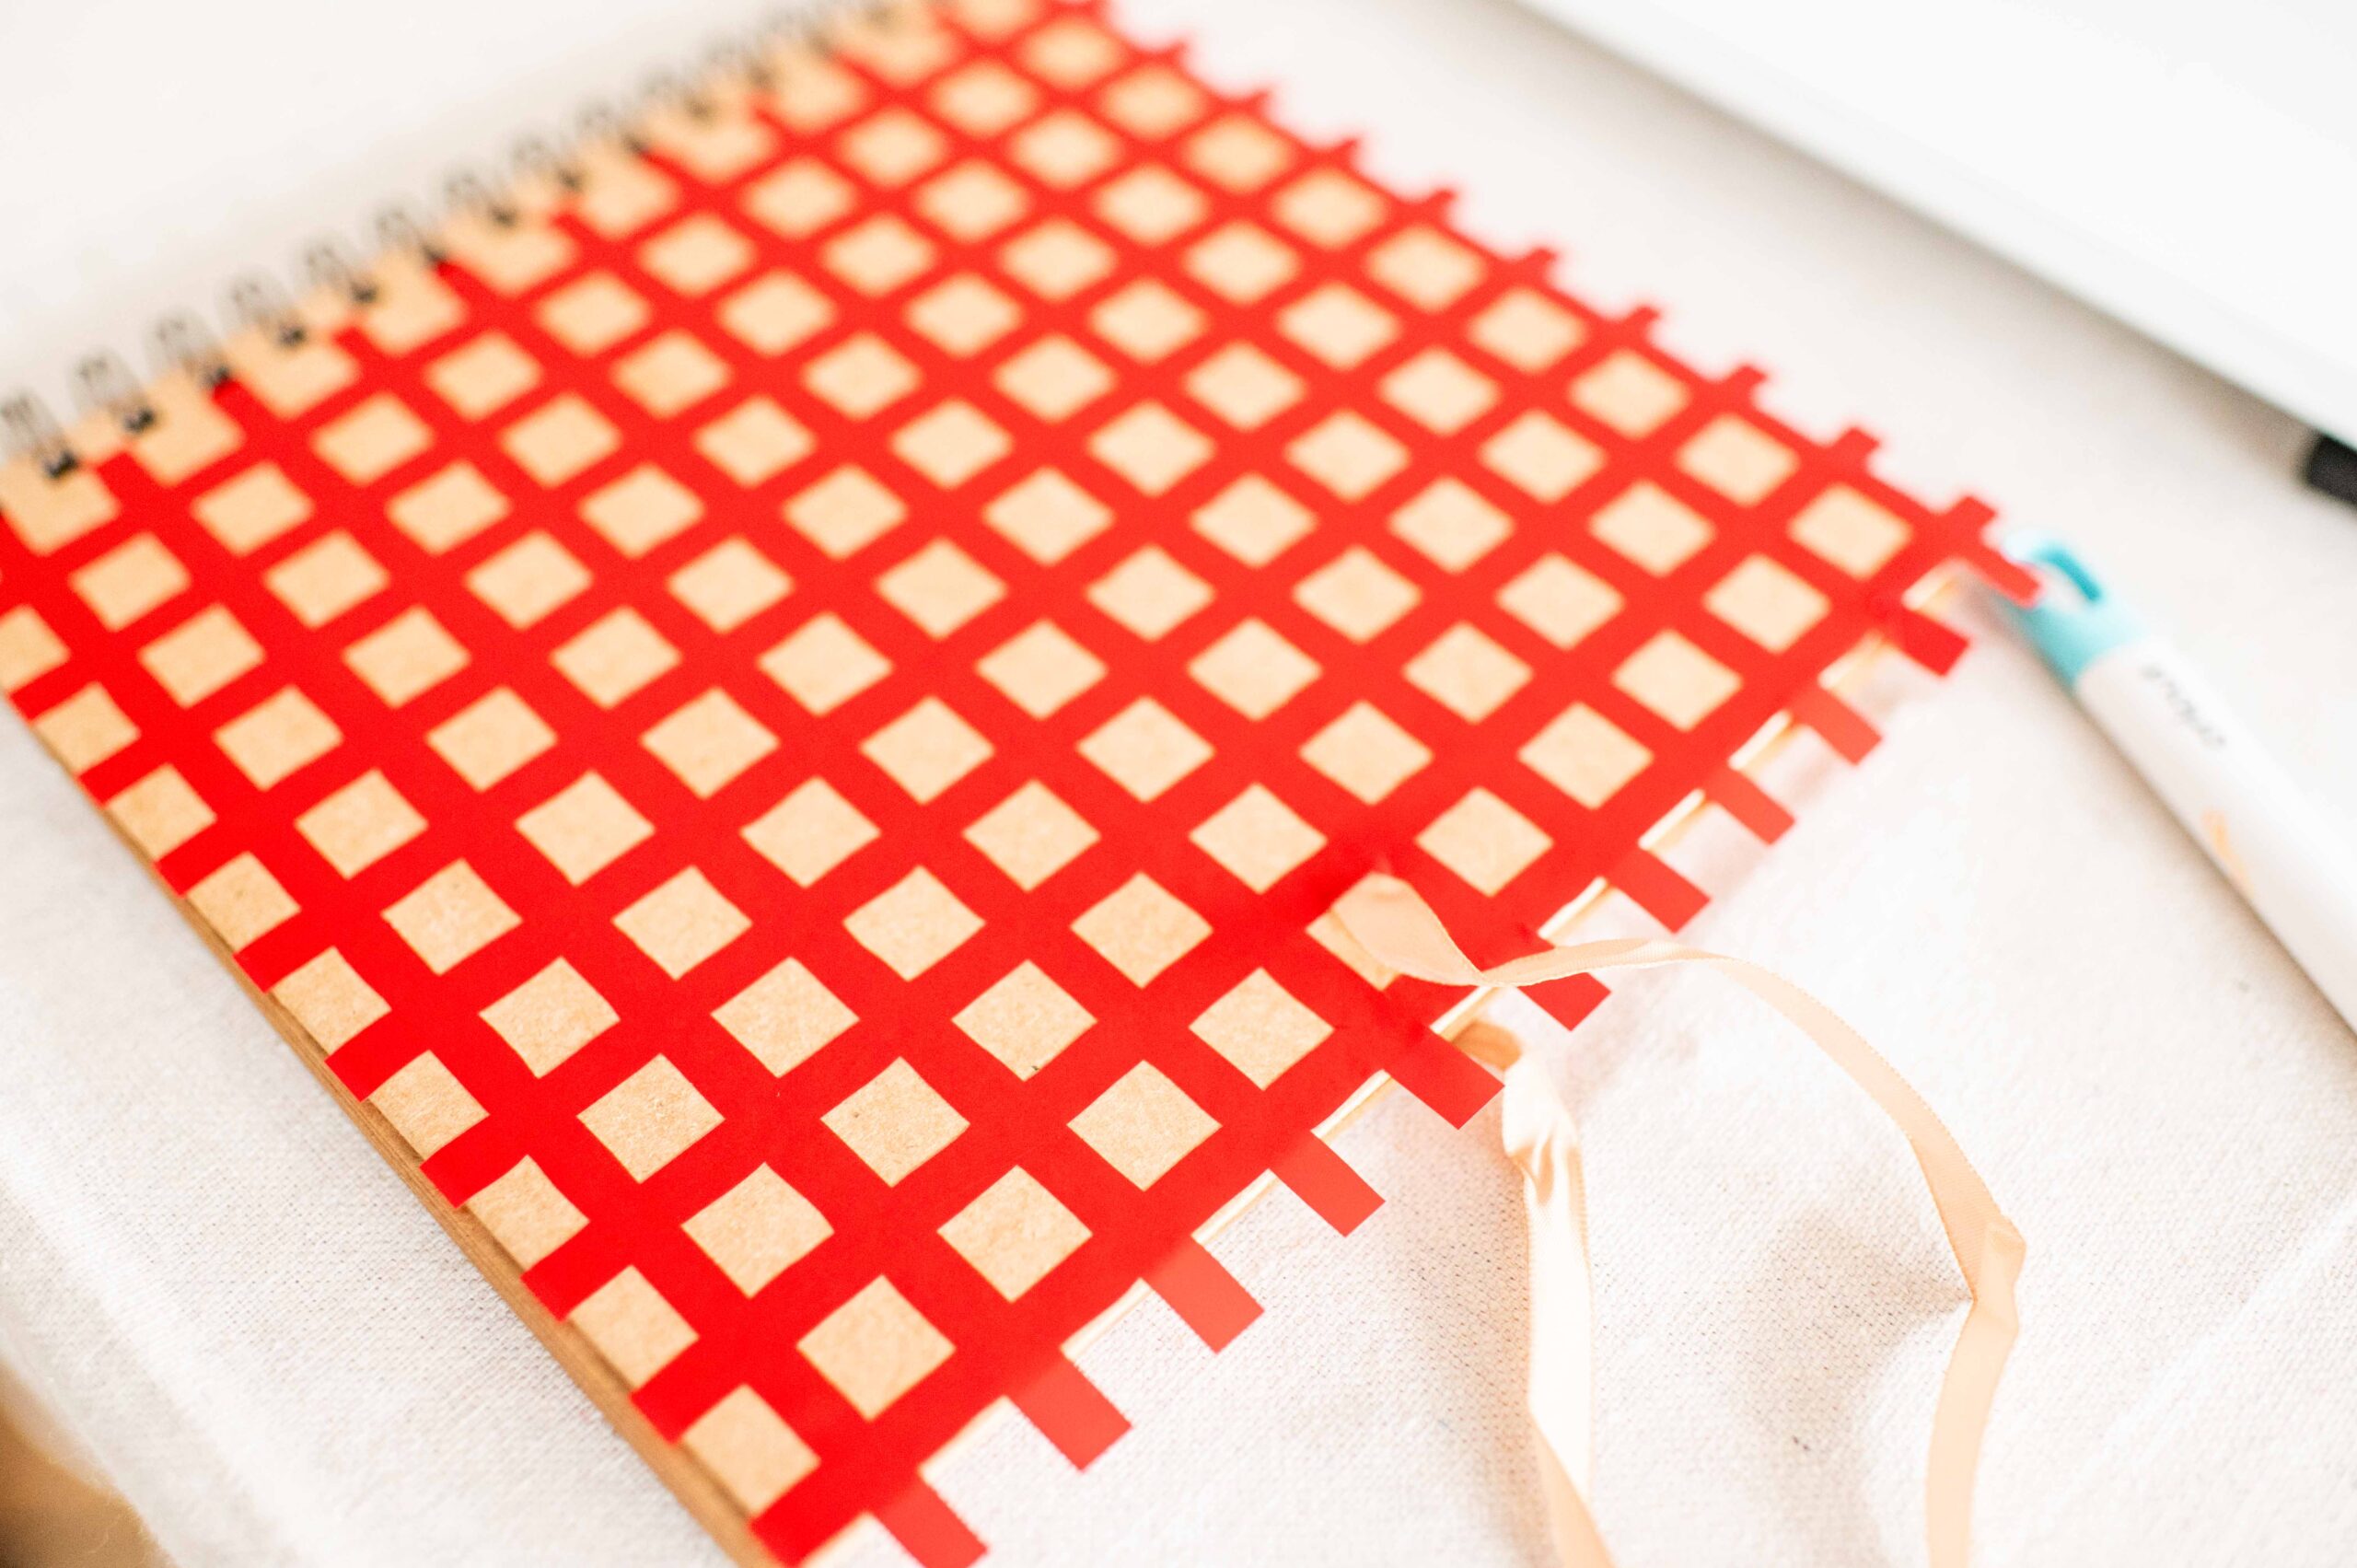
You can load your materials into the machine and follow the prompts in design space to cut all your materials. Once cut, I simply transferred the vinyl gingham onto the cover and then added the circle and lettering on top. It was so easy!
Making the ‘Handwritten’ Labels
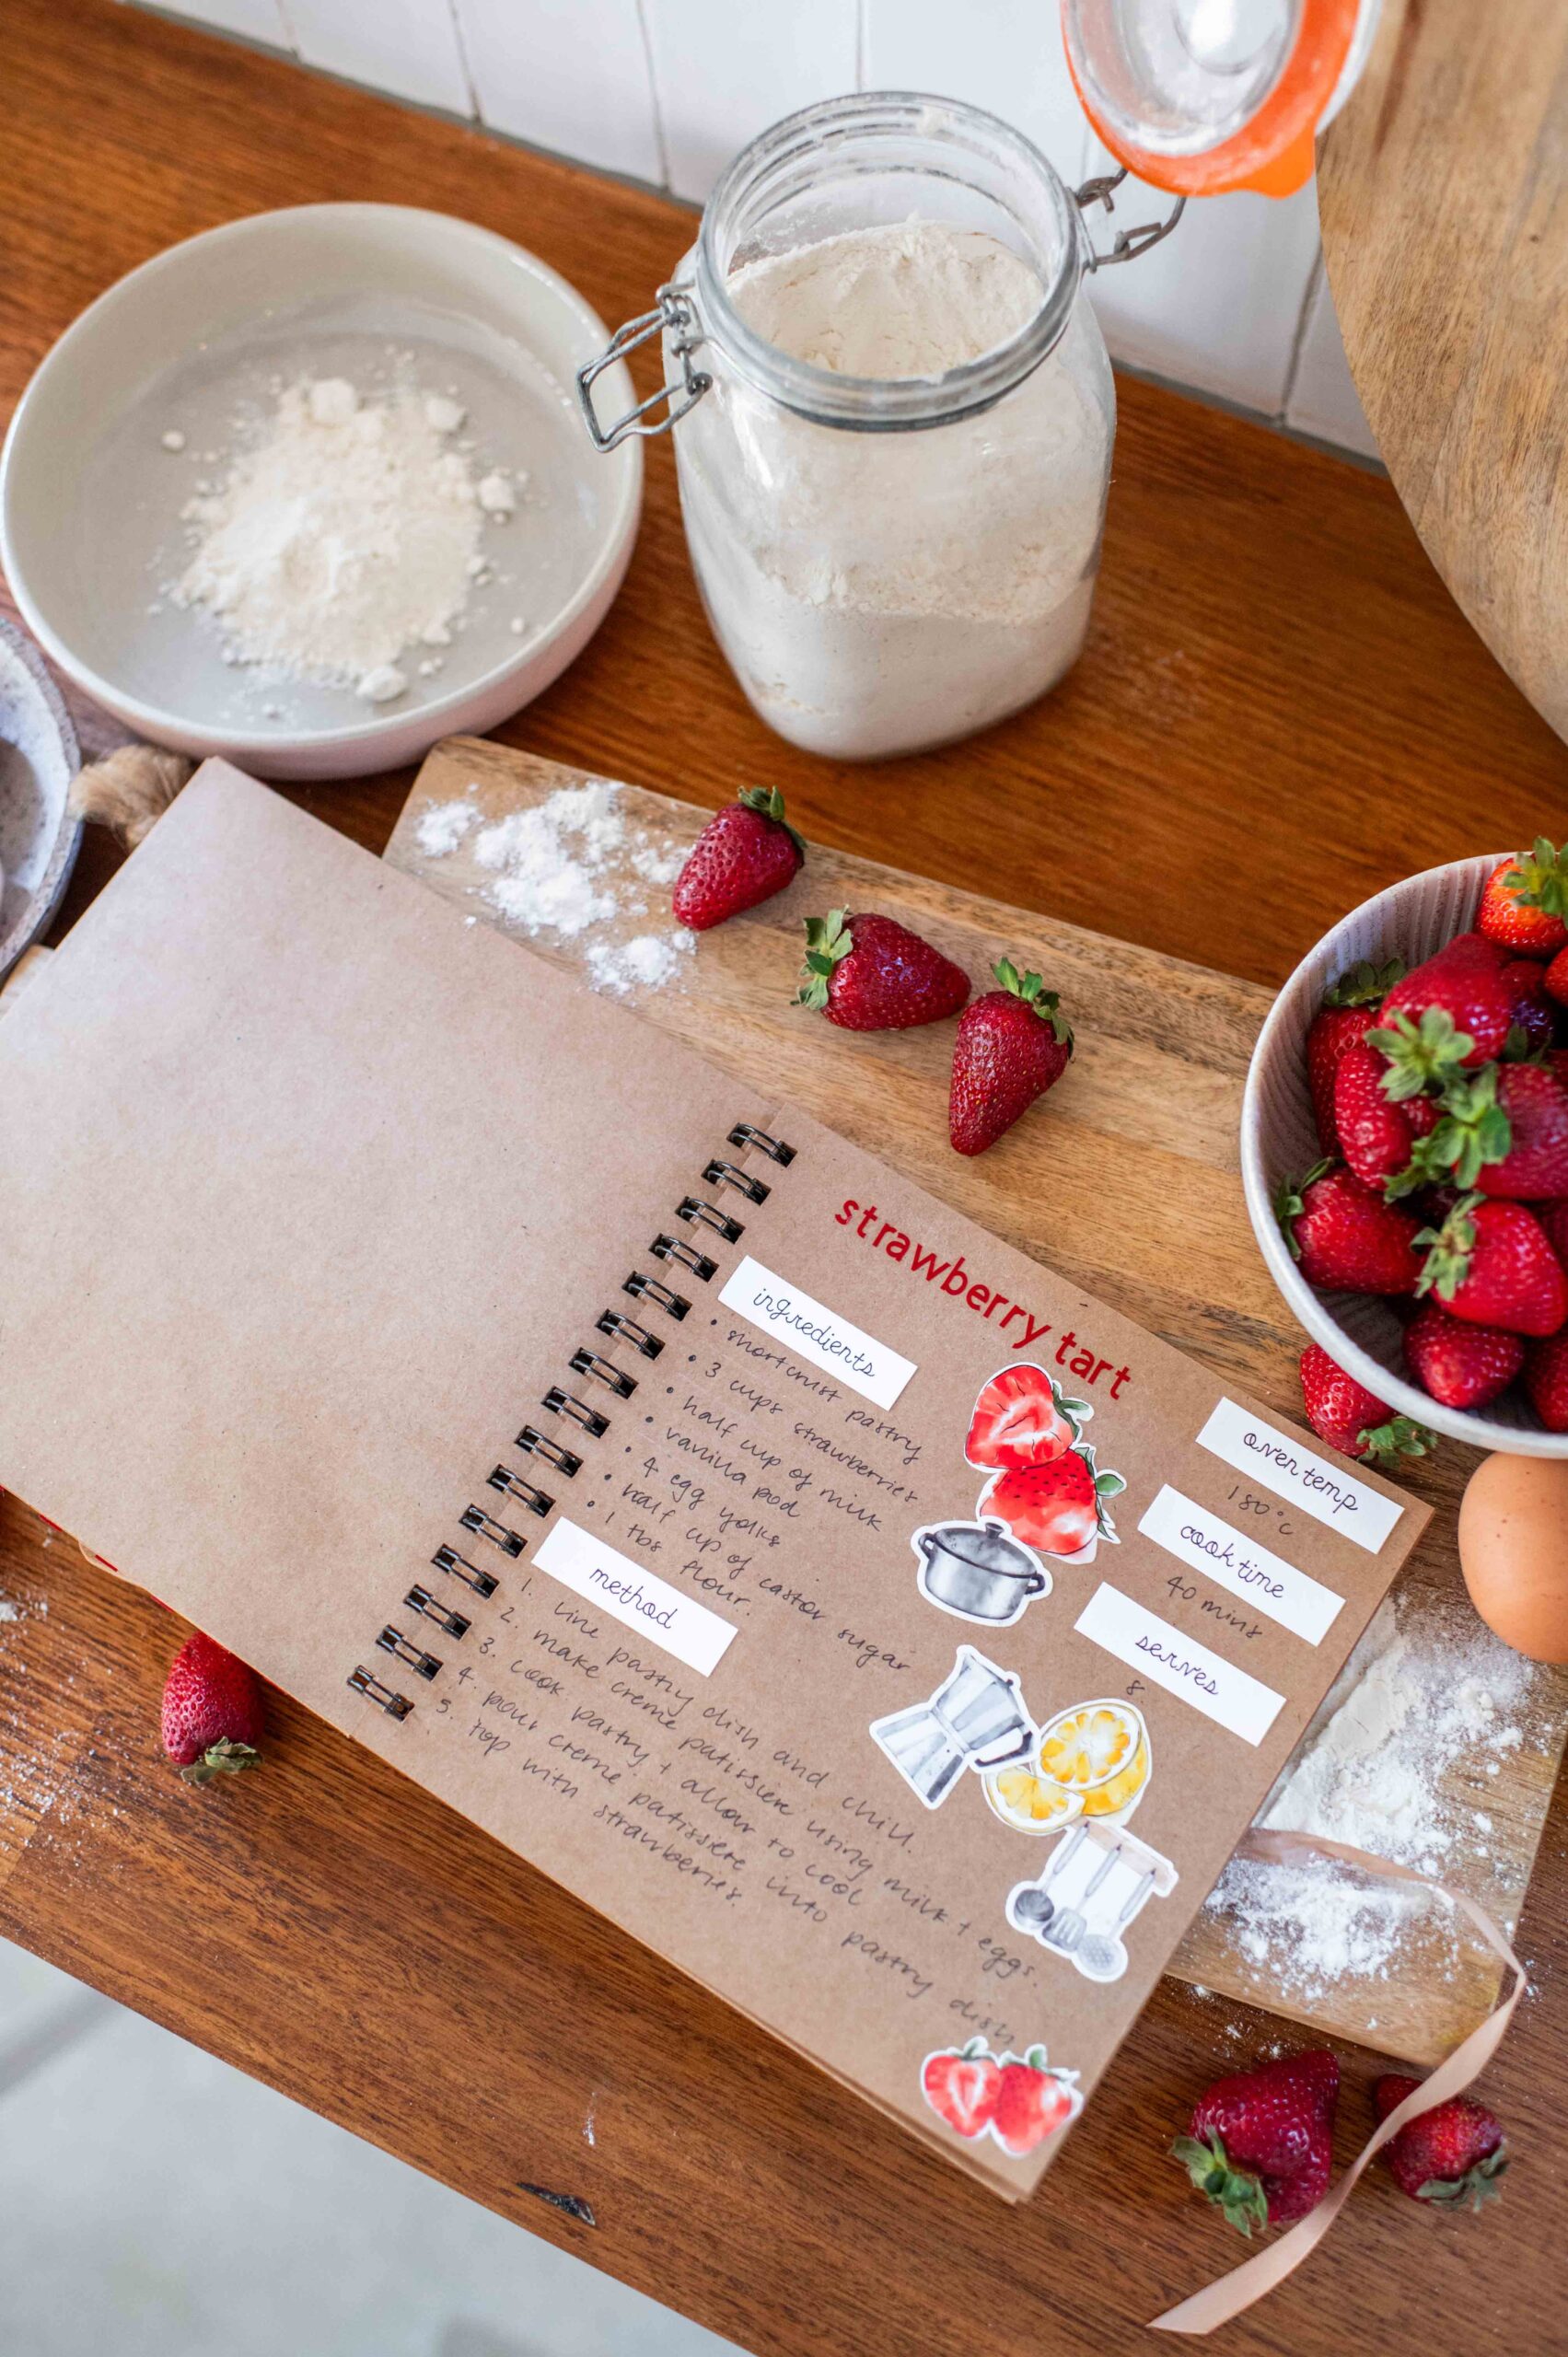
I love how perfect the Cricut pen looks but still has a handwritten vibe, and that was perfect for this recipe book!
You need:
- White card
- Cricut Joy Xtra
- Joy Xtra pen in 0.3
How to:
- You’ll need to choose a font for your labels that is compatible to be hand written with the pen. You can filter fonts using the check box in the drop down.
- Once you have a font, write your labels onto the canvas and then put a cut box around them.
- Lay your white card onto the mat.
- Insert your mat into the machine and follow the prompts in the Design Space app, you will have to switch from the pen to the fine point blade.
- Remove the labels from the mat.
- Once I had all my elements ready and had done the cover, I simply laid out the pages and hand wrote the recipes. I love this so much!


