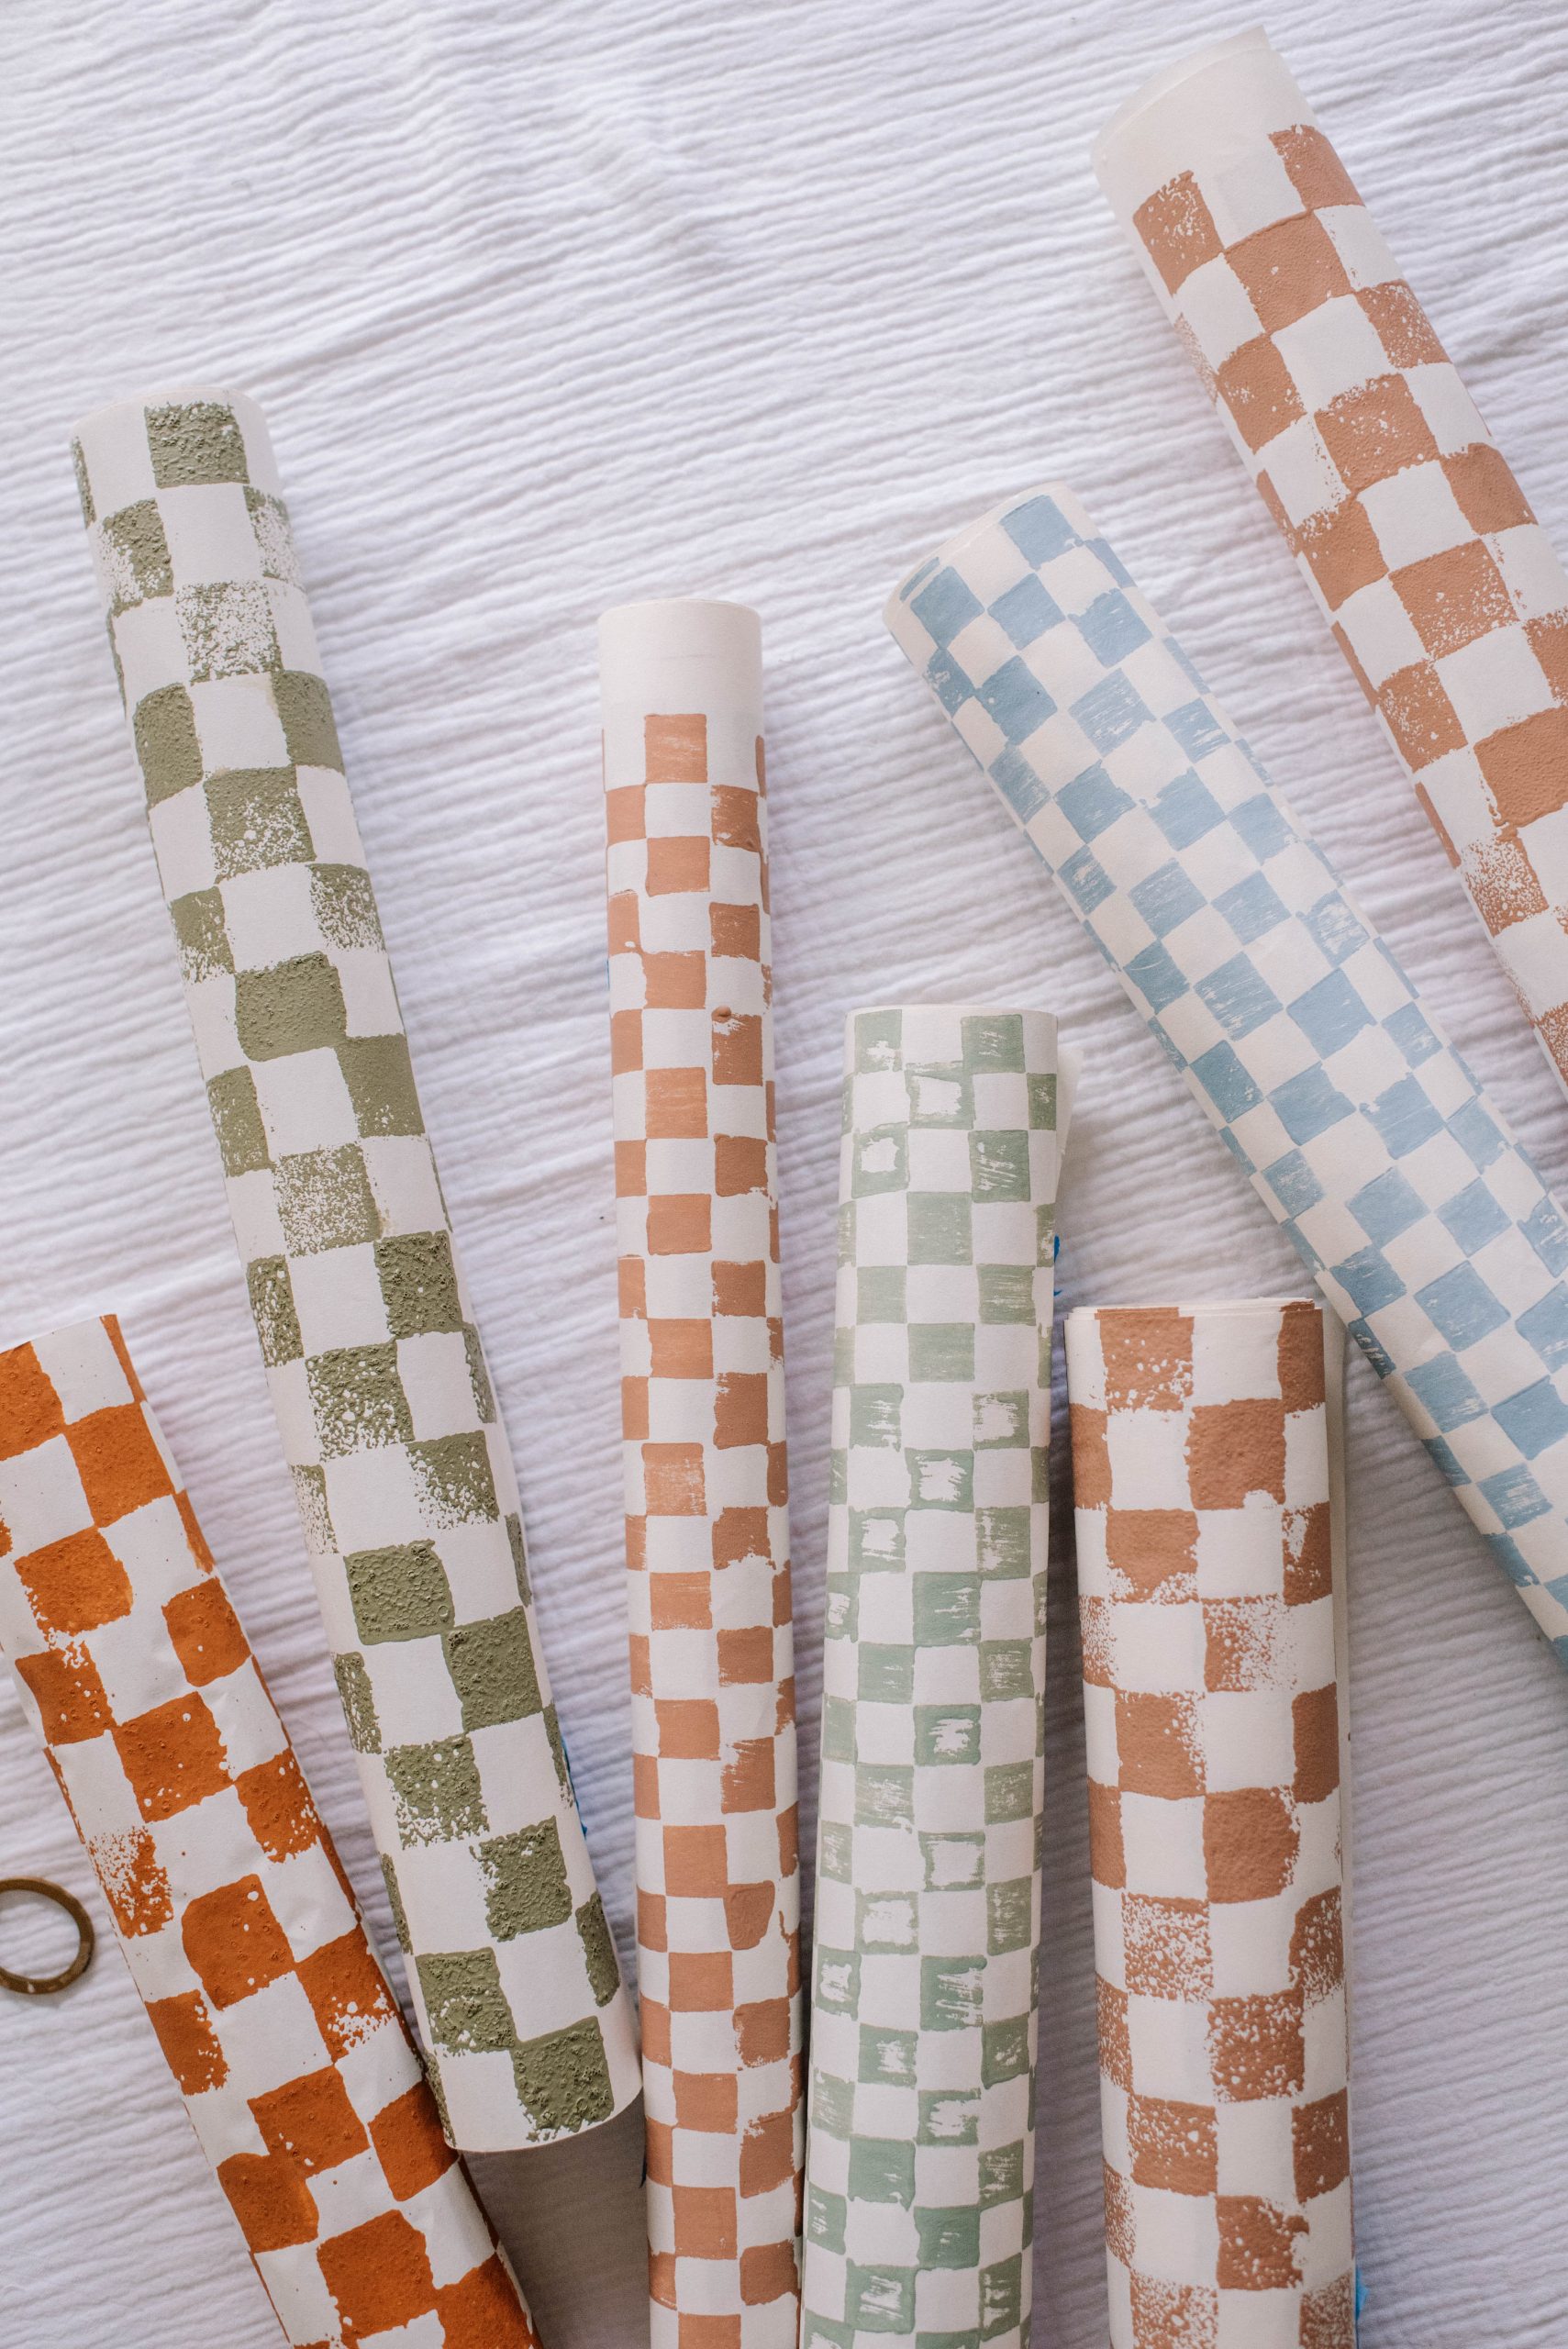
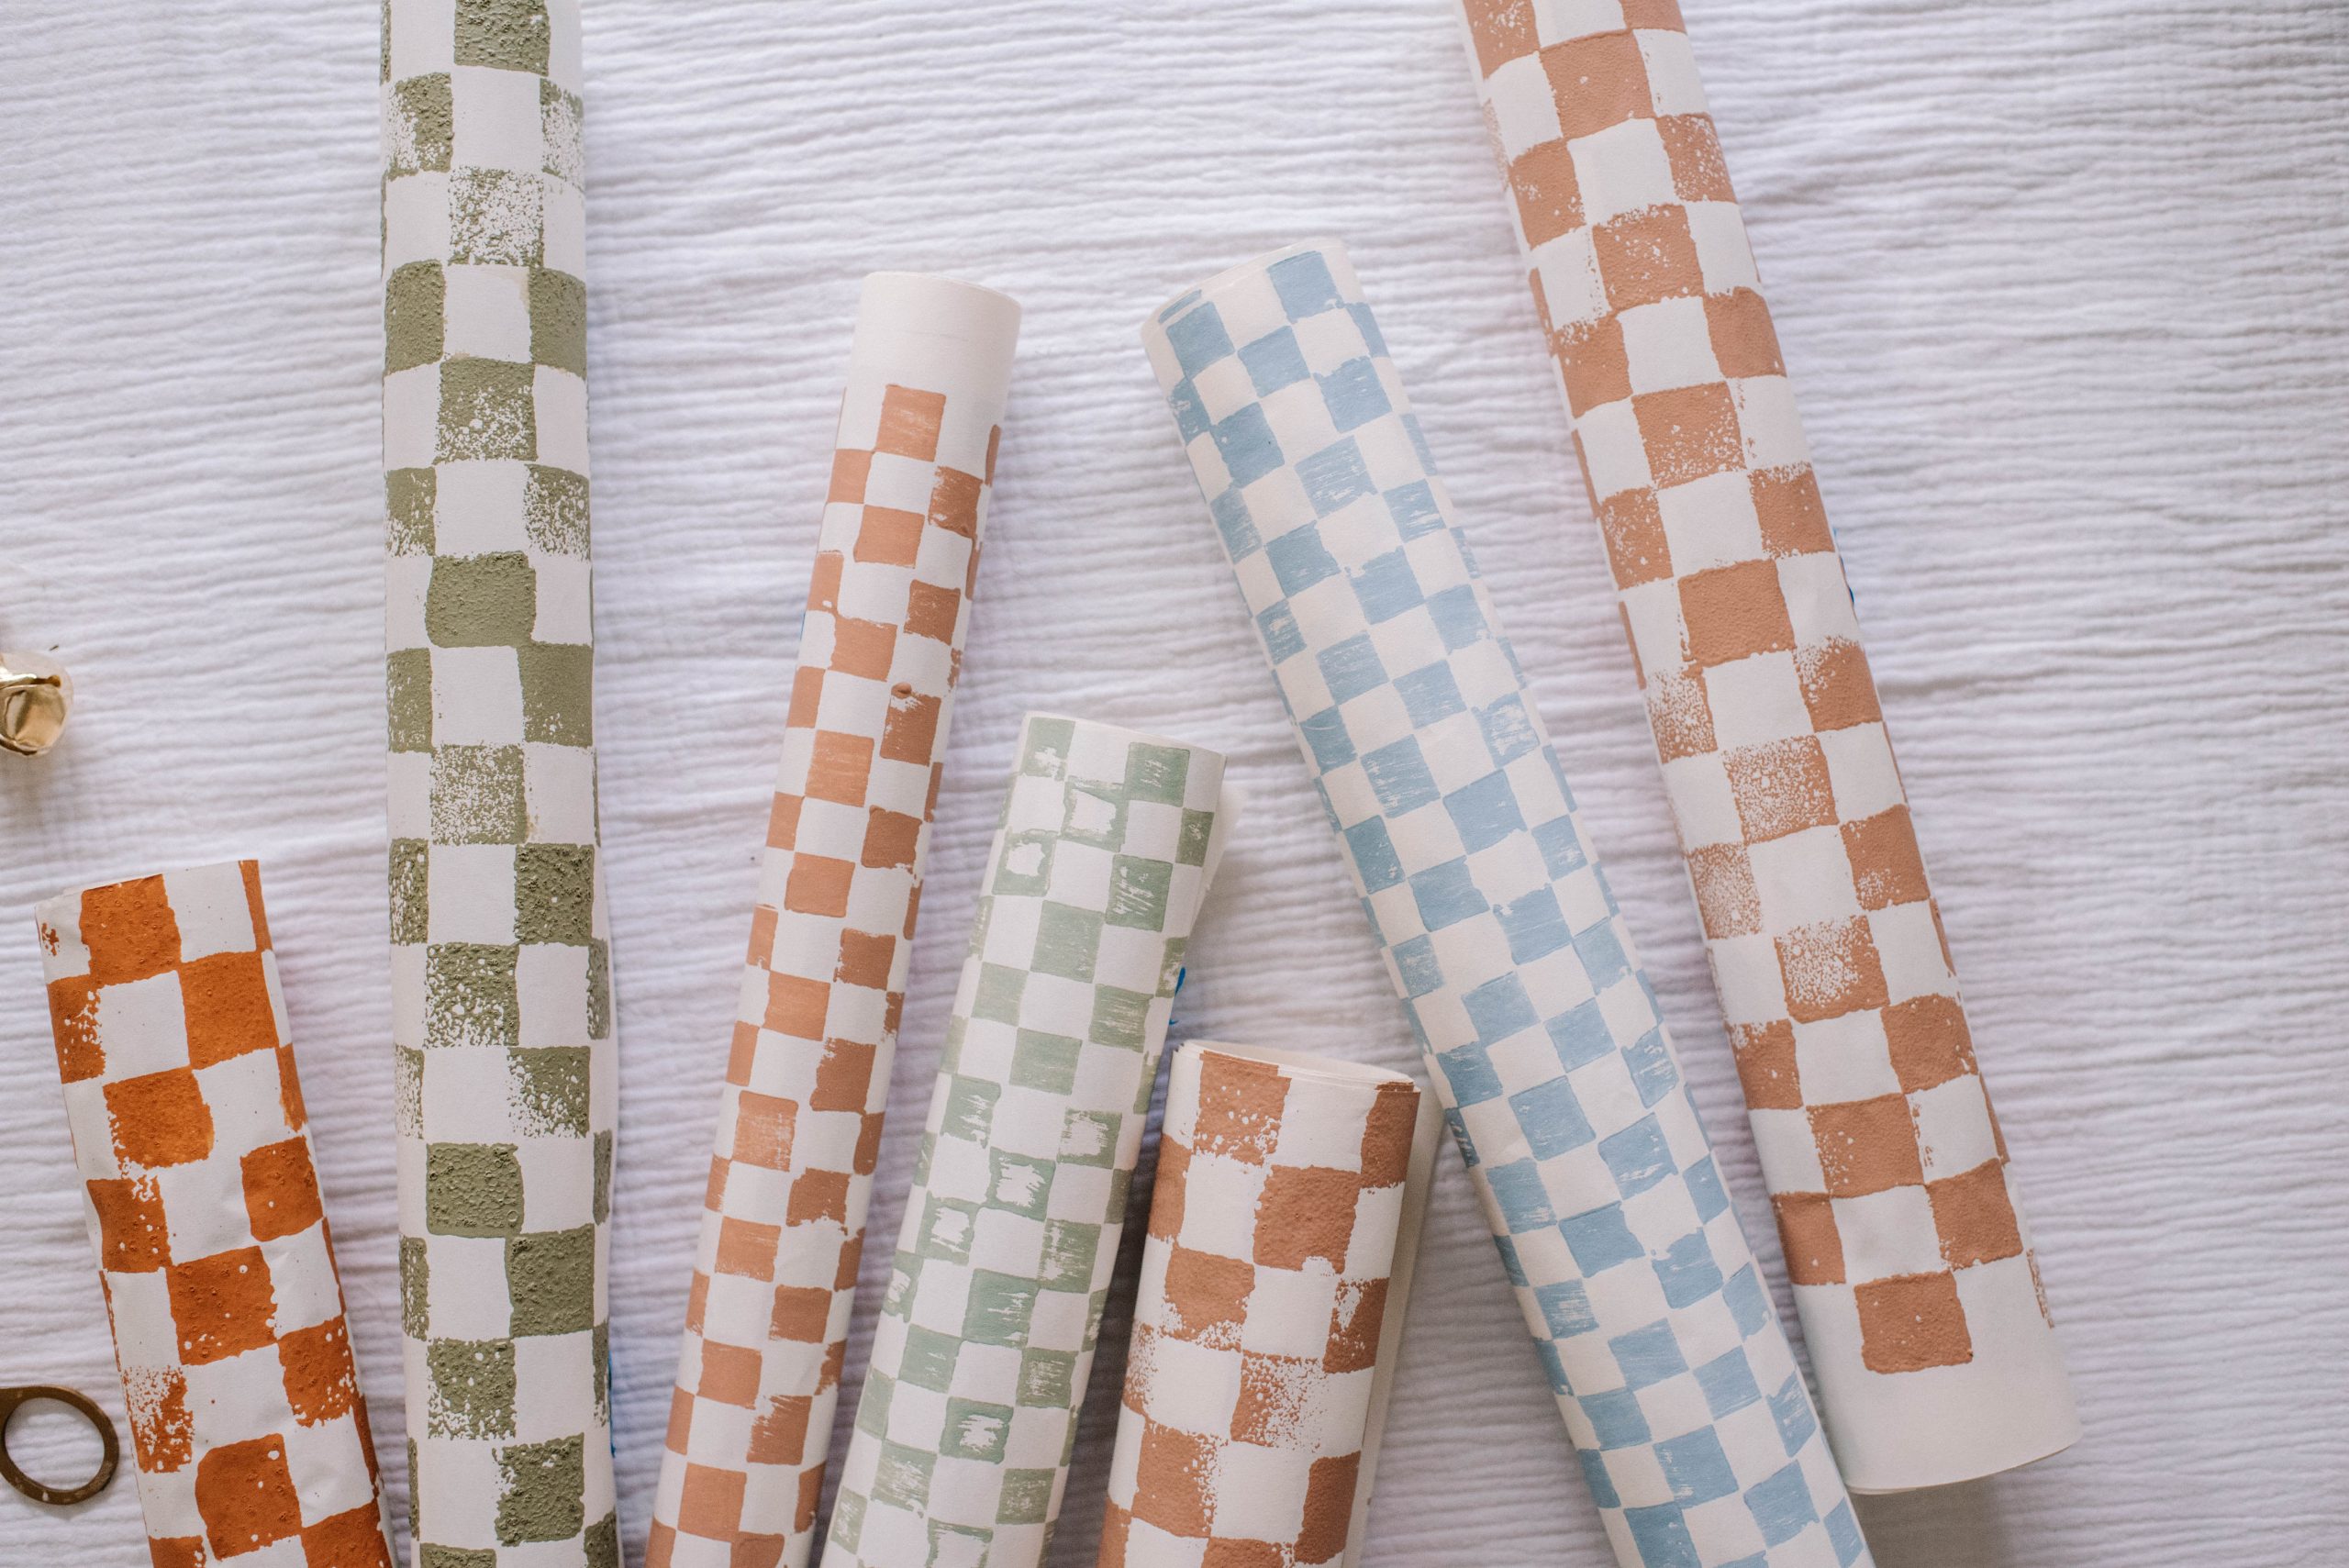
It’s no secret that I love all things checkered right now. I feel like I may need an intervention.
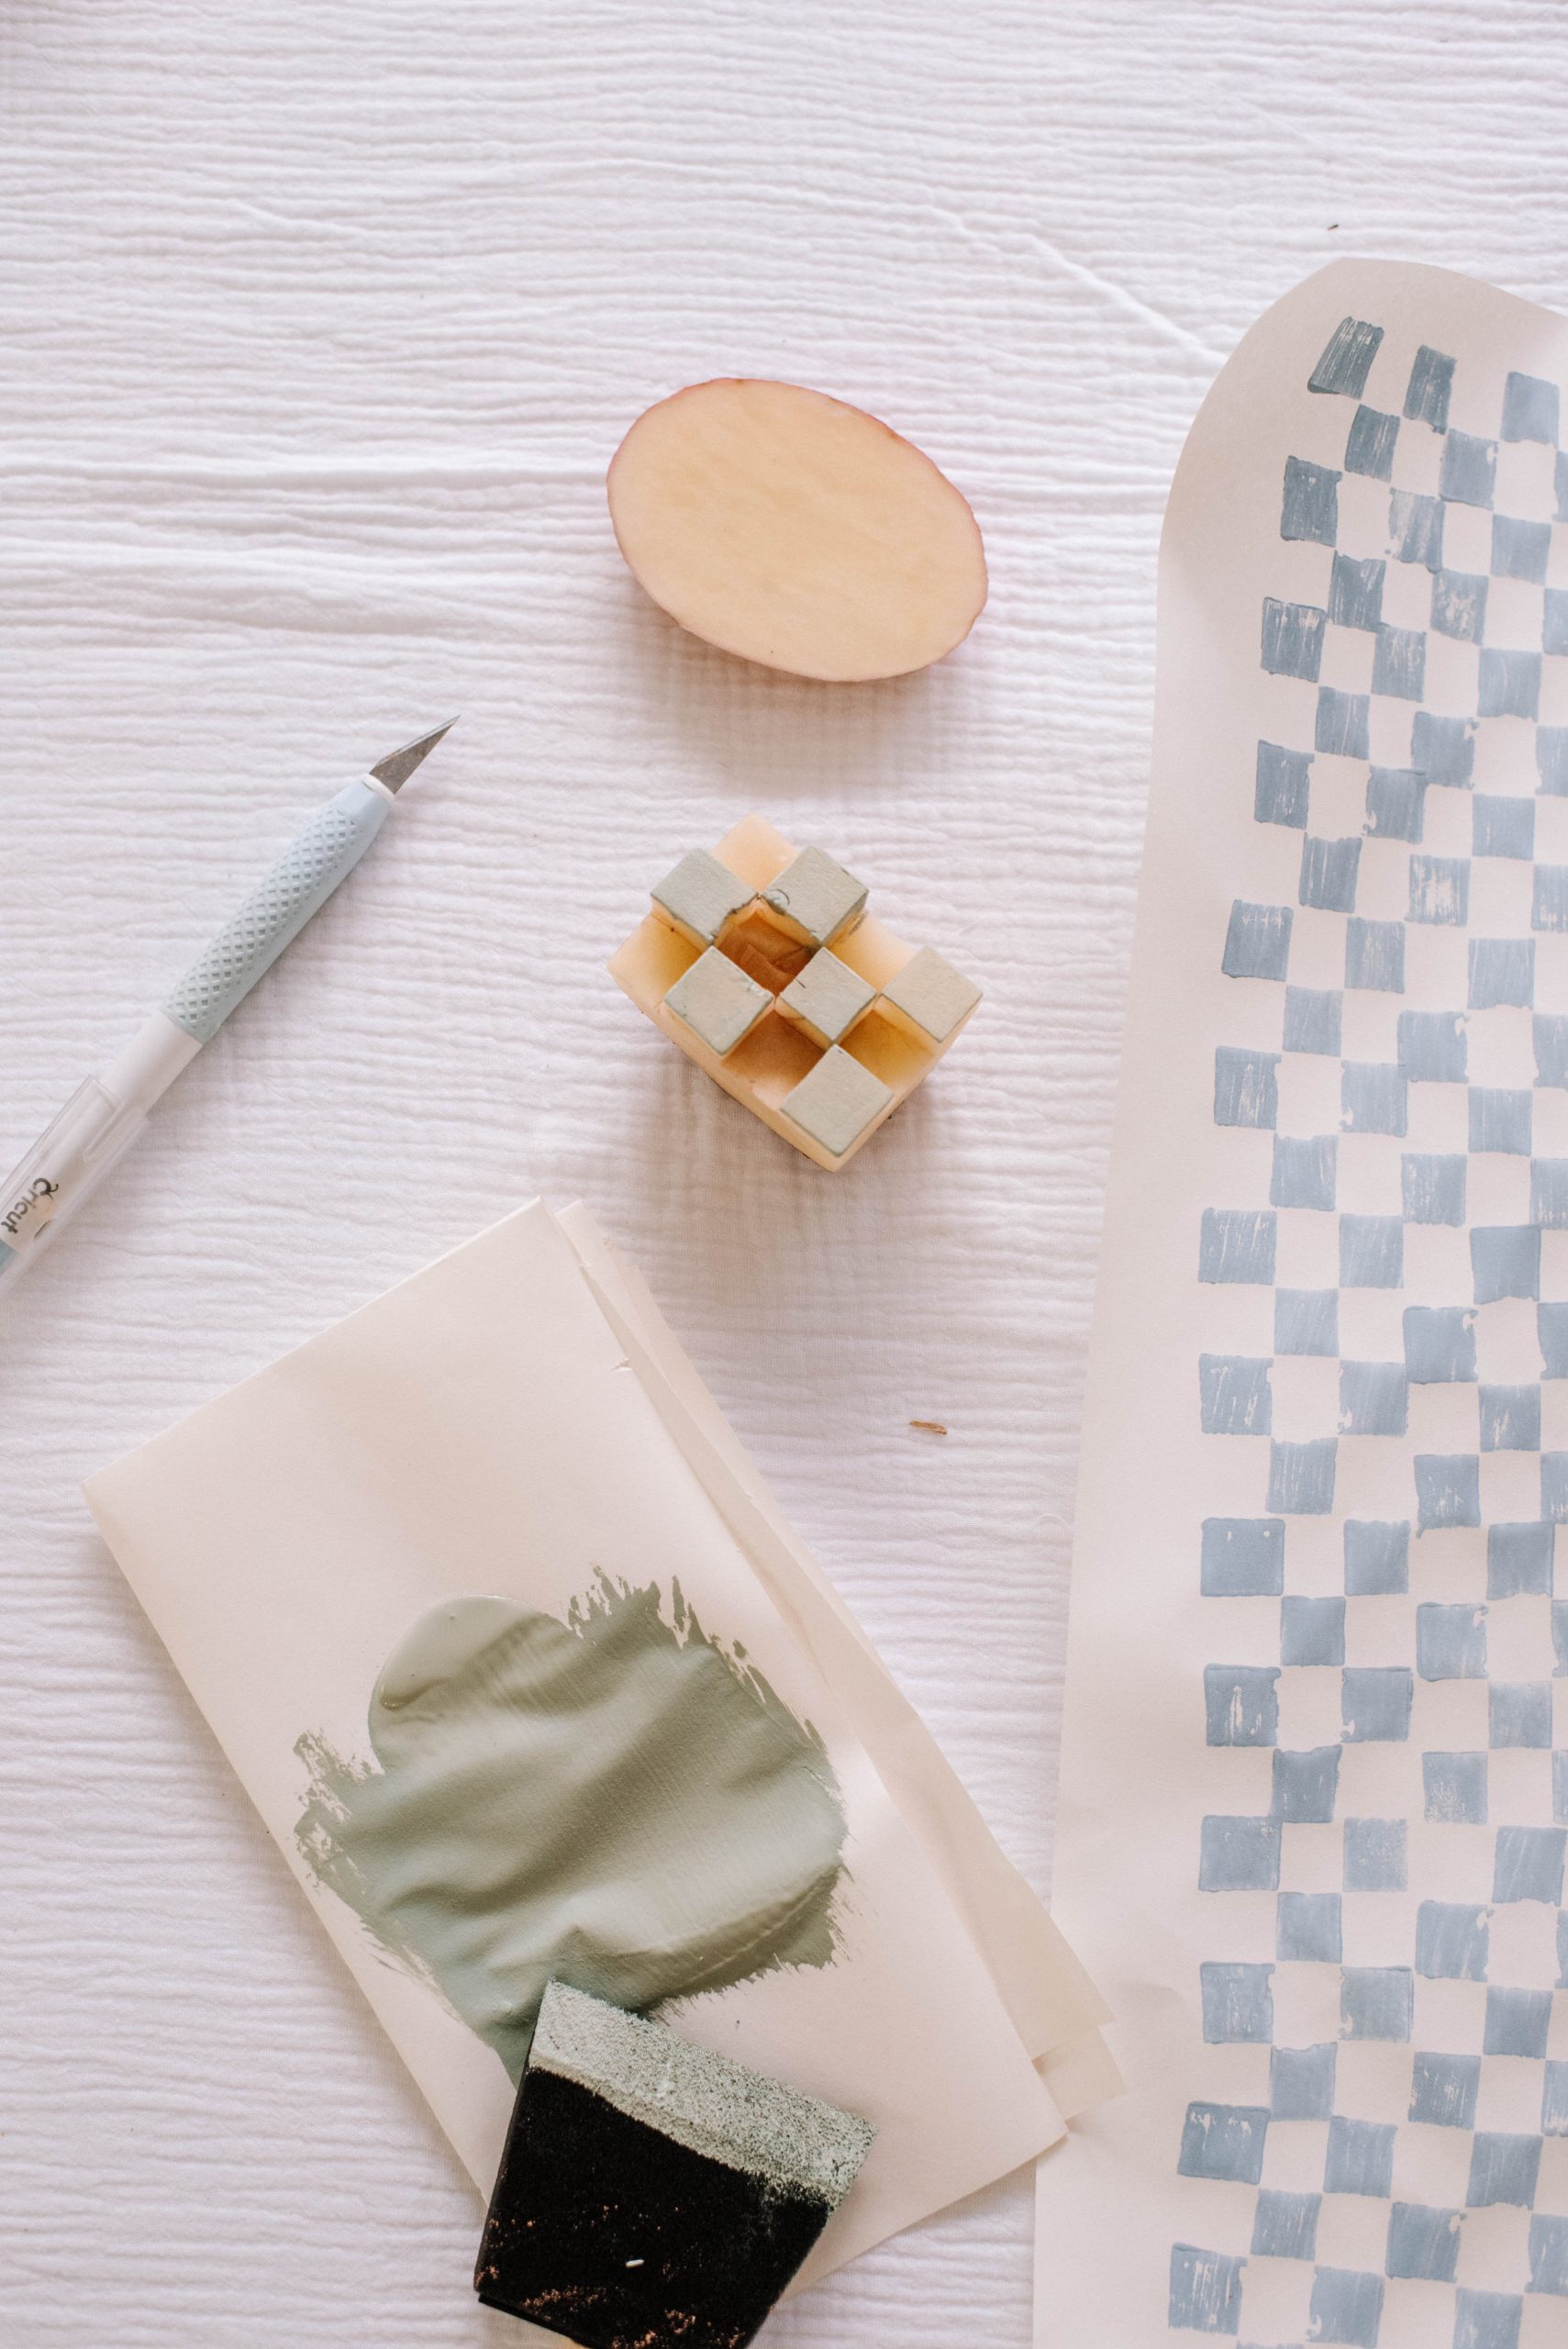
But don’t really stop me because this little crafty project is so fun and the results are too good not to try it. You only need a few materials and all your wrapping needs are sorted! I used this for my Christmas gifts but I love that I’ll be able to also use this all throughout the year as well. I tried both the sponge and potato method for this and in the end I preferred the results that the sponge gave. You may like to play around with both at home and see which you like.
You Need
- White sheets of wrapping paper (I used Frankie’s drawing paper roll!)
- Sponge (I find these work well)
- Paint
- Small craft knife or blade (I love my Cricut knife)
- Marker
- Ruler
How to
- Begin by ruling and marking squares on your sponge. The size will depend on the size of your sponge but you just want to make sure your squares are all the same size
- Take your craft knife and cut away every second square to reveal a checkered pattern. If the first row has 2 squares left you will need to make sure the final row has only 1 square. To do this I had to cut away a whole row at the end. That will ensure your pattern continues seamlessly when you start stamping
- Once your sponge is ready put some paint on a plate or piece of paper and spread it out so its not too thick. Then dip the sponge in to gently cover all the squares. I recommend doing a little test piece to get the amount of paint right before you start on your wrapping paper
- Repeat the pattern over and over to fill the whole sheet and voila! You have yourself some unique and fun wrapping that you cant buy at the shops!
I love how the pattern ends up a little rustic and imperfect! Just how I like it! And now that I’ve done this I cant help but think of what else I can sponge stamp some checks onto!


