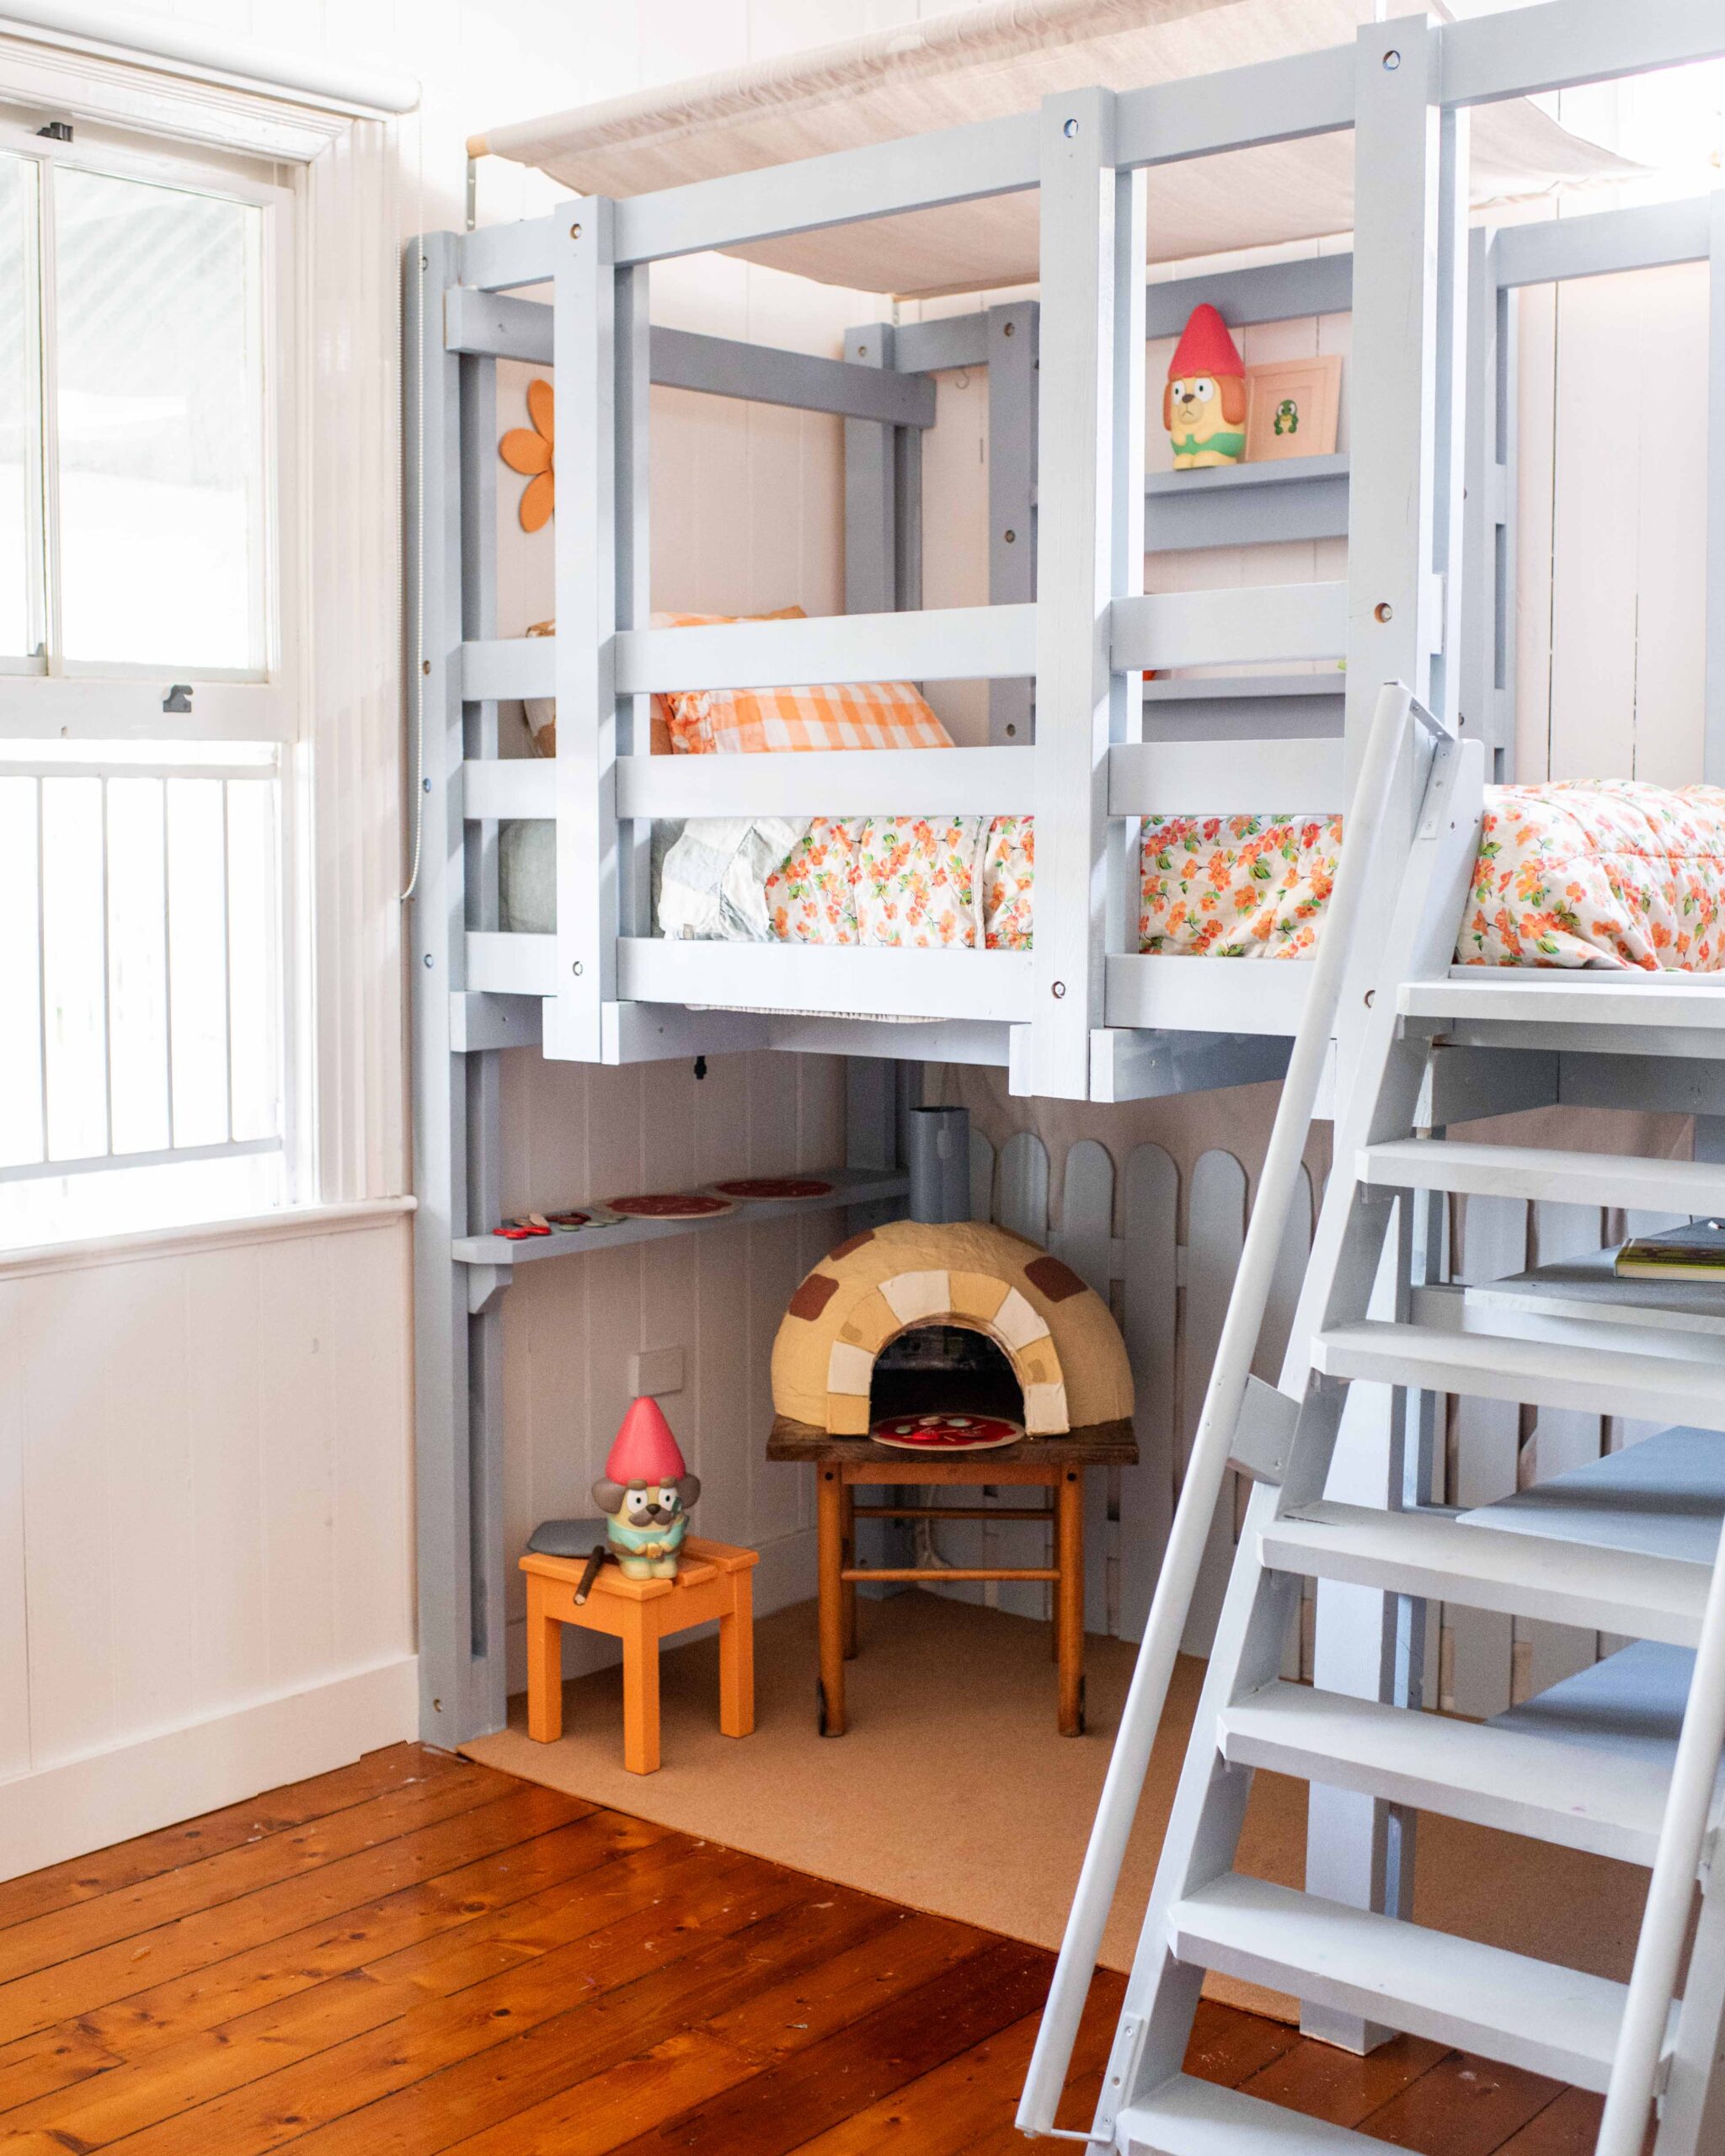
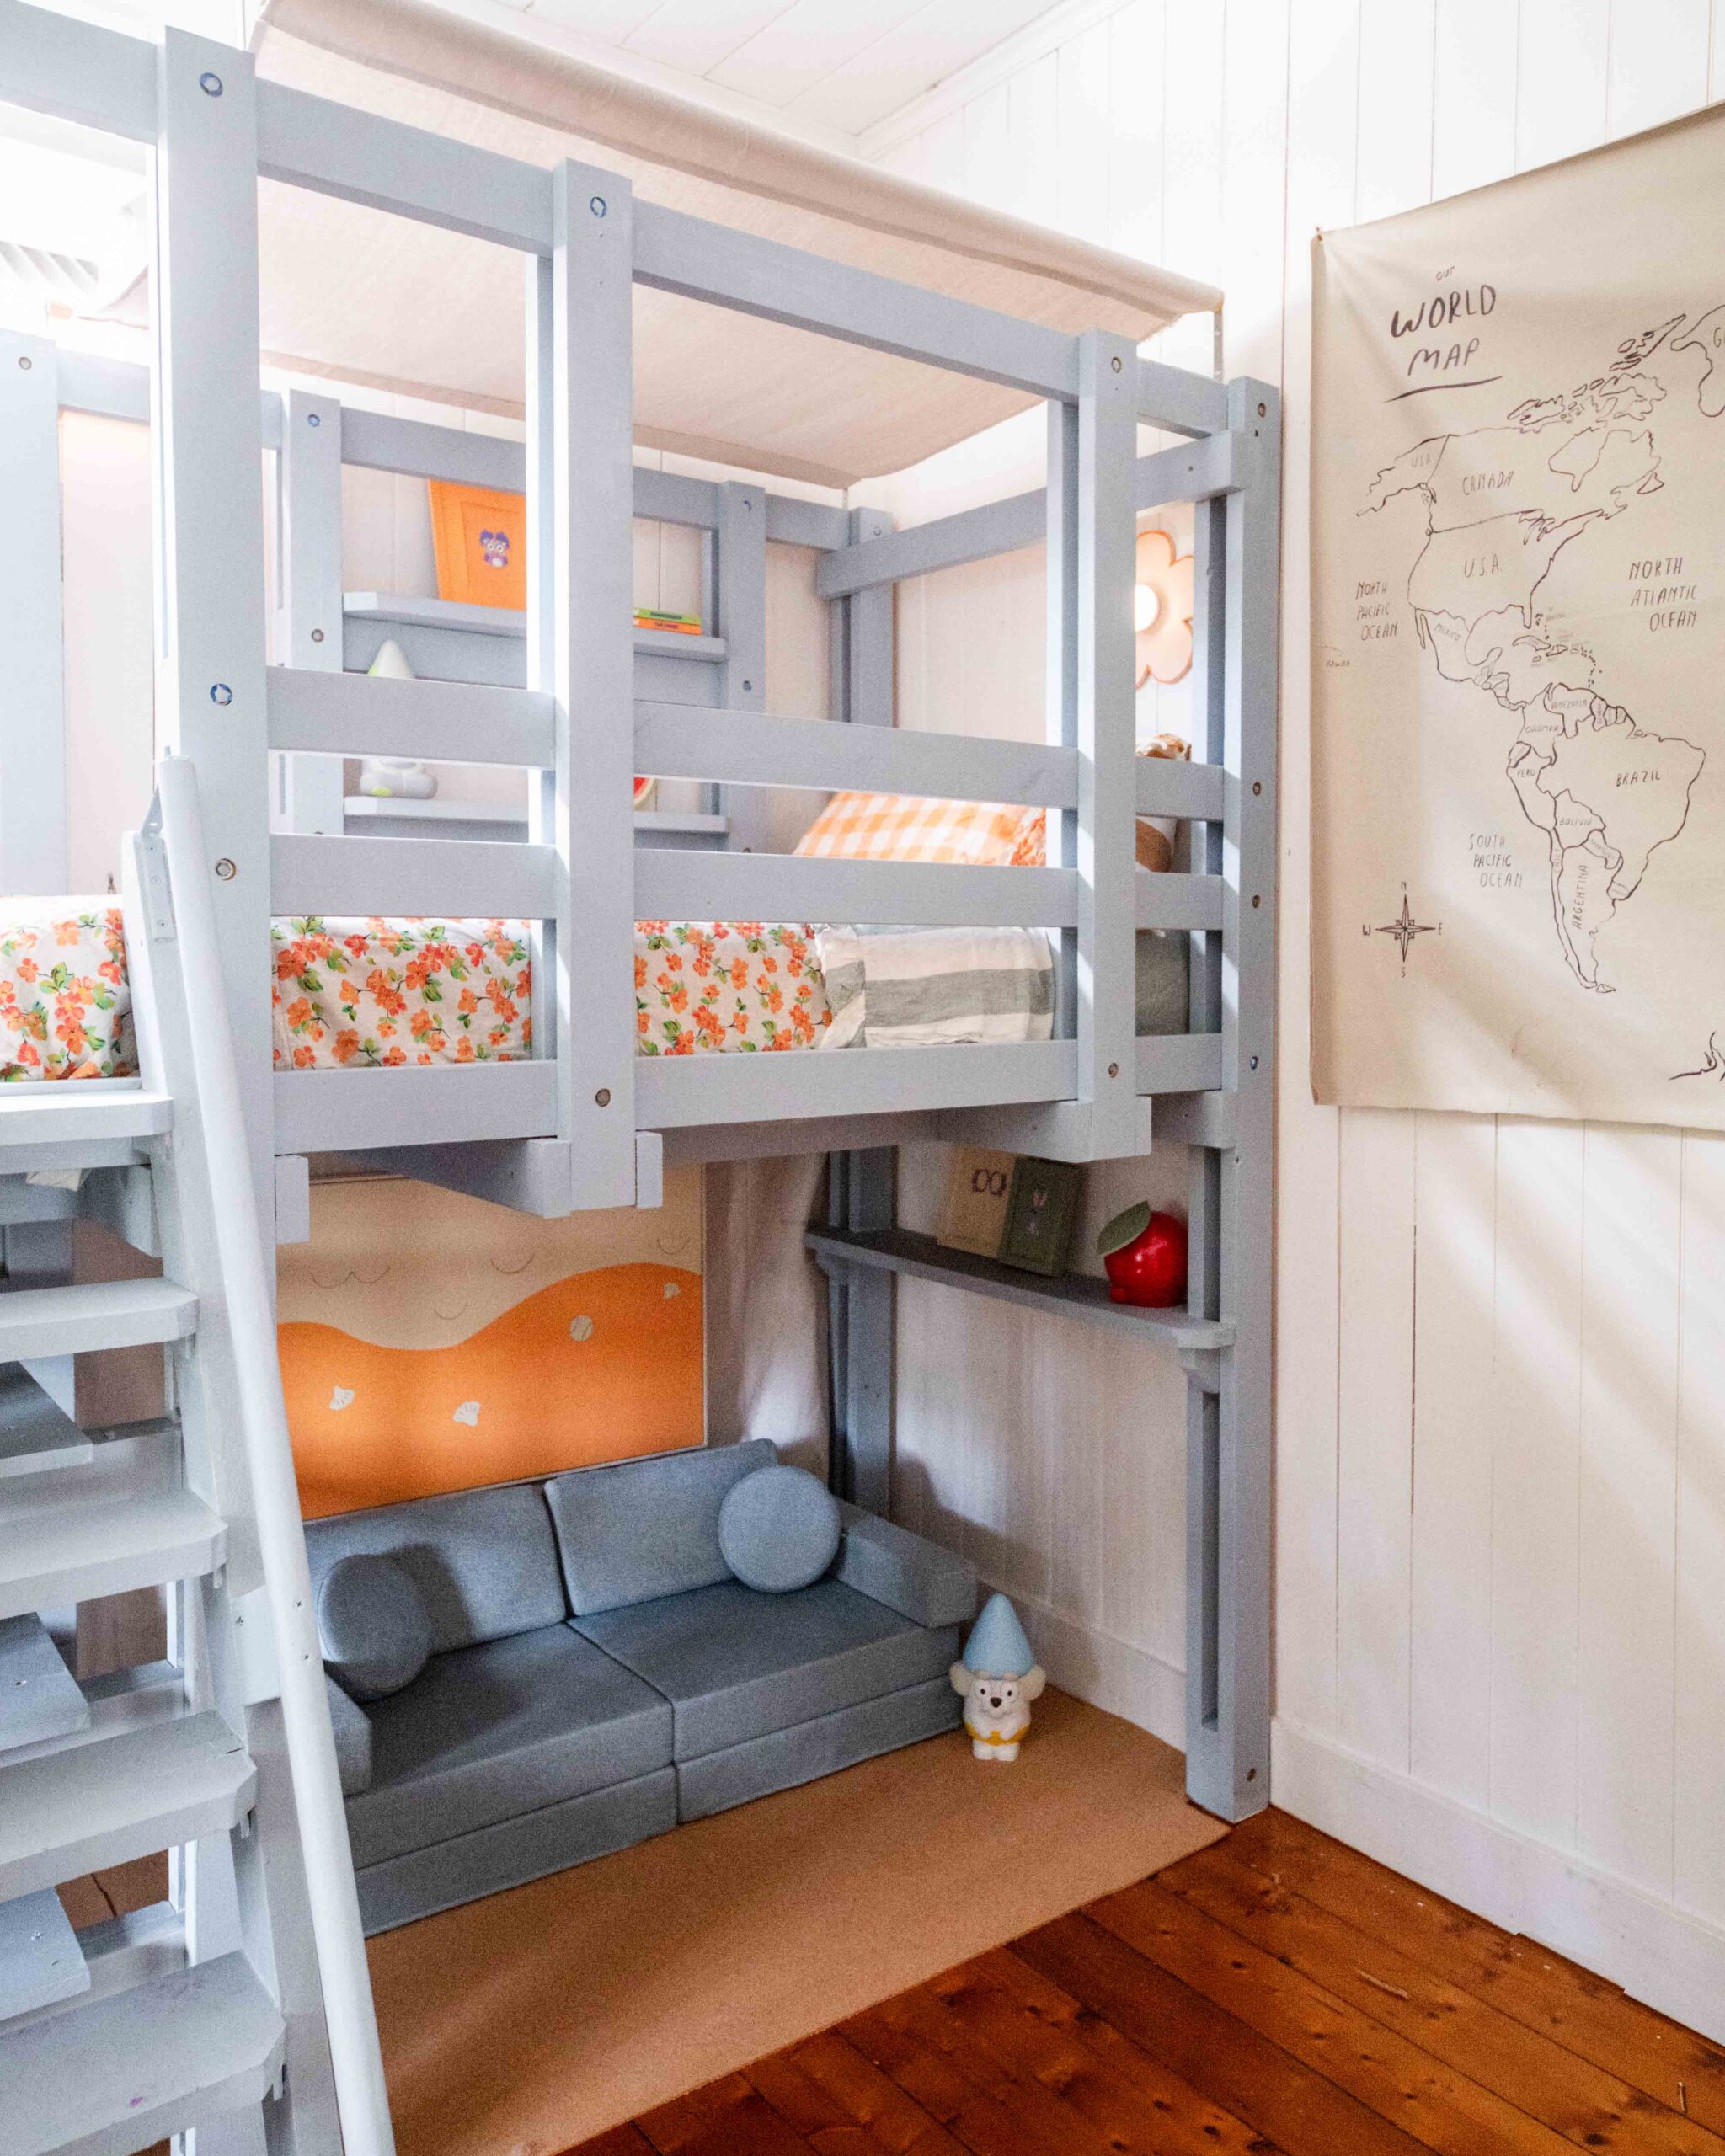
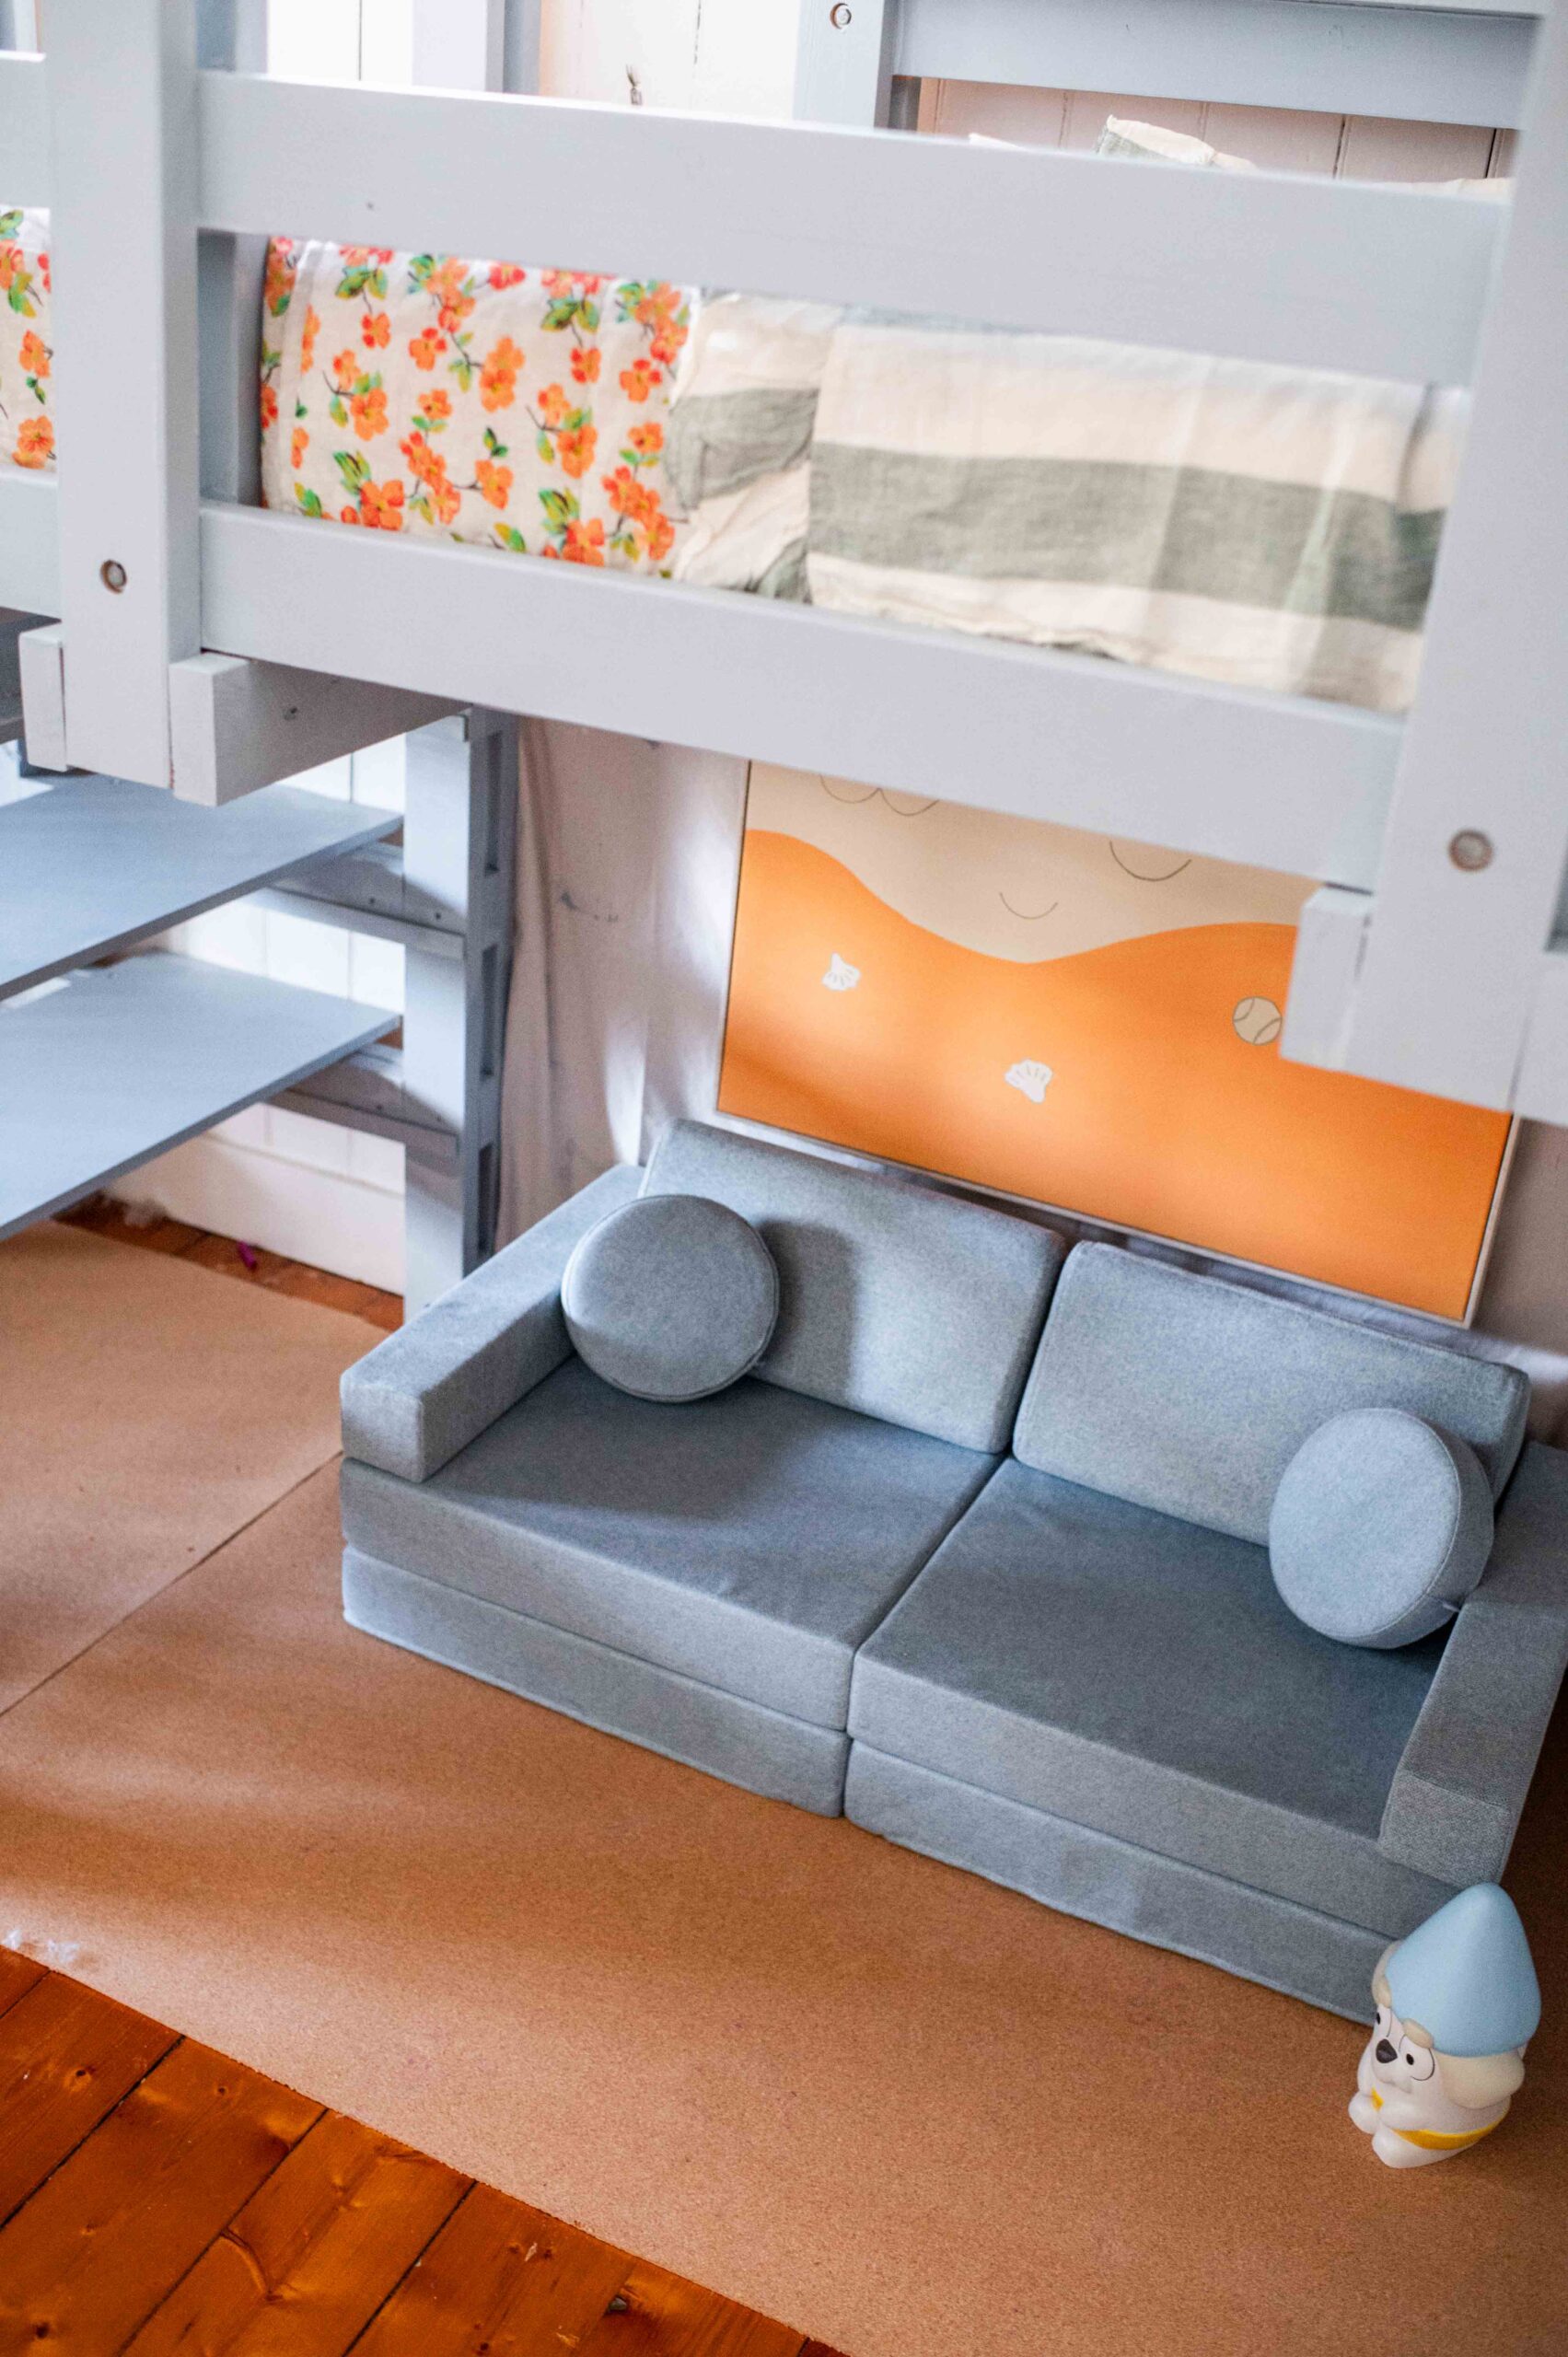
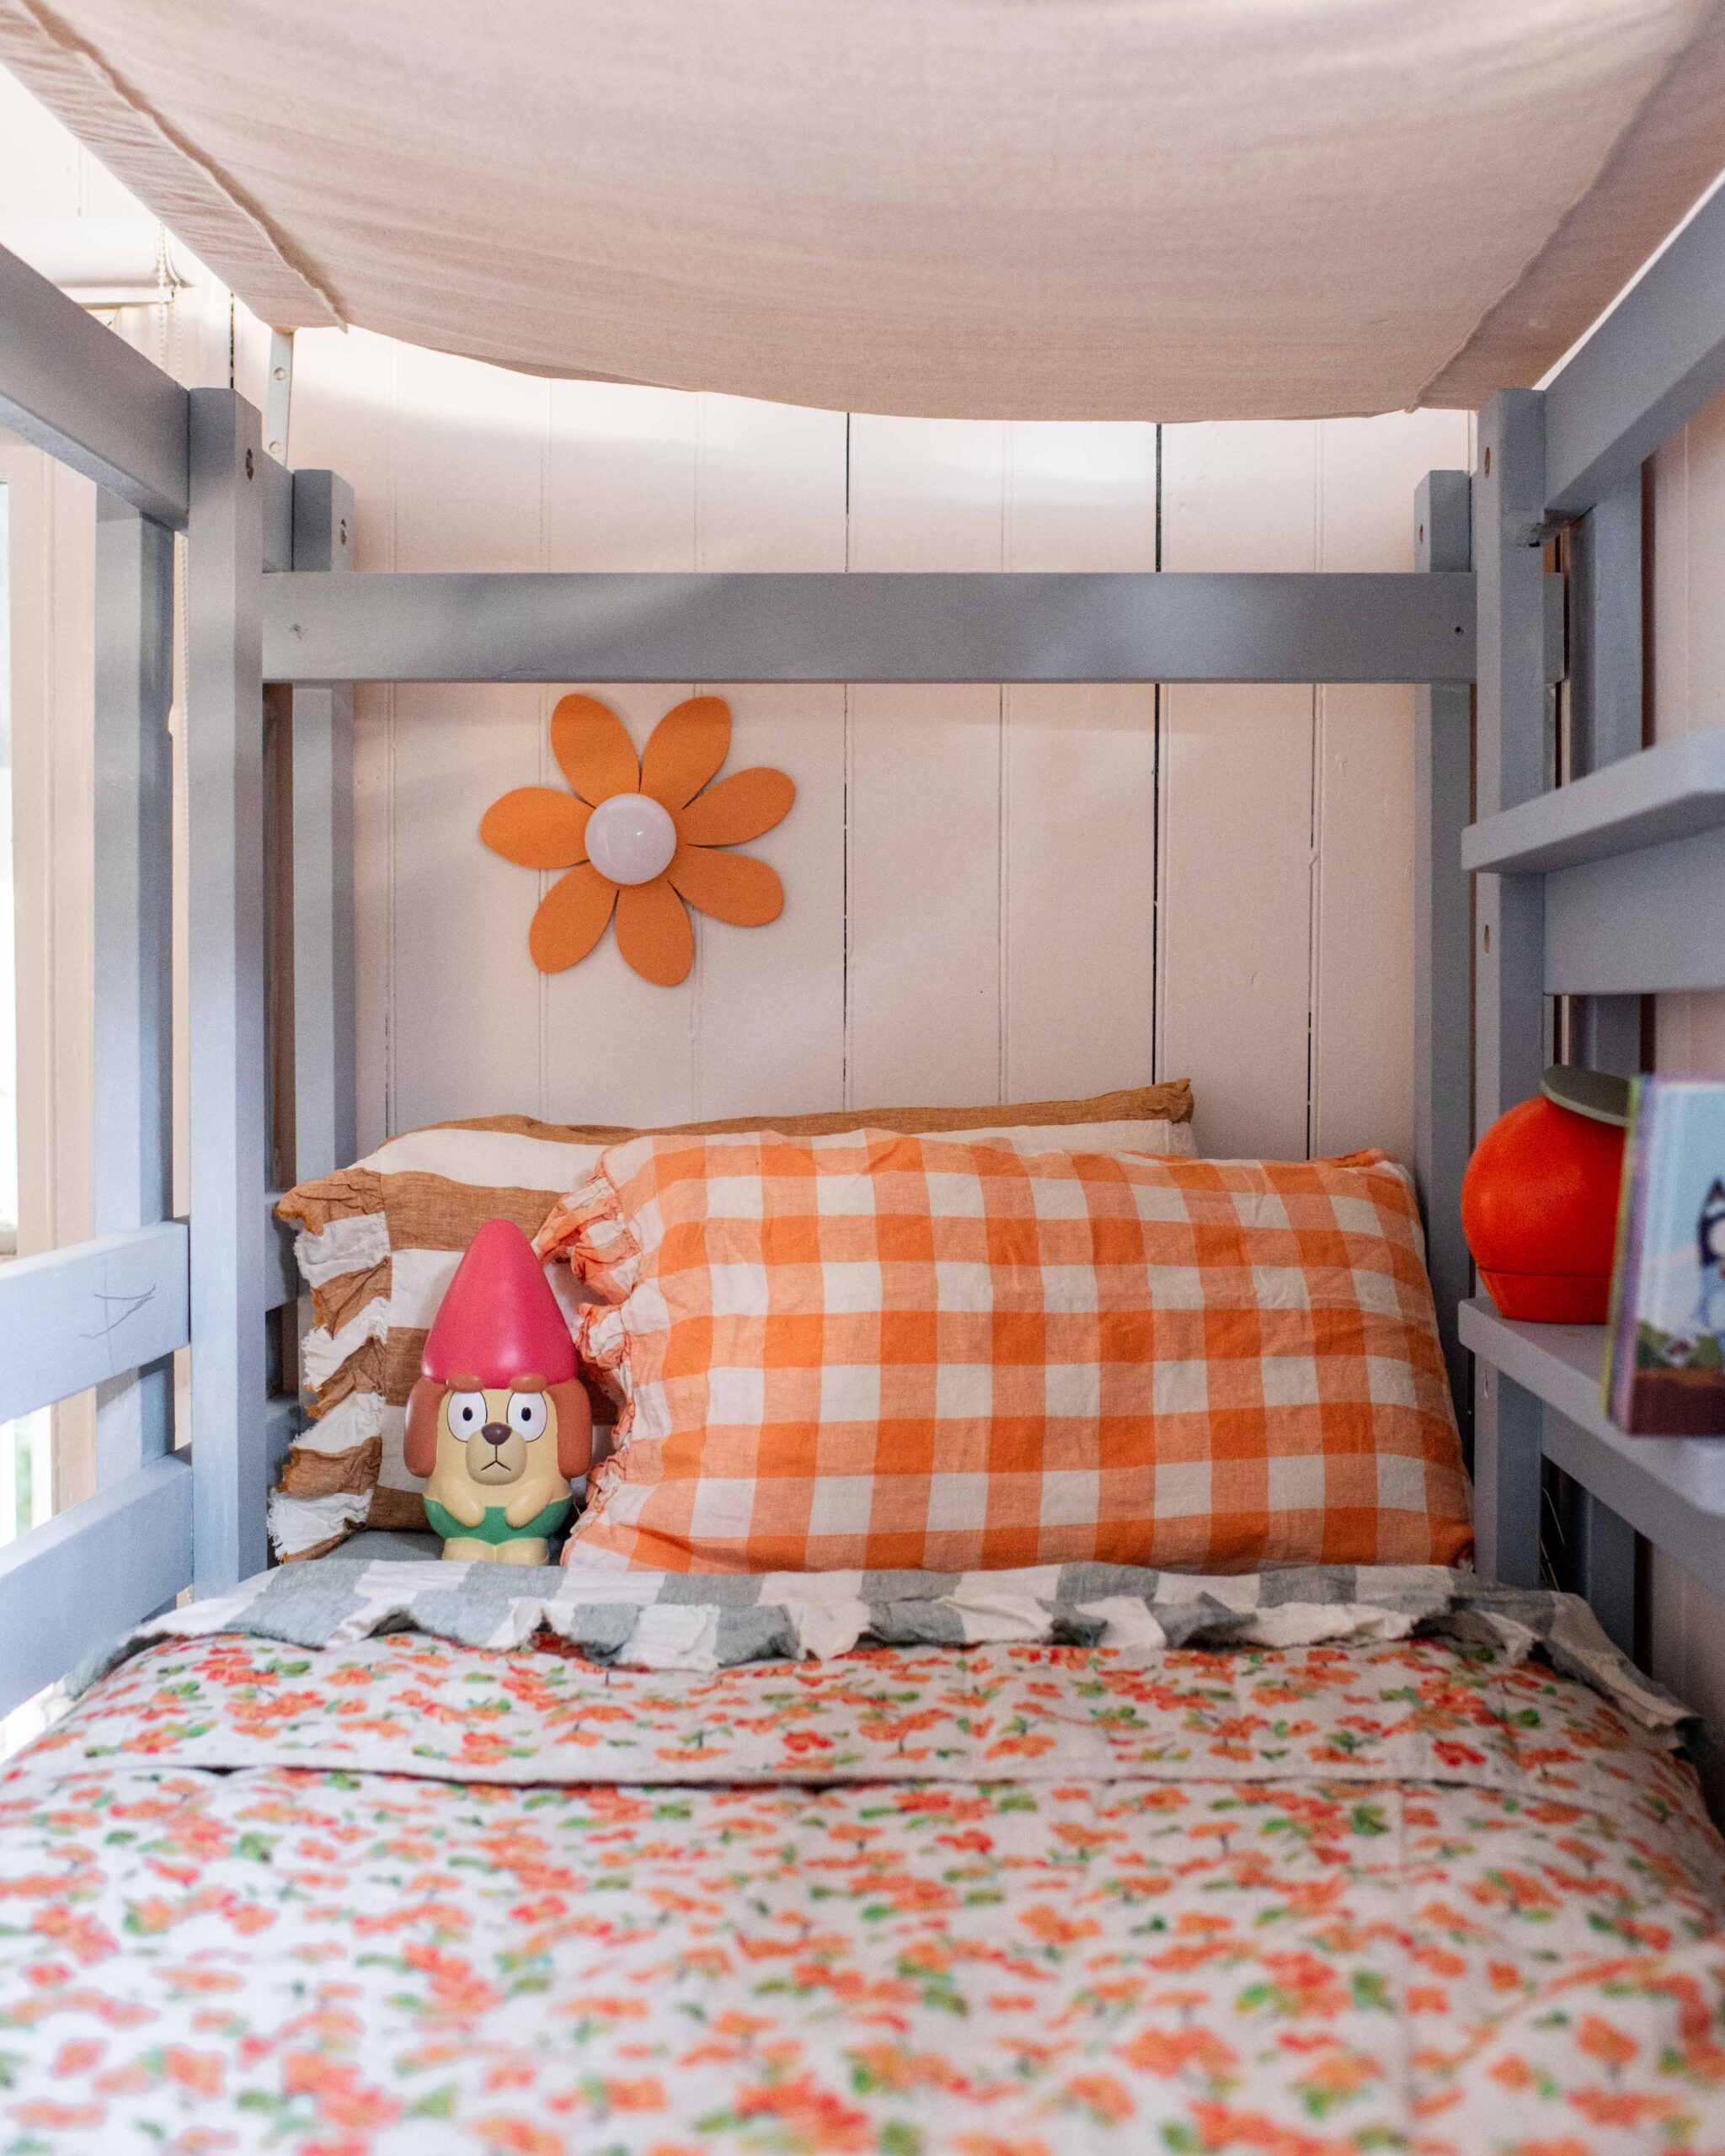
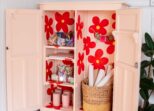
What do you do when the viral Bluey gnomes from Bunnings come to visit and your daughters decide they belong in their bedroom rather than in the garden? You give the whole room a Bluey inspired makeover!
Well maybe not everyone would, but given that it was DIY July anddddd the Bluey gnomes from the famous Hammerbarn episode returned to to Bunnings, it felt right! This was such a fun project and safe to say the girls absolutely LOVE their room now. There was a few different parts in this makeover and I’m going to share all the little details with you.
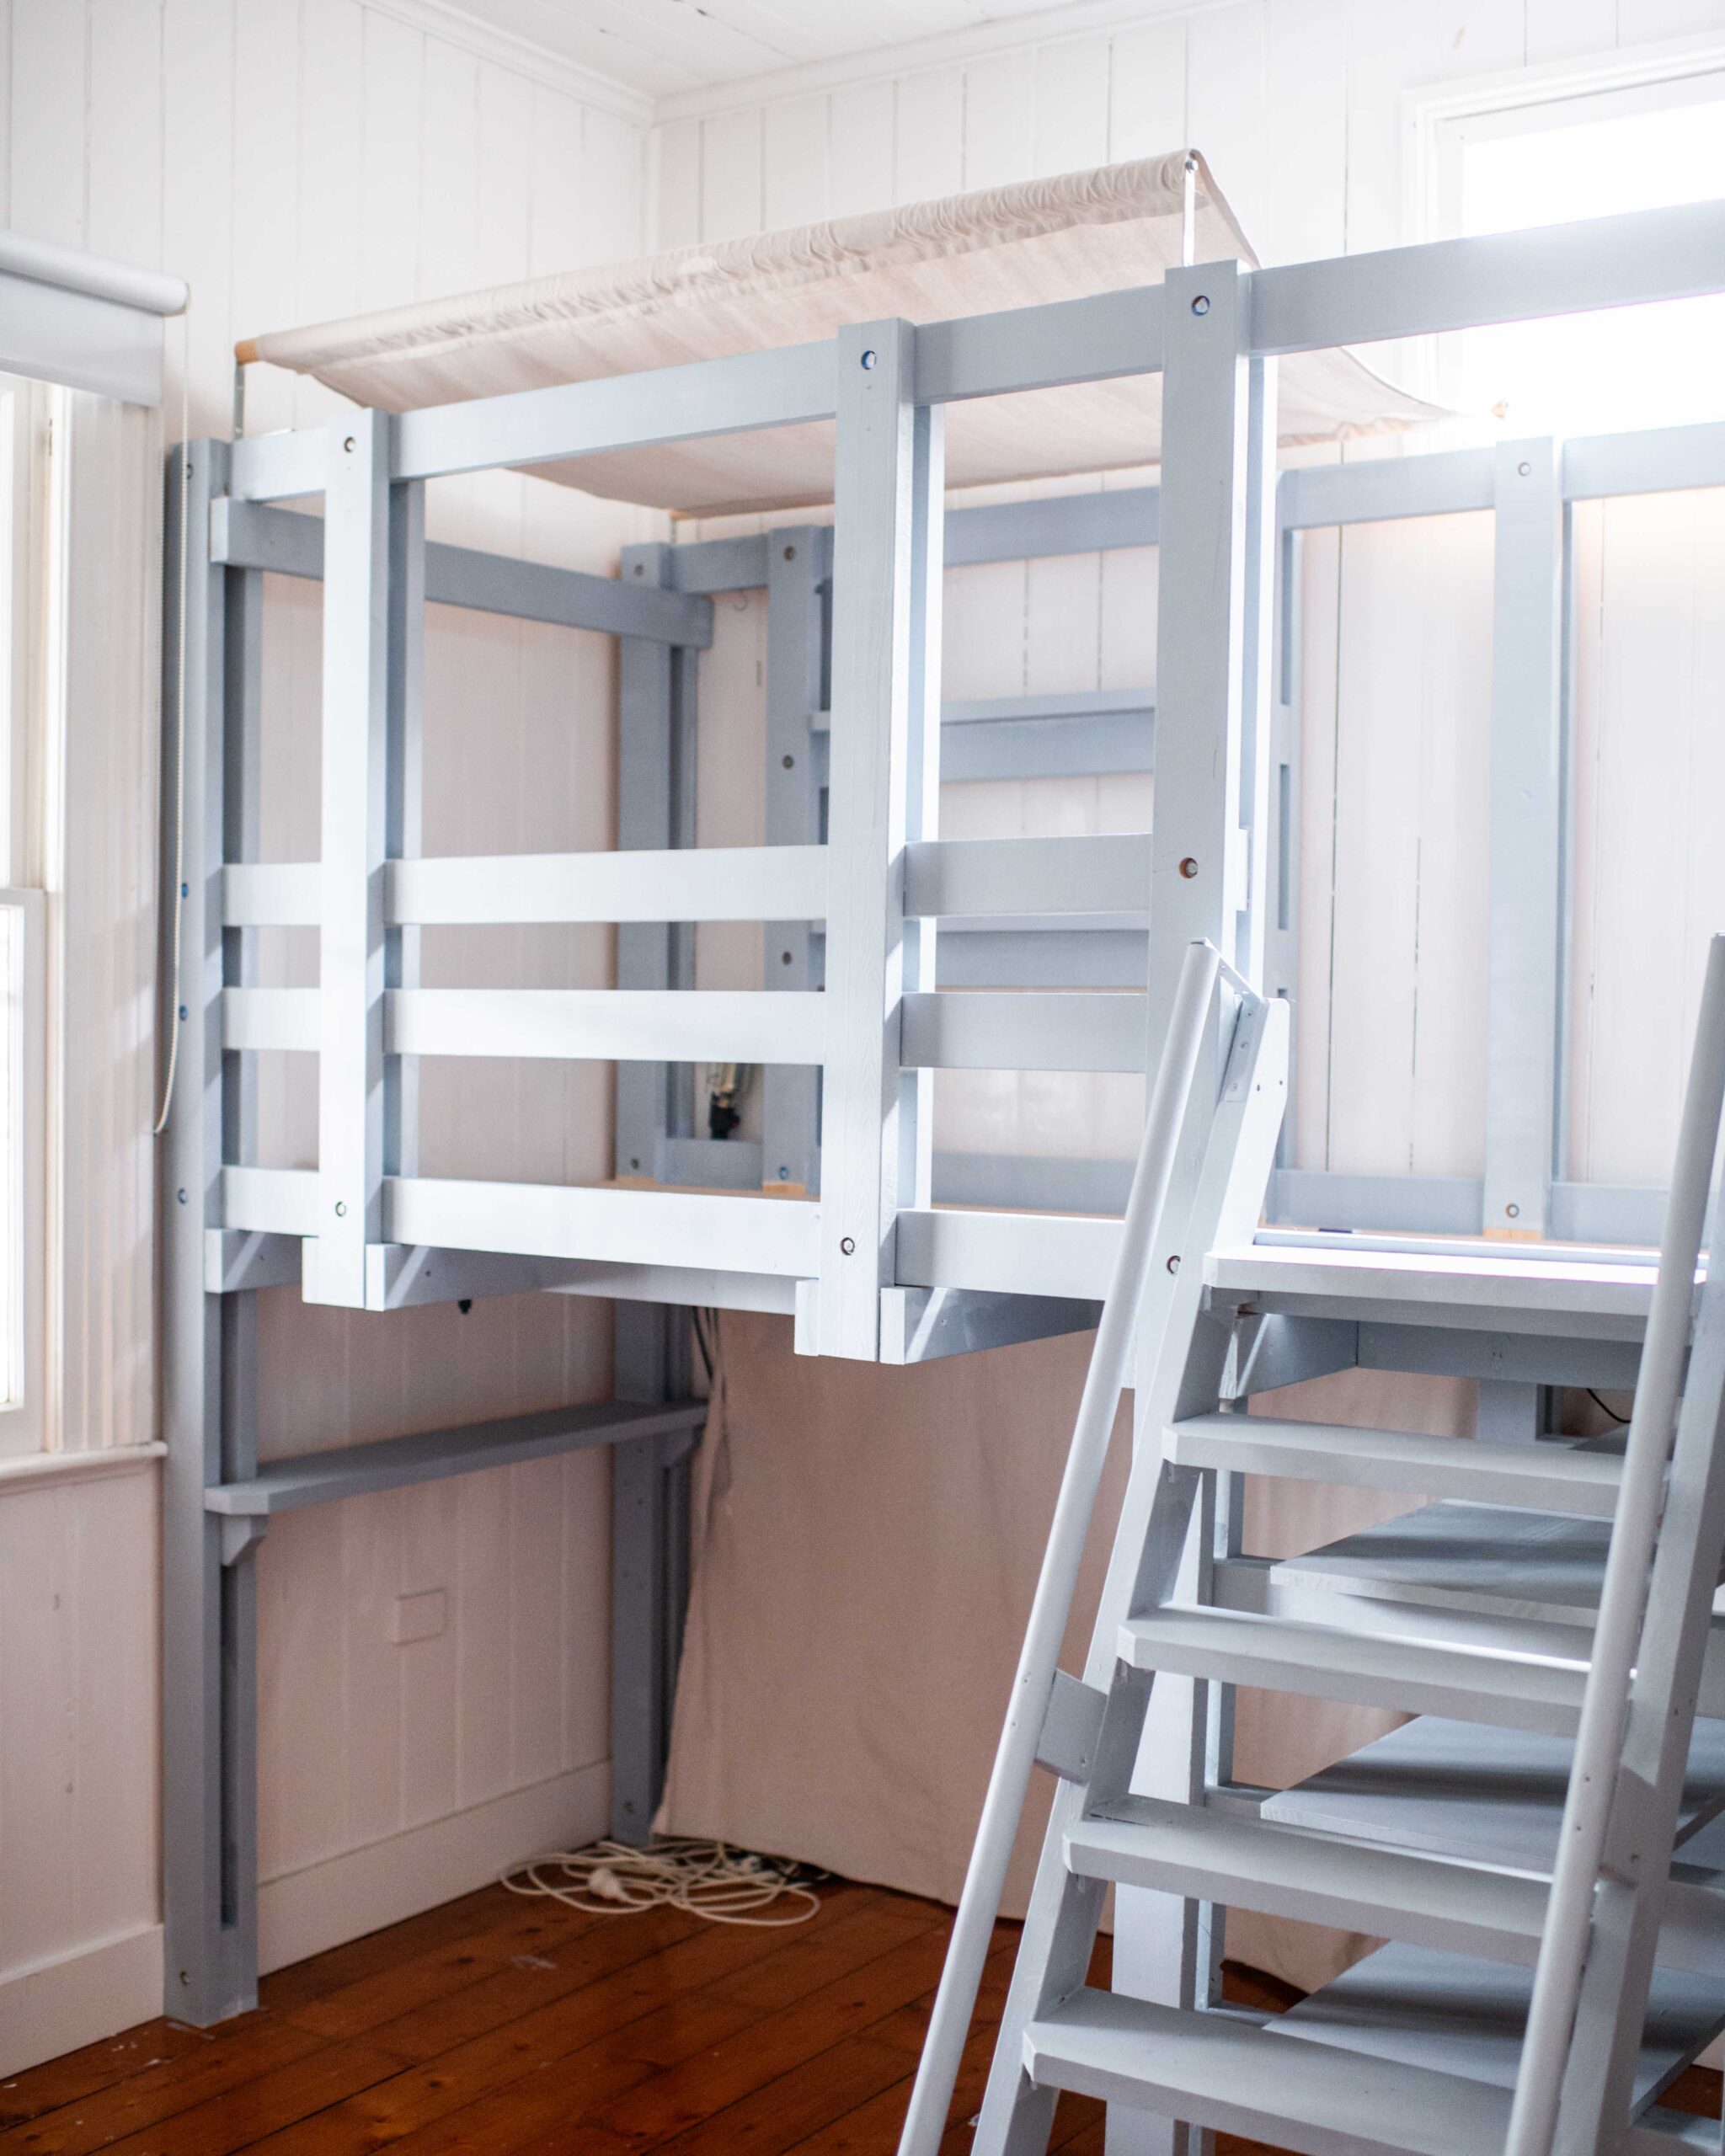
Part 1: Painting the Bunks
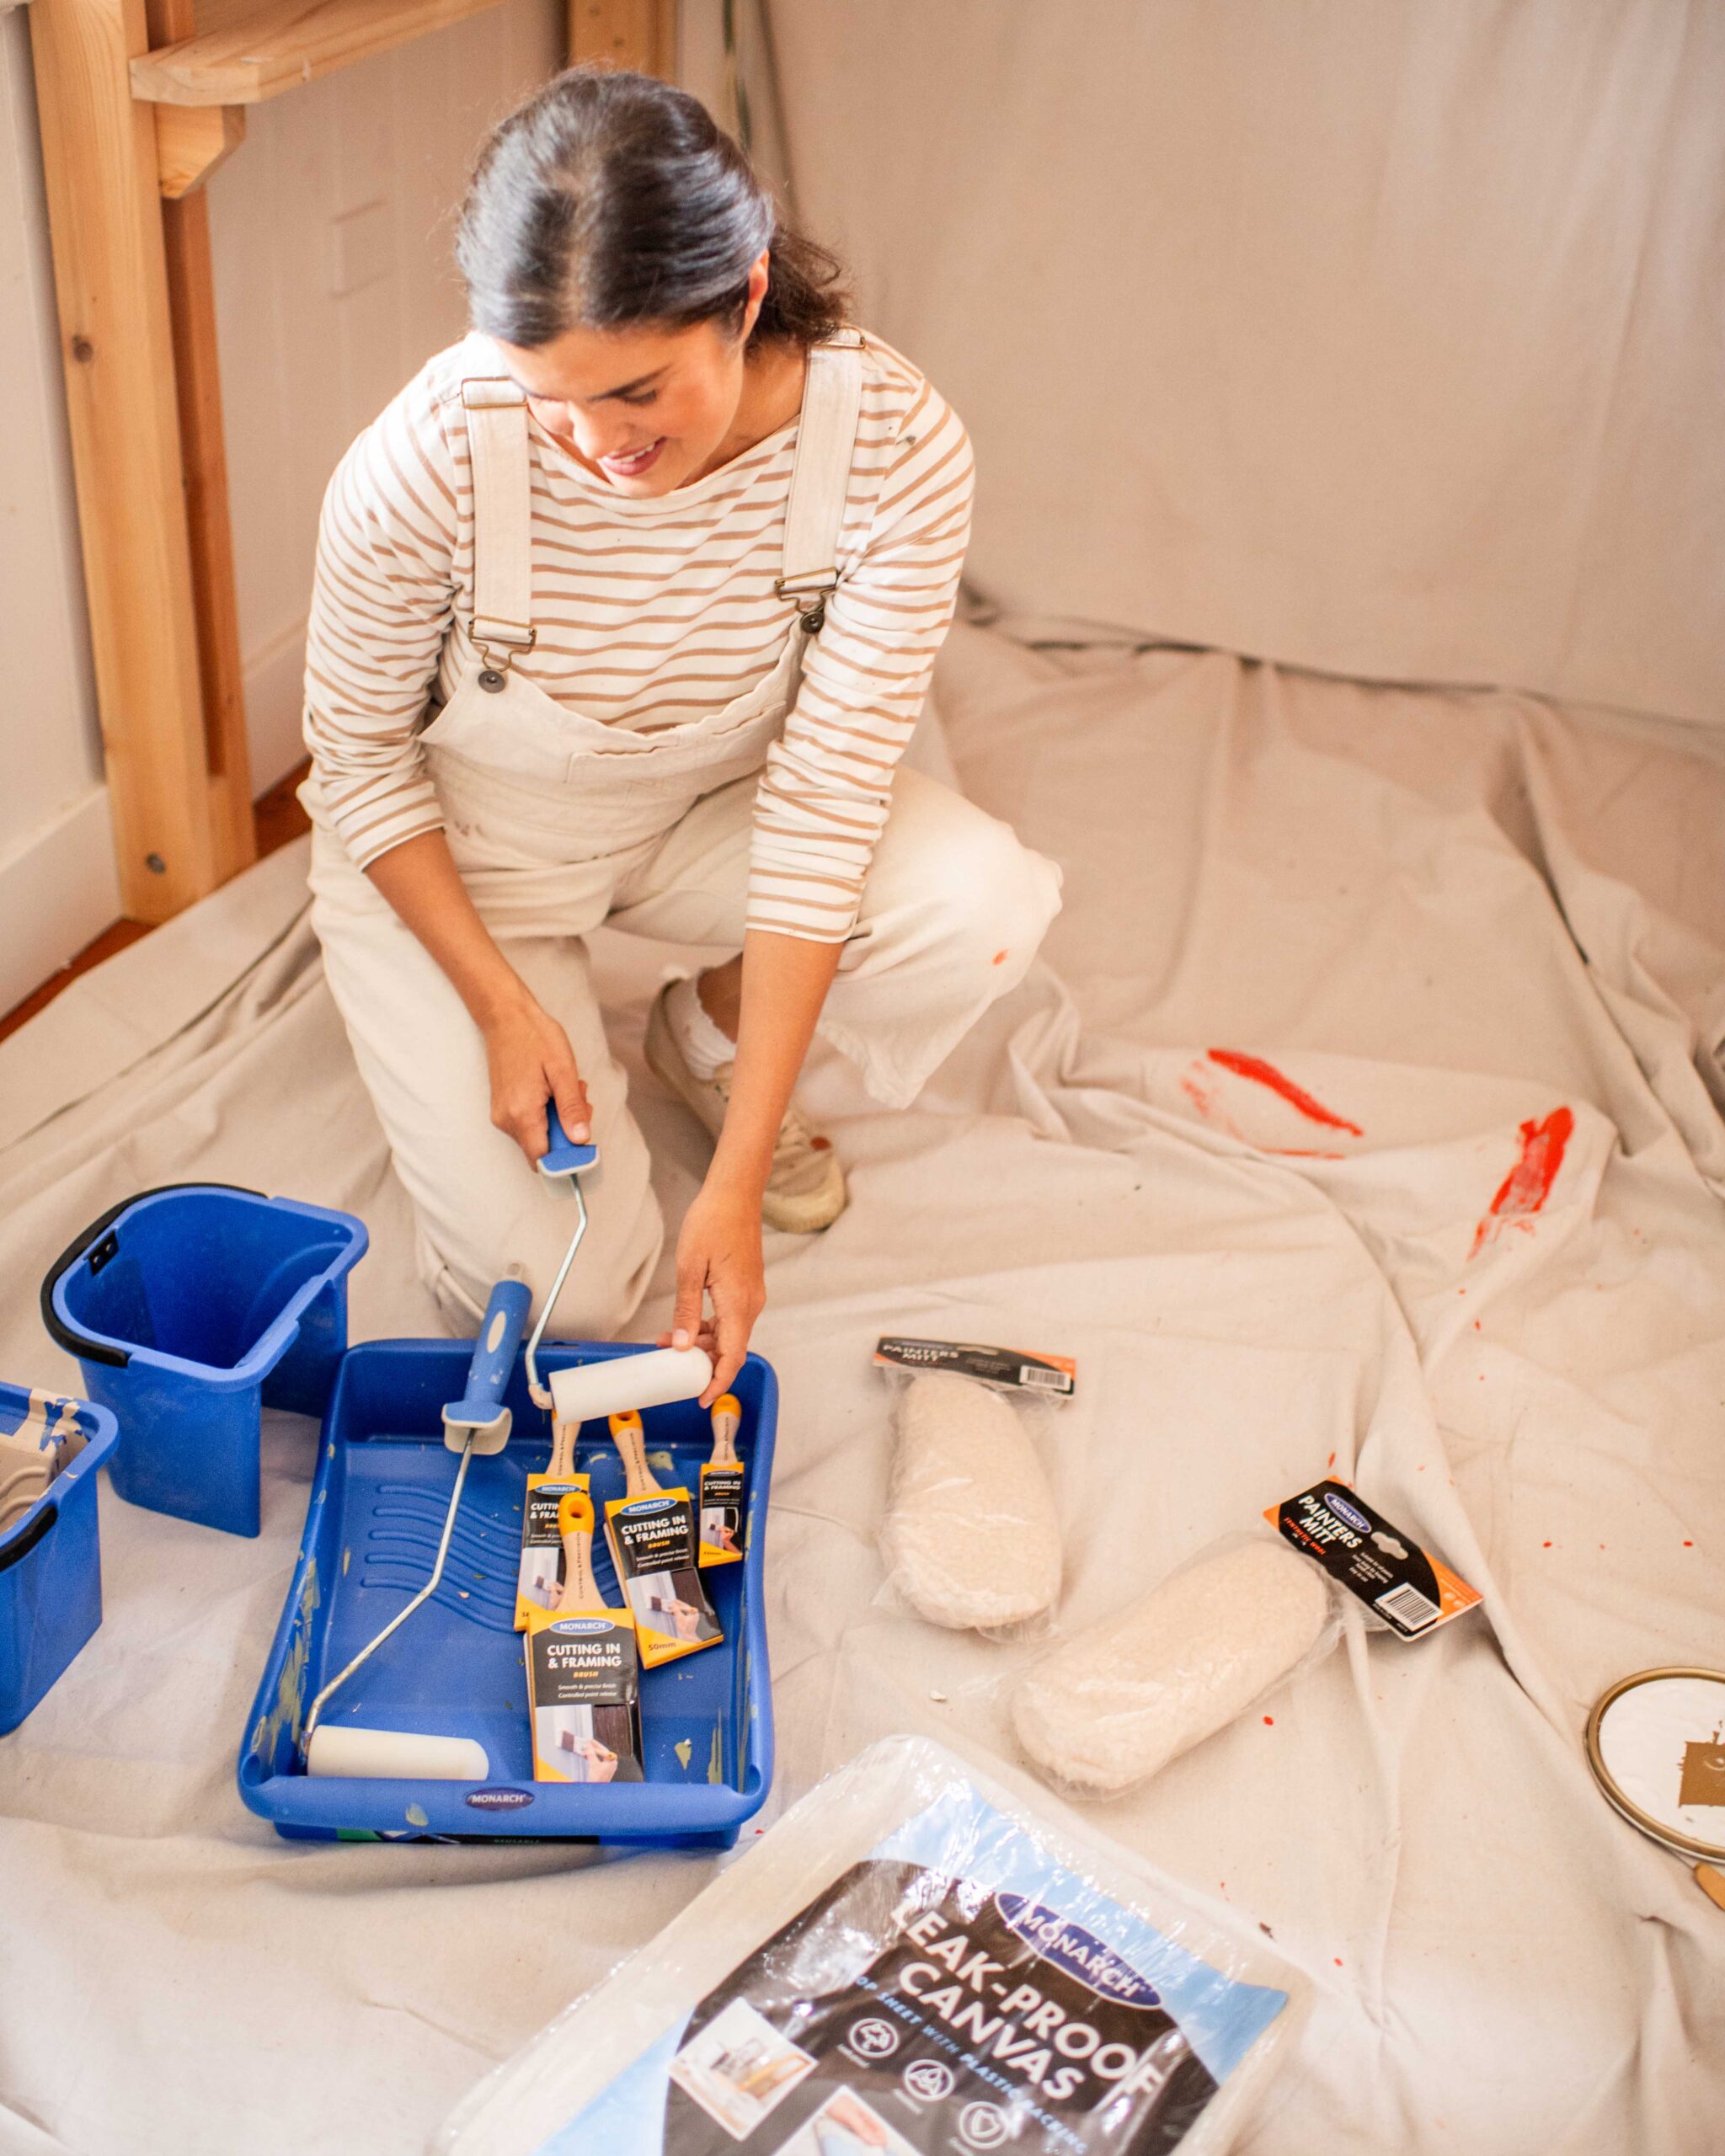
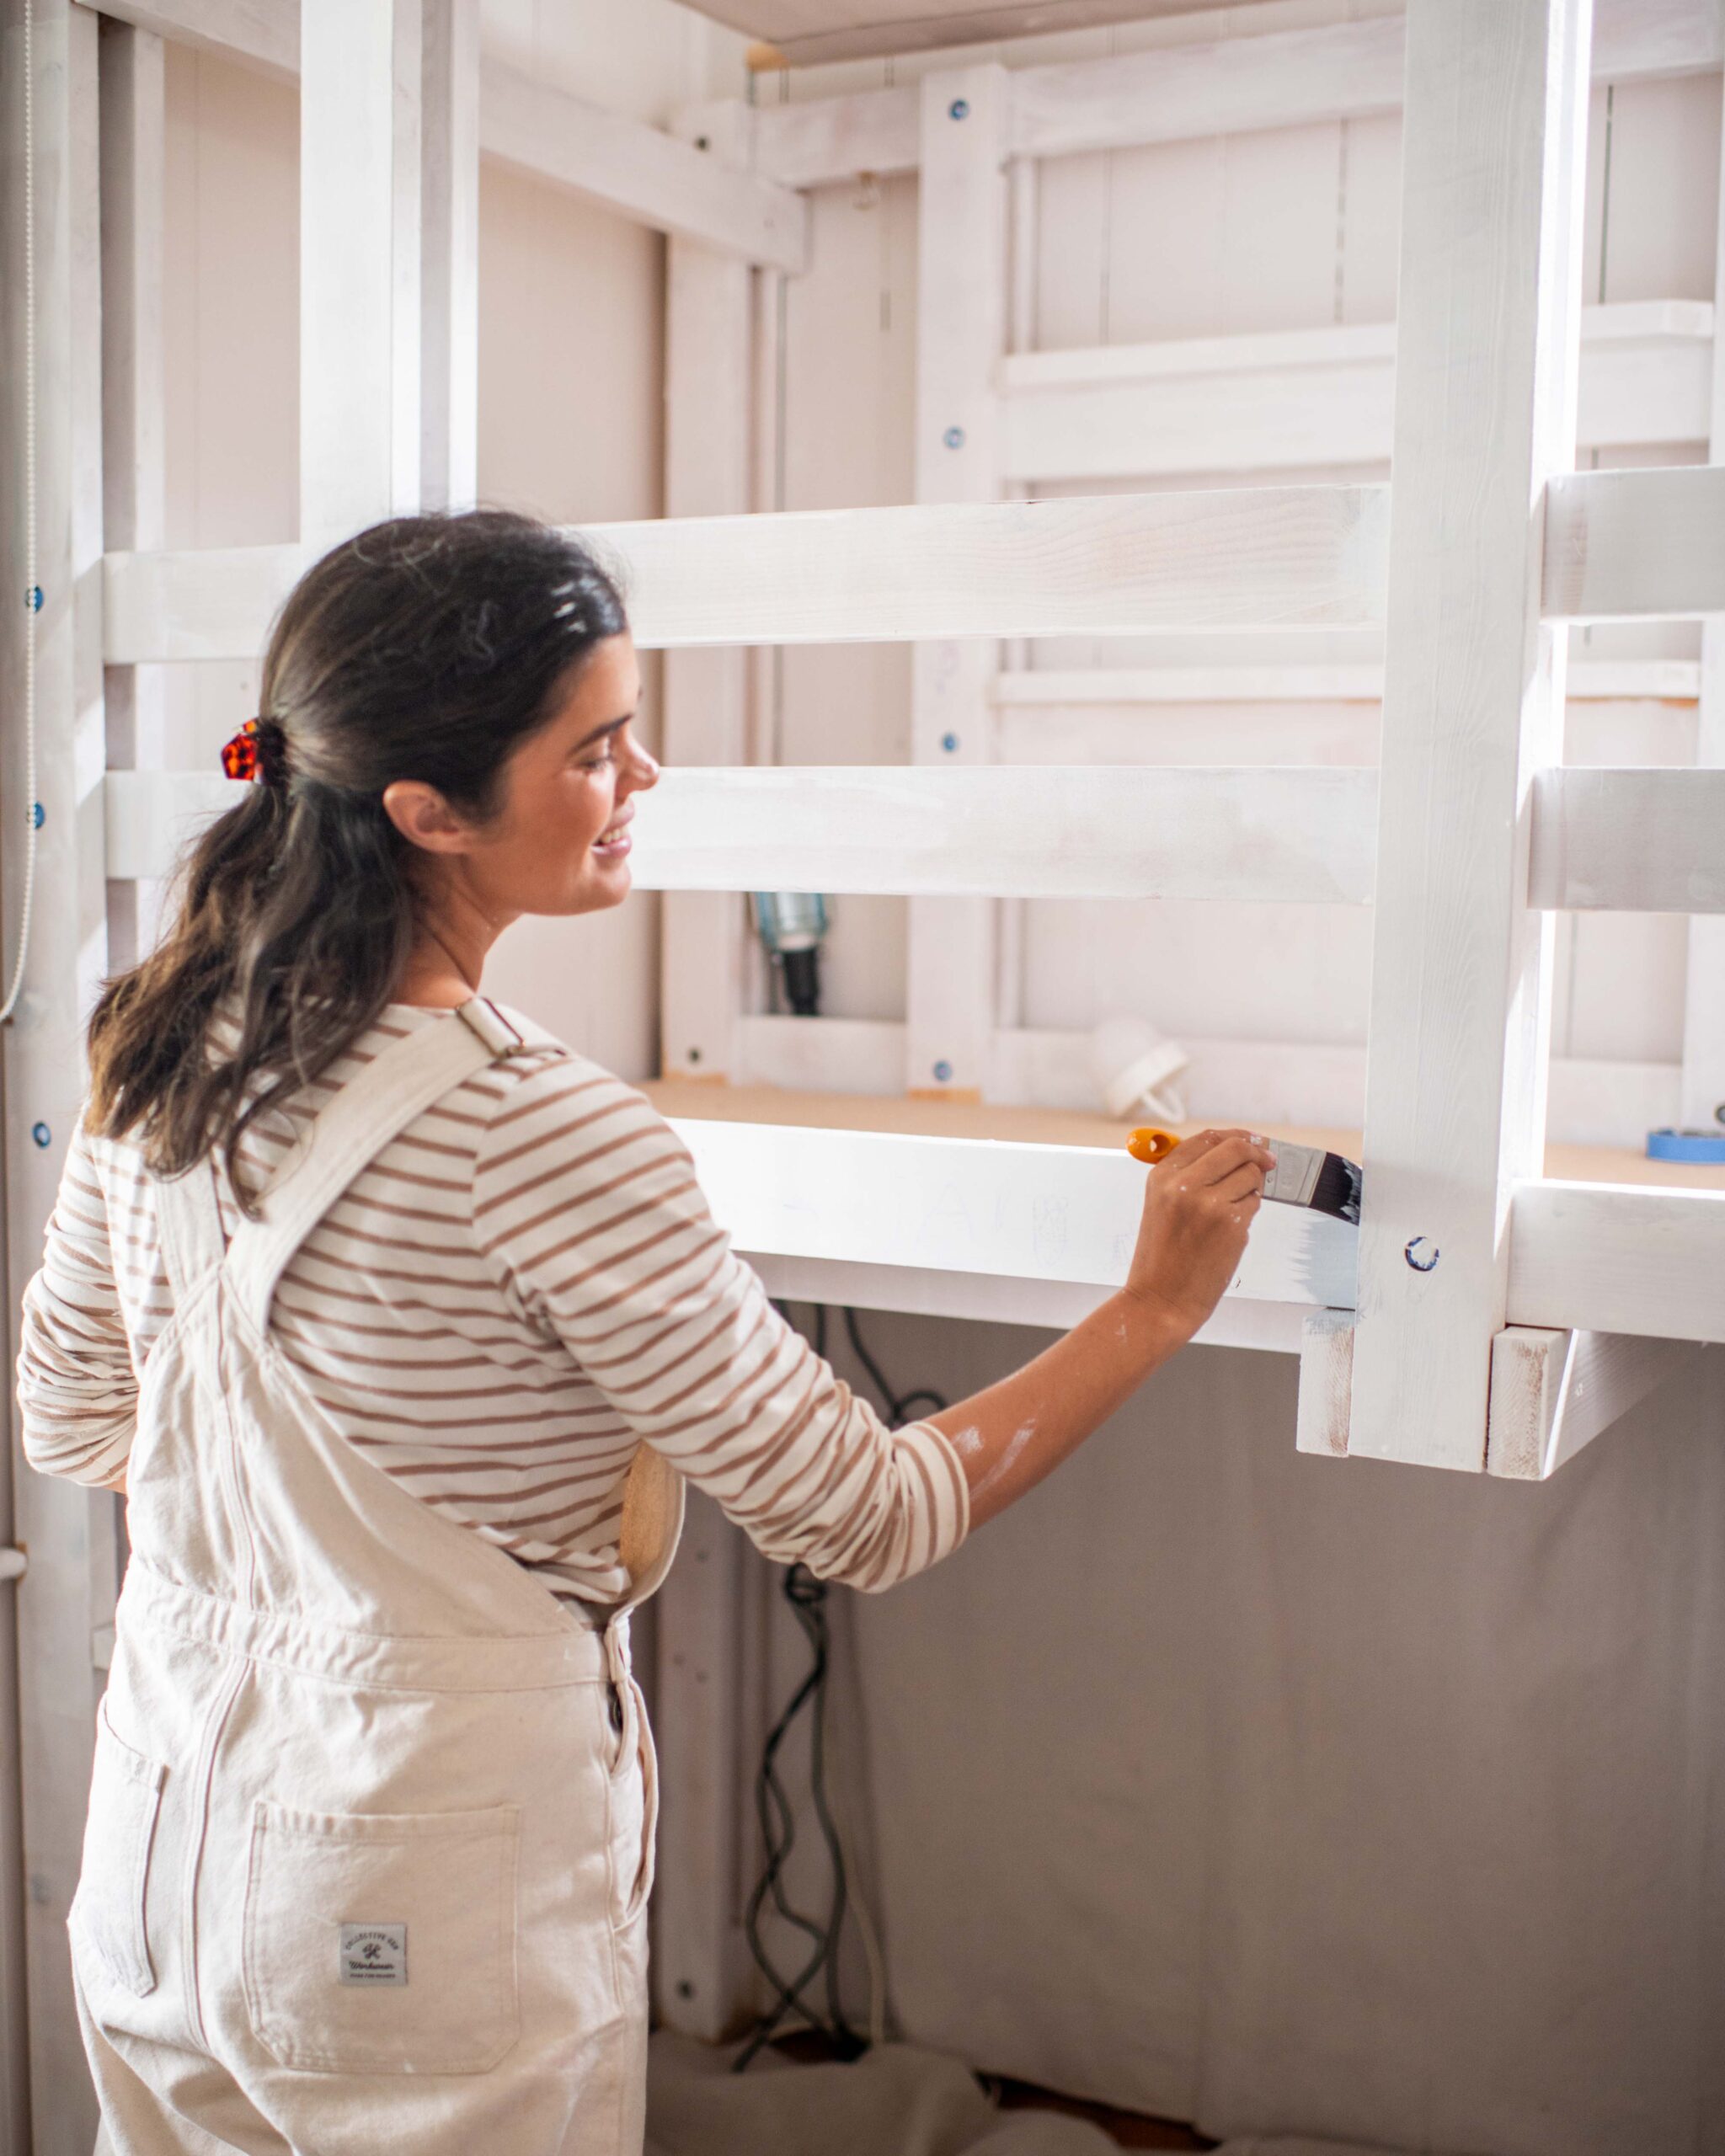
I’ve been meaning to paint these bunks ever since we put them in, so I was happy to get a chance to do this. I was a bit nervous about painting these because it was potentially complicated and a huge job but my trusty Monarch Paints painting accessories made it super easy. In the end I chose this gorgeous blue colour by British Paints called ‘Healing Spa’.
Part 2: Making the Decor
Okkkk so I *think* things may have taken a chaotic turn in this project, as my plans for the space just grew and grew until I couldn’t be stopped! I feel that this project may have become a bit over the top and got more and more intense as I got into it, but it feels so satisfying to make them a space they will truly love and use. I wanted to find as many niche Bluey references as I possibly could! The Hammerbarn episode/ book was my North Star giving me so much inspiration for DIY decor.
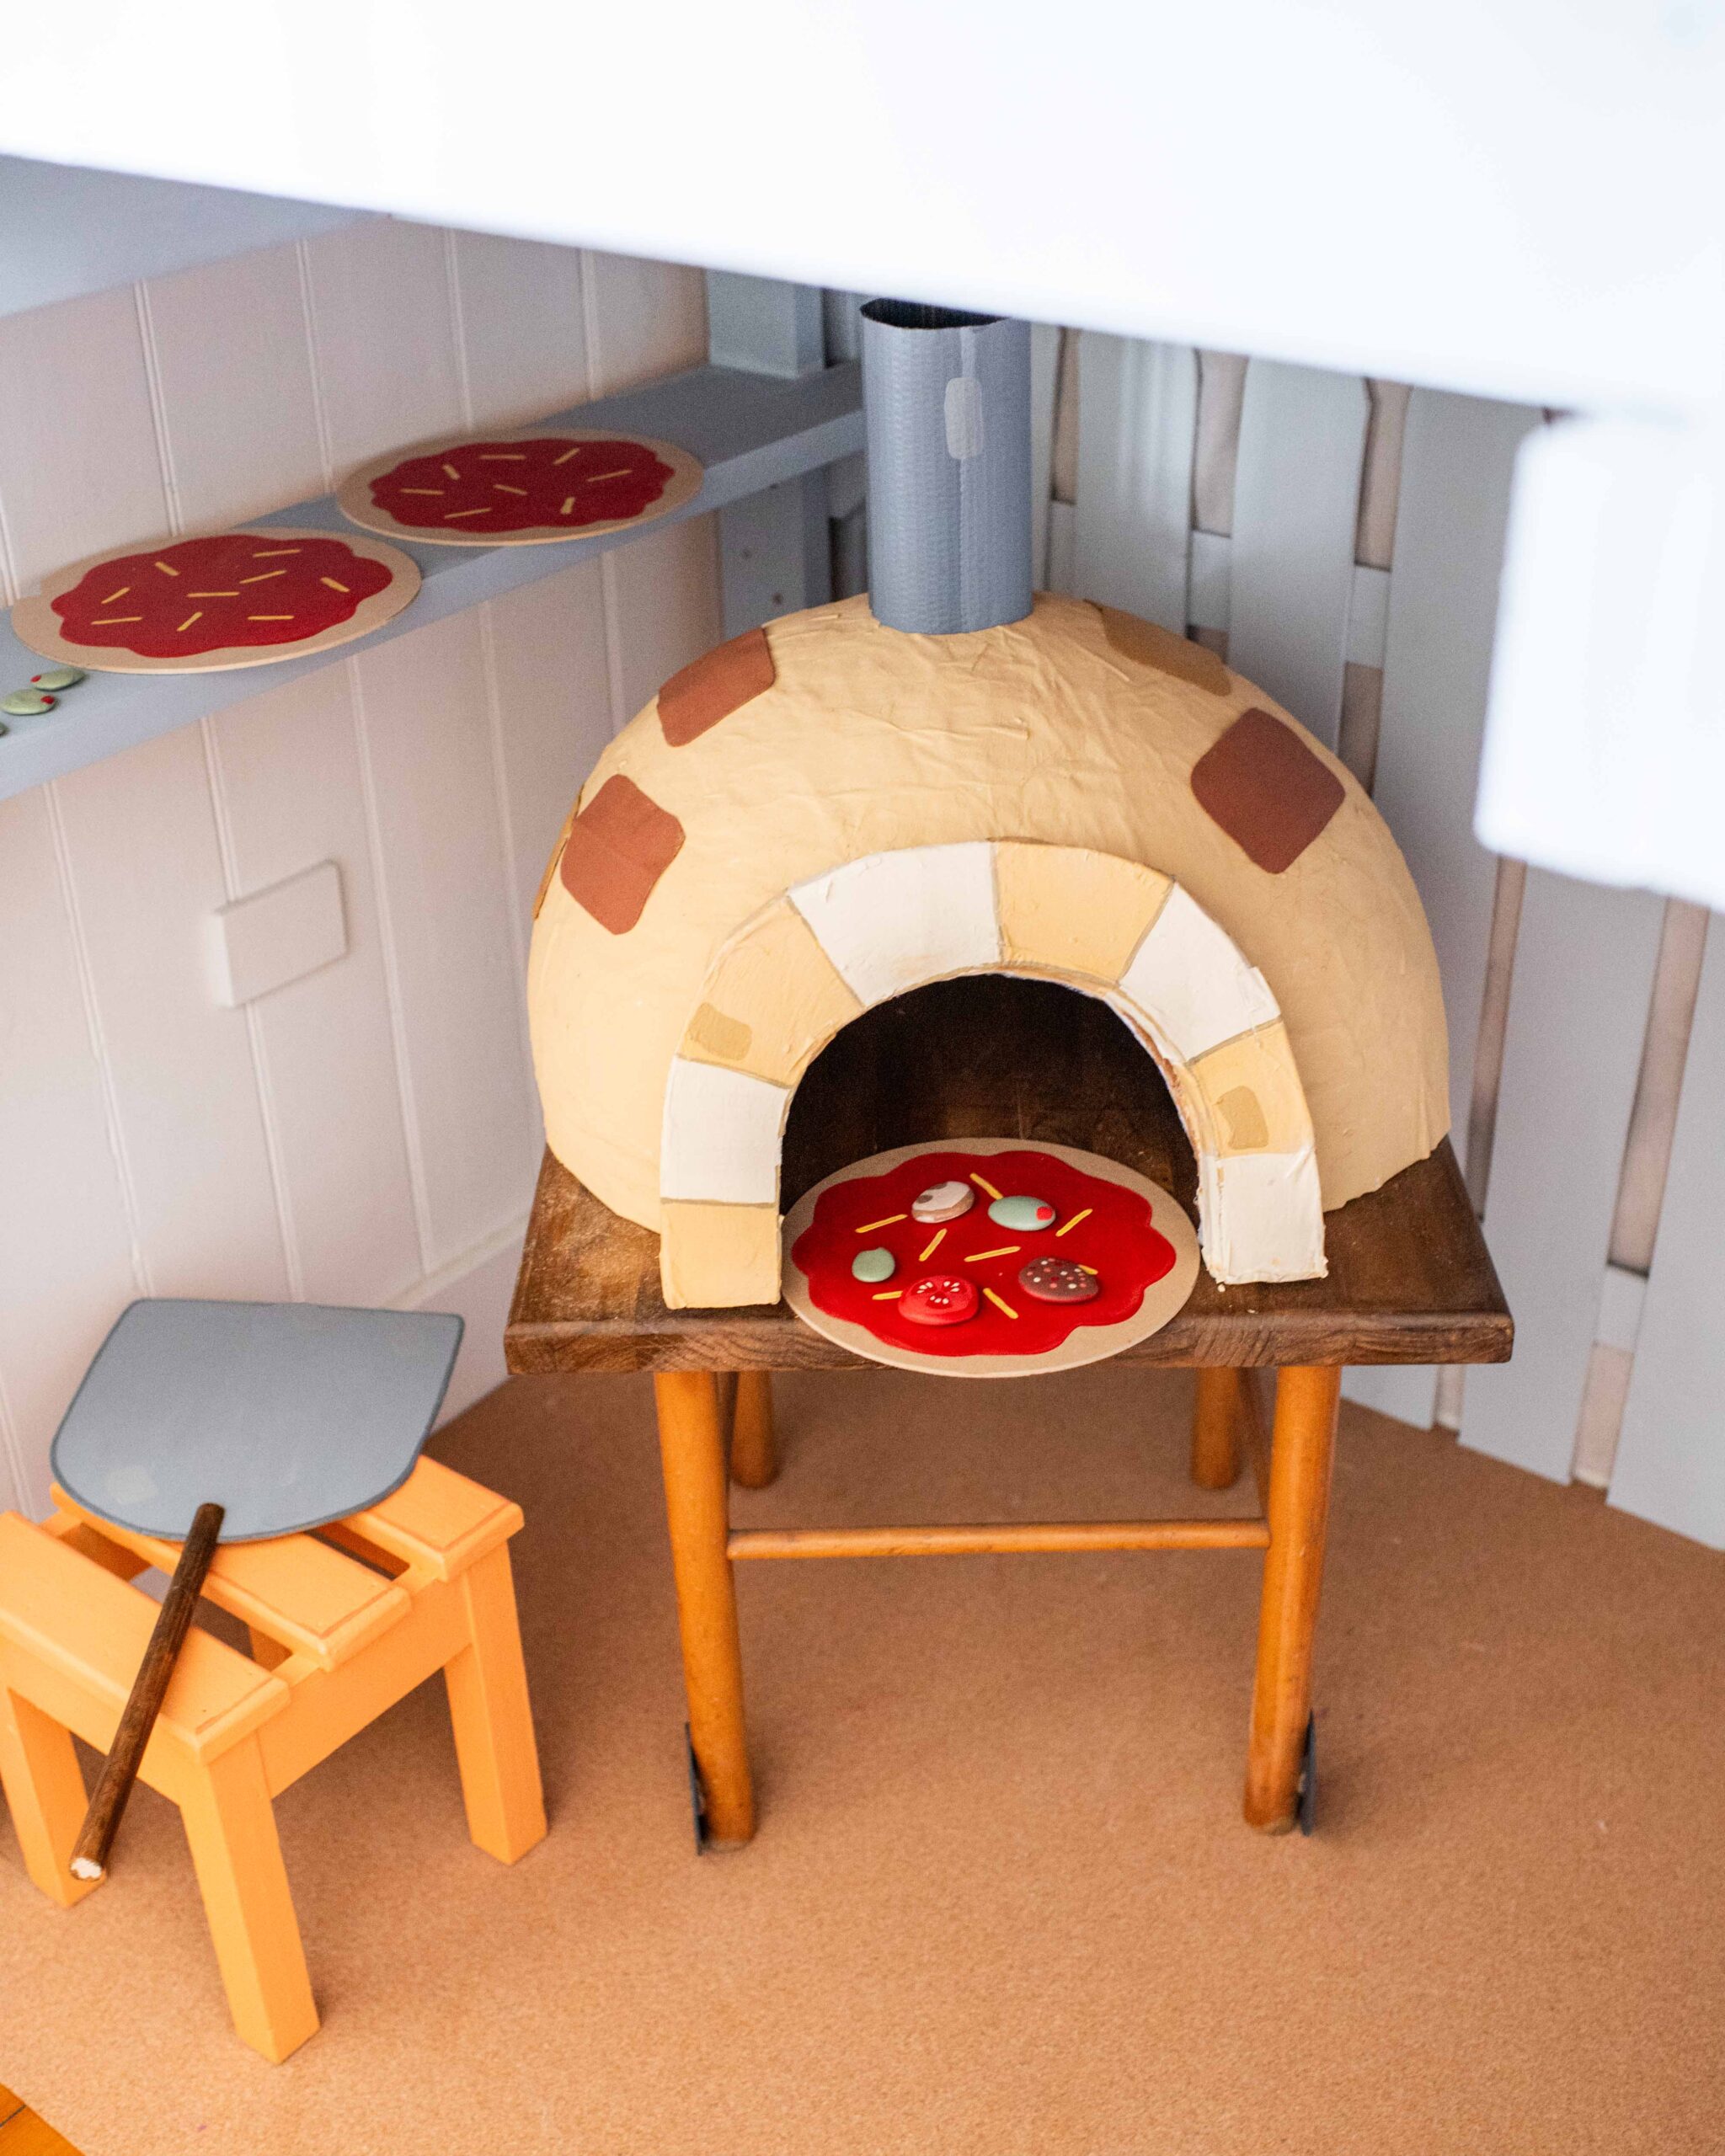
Making the Pizza Oven
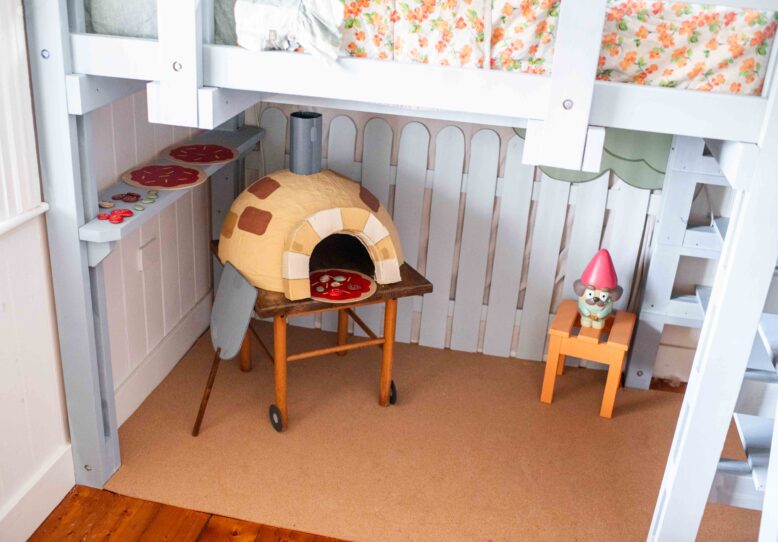
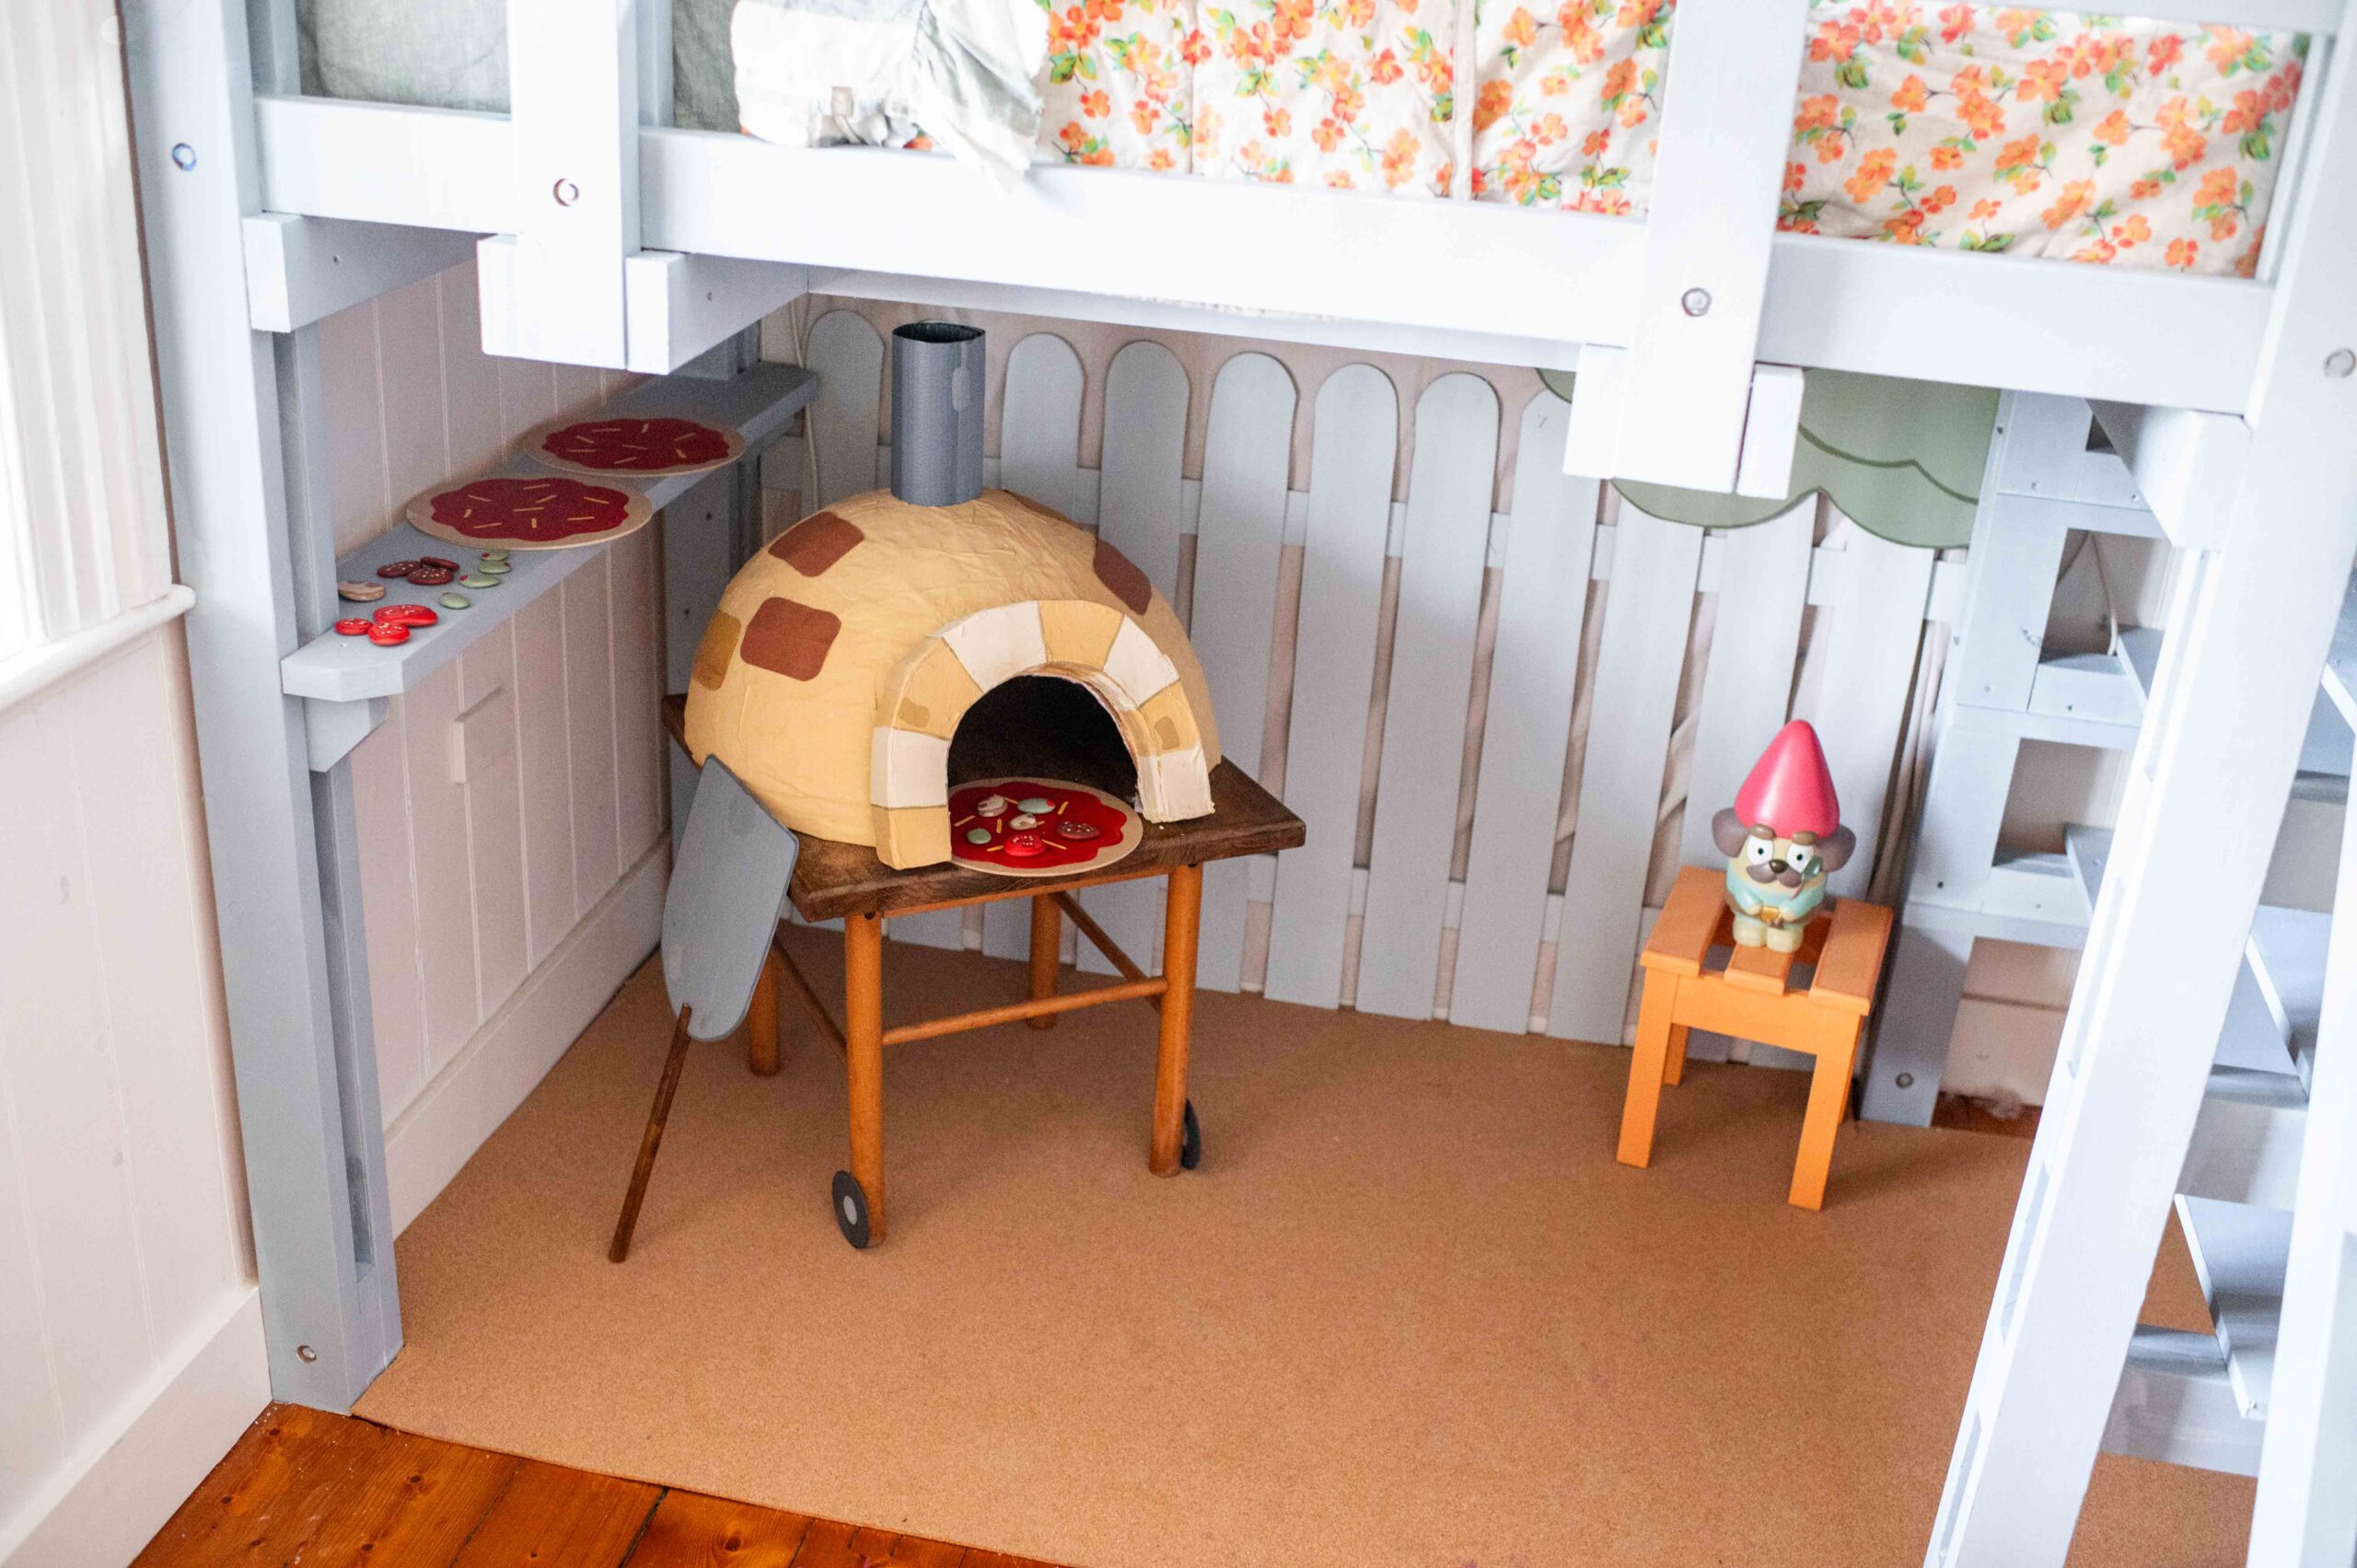
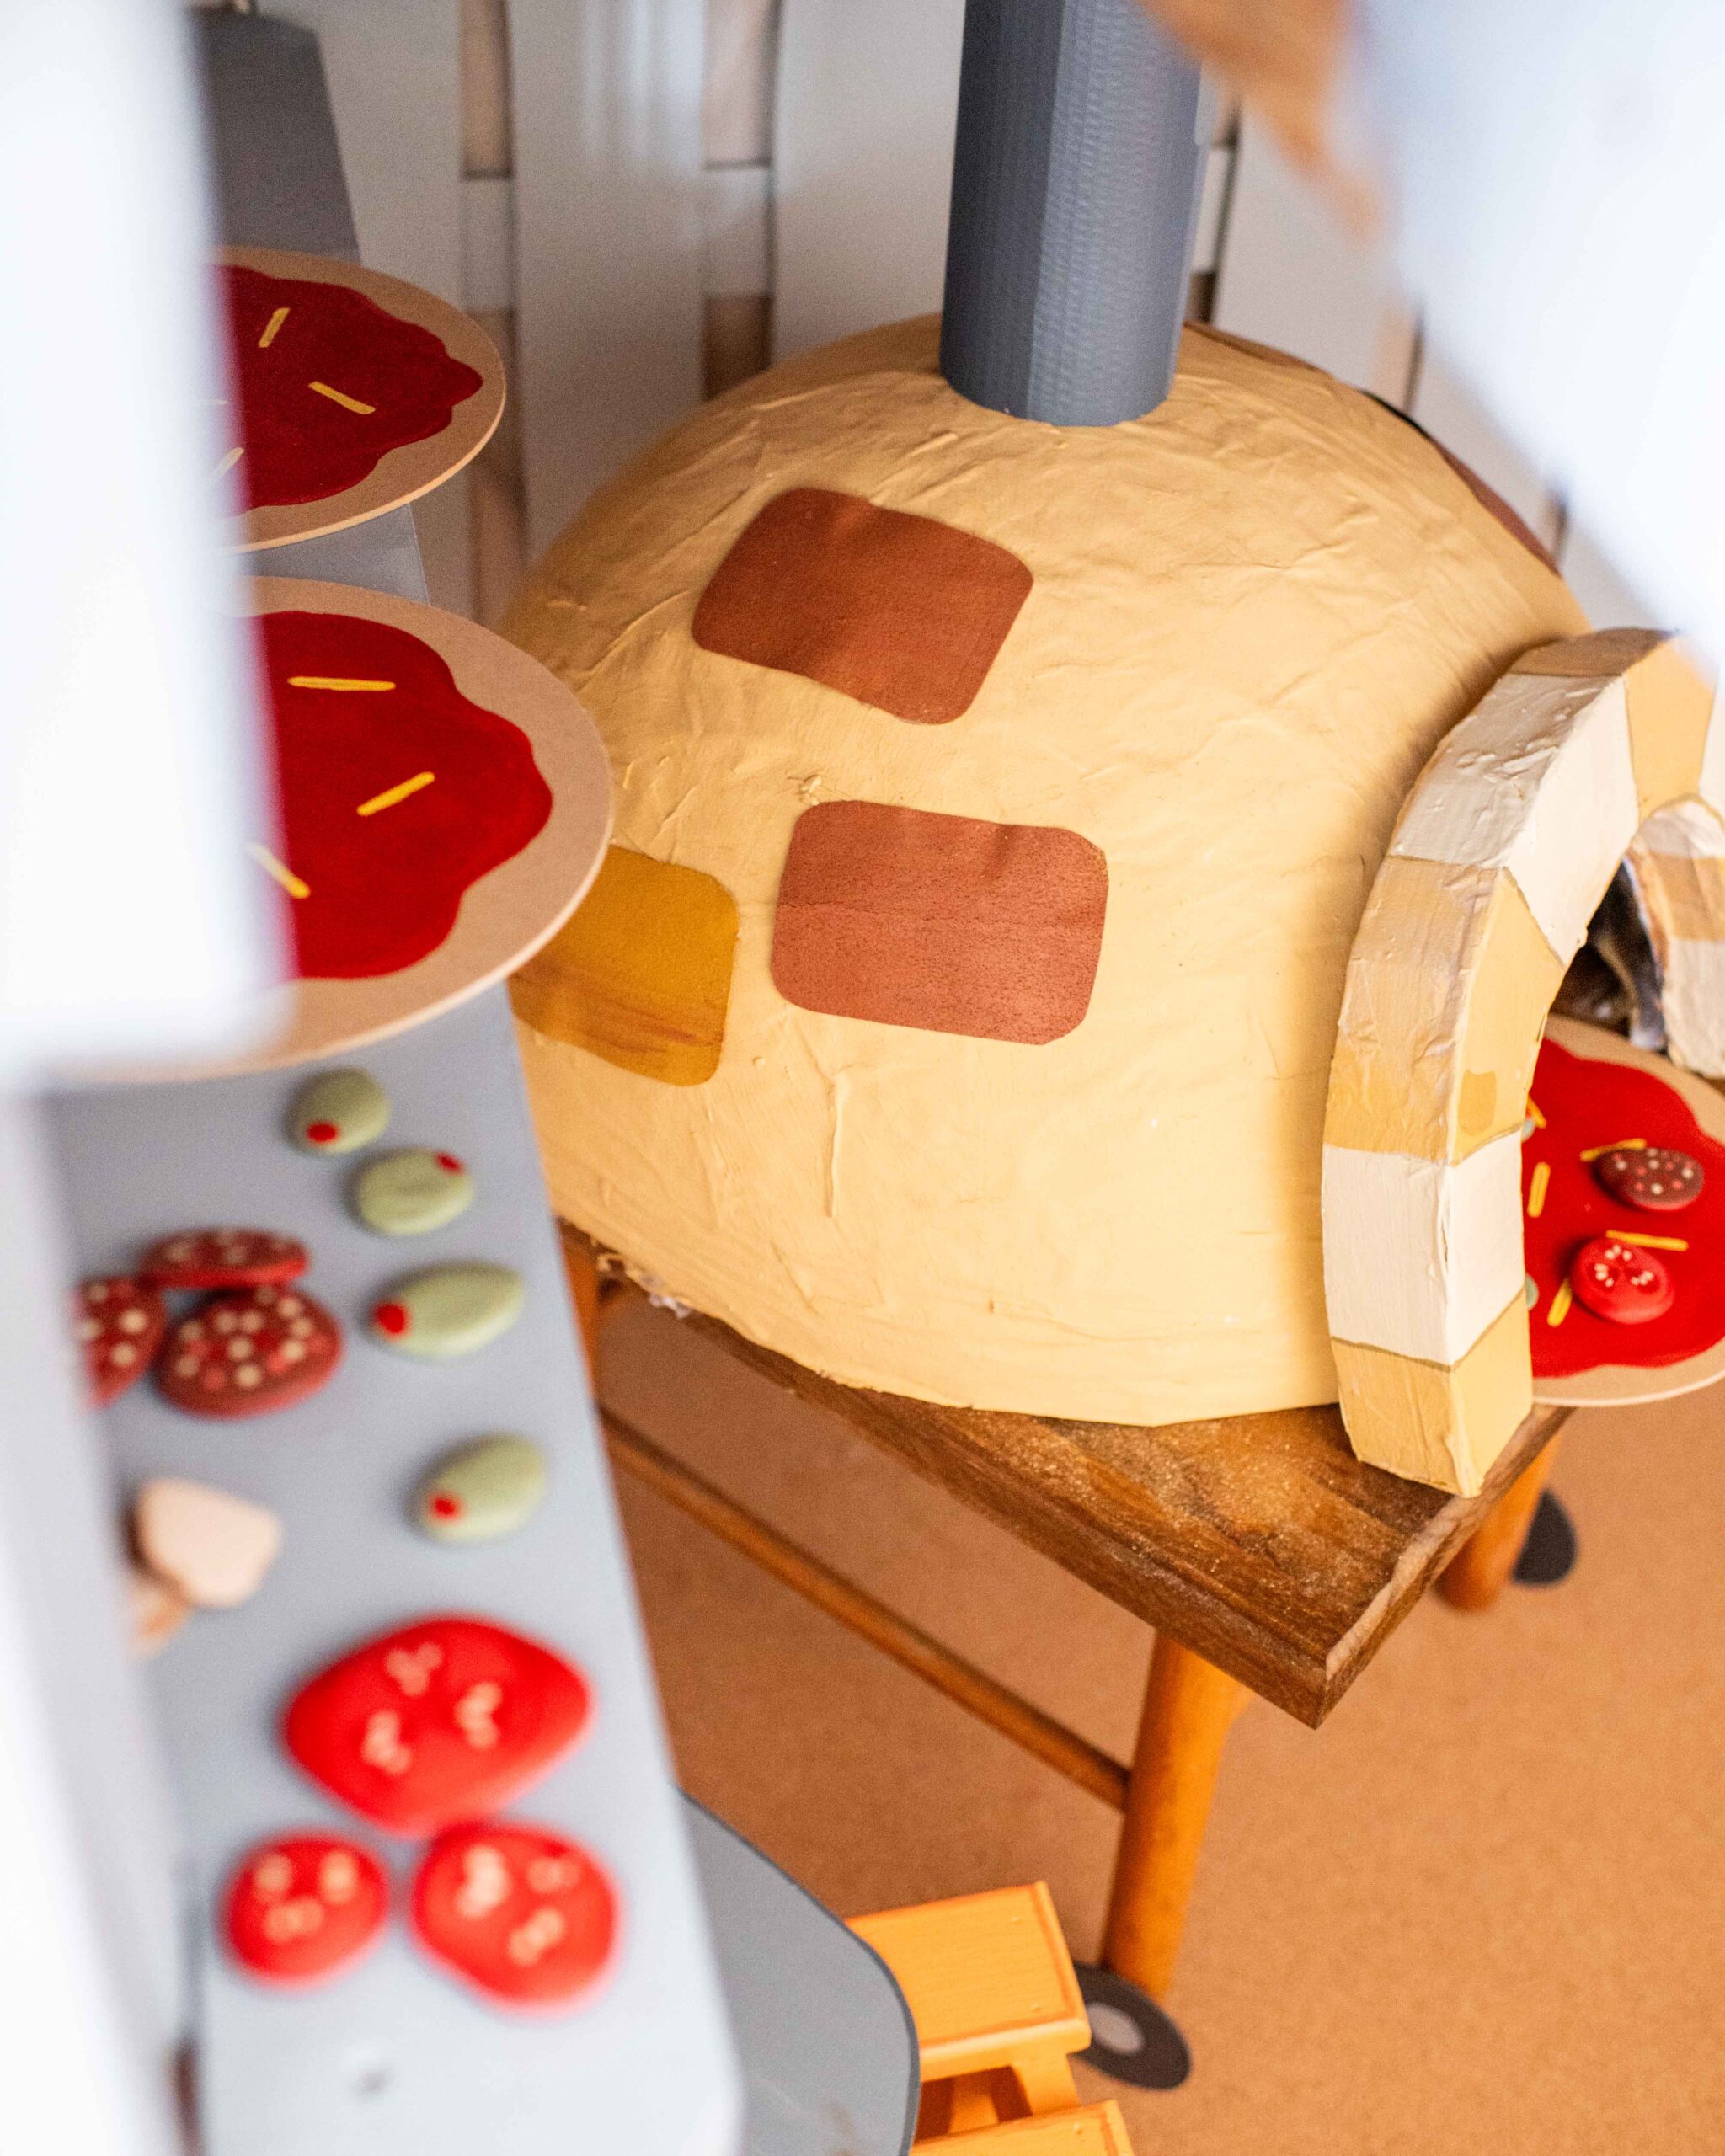
I think the item that ultimately makes this Bluey room is this play pizza oven! I ended up making the dome out of paper mache using my exercise ball as the template. Once the paper mache was dry, it was time to paint and prep the stand for the pizza oven to sit onto (a chair i found on the side of the road ame to the rescue!). I then cut the opening for the pizzas, made the brick opening with some cardboard and finally added some ‘brick’ detailing and of course the cute little chimney. I hadn’t tried paper mache for quite a number of years, so the whole time I was just hoping it would turn out as I envisioned… and it did!!
Materials:
- Exercise Ball
- Cling wrap (to cover the exercise ball with)
- Old newspaper or magazines
- PVA Glue + water mixed 1:2 to make the paste
- Paint
- Cardboard scraps
- Old chair with the back removed
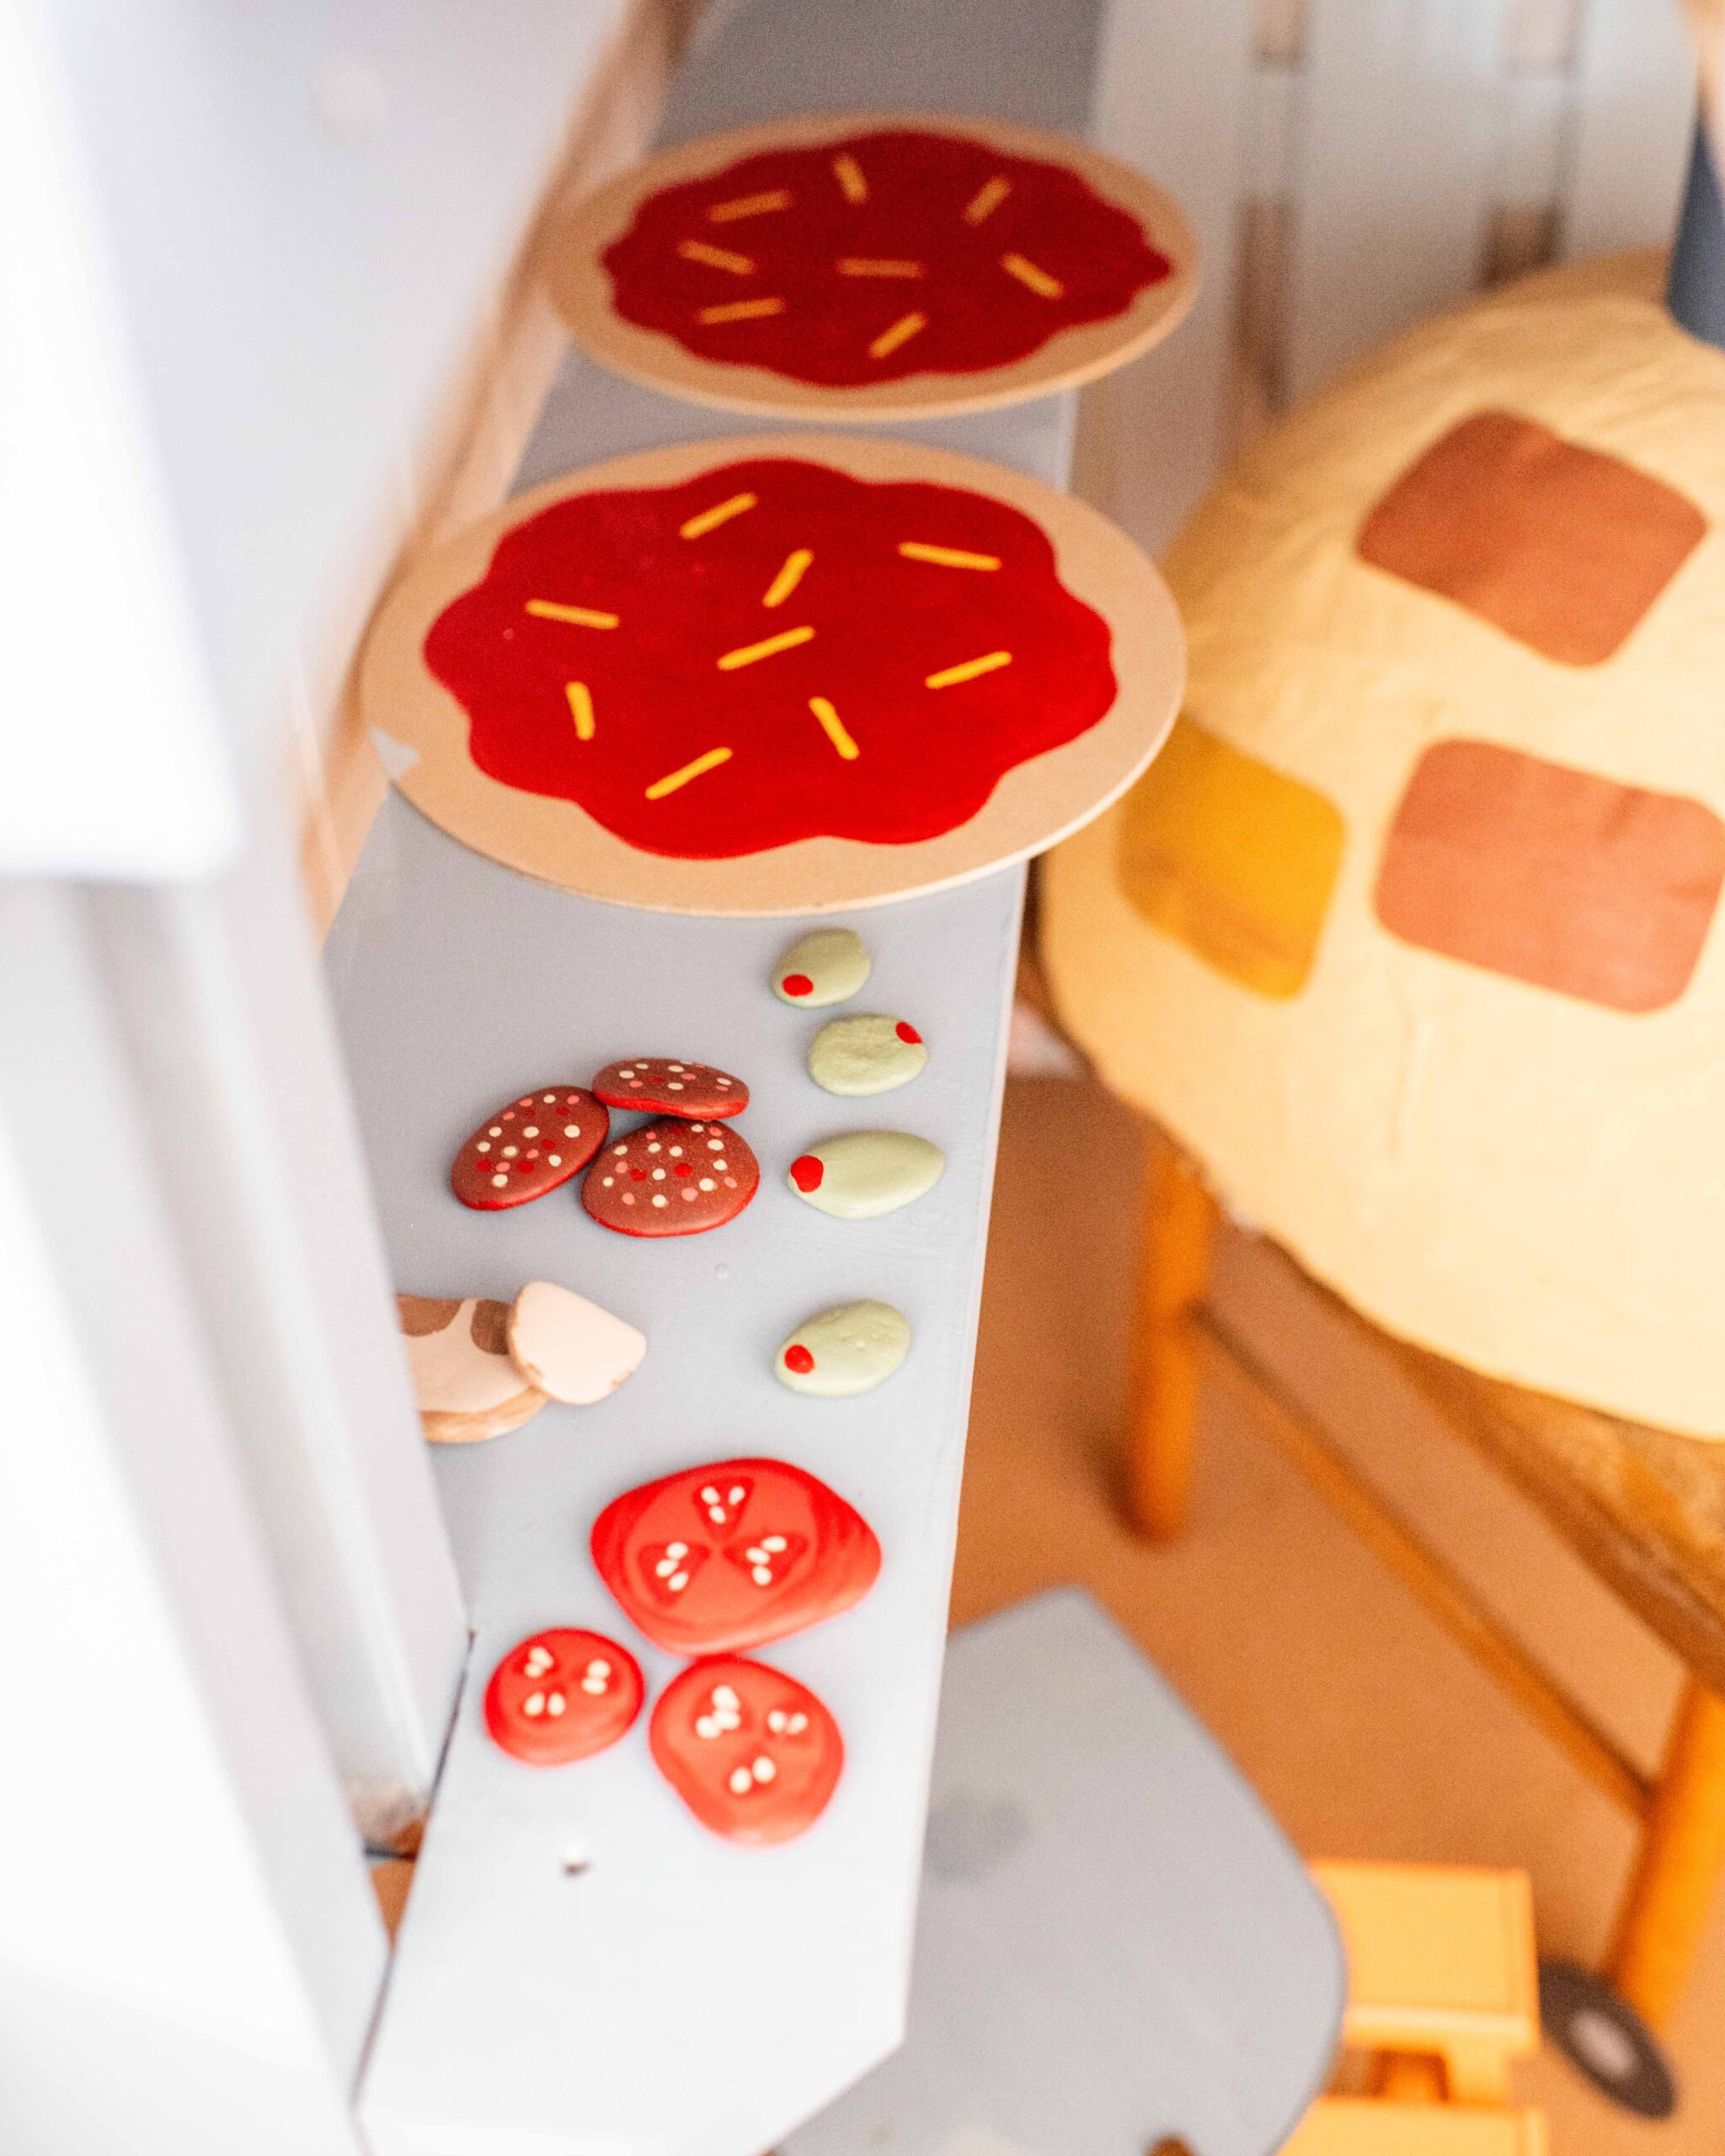
Play Pizzas
What is a pizza oven without some play pizzas? I had some wooden placements left over from another project so I painted a base with red paint and added some cheese strips on top! My favourite part though is the pizza topping rocks. I just found some rocks in our garden that seemed the right shape and painted some olives, mushrooms, tomatoes and pepperoni.
Materials:
- 25cm wooden placements
- Paint (in variety of colours)
- Different shaped rocks
All Things Artwork
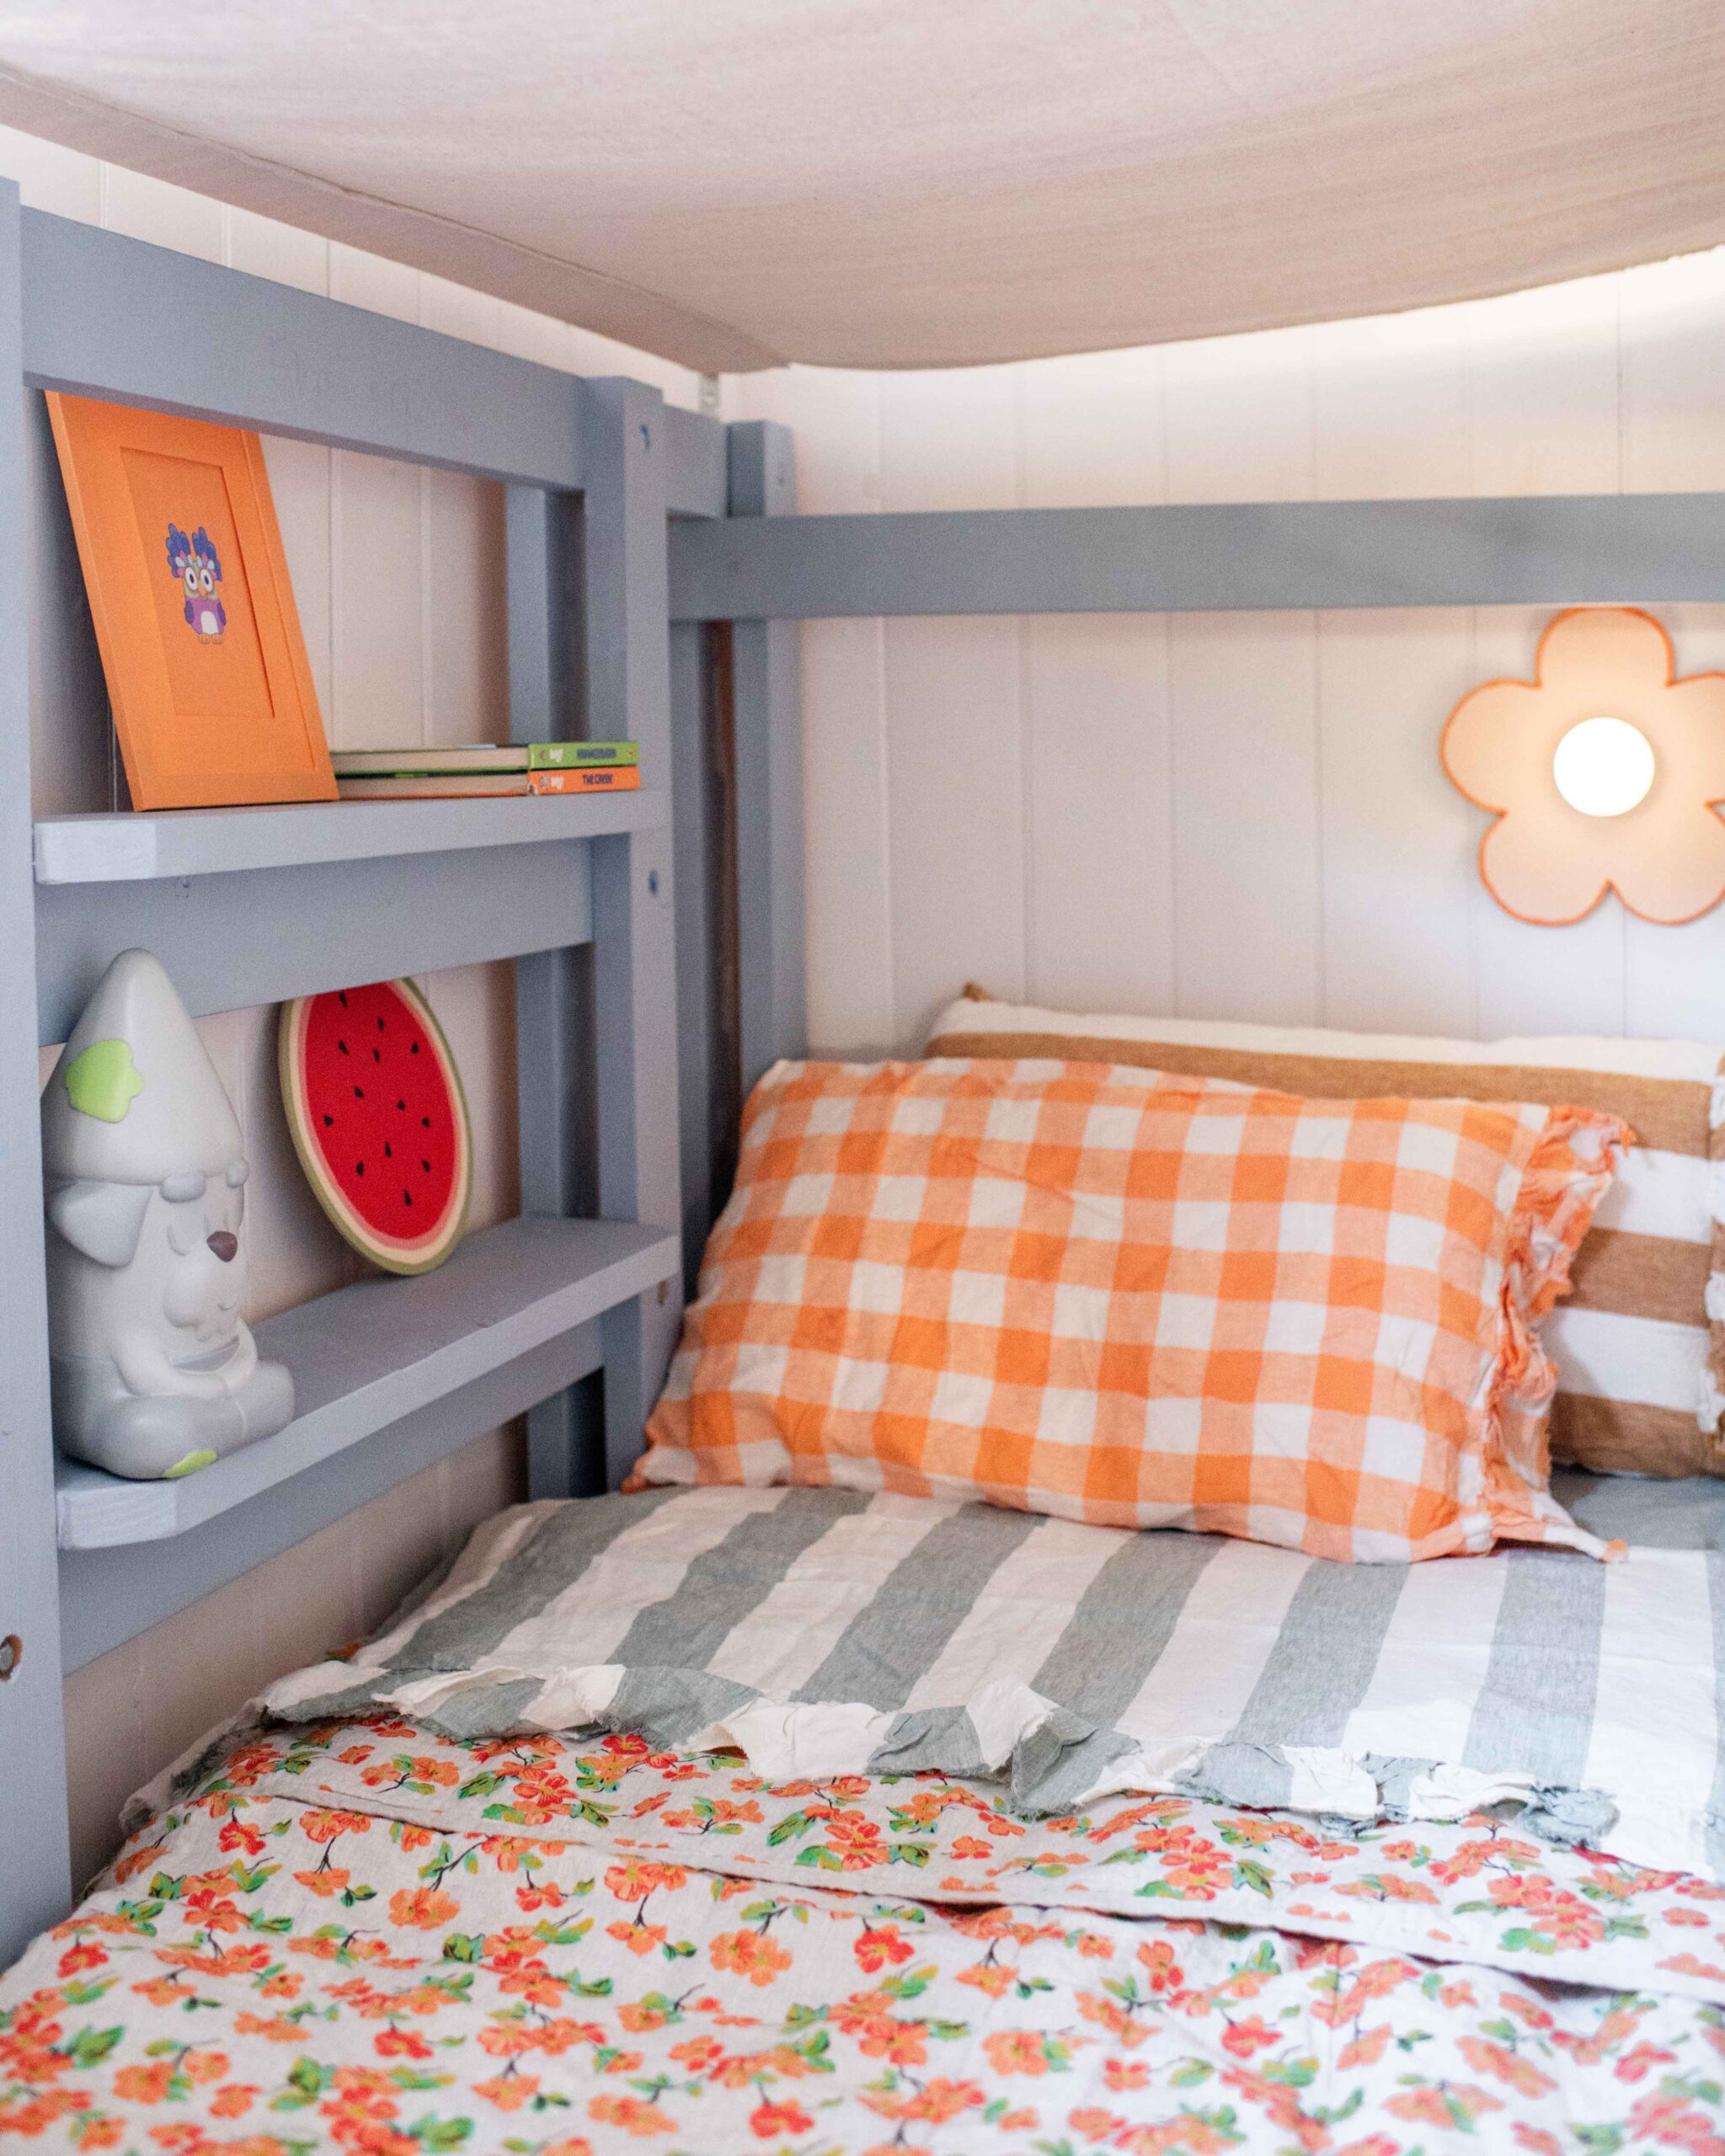
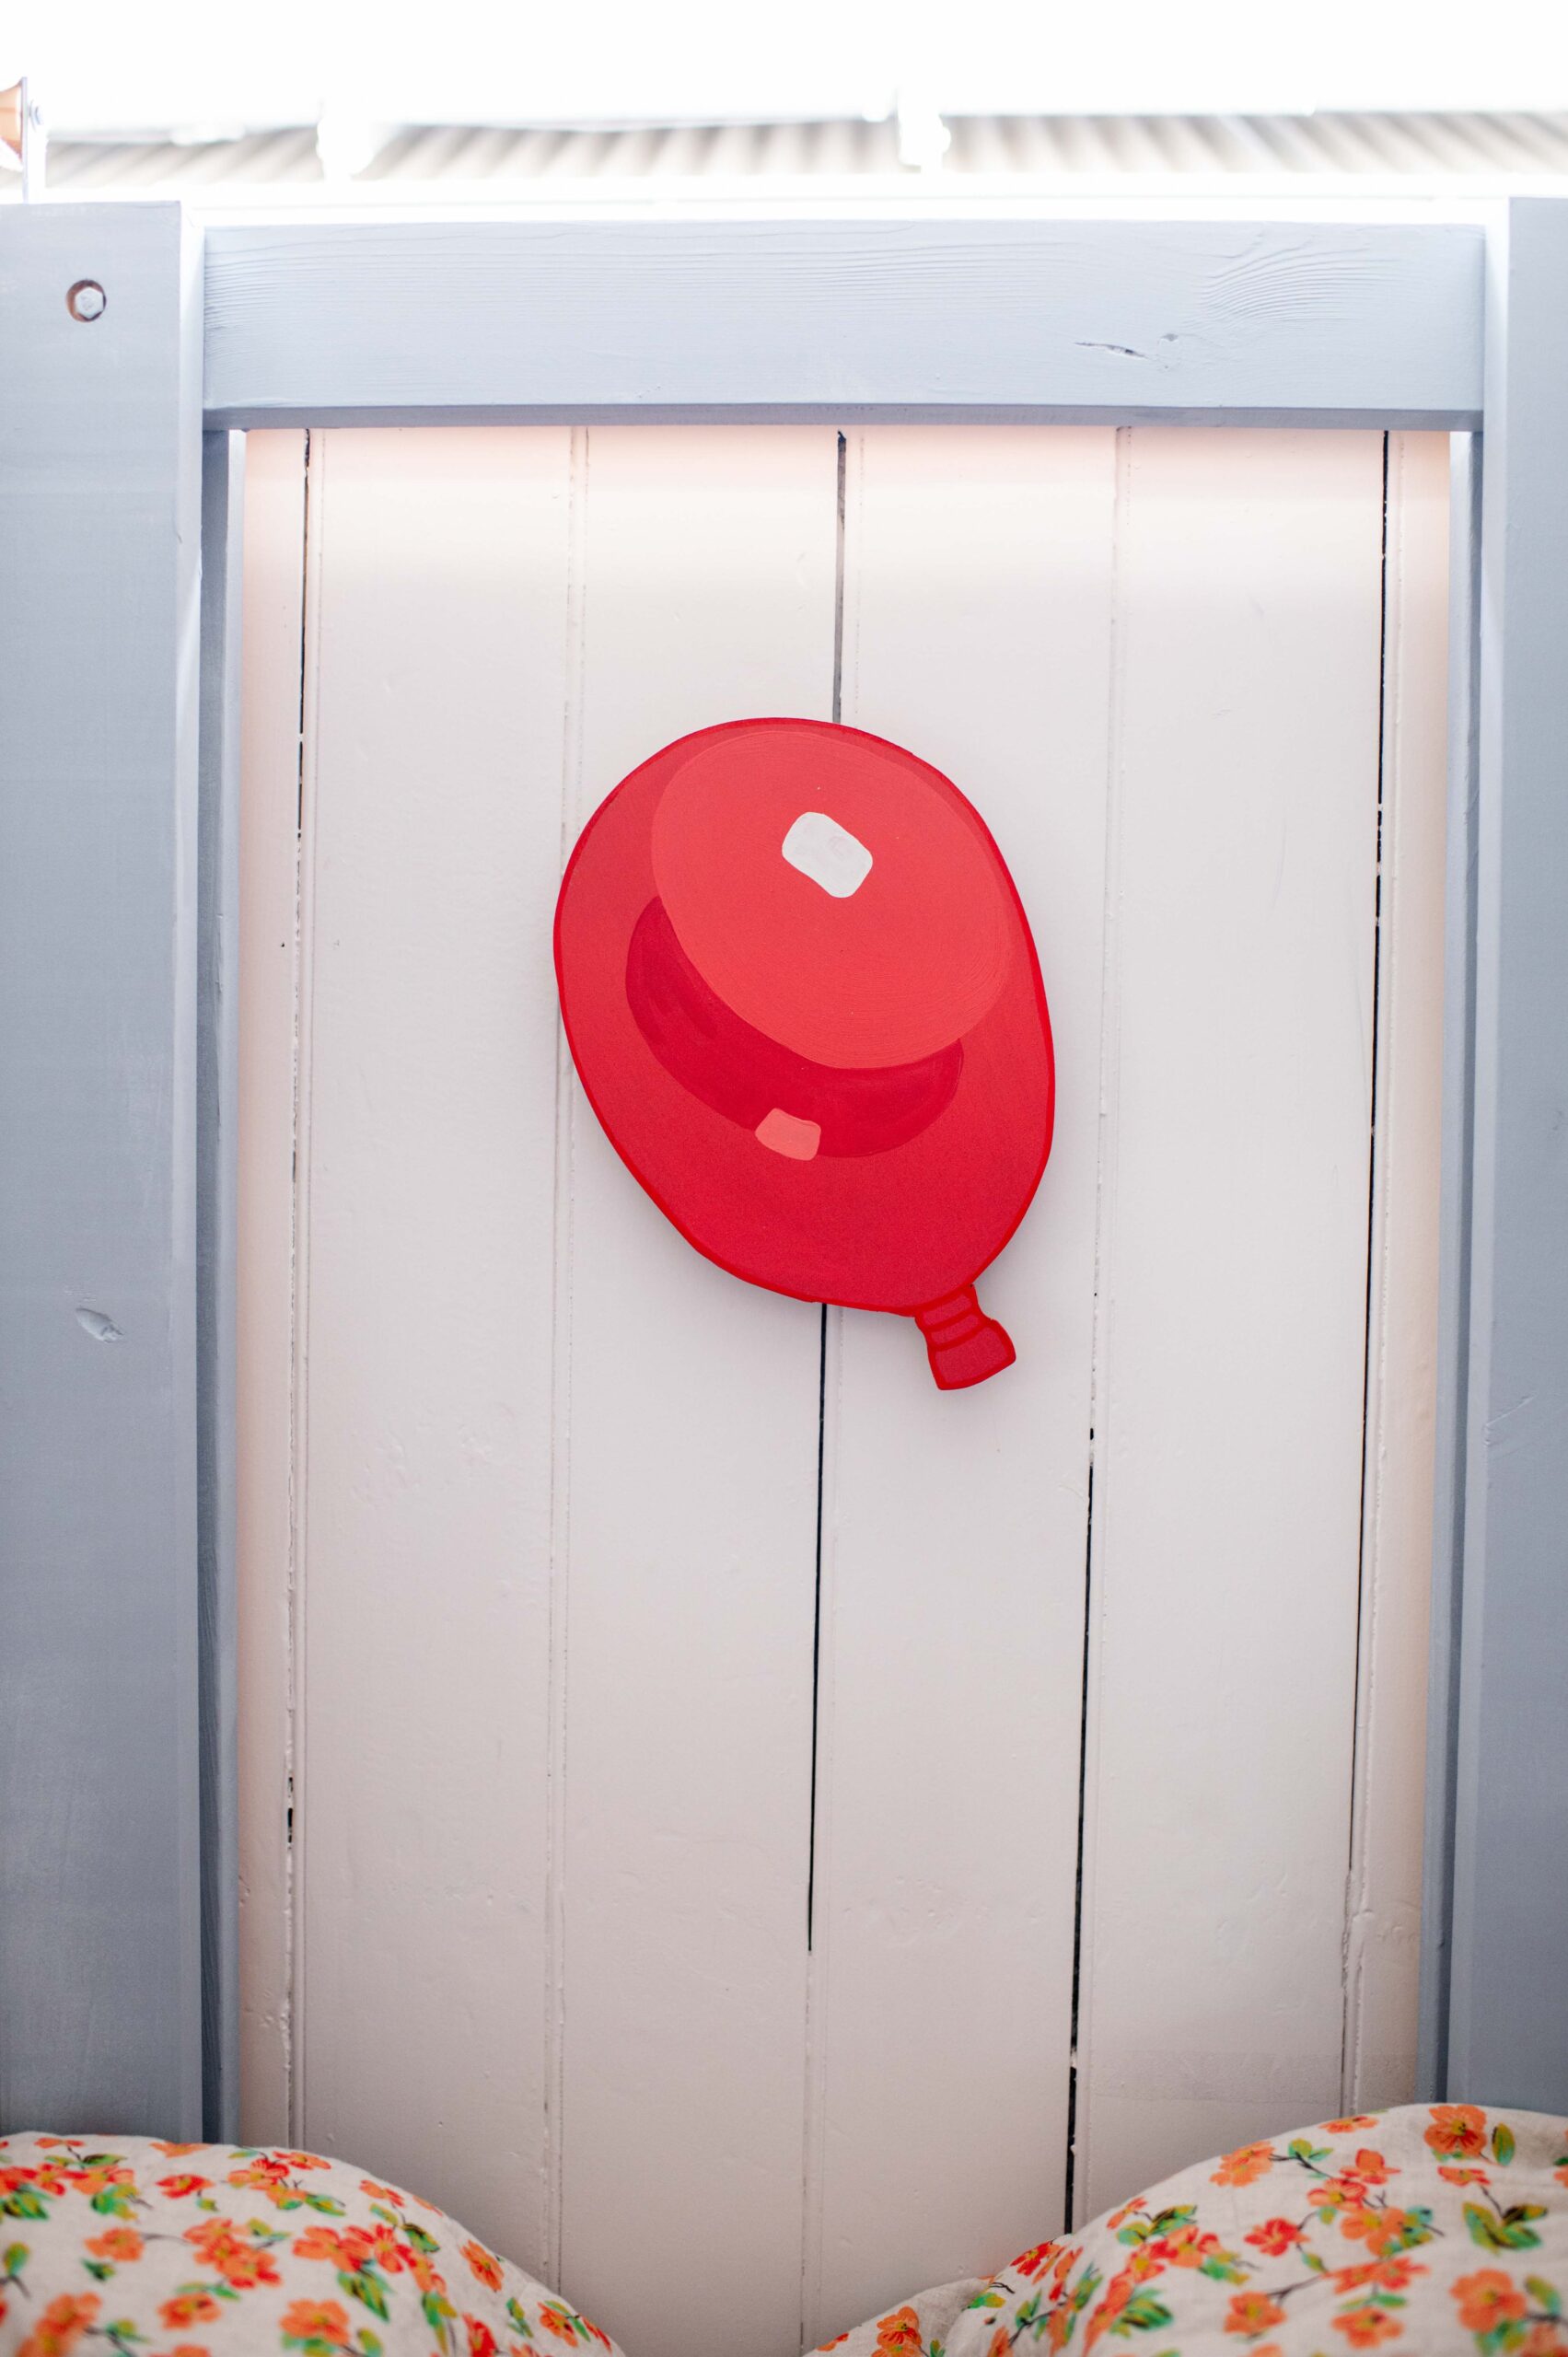
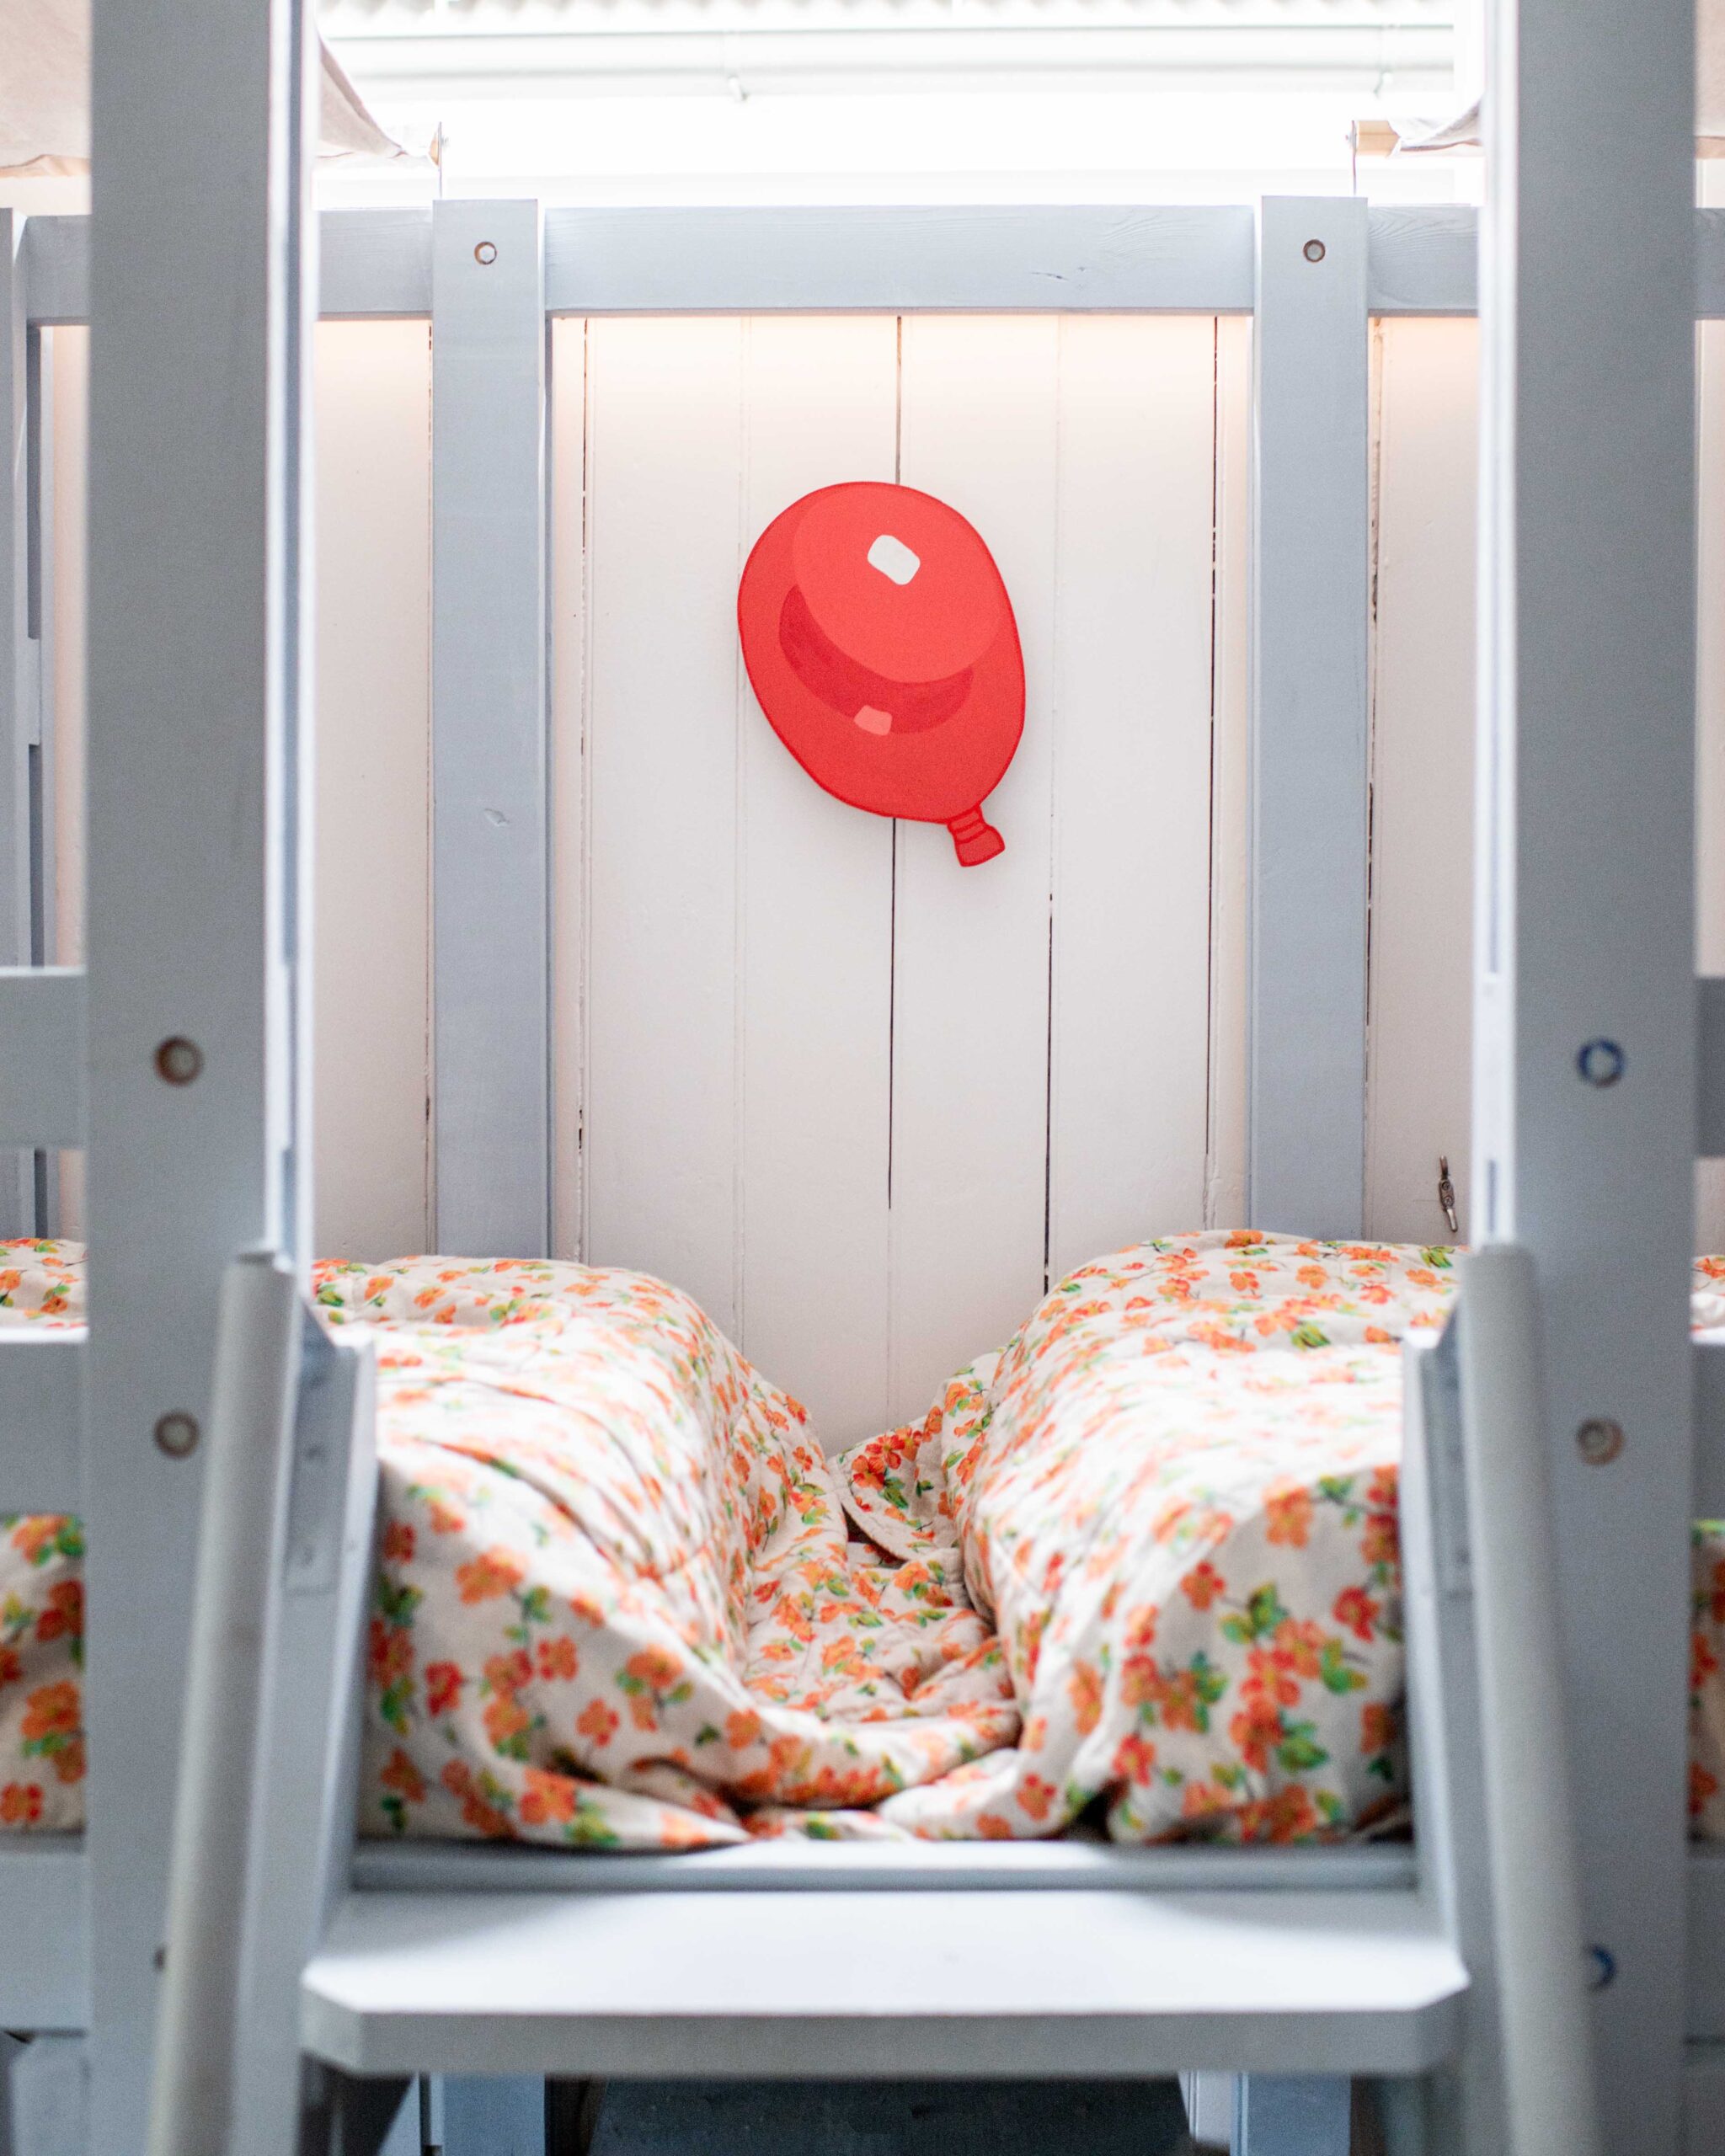
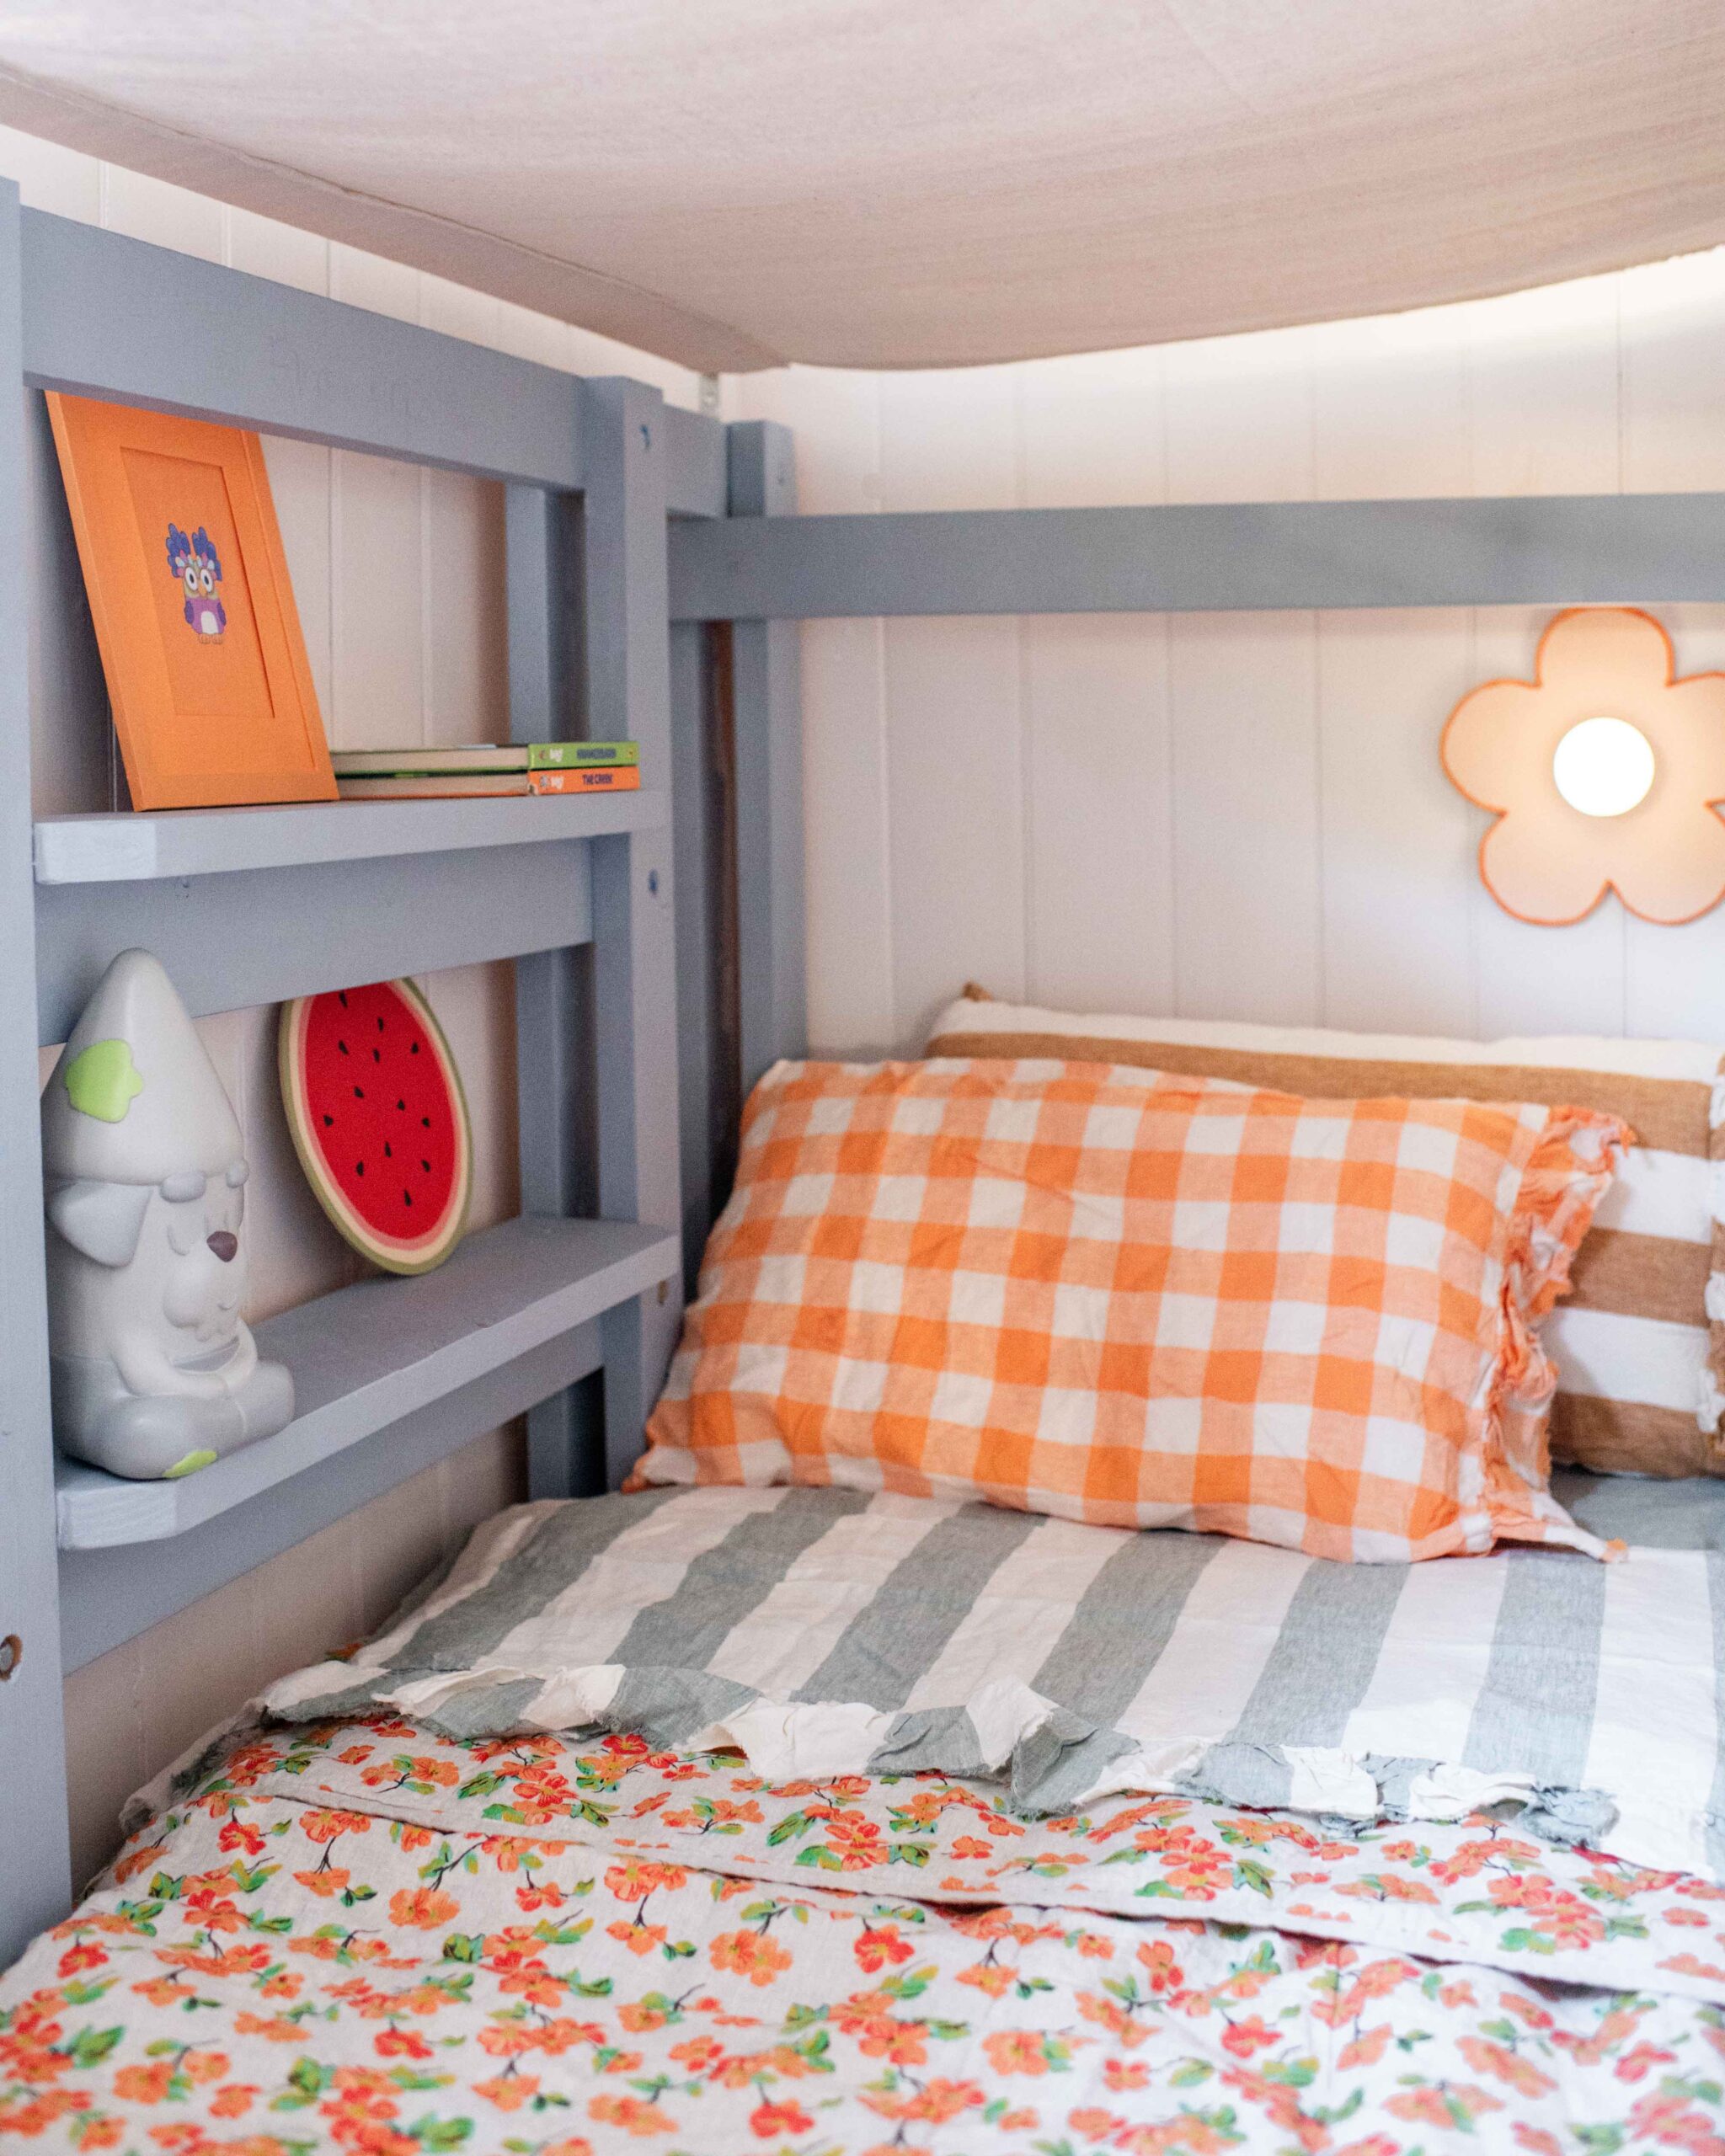
I knew that I wanted some new artwork as part of the Bluey makeover. Of course the watermelon rug in Bluey and Bingo’s room is iconic, so I painted it onto another wooden round placement. Then I printed some of the well-known Bluey icons like the keepy uppy ballon and grannyies glasses and painted the frames as I did in my recent aisle upcycle project to create fun, bold frames to scatter around the room.
Materials:
- Paint and paint brushes
- Different sized frames or thrifted canvas
- Printed Bluey icons
- Wooden Placement
Lots of Lights
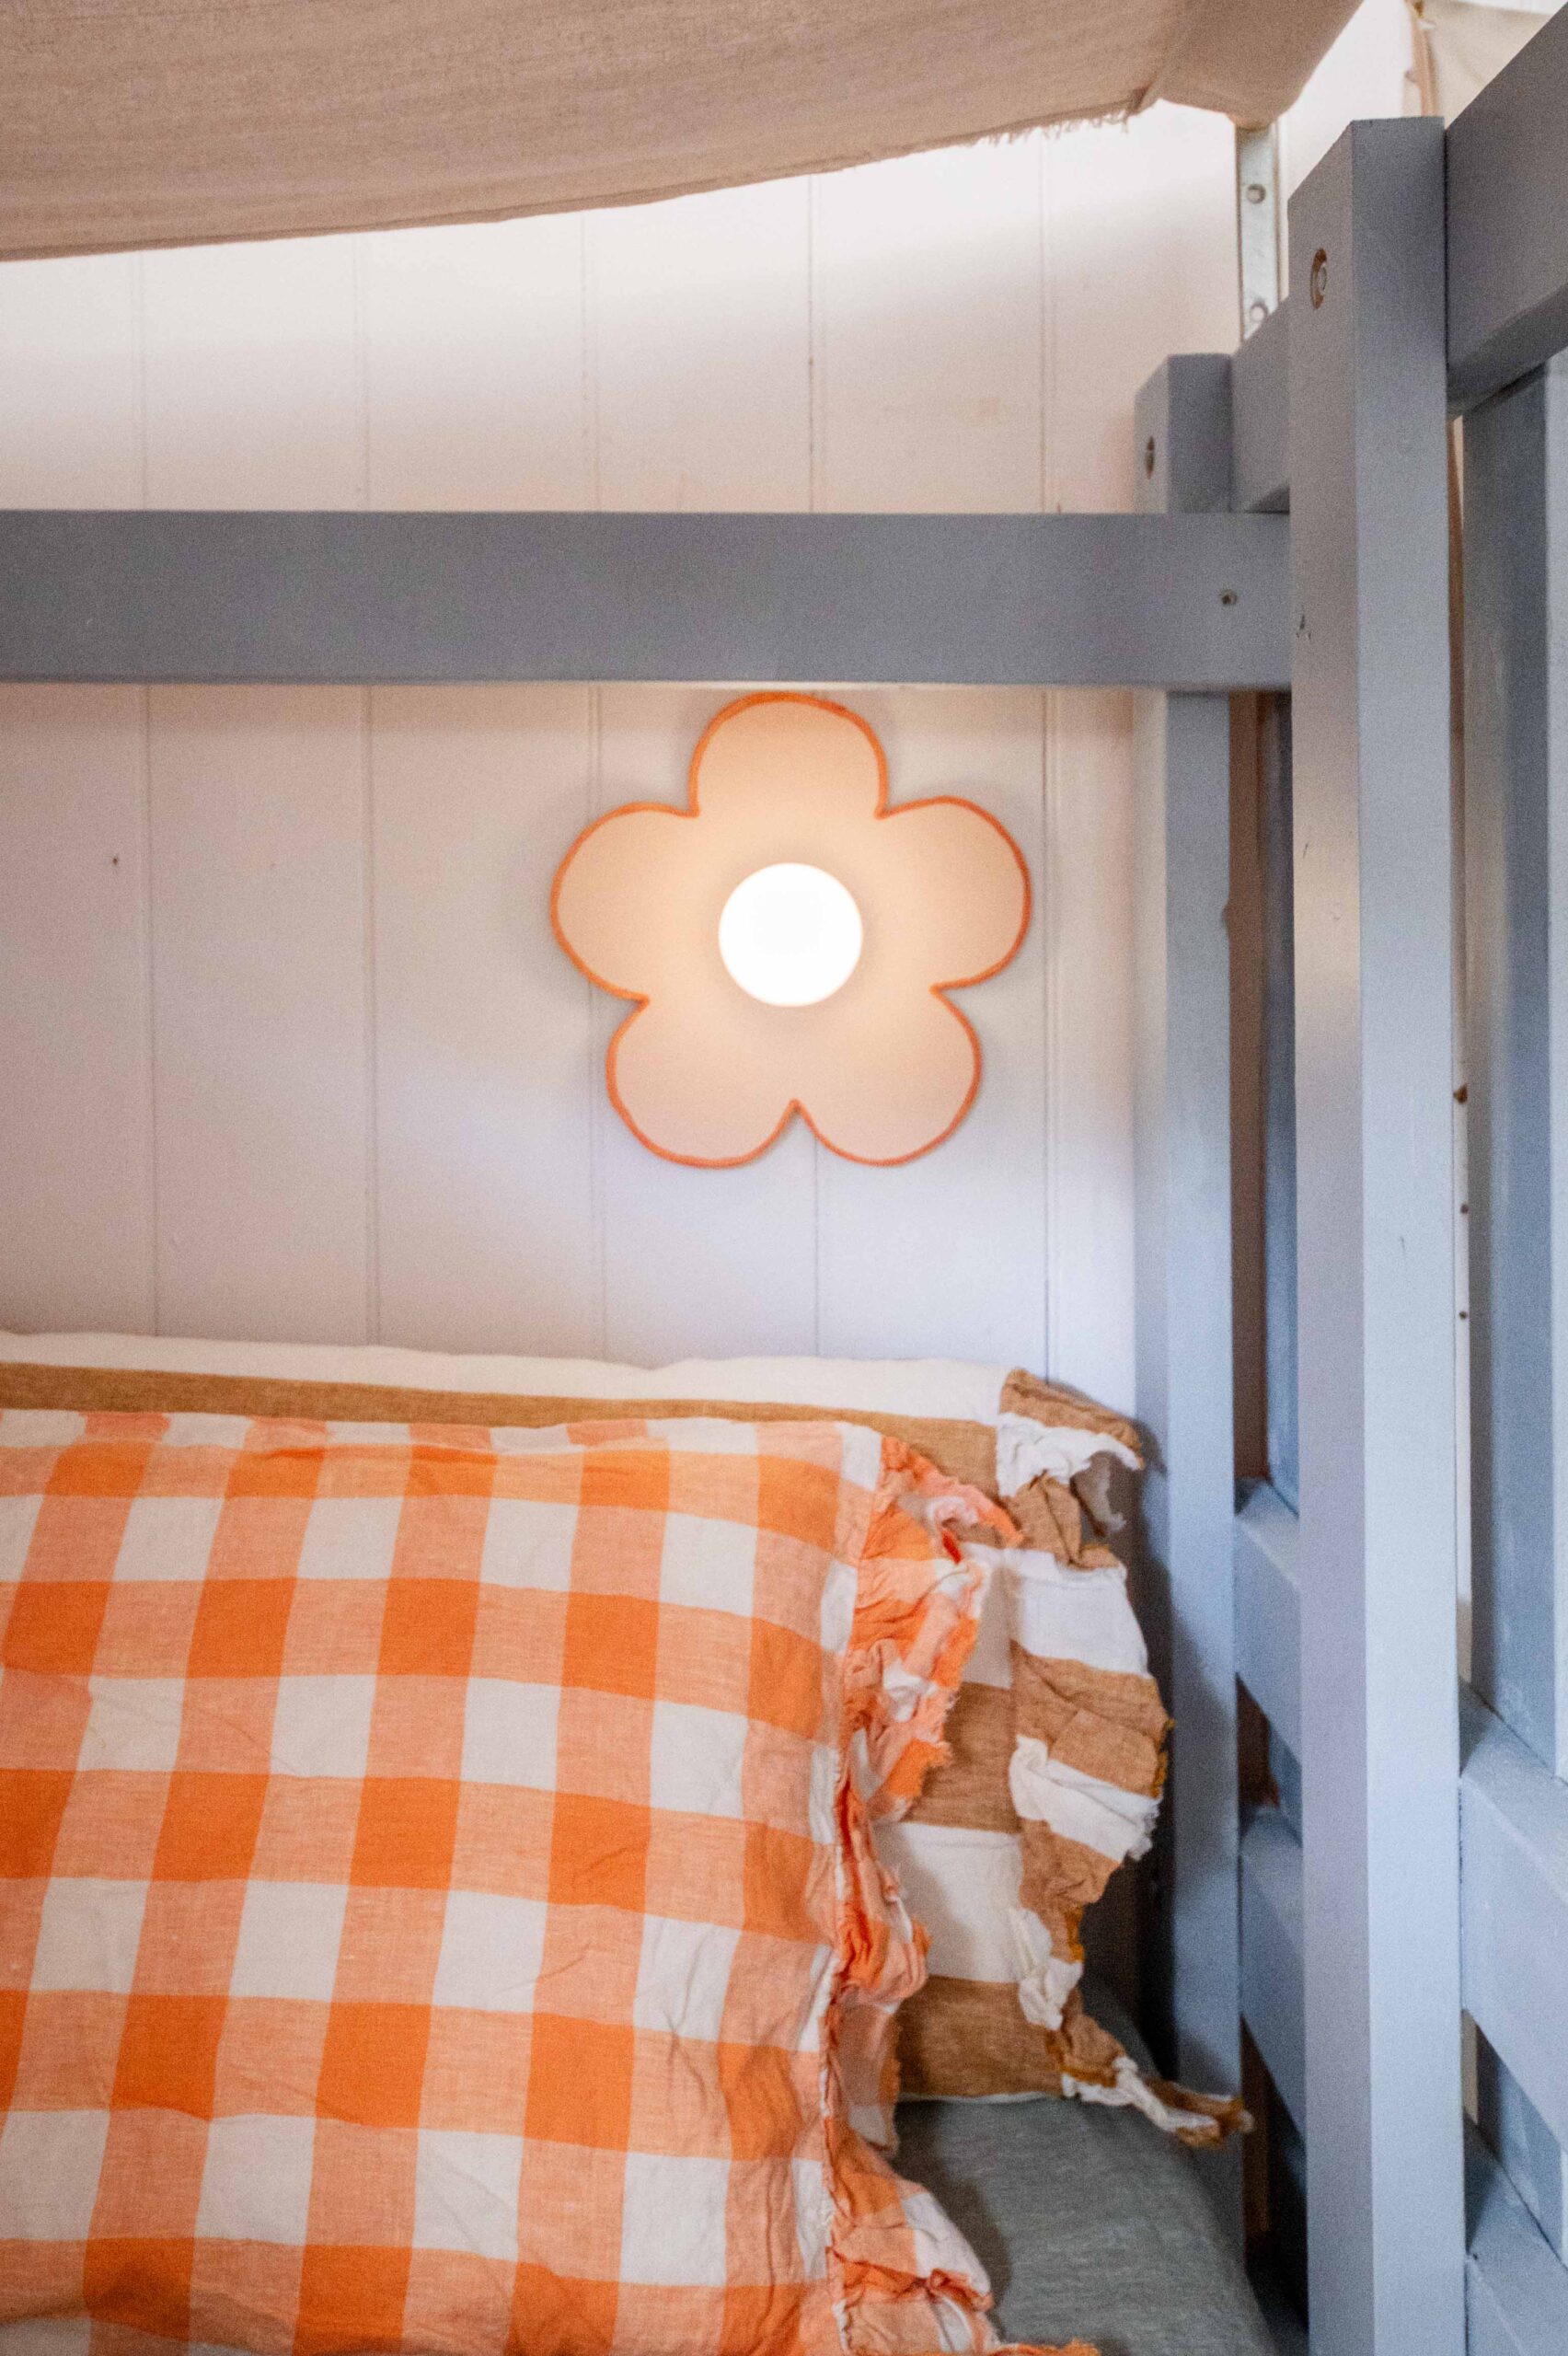
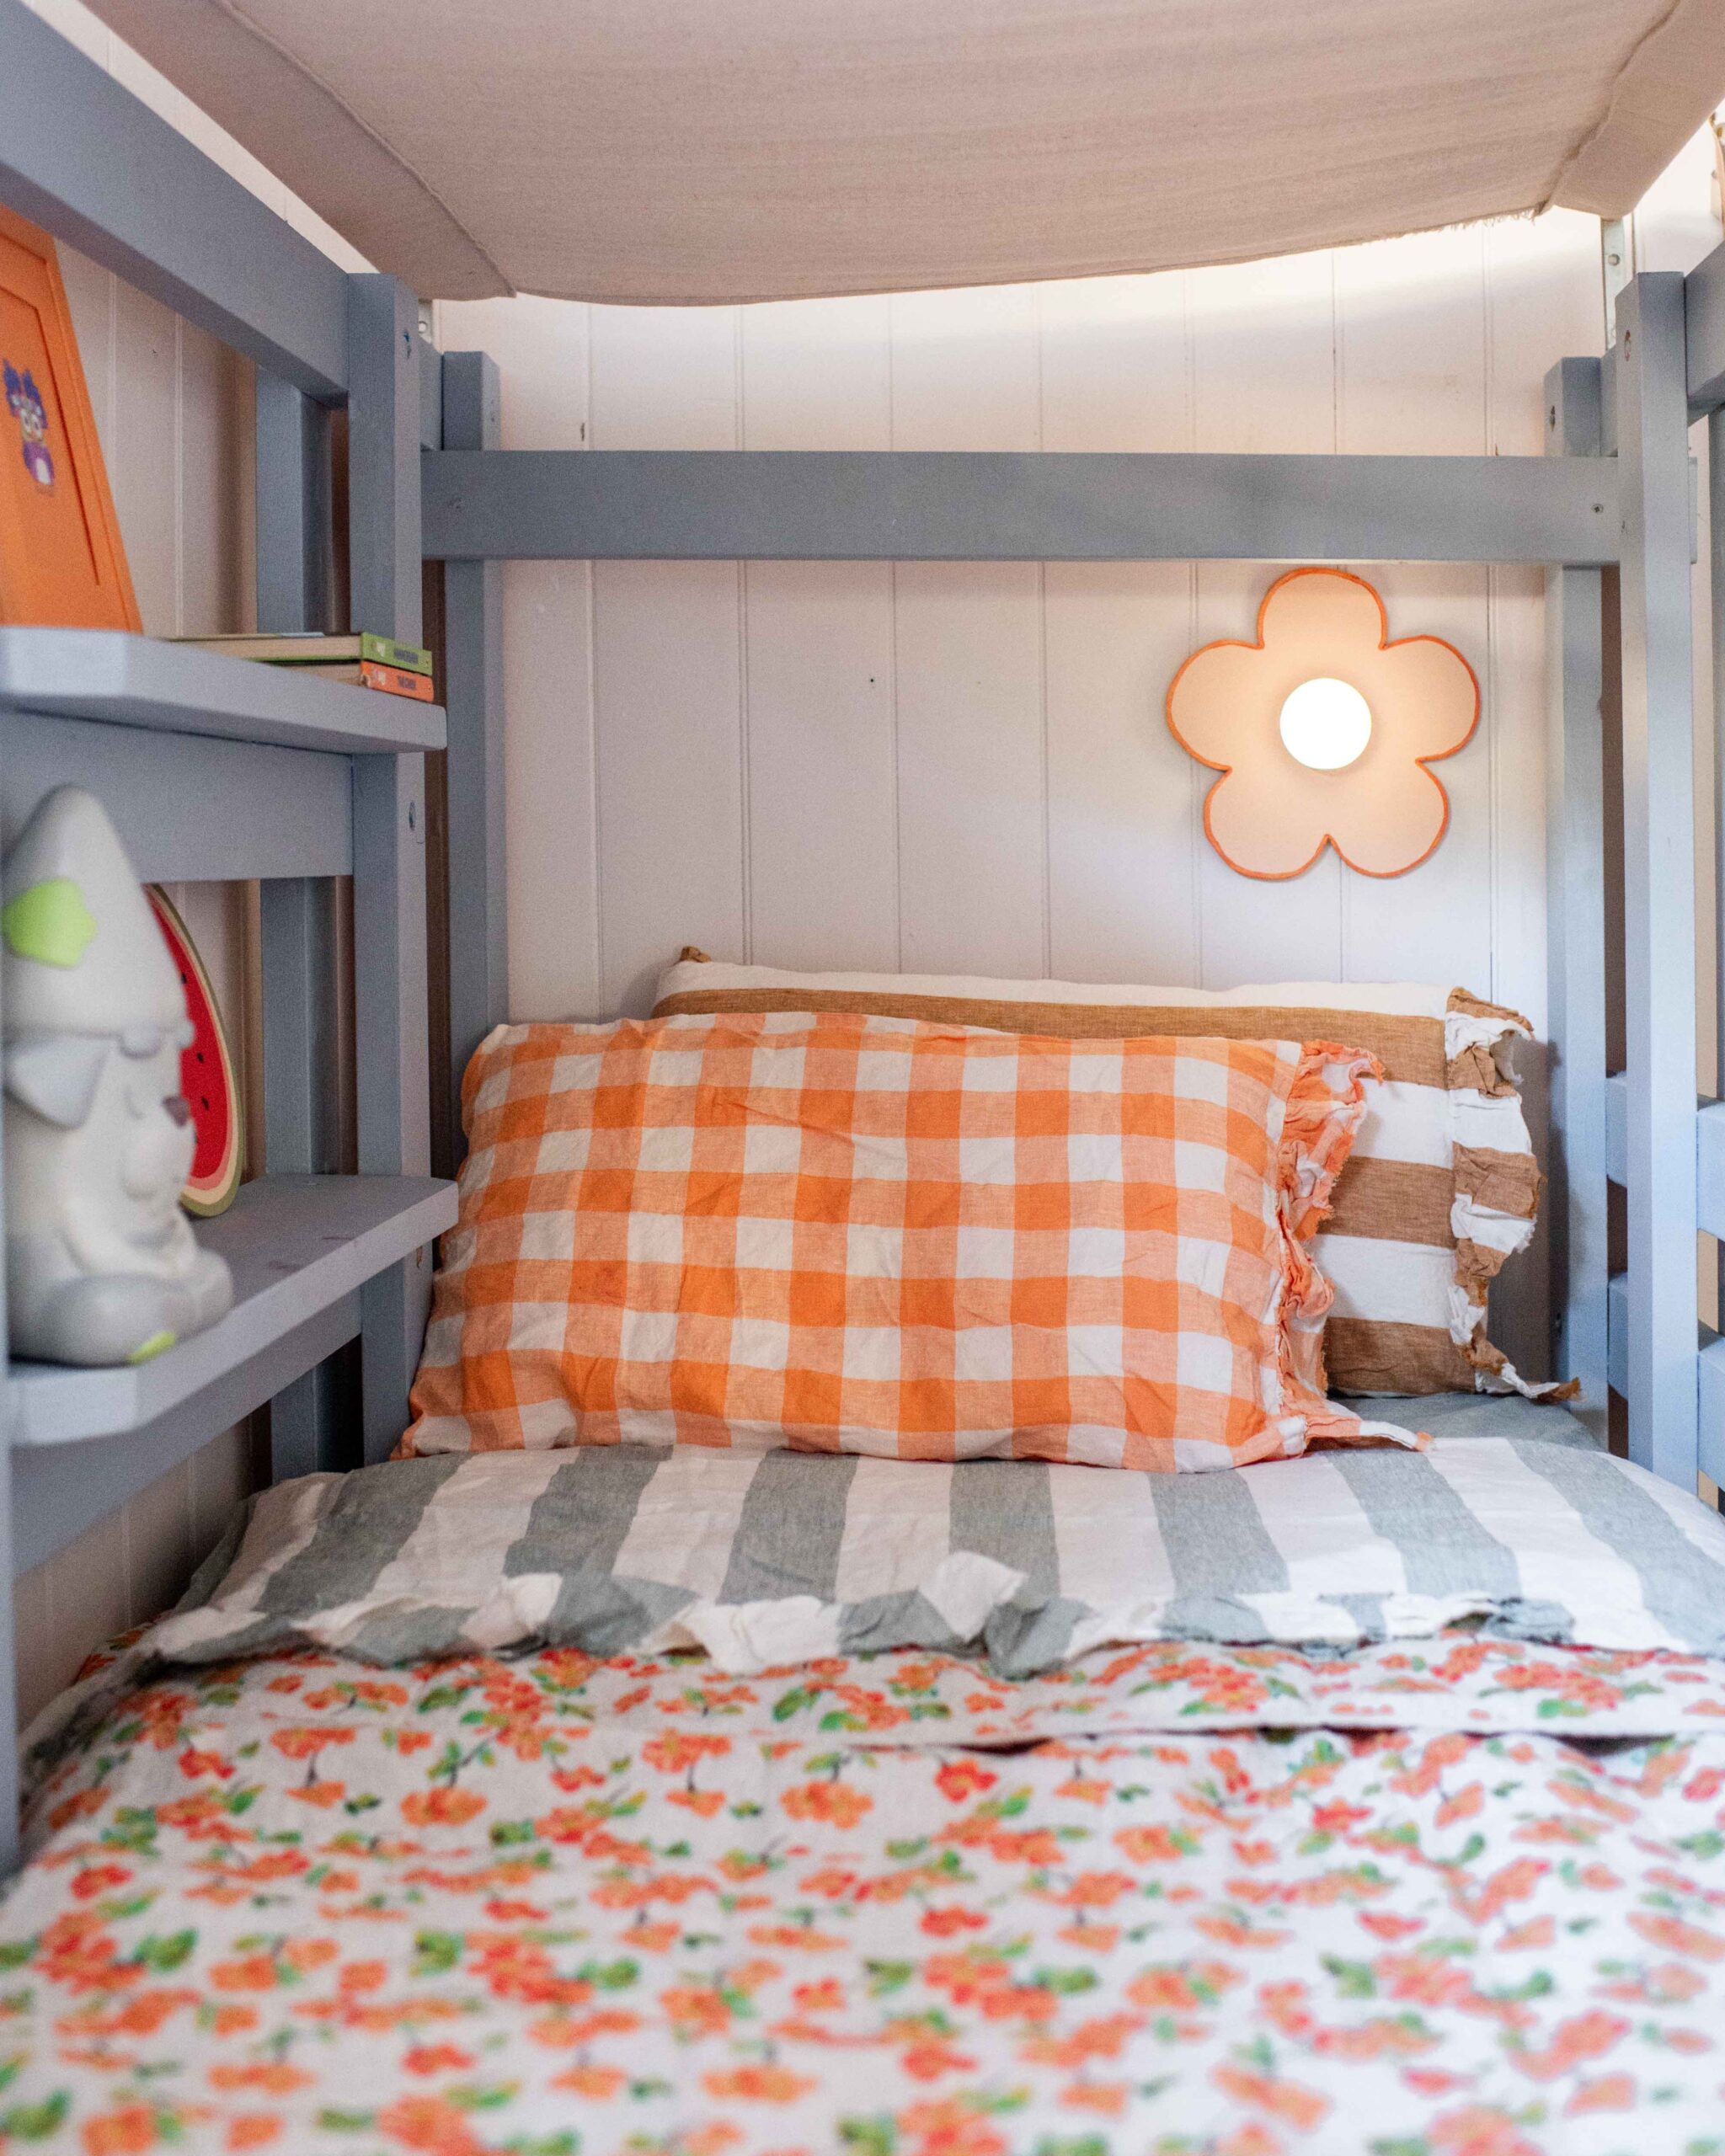
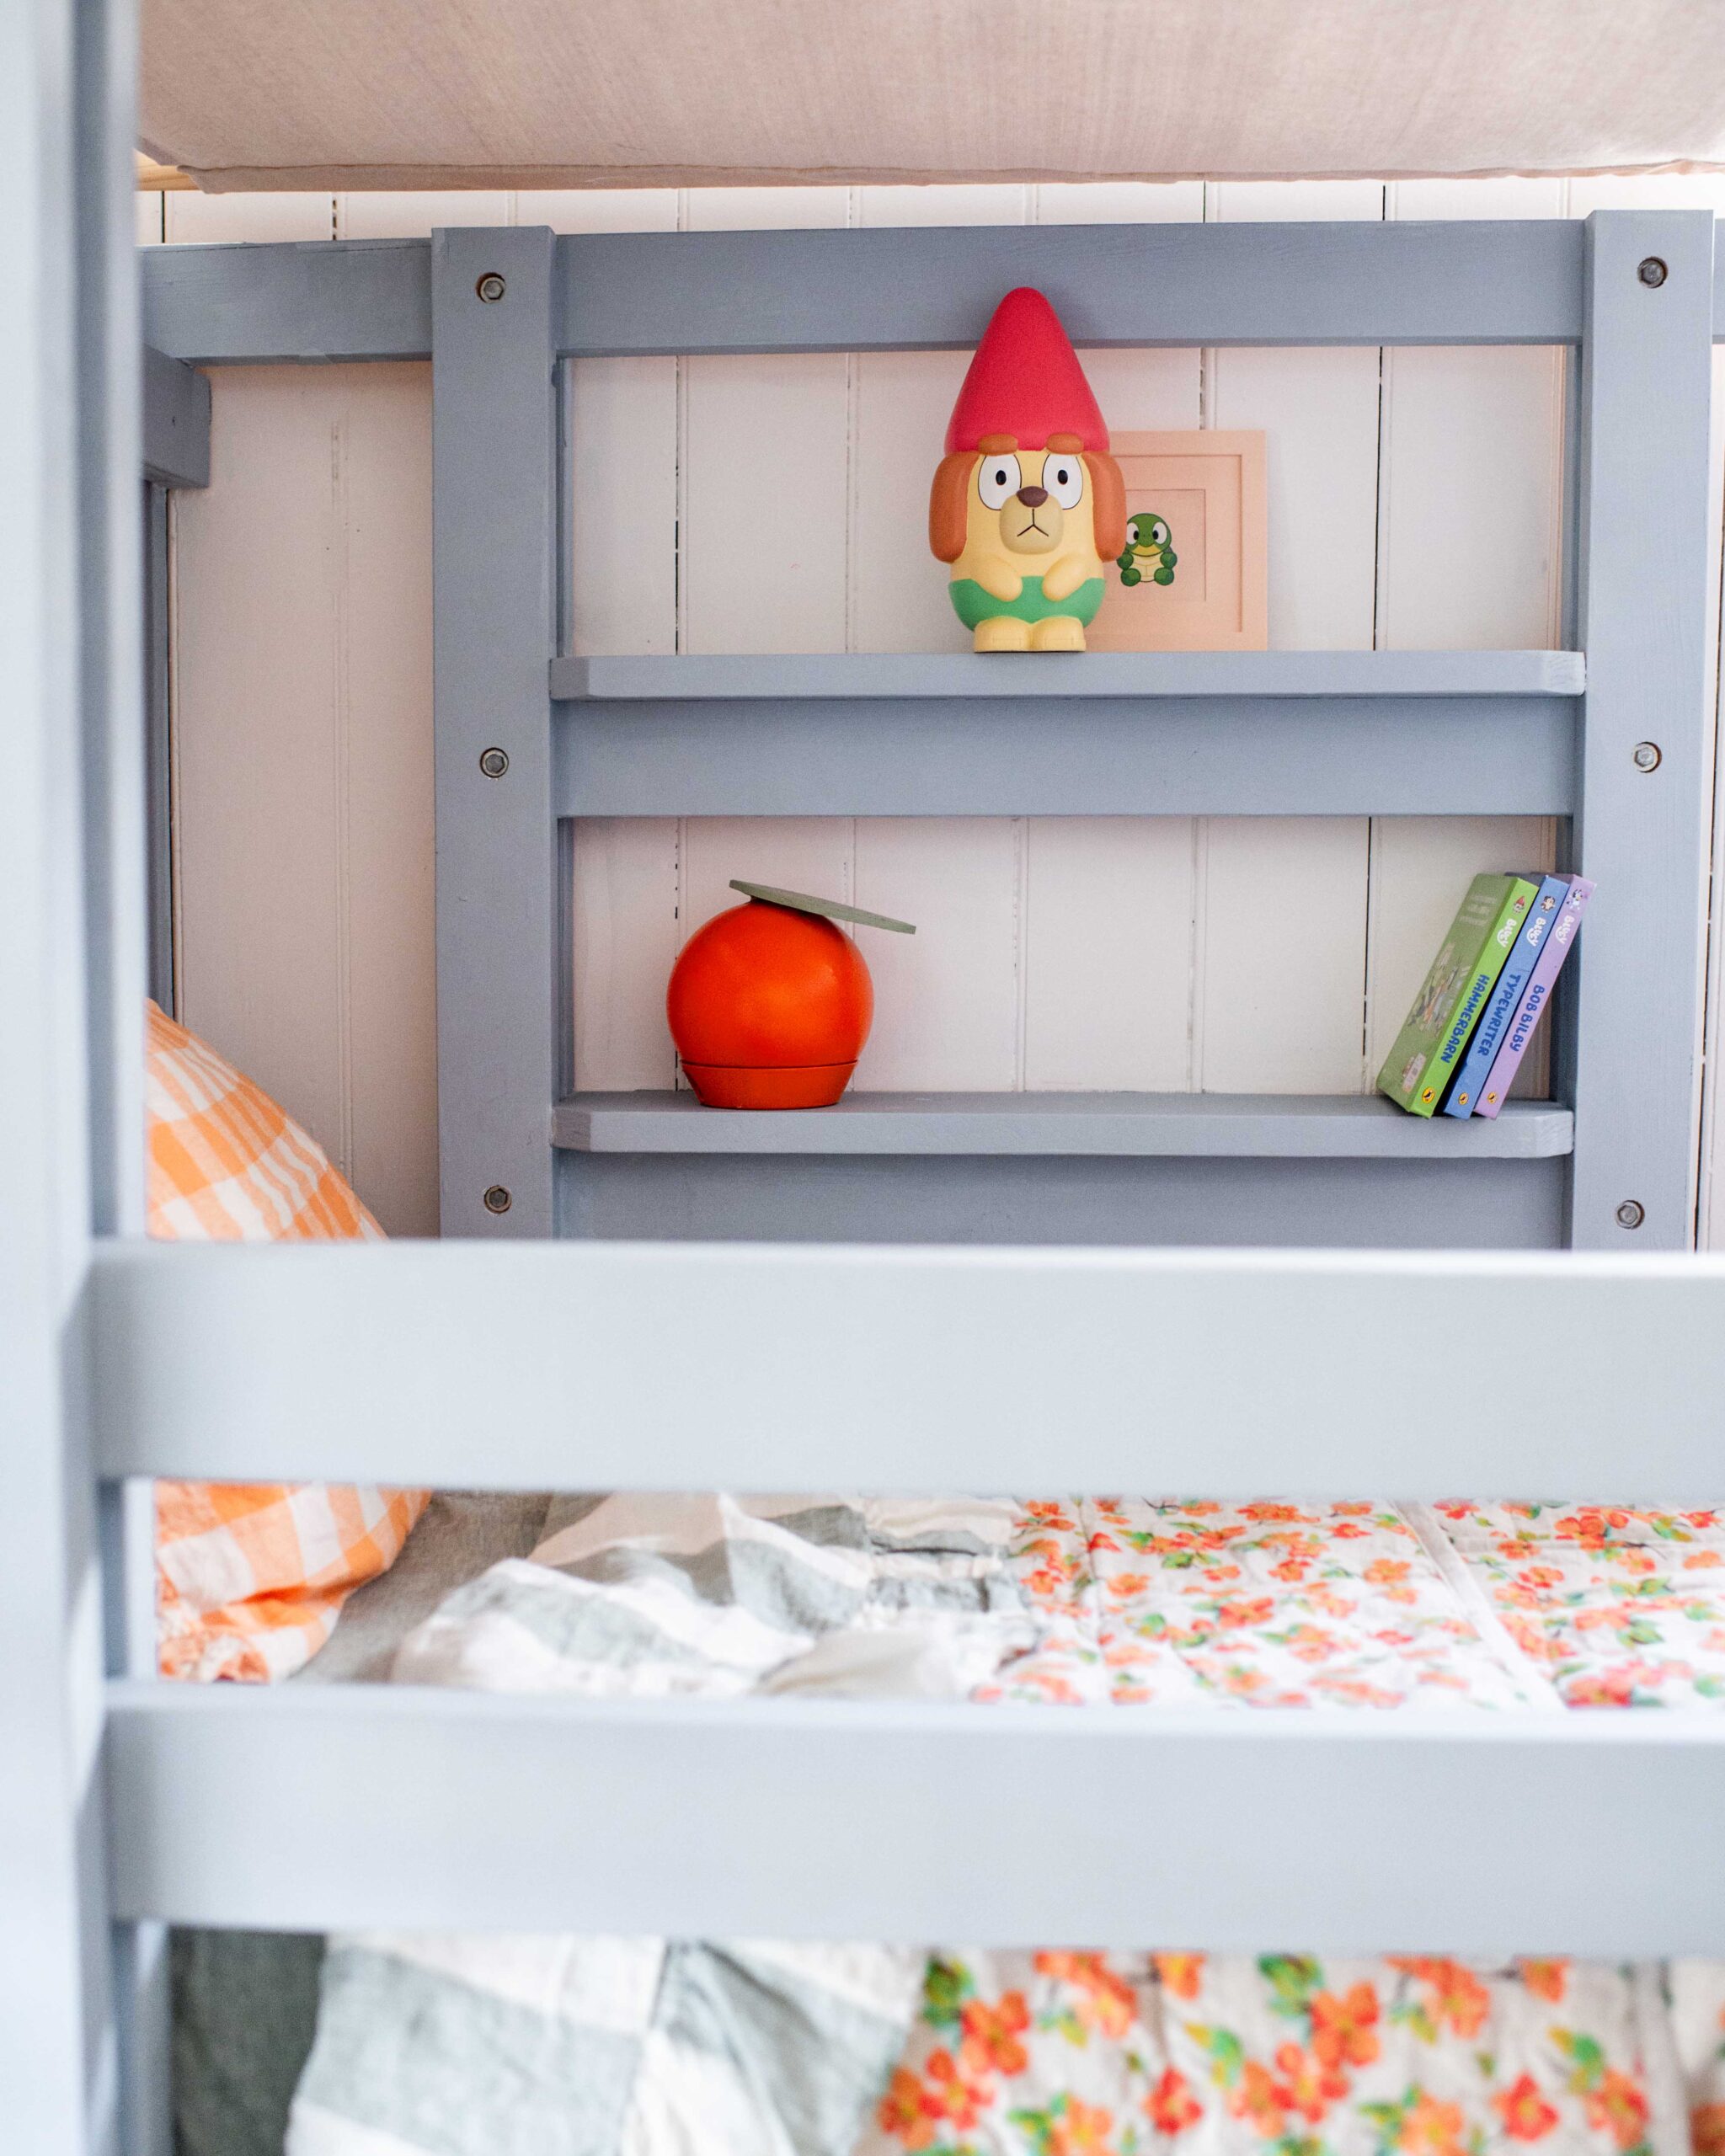
Of course I am in my lighting era, but this is the kids edition! I cut some flower shapes out of MDF and painted them before adding a puck light to the centre to act as a little sconce for each of the girls. Then I had the idea to create a light similiar to my cloud lights with the red keepy uppy balloon. It was a little tricky to cut the shape out with the jigsaw but with some paint it looks perfect for in between their beds. And finally I made a cute little apple and orange light with some Portable LED lights I found at Bunnings. I just removed the handle, spray painted the light and then glued an MDF leaf to the top!!
Materials:
- Puck Light
- MDF
- Spray Paint
- Jigsaw
- Portable LED Light (Aster Sinclair) found at Bunnings but not online
The Picket Fence
Last but not least… a picket fence! Perfect for creating the outdoor scene with the pizza oven underneath one of the bunks. I cut the sections out from MDF with my jigsaw and painted them a light blue. Then I simply used liquid nails to attach them to the support panel and it was finished.
Materials:
- MDF sheet
- Jigsaw
- Primer and paint
- Roller & brushes
- Liquid nails
Voila
With all the decor done, it was time to put it all together!!! Seriously, this came together so cute, and I think it’s the best room ever!
- Linen Sheets – Society of Wanderers
- Quilt – Society of Wanderers Elma Double Sided Quilt
- Play Sofa – Nook Ultra Weave Blue Grey
This post is in collaboration with Monarch Paints.
