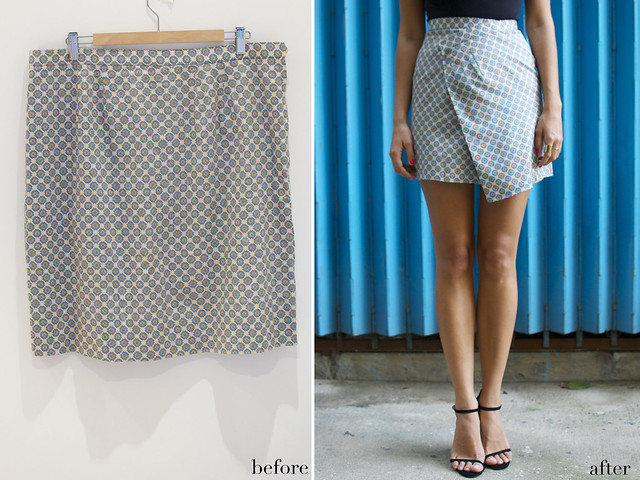
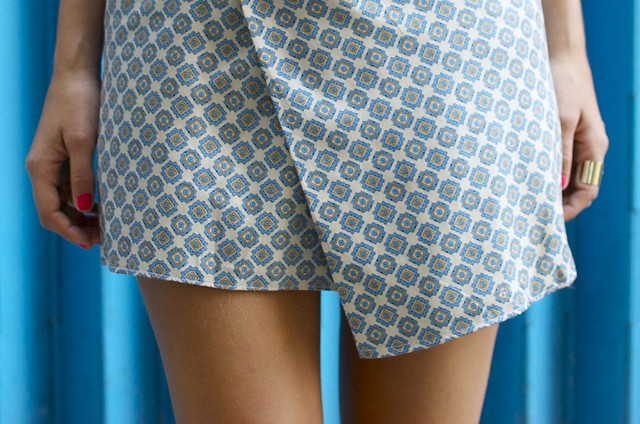
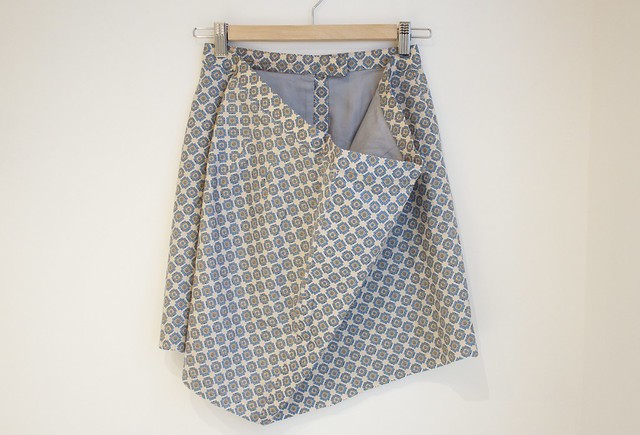
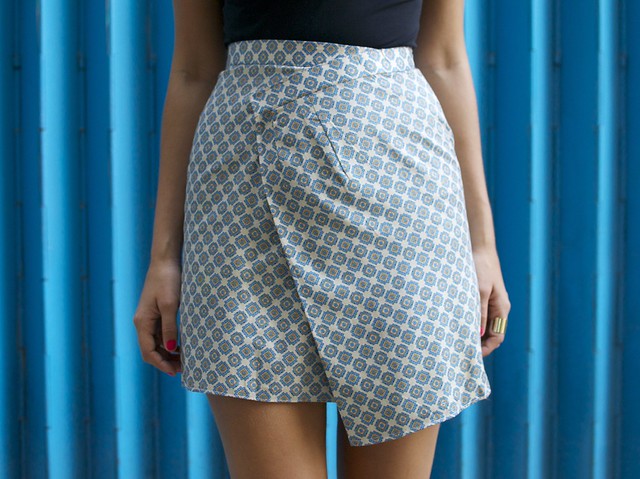
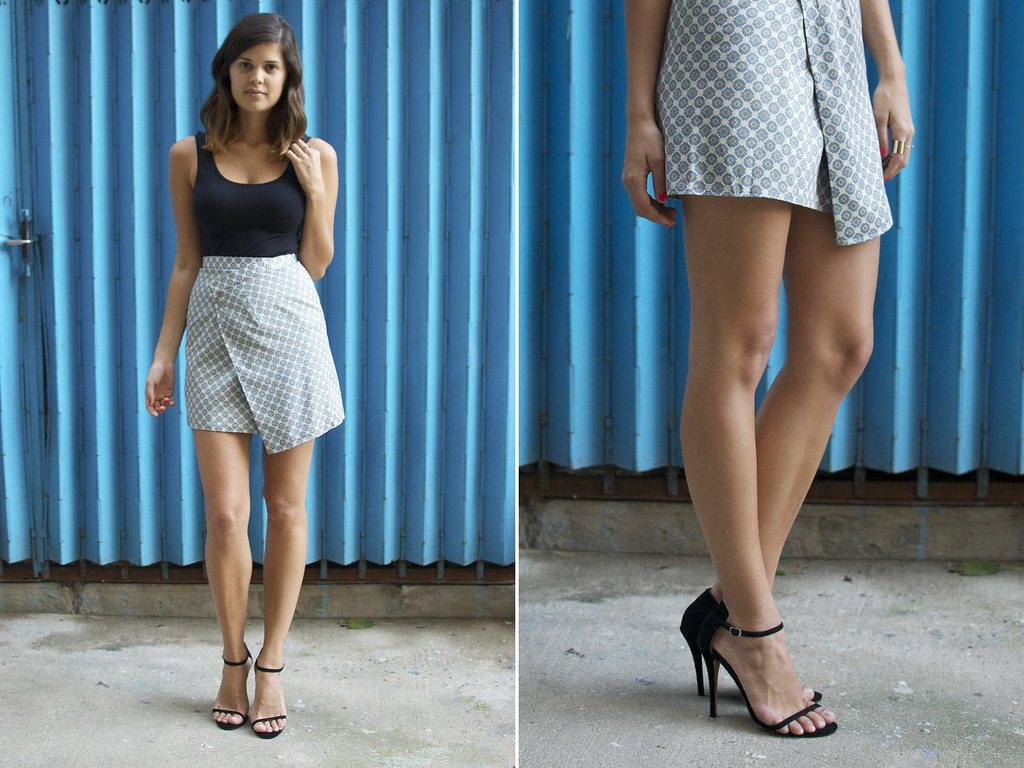
I noticed a little while ago that a subtle new skirt shape was popping up amongst many of my favourite brands – the asymmetric hem. Rather than a big cut out, this asymmetric shape has just a small triangle of fabric peeking over the edge of the hem – but it’s this tiny detail that gets me. Today I’m going to share with you another before & after project – turning a (frankly tent-like) thrifted skirt into my own version of the asymmetric mini.
You may not be able to see it clearly in this photo but the original skirt had a waistline that was a little less than double my own, and that was a key element which allowed me to make the split hem.
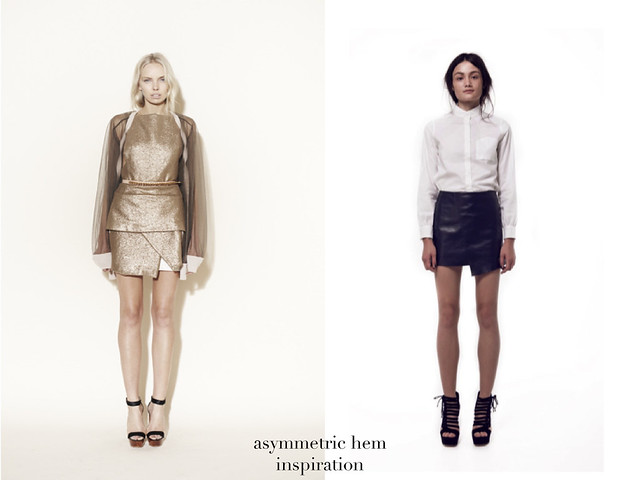
A number of different asymmetric hem skirts inspired this project – including these two below – the Ellery
‘Wei Wei’ wrap skirt and a
Kahlo navy leather number. I was also lightly channeling the amazing skirt shapes in the Proenzer Schouler AW12 show (recap
here).
You need:
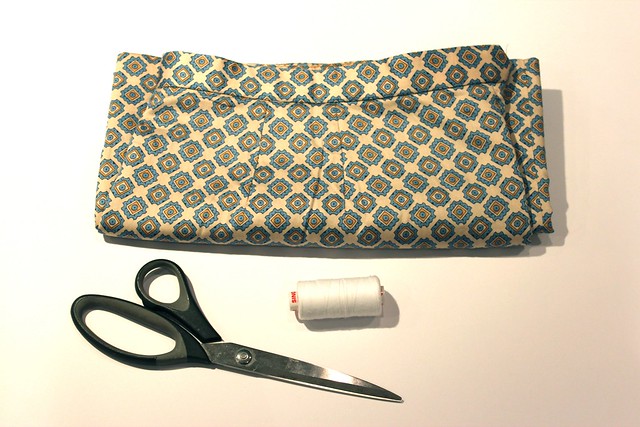
– An oversized skirt with a zip in the back (rather than the side). Look for one at least 1.5 times the size of your waist. I was super happy to find this Stella-esque printed number in my local thrift store for less than a dollar.
– Scissors
– A needle and thread (and sewing machine if you want to change the length of the hem like I did)
How to:
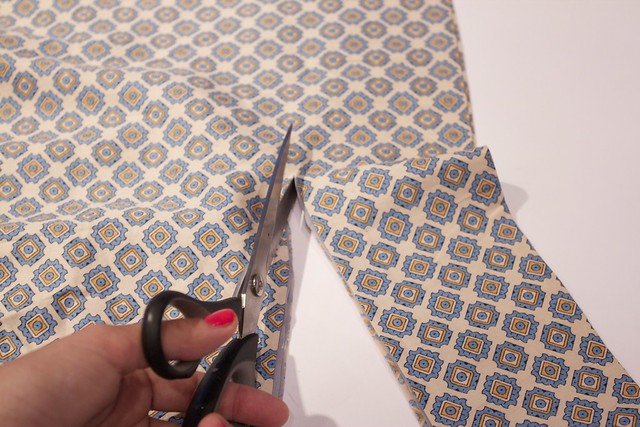
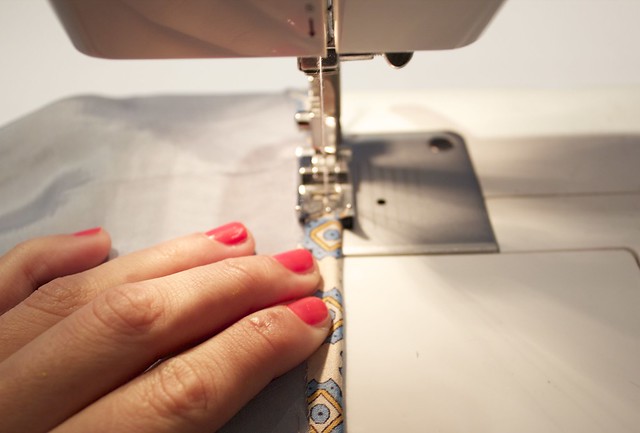
1. First I cut the skirt to mini length and hemmed it.
2. I put the skirt on (I have done it on the hanger here so you can see clearly) and wrapped it like a kilt or the way you would a towel, doubling the excess fabric over at the front.
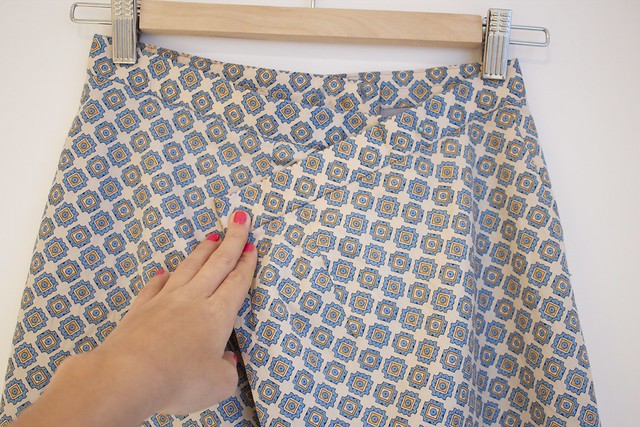
3. I then pinned the folded edge to the front of the skirt, but first put it on a diagonal angle so that the hem dropped down to create the asymmetric shape.
4. Finally, I ironed and then stitched the top edge of the folded section to the front of the skirt, leaving the side edge free to allow for movement. I made sure to create a clean line along the waistband.
Wearing: DIY mini, Country Road Singlet, ‘
Karissa‘ Tony Bianco heels


