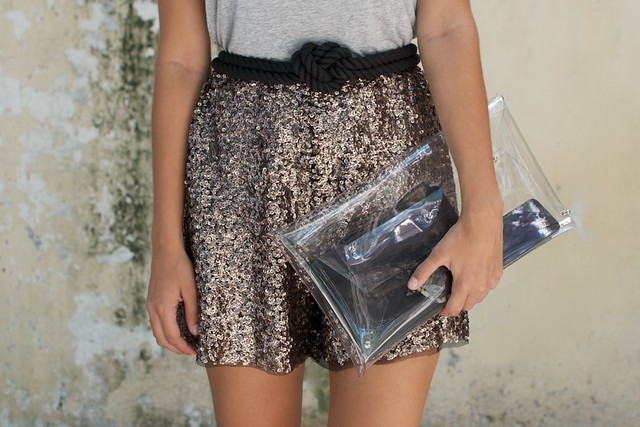
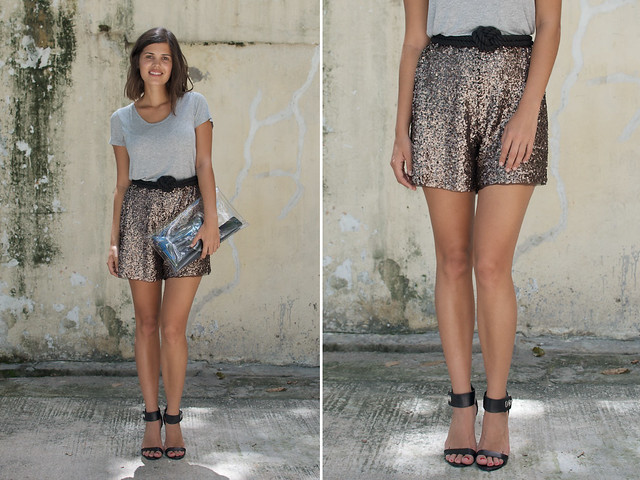
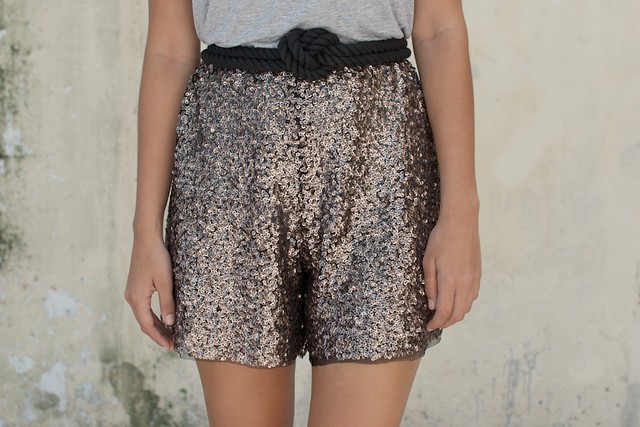
What could be better than a coppery pair of sequin shorts – perfect for pairing with singlets, tees, silk shirts and of course, killer heels. The process I used in this project is almost identical to the scarf print shorts I made a few months ago – head back there to refresh on making a pattern.
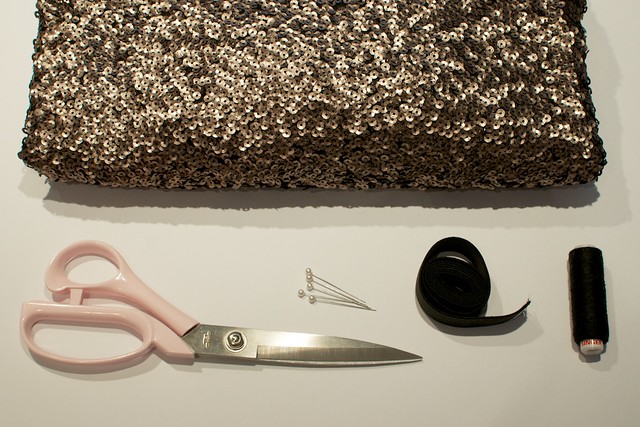
You need:
- 2m (or around 2 yards) of sequin fabric (go for copper or bronze for a more subtle look)
- Elastic to fit around your waist
- Scissors
- Needle and thread
- Pins
- Shorts to use as a pattern or your pre-made pattern (I show you how here)
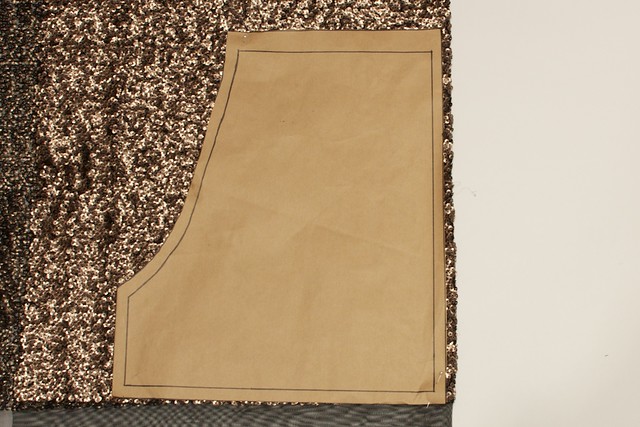
1. Make your pattern – check out how I did it here to make your own and keep your pattern for your next projects. Alternatively, just fold a pair of shorts in half (back pockets together) to get your pattern.
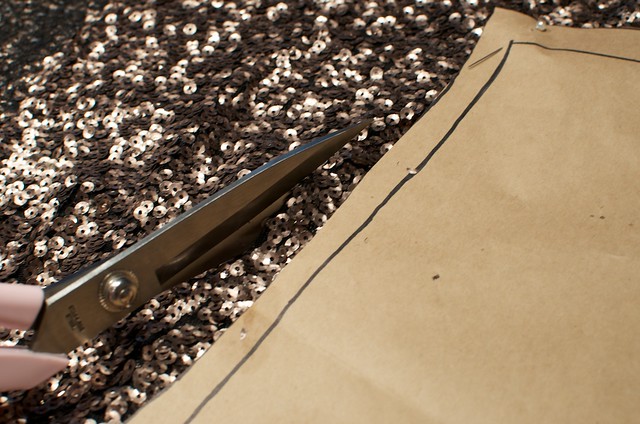
2. Fold your fabric in half and lay your pattern (or shorts) with the long side along the folded edge of the fabric.
3. Cut your piece of fabric out. I usually add a cm or so along the edges just to be on the safe side.
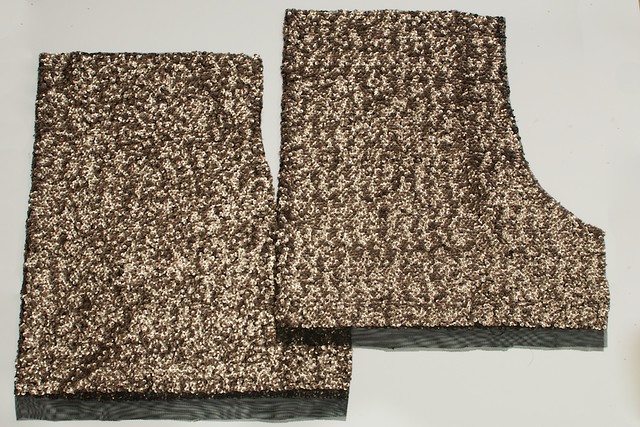
4. Now do this again so you have two identical pieces.
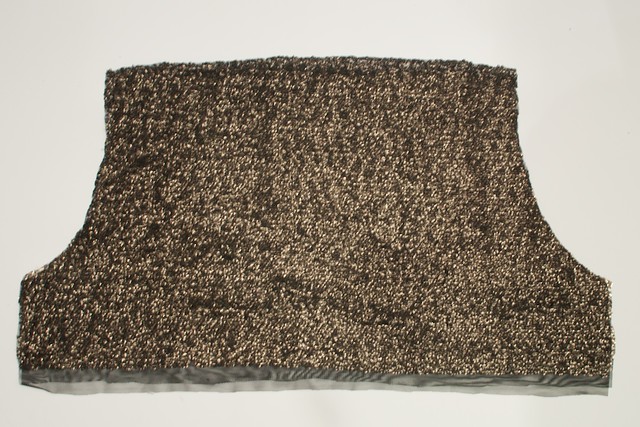
5. Unfold your pieces and lay together with the right sides (the side with the sequins) facing each other.
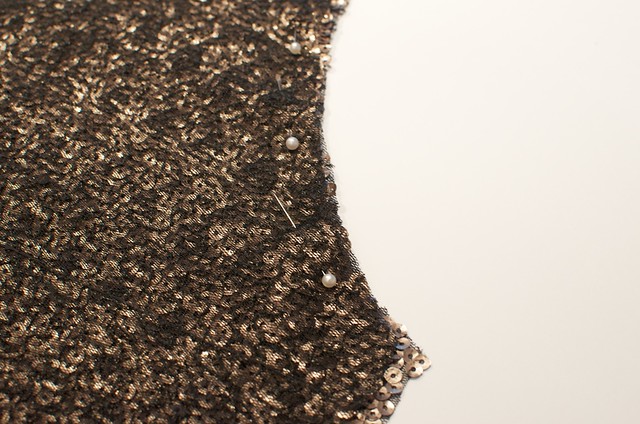
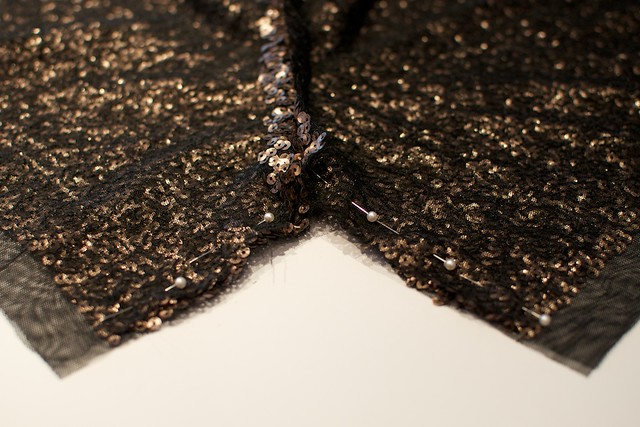
6. Pin along the two rounded seams.
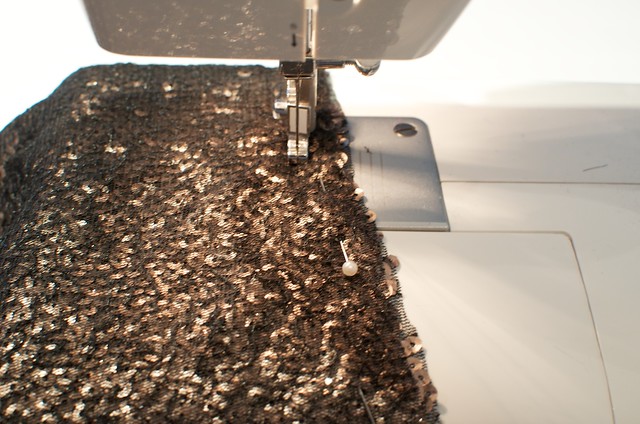
7. Sew using your sewing machine (or do a backstitch by hand).
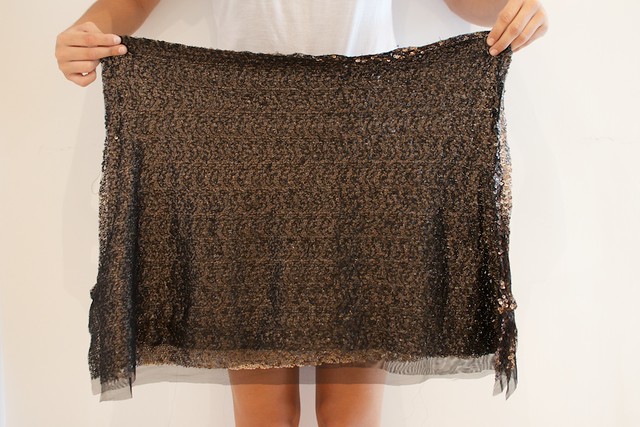
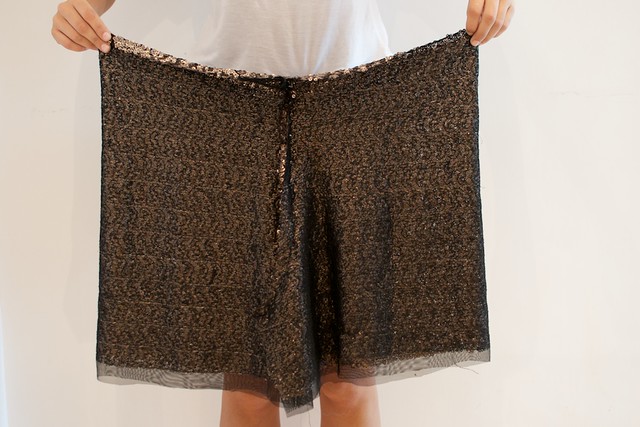
8. Now this bit can be a tad confusing. Once you have sewn along both rounded seams hold up your two pieces (which should now resemble a tube of fabric). The sewn seams will be on the outside edges, you want to switch them up so that they sit facing each other in the middle of the tube of fabric – and hence make up the crotch.
9. Lay the crotch you have just created flat and pin together. Sew along the pin line using a zig zag stitch.
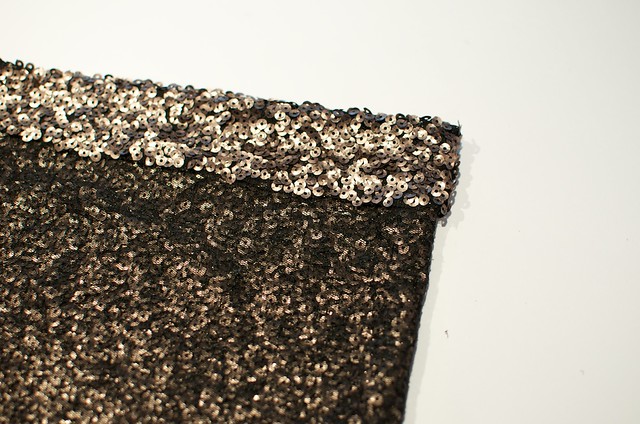
10. To create a simple waistband, fold over the top 2 inches of the shorts – leaving enough room to fit your elastic, and sew down. Leave a small hole at the seam through which to thread the elastic.
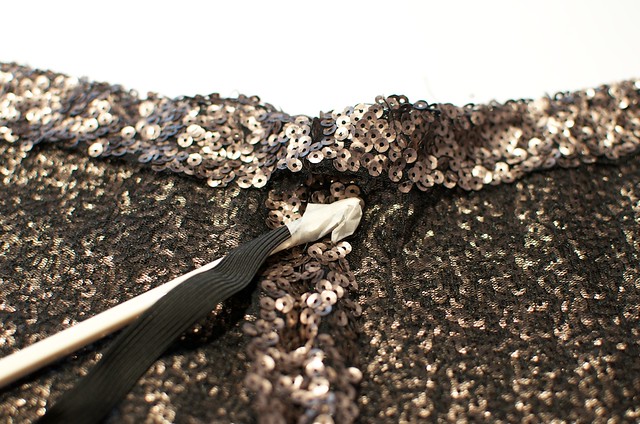
11. Finally, thread your elastic through the waistband – I use a chopstick and masking tape the elastic to the end to make it easier. Once it is all threaded on, sew the elastic together and then finally, sew the hole in the waistband shut (refer to this post for more detail on how to do the waistband).
And there you go – simple right? Sequins may appear hard to tackle, but they’re perfectly easy! You can also do lining in the shorts if your sequins are itchy – mine don’t poke through too badly so I didn’t need to, and I also wear a tee tucked in to stop the waistband rubbing. But definitely line them if you would like. And layer a belt for a more tailored look.
On a side note, I hope you’re loving transparent clutches as much as I am, because I’ll be showing you how to make your own this week.

