You need:
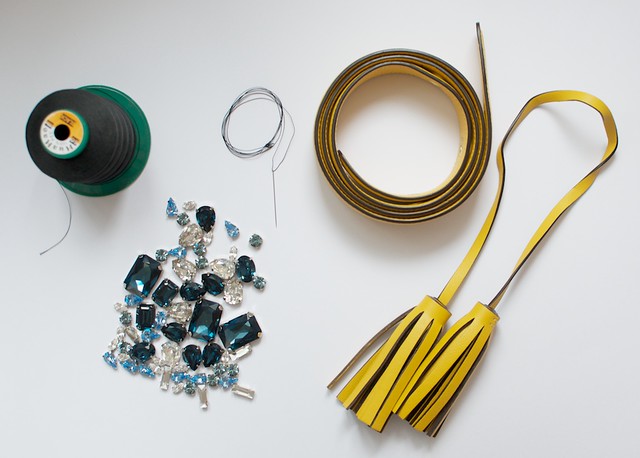
- A classic handbag (the iconic Coach Legacy Duffle was perfect )
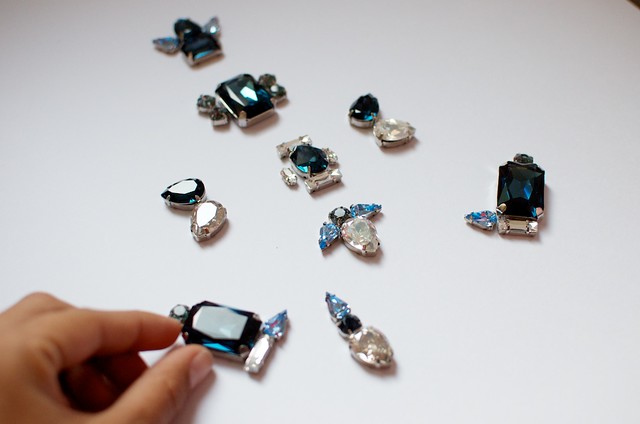
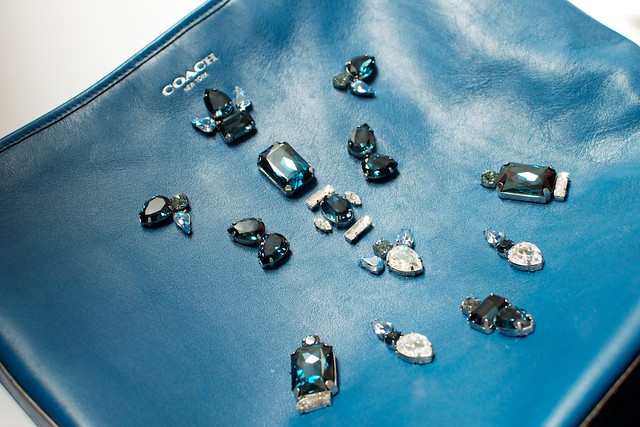
- A collection of rhinestones in their settings
- Scissors
- A needle and heavy duty thread (you can use glue instead, but sewing the rhinestones will last longer and looks better)
- A Coach Legacy Duffle Kit
How to:
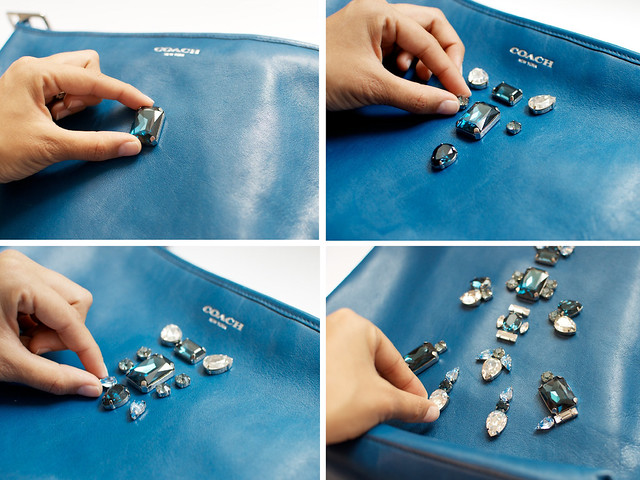
1. Lay the bag out flat and start by planning the design for the rhinestones by placing them onto the front in your desired pattern. Making the pattern isn’t at all difficult, just lay the rhinestones on the bag and start playing around – my advice is to stick with a symmetric style but you can do anything you want. Work your way to the bottom of the bag.
2. Once you have decided the pattern you want to do, move the rhinestones onto the table beside you, doing your best to mirror the pattern as it lies on the bag – this will be your guide while you are sewing.
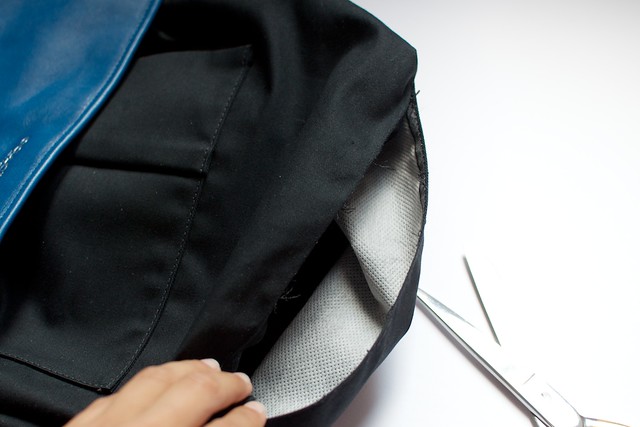
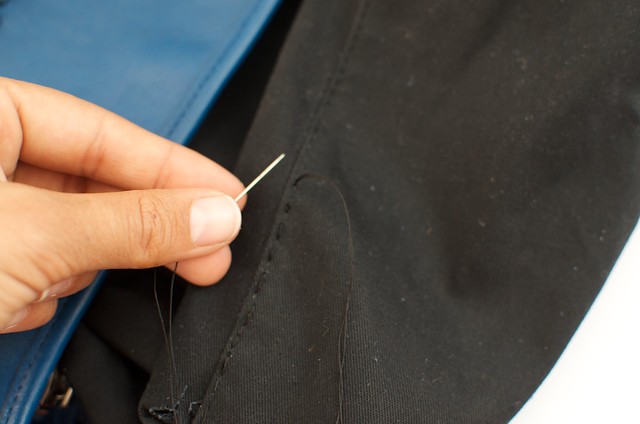
3. Using your scissors, carefully open the inside lining of the bag along a seam by cutting away the stitches, this is so you can stitch directly onto the leather and not have any strings on the functional inside of the bag.
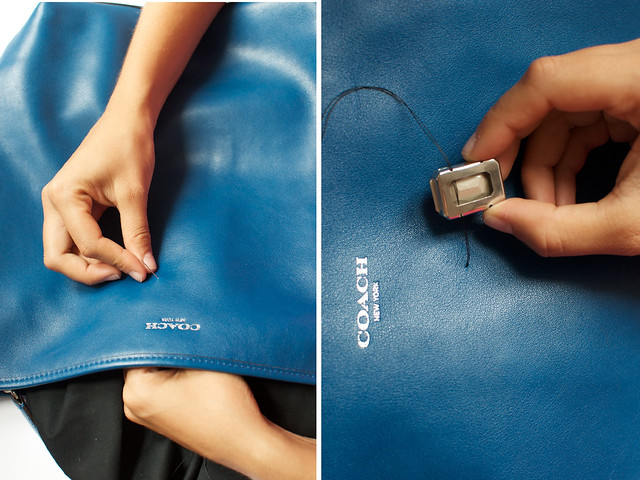
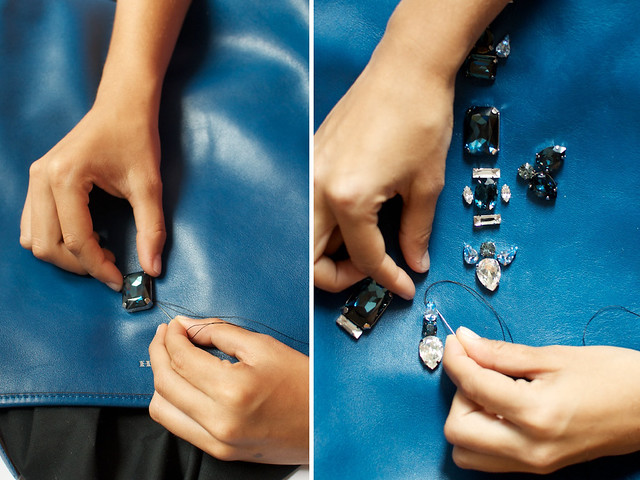
4. Check where you want the first rhinestone to sit and then, making sure to push your hand through the hole in the lining, pierce the leather from the inside with the needle. Thread the needle through the back of the rhinestone.
5. Push the needle back through the leather on the other side of the rhinestone, and then do an X stitch on the inside to secure the bottom of the rhinestone. Attach all the rhinestone to the bag in this manner, copying the pattern as it is shown beside you.
6. Once you have completed your pattern, add any additional rhinestones to the design until it is perfect. It may not turn out exactly how your original pattern was envisioned but that’s part of the fun!
7. Using the needle and thread, carefully sew the hole in the seam on the inside up – you don’t want to lose your keys (or Carrie necklace) down there!
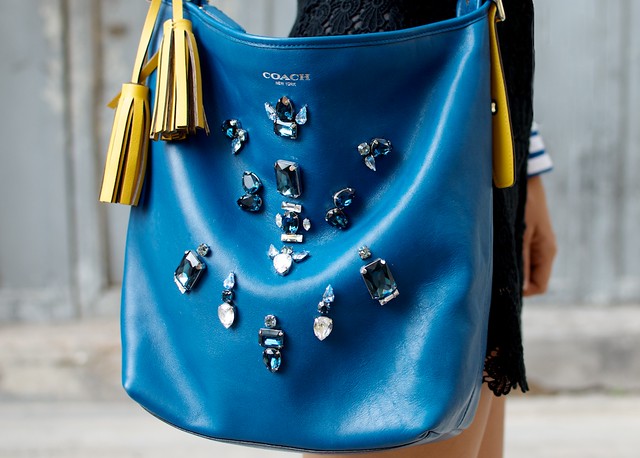
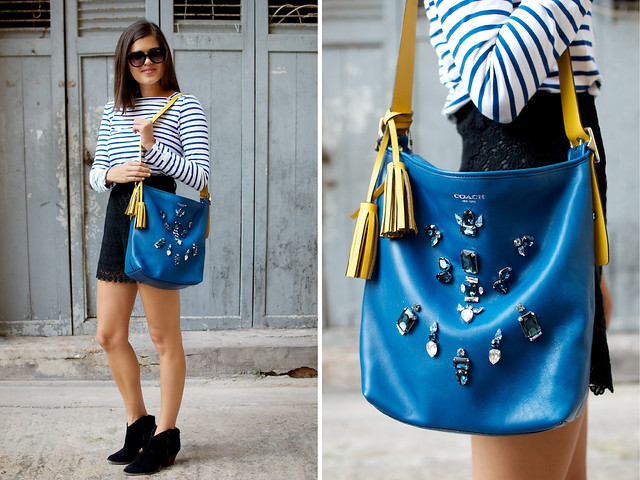
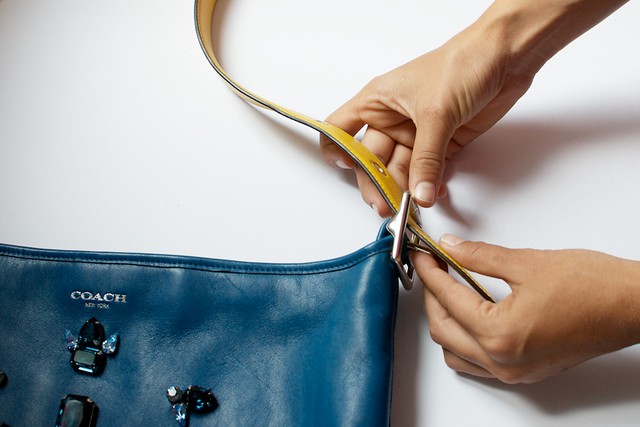
Finally, as an extra bit of fun, update this classic bag with the Coach Duffle kit, including a contrasting coloured strap, tassel and hangtag. Perfect!
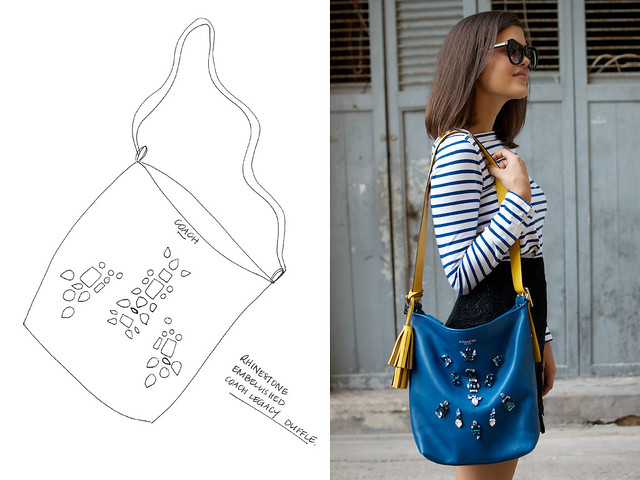
As I side note, I’ve recently started sketching my ideas prior to taking the plunge – I’m by no means an expert in the art of illustration (as you can see haha) but I’m finding it helps!
Looking forward to seeing some of you at Fashion Night Out tonight at their flagship Madison Avenue store along with I Spy DIY, Because I’m Addicted and Beckerman Bite Plate, and make sure you check out what the rest of the girls did to customize their bags here (loving each and every project!)


