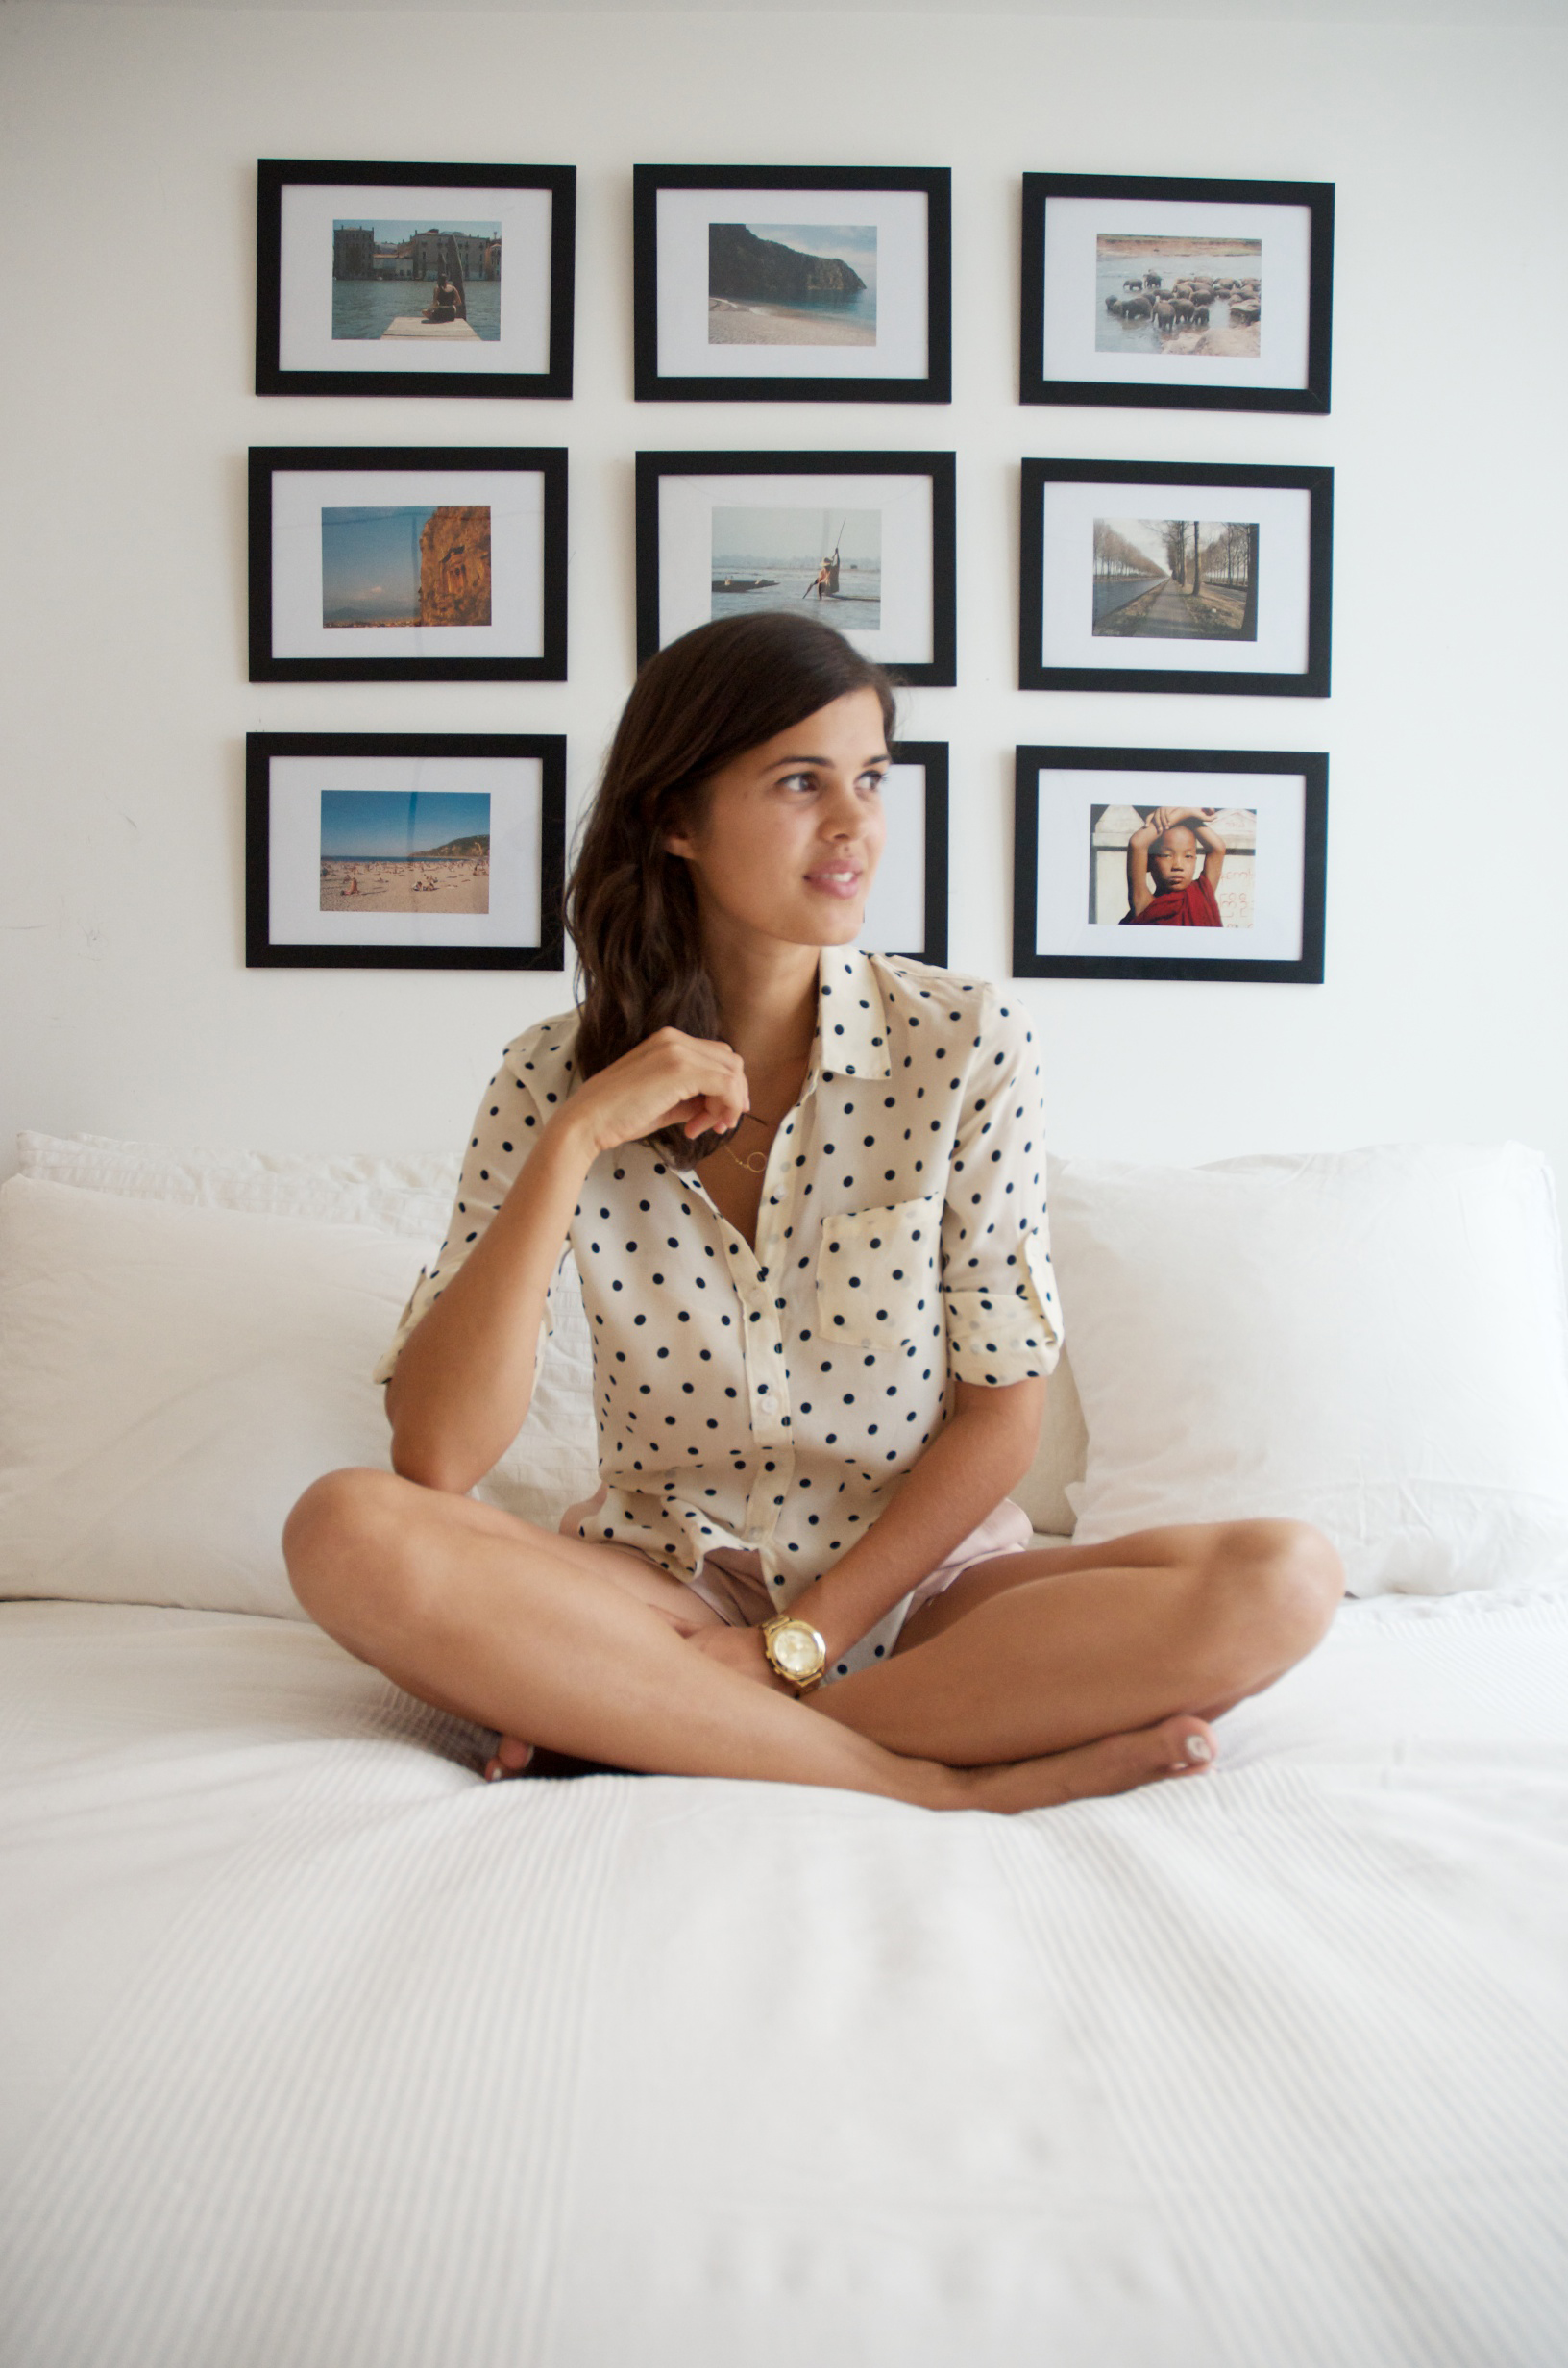
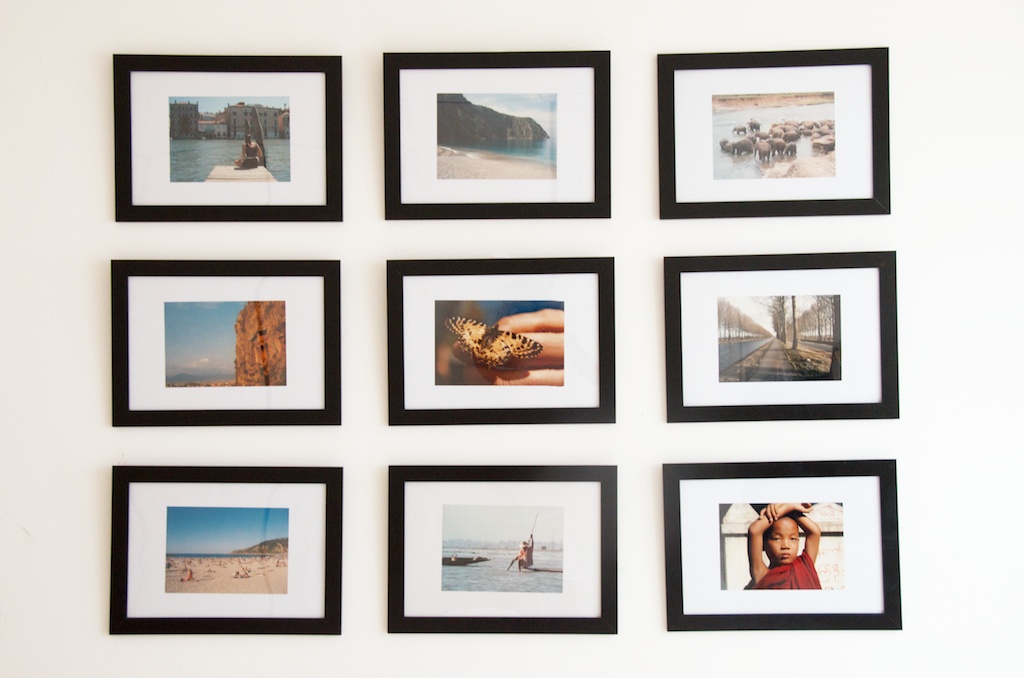
I’ve been wanting to print photos we’ve taken on our holidays and decorate the walls with them for a while now, but have struggled to find a spare moment. I finally took some time out to do it recently, and think it worked out well. Interestingly, creating this frame wall turned out to be way harder than I thought it would be, one of those projects that morphs from a 15 minute exercise in to a 4 hours exercise. But so worth it when I finally finished.
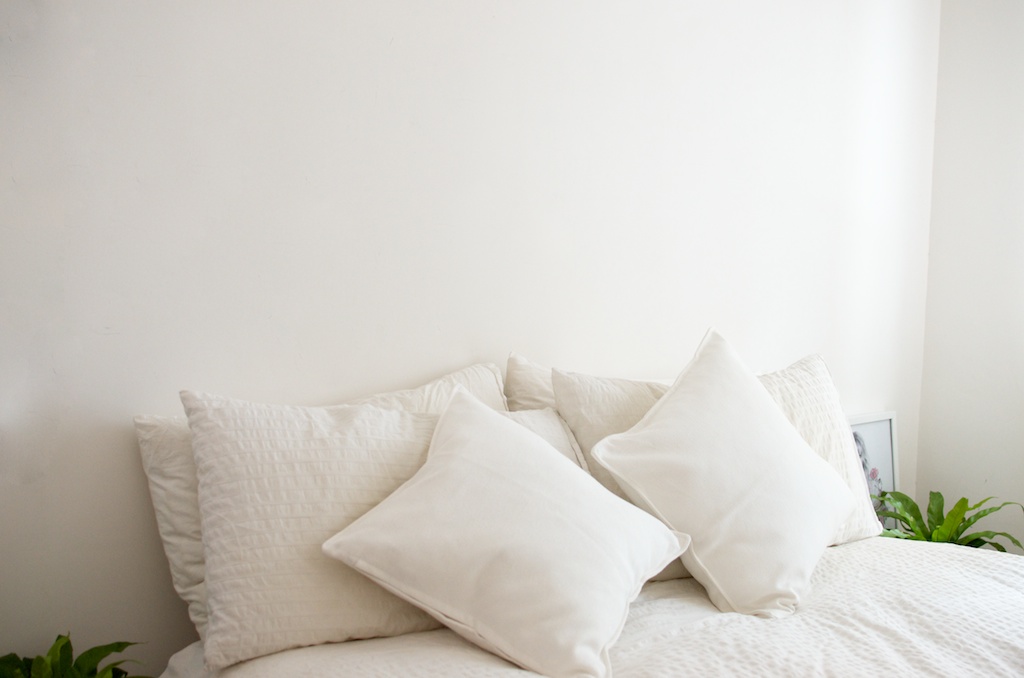
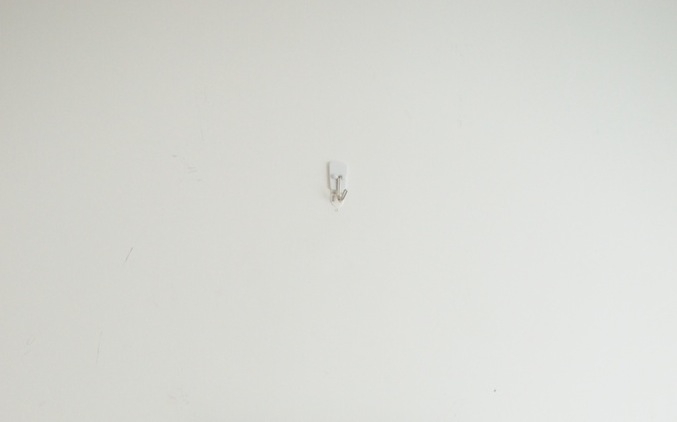
This is how the wall looked before I got my hands on it.
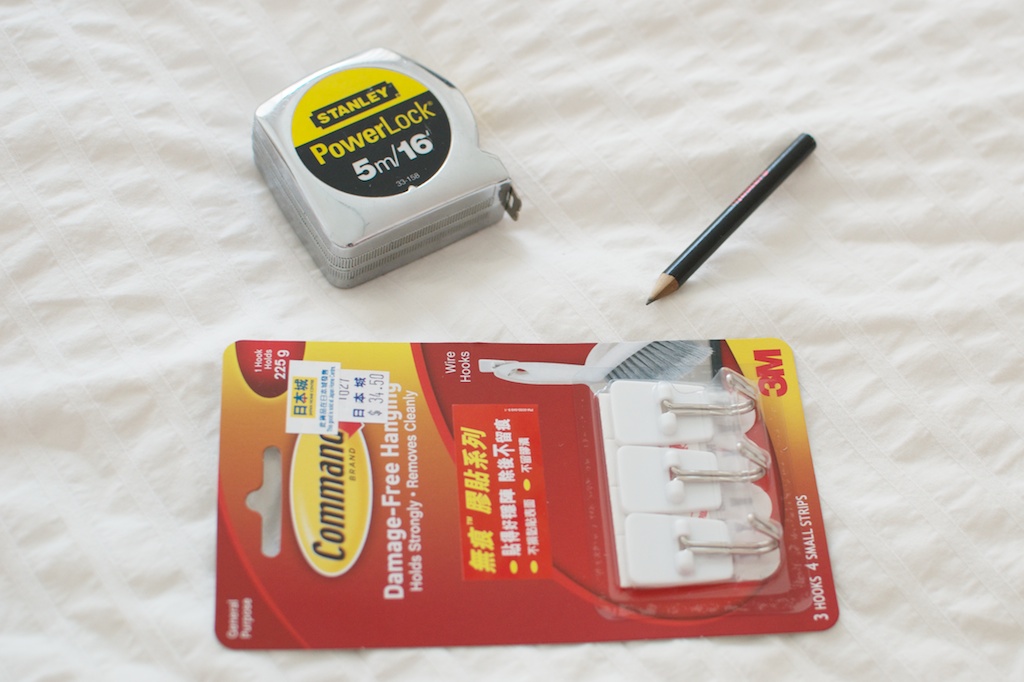
You need:
- a measuring tape
- a pencil
- press on hooks, I used the ones that are easy to get off the wall because we rent out apartment and, you know, landlords. And they made it easy to make adjustments to the hooks when the were on the wall!
- framed pics
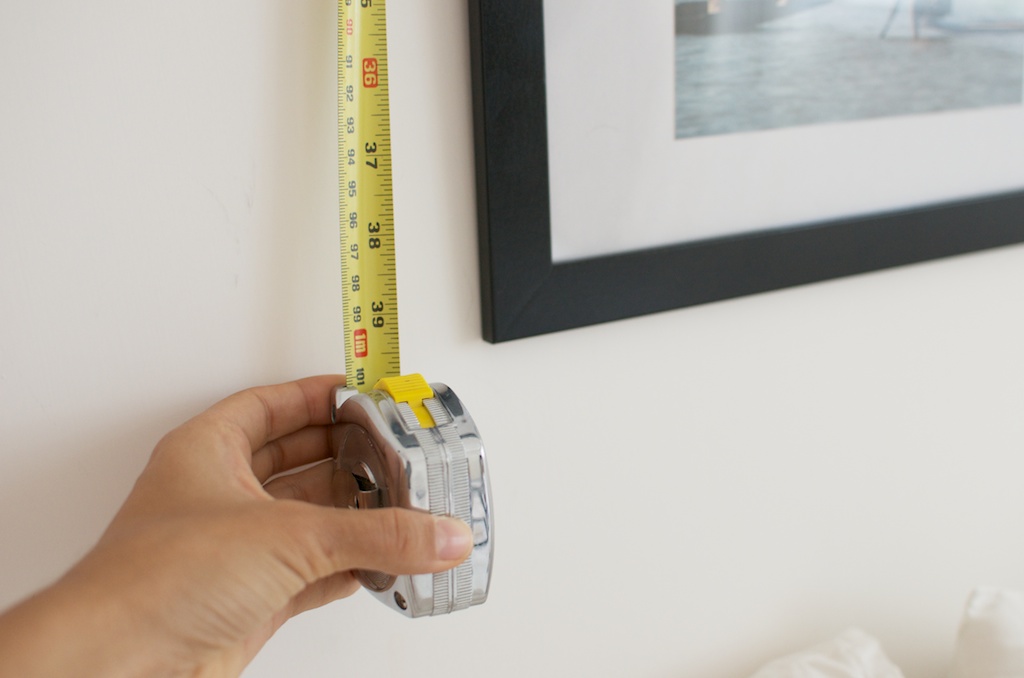
Some people use a level to do this, and I admit that probably would have made it easier. But in the absence of one my boyfriend suggested I simply measure the distance from the bottom of both sides of the frame to the ceiling after I have mounted them, to check that the sides were level. You can also just eyeball it, although from experience, I’m certain you’ll get some wonky pics if you do this (but that’s not the worst thing in the world is it?).
How to:
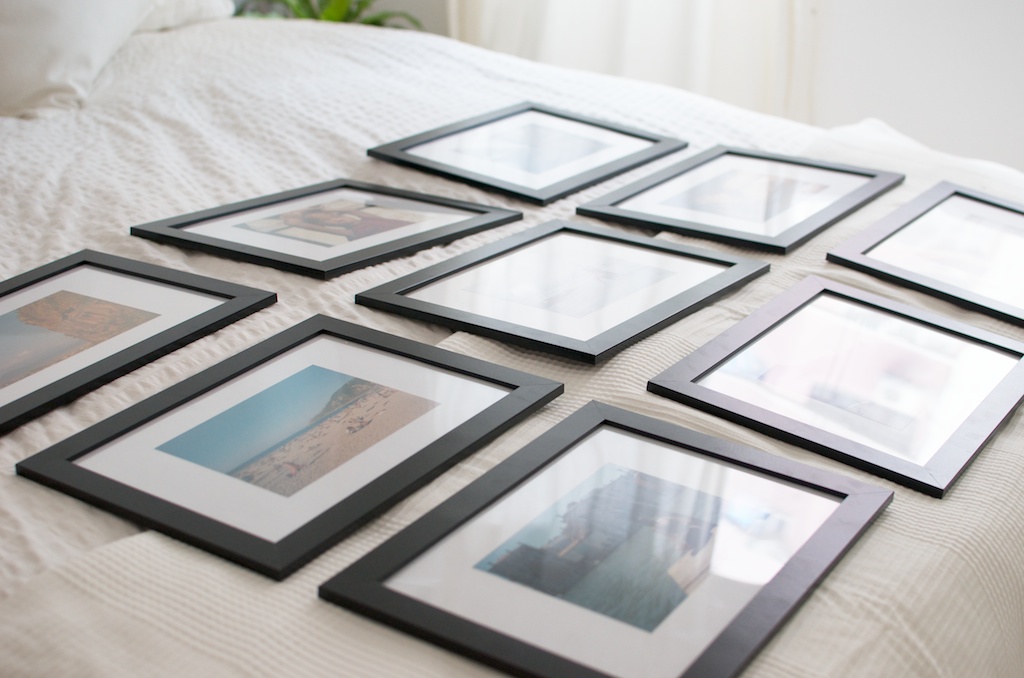
1. First, I lay the frames out on the bed to get an idea of the spacing I wanted. I tried to match the layout I wanted for the wall ie the gaps between the frames.
2. Once I had the layout right, I measured across the top and doubled checked on the wall to make sure it would sit right. Then I flip over each of the frames onto their front, making sure the spacing was correct.
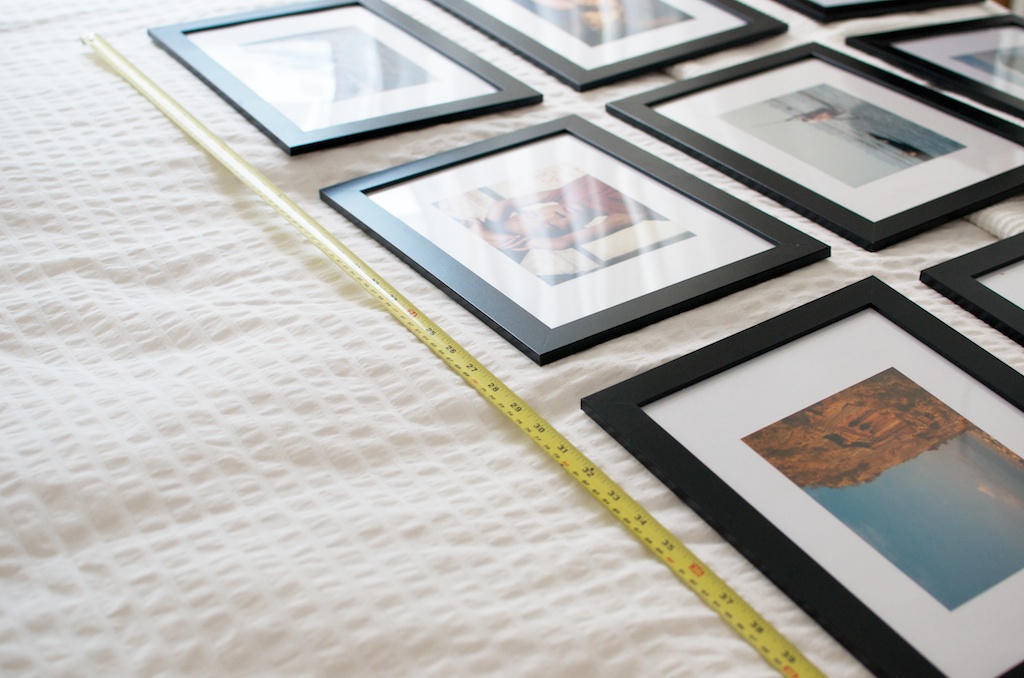
2. Using the measuring tape I found the exact middle of the wall space where the pictures would go.
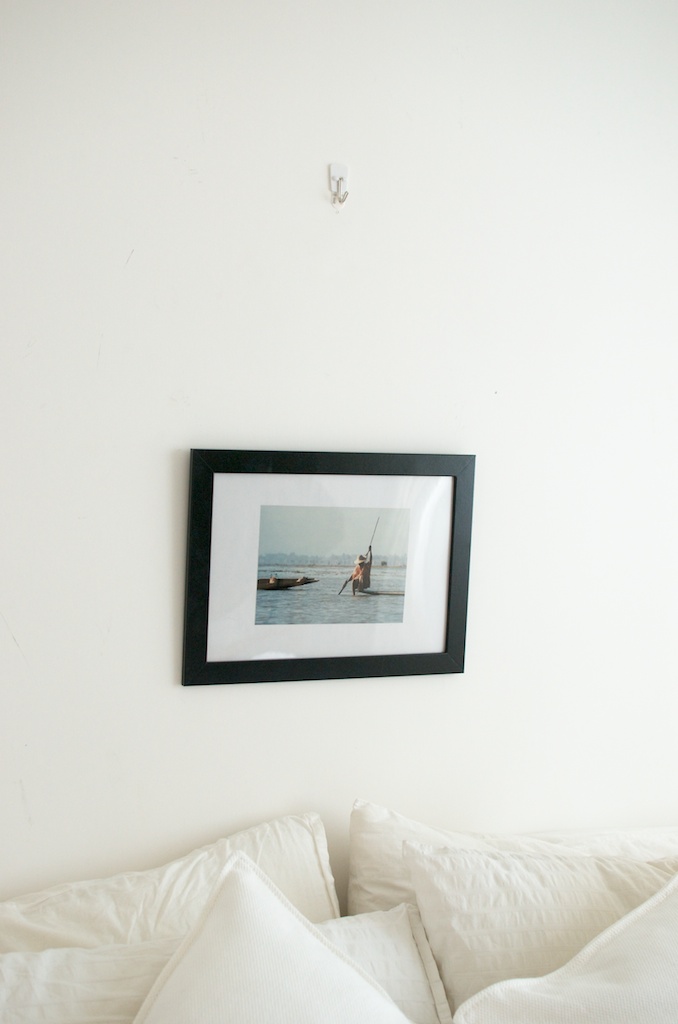
3. Starting from the bottom middle frame and working outwards along each row, I worked out where the hooks would go by measuring the frames on the bed that were sitting face up, making sure to place the hooks in relation to where the holes were in the frames. I pressed the first hook on and then worked my way around.
4. I added the frames from the bottom up. Once I had added all the pics I have to admit that saw that some were a little bit off and adjusted then slightly to make sure they were pretty much all in line. That’s where the moveable hooks come in handy! It would have been wayyyy more scary if I have been using nails.
5. To check that the frames were sitting straight, as I mentioned, I used a measuring tape, lining the end up with the ceiling and checking the length on each side.
There you go! They’re not exactly 100% perfect but in the end it was one of those ‘near enough is good enough’ situations. Don’t hate me!
Anything to freshen up our tiny HK bedroom!
