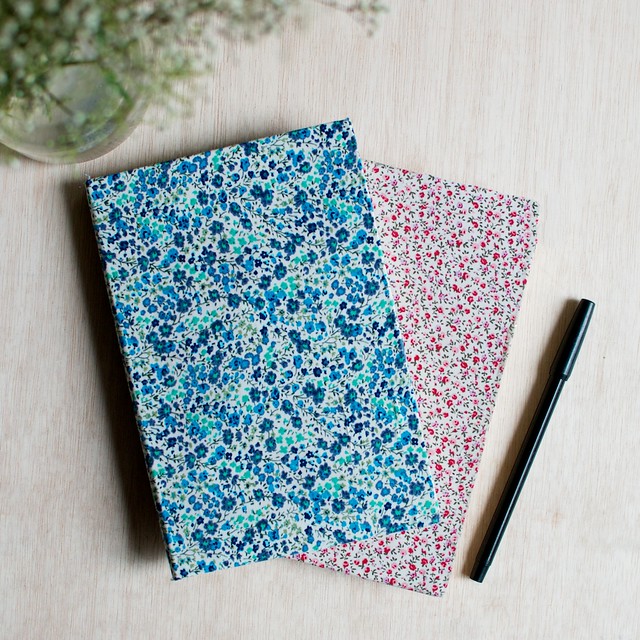
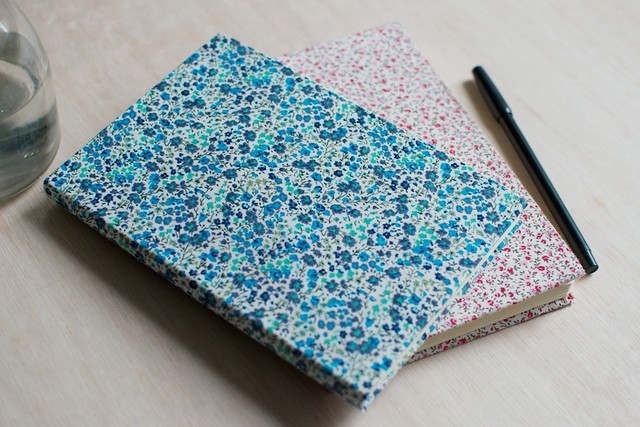
At this time of year I’ve always got my eye out for sweet and simple DIY projects that make the perfect gifts, all the more special because you added a bit of your own elbow grease to the mix. There’s nothing more I personally love to receive at Christmas than a new notebook, the perfect accessory for the fresh start that goes hand in hand with a new year (along with a hangover and soon to be defunct new year’s resolutions). Add a little bit more love to your notebook gifts with a hint of customised fabric, I went with girly florals but you can tailor yours to the needs of your giftee (whether than be you, or someone else!).
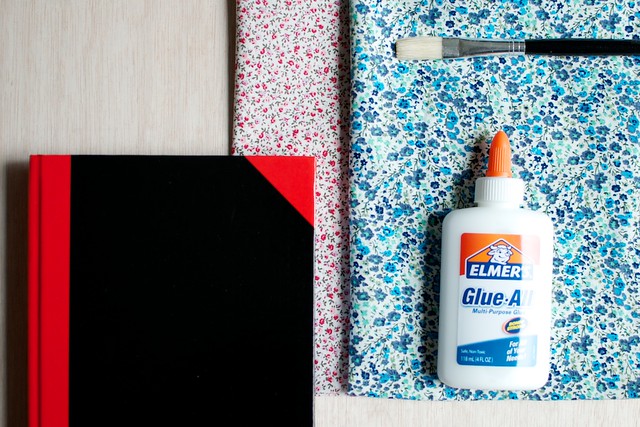
You need:
- A notebook
- white/school glue
- scissors
- a ruler
- a length of white and floral fabrics
How to:
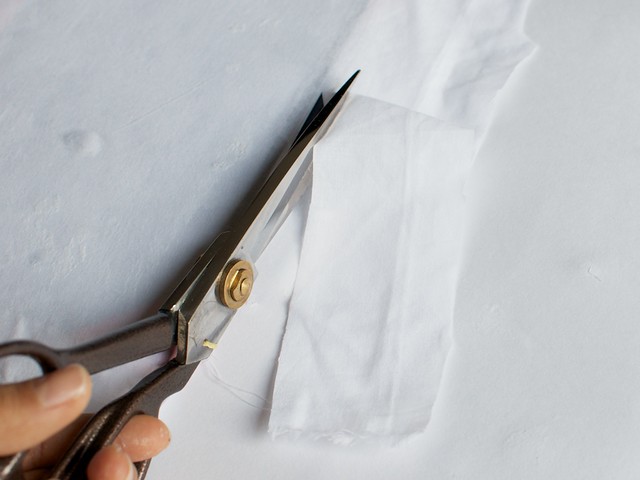
1. The white fabric is to line the notebook so no colour shows through and the notebook has a soft, luxe feel. Cut your white fabric to the size of your notebook.
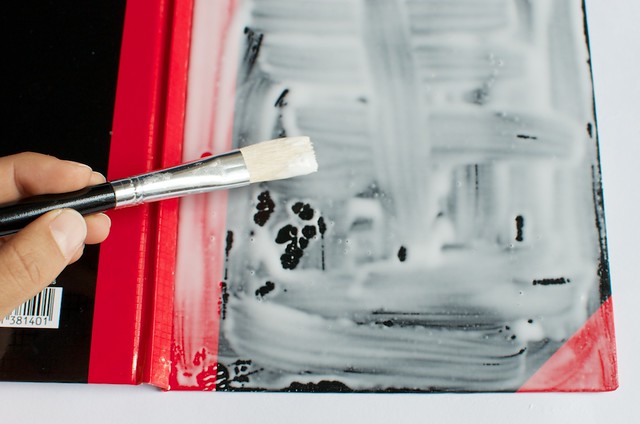
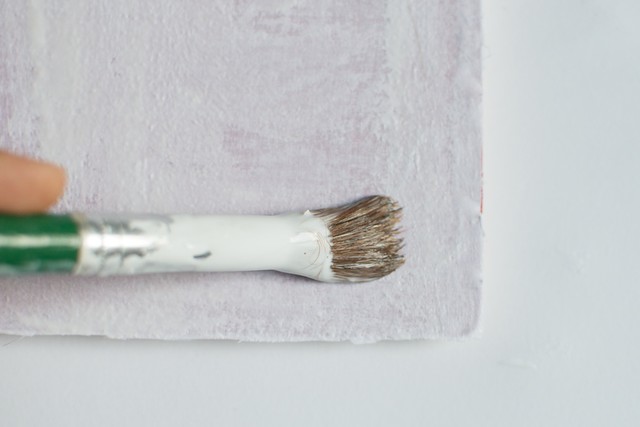
2. Spread some glue on your notebook and use the paintbrush to distribute evenly all the way to the edges.
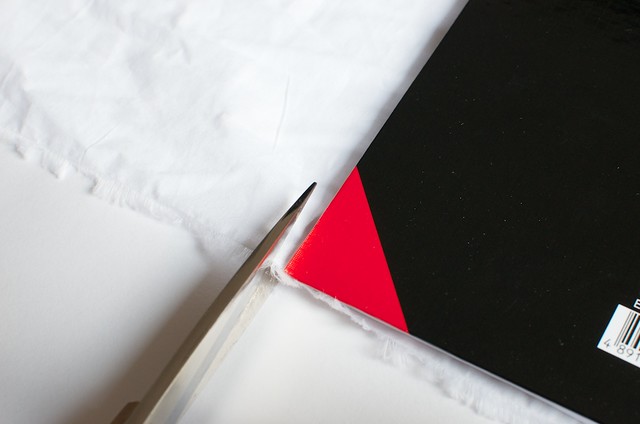
3. Press the white fabric on and smooth with your fingers, and then close the book to tighten the fabric. Trim the edges using scissors. Repeat with a second layer of white fabric if you choose (we wanted extra softness so that’s what we did!).
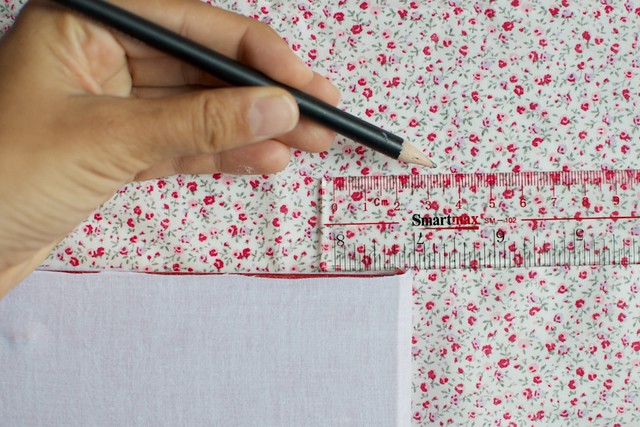
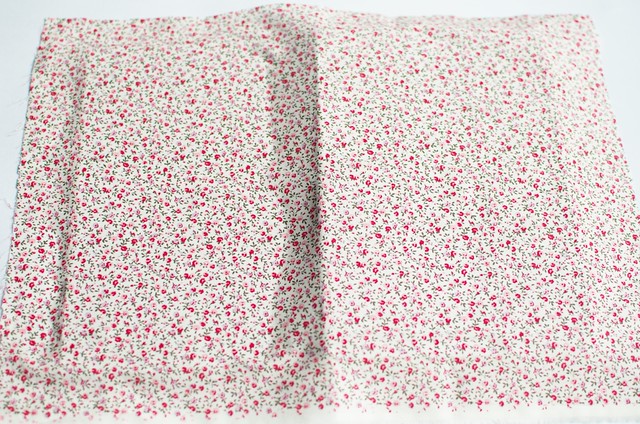
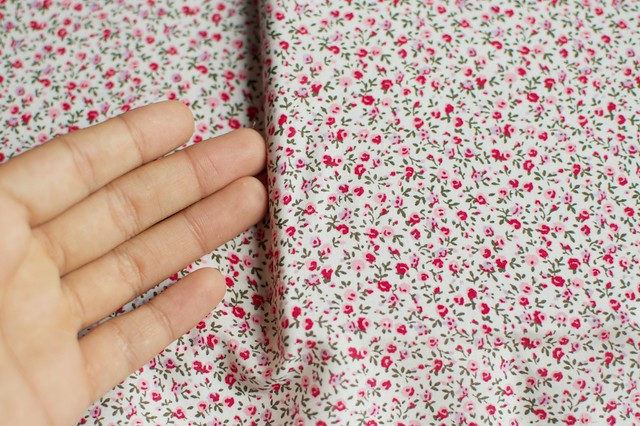
4. Place your book on top of the floral fabric. Using a ruler and pencil, mark 2.5cm (1 inch) all the way around the book.
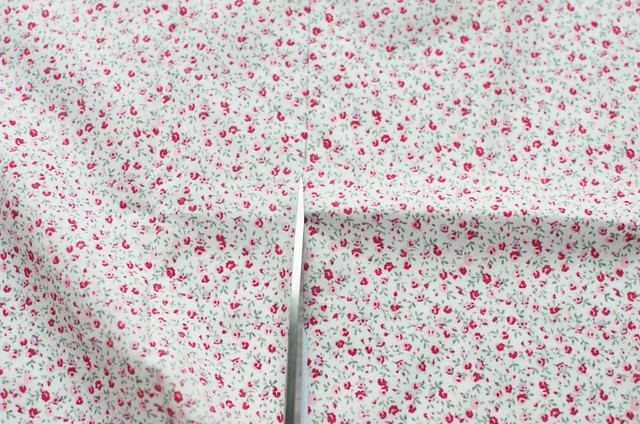
5. Cut the fabric out.
6. Add the glue on top of the white fabric and use the paintbrush to once again distribute evenly.
7. Place the fabric on top, making sure to line up evenly with the edges.
8. Use your fingers to press the fabric into the spine.
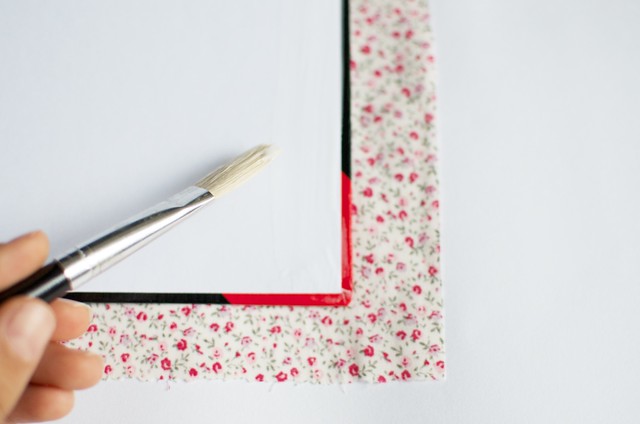
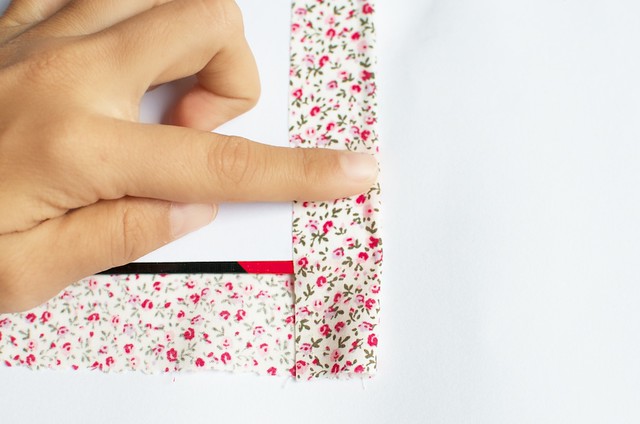
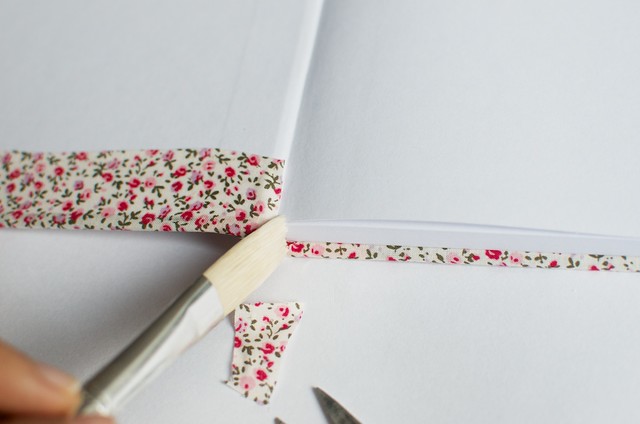
9. Turn the book over and open to the inside cover. Add glue about 1 inch around the long edge using the paintbrush.
10. Fold over and press the fabric down.
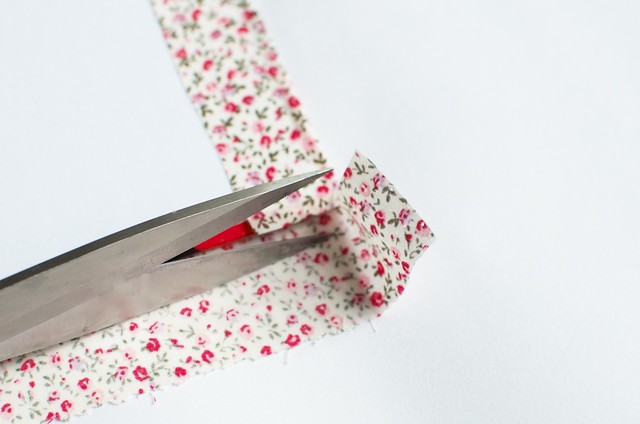
11. Cut the fabric to the corner as shown.
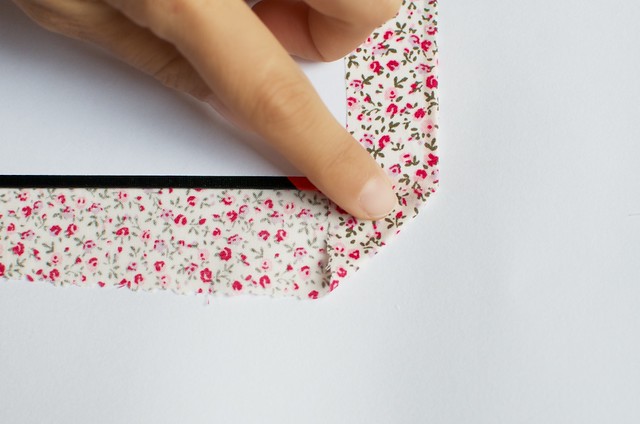
12. Place some glue on the edge of the fabric as shown.
3. Fold over into a triangle.
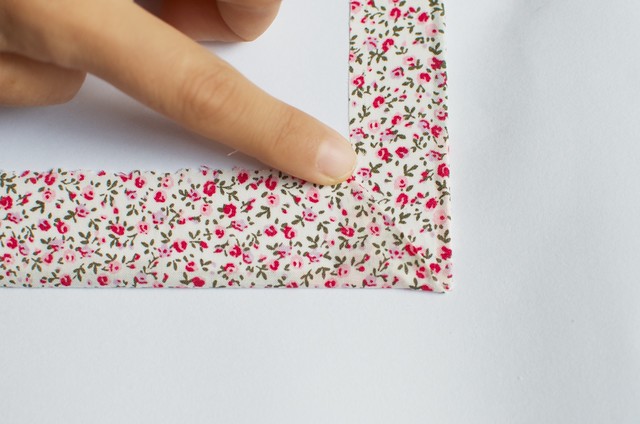
14. Put some glue along the short edge and then fold the fabric over. The folded triangle edge should cover the raw edges of the other side.
15. Trim the fabric away from the spine of the book and add a dab of glue to secure it.
16. Finally, put some glue on the page you just folded into, and press down the first page so you cover all the edges
Voila!


