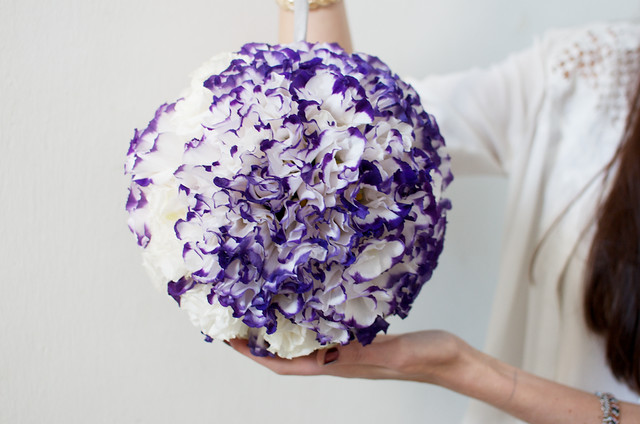
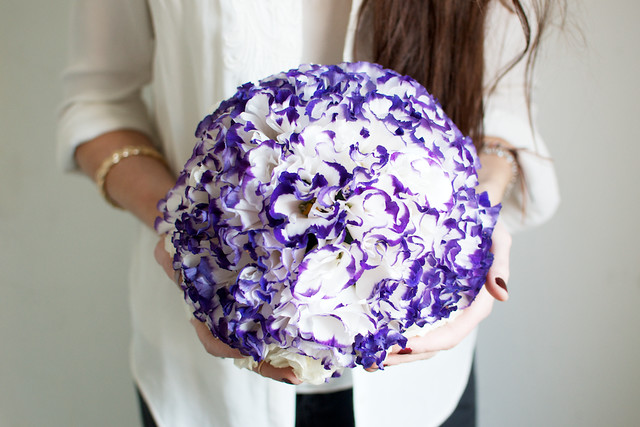
Ever since I was little my mum, brother and I have played a game where on a morning walk we would sneak up and throw a ball of tiny Lantana flowers (it’s a pest that’s pretty much killing all the native plants in Australia so we didn’t feel that bad) over each others heads in a rain of floral confetti. It’s kind of fun to start with, but then you spend 15 minutes removing the flowers from your hair and you’re pretty much like ‘arrrrgh’. In all likelihood flower balling was dreamt up by my mother during a weekend bush walk with two screaming children in toe, but for some reason it’s stuck. I’m flower balling’s biggest fan! With Easter just around the corner, recently resident flower guru Gemma and I took an afternoon out to create a wholly different kind of flower ball. This type of decoration has been used for time eternal at weddings, but what Gemma showed me is that you don’t have to wack them on a stick as a banquet table centrepiece (if you don’t want to that is), in fact there’s hundreds of ways to make them so they integrate into a cute, modern home (sans monogrammed place settings).
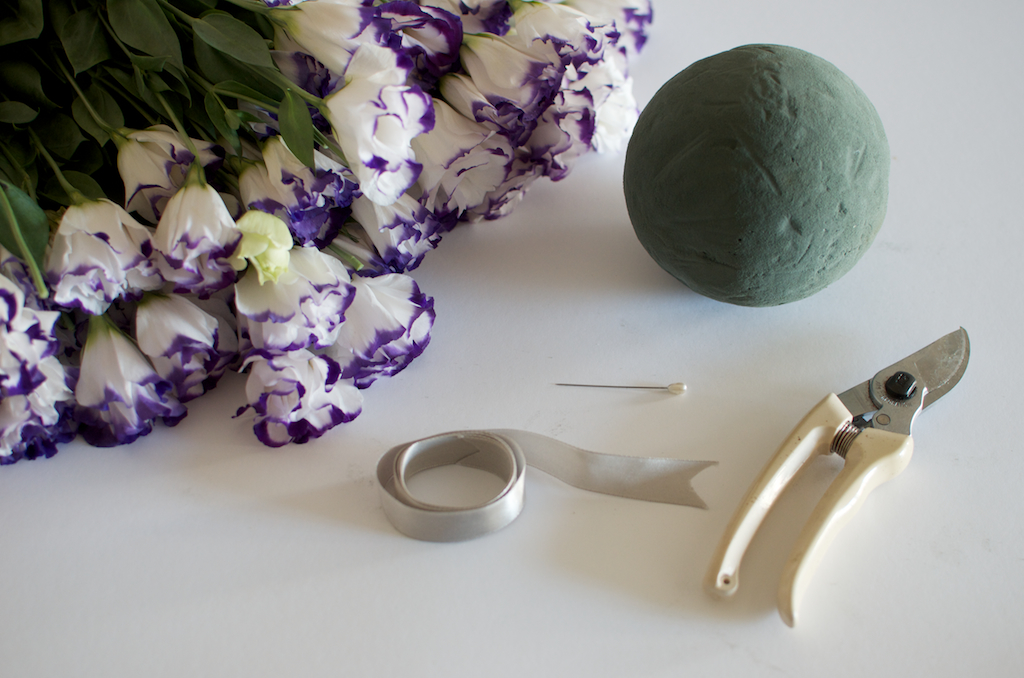
You need:
- a few bunches of flowers (you’ll need more than you think)
- a round oasis
- floral sheers
- ribbon or twine
- a pin
How to:
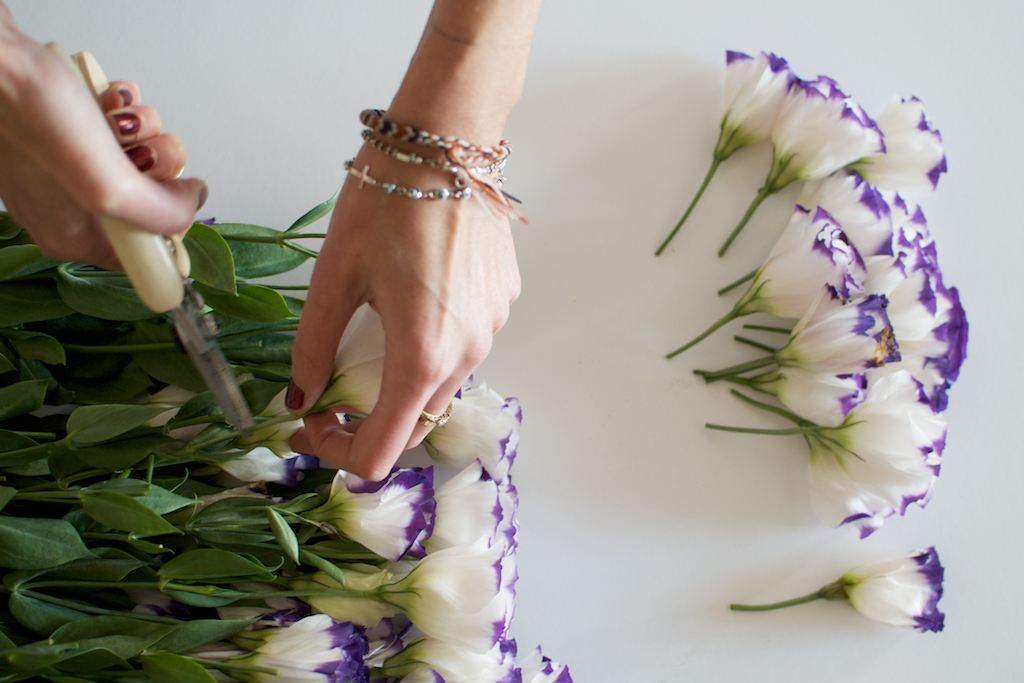
1. Cut all your flowers so they have about 5cm (2 inch) of stalk. Remove any flowers than are looking at bit wilted or sad. We found that if you cut the stalks with a little point it’s a bit easier to get them into the ball.
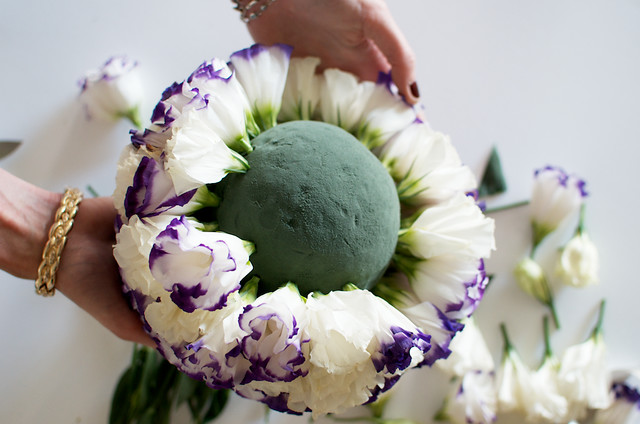
2. Start working them into the oasis, pushing then down to the beginning of the flower and clustering them together so there’s no gaps. Make sure they’re all at the same height so your ball is nice and round.
3. Work the flowers all the way around. You can add some different coloured ones in if you like, we added a few white ones in so there was a bit of variation (oh and also we ran out of purple ones… doh!).
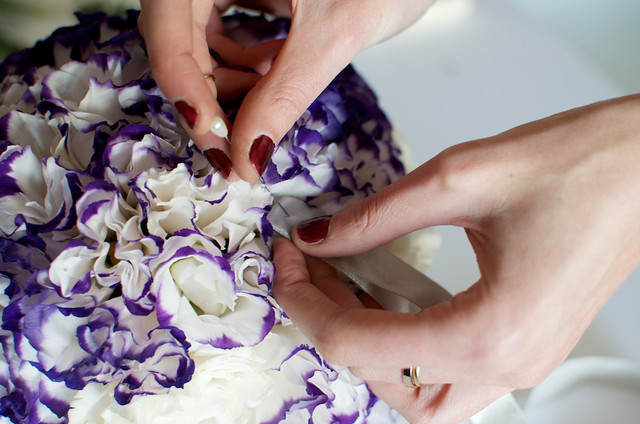
4. Pin your ribbon or twine into the flower bomb, we ended up needing a few pins for this one because the ball had become quite heavy. If your ball is too heavy to pin the ribbon on, you can loop thread it through close to the base of the oasis and tie it on.
5. Once you have done that, run the ball under the tap to fill the oasis with water. You will need to do this for a few minutes so it fills up with water. This is something you can do before you add the flowers, but Gemma and I found it easier to do it after.
A little but too pretty use for a game of netball, right?
