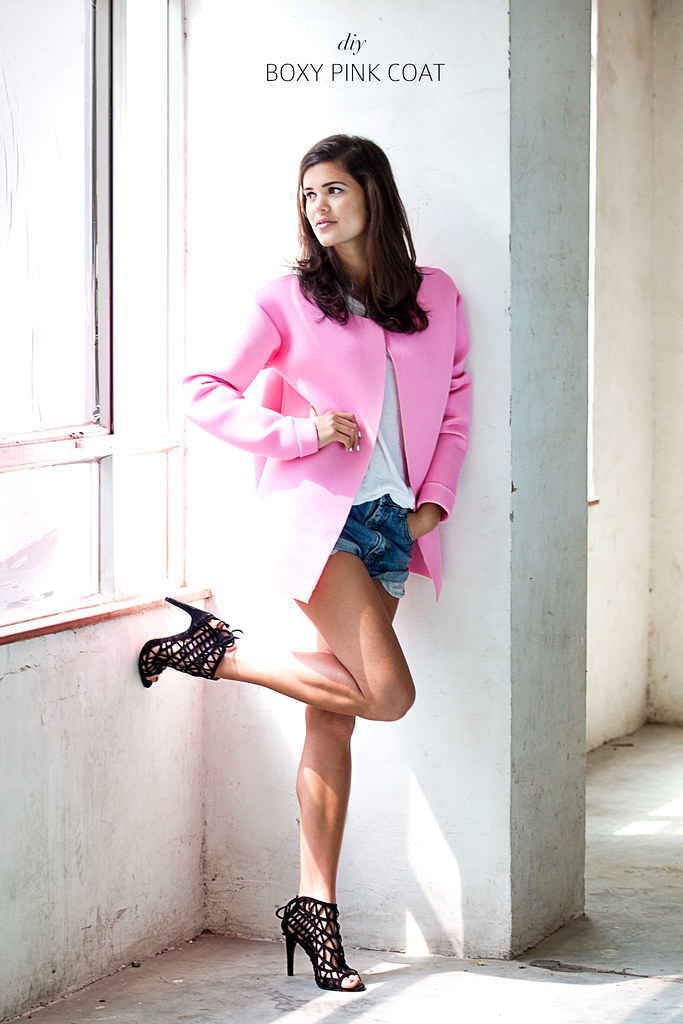
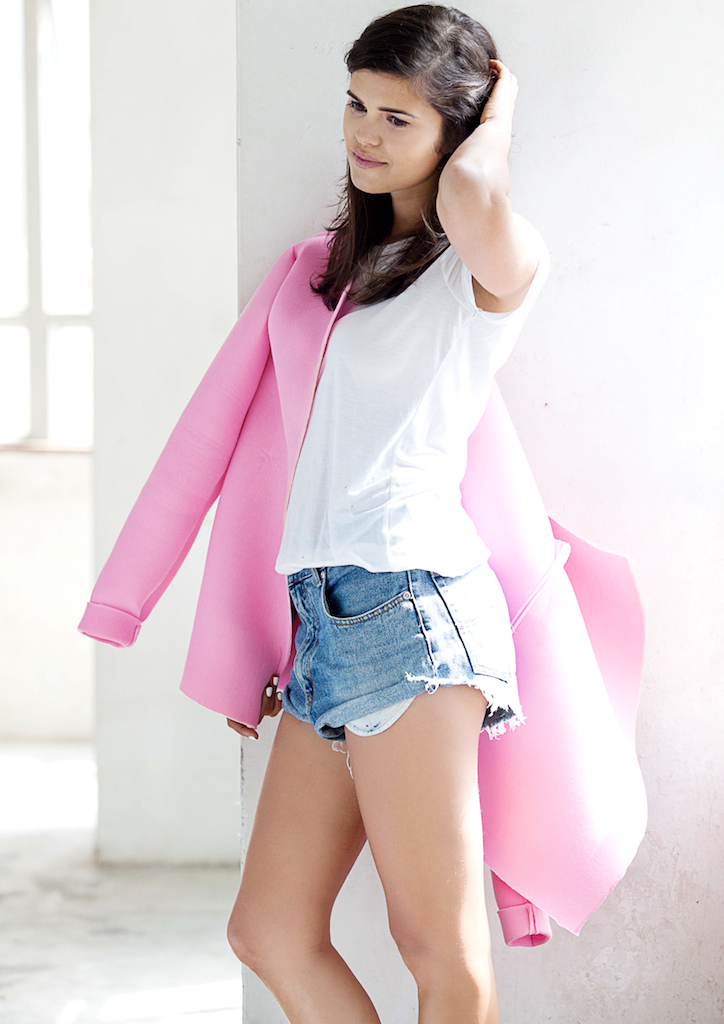
Let me start by saying that I’ve been wanting to make a coat on this blog for such a long time, but the thought of using a pattern (kinda important when dealing with the arm hole shoulder area) put me off a little bit. That’s not because I don’t like patterns, but for some reason I can never find a pattern that enables a half an hour project, without having to faff around with lining and facing and all the other things that go into a real garment (i.e. not one I have dreamt up and thrown together…). Oh and perhaps I’m also inherently lazy and, as my teachers used to tell me, ‘unwilling to take instruction’.
I had a spare hour recently and decided to have a go at my style of sewing – creating something using an item I already own as the template. Personally this is my favourite way to create a garment, but it’s generally a process of trial and error – which suits my personality perfectly! Given I was time poor, I made the coat as simple as possible, doing away with lining, button, pockets, front closure – in fact almost everything! I kept the boxy shell of the coat and used a spongy neoprene fabric – no hemming – yay!
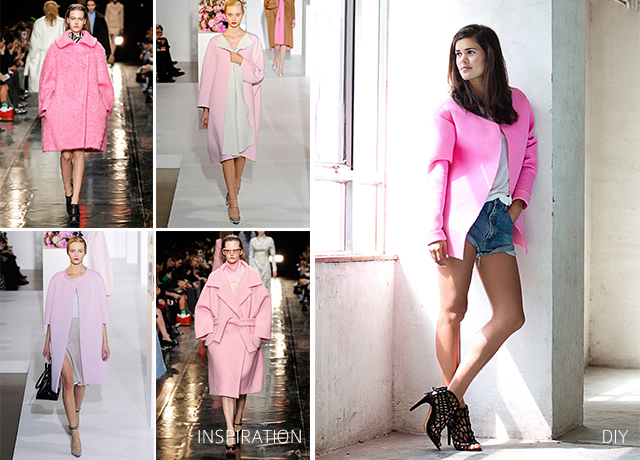
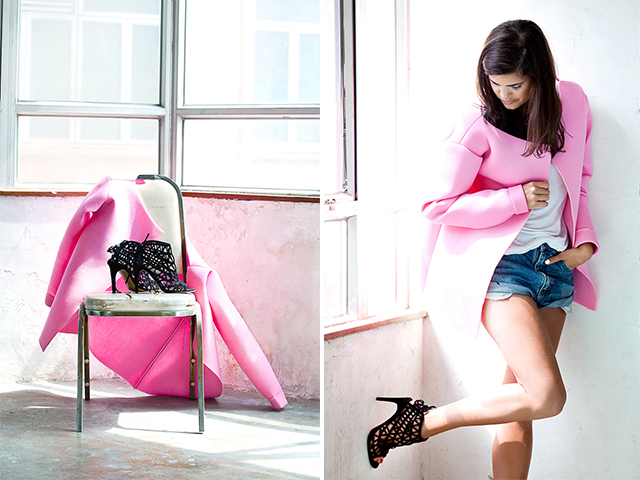
Naturally I went with pink for my coat, as you can see it was the coat colour of the AW season, and looks to be the colour of the coming summer, which is perfect because this powdery shade has grown on me. Naturally I was inspired by all the pink coats on the runway!
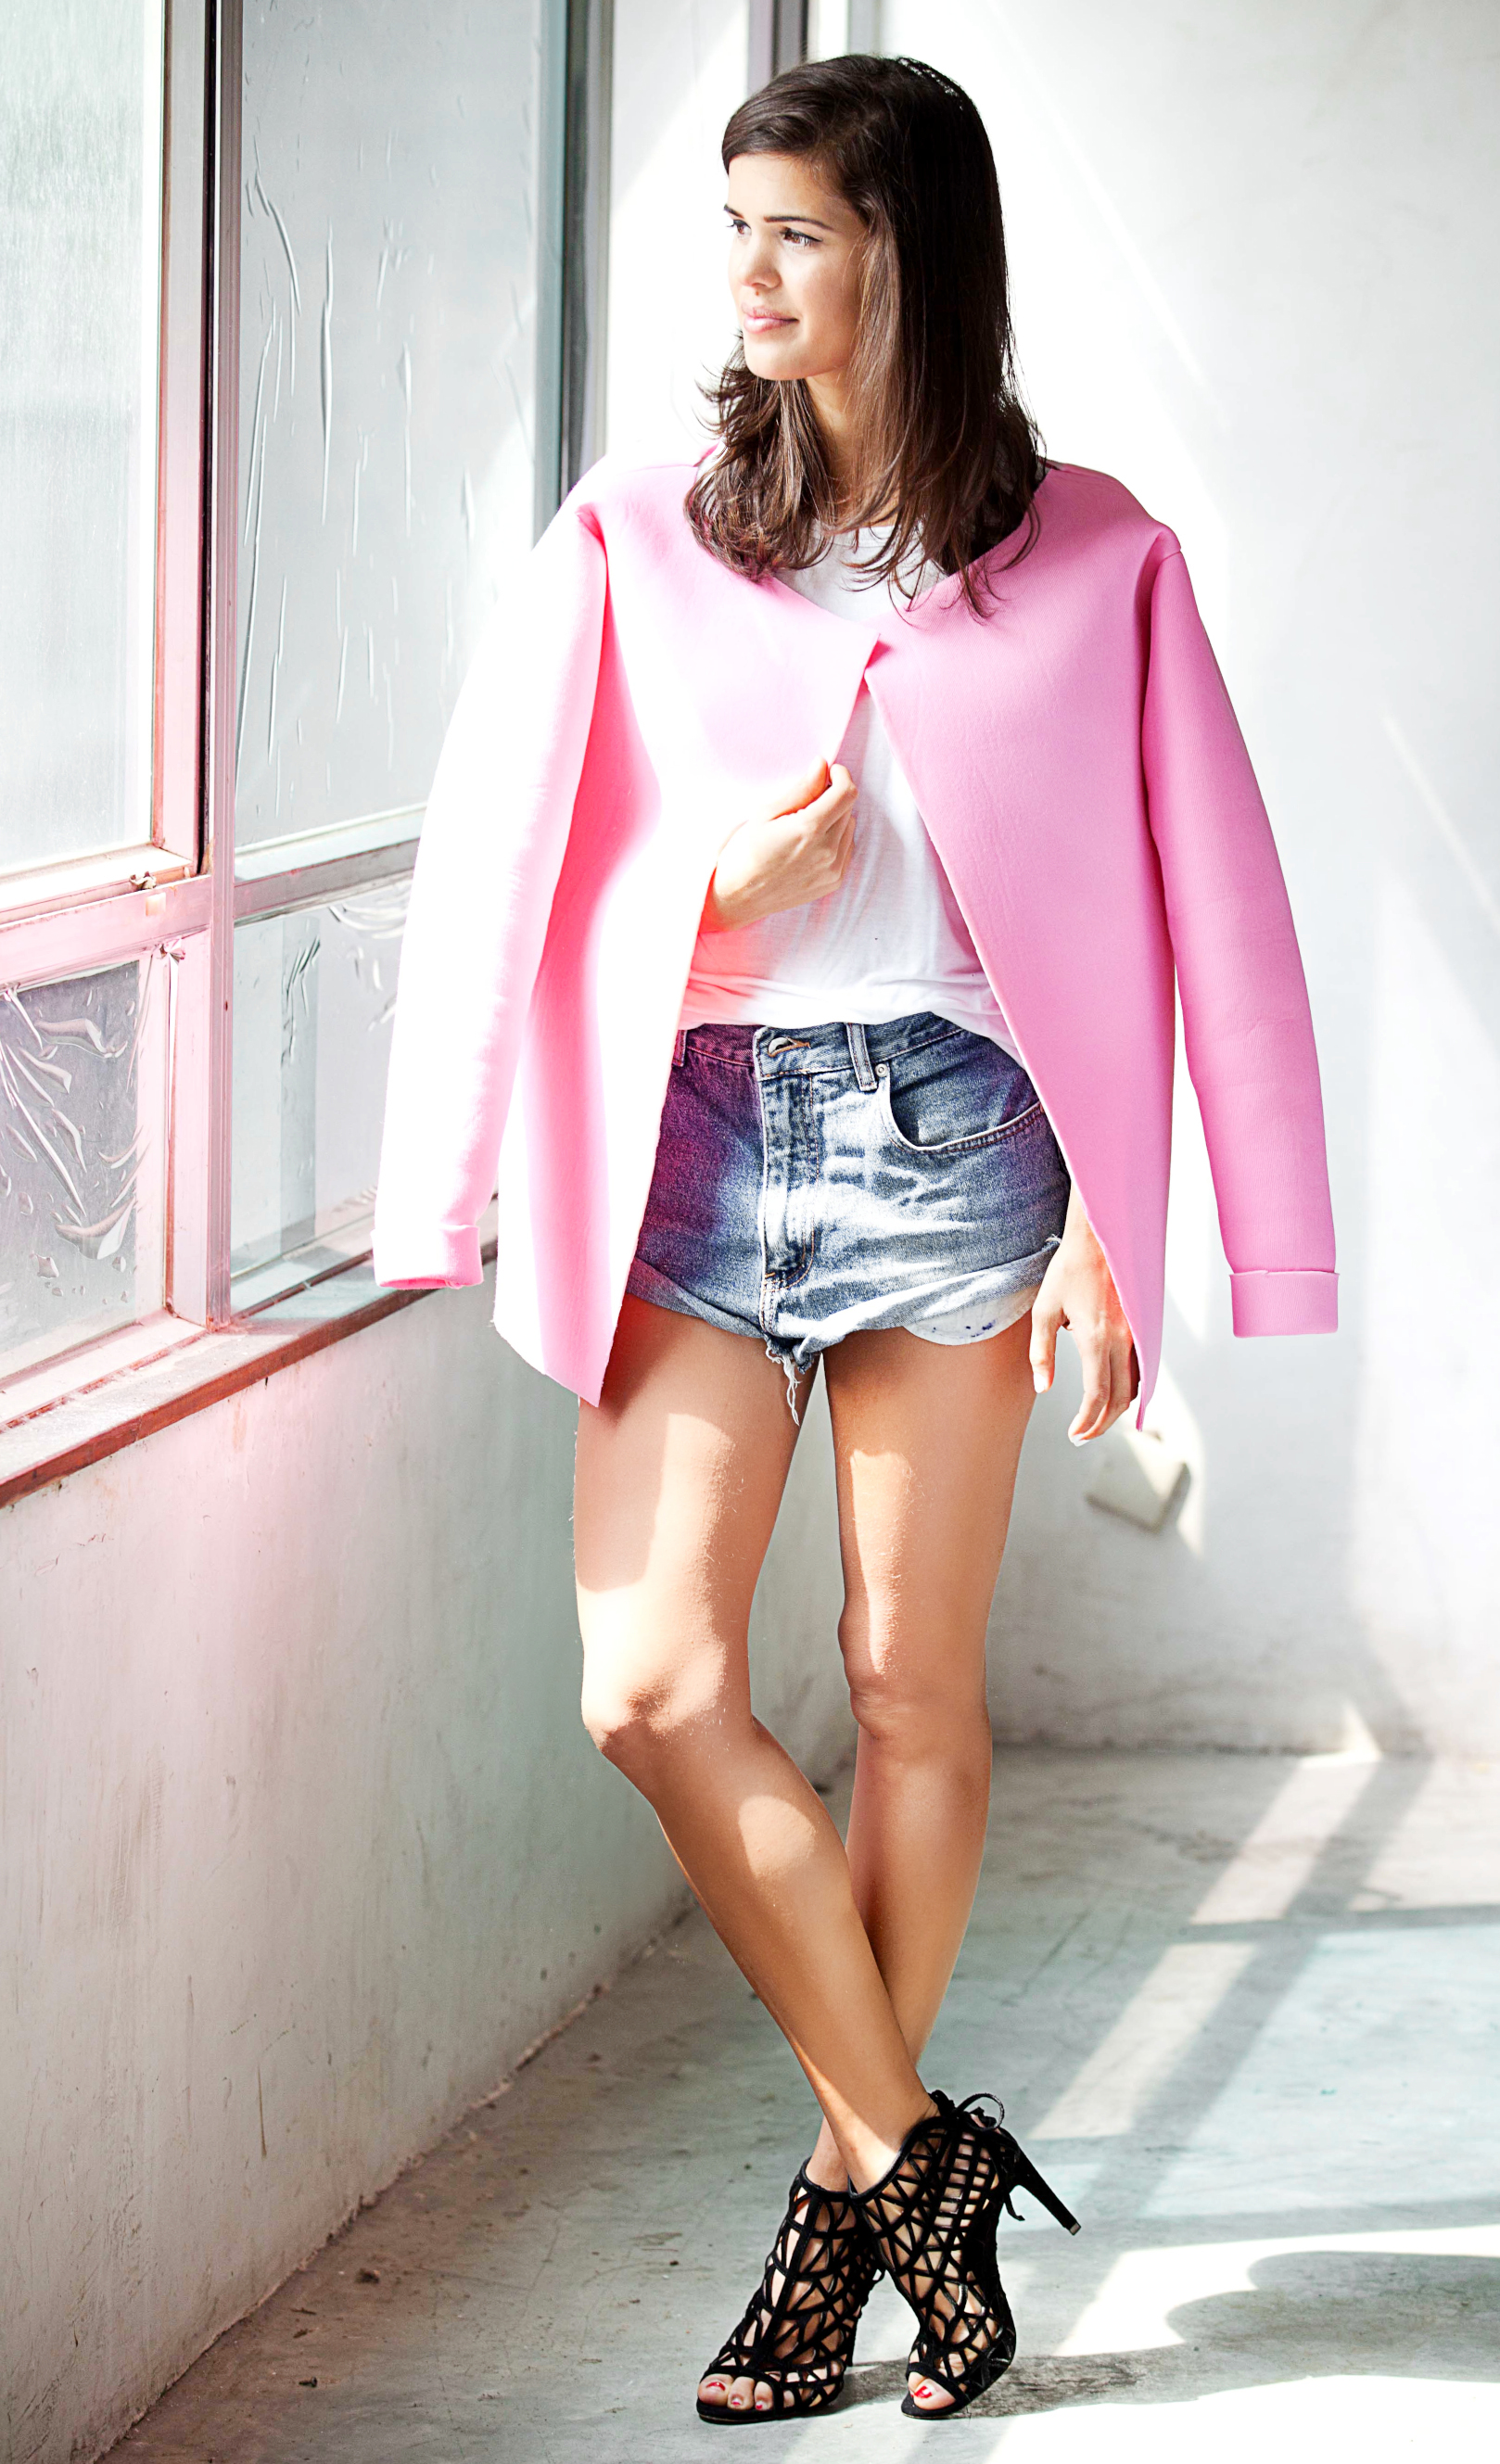
For all you aspiring magazine editors out there – you can totes shoulder cape it too! #fashun
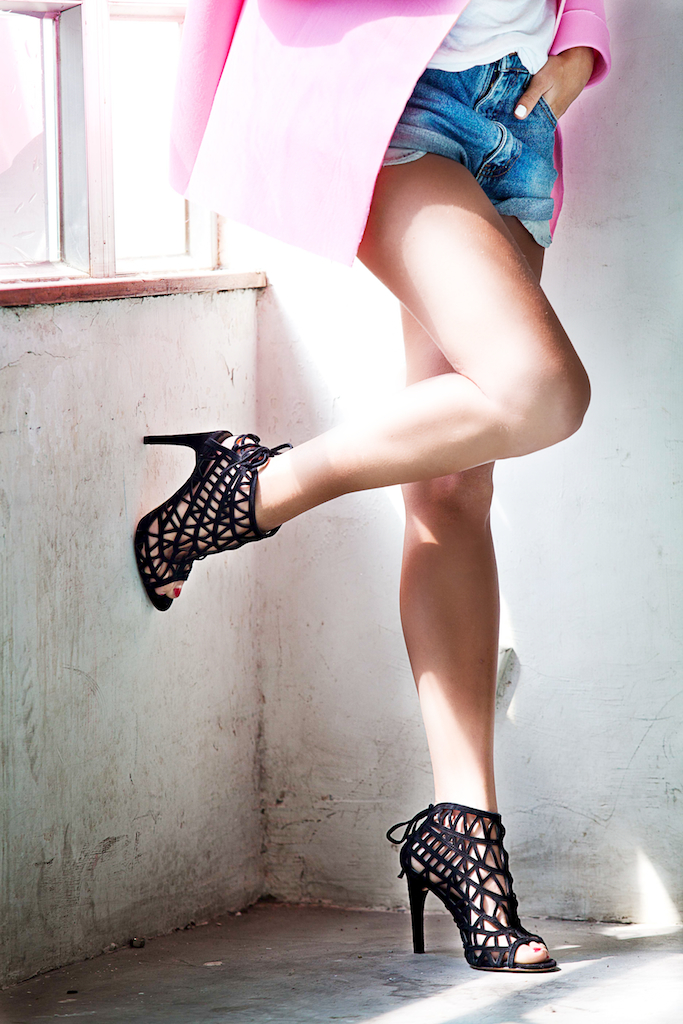
Wearing: DIY Coat, DIY cut off shorts, vintage white tee, Zara heels.
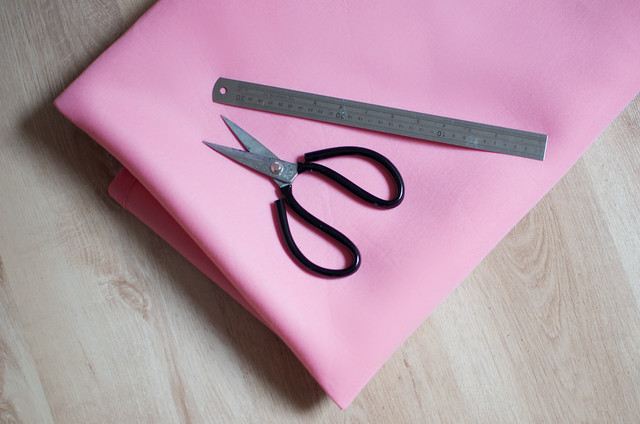
You need:
- At least 2m (2.2 yards) of neoprene or fabric that won’t fray
- Scissors
- a ruler
- chalk
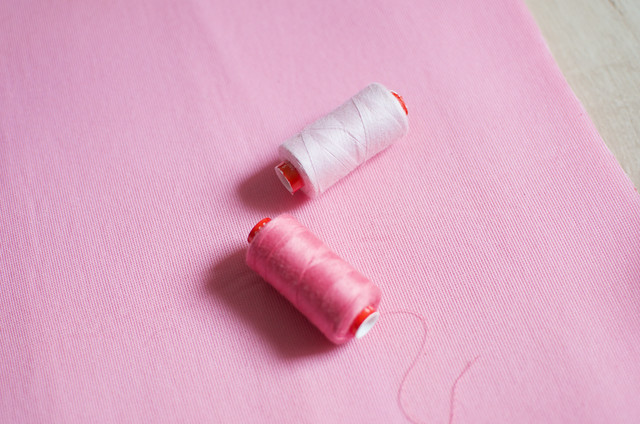
- matching thread
- a sewing machine
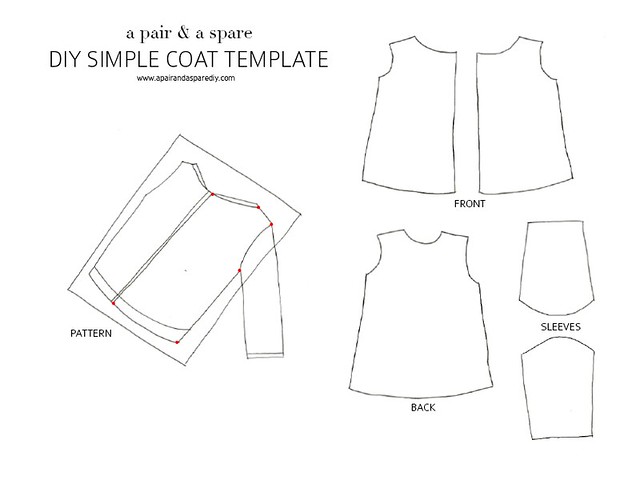
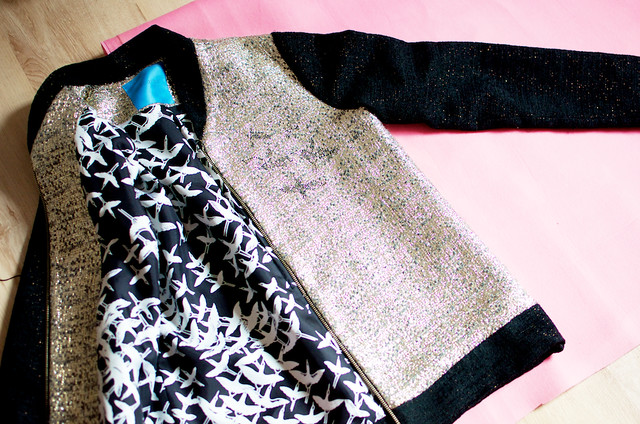
You can see below I have done a rough indication of the pattern pieces you will need for your coat (I use the term ‘pattern’ loosely). I used a coat I already had to create the pattern pieces. This is pretty much the most important part of the process. You want to create two front panels, one back panel and two sleeve panels. You can create the pattern on some craft paper (like I did here), but I chose to mark the pattern directly onto the fabric (cue fainting of seasoned sewers). Definitely go with the craft paper if you are more pedantic/professional or would like to keep the pattern for next time.
1. Lay your coat on the fabric and mark with a pen the key points from your jacket onto the fabric (see above on the illustration the red dots I have put on the image). This will be one of your front panels, you want to do this for a front panel, back panel and the sleeve. Once you have the outlines, you’re going to need to add a seam allowance to the pattern so that when you make it it’s not too small. I added quite a large seam allowance because I wanted mine to be slightly bigger than the jacket I used. Make sure you retain the curve and angles of the pattern when you are adding an allowance so the shape stays the same.
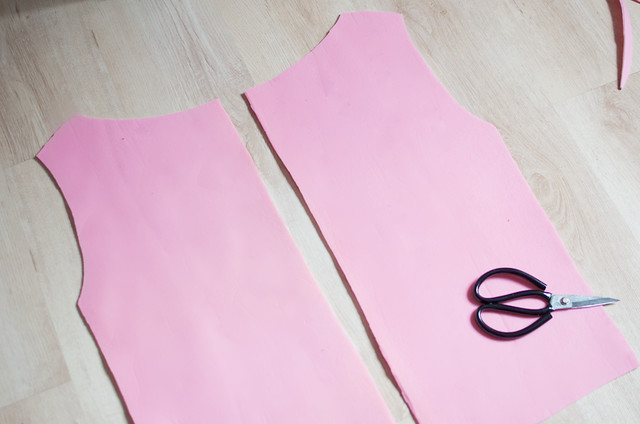
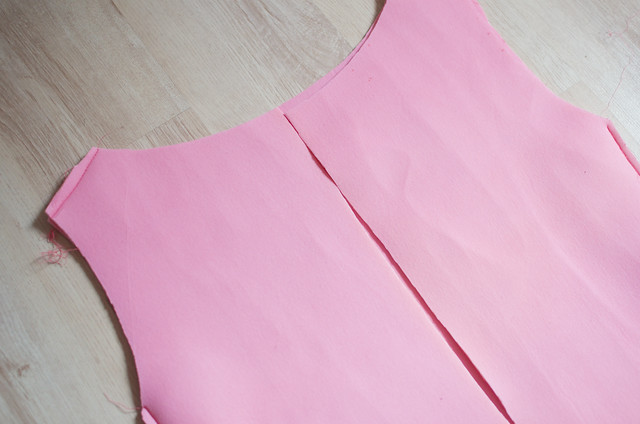
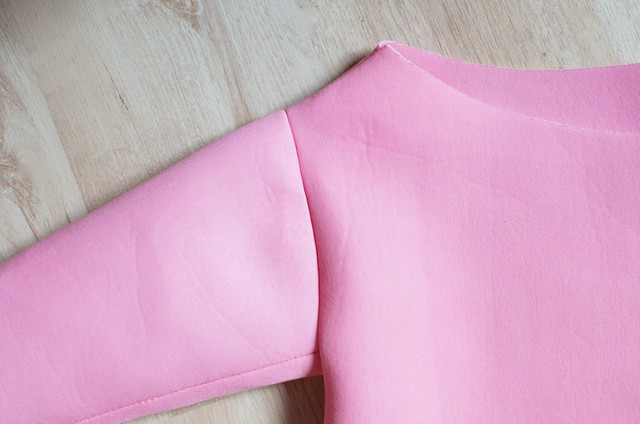
2. This is what your front panels will look like. For anything symmetrical like the front panels and sleeves I usually do one panel and then flip it over to trace it onto the fabric so I have to mirror image panels. This was quite straightforward for this fabric because both sides of the fabric were the same. For the back panel, something I would do next time is make the design much higher on the back of the neck, much more so than the front panels. I only did mine with a marginal difference and my coat ended up a bit too boat neck in shape. We live and learn!
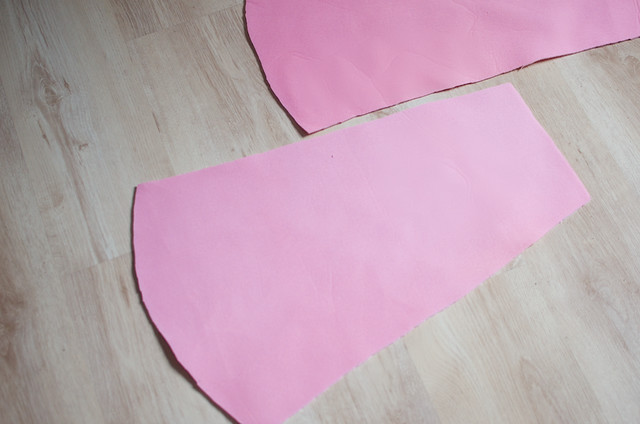
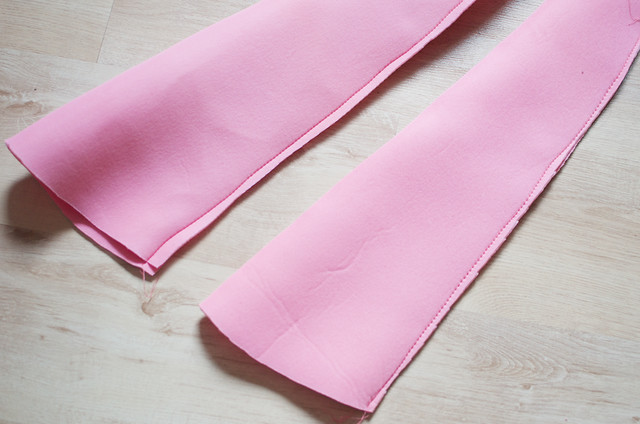
3. Do the same for the arm panels, tracing them off your own coat. This will be a bit trickier because on your coat they will be folded in half to create the tube, so you want to either trace the sleeve onto doubled up fabric with the outer edge (from shoulder to cuff) along the fold of the fabric, or use your craft paper to make a template and use that to cut the folded fabric.
4. Once your pattern pieces are sorted, choose your thread – I usually go darker when I don’t have the perfect shade. It didn’t matter that much because we weren’t going to see the thread.
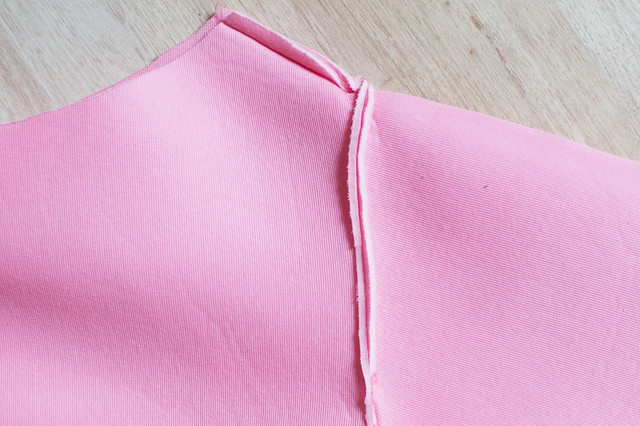
5. With the right sides facing, start by sewing the shoulder and side seams together, making sure to reinforce the beginning and end stitches. If you are using a fabric that will fray I would use a zig zig on the edges to stop crazy fraying.
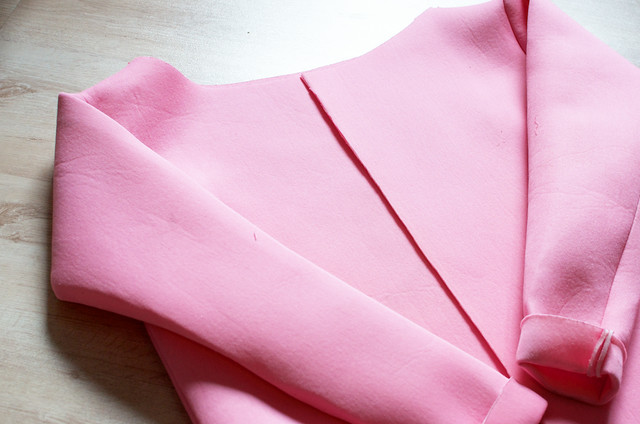
6. Sew the arms together by folding them in half and aligning the curved edge, again making sure to reinforce the first and last stitches. This is quite important because we won’t be turning the hem.
7. Sew the arms to the body – this part can be a little tricky, you need to align the hole and the curved edges of the sleeves closely so there is no gap and pin them down, making sure that you are doing it right side to right side so that the seam is on the inside when turned the right way out. In the event that the sleeves are too small for the arm holes, you can always close the arm holes a little more.
Flip inside out and you should be all set! I didm’t need to iron because I’m pretty sure neoprene and ironing don’t go that well together.
You can of course add hems, buttons, pockets etc, but I stayed with the minimal theme on this one. Some nice bias tape sewn around the edges would be a cute touch to such a simple design. Maybe next time!
Loving the thought of creating more outerwear, with lots of tweaks of course, this is just the start! One thing I would recommend is that you use a lighter neoprene than I did, this is about 0.35mm thick, which when turned into a jacket is a little too boxy. This neoprene is a bit lighter and would probably sit better.
A big thank you to the talented Marion for taking these photos for me, and Ana for the make up (I never ever have my make up done but loved the simple and natural look Ana went with).


