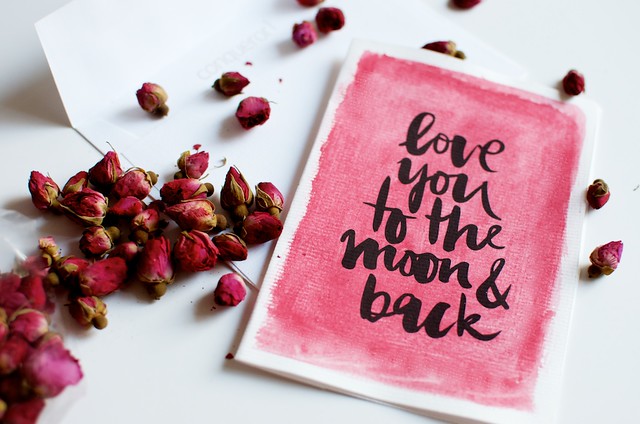
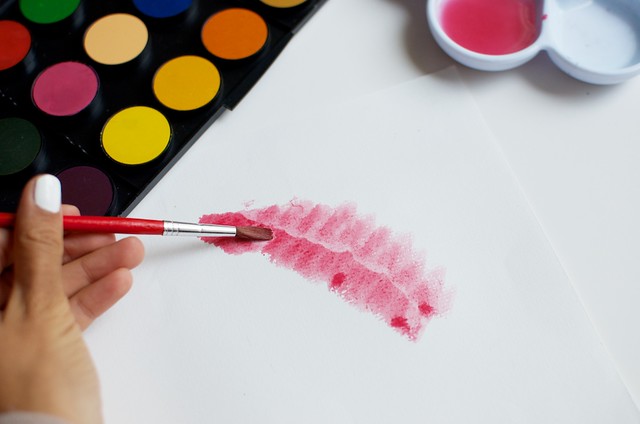
The best thing about the cards that Jasmine and I put together for your Valentine’s Day is that you can decorate them any way you choose, it’s an easy DIY-way to celebrate. I came up with lots of different ideas for how to decorate them, and wanted to share this one with you particularly. Because a) there’s painting involved b) I haven’t painted since I was 11 and c) it could have been a disaster but *cue dancing* it wasn’t. But don’t put that down to the genius of my brushmanship, it’s more to do with the fact that just about any 4 year old could do what I did successfully.
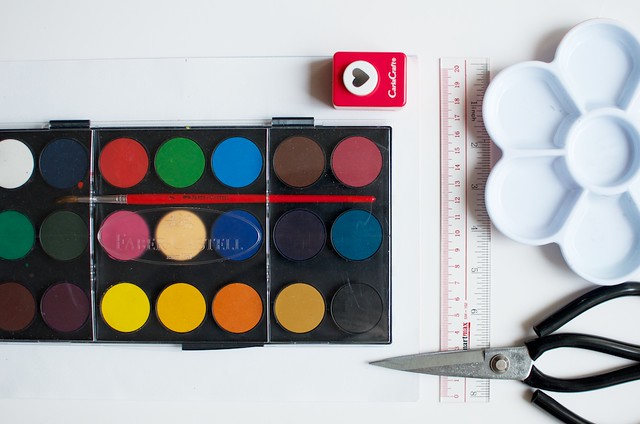
You need:
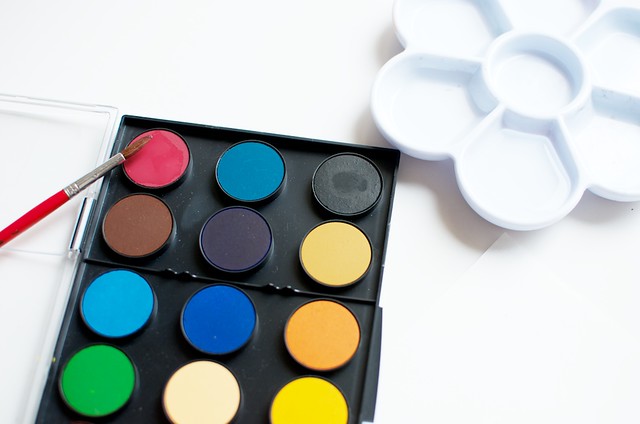
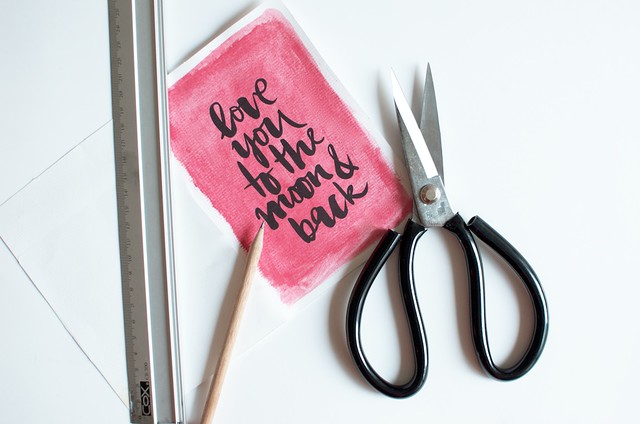
- water colour paints
- cardboard that can go through your printer
- A ruler
- scissors
- a pencil
How to:
1. Get your paint set up ready and pick the colour you want to use.
2. Work out where you think the printer will print the typography, I printed one first and then placed it underneath the card to roughly work out where to paint.
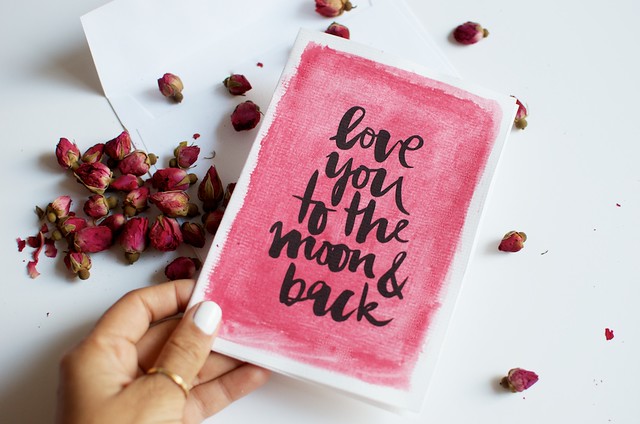
5. Paint the rectangle on the cardboard, blending the watercolour using a tissue or a sponge. Let it dry for a few hours and then print the typography on it. Cut out the cardboard to envelope size.
6. Fold in half.
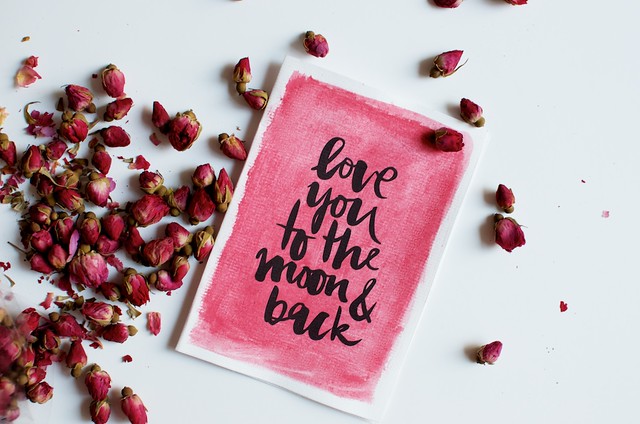
7. Optional: add some dried roses… Why is it that the Valentines things I like are much more appropriate for giving to other ladies than to my own boyfriend?
Voila!
Remember to download the cards Jasmine and I made here!
Card 1: I love you more than…
Card 2: You are my sun, my moon, and all my stars
Card 3: Love you to the moon and back


