I recently picked up a leather skirt in my local (and most favourite) thrift store for a just couple of dollars. However, it was an incredibly awkward just below the knee length and I knew straight away I wanted to cut it into a mini – I mean, who doesn’t love a staple leather mini? Rather than just doing the old chop straight away, I decided to experiment with one of my favourite trends of the season – leather fringing. Seen all over the runways from Celine, to Valentino, to Altuzarra, to Gucci – fringing is clearly the jam this season. In an ode to what is soon to come (or has done so already – seemingly prematurely – according to net-a-porter), I decided to do a little in-between Before & After project by trimming this skirt into a little fringed number, as a super fun stepping stone between midi and mini. What I love about this fringed project is that it’s so, so (soooo) easy. As long as you can work a ruler and cut straight (sometimes not as easy as it sounds!) you’re good to go. Get ye to your local thifty!
Wearing: Witchery Knit, Dylan Kain Bag, DIY fringe skirt, Witchery hat, Tony Bianco Heels
This was the inspiration, a little bit of Vally and and little bit of Gucci.
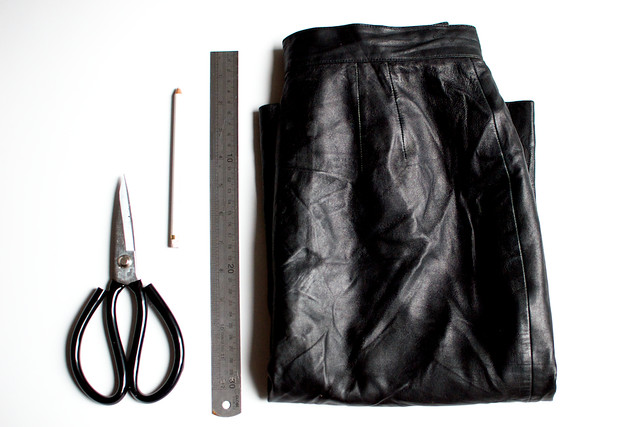
You need:
- A thrifted leather skirt
- Scissors
- Chalk
- Ruler
How to:
1. First I trimmed the skirt skirt to knee length. If yours has lining (mine didn’t), make sure you trim and sew the lining up higher than where you propose the fringe to end.
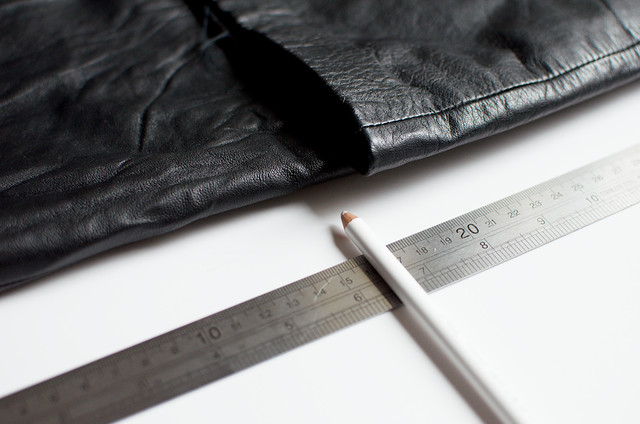
2. Use a skirt you already have to gauge the length you want. I was planning on doing a raw hem once I had tired of the fringe so I marked that edge with chalk.
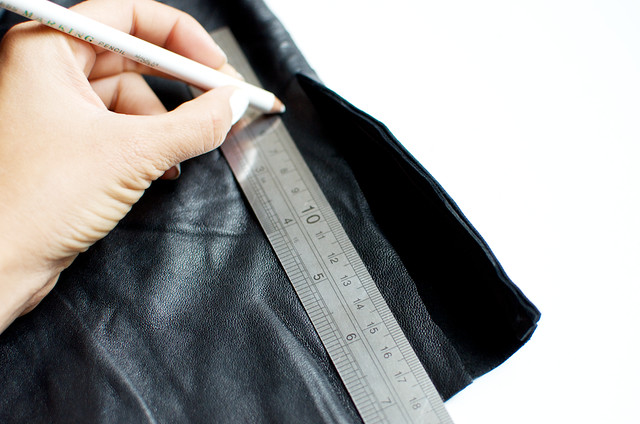
3. Cut up along the line of the side seam to the top of where you want to cut. Then use your chalk to mark lines at regular intervals so you know where to cut your trip.
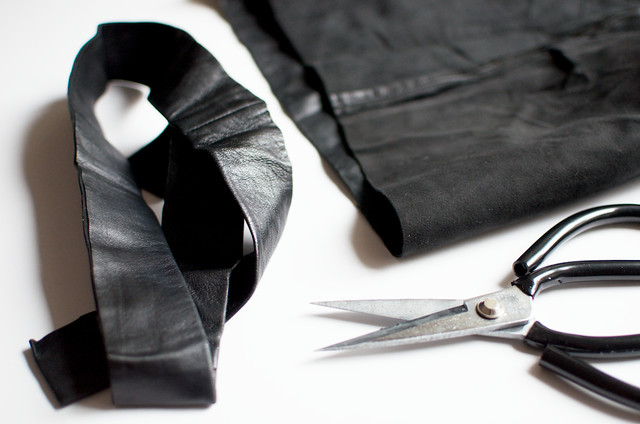
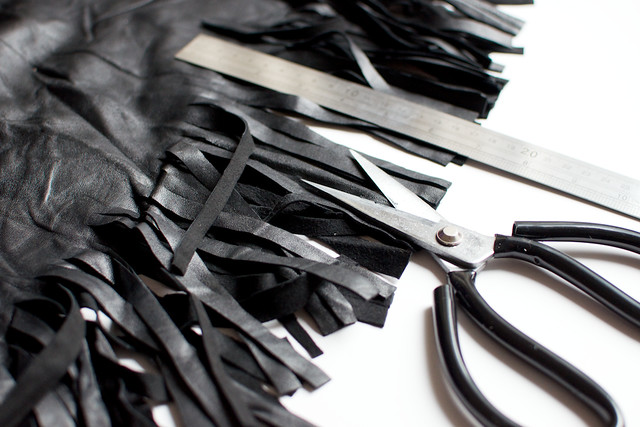
4. Cut the fringe all the way around.
Voila! The perfect go between. Looking forward to showing you what I plan to do to this skirt once it goes mini. Talk about the skirt that just keeps on giving!
Once again a big thank you to lovely Marion Tessier for taking these photos for me, and Ana for the make up.


