If there’s one time of year it’s acceptable, nay, required, to wear a tulle skirt, it’s the holiday season. And yes, although my daily uniform isn’t usually as girly as this, there’s nothing better than dressing a little special sometimes – the best accompaniment to lunchtime drinking and awkward secret santas! For this project I used a similar method to the classic circle skirt created many moons ago here, just made it a bit longer. Super easy, trust me.
Wearing: DIY skirt, Cos T-shirt, Boda Skins Jacket, Tony Bianco Heels
You need:
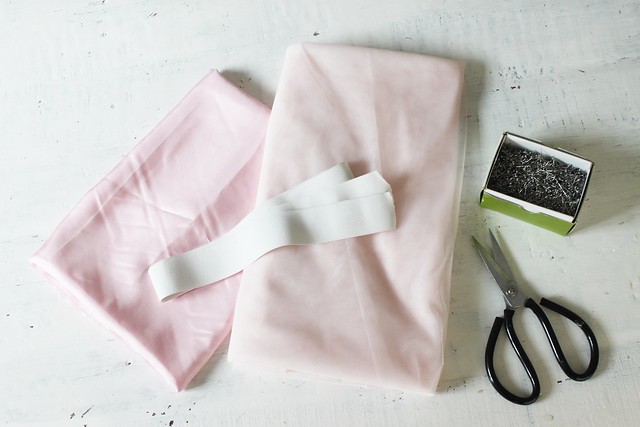
- 5 meters (5.5 yards) of tulle fabric
- 3 (3.3 yards) meters of lining fabric
- thick elastic
- scissors
- pins
- measuring tape
- sewing machine
How to:
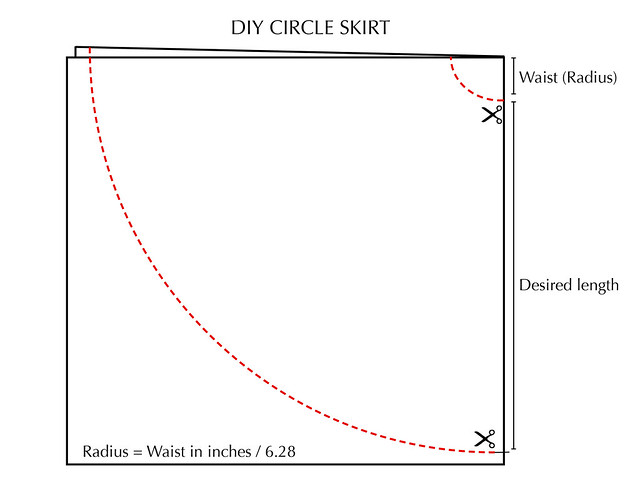
1. First you will need to do some maths to work out your waist radius.
Take your hip measurement in inches and divide by 6.28. This will give you your waist radius. You also want to decide on the length of your skirt. We wanted to use the full length of the fabric so ours was 33″ (84cm) long.
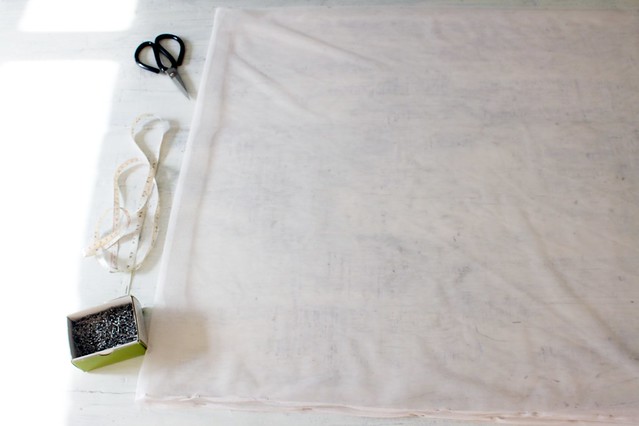
2. Fold your tulle in half and pin along the tom and bottom edge so that the two layers stay n place.
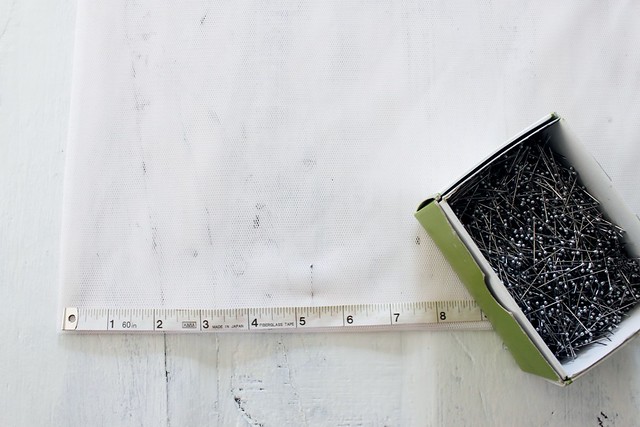
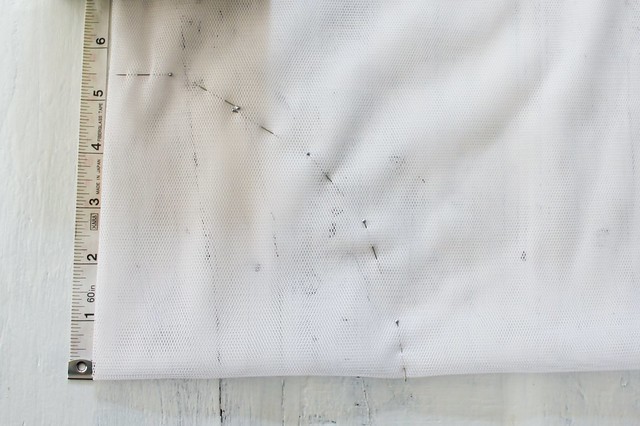
3. On the folded edge of your fabric, mark your waist radius measurement from the top point of the fabric.
4. Pivot from the corner, marking the point as you spin towards the top edge of the fabric. Continue until you have created half a circle.
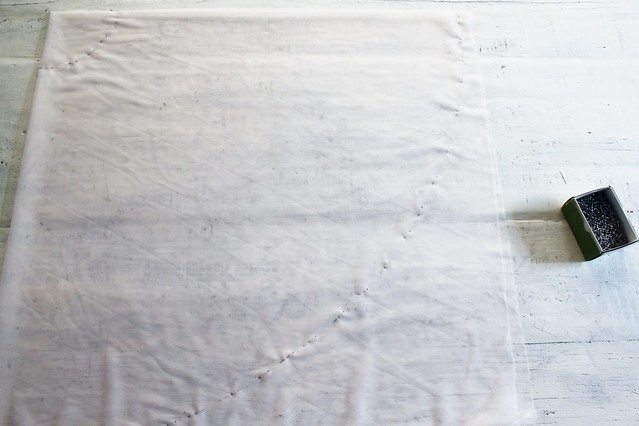
5. Repeat the same pivot technique to mark the the length of the skirt. Once you have finished marking the shape, it should look something like this.
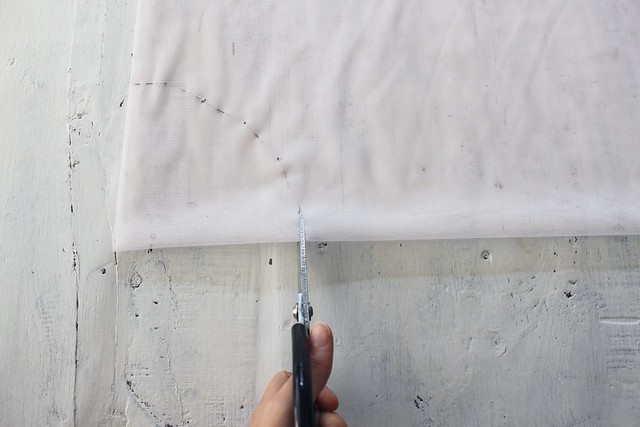
6. Make sure the two layers of tulle lay flat and then simply cut along the marked points to create a smooth curve.
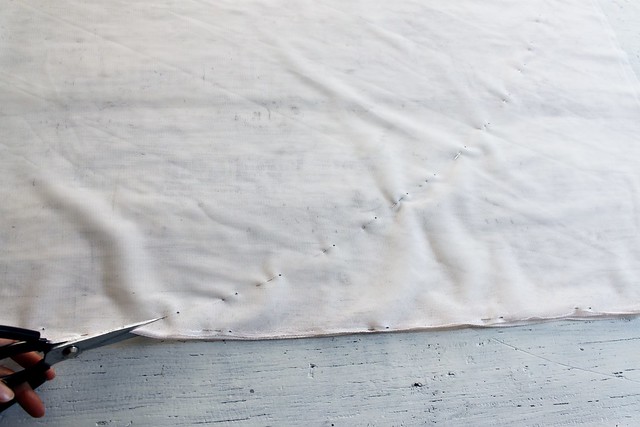
7. Cut around the skirt hem line aswell.
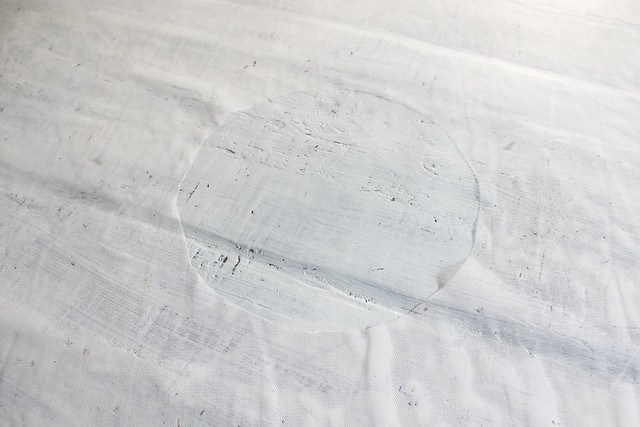
8. You will be left with the shape of the skirt. Repeat this process for another layer of tulle and one layer of lining.When you open up your fabric, you will have a circle in the centre of your fabric where your waistband will go.
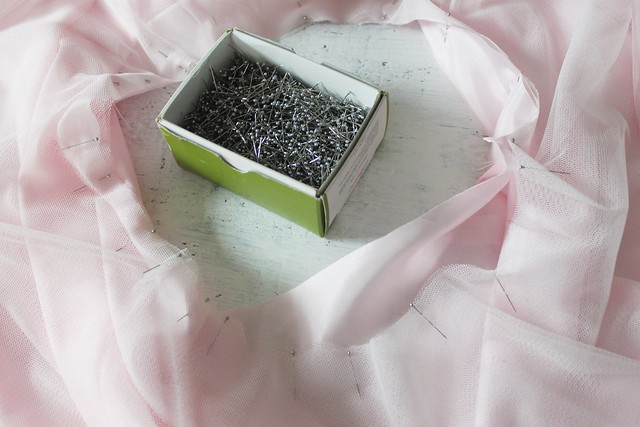
9. Pin both your layers of tulle and lining together.
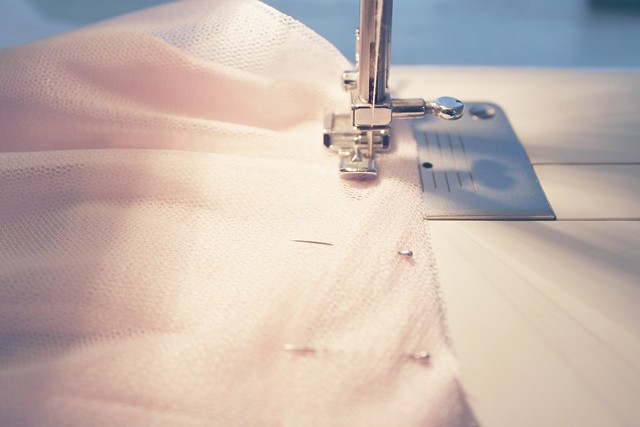
10. On your sewing machine, sew a baste stitch 1cm from the edge in a wider stitch length.
11. DO NOT back stitch and remember to leave an inch between your starting and ending point.
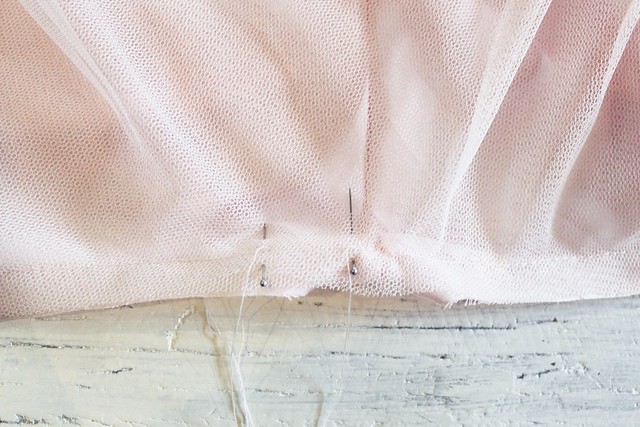
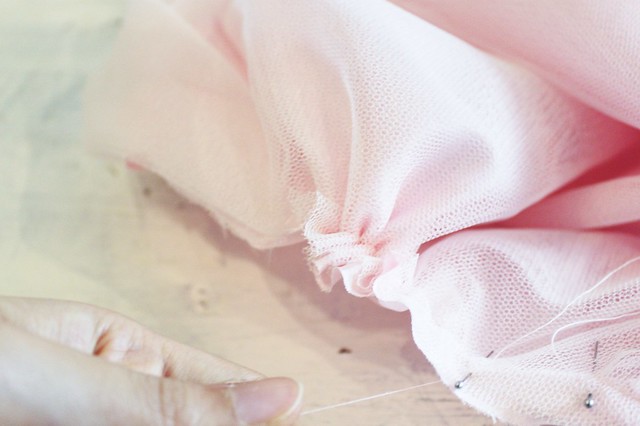
12. Pull the bobbin thread (the underneath one) and watch the skirt begin to gathers. Gather the skirt evenly to meet your original hip measurement.
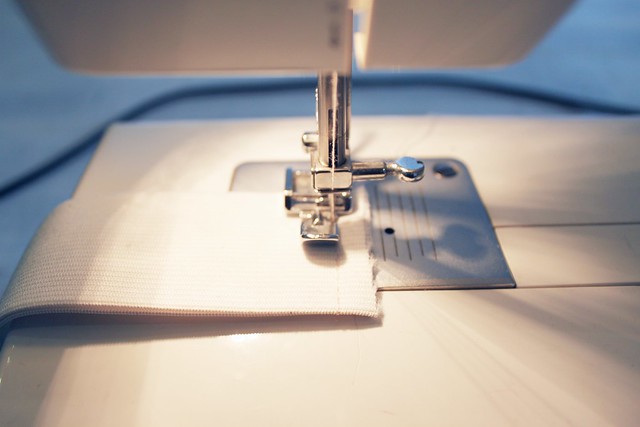
13. Take your thick elastic and stretch it around your waist. Then sew the elastic together with a 1cm seam allowance to form a loop.
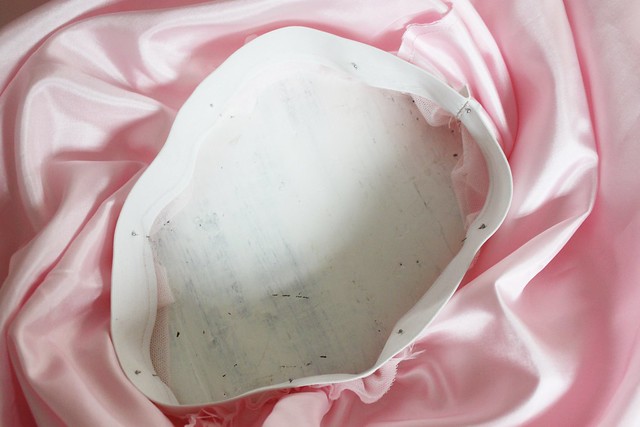
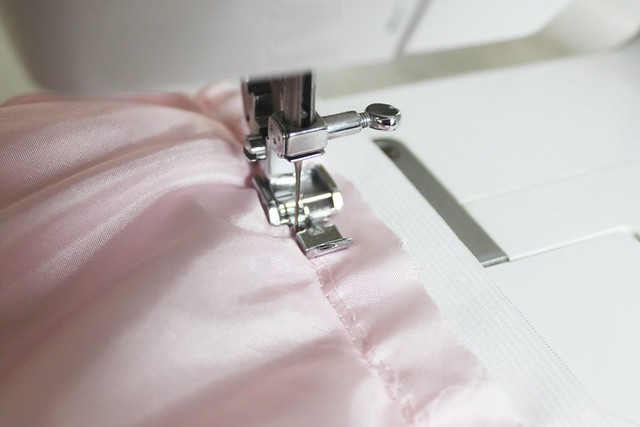
14. Turn your skirt inside out so that the lining is facing outwards. Pin the elastic waistband on the inside against the tulle just beneath your baste stitch. Pin the elastic on sparsely at equal distances so that you can stretch it as you sew to create the fitted waistband.
Remember to stretch the elastic as you sew just under the baste stitch line. After you have finished, turn the skirt back around and the elastic should be hidden.
Voila!
This is how happy you’ll feel!
Outfit photos by Nicola Lemmon


