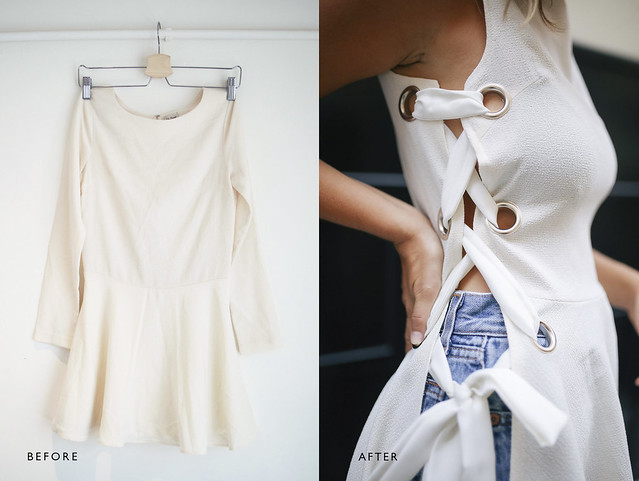
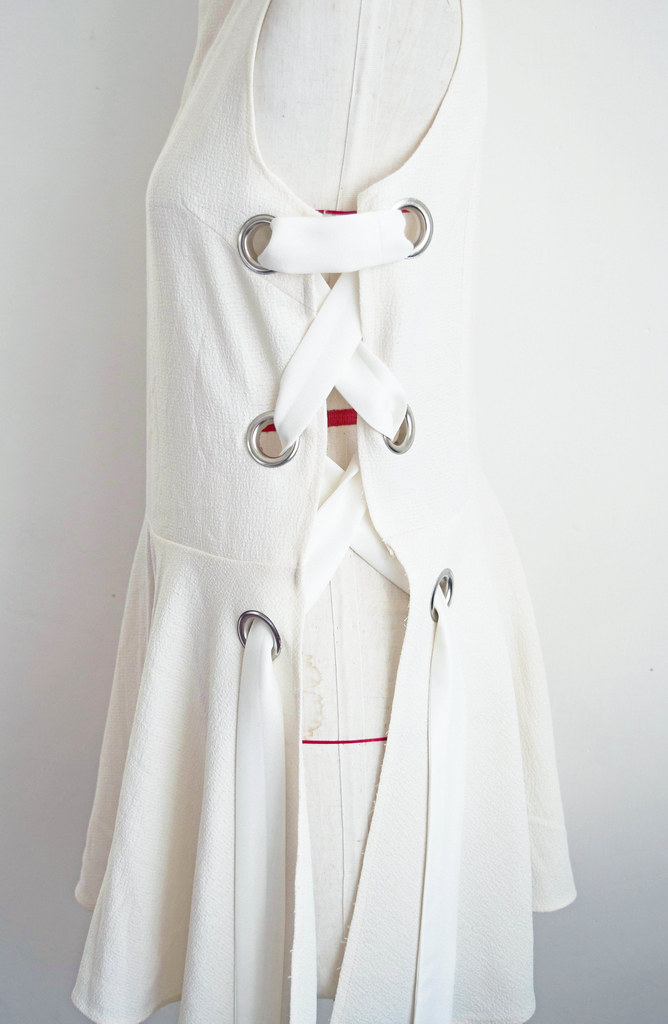
Building on the wardrobe rehab step one… What do you do with items that don’t fit anymore? This has always stumped me. Jeans that are just a little too snug or dresses that are too short (and maybe not nice enough to sell). Enter the grommet tunic. A detail I’ve been really into on the runway (see at Ellery and Burberry), we realised it would be a great addition in helping us turn a too short dress into a tunic top. You’ll be seeing this detail just about everywhere in the next few seasons, so why not get a head start on it?
This is the dress before and after – it barely covered my bum so definitely wasn’t something I was going to be able to get away with. Turning it into a tunic top with some modern details was the best way to go.
DIY Grommet Embellished Top
You need
- A dress or long top
- Fabric (in a colour to match)
- Unpicker
- Large grommets
- Grommet tool and hammer
- Fabric scissors
- Fabric pencil
- Sewing machine and thread
How to
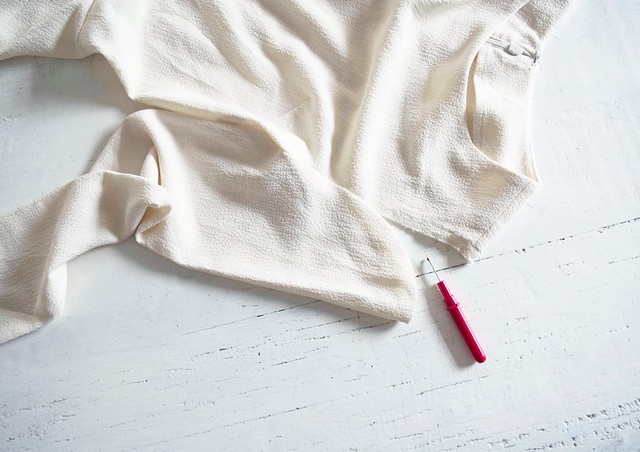
- The first thing we did was take off the sleeves. You may not have to do this if you have a simple top without sleeves.
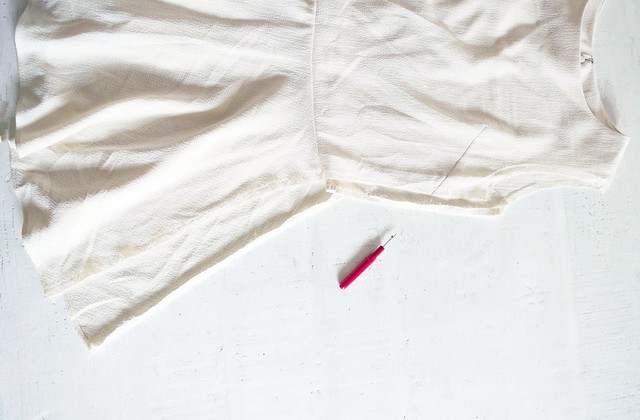
2. Then, unpick the side seam all the way to the bottom.
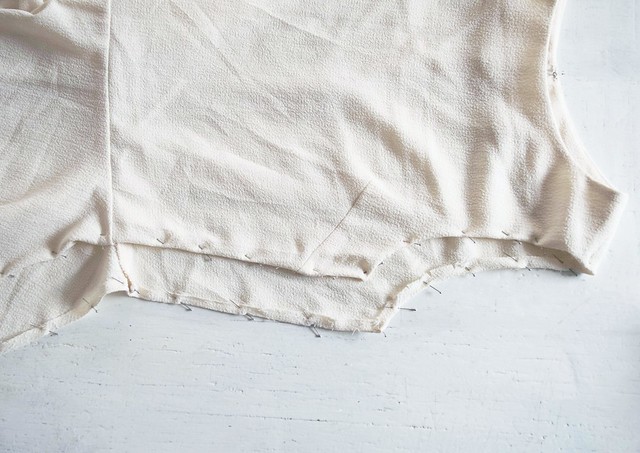
3. Fold the raw side seams and arm hole seam in 1cm, pin and sew to create a clean edge.
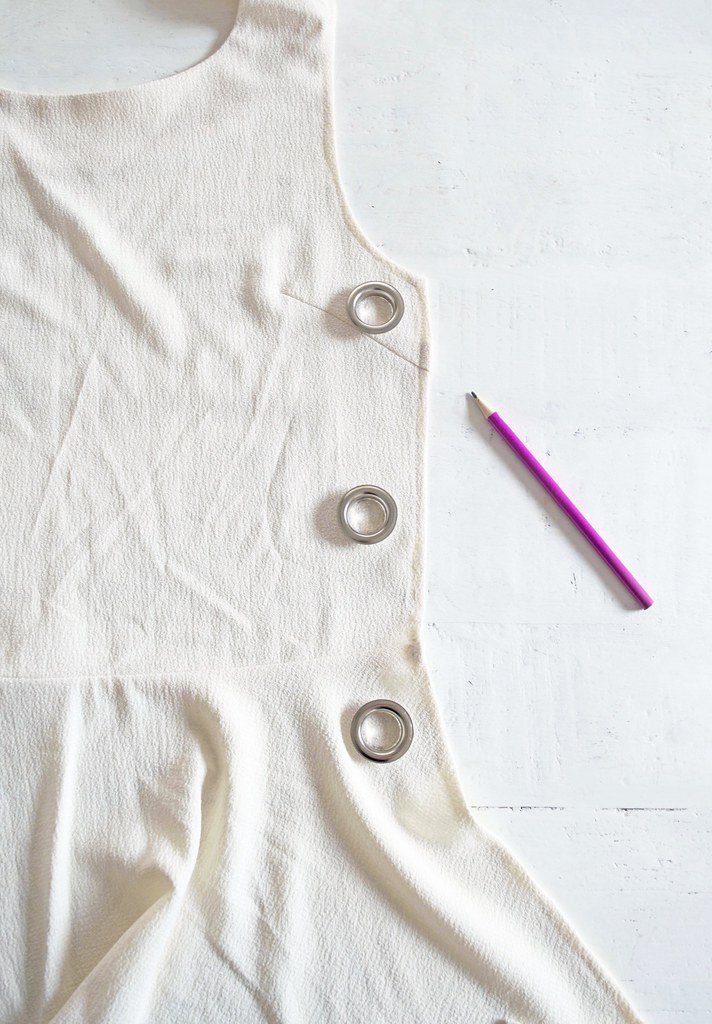
4. Working with one layer of fabric at a time, position the grommets along the side seam until you are happy with the way they look. Mark their positions by tracing around the inner circle of the grommet with a fabric pencil.
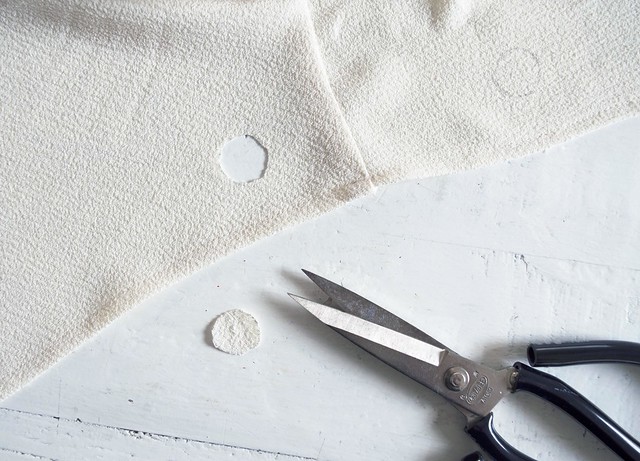
5. Cut out the inner circle markings and slip the grommet into the hole, the rounded grommet piece going on the outside and the flat grommet piece on the inside of the garment. It helps to make the holes a little on the mislay side so the fabric grips the grommet well.
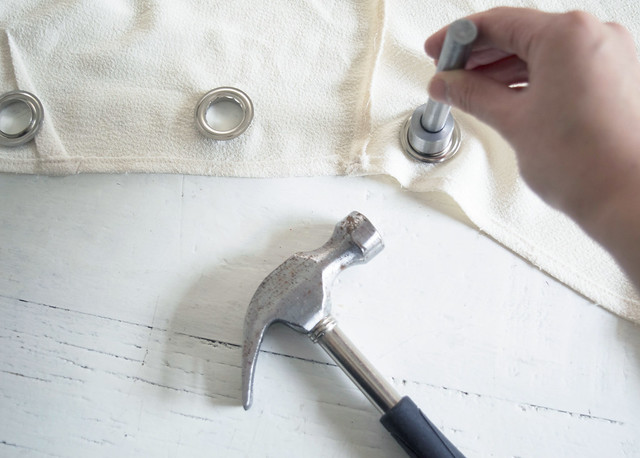
6. Using the grommet tool, hammer the grommets in place so they are secure.
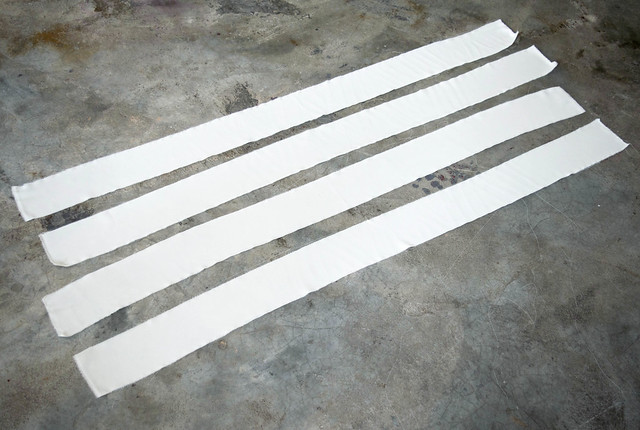
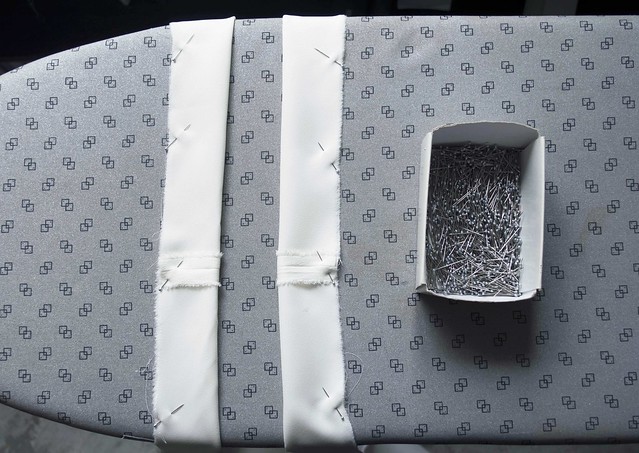
7. For the lace up ties, cut 4 strips that measure the width of the fabric by 9cm long.
8. Sew the 4 strips into two pairs then fold in half, pin and sew with a 1cm seam allowance so that you end up with two long tubes.
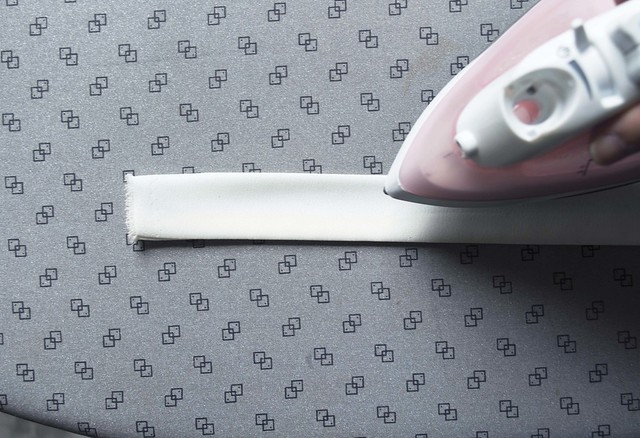
9. Turn the fabric tubes inside out and iron flat.
10. Weave the ties into the grommets like you would your shoe laces and you’re done!
All done!
Photos by Bryant Lee.


