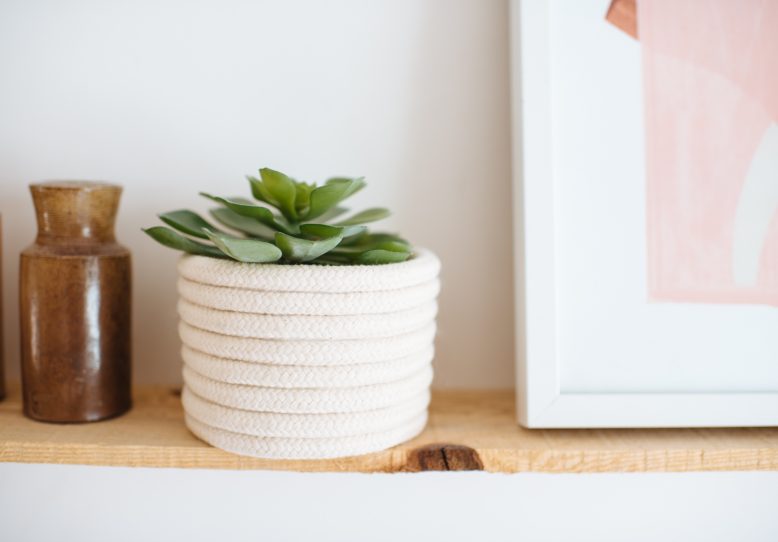
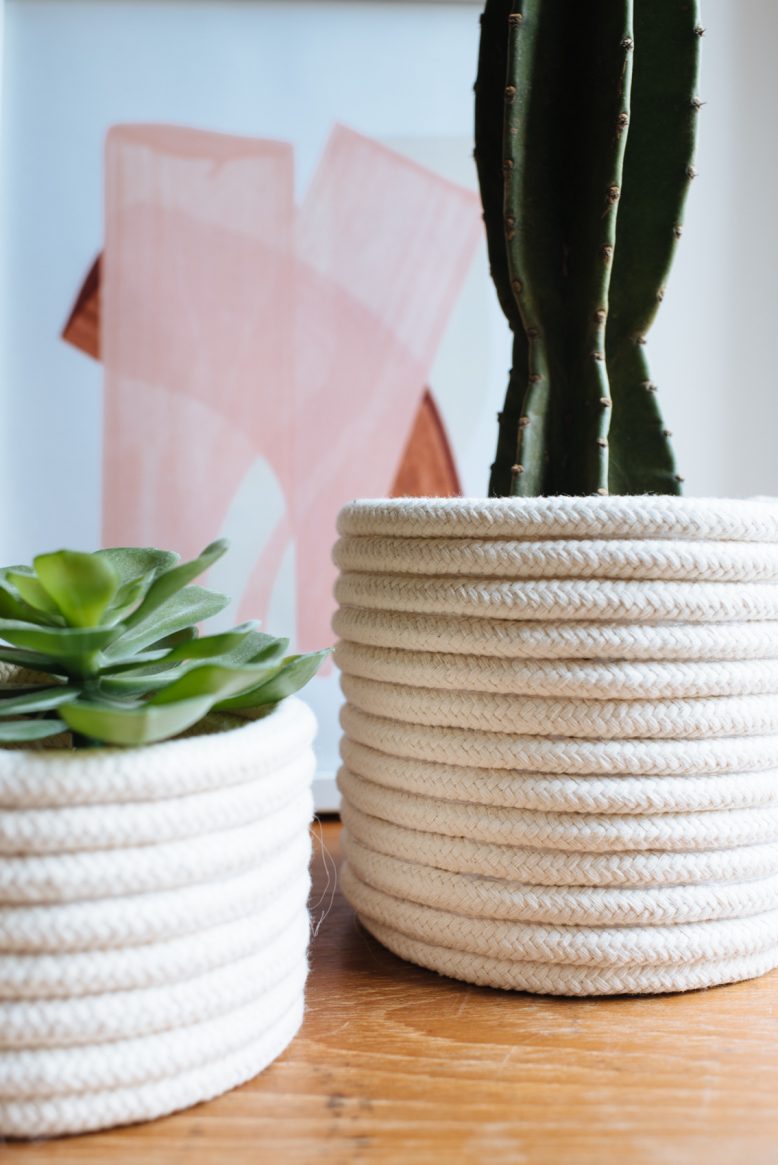
Say hello to one of the easiest DIY project’s you’ll ever come across.
I have to admit that rope is having a moment for me, and even more so because I’m travelling around Spain where rope is used for practically everything! Shoes, bags and door handles. You name it they use rope to make it. Which, in case you hadn’t noticed, I’m 100% down with. If you’ve been a long time reader you’ll know a while ago we shared a rope bowl DIY that involved sewing, so definitely check that post out if you have the time and resources. This version, however, is an option if you don’t want to sew, and requires nothing more than rope and a glue gun. Read on, and don’t blame me when you want to make 100 of these!
DIY Rope Planter
The rope here we used is 1/2” (around 2cm) thick.
1
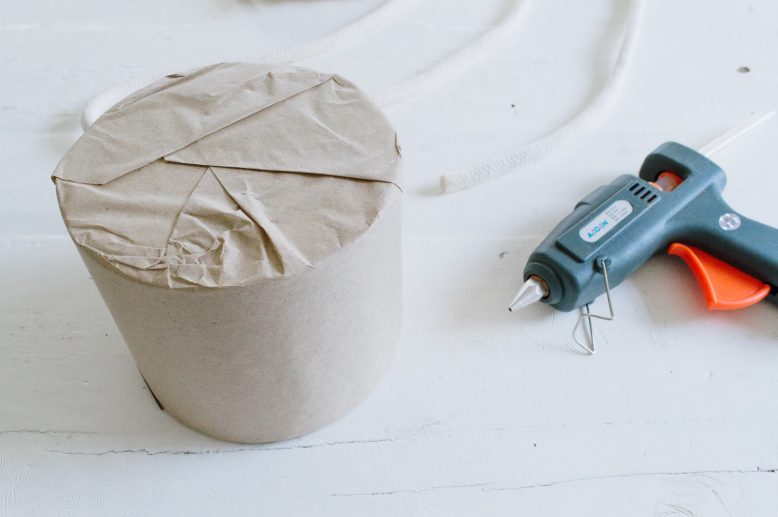
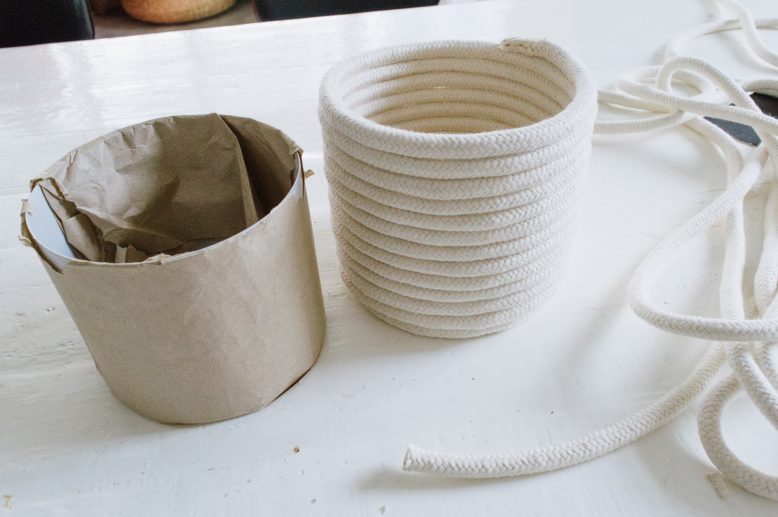
Wrap your planter in paper or a plastic bag before you begin. The planter will only act as a mold, and won't be necessary after you finish making the rope planter.
2
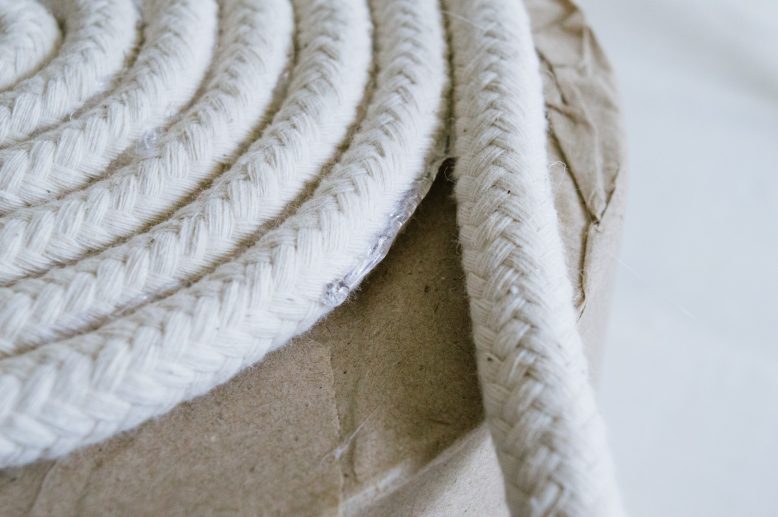
Start by creating the base of the rope planter. Wrap the rope in a swirling formation, dabbing hot glue in between the rope as you go along and pressing together to secure.
3
Just a little bit of hot glue will do, the less you add, the less likely you'll have hot glue spilling out from between the rope layers.
4
Once you've finished wrapping the base, begin wrapping upwards whilst using the planter as a guide.
5
Stop when you reach the top of the planter. To finish off the end, open up and push the outer rope layer back, and snip away the inner supporting string pieces. Dab a bit of hot glue onto the ends to seal it, and secure it to the edge of the rope planter.
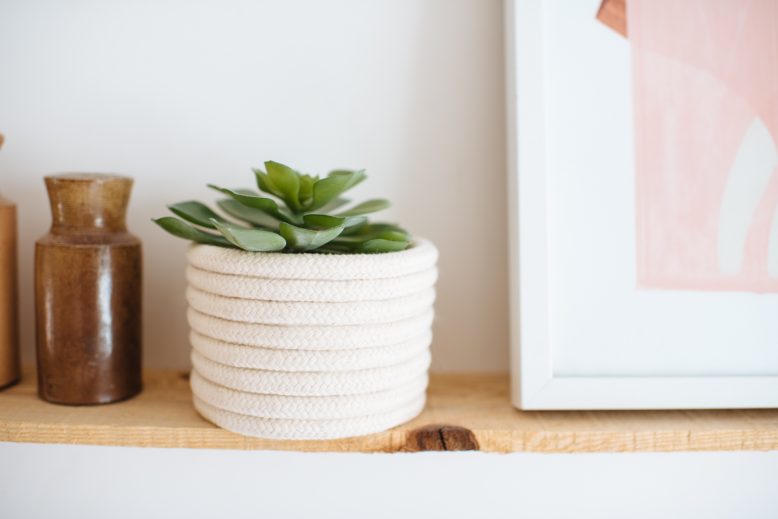
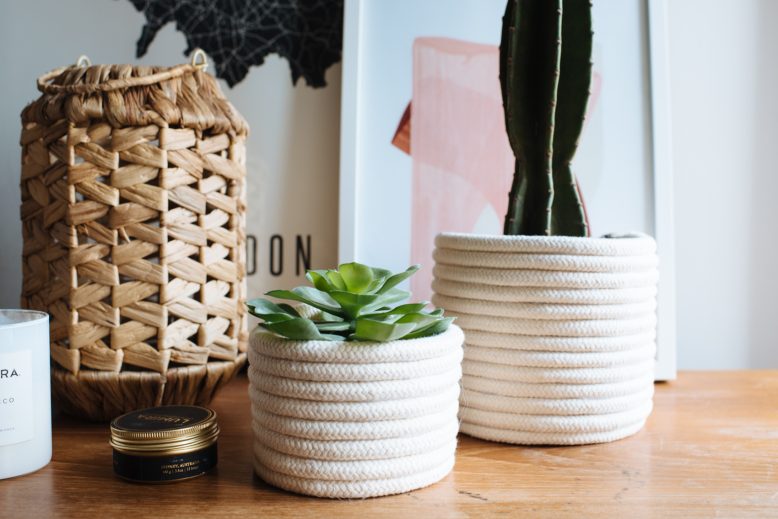
Voila!
You can make this project in as many sizes as you like, a huge one would be amazing! You can alsoo use this tutorial to make baskets, bowls or anything really!
Like this simple DIY? Pin it on Pinterest!


